set clock MAZDA MODEL 3 HATCHBACK 2009 Owner's Manual (in English)
[x] Cancel search | Manufacturer: MAZDA, Model Year: 2009, Model line: MODEL 3 HATCHBACK, Model: MAZDA MODEL 3 HATCHBACK 2009Pages: 412, PDF Size: 4.87 MB
Page 196 of 412
Black plate (196,1)
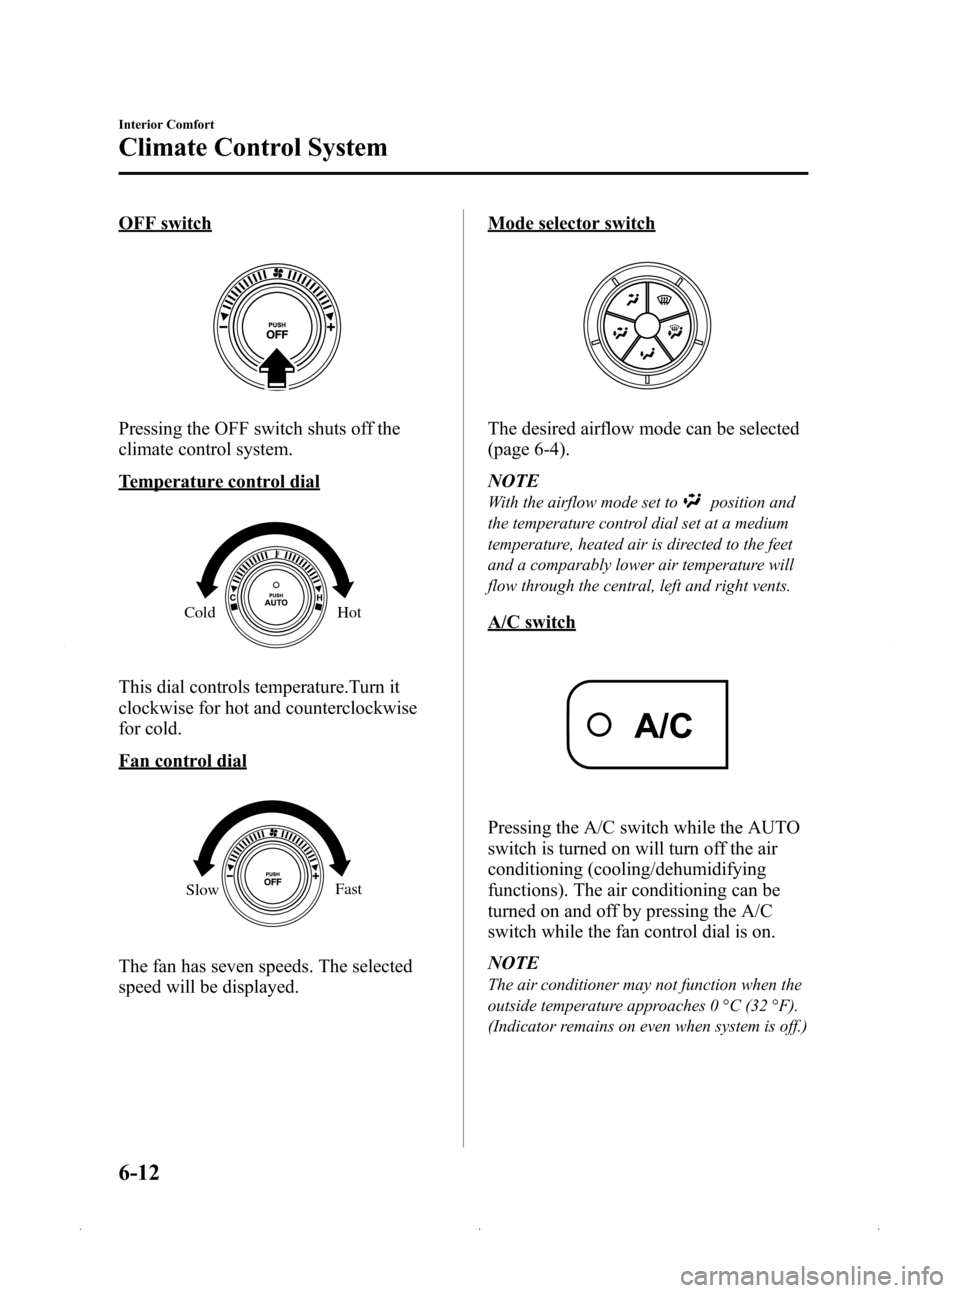
OFF switch
Pressing the OFF switch shuts off the
climate control system.
Temperature control dial
ColdHot
This dial controls temperature.Turn it
clockwise for hot and counterclockwise
for cold.
Fan control dial
SlowFast
The fan has seven speeds. The selected
speed will be displayed.
Mode selector switch
The desired airflow mode can be selected
(page 6-4).
NOTE
With the airflow mode set toposition and
the temperature control dial set at a medium
temperature, heated air is directed to the feet
and a comparably lower air temperature will
flow through the central, left and right vents.
A/C switch
Pressing the A/C switch while the AUTO
switch is turned on will turn off the air
conditioning (cooling/dehumidifying
functions). The air conditioning can be
turned on and off by pressing the A/C
switch while the fan control dial is on.
NOTE
The air conditioner may not function when the
outside temperature approaches 0 °C (32 °F).
(Indicator remains on even when system is off.)
6-12
Interior Comfort
Climate Control System
Mazda3_8Z87-EA-08F_Edition1 Page196
Monday, May 19 2008 9:57 AM
Form No.8Z87-EA-08F
Page 213 of 412
Black plate (213,1)
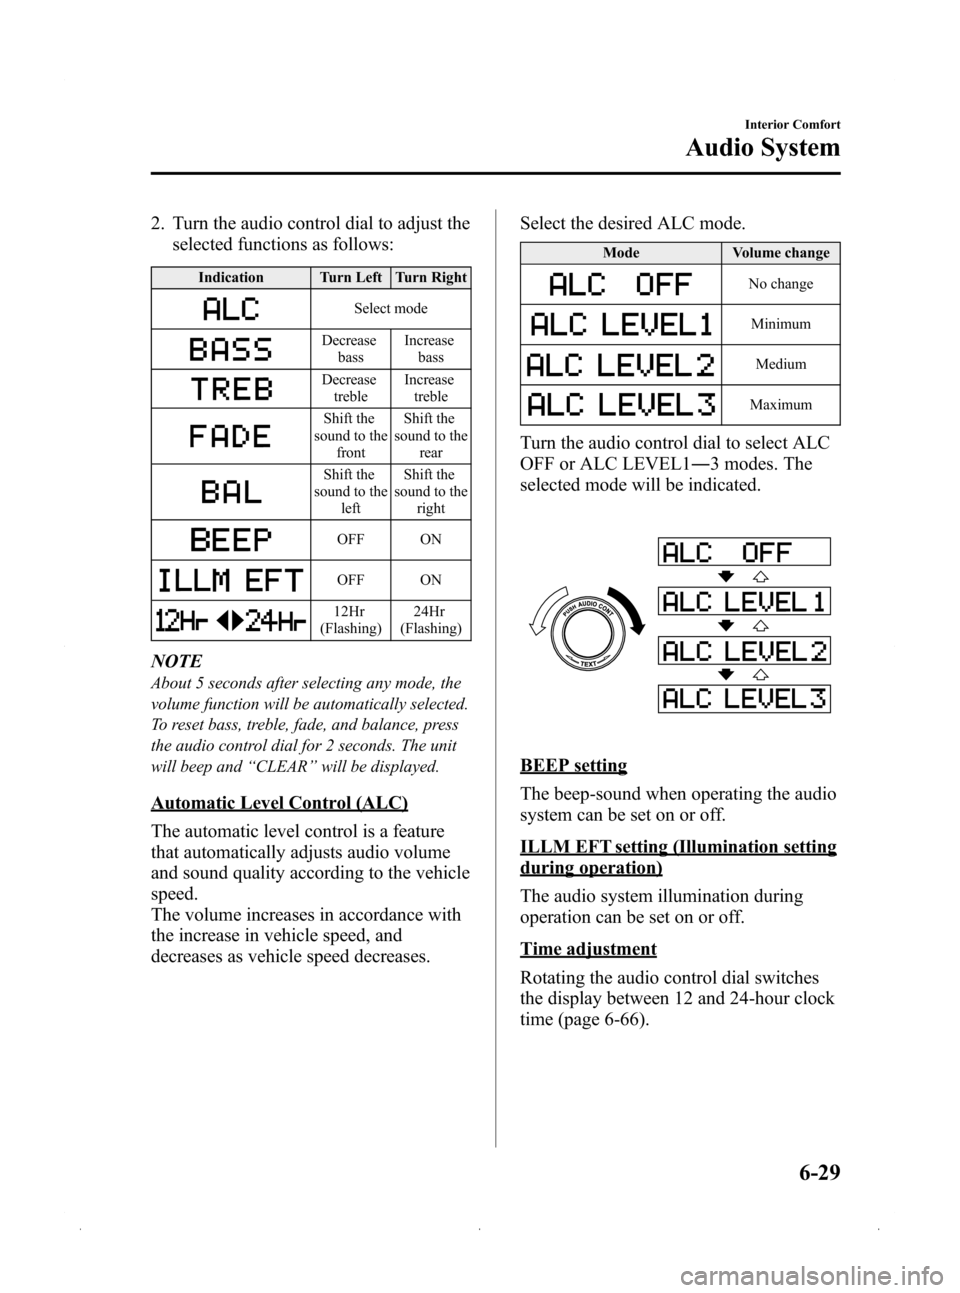
2. Turn the audio control dial to adjust theselected functions as follows:
Indication Turn Left Turn Right
Select mode
Decrease
bass Increase
bass
Decreasetreble Increase
treble
Shift the
sound to the front Shift the
sound to the rear
Shift the
sound to the left Shift the
sound to the right
OFF ON
OFF ON
12Hr
(Flashing) 24Hr
(Flashing)
NOTE
About 5 seconds after selecting any mode, the
volume function will be automatically selected.
To reset bass, treble, fade, and balance, press
the audio control dial for 2 seconds. The unit
will beep and “CLEAR ”will be displayed.
Automatic Level Control (ALC)
The automatic level control is a feature
that automatically adjusts audio volume
and sound quality according to the vehicle
speed.
The volume increases in accordance with
the increase in vehicle speed, and
decreases as vehicle speed decreases. Select the desired ALC mode.
Mode
Volume change
No change
Minimum
Medium
Maximum
Turn the audio control dial to select ALC
OFF or ALC LEVEL1― 3 modes. The
selected mode will be indicated.
BEEP setting
The beep-sound when operating the audio
system can be set on or off.
ILLM EFT setting (Illumination setting
during operation)
The audio system illumination during
operation can be set on or off.
Time adjustment
Rotating the audio control dial switches
the display between 12 and 24-hour clock
time (page 6-66).
Interior Comfort
Audio System
6-29
Mazda3_8Z87-EA-08F_Edition1 Page213
Monday, May 19 2008 9:57 AM
Form No.8Z87-EA-08F
Page 218 of 412
Black plate (218,1)
Selecting SIRIUS radio mode (Satellite
button)
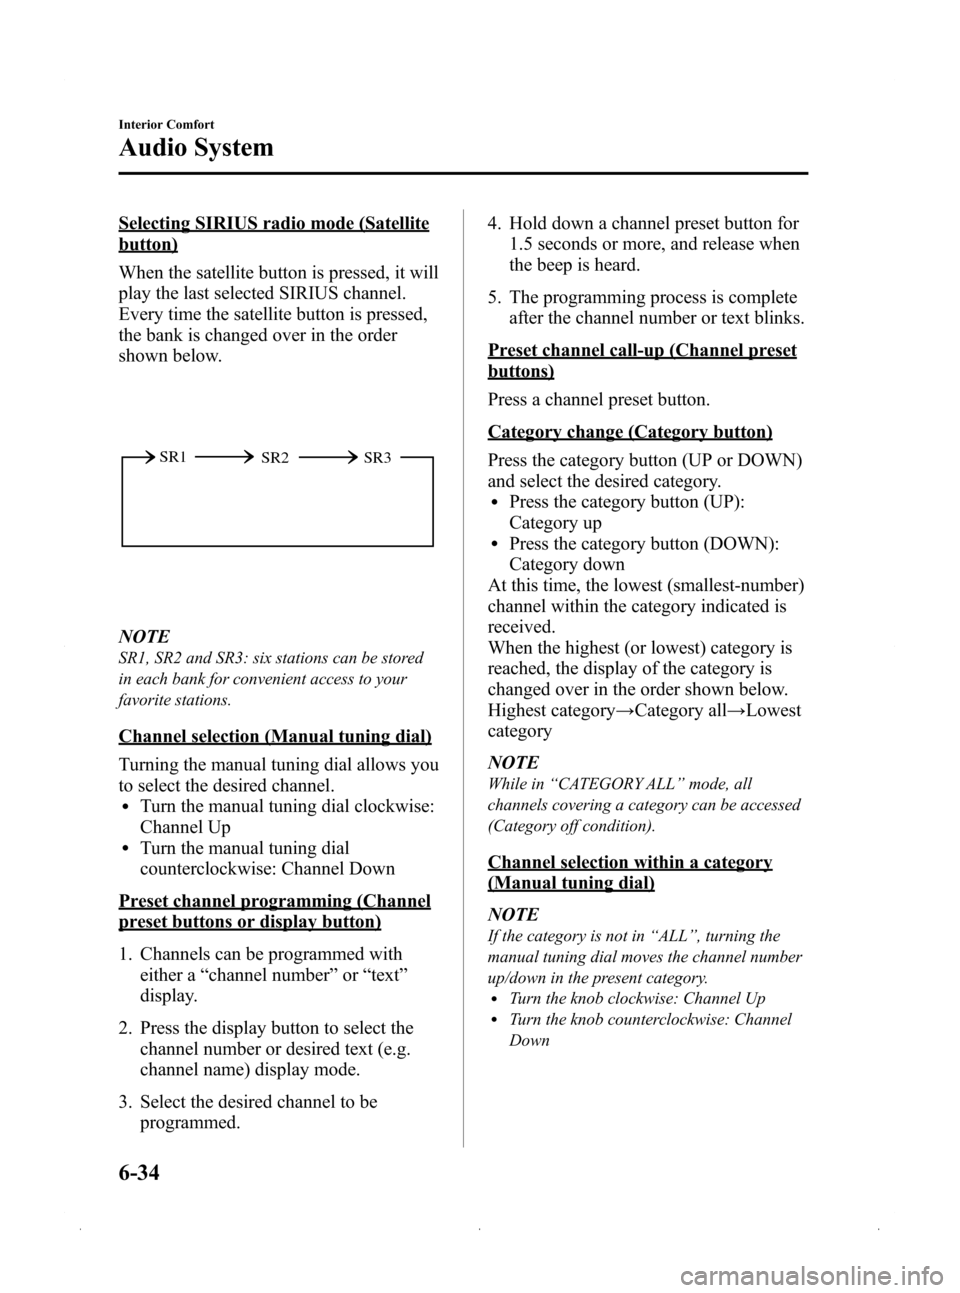
When the satellite button is pressed, it will
play the last selected SIRIUS channel.
Every time the satellite button is pressed,
the bank is changed over in the order
shown below.
SR2
SR1
SR3
NOTE
SR1, SR2 and SR3: six stations can be stored
in each bank for convenient access to your
favorite stations.
Channel selection (Manual tuning dial)
Turning the manual tuning dial allows you
to select the desired channel.
lTurn the manual tuning dial clockwise:
Channel Up
lTurn the manual tuning dial
counterclockwise: Channel Down
Preset channel programming (Channel
preset buttons or display button)
1. Channels can be programmed with
either a “channel number ”or “text ”
display.
2. Press the display button to select the channel number or desired text (e.g.
channel name) display mode.
3. Select the desired channel to be programmed. 4. Hold down a channel preset button for
1.5 seconds or more, and release when
the beep is heard.
5. The programming process is complete after the channel number or text blinks.
Preset channel call-up (Channel preset
buttons)
Press a channel preset button.
Category change (Category button)
Press the category button (UP or DOWN)
and select the desired category.
lPress the category button (UP):
Category up
lPress the category button (DOWN):
Category down
At this time, the lowest (smallest-number)
channel within the category indicated is
received.
When the highest (or lowest) category is
reached, the display of the category is
changed over in the order shown below.
Highest category →Category all →Lowest
category
NOTE
While in “CATEGORY ALL” mode, all
channels covering a category can be accessed
(Category off condition).
Channel selection within a category
(Manual tuning dial)
NOTE
If the category is not in “ALL ”, turning the
manual tuning dial moves the channel number
up/down in the present category.
lTurn the knob clockwise: Channel UplTurn the knob counterclockwise: Channel
Down
6-34
Interior Comfort
Audio System
Mazda3_8Z87-EA-08F_Edition1 Page218
Monday, May 19 2008 9:57 AM
Form No.8Z87-EA-08F
Page 221 of 412

Black plate (221,1)
When the SIRIUS mode is switched to
another mode, or when the power is
turned off, the present channel which is
being received is stored as the last
channel.
Channel selection
Turning the manual tuning dial allows you
to select the desired receiving channel.
lTurn the knob clockwise: Channel UplTurn the knob counterclockwise:
Channel Down
Unsubscribed channel
When a selected station has not been
subscribed to, the display indicates the
following:
[CALL + 888] and [539 + SIRI] (Flashes
alternately)
NOTE
When the subscription contract is canceled, all
of the channels including channel 184 appear
as unsubscribed.
Invalid channel
When a selected channel is not
broadcasting, [SR + (bank number) +
INVALID] is displayed for 1 second,
followed by [SR + (bank number) +
CHANNEL], which is also displayed for
1 second. The display then returns to the
previous valid channel.
NOTE
If the last channel selected has become
unavailable because of a channel update the
above indication is displayed until any button
is pressed.
Preset channel programming
(Programming with “channel number ”
display)
1. Press the display button to select the channel number display mode.
Select the desired channel to be
programmed. At this point, the
following is displayed:
[SR + (bank number) + (channel
number)]
2. Keep pressing the channel preset button for 1.5 seconds or more.
The programming process is complete
after the channel number flashes. Then,
[SR + (bank number)] is displayed and
a beep sound is heard at the same time.
3. [SR + (bank number) + CH + (preset number) + (channel number)] are
displayed.
(Programming with “text ”display (e.g.
channel name))
1. Press the display button to select the desired text display mode (e.g. channel
name).
Select the desired channel to be
programmed. At this point, the
following is displayed:
[SR + (bank number) + (selected text
(e.g. channel name))]
2. Keep pressing the channel preset button for 1.5 seconds or more.
The programming process is complete
after the text (e.g. channel name)
flashes. Then, [SR + (bank number)] is
displayed and you will hear beep sound
at the same time.
3. SR + (bank number) + CH + (preset number) + (channel number)] are
displayed.
Interior Comfort
Audio System
6-37
Mazda3_8Z87-EA-08F_Edition1 Page221
Monday, May 19 2008 9:57 AM
Form No.8Z87-EA-08F
Page 222 of 412
![MAZDA MODEL 3 HATCHBACK 2009 Owners Manual (in English) Black plate (222,1)
4. Three seconds later, it returns to normaldisplay. [SR + (bank number) + (text
(e.g. channel name))]
NOTE
Six stations can be stored in each bank, SR1,
SR2, and SR3 for convenien MAZDA MODEL 3 HATCHBACK 2009 Owners Manual (in English) Black plate (222,1)
4. Three seconds later, it returns to normaldisplay. [SR + (bank number) + (text
(e.g. channel name))]
NOTE
Six stations can be stored in each bank, SR1,
SR2, and SR3 for convenien](/img/28/13461/w960_13461-221.png)
Black plate (222,1)
4. Three seconds later, it returns to normaldisplay. [SR + (bank number) + (text
(e.g. channel name))]
NOTE
Six stations can be stored in each bank, SR1,
SR2, and SR3 for convenient access to your
favorite stations.
Preset channel call-up
Press and release the channel preset
button,
[SR + (bank number) + CH + (preset
number) + (channel number)] appears.
When the preset button is pressed during
text mode, its channel number is
displayed first for 3 second and then its
text is displayed.
NOTE
In the initial setting, all channels are preset to
184.
Category change
Press the category button (UP or DOWN)
and select the desired category.
lPress the category button (UP):
Category up
lPress the category button (DOWN):
Category down
Every time the category (UP) button is
pressed for 1.5 second or less, the
category is changed over in the order
shown below.
At this time, the lowest (smallest-number)
channel within the category indicated is
received.
When the highest (or lowest) category is
reached, the category is changed over in
the order shown below.
Highest category →Category all →Lowest
category NOTE
While in
“CATEGORY ALL” mode, all
channels covering a category can be accessed
(Category off condition).
Channel selection within a category
If category is not in “ALL ”and the
channel number is displayed, turning the
manual tuning dial moves the channel
number up/down in the present category.
lTurn the manual tuning dial clockwise:
Channel Up
lTurn the manual tuning dial
counterclockwise: Channel Down
NOTE
The channel number needs to be indicated in
the display to use manual tuning dial for this
function.
Channel number, channel name,
category, artist, song titles and info
display
Each time the display button is briefly
pressed during SIRIUS reception, the
display of the text data is changed over in
the order shown below.
Channel number Channel name
Category
name
Artist name
Info
Song title
6-38
Interior Comfort
Audio System
Mazda3_8Z87-EA-08F_Edition1 Page222
Monday, May 19 2008 9:57 AM
Form No.8Z87-EA-08F
Page 225 of 412
Black plate (225,1)
(How to cancel the instant replay)lTurn off the ACC or POWER.lPress any one of the following buttons:
FM/AM, CD, MEDIA, SAT, SEEK/
CAT/TRACK, or a channel preset
button.
lInsert or play a CD.
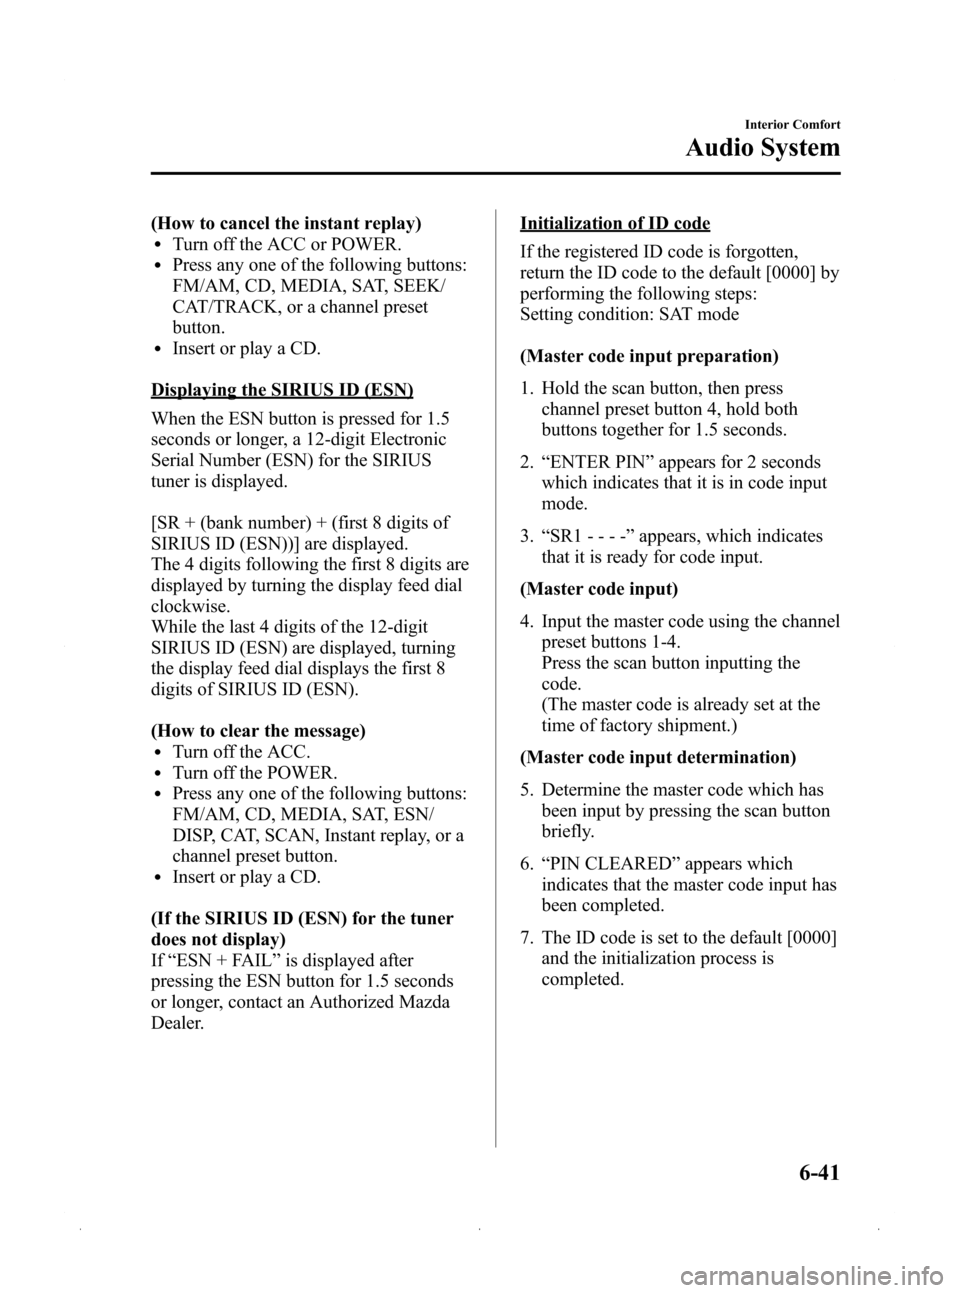
Displaying the SIRIUS ID (ESN)
When the ESN button is pressed for 1.5
seconds or longer, a 12-digit Electronic
Serial Number (ESN) for the SIRIUS
tuner is displayed.
[SR + (bank number) + (first 8 digits of
SIRIUS ID (ESN))] are displayed.
The 4 digits following the first 8 digits are
displayed by turning the display feed dial
clockwise.
While the last 4 digits of the 12-digit
SIRIUS ID (ESN) are displayed, turning
the display feed dial displays the first 8
digits of SIRIUS ID (ESN).
(How to clear the message)
lTurn off the ACC.lTurn off the POWER.lPress any one of the following buttons:
FM/AM, CD, MEDIA, SAT, ESN/
DISP, CAT, SCAN, Instant replay, or a
channel preset button.
lInsert or play a CD.
(If the SIRIUS ID (ESN) for the tuner
does not display)
If “ESN + FAIL ”is displayed after
pressing the ESN button for 1.5 seconds
or longer, contact an Authorized Mazda
Dealer.
Initialization of ID code
If the registered ID code is forgotten,
return the ID code to the default [0000] by
performing the following steps:
Setting condition: SAT mode
(Master code input preparation)
1. Hold the scan button, then press channel preset button 4, hold both
buttons together for 1.5 seconds.
2. “ENTER PIN ”appears for 2 seconds
which indicates that it is in code input
mode.
3. “SR1 - - - - ”appears, which indicates
that it is ready for code input.
(Master code input)
4. Input the master code using the channel preset buttons 1-4.
Press the scan button inputting the
code.
(The master code is already set at the
time of factory shipment.)
(Master code input determination)
5. Determine the master code which has been input by pressing the scan button
briefly.
6. “PIN CLEARED ”appears which
indicates that the master code input has
been completed.
7. The ID code is set to the default [0000] and the initialization process is
completed.
Interior Comfort
Audio System
6-41
Mazda3_8Z87-EA-08F_Edition1 Page225
Monday, May 19 2008 9:57 AM
Form No.8Z87-EA-08F
Page 250 of 412
Black plate (250,1)
qClock
NOTE
When the trip computer is displayed, press the
CLOCK button to change the display to the
time.
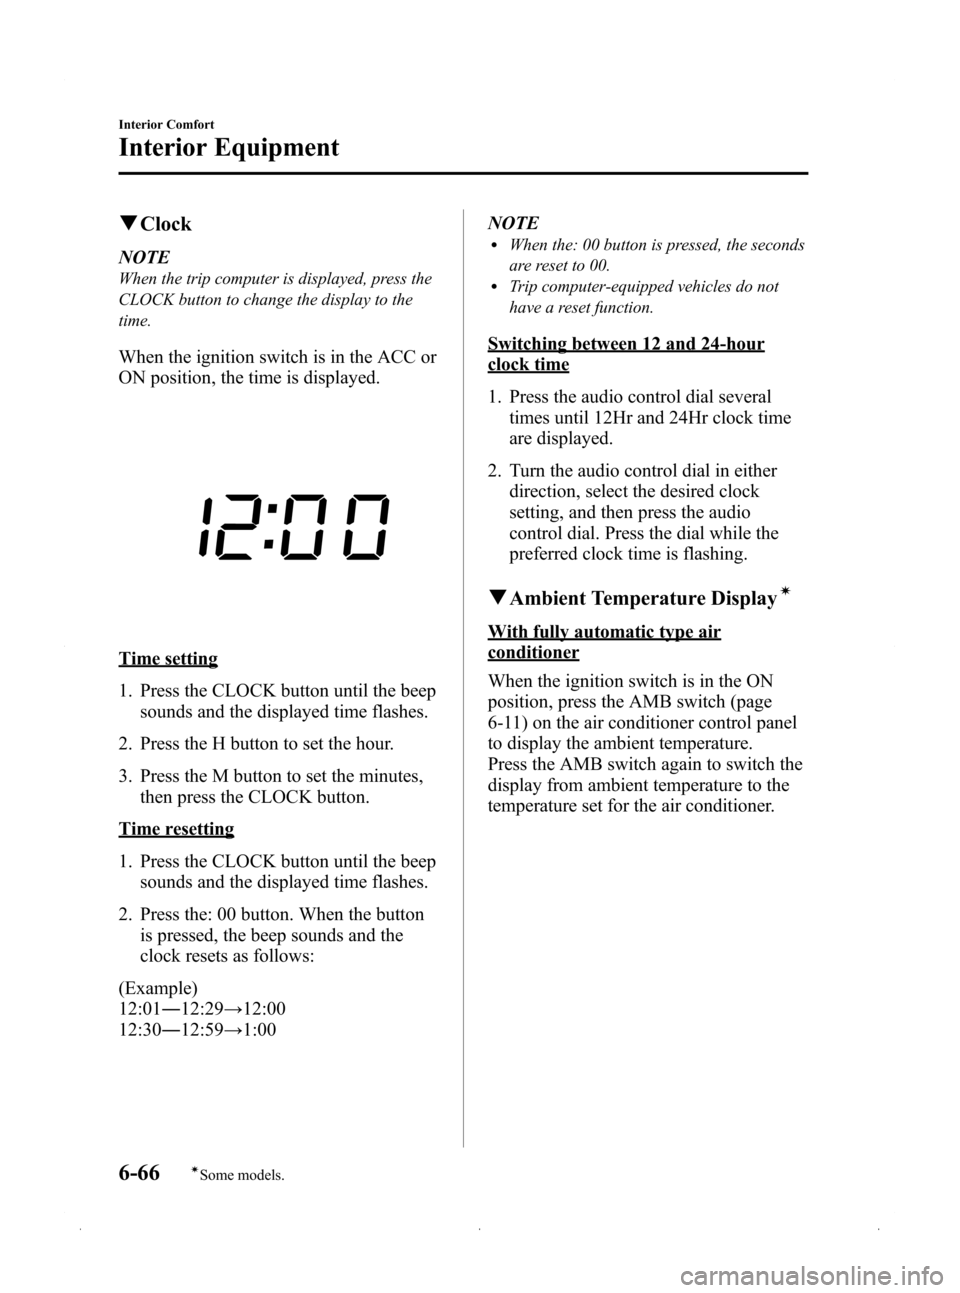
When the ignition switch is in the ACC or
ON position, the time is displayed.
Time setting
1. Press the CLOCK button until the beep
sounds and the displayed time flashes.
2. Press the H button to set the hour.
3. Press the M button to set the minutes, then press the CLOCK button.
Time resetting
1. Press the CLOCK button until the beepsounds and the displayed time flashes.
2. Press the: 00 button. When the button is pressed, the beep sounds and the
clock resets as follows:
(Example)
12:01 ―12:29 →12:00
12:30 ―12:59 →1:00 NOTE
lWhen the: 00 button is pressed, the seconds
are reset to 00.
lTrip computer-equipped vehicles do not
have a reset function.
Switching between 12 and 24-hour
clock time
1. Press the audio control dial several
times until 12Hr and 24Hr clock time
are displayed.
2. Turn the audio control dial in either direction, select the desired clock
setting, and then press the audio
control dial. Press the dial while the
preferred clock time is flashing.
qAmbient Temperature Displayí
With fully automatic type air
conditioner
When the ignition switch is in the ON
position, press the AMB switch (page
6-11) on the air conditioner control panel
to display the ambient temperature.
Press the AMB switch again to switch the
display from ambient temperature to the
temperature set for the air conditioner.
6-66
Interior Comfort
íSome models.
Interior Equipment
Mazda3_8Z87-EA-08F_Edition1 Page250
Monday, May 19 2008 9:58 AM
Form No.8Z87-EA-08F
Page 406 of 412
Black plate (406,1)
A
Accessory Socket .............................. 6-76
Add-On Non-Genuine Parts and
Accessories ....................................... 9-17
Air Bag Systems ............................... 2-42
Ambient Temperature Display .......... 6-66
Antenna ............................................. 6-16
Anti-Lock Brake System (ABS) ......... 5-7Warning light ............................... 5-8
Appearance Care ............................... 8-58
Ashtray .............................................. 6-70
Audio System ................................... 6-16 Audio control switch .................. 6-56
Audio set .................................... 6-27
AUX mode ................................. 6-58
Operating tips for audio
system ........................................ 6-17
Safety certification ..................... 6-61
Automatic Transaxle Driving tips ................................ 5-18
Fluid ........................................... 8-25
Manual shift mode ..................... 5-14
Shift-lock override ..................... 5-14
Shift-lock system ....................... 5-14
Transaxle ranges ........................ 5-13
B
BatteryEmergency starting .................... 7-16
Maintenance ............................... 8-32
Specifications ............................. 10-4
Beep Sounds Ignition key reminder ................. 5-50
Lights-on reminder ..................... 5-50
Tire inflation pressure warning
beep ............................................ 5-50
Beeps
Seat belt warning beep Sounds ... 5-50
B
Before Starting the Engine .................. 4-6After getting in ............................. 4-6
Before getting in .......................... 4-6
Body Lubrication .............................. 8-28
Bottle Holder ..................................... 6-72
Brake/Clutch Fluid ........................................... 8-23
Brakes Anti-lock brake system (ABS) ..... 5-7
Brakes assist ................................. 5-9
Foot brake .................................... 5-5
Parking brake ............................... 5-6
Warning light ............................... 5-7
Break-In Period ................................... 4-7
Bulb Replacement ............................. 8-39
C
Capacities .......................................... 10-5
Carbon Monoxide ............................... 4-5
Cargo Securing Loops ...................... 6-73
Cargo Sub-Compartment .................. 6-73
Catalytic Converter ............................. 4-4
Cell Phones ....................................... 9-18
Center Console .................................. 6-73
Child Restraint Child restraint precautions ......... 2-27
Installing child-restraint
systems ....................................... 2-31
LATCH child-restraint
systems ....................................... 2-37
Child Safety Locks for Rear Doors ... 3-11
Cigarette Lighter ............................... 6-70
Climate Control System ...................... 6-2 Gas specifications ...................... 10-6
Clock ................................................. 6-66
Cruise Control ................................... 5-20
Cup Holder ........................................ 6-71
11-2
Index
Mazda3_8Z87-EA-08F_Edition1 Page406
Monday, May 19 2008 9:59 AM
Form No.8Z87-EA-08F