fuse MAZDA MODEL 6 HATCHBACK 2005 Owners Manual (in English)
[x] Cancel search | Manufacturer: MAZDA, Model Year: 2005, Model line: MODEL 6 HATCHBACK, Model: MAZDA MODEL 6 HATCHBACK 2005Pages: 340, PDF Size: 3.08 MB
Page 98 of 340

qOpening the Trunk Lid from the
Inside
Slide the illuminated inside trunk release
slide lever in the direction of the arrow.
The lever is made of material that will
glow for hours in the darkness of the
trunk following a brief exposure to
ambient light.
The inside trunk release slide lever is
located on the inside of the trunk lid.
Power Windows
The ignition switch must be in the ON
position for the power windows to
operate.
WARNING
Closing Power Windows:
Closing power windows are
dangerous. A person's hands, head, or
even neck could be caught by the
window and result in serious injury or
even death.
This warning applies especially to
children. Make sure the opening is
clear before closing a window.
Children and Power Windows:
Leaving the power window switches
unlocked while children are in the
vehicle is dangerous. Power window
switches that are not locked with the
power window lock switch would allow
children to operate power windows
unintentionally which could result in
serious injury if a child's hands, head
or neck becomes caught by the
window. Always lock all passenger
power windows with the power
window lock switch on the driver's
side while children are in the vehicle,
and never allow children to play with
power window switches.
CAUTION
To prevent burning out the fuse and
damaging the power window system,
don't open or close more than three
windows at once.
3-22
Knowing Your Mazda
Doors and Locks
Page 149 of 340

The trip meter records the total distance
the vehicle is driven until the meter is
again reset. Return it to“0.0 ”by holding
the selector depressed for more than 1
second. Use this meter to measure trip
distances and to compute fuel
consumption.
NOTE
lOnly the trip meters record tenths of
kilometers (miles).
lThe trip record will be erased when:
lThe power supply is interrupted
(blown fuse or the battery is
disconnected).
lThe vehicle is driven over 999.9
km (mile).
q Tachometer
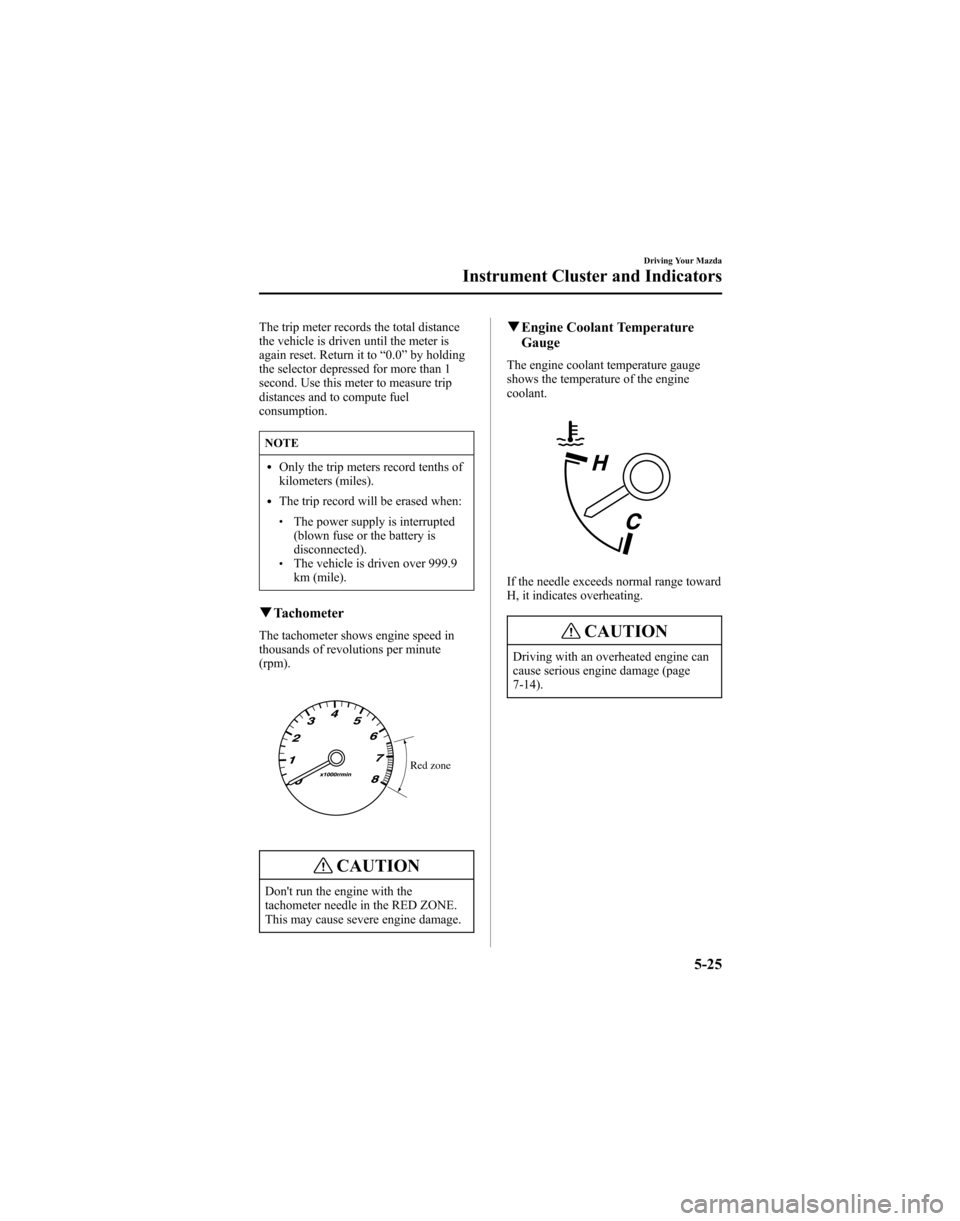
The tachometer shows engine speed in
thousands of revolutions per minute
(rpm).
Red zone
CAUTION
Don't run the engine with the
tachometer needle in the RED ZONE.
This may cause severe engine damage.
q Engine Coolant Temperature
Gauge
The engine coolant temperature gauge
shows the temperature of the engine
coolant.
If the needle exceeds normal range toward
H, it indicates overheating.
CAUTION
Driving with an overheated engine can
cause serious engine damage (page
7-14).
Driving Your Mazda
Instrument Cluster and Indicators
5-25
Page 200 of 340

qOperating the Radio
Seek tuning
button Scan button
Channel preset buttons Manual tuning dial
Satellite button*
Band selector buttons
*For reception of optional SIRIUS digital satellite radio. Used on vehicles equipped with the separately sold SIRIUS digital satellite radio\
unit.For information on use, read the manual accompanying the SIRIUS unit.
Subscription of SIRIUS digital satellite radio service is available in the U.S. (Except Alaska and Hawaii). Auto memory
button/Electric
serial number
button
*
Radio ON
Press a band selector button (
,)
to turn the radio on.
Band selection
Choose AM by pressing the AM button
(
) and FM by pressing the FM1/2
button ().
The selected mode will be indicated. If
FM stereo is being received, “ST ”will be
displayed.
NOTE
If the FM broadcast signal becomes
weak, reception automatically changes
from STEREO to MONO for reduced
noise, and the “ST ”indicator will go
out.
Tuning
The radio has the following tuning
methods: Manual, Seek, Scan, Preset
channel, and Auto memory tuning. The
easiest way to tune stations is to set them
on preset channels.
NOTE
If the power supply is interrupted (fuse
blows or the battery is disconnected),
the preset channels will be canceled.
Manual tuning
Turning the manual tuning dial will
change the frequency higher or lower.
6-28
Interior Comfort
Audio System
Page 201 of 340

Seek tuning
Pressing the seek tuning button (
,)
will cause the tuner to seek a higher or
lower frequency automatically.
NOTE
If you continue to press and hold the
button, the frequency will continue
changing without stopping.
Scan tuning
Press the scan button (
)to
automatically sample strong stations.
Scanning stops at each station for about 5
seconds. To hold a station, press the scan
button (
) again during this interval.
Preset channel tuning
The 6 preset channels can be used to store
6 AM and 12 FM stations.
1. To set a channel first select AM, FM1, or FM2. Tune to the desired station.
2. Depress a channel preset button for about 2 seconds until a beep is heard.
The preset channel number and station
frequency will be displayed. The
station is now held in the memory.
3. Repeat this operation for the other stations and bands you want to store.
To tune one in the memory, select AM,
FM1, or FM2 and then press its
channel preset button. The station
frequency and the channel number will
be displayed.
NOTE
If the power supply is interrupted (fuse
blows or the battery is disconnected),
the preset channels will be canceled. Auto memory tuning
This is especially useful when driving in
an area where the local stations are not
known. Additional AM/FM stations can
be stored without disturbing the
previously set channels.
Press and hold the auto memory button
(
) for about 2 seconds until a beep
is heard; the system will automatically
scan and temporarily store up to 6 stations
with the strongest frequencies in each
selected band in that area.
After scanning is completed, the station
with the strongest frequency will be tuned
and its frequency displayed.
Press and release the auto memory button
(
) to recall stations from the auto-
stored stations. One stored station will be
selected each time; its frequency and
channel number will be displayed.
NOTE
If no stations can be tuned after
scanning operations, “A ”will be
displayed.
Interior Comfort
Audio System
6-29
Page 251 of 340

8Maintenance and Care
How to keep your Mazda in top condition.
Introduction .................................................................................. 8-2Introduction ............................................................................... 8-2
Scheduled Maintenance ................................................................ 8-3 Scheduled Maintenance ............................................................ 8-3
Owner Maintenance ..................................................................... 8-7 Owner Maintenance Schedule .................................................. 8-7
Owner Maintenance Precautions ............................................... 8-8
Engine Compartment Overview ................................................ 8-9
Engine Oil ............................................................................... 8-10
Engine Coolant ....................................................................... 8-13
Brake/Clutch Fluid .................................................................. 8-16
Power Steering Fluid ............................................................... 8-17
Automatic Transaxle Fluid (ATF) ........................................... 8-18
Washer Fluid ........................................................................... 8-20
Body Lubrication .................................................................... 8-21
Air Filter .................................................................................. 8-21
Wiper Blades ........................................................................... 8-23
Battery ..................................................................................... 8-28
Tires ........................................................................................ 8-29
Light Bulbs ............................................................................. 8-33
Fuses ....................................................................................... 8-42
Appearance Care ........................................................................ 8-47 How to Minimize Environmental Paint Damage .................... 8-47
Exterior Care ........................................................................... 8-49
Interior Care ............................................................................ 8-52
8-1
Page 259 of 340

Engine Compartment Overview
Power steering
fluid reservoirWindshield washer
fluid reservoir
Fuse block
Air filter
Brake/Clutch fluid reservoir
Engine coolant
reservoir
Engine coolant
reservoir Automatic transaxle fluid-level dipstick
(only for automatic transaxle) Automatic transaxle fluid-level dipstick
(only for automatic transaxle)
2.3-liter engine
3.0-liter engine Battery
Engine oil dipstick
Windshield washer
fluid reservoir Power steering
fluid reservoir
Cooling system cap Engine oil-filler cap
Brake/Clutch fluid reservoir
Air filter Fuse blockBattery
Engine oil-filler cap
Engine oil dipstick Cooling system cap
Maintenance and Care
Owner Maintenance
8-9
Page 292 of 340

Fuses
Your vehicle's electrical system is
protected by fuses.
If any lights, accessories, or controls don't
work, inspect the appropriate circuit
protector. If a fuse has blown, the inside
element will be melted.
If the same fuse blows again, avoid using
that system and consult an Authorized
Mazda Dealer as soon as possible.
qFuse Replacement
Replacing the fuses on the driver's sidekick-panel
If the electrical system doesn't work, first
inspect fuses on the driver's side kick-
panel.
1. Turn off the ignition switch and other
switches.
2. Open the fuse panel cover by sliding the cover straight back toward you.
CAUTION
Pulling the cover off sideways may
break the retaining tabs off. 3. Pull the fuse straight out with the fuse
puller provided on the fuse block
located in the engine compartment.
4. Inspect it and replace if it's blown.
Normal Blown
5. Push in a new fuse of the same
amperage rating, and make sure it fits
tightly. If it doesn't, have an Authorized
Mazda Dealer install it.
If you have no spare fuses, borrow one
of the same rating from a circuit not
essential to vehicle operation, such as
the AUDIO or CIGAR circuit.
CAUTION
Always replace a fuse with one of the
same rating. Otherwise you may
damage the electric system.
8-42
Maintenance and Care
Owner Maintenance
Page 293 of 340

Replacing the fuses under the hood
If the headlights or other electrical
components don't work and the fuses in
the cabin are OK, inspect the fuse block
under the hood. If a fuse is blown, it must
be replaced. Follow these steps:
1. Turn off the ignition switch and allother switches.
2. Remove the fuse block cover.
3. If a fuse is blown, replace it with a new one of the same amperage rating .
Normal
Blown
NOTE
To replace the MAIN fuse, contact an
Authorized Mazda Dealer (page 8-44).
Maintenance and Care
Owner Maintenance
8-43
Page 294 of 340

qFuse Panel Description
Fuse block (Engine compartment)
DESCRIPTION FUSE RATING PROTECTED COMPONENT
1 SPARE 20A ―
2 SPARE 15A ―
3 SPARE 10A ―
4 ―― ―
5 ―― ―
6 INJ 15A Injector
7 ENG BAR 10A
*1Air flow sensor, EGR control valve
15A*2
8 ENG BAR2*115A O2 sensor
ENG BB*25A Cooling fan
9 HEAD LR 10A Headlight-low beam (Right)
10 HEAD LL 10A Headlight-low beam (Left)
11 HEAD HL 10A Headlight-high beam (Left)
12 HEAD HR 10A Headlight-high beam (Right)
13 ETC 7.5A Accelerator position sensor
14 HAZARD 10A Turn signal lights
15 STOP 15A Brake/Horn
16 TCM 10A TCM
8-44
Maintenance and Care
Owner Maintenance
Page 295 of 340

DESCRIPTION FUSE RATING PROTECTED COMPONENT
17 ENG+B 7.5A PCM, TCM
18 FUEL PUMP 15A Fuel pump
19 IG KEY 40A Windshield wiper and washer, Engine control unit, Lighter
20 P.WIND 30A Power window
21 ―― ―
22 ―― ―
23 IG KEY2 30A Rear wiper motor
í, Heater control unit
24 BLOWER 40A Blower motor
25 BTN 40A Overhead light, Power door lock
26 ―― ―
27 DEFOG 40A Rear window defroster
28 ABS 60A ABS
í
29 AD FAN*130A Cooling fan
FAN2*2
30 FA N*130A Cooling fan
FAN1*2
31 TAIL 10A Taillights, License plate lights, Parking lights
32 ILLUMI 10A Dashboard illumination
33 MAG 10A Magnet clutch
34 AUDIO 15A Audio system
35 P.SEAT 30A Power seat
í
36 OPENER 7.5A Trunk opener motorí
37 ―― ―
38 IG1*215A CAT SSR
39 FOG 15A Fog lightsí
40 MAIN 100A*1For protection of all circuits
120A*2
*1 2.3-liter engine
*2 3.0-liter engine
Maintenance and Care
Owner Maintenance
8-45íSome models.