reset MAZDA MODEL B2300 2003 Owners Manual (in English)
[x] Cancel search | Manufacturer: MAZDA, Model Year: 2003, Model line: MODEL B2300, Model: MAZDA MODEL B2300 2003Pages: 248, PDF Size: 2.71 MB
Page 4 of 248
CALIFORNIA Proposition 65 Warning
WARNING: Engine exhaust, some of its constituents, and
certain vehicle components contain or emit chemicals known to
the State of California to cause cancer and birth defects or
other reproductive harm. In addition, certain fluids contained in
vehicles and certain products of component wear contain or
emit chemicals known to the State of California to cause cancer
and birth defects or other reproductive harm.
CONGRATULATIONS
Congratulations on acquiring your new Mazda Motor Corporation
product. Please take the time to get well acquainted with your vehicle by
reading this handbook. The more you know and understand about your
vehicle the greater the safety and pleasure you will derive from driving
it.
For more information on Mazda Motor Corporation and its products visit
the following website:
²In the United States: www.mazdausa.com
²In Canada: www.mazda.ca
Additional owner information is given in separate publications.
This Owner's Guide describes every option and model variant available
and therefore some of the items covered may not apply to your
particular vehicle. Furthermore, due to printing cycles it may describe
options before they are generally available.
Remember to pass on the Owner's Guide when reselling the vehicle. It is
an integral part of the vehicle.
WARNING: In the event of an accident the Fuel pump shut-off
switch will automatically cut off the fuel supply to the engine.
The switch can also be activated through sudden vibration (e.g.
collision when parking). To reset the switch, refer to theFuel
pump shut-off switchin theRoadside emergencieschapter.
Introduction
4
Page 8 of 248
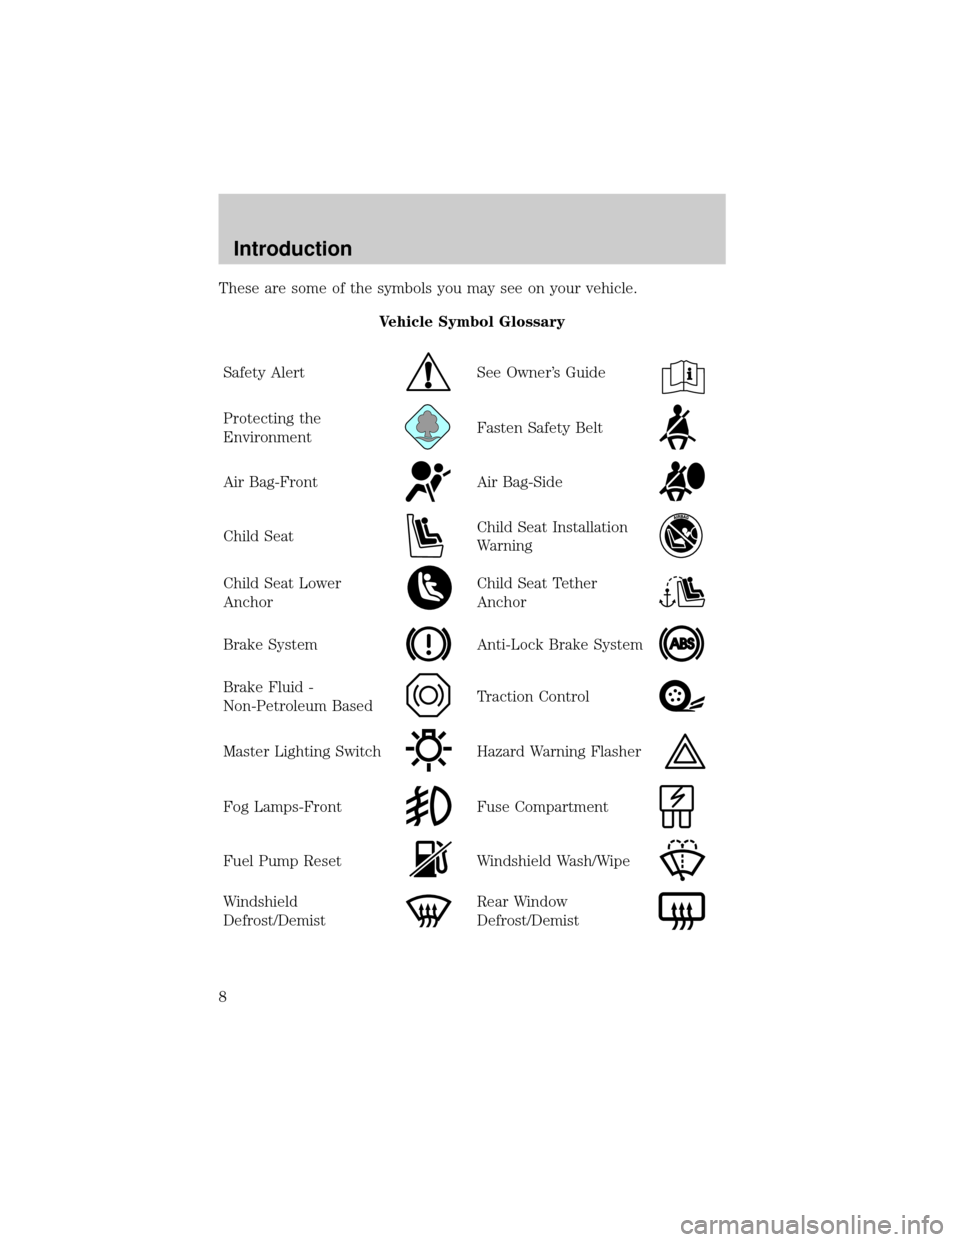
These are some of the symbols you may see on your vehicle.
Vehicle Symbol Glossary
Safety Alert
See Owner's Guide
Protecting the
EnvironmentFasten Safety Belt
Air Bag-FrontAir Bag-Side
Child SeatChild Seat Installation
Warning
Child Seat Lower
AnchorChild Seat Tether
Anchor
Brake SystemAnti-Lock Brake System
Brake Fluid -
Non-Petroleum BasedTraction Control
Master Lighting SwitchHazard Warning Flasher
Fog Lamps-FrontFuse Compartment
Fuel Pump ResetWindshield Wash/Wipe
Windshield
Defrost/DemistRear Window
Defrost/Demist
Introduction
8
Page 17 of 248
WARNING: Never remove the coolant reservoir cap and/or the
radiator cap while the engine is running or hot, this may result
in serious burns.
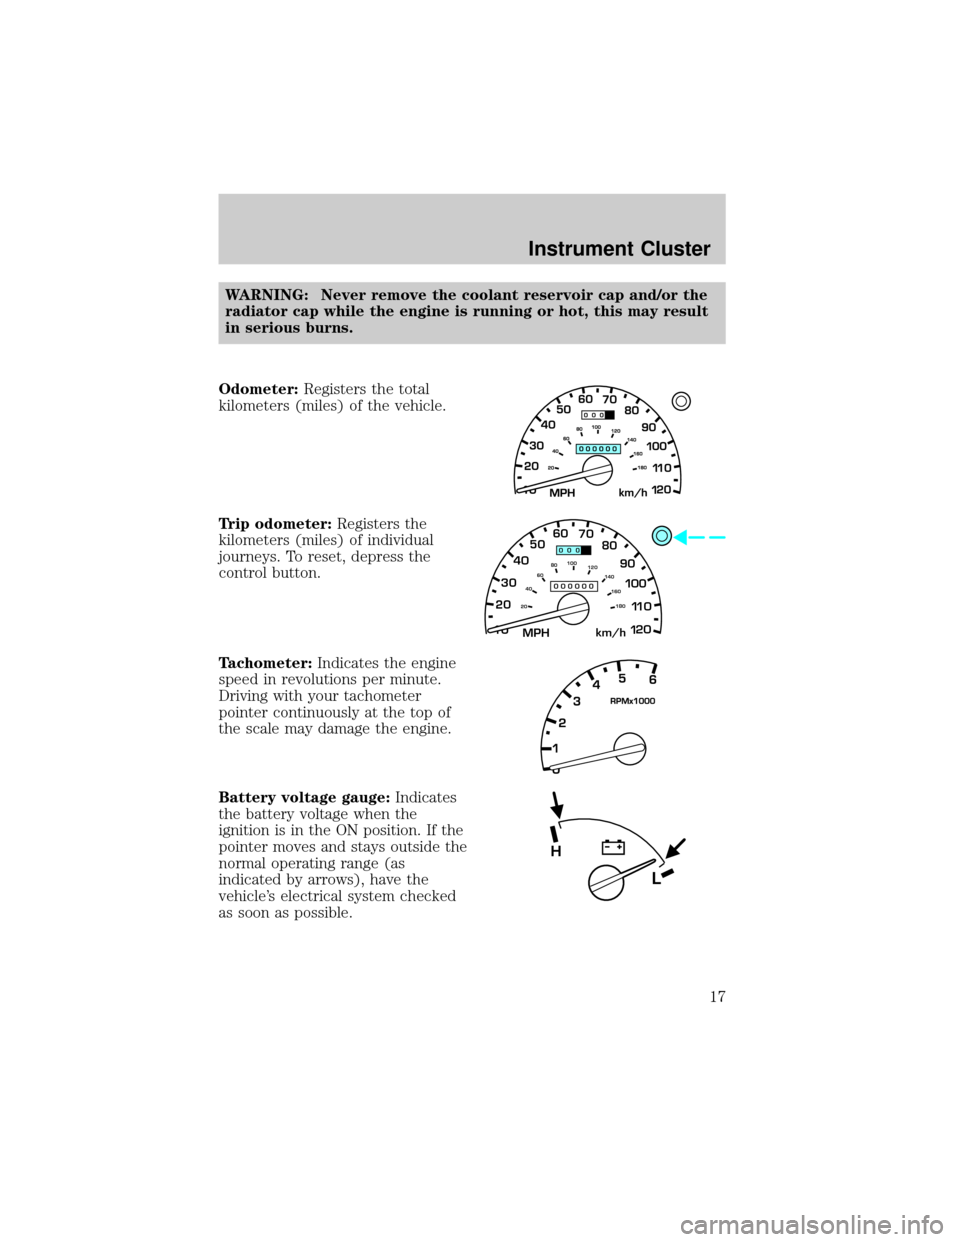
Odometer:Registers the total
kilometers (miles) of the vehicle.
Trip odometer:Registers the
kilometers (miles) of individual
journeys. To reset, depress the
control button.
Tachometer:Indicates the engine
speed in revolutions per minute.
Driving with your tachometer
pointer continuously at the top of
the scale may damage the engine.
Battery voltage gauge:Indicates
the battery voltage when the
ignition is in the ON position. If the
pointer moves and stays outside the
normal operating range (as
indicated by arrows), have the
vehicle's electrical system checked
as soon as possible.
10MPH 205060
70
304080
90
km/h
0 0 0
10 100
1
20
1
0 0 0 0 0 0406080100
120
140
160
180
20
L
H
Instrument Cluster
17
Page 19 of 248

AM/FM STEREO
1.Seek:Press
/to find the
next strong station down/up the
frequency band.
2.Tune:Press
/to
manually change radio
frequency down/up.
3.AM/FM:Press to choose a
frequency band in radio mode.
4.Memory preset buttons:To
set a station: Select frequency
band AM/FM; tune to a station,
press and hold a preset button until sound returns.
1234AM/FM
SEEKTONE
CLK
TUNE
TONE VOL
12 FMSTDX
VOL
PUSH
ON
5
3
67
4
12
AM/FM
1234
Entertainment Systems
19
Page 22 of 248
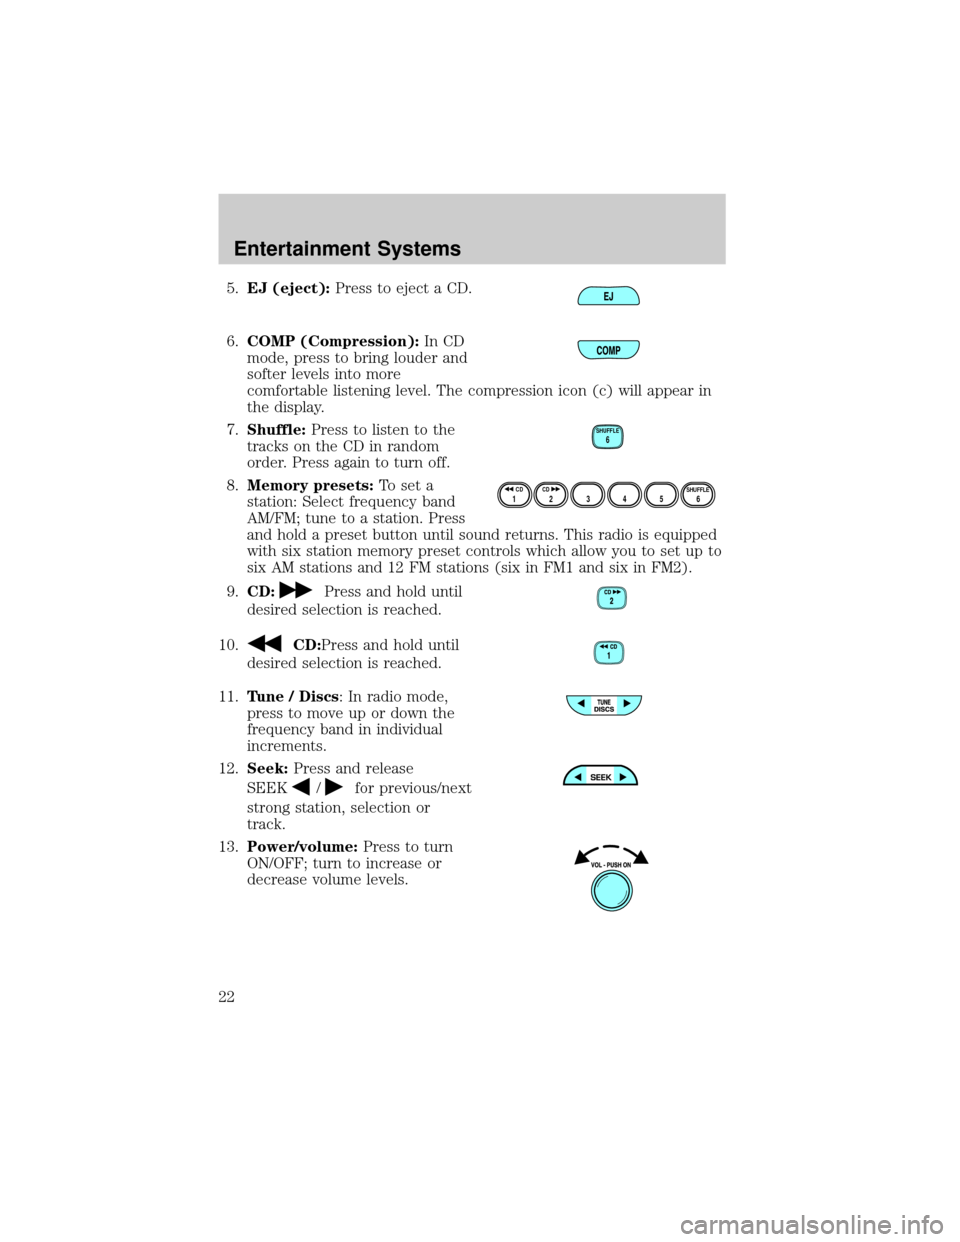
5.EJ (eject):Press to eject a CD.
6.COMP (Compression):In CD
mode, press to bring louder and
softer levels into more
comfortable listening level. The compression icon (c) will appear in
the display.
7.Shuffle:Press to listen to the
tracks on the CD in random
order. Press again to turn off.
8.Memory presets:To set a
station: Select frequency band
AM/FM; tune to a station. Press
and hold a preset button until sound returns. This radio is equipped
with six station memory preset controls which allow you to set up to
six AM stations and 12 FM stations (six in FM1 and six in FM2).
9.CD:
Press and hold until
desired selection is reached.
10.
CD:Press and hold until
desired selection is reached.
11.Tune / Discs: In radio mode,
press to move up or down the
frequency band in individual
increments.
12.Seek:Press and release
SEEK
/for previous/next
strong station, selection or
track.
13.Power/volume:Press to turn
ON/OFF; turn to increase or
decrease volume levels.
SHUFFLE6
12 3456SHUFFLE CD CD
Entertainment Systems
22
Page 25 of 248
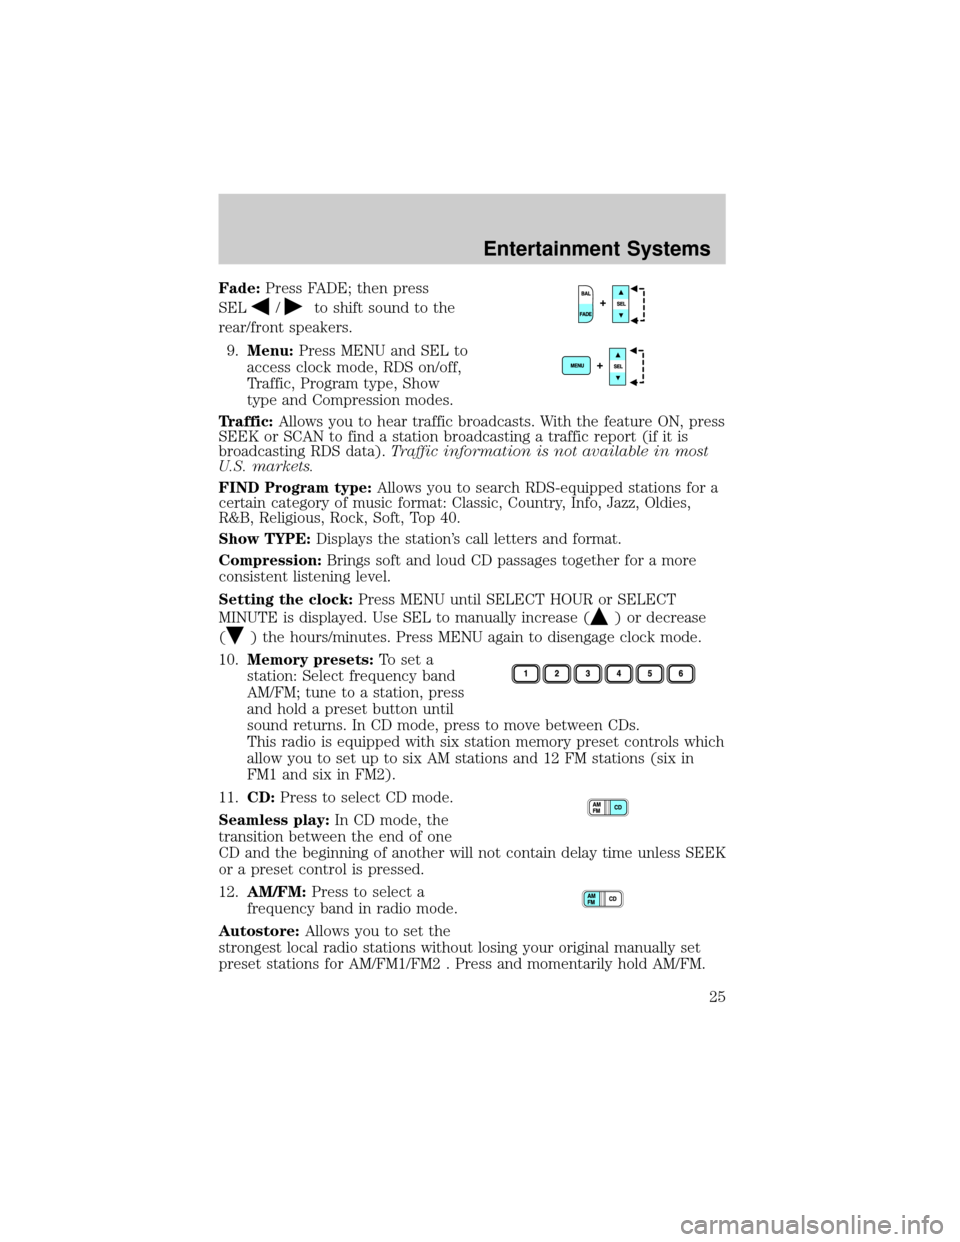
Fade:Press FADE; then press
SEL
/to shift sound to the
rear/front speakers.
9.Menu:Press MENU and SEL to
access clock mode, RDS on/off,
Traffic, Program type, Show
type and Compression modes.
Traffic:Allows you to hear traffic broadcasts. With the feature ON, press
SEEK or SCAN to find a station broadcasting a traffic report (if it is
broadcasting RDS data).Traffic information is not available in most
U.S. markets.
FIND Program type:Allows you to search RDS-equipped stations for a
certain category of music format: Classic, Country, Info, Jazz, Oldies,
R&B, Religious, Rock, Soft, Top 40.
Show TYPE:Displays the station's call letters and format.
Compression:Brings soft and loud CD passages together for a more
consistent listening level.
Setting the clock:Press MENU until SELECT HOUR or SELECT
MINUTE is displayed. Use SEL to manually increase (
) or decrease
(
) the hours/minutes. Press MENU again to disengage clock mode.
10.Memory presets:To set a
station: Select frequency band
AM/FM; tune to a station, press
and hold a preset button until
sound returns. In CD mode, press to move between CDs.
This radio is equipped with six station memory preset controls which
allow you to set up to six AM stations and 12 FM stations (six in
FM1 and six in FM2).
11.CD:Press to select CD mode.
Seamless play:In CD mode, the
transition between the end of one
CD and the beginning of another will not contain delay time unless SEEK
or a preset control is pressed.
12.AM/FM:Press to select a
frequency band in radio mode.
Autostore:Allows you to set the
strongest local radio stations without losing your original manually set
preset stations for AM/FM1/FM2 . Press and momentarily hold AM/FM.
Entertainment Systems
25
Page 26 of 248
AUTOSTORE will flash on the display. When the six strongest stations
are filled, the station stored in preset 1 will begin playing. If there are
less than six strong stations, the system will store the last one in the
remaining presets. Press again to disengage.
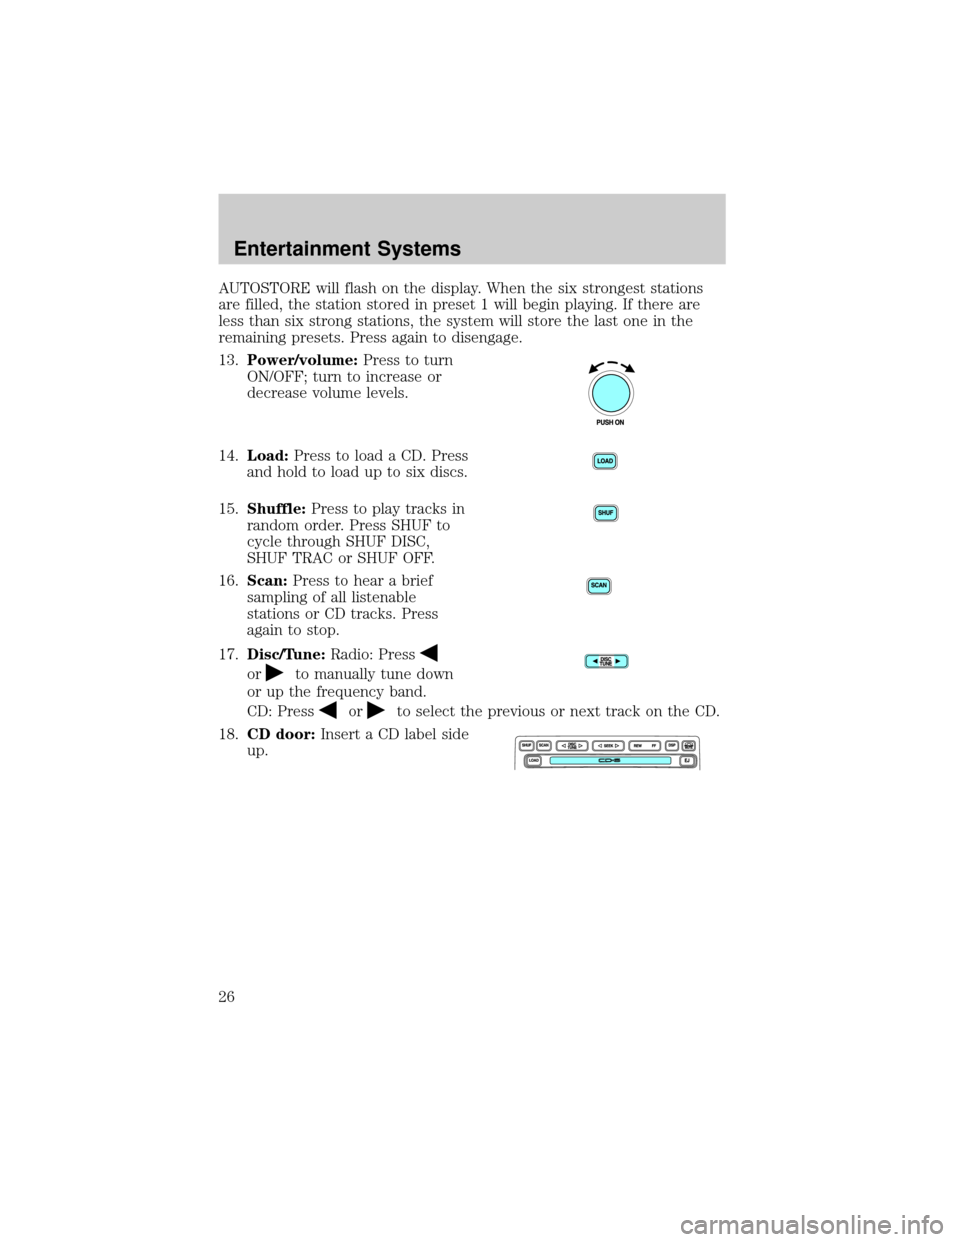
13.Power/volume:Press to turn
ON/OFF; turn to increase or
decrease volume levels.
14.Load:Press to load a CD. Press
and hold to load up to six discs.
15.Shuffle:Press to play tracks in
random order. Press SHUF to
cycle through SHUF DISC,
SHUF TRAC or SHUF OFF.
16.Scan:Press to hear a brief
sampling of all listenable
stations or CD tracks. Press
again to stop.
17.Disc/Tune:Radio: Press
orto manually tune down
or up the frequency band.
CD: Press
orto select the previous or next track on the CD.
18.CD door:Insert a CD label side
up.
Entertainment Systems
26
Page 29 of 248
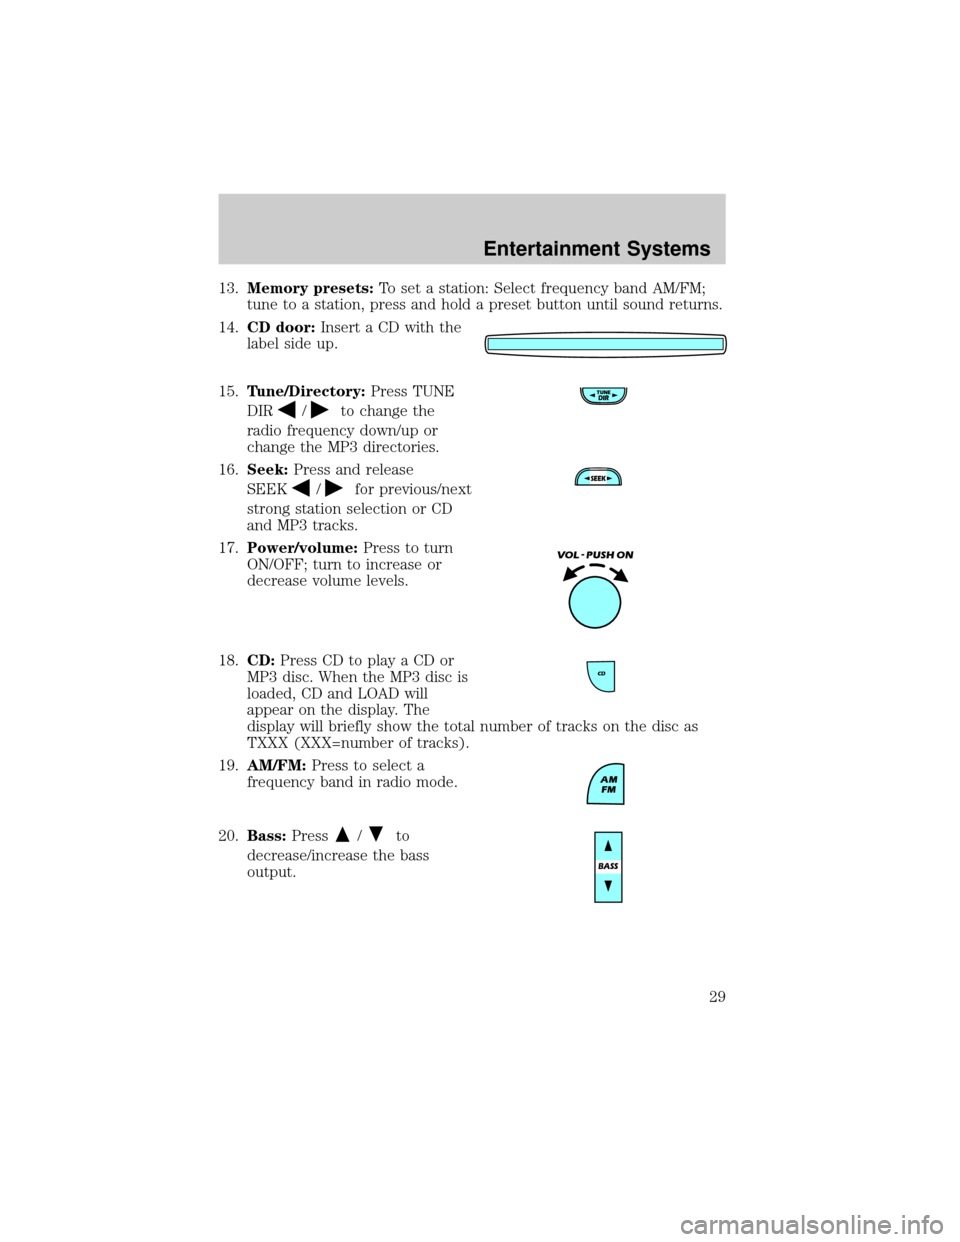
13.Memory presets:To set a station: Select frequency band AM/FM;
tune to a station, press and hold a preset button until sound returns.
14.CD door:Insert a CD with the
label side up.
15.Tune/Directory:Press TUNE
DIR
/to change the
radio frequency down/up or
change the MP3 directories.
16.Seek:Press and release
SEEK
/for previous/next
strong station selection or CD
and MP3 tracks.
17.Power/volume:Press to turn
ON/OFF; turn to increase or
decrease volume levels.
18.CD:Press CD to play a CD or
MP3 disc. When the MP3 disc is
loaded, CD and LOAD will
appear on the display. The
display will briefly show the total number of tracks on the disc as
TXXX (XXX=number of tracks).
19.AM/FM:Press to select a
frequency band in radio mode.
20.Bass:Press
/to
decrease/increase the bass
output.
Entertainment Systems
29
Page 128 of 248
When descending a steep hill, avoid sudden braking. Shift to a lower gear
when added engine braking is desired.
When speed control is on and you are driving uphill, your vehicle speed
may drop considerably, especially if you are carrying a heavy load.
If vehicle speed drops more than 16 km/h (10 mph), the speed control
will cancel automatically. Resume speed with accelerator pedal.
If speed control cancels after climbing the hill, reset speed by pressing
and holding the SET ACCEL button (to resume speeds over 50 km/h [30
mph]).
Automatic transmissions may shift frequently while driving up steep
grades. Eliminate frequent shifting by shifting out of
(Overdrive) into
a lower gear.
Driving on snow and ice
A 4WD vehicle has advantages over 2WD vehicles in snow and ice but
can skid like any other vehicle.
Avoid sudden applications of power and quick changes of direction on
snow and ice. Apply the accelerator slowly and steadily when starting
from a full stop.
When braking, apply the brakes as you normally would. In order to allow
the anti-lock brake system (ABS) to operate properly, keep steady
pressure on the brake pedal.
Make sure you allow sufficient distance between you and other vehicles
for stopping. Drive slower than usual and consider using one of the lower
gears.
DRIVING THROUGH WATER
If driving through deep or standing water is unavoidable, proceed very
slowly especially if the depth is not known. Never drive through water
that is higher than the bottom of the hubs (for trucks) or the bottom of
the wheel rims (for cars). Traction or brake capability may be limited
and your vehicle may stall. Water may also enter your engine's air intake
and severely damage your engine.
Once through the water, always dry the brakes by moving your vehicle
slowly while applying light pressure on the brake pedal. Wet brakes do
not stop the vehicle as quickly as dry brakes.Driving through deep
water where the transmission vent tube is submerged may allow
water into the transmission and cause internal transmission
damage.
Driving
128
Page 140 of 248
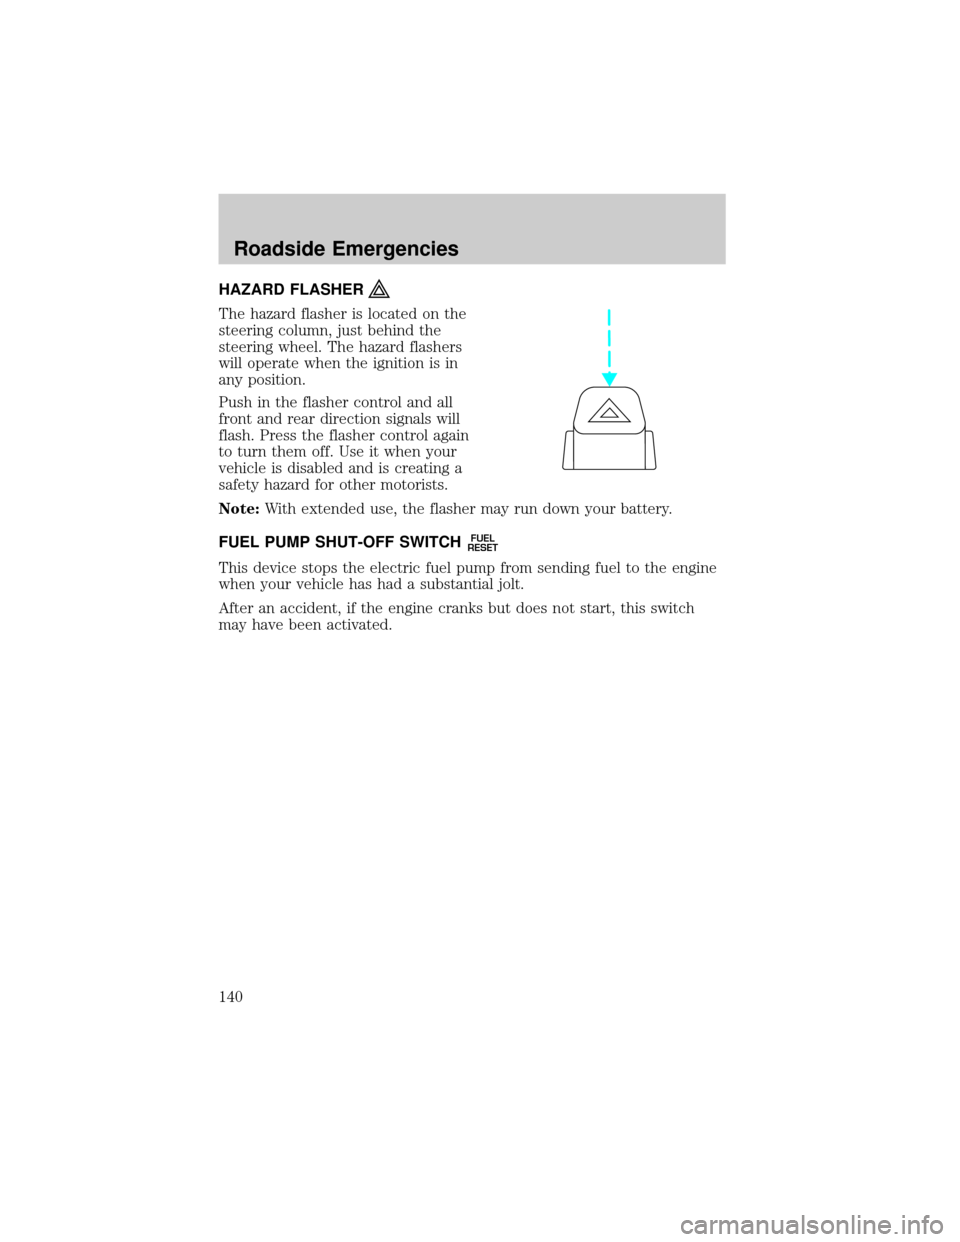
HAZARD FLASHER
The hazard flasher is located on the
steering column, just behind the
steering wheel. The hazard flashers
will operate when the ignition is in
any position.
Push in the flasher control and all
front and rear direction signals will
flash. Press the flasher control again
to turn them off. Use it when your
vehicle is disabled and is creating a
safety hazard for other motorists.
Note:With extended use, the flasher may run down your battery.
FUEL PUMP SHUT-OFF SWITCH
FUEL
RESET
This device stops the electric fuel pump from sending fuel to the engine
when your vehicle has had a substantial jolt.
After an accident, if the engine cranks but does not start, this switch
may have been activated.
Roadside Emergencies
140