MAZDA MODEL B4000 2002 Owners Manual (in English)
Manufacturer: MAZDA, Model Year: 2002, Model line: MODEL B4000, Model: MAZDA MODEL B4000 2002Pages: 288, PDF Size: 2.94 MB
Page 91 of 288

To set a higher set speed
²Press and hold SET ACC. Release
the control when the desired
vehicle speed is reached or
²Press and release SET ACC to
operate the Tap-Up function.
Each press will increase the set
speed by 1.6 km/h (1 mph) or
²Accelerate with your accelerator
pedal. When the desired vehicle
speed is reached, press and
release SET ACC.
NOTE:You can accelerate with the accelerator pedal at any time during
speed control usage. Releasing the accelerator pedal will return your
vehicle to the previously programmed set speed.
To set a lower set speed
²Press and hold COAST. Release
the control when the desired
speed is reached or
²Press and release COAST to
operate the Tap-Down function.
Each press will decrease the set
speed by 1.6 km/h (1 mph) or
²Depress the brake pedal. When
the desired vehicle speed is
reached, press SET ACC.
RSM
SET
ACC
COAST
RSM
SET
ACC
COAST
RSM
SET
ACC
COAST
Driver Controls
91
Page 92 of 288

To disengage speed control
²Depress the brake pedal or
²Depress the clutch pedal (if
equipped).
NOTE:Disengaging the speed
control will not erase the previously
programmed set speed.
NOTE:Fully depressing the clutch
pedal may cause a flare in engine
RPM as the throttle is returned to
idle. This is normal.
NOTE:Pressing OFF will erase the
previously programmed set speed.
OFF ON
Driver Controls
92
Page 93 of 288

To return to a previously set speed
²Press RSM. For RSM to operate,
the vehicle speed must be faster
than 48 km/h (30 mph).
Indicator light
This light comes on when either the
SET ACCEL or RES controls are
pressed. It turns off when the speed
control OFF control is pressed, the
brake or clutch is applied or the ignition is turned to the OFF position.
OVERDRIVE CONTROL (IF EQUIPPED)
Activating overdrive
(Overdrive) is the normal drive position for the best fuel economy.
The overdrive function allows automatic upshifts and downshifts through
all available gears.
Deactivating overdrive
Press the Transmission Control
Switch (TCS) located on the end of
the gearshift lever. The O/D Off
indicator light will illuminate on the
instrument cluster. The transmission
will operate in all gears except overdrive.
RSM
SET
ACC
COAST
SPEED
CONT
O/D
ON/OFF
Driver Controls
93
Page 94 of 288

To return to normal overdrive mode,
press the Transmission Control
Switch again. The O/D Off indicator
light will no longer be illuminated.
When you shut off and re-start your
vehicle, the transmission will automatically return to normal
(Overdrive) mode.
For additional information about the gearshift lever and the transmission
control switch operation refer to theAutomatic Transmission
Operationsection of theDrivingchapter.
CENTER CONSOLE (IF EQUIPPED)
Your vehicle may be equipped with a
variety of console features. These
include:
²Utility compartment with
cassette/compact disc storage
²Cupholders
²Coin holder slots
²Flip up armrest
WARNING: Use only soft cups in the cupholder. Hard objects
can injure you in a collision.
O/D
ON/OFF
Driver Controls
94
Page 95 of 288

CARGO AREA FEATURES
Cargo area shade (if equipped)
Your vehicle may be equipped with notches in the side trim panels that
are used for a cargo area shade. See your dealer for more information.
BED EXTENDER (IF EQUIPPED)
Your vehicle may be equipped with a bed extender designed to extend
the pickup box for longer loads.
To extend the bed extender:
1. Lower tailgate.
2. Pull the round knobs on each
side of the extender to release
it from the pickup box.
3. Pivot extender on to the
tailgate.
Driver Controls
95
Page 96 of 288

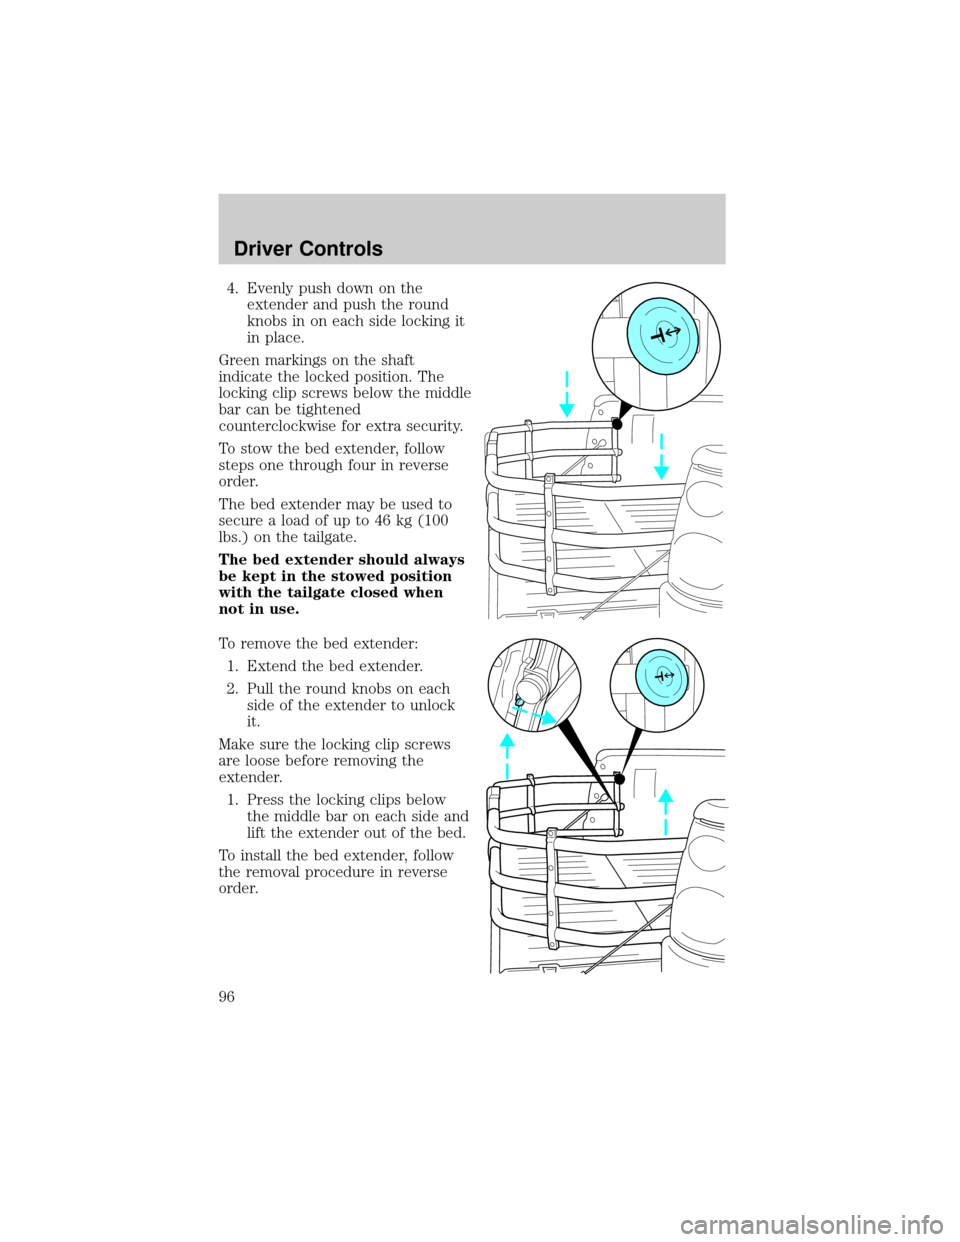
4. Evenly push down on the
extender and push the round
knobs in on each side locking it
in place.
Green markings on the shaft
indicate the locked position. The
locking clip screws below the middle
bar can be tightened
counterclockwise for extra security.
To stow the bed extender, follow
steps one through four in reverse
order.
The bed extender may be used to
secure a load of up to 46 kg (100
lbs.) on the tailgate.
The bed extender should always
be kept in the stowed position
with the tailgate closed when
not in use.
To remove the bed extender:
1. Extend the bed extender.
2. Pull the round knobs on each
side of the extender to unlock
it.
Make sure the locking clip screws
are loose before removing the
extender.
1. Press the locking clips below
the middle bar on each side and
lift the extender out of the bed.
To install the bed extender, follow
the removal procedure in reverse
order.
Driver Controls
96
Page 97 of 288

KEYS
The key operates all locks on your vehicle. In case of loss, replacement
keys are available from your dealer.
You should always carry a second key with you in a safe place in case
you require it in an emergency.
Refer toSecuriLockyPassive Anti-Theft Systemfor more information.
POWER DOOR LOCKS (IF EQUIPPED)
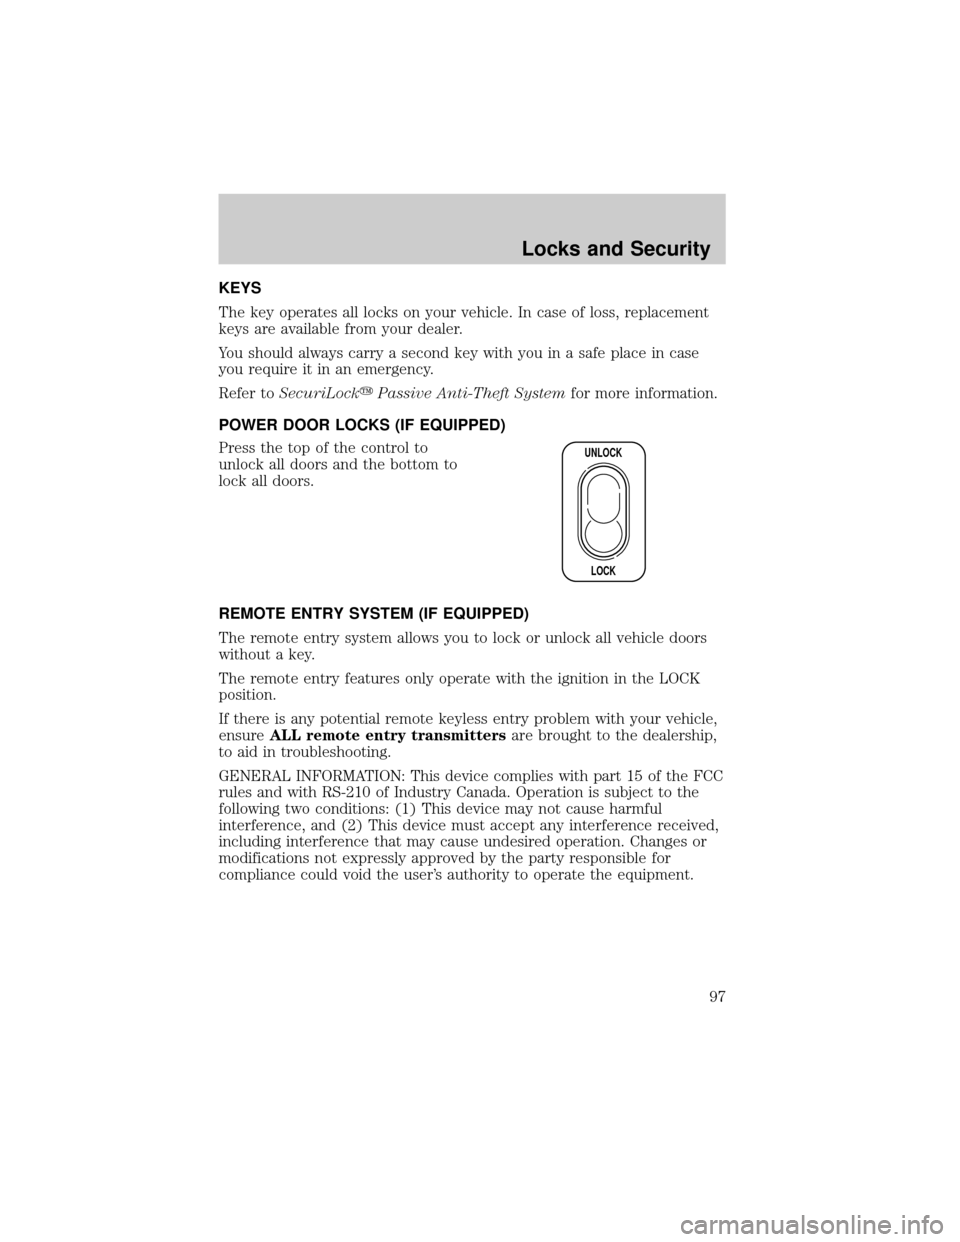
Press the top of the control to
unlock all doors and the bottom to
lock all doors.
REMOTE ENTRY SYSTEM (IF EQUIPPED)
The remote entry system allows you to lock or unlock all vehicle doors
without a key.
The remote entry features only operate with the ignition in the LOCK
position.
If there is any potential remote keyless entry problem with your vehicle,
ensureALL remote entry transmittersare brought to the dealership,
to aid in troubleshooting.
GENERAL INFORMATION: This device complies with part 15 of the FCC
rules and with RS-210 of Industry Canada. Operation is subject to the
following two conditions: (1) This device may not cause harmful
interference, and (2) This device must accept any interference received,
including interference that may cause undesired operation. Changes or
modifications not expressly approved by the party responsible for
compliance could void the user's authority to operate the equipment.
UNLOCK
LOCK
Locks and Security
97
Page 98 of 288

Unlocking the doors
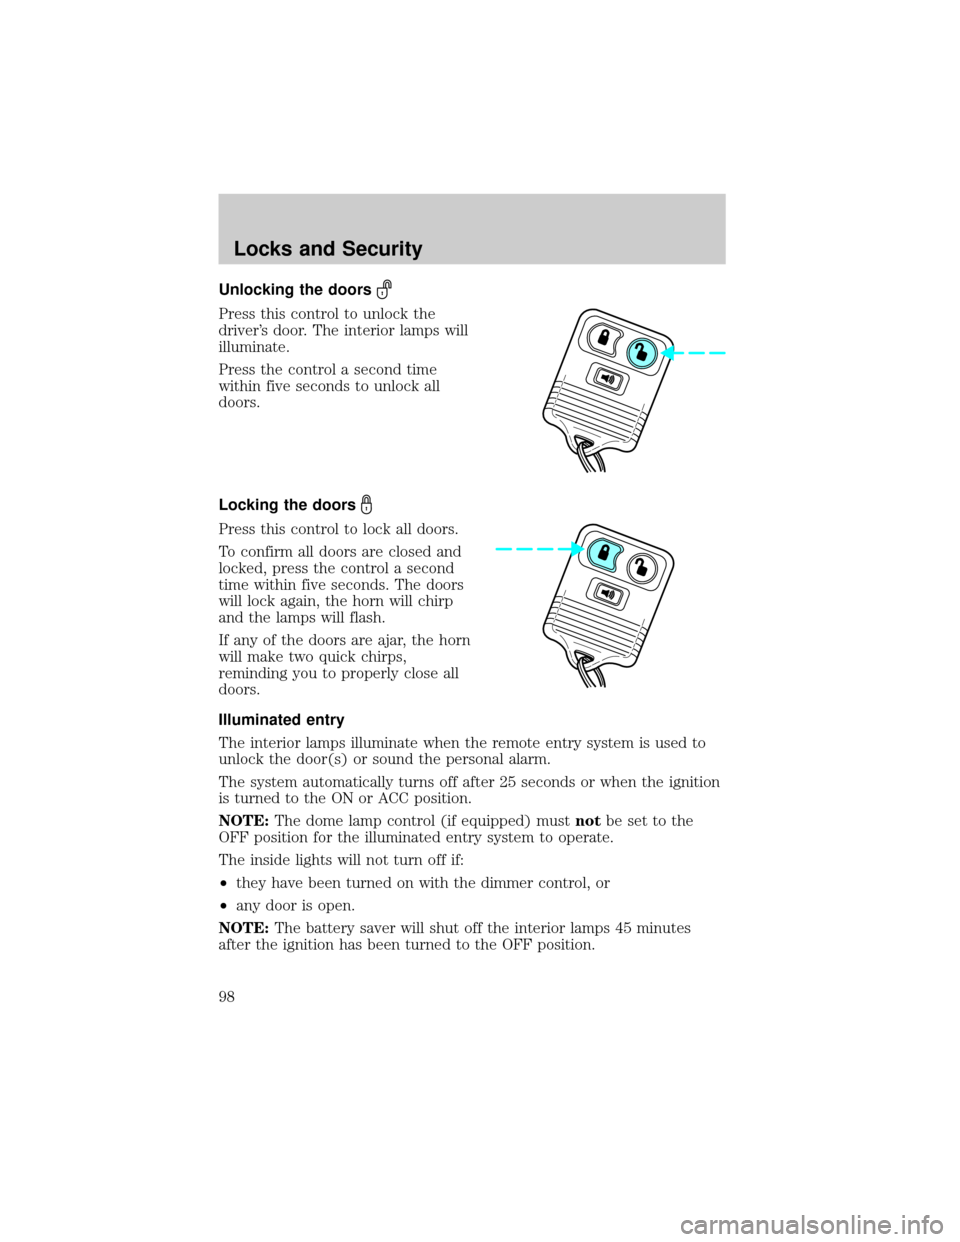
Press this control to unlock the
driver's door. The interior lamps will
illuminate.
Press the control a second time
within five seconds to unlock all
doors.
Locking the doors
Press this control to lock all doors.
To confirm all doors are closed and
locked, press the control a second
time within five seconds. The doors
will lock again, the horn will chirp
and the lamps will flash.
If any of the doors are ajar, the horn
will make two quick chirps,
reminding you to properly close all
doors.
Illuminated entry
The interior lamps illuminate when the remote entry system is used to
unlock the door(s) or sound the personal alarm.
The system automatically turns off after 25 seconds or when the ignition
is turned to the ON or ACC position.
NOTE:The dome lamp control (if equipped) mustnotbe set to the
OFF position for the illuminated entry system to operate.
The inside lights will not turn off if:
²they have been turned on with the dimmer control, or
²any door is open.
NOTE:The battery saver will shut off the interior lamps 45 minutes
after the ignition has been turned to the OFF position.
Locks and Security
98
Page 99 of 288

Power door lock disable feature
This feature will help protect your vehicle from unauthorized entry.
The UNLOCK function on the power door control will not operate with
the ignition OFF and twenty seconds after the doors are closed and
electronically locked by the remote entry transmitter, key pad, or power
door control (if pressed while the door was open).
The UNLOCK function will operate again after you unlock the vehicle
using the remote entry transmitter or key pad, turn the ignition to ON,
or open the door from inside of the vehicle.
Deactivating/activating power door lock disable feature
1. Turn the ignition key to ON,
then press the UNLOCK button
3 times.
2. Turn the ignition key to OFF,
then press the UNLOCK button
3 times.
3. Turn the ignition key to ON,
within five seconds press the
UNLOCK button 2 times then
LOCK once.
The user should receive 2 horn chirps to indicate the system has been
disabled or 2 chirps followed by a honk to indicate the system has been
enabled.
Pressing the power door LOCK button two times again will turn the
feature ON if it was previously OFF, or OFF if it was previously ON.
Every two consecutive presses of the LOCK button after successfully
entering the configuration mode will change the enable/disable condition
of the feature.
Turn ignition to OFF to exit programming.
UL
Locks and Security
99
Page 100 of 288

Sounding a panic alarm
Press this control to activate the
alarm.
To deactivate the alarm, press the
control again or turn the ignition to
ACC or ON.
Panic alarm will only operate with
the ignition in the OFF position.
Replacing the battery
The transmitter is powered by one coin type three-volt lithium battery
CR2032 or equivalent. Typical operating range will allow you to be up to
10 meters (33 feet) away from your vehicle. A decrease in operating
range can be caused by:
²Weather conditions
²Nearby radio towers
²Structures around the vehicle
²Other vehicles parked next to the vehicle
To replace the battery:
1. Twist a thin coin between the
two halves of the transmitter
near the key ring.
DO NOT TAKE THE FRONT
PART OF THE TRANSMITTER
APART. Damage to the
transmitter may result in
operation failure.
2. Place the positive (+) side of
new battery in the same
orientation. Refer to the
diagram inside the transmitter
unit.
3. Snap the two halves back
together.
Locks and Security
100