maintenance MAZDA MODEL B4000 4WD 2003 Owners Manual
[x] Cancel search | Manufacturer: MAZDA, Model Year: 2003, Model line: MODEL B4000 4WD, Model: MAZDA MODEL B4000 4WD 2003Pages: 250, PDF Size: 2.85 MB
Page 3 of 250
Maintenance and Specifications182
Engine compartment 192
Engine oil 195
Battery 202
Fuel information 208
Refill capacities 231
Lubricant specifications 235
Engine data 236
Accessories 239
Index 240
All rights reserved. Reproduction by any means, electronic or mechanical
including photocopying, recording or by any information storage and retrieval
system or translation in whole or part is not permitted without written
authorization from MNAO. MNAO may change the contents without notice and
without incurring obligation.
Copyright © 2003 MNAO
Table of Contents
3
Page 13 of 250
If the light remains on, have your vehicle serviced at the first available
opportunity.
NOTE:The
CHECK
ENGINElight will illuminate if vehicle refueling is conducted
with the engine running.
WARNING: Never refuel vehicle with the engine running.
Light is blinking:
Engine misfire is occurring which could damage your catalytic converter.
You should drive in a moderate fashion (avoid heavy acceleration and
deceleration) and have your vehicle serviced at the first available
opportunity. WARNING: Under engine misfire conditions, excessive exhaust
temperatures could damage the catalytic converter, the fuel
system, interior floor coverings or other vehicle components,
possibly causing a fire.
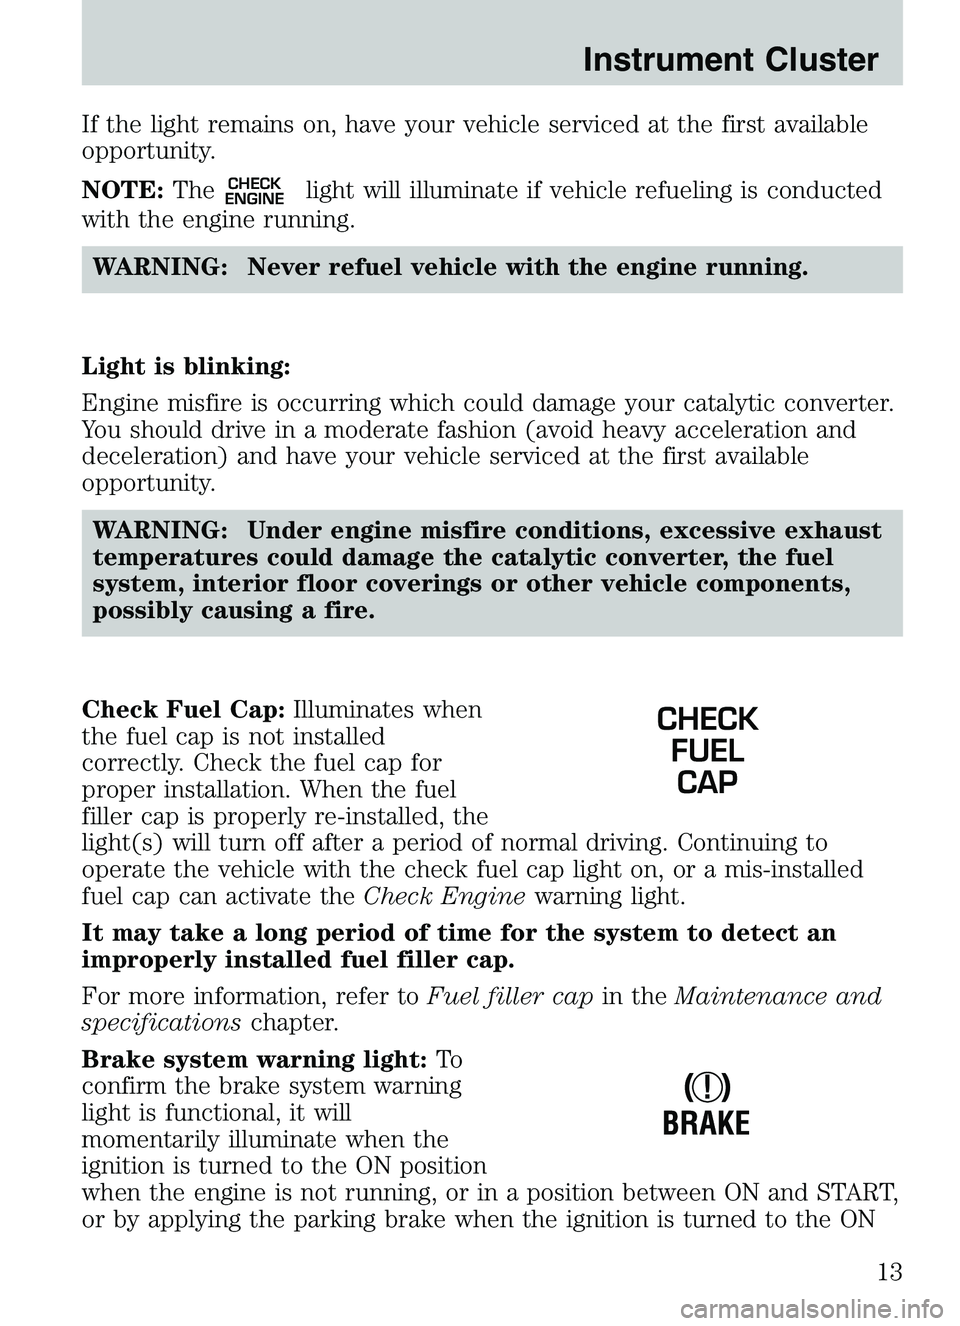
Check Fuel Cap: Illuminates when
the fuel cap is not installed
correctly. Check the fuel cap for
proper installation. When the fuel
filler cap is properly re-installed, the
light(s) will turn off after a period of normal driving. Continuing to
operate the vehicle with the check fuel cap light on, or a mis-installed
fuel cap can activate the Check Enginewarning light.
It may take a long period of time for the system to detect an
improperly installed fuel filler cap.
For more information, refer to Fuel filler capin theMaintenance and
specifications chapter.
Brake system warning light: To
confirm the brake system warning
light is functional, it will
momentarily illuminate when the
ignition is turned to the ON position
when the engine is not running, or in a position between ON and START,
or by applying the parking brake when the ignition is turned to the ON
CHECK FUELCAP
!
BRAKE
Instrument Cluster
13
Page 16 of 250
Key-in-ignition warning chime:Sounds when the key is left in the
ignition in the OFF/LOCK or ACC position and the driver’s door is
opened.
Headlamps on warning chime: Sounds when the headlamps or parking
lamps are on, the ignition is off (and the key is not in the ignition) and
the driver’s door is opened.
GAUGES
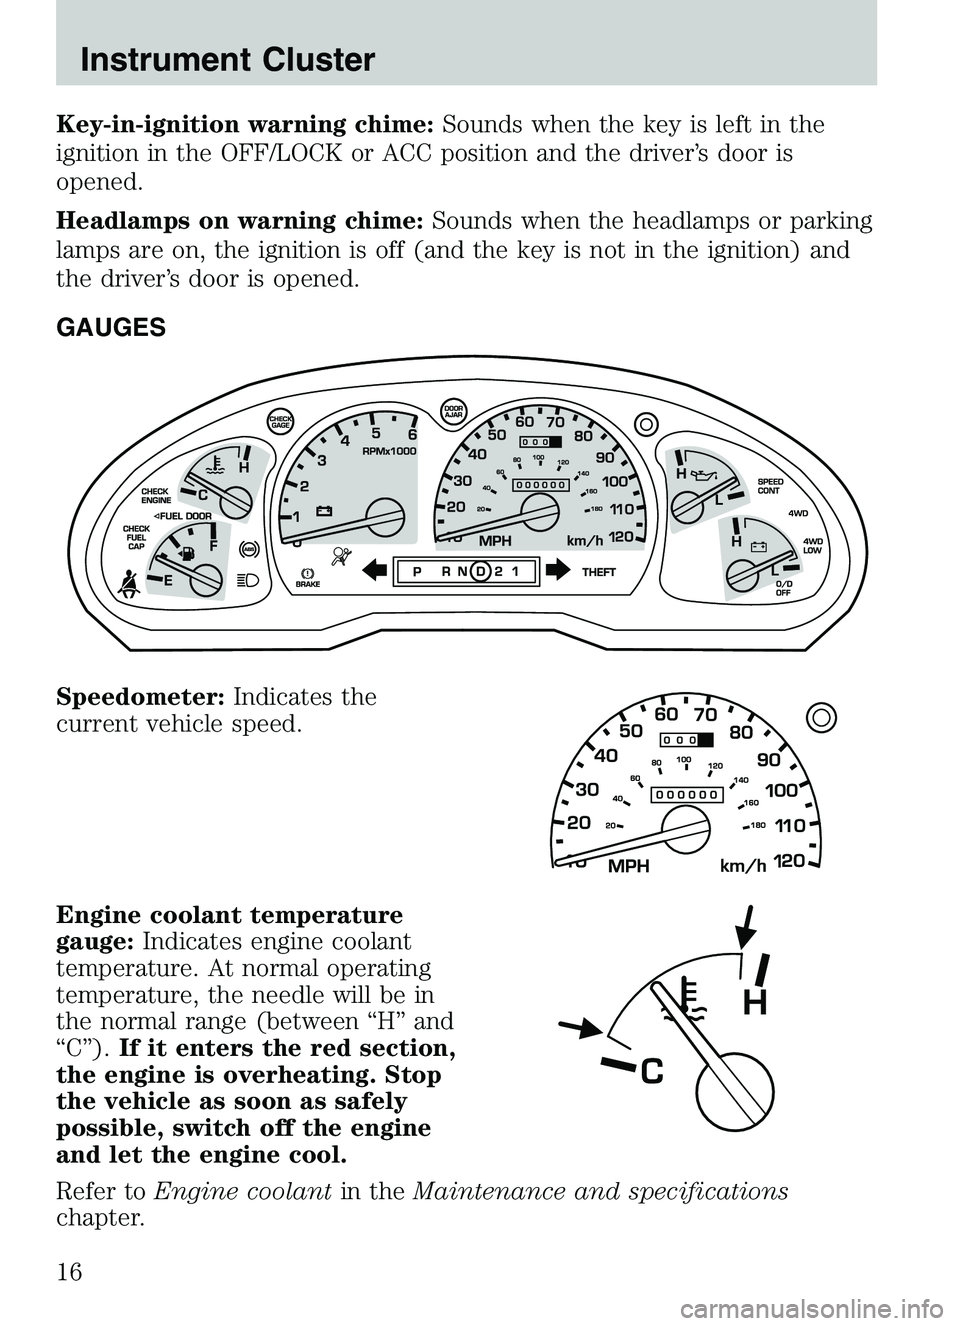
Speedometer: Indicates the
current vehicle speed.
Engine coolant temperature
gauge: Indicates engine coolant
temperature. At normal operating
temperature, the needle will be in
the normal range (between “H” and
“C”). If it enters the red section,
the engine is overheating. Stop
the vehicle as soon as safely
possible, switch off the engine
and let the engine cool.
Refer to Engine coolant in theMaintenance and specifications
chapter.
C
H
Instrument Cluster
16
Page 18 of 250
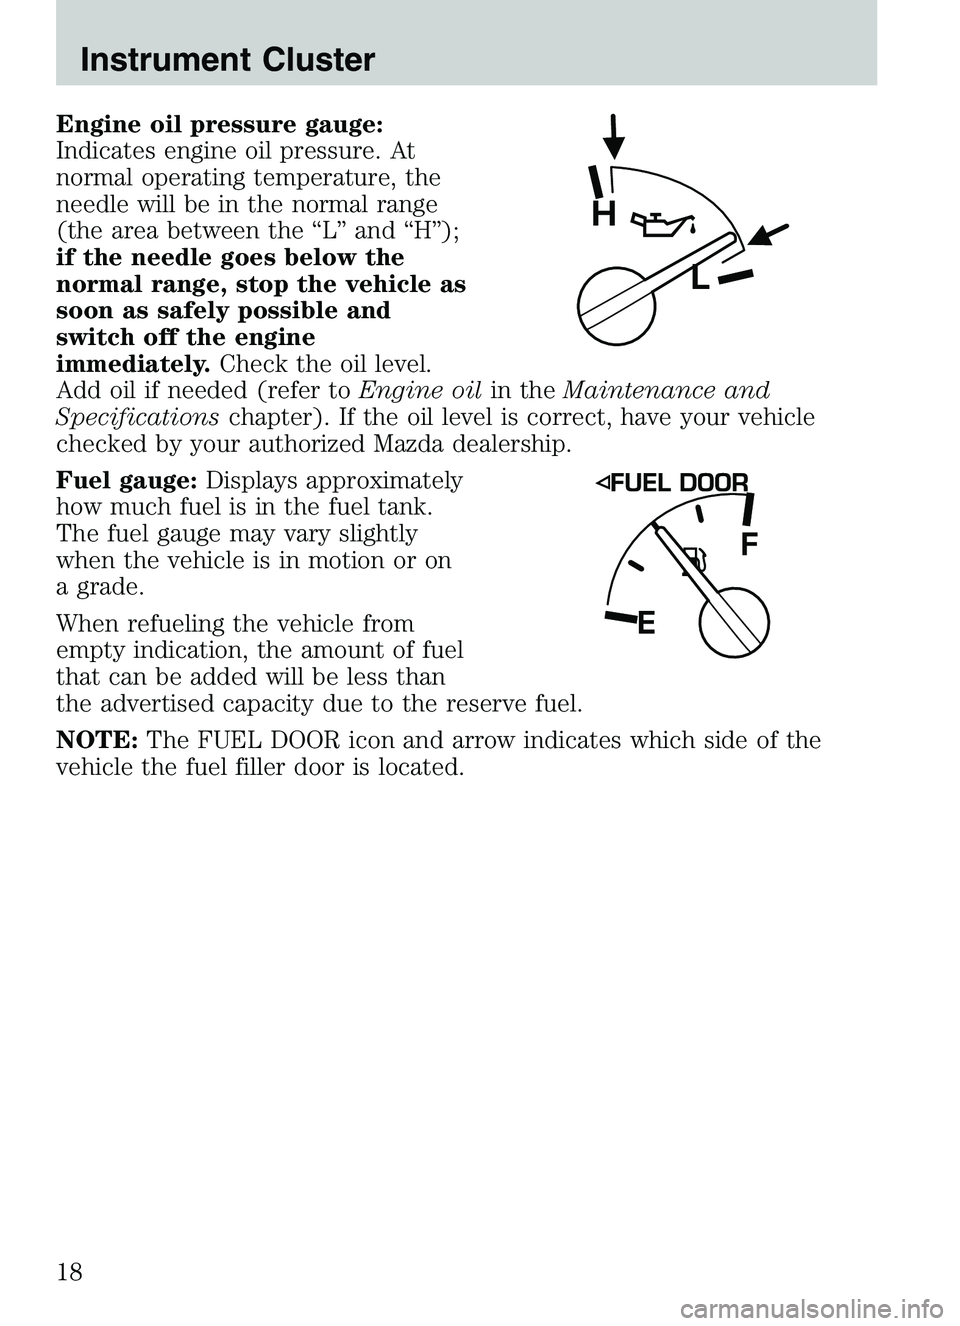
Engine oil pressure gauge:
Indicates engine oil pressure. At
normal operating temperature, the
needle will be in the normal range
(the area between the “L” and “H”);
if the needle goes below the
normal range, stop the vehicle as
soon as safely possible and
switch off the engine
immediately.Check the oil level.
Add oil if needed (refer to Engine oilin theMaintenance and
Specifications chapter). If the oil level is correct, have your vehicle
checked by your authorized Mazda dealership.
Fuel gauge: Displays approximately
how much fuel is in the fuel tank.
The fuel gauge may vary slightly
when the vehicle is in motion or on
a grade.
When refueling the vehicle from
empty indication, the amount of fuel
that can be added will be less than
the advertised capacity due to the reserve fuel.
NOTE: The FUEL DOOR icon and arrow indicates which side of the
vehicle the fuel filler door is located.
H
L
Instrument Cluster
18
Page 73 of 250
WARNING: BELT AND RETRACTOR ASSEMBLY MUST BE
REPLACED if the seat belt assembly “automatic locking
retractor” feature or any other seat belt function is not
operating properly when checked according to the procedures in
Workshop Manual.
WARNING: Failure to replace the Belt and Retractor assembly
could increase the risk of injury in collisions.
Safety belt pretensioner
Your vehicle is equipped with safety belt pretensioners at the driver and
front outboard passenger seating positions. Both pretensioners will fire if
the front airbags fire, whether or not there is a belted occupant in either
front outboard seat.
The safety belt pretensioners are designed to activate during certain
frontal or near-frontal collisions with sufficient longitudinal deceleration.
A safety belt pretensioner is a device which tightens the webbing of the
lap and shoulder belts in such a way that they fit more snugly against
the body.
The driver and front outboard passenger safety belt system (including
retractors, buckle assembly, pretensioner assembly with seat and height
adjusters) must be replaced if the vehicle is involved in a collision that
results in the activation of the safety belt pretensioners. Refer to the
Safety belt maintenance section in this chapter.
WARNING: Failure to replace the safety belt assembly under
the above conditions could result in severe personal injuries in
the event of a collision.
Front safety belt height adjustment
Your vehicle has safety belt height adjustments for the driver and front
passenger. Adjust the height of the shoulder belt so the belt rests across
the middle of your shoulder.
Seating and Safety Restraints
73
Page 80 of 250

5. Buckle then unbuckle the safety belt three times, ending with thesafety belt unbuckled.
• After step 5 the safety belt warning light will be turned on for three
seconds.
6. Within seven seconds of the safety belt warning light turning off, buckle then unbuckle the safety belt.
• This will disable BeltMinder if it is currently enabled, or enable
BeltMinder if it is currently disabled.
7. Confirmation of disabling BeltMinder is provided by the safety belt warning light flashing four times per second for three seconds.
8. Confirmation of enabling BeltMinder is provided by:
• The safety belt warning light flashing four times per second for three
seconds.
• Followed by three seconds with the safety belt warning light off.
• Once again, the safety belt warning light will flash four times per
second for three seconds.
9. After receiving confirmation, the deactivation/activation procedure is complete.
Safety belt maintenance
Inspect the safety belt systems periodically to make sure they work
properly and are not damaged.
NOTE: If unsure about the proper procedures, bring your vehicle to an
authorized Mazda dealership for inspection. Inspect the safety belts to
make sure there are no nicks, tears or cuts, replacing if necessary. Check
all automatic locking retractors on all outboard seating positions as well
as the automatic locking mode for child safety seats on the passenger
front belt. All safety belt assemblies, including retractors, buckles, front
seat belt buckle assemblies, buckle support assemblies (slide bar-if
equipped), shoulder belt height adjusters (if equipped), shoulder belt
guide on seatback (if equipped), child safety seat tether bracket
assemblies (if equipped), LATCH child seat tether anchors and lower
anchors (if equipped), and attaching hardware, should be inspected after
a collision. Mazda recommends that all safety belt assemblies used in
vehicles involved in a collision be replaced. However, if the collision was
minor and an authorized Mazda technician finds that the belts do not
show damage and continue to operate properly, they do not need to be
replaced. Safety belt assemblies not in use during a collision should also
be inspected and replaced if either damage or improper operation is
noted.
Seating and Safety Restraints
80
Page 87 of 250

•and the electrical wiring which connects the components.
The RCM (restraints control module) monitors its own internal circuits
and the supplemental air bag electrical system warning (including the
passenger air bag deactivation switch, the system wiring, the air bag
system readiness light, the air bag back up power and the air bag
ignitors).
Determining if the system is operational
The SRS uses readiness lights in the instrument cluster and the
passenger air bag deactivate switch or a tone to indicate the condition of
the system. Refer to the Air bag readinesssection in the
Instrumentation chapter orPassenger air bag deactivate switch
section in this chapter. Routine maintenance of the air bag is not
required.
A difficulty with the system is indicated by one or more of the following:
• The readiness lights will either
flash or stay lit.
• The readiness lights will not
illuminate immediately after
ignition is turned on.
• A series of five beeps will be heard. The tone pattern will repeat
periodically until the problem and/or light are repaired.
If any of these things happen, even intermittently, have the SRS serviced
at your authorized Mazda dealership immediately.
WARNING: Unless serviced, the system may not function
properly in the event of a collision.
Disposal of air bags and air bag equipped vehicles (including
safety belt pretensioners)
For disposal of safety belt pretensioners, air bags, or air bag equipped
vehicles, see your authorized Mazda dealership or qualified technician.
Air bags MUST BE disposed of by qualified personnel.
Seating and Safety Restraints
87
Page 136 of 250
Refer to the following chart for information regarding the
factory-equipped trailer tow connector:
Trailer tow connector
Color Function Comment
1. Dark Green Trailer right-handturn signal Circuit activated when brake
pedal is depressed or when
ignition is on and right-hand
turn signal is applied.
2. Yellow Trailer left-hand turn signal Circuit activated when brake
pedal is depressed or when
ignition is on and left-hand
turn signal is applied.
3. Tan/White Tail lamp Relay controlled circuit activated when the park
lamps/headlamps are on.
4. White Ground Matching vehicle circuit returns to battery’s negative
ground.
Driving while you tow
When towing a trailer:
• Turn off the speed control. The speed control may shut off
automatically when you are towing on long, steep grades.
• Consult your local motor vehicle speed regulations for towing a trailer.
• To eliminate excessive shifting, use a lower gear. This will also assist
in transmission cooling. (For additional information, refer to the
Driving with a 5–speed automatic transmission section in this
chapter.
• Under extreme conditions with large frontal trailers, high outside
temperatures and highway speeds, the coolant gauge may indicate
higher than normal coolant temperatures. If this occurs, reduce speed
until the coolant temperature returns to the normal range. Refer to
Engine coolant temperature gauge in theInstrument cluster
chapter.
• Anticipate stops and brake gradually.
• Do not exceed the GCWR rating or transmission damage may occur.
Servicing after towing
If you tow a trailer for long distances, your vehicle will require more
frequent service intervals. Refer to your service maintenance section for
more information.
Driving
136
Page 145 of 250

WARNING: To reduce risk of electrical shock, always replace
the cover to the Power Distribution Box before reconnecting
the battery or refilling fluid reservoirs.
If the battery has been disconnected and reconnected, refer to the
Battery section of the Maintenance and specifications chapter.
2.3L engine (if equipped)
The high-current fuses are coded as follows:
Fuse/Relay Location Fuse Amp
Rating Power Distribution Box
Description
1 50A** I/P fuse panel
2 — Not used
3 — Not used
4 — Not used
5 — Not used
6 50A** Anti-lock Brake System (ABS)
pump motor
7 30A* Powertrain Control Module (PCM)
1234521 22 23 24
25 26 27 28
29 30 31 32
33 34 35 36
37 38 39 40
41 42 43 44
678910 55
49
48 54
5352
51 56
56 B
56 A
50 50 B
50 A
47
45 45 B
45 A
4646 B
46 A
11 12 13 14 15
16 17 18 19 20
Roadside Emergencies
145
Page 151 of 250
4. Check whether coolant or steam is escaping from under the hood orfrom the engine compartment.
• If steam is coming from the engine compartment:do not go near
the front of the vehicle. Stop the engine, then turn the ignition switch
to the ON position without starting the engine. The radiator cooling
fans will start to cool the engine.
• If neither coolant nor steam is escaping: open the hood and idle
the engine until it cools. If this does not lower the temperature, stop
the engine and let it cool.
5. Check the coolant level. If it is low, look for leaks in the radiator hoses and connections, heater hoses and connections, radiator and
water pump.
If you find a leak or other damage, or if coolant is still leaking, stop the
engine and call an Authorized Mazda dealer.
See Adding coolant in theMaintenance and specifications section. If
you find no problems, the engine is cool and no leaks are obvious,
carefully add coolant as required.
WARNING: When the engine and radiator are hot, scalding
coolant and steam may shoot out under pressure and cause
serious injury. Do not remove the cooling system cap when the
engine and radiator are hot.
Note: If the engine continues to overheat or frequently overheats, have
the cooling system inspected. The engine could be seriously damaged
unless repairs are made.
CHANGING THE TIRES
If you get a flat tire while driving, do not apply the brake heavily.
Instead, gradually decrease your speed. Hold the steering wheel firmly
and slowly move to a safe place on the side of the road.
WARNING: The use of tire sealants is not recommended and
may compromise the integrity of your tires.
2003 Mazda B Series (mbs)
New Owners Guide own2002 (own2002)
USA English (fus)
Roadside Emergencies
151