ECO mode MAZDA MODEL CX-9 2017 (in English) User Guide
[x] Cancel search | Manufacturer: MAZDA, Model Year: 2017, Model line: MODEL CX-9, Model: MAZDA MODEL CX-9 2017Pages: 612
Page 88 of 612

3–6
Before Driving
Keys
*Some models.
NOTE
The system can be set to unlock all
doors by performing a single operation.
Refer to Personalization Features on
page 9-11 .
Use the following procedure to change
the setting.
1. Switch the ignition off and close all
of the doors and the liftgate.
2. Open the driver's door.
3. Within 30 seconds of opening the
driver's door, press and hold the
UNLOCK button on the key for 5
seconds or longer (the sound of
the doors locking/unlocking can be
heard).
After this, the system switches the
setting each time the UNLOCK
button is pressed (the sound of the
doors locking/unlocking can be
heard).
4. The setting change is completed by
doing any one of the following:
Switching the ignition to ACC or
ON.
Closing the driver's door.
Opening the liftgate.
Not operating the key for 10
seconds.
Pressing any button except the
UNLOCK button on the key.
Pressing a request switch.
(Auto re-lock function)
After unlocking with the key, all doors
and the liftgate will automatically lock
if any of the following operations are
not performed within about 60 seconds.
If your vehicle has a theft-deterrent
system, the hazard warning lights will
fl ash for confi rmation.
The time required for the doors to lock
automatically can be changed.
Refer to Personalization Features on
page 9-11 .
A door or the liftgate is opened.
The ignition is switched to any
position other than off.
(With theft-deterrent system)
When the doors are unlocked by
pressing the unlock button on the key
while the theft-deterrent system is
turned off, the hazard warning lights
will fl ash twice to indicate that the
system is turned off.
Power liftgate button *
To open/close the liftgate, press the power
liftgate button for one second or more
with the liftgate in the fully closed/open
position.
The hazard warning lights fl ash twice and
the liftgate opens/closes after the beep
sounds.
CX-9_8FS7-EA-16K_Edition2.indb 6CX-9_8FS7-EA-16K_Edition2.indb 62016/12/15 18:33:062016/12/15 18:33:06
Page 104 of 612

3–22
Before Driving
Doors and Locks
*Some models.
Power Liftgate *
The power liftgate opens/closes
electrically by operating the switches in
the vehicle or the buttons on the keyless
entry system transmitter.
WARNING
Be sure to watch the power liftgate as it
opens or closes, and make sure that it
closes completely:
Opening or closing the power
liftgate while not watching it move
is dangerous. Because of unseen
obstacles and the jam-safe feature, a
liftgate may not close completely and,
if left unnoticed, could result in serious
injury or death if an occupant were to
fall out of the vehicle.
Always be sure that the area around
the liftgate is clear before activating it.
Always confi rm the safety of the area
around the power liftgate before
operating it electrically.
Not checking the area around the
liftgate for people before operating
it using the power liftgate switch
or the button on the keyless entry
system is dangerous. A person could
become caught between the liftgate
and an obstruction while it is opening
electrically or between the liftgate and
vehicle while it is closing electrically,
resulting in an accident and serious
injury.
Never allow children to operate the
power liftgate system:
Allowing children to operate the power
liftgate switch and the keyless entry
system is dangerous. Children are not
aware of the dangers of people getting
fi ngers and hands caught in a moving
liftgate. If someone's neck, head or
hands get caught in a closing door, it
could result in death or serious injury.
CAUTION
When closing the power liftgate,
make sure there are no foreign objects
around the striker. If foreign objects are
obstructing the striker, the liftgate may
not close properly.
Striker
Do not install accessories to the power
liftgate other than specifi ed accessories.
Otherwise, it cannot be opened/closed
automatically and could result in a
malfunction.
Be careful when switching the power
liftgate from electrical to manual
operation. The power liftgate may open/
close unexpectedly depending on its
position which could result in injury.
CX-9_8FS7-EA-16K_Edition2.indb 22CX-9_8FS7-EA-16K_Edition2.indb 222016/12/15 18:33:122016/12/15 18:33:12
Page 129 of 612

3–47
Before Driving
Security System
*Some models.
Theft-Deterrent System *
If the theft-deterrent system detects an
inappropriate entry into the vehicle,
which could result in the vehicle or its
contents being stolen, the alarm alerts the
surrounding area of an abnormality by
sounding the horn and fl ashing the hazard
warning lights.
The system will not function unless it's
properly armed. So when you leave the
vehicle, follow the arming procedure
correctly.
Operation
System triggering conditions
The horn sounds intermittently and the
hazard warning lights fl ash for about 30
seconds when the system is triggered by
any one of the following:
Unlocking a door with the key, door
lock switch, or an inside door-lock knob.
Forcing open a door, the hood or the
liftgate.
Opening the hood by operating the hood
release handle.
Switching the ignition ON without using
the push button start.
If the system is triggered again, the lights
and horn will activate until the driver's
door or the liftgate is unlocked with the
transmitter.
(With the advanced keyless function)
The lights and horn can also be
deactivated by pressing the request switch
on a door.
NOTE
The liftgate does not open while the
theft-deterrent system is operating.
For vehicles equipped with the power
liftgate, the liftgate can be opened
even while the theft-deterrent system is
operating by pressing the power liftgate
button on the transmitter or the electric
liftgate opener switch while carrying
the key.
If the battery goes dead while the theft-
deterrent system is armed, the horn will
activate and the hazard warning lights
will fl ash when the battery is charged or
replaced.
How to Arm the System
1. Close the windows and the moonroof *
securely.
2. Switch the ignition OFF.
3. Make sure the hood, the doors, and the
liftgate are closed.
4. Press the lock button on the transmitter
or lock the driver's door from the
outside with the auxiliary key.
The hazard warning lights will fl ash
once.
The following method will also arm the
theft-deterrent system:
Press the door-lock switch “
” while
any door is open and then close all of
the doors.
(With the advanced keyless function)
Press a request switch.
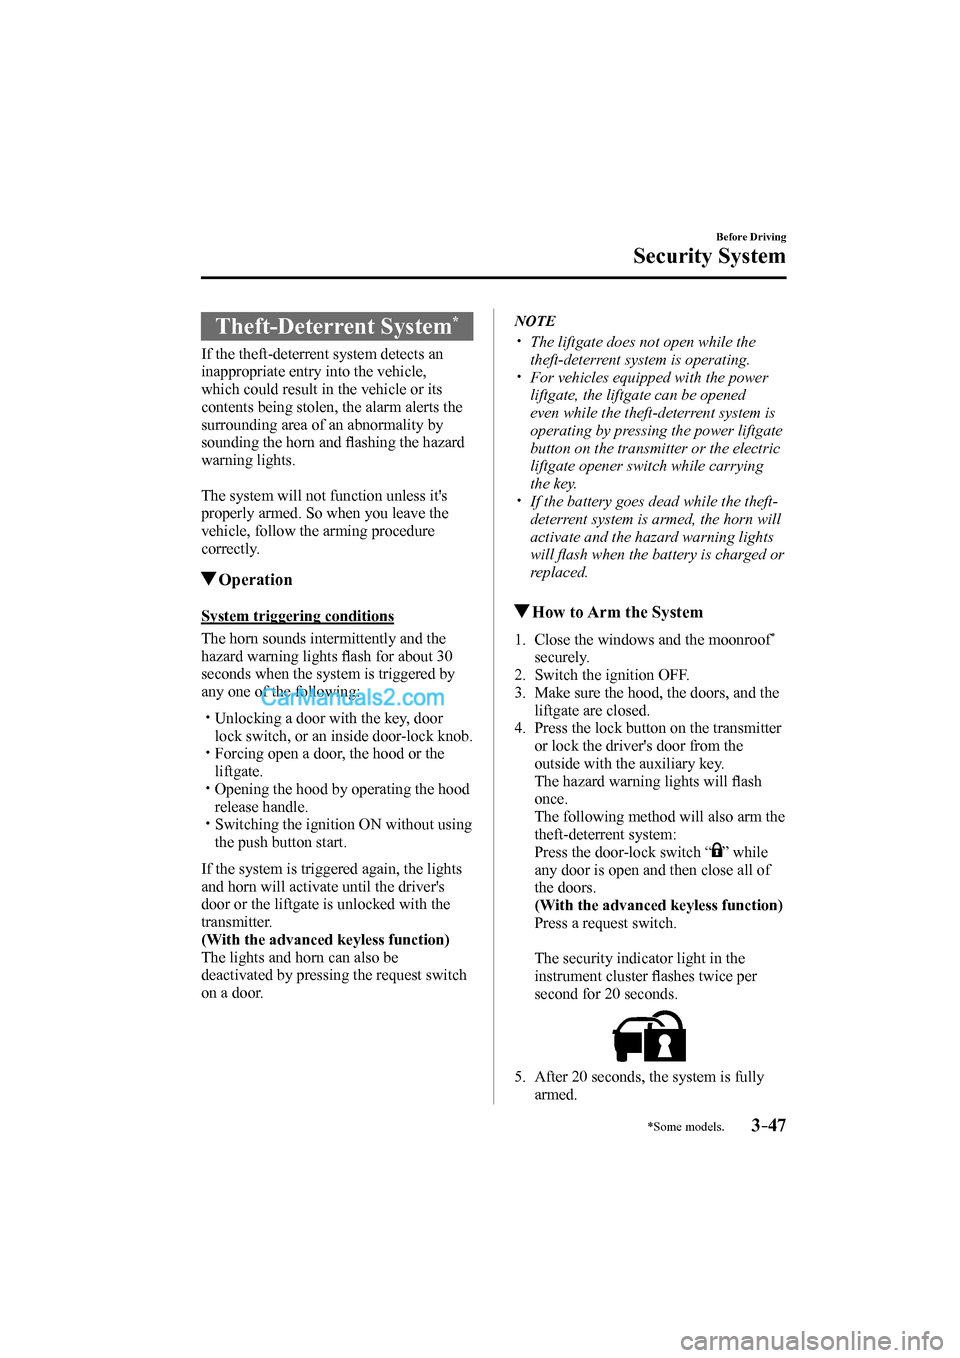
The security indicator light in the
instrument cluster fl ashes twice per
second for 20 seconds.
5. After 20 seconds, the system is fully
armed.
CX-9_8FS7-EA-16K_Edition2.indb 47CX-9_8FS7-EA-16K_Edition2.indb 472016/12/15 18:33:232016/12/15 18:33:23
Page 149 of 612

4–1
*Some models.
4When Driving
Information concerning safe driving and stopping.
Start/Stop Engine ................................ 4-4
Ignition Switch ............................... 4-4
Starting the Engine ......................... 4-5
Turning the Engine Off ................ 4-10
Instrument Cluster and Display ...... 4-12
Meters and Gauges ....................... 4-12
Multi-information Display and INFO
Switch
* ......................................... 4-21
Active Driving Display * ............... 4-29
Warning/Indicator Lights ............. 4-31
Automatic Transaxle ......................... 4-38
Automatic Transaxle Controls ..... 4-38
Shift-Lock System ....................... 4-39
Transaxle Ranges ......................... 4-40
Manual Shift Mode ...................... 4-42
Driving Tips ................................. 4-47
Switches and Controls ...................... 4-48
Lighting Control ........................... 4-48
Fog Lights
* ................................... 4-54
Turn and Lane-Change Signals .... 4-54
Windshield Wipers and Washer ... 4-55
Rear Window Wiper and
Washer .......................................... 4-59
Rear Window Defogger ............... 4-60
Horn ............................................. 4-61
Hazard Warning Flasher ............... 4-61
HomeLink Wireless Control
System
* ......................................... 4-62
Brake .................................................. 4-66
Brake System ............................... 4-66
Hill Launch Assist (HLA) ............ 4-70
ABS/TCS/DSC/Trailer Stability Assist
(TSA) .................................................. 4-72
Antilock Brake System (ABS) ..... 4-72
Traction Control System (TCS) ... 4-73
Dynamic Stability Control
(DSC) ........................................... 4-75
Trailer Stability Assist (TSA)....... 4-76
Fuel Economy Monitor ..................... 4-77
Fuel Economy Monitor ................ 4-77
Drive Selection ................................... 4-79
Drive Selection ............................. 4-79
i-ACTIV AWD ................................... 4-81
i-ACTIV AWD Operation
* ........... 4-81
Power Steering................................... 4-83
Power Steering ............................. 4-83
CX-9_8FS7-EA-16K_Edition2.indb 1CX-9_8FS7-EA-16K_Edition2.indb 12016/12/15 18:33:302016/12/15 18:33:30
Page 150 of 612

4–2*Some models.
i-ACTIVSENSE................................. 4-84
i-ACTIVSENSE * .......................... 4-84
Adaptive Front Lighting System
(AFS)
* .......................................... 4-87
High Beam Control System
(HBC)
* .......................................... 4-88
Blind Spot Monitoring (BSM) * .... 4-91
Distance Recognition Support System
(DRSS)
* ........................................ 4-97
Rear Cross Traffi c Alert
(RCTA)
* ..................................... 4-101
Mazda Radar Cruise Control
(MRCC)
* .................................... 4-105
Lane-keep Assist System (LAS) &
Lane Departure Warning System
(LDWS)
* .................................... 4-116
Smart City Brake Support
(SCBS)
* ...................................... 4-128
Smart Brake Support (SBS) * ...... 4-133
Forward Sensing Camera
(FSC)
* ......................................... 4-136
Radar Sensor (Front) * ................. 4-139
Laser Sensor (Front) * ................. 4-142
Radar Sensors (Rear) * ................ 4-144
Cruise Control ................................. 4-146
Cruise Control
* ........................... 4-146
Tire Pressure Monitoring System ... 4-150
Tire Pressure Monitoring
System
* ....................................... 4-150
Rear View Monitor .......................... 4-154
Rear View Monitor
* ................... 4-154
Parking Sensor System ................... 4-163
Parking Sensor System
* ............. 4-163
CX-9_8FS7-EA-16K_Edition2.indb 2CX-9_8FS7-EA-16K_Edition2.indb 22016/12/15 18:33:312016/12/15 18:33:31
Page 162 of 612

4–14
When Driving
Instrument Cluster and Display
Speedometer
The speedometer indicates the speed of the
vehicle.
Odometer, Trip Meter and Trip
Meter Selector (Without Multi-
information Display)
The display mode can be changed from
odometer to trip meter A to trip meter B
and then back to odometer by pressing the
selector while one of them is displayed.
The selected mode will be displayed.
Press the selector Press the selector
Press the selector Odometer
Trip meter A
Trip meter BSelector
NOTE
When the ignition is switched to ACC or
off, the odometer or trip meters cannot be
displayed, however, pressing the selector
can inadvertently switch the trip meters or
reset them during an approximate ten-
minute period in the following cases:
After the ignition is switched to off from
ON.
After the driver's door is opened.
Odometer
The odometer records the total distance
the vehicle has been driven.
Trip meter
The trip meter can record the total distance
of two trips. One is recorded in trip meter
A, and the other is recorded in trip meter
B.
For instance, trip meter A can record the
distance from the point of origin, and
trip meter B can record the distance from
where the fuel tank is fi lled.
When trip meter A is selected, pressing
the selector again within one second will
change to trip meter B mode.
When trip meter A is selected, TRIP A
will be displayed. When trip meter B is
selected, TRIP B will be displayed.
The trip meter records the total distance
the vehicle is driven until the meter
is again reset. Return it to “0.0” by
depressing and holding the selector for
one second or more. Use this meter to
measure trip distances and to compute fuel
consumption.
CX-9_8FS7-EA-16K_Edition2.indb 14CX-9_8FS7-EA-16K_Edition2.indb 142016/12/15 18:33:362016/12/15 18:33:36
Page 167 of 612

4–19
When Driving
Instrument Cluster and Display
Trip Computer and INFO Switch
(Without Multi-information
Display)
The following information can be selected
by pressing the INFO switch with the
ignition switched ON.
Distance-to-empty mode
Average fuel economy mode
Current fuel economy mode
Compass mode
If you have any problems with your trip
computer, consult an Authorized Mazda
Dealer.
Distance-to-empty mode
This mode displays the approximate
distance you can travel on the remaining
fuel based on the fuel economy.
The distance-to-empty will be calculated
and displayed every second.
NOTE
Even though the distance-to-empty
display may indicate a suffi cient amount
of remaining driving distance before
refueling is required, refuel as soon as
possible if the fuel level is very low or
the low fuel warning light illuminates.
The display may not change unless you
add more than approximately 9 L (2.3
US gal, 1.9 Imp gal) of fuel.
The distance-to-empty is the
approximate remaining distance the
vehicle can be driven until all the
graduation marks in the fuel gauge
(indicating the remaining fuel supply)
disappear.
If there is no past fuel economy
information such as after fi rst
purchasing your vehicle or the
information is deleted when the battery
cables are disconnected, the actual
distance-to empty/range may differ from
the amount indicated.
Average fuel economy mode
This mode displays the average fuel
economy by calculating the total fuel
consumption and the total traveled
distance since purchasing the vehicle, re-
connecting the battery after disconnection,
or resetting the data. The average fuel
economy is calculated and displayed every
minute.
To clear the data being displayed, press the
INFO switch for more than 1.5 seconds.
After pressing the INFO switch, - - - L/100
km (- - - mpg) will be displayed for about
1 minute before the fuel economy is
recalculated and displayed.
CX-9_8FS7-EA-16K_Edition2.indb 19CX-9_8FS7-EA-16K_Edition2.indb 192016/12/15 18:33:382016/12/15 18:33:38
Page 168 of 612

4–20
When Driving
Instrument Cluster and Display
Current fuel economy mode
This mode displays the current fuel
economy by calculating the amount of fuel
consumption and the distance traveled.
Current fuel economy will be calculated
and displayed every 2 seconds.
When you've slowed to about 5 km/h (3
mph), - - - L/100 km (- - - mpg) will be
displayed.
Compass mode
The direction the vehicle is moving is
displayed in one of the eight cardinal
directions while the vehicle is being
driven.
Display Direction
N North
S South
E East
W West
NE Northeast
NW Northwest
SE Southeast
SW Southwest
CX-9_8FS7-EA-16K_Edition2.indb 20CX-9_8FS7-EA-16K_Edition2.indb 202016/12/15 18:33:392016/12/15 18:33:39
Page 169 of 612

4–21
When Driving
Instrument Cluster and Display
*Some models.
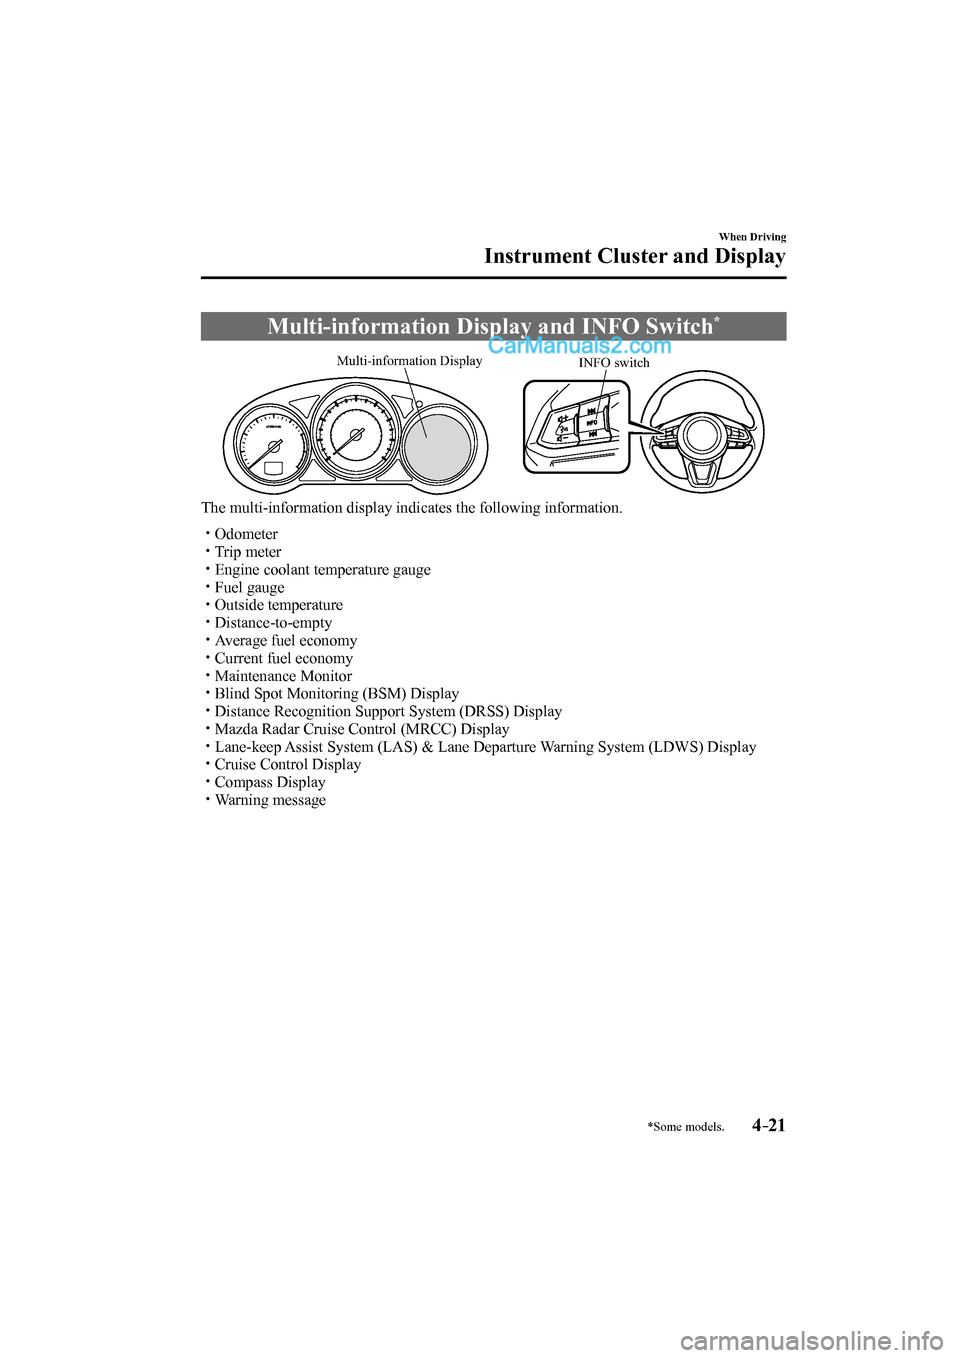
Multi-information Display and INFO Switch *
INFO switch Multi-information Display
The multi-information display indicates the following information.
Odometer
Trip meter
Engine coolant temperature gauge
Fuel gauge
Outside temperature
Distance-to-empty
Average fuel economy
Current fuel economy
Maintenance Monitor
Blind Spot Monitoring (BSM) Display
Distance Recognition Support System (DRSS) Display
Mazda Radar Cruise Control (MRCC) Display
Lane-keep Assist System (LAS) & Lane Departure Warning System (LDWS) Display
Cruise Control Display
Compass Display
Warning message
CX-9_8FS7-EA-16K_Edition2.indb 21CX-9_8FS7-EA-16K_Edition2.indb 212016/12/15 18:33:392016/12/15 18:33:39
Page 171 of 612

4–23
When Driving
Instrument Cluster and Display
Odometer, Trip Meter and Trip
Meter Selector
The odometer is constantly displayed on
the screen when the ignition is switched
ON, and the TRIP A or TRIP B screen
can be displayed by operating the INFO
switch.
Press the INFO switchINFO switch
Odometer,
Trip meter A
Odometer,
Trip meter B
Odometer
The odometer records the total distance
the vehicle has been driven.
Trip meter
The driving distance for a specifi ed
interval is indicated. Two types (TRIP
A, TRIP B) of interval distance and the
average fuel economy for each can be
measured.
For instance, trip meter A can record the
distance from the point of origin, and
trip meter B can record the distance from
where the fuel tank is fi lled.
When trip meter A is selected, TRIP A
will be displayed. When trip meter B is
selected, TRIP B will be displayed.
The trip meter and average fuel economy
can be reset by pressing the INFO switch
for 1.5 second or more while in each
mode.
NOTE
Only the trip meters record tenths of
kilometers (miles).
The trip record will be erased when:
The power supply is interrupted
(blown fuse or the battery is
disconnected).
The vehicle is driven over 1999 km
(mile).
CX-9_8FS7-EA-16K_Edition2.indb 23CX-9_8FS7-EA-16K_Edition2.indb 232016/12/15 18:33:402016/12/15 18:33:40