driver seat adjustment MAZDA MODEL RX 8 2004 Quick Tips (in English)
[x] Cancel search | Manufacturer: MAZDA, Model Year: 2004, Model line: MODEL RX 8, Model: MAZDA MODEL RX 8 2004Pages: 12, PDF Size: 0.99 MB
Page 3 of 12

GETTING STARTED
Always check the Owner’s Manual for more operating information and safety features
Getting
Started
Getting
Started
Quick Tips 2004 Mazda Mazda RX-8 page 4
page 5
Instant Mobility System
emergency flat tire
repair kit (IMS)
Temporary spare tire is not
equipped with your Mazda, if
tire repair is required, repair tire
with emergency flat tire repair
kit, see Owner’s Manual
If a temporary spare tire is
required, consult your
Authorized Mazda Dealer
Tire pressure
monitoring system
Warning light illuminates for a
few seconds when ignition is on
If tire pressure is too high or low,
or tire temperature is too high
warning light will illuminate
Short trip driving procedure
Any trip that is too short for the
engine to reach normal operating
temperature; needle in middle
of temperature gauge indicates
normal temperature
The following procedure should
be followed when moving vehicle
a short distance**:
1. Start engine
2. Move vehicle
3. Warm engine for 5-minutes
at idle
4. Raise engine speed to 3000
RPM for 10-seconds
5. Return to idle
6. Turn off engine
Tip: Warming up engine
improves engine life
Traction Control
System (TCS)*/Dynamic
Stability Control (DSC)*
DSC light may occasionally flash
while driving, this indicates
that the DSC was performing a
correction to help maintain your
best vehicle control, if DSC light
remains on, see your Mazda Dealer
If DSC light remains on after
disconnecting battery or jump-
starting, you will need to perform
a Steering Angle Sensor calibration
procedure, after battery power is
restored: Ignition ON; turn steering
wheel to full left lock position;
then full right lock position; turn
ignition OFF, then ONTips: Close rear door first,
then front door; damage may
occur otherwise
To prevent alarm arming with
passenger inside vehicle, driver
must manually lock door by
pressing lock knob
RX-8 rotary engine
precautions
Check engine oil level when refueling
Rotary engine design uses an oil
injection system in addition to
lubrication of internal parts
It is important to maintain
proper oil level
Engine oil level
warning light
Indicates low engine oil if
illuminated; pull over to a safe
location; turn engine off and
check engine oil level when
engine is cool, add engine
oil if necessary
Instrument panel
lighting
With headlights on:
To brighten/dim turn thumbwheel
up/down
Maximum illumination:
Rotate thumbwheel upward
until click is heard; instrument
cluster and information display
illumination color goes from
red to white
Headlights/parking lights OFF:
Instrument panel lighting defaults
to maximum brightness
Headlights/parking lights ON:
Illumination changes brightness
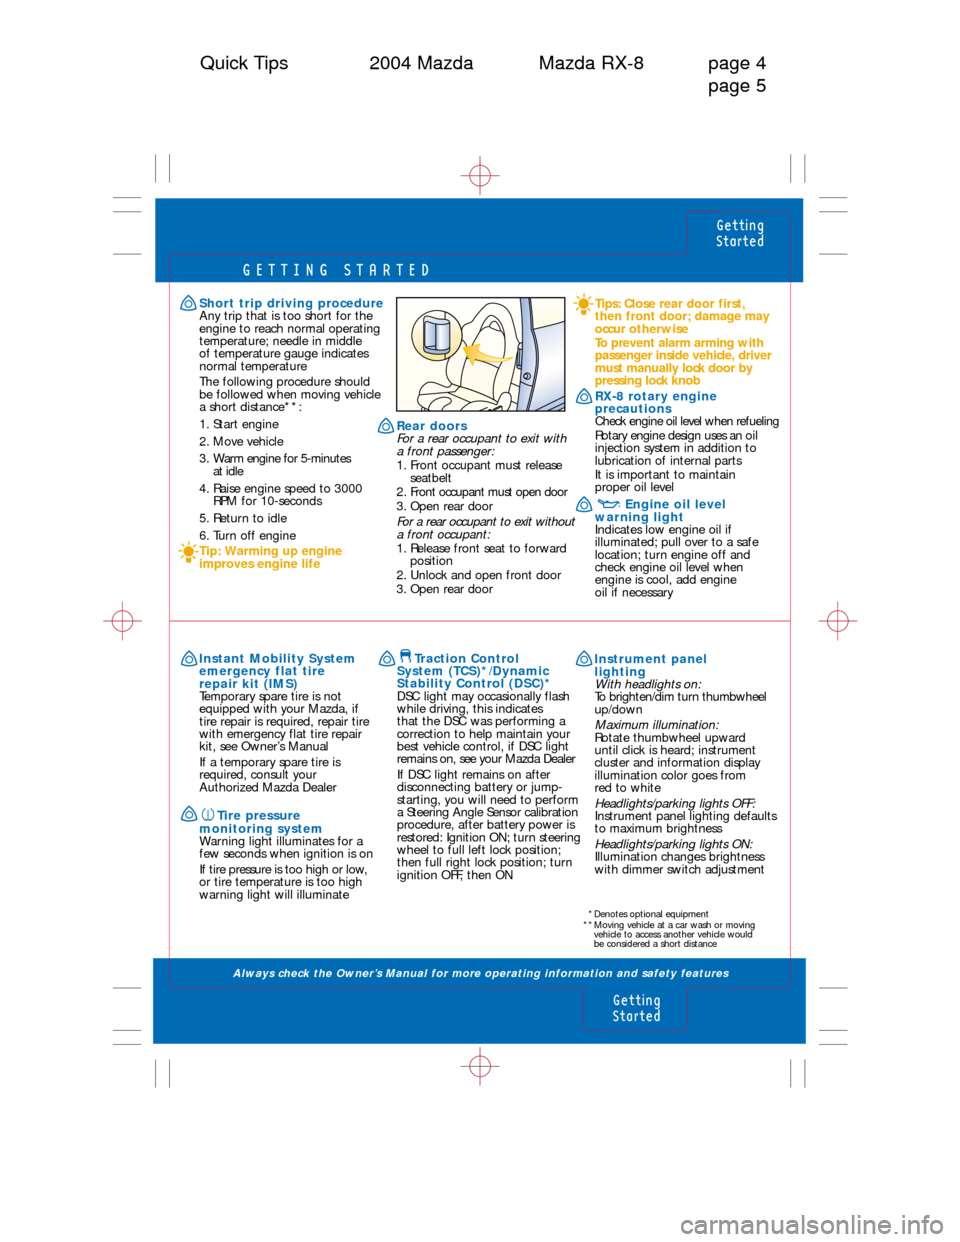
with dimmer switch adjustment Rear doors
For a rear occupant to exit with
a front passenger:
1. Front occupant must release
seatbelt
2. Front occupant must open door
3. Open rear door
For a rear occupant to exit without
a front occupant:
1. Release front seat to forward
position
2. Unlock and open front door
3. Open rear door
*Denotes optional equipment
**Moving vehicle at a car wash or moving
vehicle to access another vehicle would
be considered a short distance
Page 9 of 12

SEATS
Always check the Owner’s Manual for more operating information and safety features
Seats
Seats
Quick Tips 2004 Mazda Mazda RX-8 page 16
page 17
1
456
23
Dual locking mode
lap/shoulder belt
retractor (front passenger
and rear safety belts only)
Emergency locking mode: Belt
locksonly on hard braking/
cornering or impacts of about
5 mph or more
Automatic locking mode:
Must be used when installing
child-safety seat
To activate: Pull webbing until fully
extended from retractor until click
is heard; belt will only tighten
when released
To disengage: Unbuckle belt and
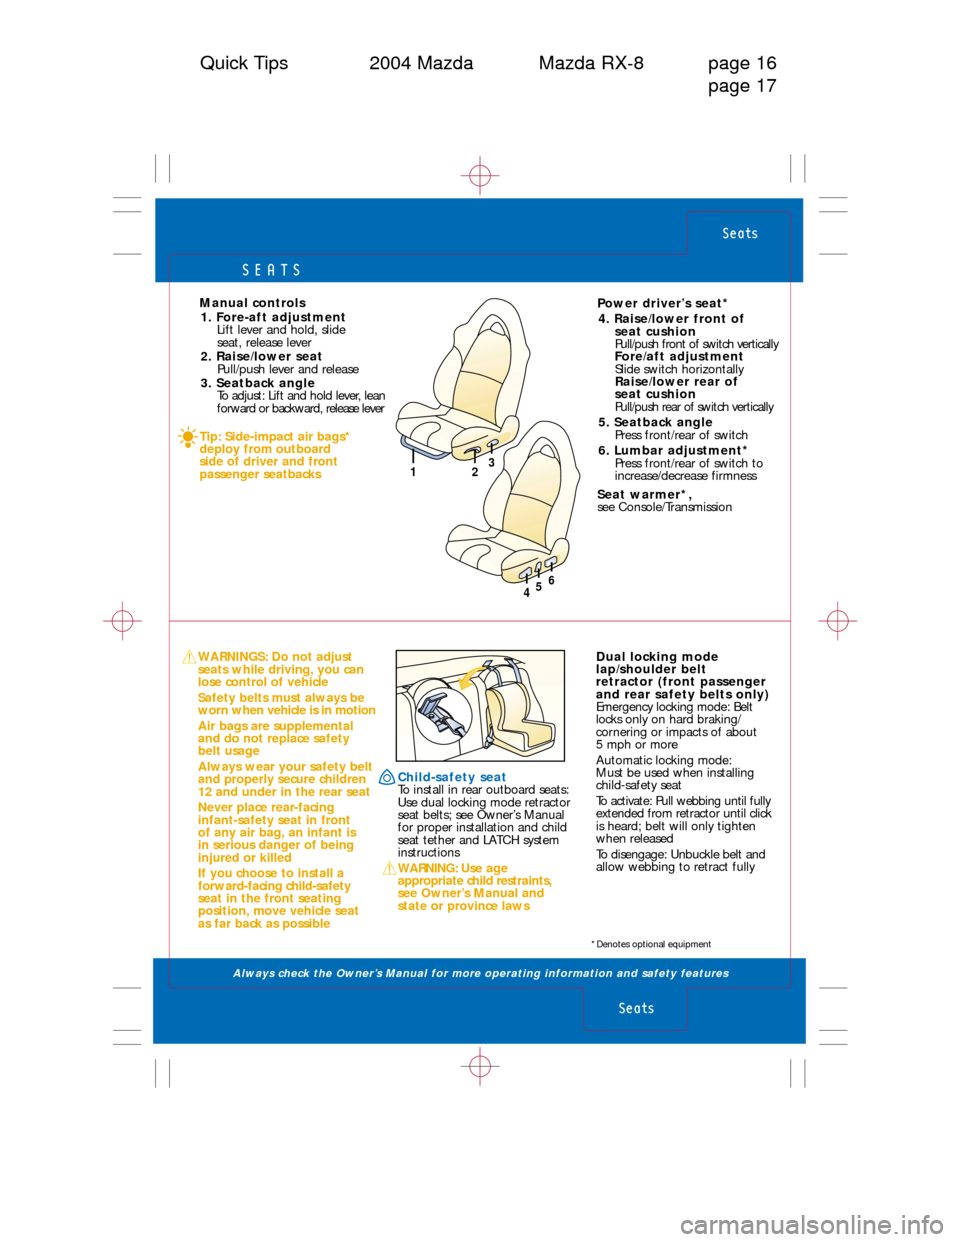
allow webbing to retract fully Manual controls
1. Fore-aft adjustment
Lift lever and hold, slide
seat, release lever
2. Raise/lower seat
Pull/push lever and release
3. Seatback angle
To adjust: Lift and hold lever, lean
forward or backward, release lever
Tip: Side-impact air bags*
deploy from outboard
side of driver and front
passenger seatbacks
WARNINGS: Do not adjust
seats while driving, you can
lose control of vehicle
Safety belts must always be
worn when vehicle is in motion
Air bags are supplemental
and do not replace safety
belt usage
Always wear your safety belt
and properly secure children
12 and under in the rear seat
Never place rear-facing
infant-safety seat in front
of any air bag, an infant is
in serious danger of being
injured or killed
If you choose to install a
forward-facing child-safety
seat in the front seating
position, move vehicle seat
as far back as possiblePower driver’s seat*
4. Raise/lower front of
seat cushion
Pull/push front of switch vertically
Fore/aft adjustment
Slide switch horizontally
Raise/lower rear of
seat cushion
Pull/push rear of switch vertically
5. Seatback angle
Press front/rear of switch
6. Lumbar adjustment*
Press front/rear of switch to
increase/decrease firmness
Seat warmer*,
see Console/Transmission
Child-safety seat
To install in rear outboard seats:
Use dual locking mode retractor
seat belts; see Owner’s Manual
for proper installation and child
seat tether and LATCH system
instructions
WARNING: Use age
appropriate child restraints,
see Owner’s Manual and
state or province laws
*Denotes optional equipment