check engine light MAZDA MODEL TRIBUTE 2004 Owners Manual (in English)
[x] Cancel search | Manufacturer: MAZDA, Model Year: 2004, Model line: MODEL TRIBUTE, Model: MAZDA MODEL TRIBUTE 2004Pages: 256, PDF Size: 2.64 MB
Page 10 of 256
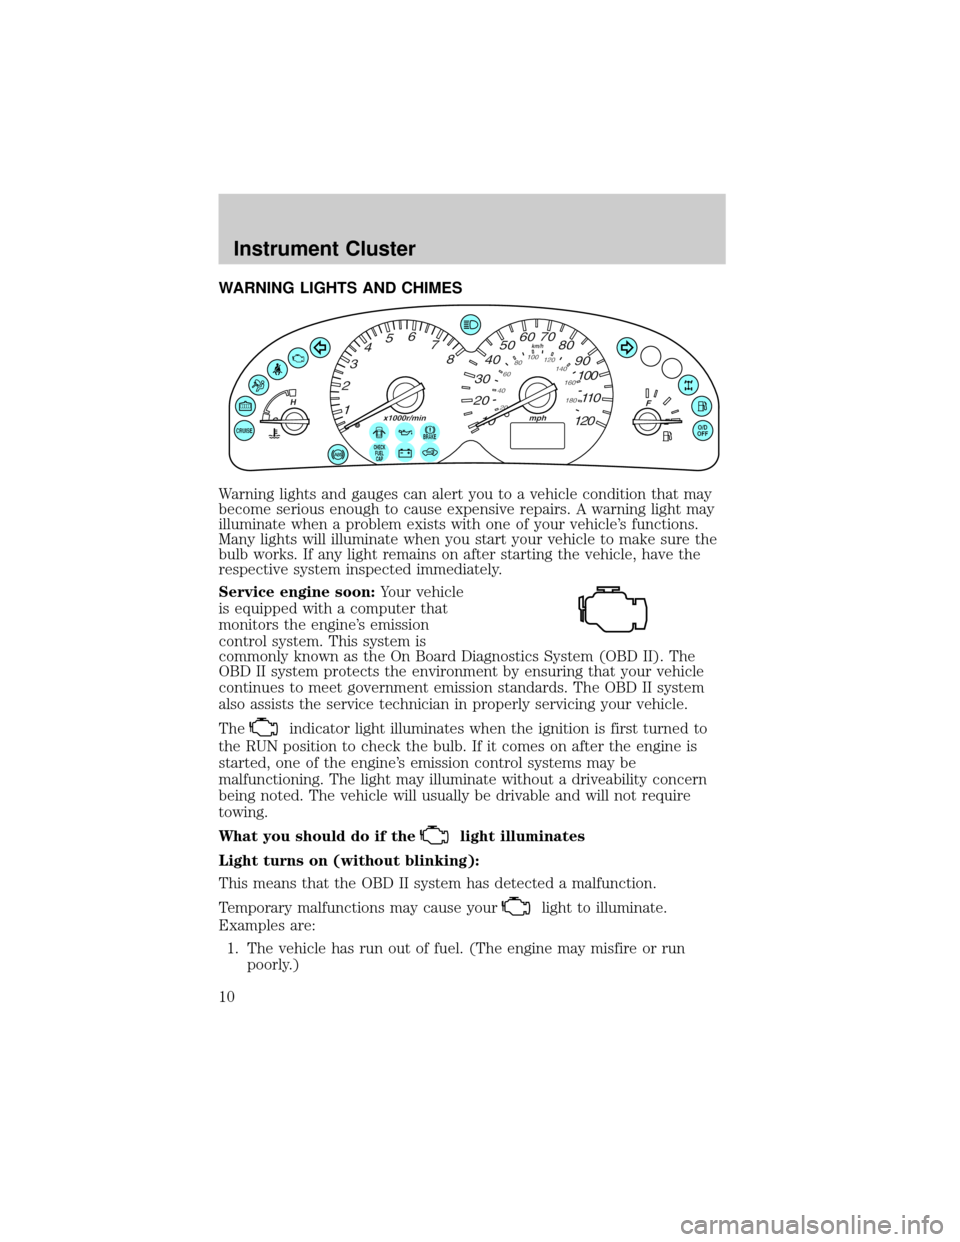
WARNING LIGHTS AND CHIMES
Warning lights and gauges can alert you to a vehicle condition that may
become serious enough to cause expensive repairs. A warning light may
illuminate when a problem exists with one of your vehicle's functions.
Many lights will illuminate when you start your vehicle to make sure the
bulb works. If any light remains on after starting the vehicle, have the
respective system inspected immediately.
Service engine soon:Your vehicle
is equipped with a computer that
monitors the engine's emission
control system. This system is
commonly known as the On Board Diagnostics System (OBD II). The
OBD II system protects the environment by ensuring that your vehicle
continues to meet government emission standards. The OBD II system
also assists the service technician in properly servicing your vehicle.
The
indicator light illuminates when the ignition is first turned to
the RUN position to check the bulb. If it comes on after the engine is
started, one of the engine's emission control systems may be
malfunctioning. The light may illuminate without a driveability concern
being noted. The vehicle will usually be drivable and will not require
towing.
What you should do if the
light illuminates
Light turns on (without blinking):
This means that the OBD II system has detected a malfunction.
Temporary malfunctions may cause your
light to illuminate.
Examples are:
1. The vehicle has run out of fuel. (The engine may misfire or run
poorly.)
CHECK
FUEL
CAP
Instrument Cluster
10
Page 11 of 256

2. Poor fuel quality or water in the fuel.
3. The fuel cap may not have been properly installed and securely
tightened.
These temporary malfunctions can be corrected by filling the fuel tank
with high quality fuel of the recommended octane and/or properly
installing and securely tightening the fuel cap. After three driving cycles
without these or any other temporary malfunctions present, the
light should turn off. (A driving cycle consists of a cold engine startup
followed by mixed city/highway driving.) No additional vehicle service is
required.
If the
light remains on, have your vehicle serviced at the first
available opportunity.
Note:The
light will illuminate if vehicle refueling is conducted
with the engine running.
WARNING: Never refuel vehicle with the engine running.
Light is blinking:
Engine misfire is occurring which could damage your catalytic converter.
You should drive in a moderate fashion (avoid heavy acceleration and
deceleration) and have your vehicle serviced at the first available
opportunity.
WARNING: Under engine misfire conditions, excessive exhaust
temperatures could damage the catalytic converter, the fuel
system, interior floor coverings or other vehicle components,
possibly causing a fire.
Check fuel cap:Momentarily
illuminates when the ignition is
turned to the ON position to ensure
your bulb is working. When this
light turns on, check the fuel filler
cap. Continuing to operate the vehicle with the check fuel cap light on,
can activate the
warning light. When the fuel filler cap is properly
re-installed, the light(s) will turn off after a period of normal driving.
This period will vary depending on driving conditions.
CHECK
FUEL
CAP
Instrument Cluster
11
Page 12 of 256
It may take a long period of time for the system to detect an
improperly installed fuel filler cap.
For more information, refer toFuel filler capin theMaintenance and
specificationschapter.
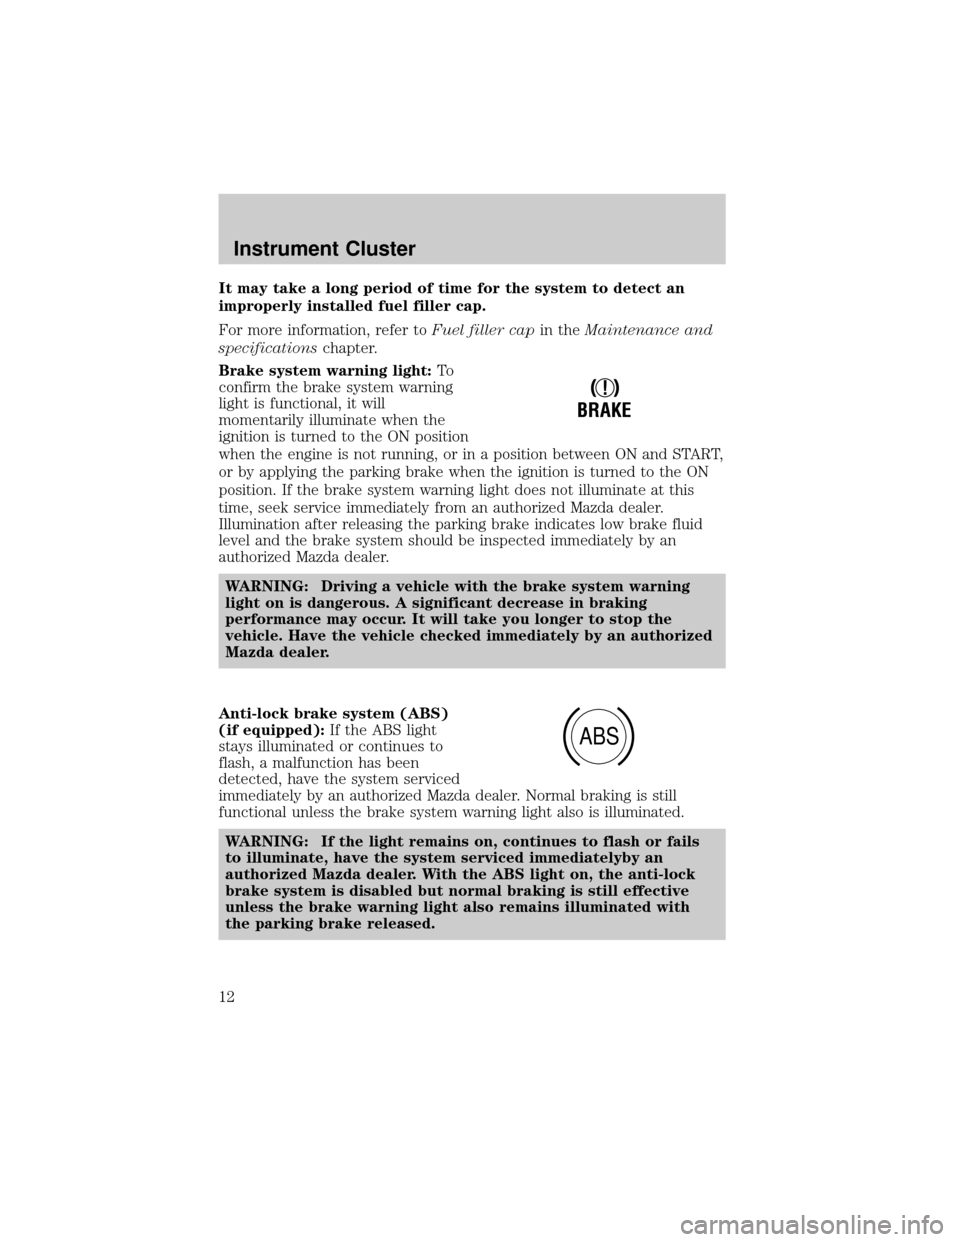
Brake system warning light:To
confirm the brake system warning
light is functional, it will
momentarily illuminate when the
ignition is turned to the ON position
when the engine is not running, or in a position between ON and START,
or by applying the parking brake when the ignition is turned to the ON
position. If the brake system warning light does not illuminate at this
time, seek service immediately from an authorized Mazda dealer.
Illumination after releasing the parking brake indicates low brake fluid
level and the brake system should be inspected immediately by an
authorized Mazda dealer.
WARNING: Driving a vehicle with the brake system warning
light on is dangerous. A significant decrease in braking
performance may occur. It will take you longer to stop the
vehicle. Have the vehicle checked immediately by an authorized
Mazda dealer.
Anti-lock brake system (ABS)
(if equipped):If the ABS light
stays illuminated or continues to
flash, a malfunction has been
detected, have the system serviced
immediately by an authorized Mazda dealer. Normal braking is still
functional unless the brake system warning light also is illuminated.
WARNING: If the light remains on, continues to flash or fails
to illuminate, have the system serviced immediatelyby an
authorized Mazda dealer. With the ABS light on, the anti-lock
brake system is disabled but normal braking is still effective
unless the brake warning light also remains illuminated with
the parking brake released.
!
BRAKE
ABS
Instrument Cluster
12
Page 123 of 256
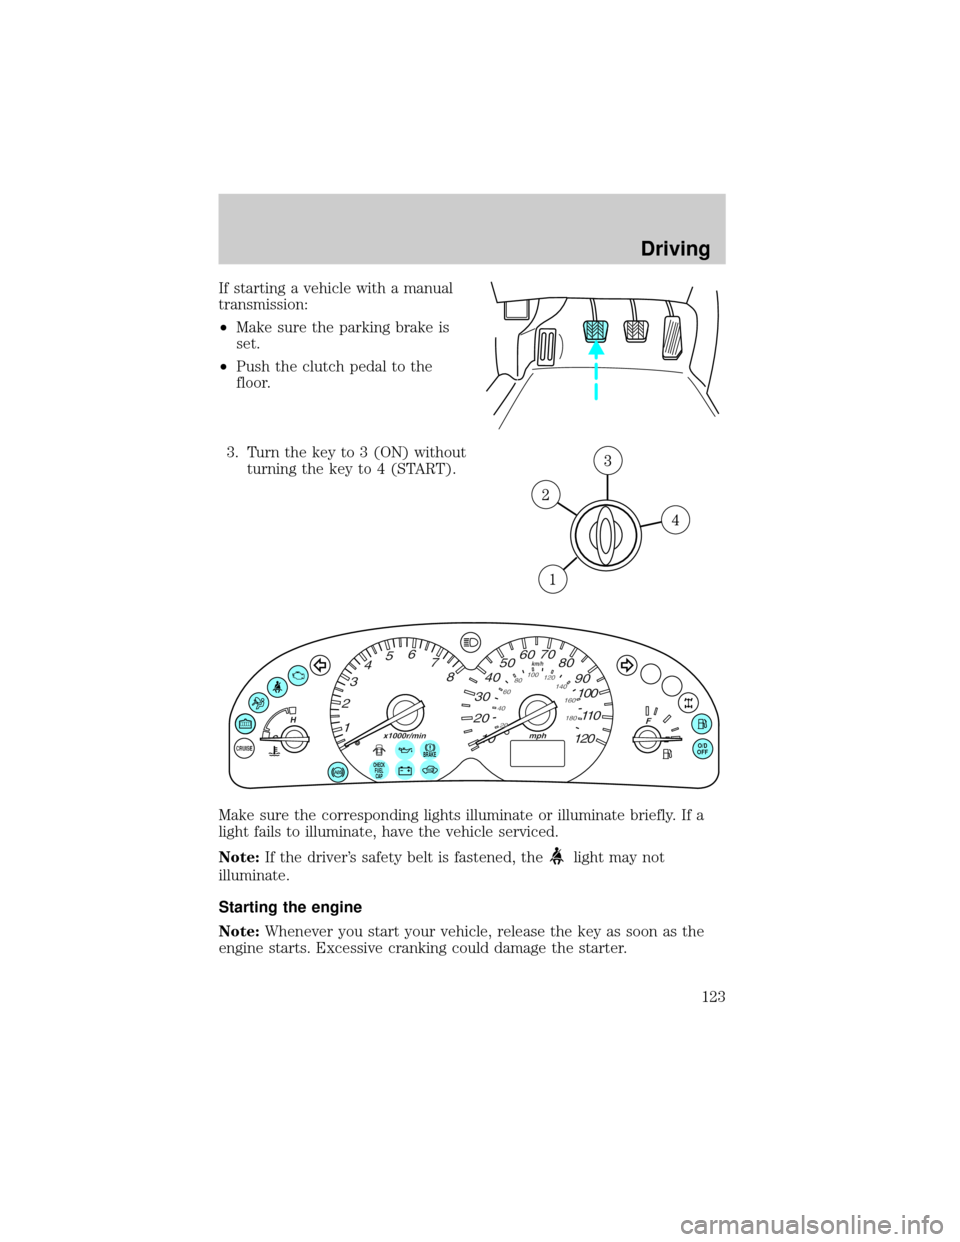
If starting a vehicle with a manual
transmission:
²Make sure the parking brake is
set.
²Push the clutch pedal to the
floor.
3. Turn the key to 3 (ON) without
turning the key to 4 (START).
Make sure the corresponding lights illuminate or illuminate briefly. If a
light fails to illuminate, have the vehicle serviced.
Note:If the driver's safety belt is fastened, the
light may not
illuminate.
Starting the engine
Note:Whenever you start your vehicle, release the key as soon as the
engine starts. Excessive cranking could damage the starter.
BRAKEO/D
OFF
CHECK
FUEL
CAP
Driving
123
Page 126 of 256
Four-wheel anti-lock brake system (ABS) (if equipped)
If the vehicle is equipped with an anti-lock braking system (ABS), a
noise from the hydraulic pump motor and pulsation in the pedal may be
observed during ABS braking events. Pedal pulsation coupled with noise
while braking under panic conditions or on loose gravel, bumps, wet or
snowy roads is normal and indicates proper functioning of the vehicle's
anti-lock brake system.
NOTE:The ABS performs a self-check after you start the engine and
begin to drive away.
A brief mechanical noise may be heard during this test. This is normal. If
a malfunction is found, the ABS warning light will come on. If the vehicle
has continuous vibration or shudder in the steering wheel while braking,
the vehicle should be inspected by an authorized Mazda dealership.
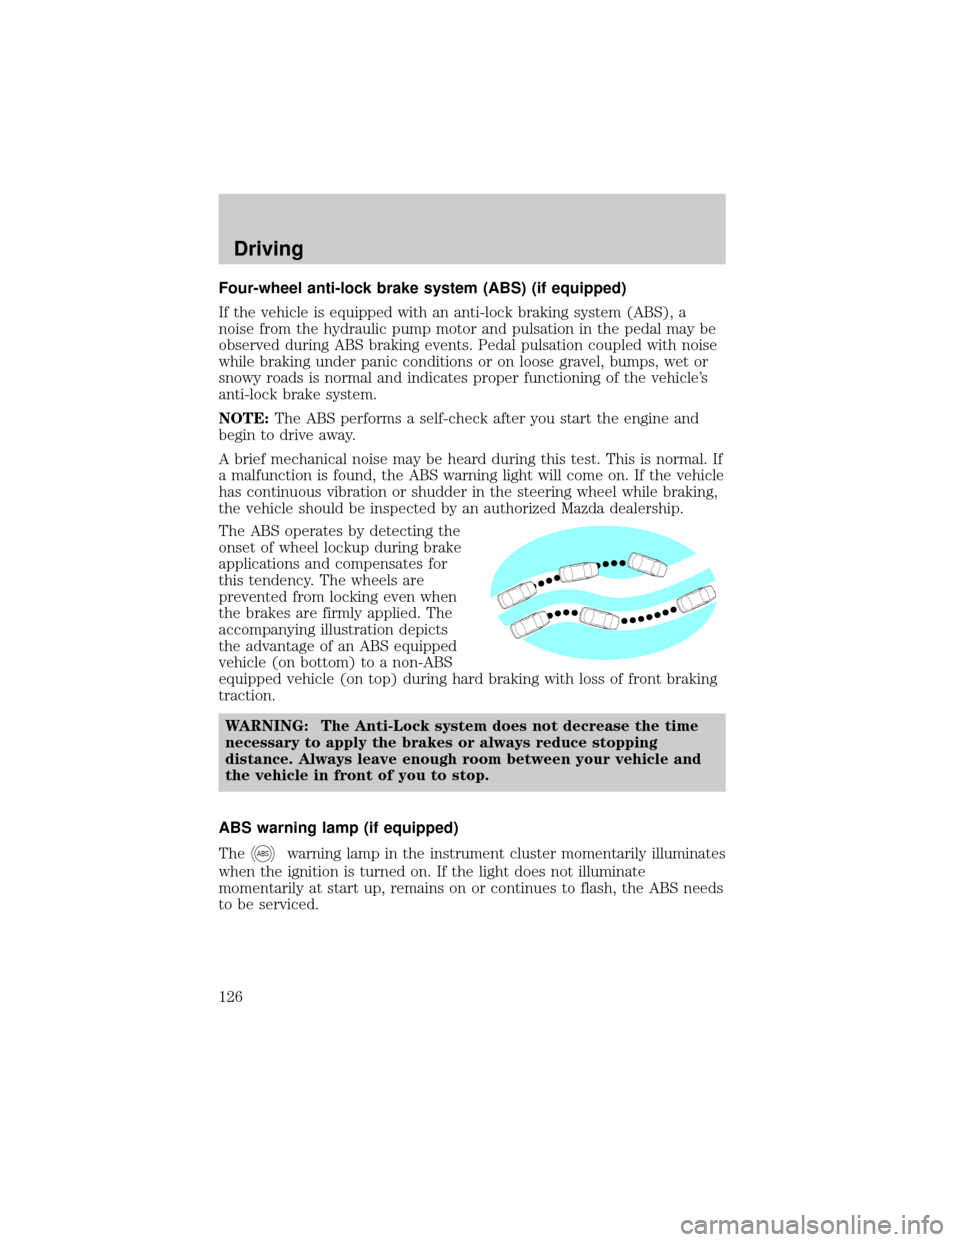
The ABS operates by detecting the
onset of wheel lockup during brake
applications and compensates for
this tendency. The wheels are
prevented from locking even when
the brakes are firmly applied. The
accompanying illustration depicts
the advantage of an ABS equipped
vehicle (on bottom) to a non-ABS
equipped vehicle (on top) during hard braking with loss of front braking
traction.
WARNING: The Anti-Lock system does not decrease the time
necessary to apply the brakes or always reduce stopping
distance. Always leave enough room between your vehicle and
the vehicle in front of you to stop.
ABS warning lamp (if equipped)
The
ABSwarning lamp in the instrument cluster momentarily illuminates
when the ignition is turned on. If the light does not illuminate
momentarily at start up, remains on or continues to flash, the ABS needs
to be serviced.
Driving
126
Page 128 of 256
WARNING: Always set the parking brake fully and make sure
that the gearshift is securely latched in P (Park) (automatic
transmission) or in 1 (First Gear) (manual transmission).
NOTE:The parking brake is not recommended to stop a moving vehicle.
However, if the normal brakes fail, the parking brake can be used to stop
your vehicle in an emergency. Since the parking brake applies only the
rear brakes, the vehicle's stopping distance will increase greatly and the
handling of your vehicle will be adversely affected.
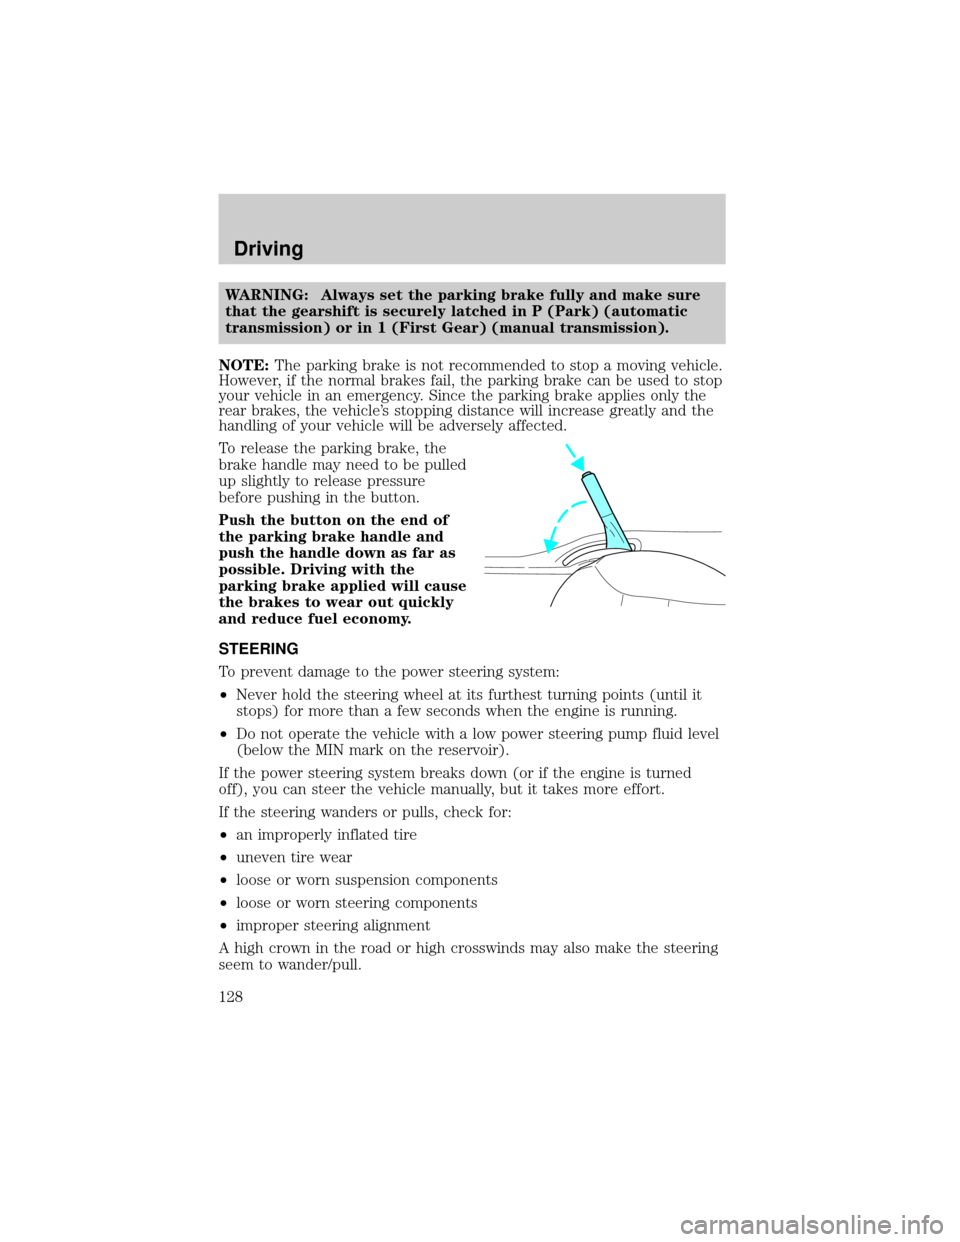
To release the parking brake, the
brake handle may need to be pulled
up slightly to release pressure
before pushing in the button.
Push the button on the end of
the parking brake handle and
push the handle down as far as
possible. Driving with the
parking brake applied will cause
the brakes to wear out quickly
and reduce fuel economy.
STEERING
To prevent damage to the power steering system:
²Never hold the steering wheel at its furthest turning points (until it
stops) for more than a few seconds when the engine is running.
²Do not operate the vehicle with a low power steering pump fluid level
(below the MIN mark on the reservoir).
If the power steering system breaks down (or if the engine is turned
off), you can steer the vehicle manually, but it takes more effort.
If the steering wanders or pulls, check for:
²an improperly inflated tire
²uneven tire wear
²loose or worn suspension components
²loose or worn steering components
²improper steering alignment
A high crown in the road or high crosswinds may also make the steering
seem to wander/pull.
Driving
128
Page 131 of 256
WARNING: Do not drive your vehicle until you verify that the
brakelamps are working. Failure to check the brakelights and
subsequent use of the brakes may result in a rear-end collision.
WARNING: Always set the parking brake fully and make sure
the gearshift is latched in P (Park). Turn the ignition to the
LOCK position and remove the key whenever you leave your
vehicle.
WARNING: If the parking brake is fully released, but the brake
warning lamp remains illuminated, the brakes may not be
working properly. See your authorized Mazda dealership.
Driving with an automatic overdrive transaxle
Your automatic transaxle electronically controls the shift feel by using an
adaptive learning strategy. This feature is designed to optimize shift
smoothness.NOTE:It is normal for your transaxle to shift firmly during
the first few hundred kilometers (miles) of operation until the adaptive
strategy has been learned. The adaptive learning strategy is maintained
by power from the battery. When the battery is disconnected or a new
battery is installed, the transaxle must relearn its adaptive strategy.
Optimal shifting will resume within a few hundred kilometers (miles) of
operation.
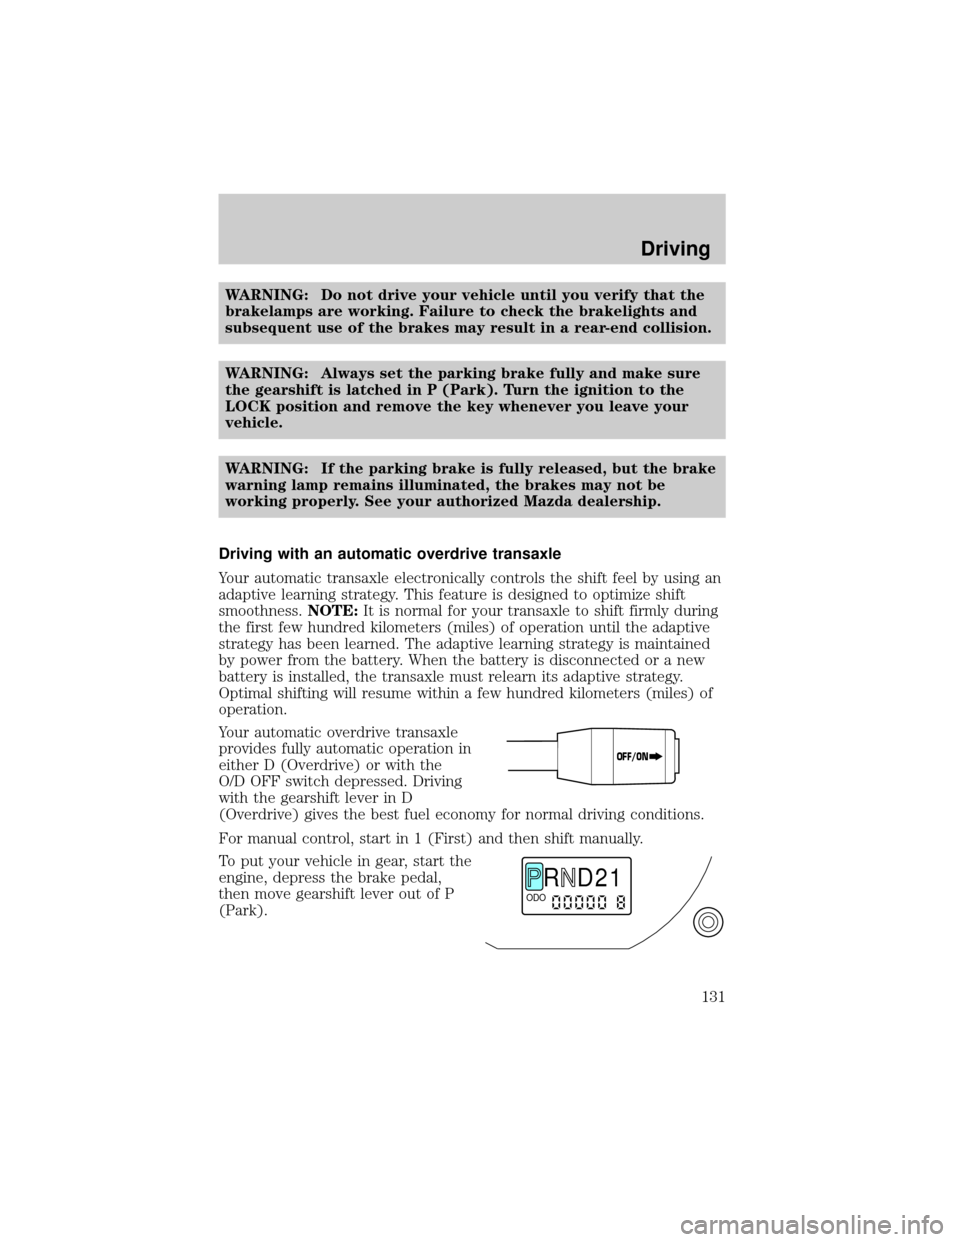
Your automatic overdrive transaxle
provides fully automatic operation in
either D (Overdrive) or with the
O/D OFF switch depressed. Driving
with the gearshift lever in D
(Overdrive) gives the best fuel economy for normal driving conditions.
For manual control, start in 1 (First) and then shift manually.
To put your vehicle in gear, start the
engine, depress the brake pedal,
then move gearshift lever out of P
(Park).
OFF/ON
R D 2 1ODO
Driving
131
Page 144 of 256

that does not normally require a lubricant change for the life of the
vehicle. Rear axle lubricant quantities should not need to be checked
unless a leak is suspected.
ªTread Lightlyº is an educational
program designed to increase public
awareness of land-use regulations
and responsibilities in our nations
wilderness areas. Mazda Motor
Corporation joins the U.S. Forest Service and the Bureau of Land
Management in encouraging you to help preserve our national forest and
other public and private lands by ªtreading lightly.º
Driving on hilly or sloping terrain
Although natural obstacles may make it necessary to travel diagonally up
or down a hill or steep incline, you should always try to drive straight up
or straight down.Avoid driving crosswise or turning on steep
slopes or hills. A danger lies in losing traction, slipping sideways and
possibly rolling over. Whenever driving on a hill, determine beforehand
the route you will use. Do not drive over the crest of a hill without
seeing what conditions are on the other side. Do not drive in reverse
over a hill without the aid of an observer.
When climbing a steep slope or hill,
start in a lower gear rather than
downshifting to a lower gear from a
higher gear once the ascent has
started. This reduces strain on the
engine and the possibility of stalling.
If you do stall out, Do not try to
turnaround because you might roll
over. It is better to back down to a
safe location.
Apply just enough power to the wheels to climb the hill. Too much
power will cause the tires to slip, spin or lose traction, resulting in loss of
vehicle control.
Driving
144
Page 148 of 256
and if the ignition system gets wet, your engine may stall. Water
may also enter your engine's air intake and severely damage your
engine.
If driving through deep or standing water is unavoidable, proceed very
slowly. Never drive through water that is higher than the bottom of the
hubs (for trucks) or the bottom of the wheel rims (for cars).
Once through the water, always try the brakes. Wet brakes do not stop
the vehicle as effectively as dry brakes. Drying can be improved by
moving your vehicle slowly while applying light pressure on the brake
pedal.
Driving through deep water where the transmission vent tube is
submerged may allow water into the transmission and cause
internal transmission damage. Have the fluid checked and, if
water is found, replace the fluid.
VEHICLE LOADING ± WITH AND WITHOUT A TRAILER
This section will guide you in the proper loading of your vehicle and/or
trailer, to keep your loaded vehicle weight within its design rating
capability, with or without a trailer. Properly loading your vehicle will
provide maximum return of vehicle design performance. Before loading
your vehicle, familiarize yourself with the following terms for determining
your vehicle's weight ratings, with or without a trailer, from the vehicle's
Safety Certification Label and Tire and Load Information Label:
Base Curb Weight± is the weight of the vehicle including a full tank of
fuel and all standard equipment. It does not include passengers, cargo, or
optional equipment.
Vehicle Curb Weight± is the weight of your new vehicle when you
picked it up from your dealer plus any aftermarket equipment.
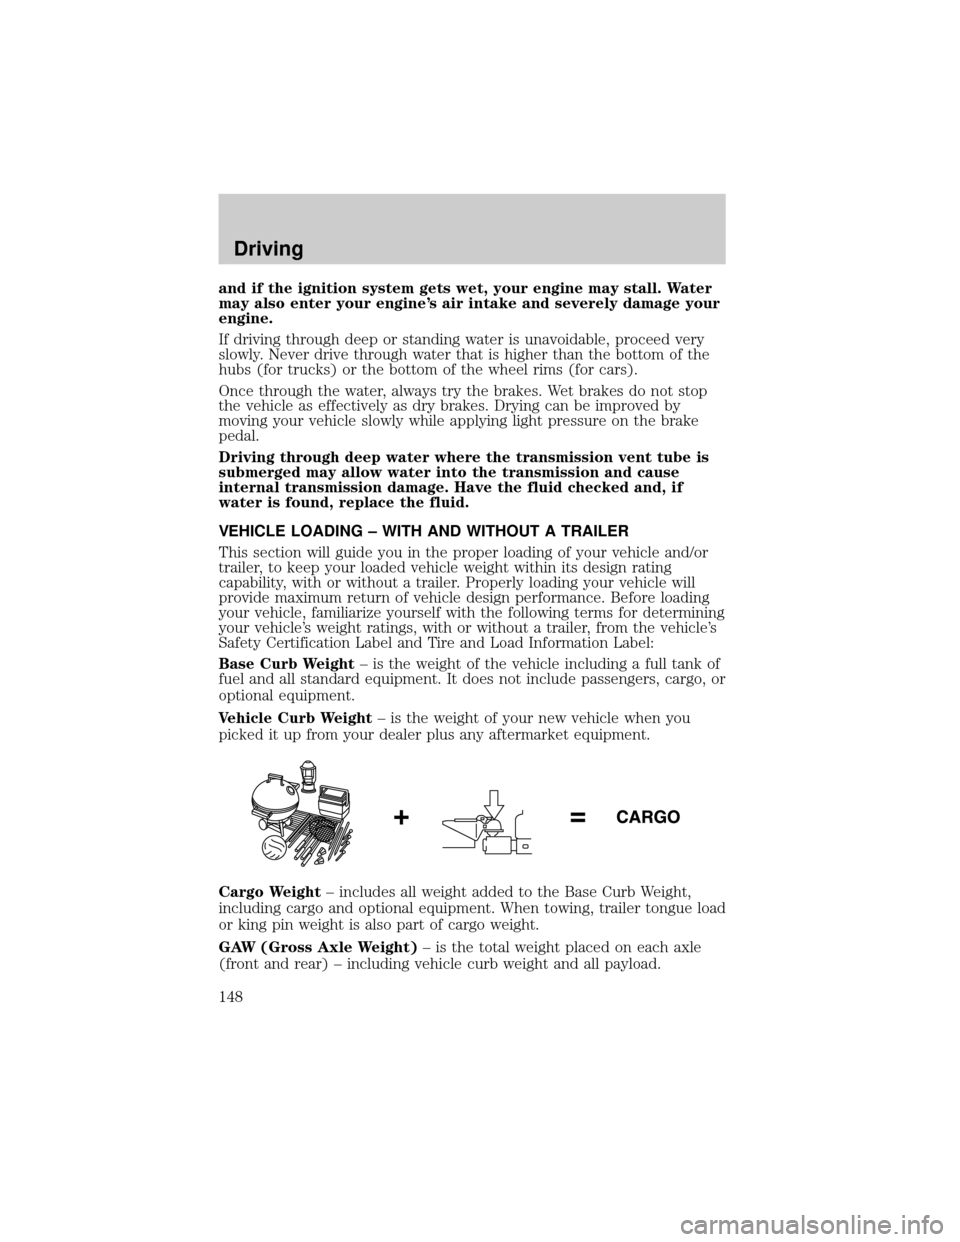
Cargo Weight± includes all weight added to the Base Curb Weight,
including cargo and optional equipment. When towing, trailer tongue load
or king pin weight is also part of cargo weight.
GAW (Gross Axle Weight)± is the total weight placed on each axle
(front and rear) ± including vehicle curb weight and all payload.
Driving
148
Page 172 of 256

Preparing your vehicle
When the battery is disconnected or a new battery is installed, the
transmission must relearn its shift strategy. As a result, the transmission
may have firm and/or soft shifts. This operation is considered normal and
will not affect function or durability of the transmission. Over time, the
adaptive learning process will fully update transmission operation.
²Use only a 12±volt supply to start your vehicle.
²Do not disconnect the battery of the disabled vehicle as this could
damage the vehicle's electrical system.
²Park the booster vehicle close to the hood of the disabled vehicle
making sure the two vehiclesdo nottouch. Set the parking brake on
both vehicles and stay clear of the engine cooling fan and other
moving parts.
²Check all battery terminals and remove any excessive corrosion before
you attach the battery cables. Ensure the vent caps are tight and
level.
²Turn the heater fan on in both vehicles to protect any electrical
surges. Turn all other accessories off.
Connecting the jumper cables
1. Connect the positive (+) jumper cable to the positive (+) terminal of
the discharged battery.
Note:In the illustrations,lightning boltsare used to designate the
assisting (boosting) battery.
+–+–
Roadside Emergencies
172