towing MERCEDES-BENZ AMG GT ROADSTER 2019 Owner's Manual
[x] Cancel search | Manufacturer: MERCEDES-BENZ, Model Year: 2019, Model line: AMG GT ROADSTER, Model: MERCEDES-BENZ AMG GT ROADSTER 2019Pages: 298, PDF Size: 7.9 MB
Page 5 of 298
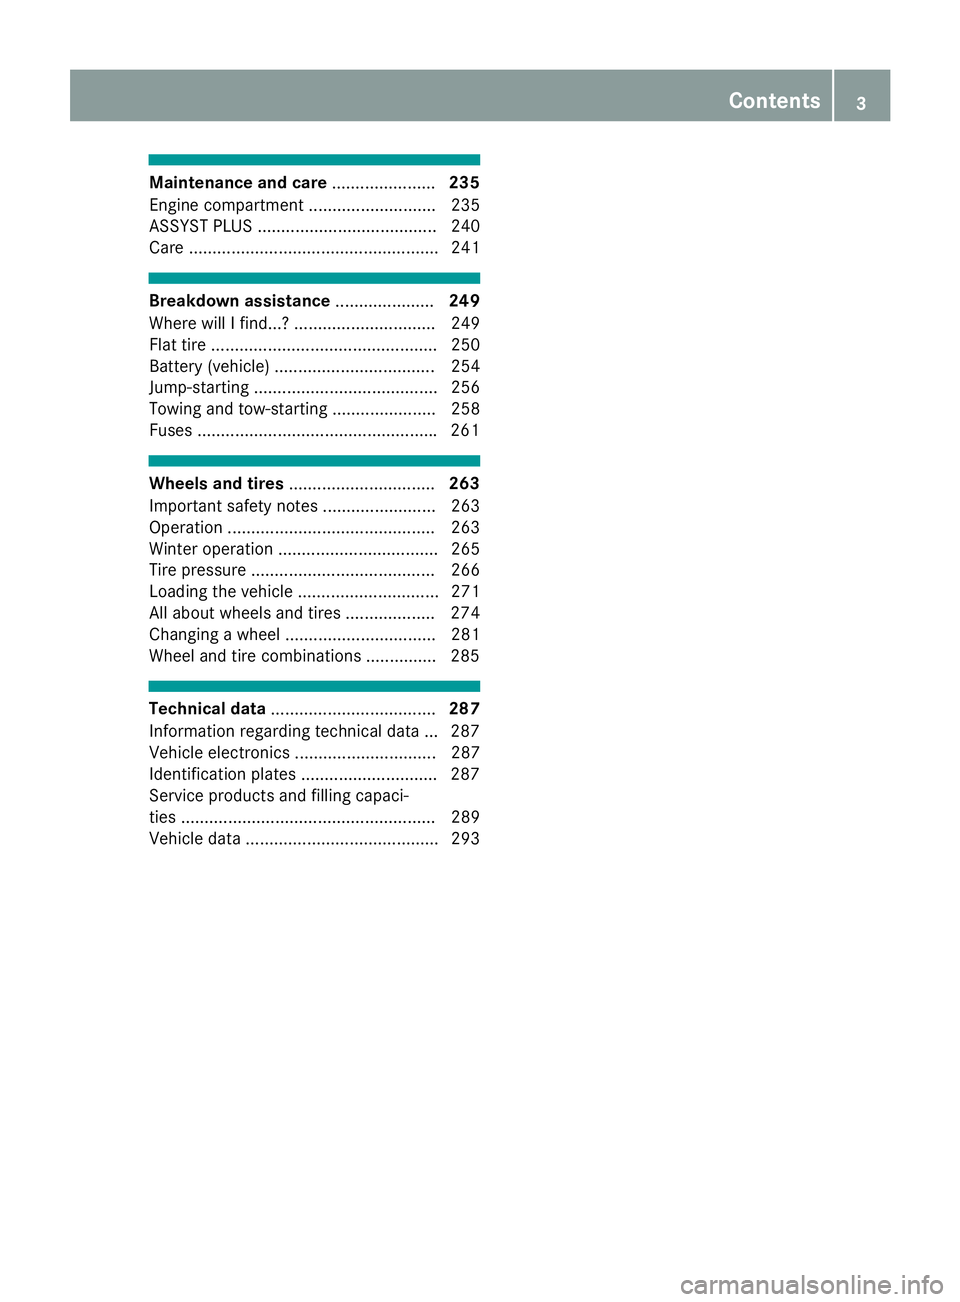
Maintenance and care
......................235
Engine compartment ........................... 235
ASSYST PLUS ...................................... 240
Care ..................................................... 241 Breakdown assistance
.....................249
Where will I find...? .............................. 249
Flat tire ................................................ 250
Battery (vehicle) .................................. 254
Jump-starting ....................................... 256
Towing and tow-starting ...................... 258
Fuses .................................................. .261 Wheels and tires
............................... 263
Important safety notes ........................ 263
Operation ............................................ 263
Winter operation .................................. 265
Tire pressure ....................................... 266
Loading the vehicle .............................. 271
All about wheels and tires ................... 274
Changing a wheel ................................ 281
Wheel and tire combinations .............. .285 Technical data
................................... 287
Information regarding technical data ... 287
Vehicle electronics .............................. 287
Identification plates ............................ .287
Service products and filling capaci-
ties ...................................................... 289
Vehicle data ......................................... 293 Contents
3
Page 8 of 298
B
Back button ....................................... 210
BAS (Brake Assist System) ................. 59
Basic settings
see Settings
Battery (SmartKey)
Checking .......................................... 69
Important safety notes .................... 68
Replacing ......................................... 69
Battery (vehicle)
Charging ........................................ 255
Display message ............................ 188
Important safety notes .................. 254
Jump starting ................................. 256
Replacing ....................................... 256
Belt
see Seat belts
Belt warning ......................................... 44
Blind Spot Assist
Activating/deactivating (on-
board computer) ............................ 168
Display message ............................ 190
Notes/function .............................. 155
Blower
see Climate control
Bluetooth ®
Searching for a mobile phone ........ 216
see also Digital Operator's Man-
ual .................................................. 209
Brake Assist System
see BAS (Brake Assist System)
Brake assistance
see BAS (Brake Assist System)
Brake fluid
Display message ............................ 180
Notes ............................................. 291
Brake force distribution
see EBD (electronic brake force
distribution)
Brakes
ABS .................................................. 58
AMG high-performance and
ceramic brakes .............................. 133
BAS .................................................. 59
Brake fluid (notes) ......................... 291
Braking assistance appropriate to
the situation ..................................... 61 Display message ............................ 175
EBD .................................................. 64
Hill start assist ............................... 112
Important safety notes .................. 132
Maintenance .................................. 133
Parking brake ................................ 129
Riding tips ...................................... 132
Warning lamp ................................. 200
Braking assistance appropriate to
the situation
Function/note s................................ 61
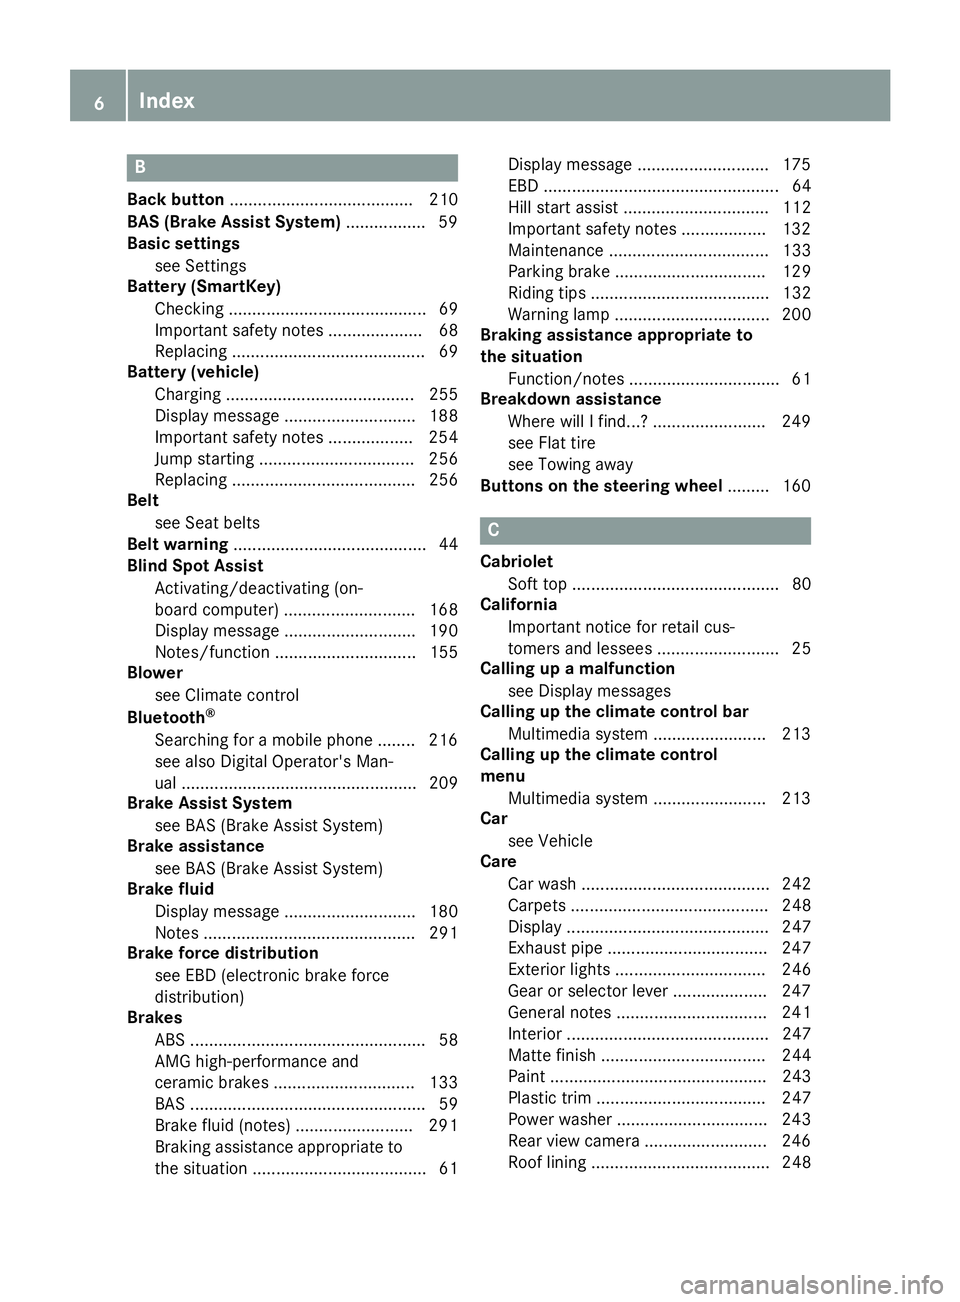
Breakdown assistance
Where will I find...? ........................ 249
see Flat tire
see Towing away
Buttons on the steering wheel ......... 160 C
Cabriolet Soft top ............................................ 80
California
Important notice for retail cus-
tomers and lessees .......................... 25
Calling up a malfunction
see Display messages
Calling up the climate control bar
Multimedia system ........................ 213
Calling up the climate control
menu
Multimedia system ........................ 213
Car
see Vehicle
Care
Car wash ........................................ 242
Carpets .......................................... 248
Display ........................................... 247
Exhaust pipe .................................. 247
Exterior lights ................................ 246
Gear or selector lever .................... 247
General notes ................................ 241
Interior ........................................... 247
Matte finish ................................... 244
Paint .............................................. 243
Plastic trim .................................... 247
Power washe r................................ 243
Rear view camera .......................... 246
Roof lining ...................................... 248 6
Index
Page 22 of 298
PSI (pounds per square inch) (def-
inition) ...........................................2 80
Replacing ....................................... 281
Service life ..................................... 264
Sidewall (definition) ....................... 280
Speed rating (definition) ................ 280
Storing .......................................... .282
Structure and characteristics
(definition) ..................................... 279
Summer tires in winter .................. 265
Temperature .................................. 275
TIN (Tire Identification Number)
(definition) ..................................... 281
Tire bead (definition) ..................... .280
Tire pressure (definition) ................ 280
Tire pressures (recommended) ...... 279
Tire size (data) ............................... 285
Tire size designation, load-bearing capacity, speed rating .................... 276
Tire tread ....................................... 264
Tire tread (definition) ..................... 280
Total load limit (definition) ............. 281
Traction ......................................... 275
Traction (definition) ....................... 281
Tread wea r..................................... 275
Uniform Tire Quality Grading
Standards ...................................... 274
Uniform Tire Quality Grading
Standards (definition) .................... 279
Wear indicator (definition) ............. 281
Wheel and tire combination ........... 285
Wheel rim (definition) .................... 279
see Flat tire
Tool
see Vehicle tool kit
Touchpad
Changing the station/music
track .............................................. 212
Character suggestions ................... 211
Deleting characters ....................... 211
Entering a space ............................ 211
Entering characters ....................... 211
Gesture control .............................. 211
Handwriting recognition ................ 211
Operating the touchpad ................. 211
Overview ........................................ 211
Quick access for Audio .................. 212
Switching ....................................... 211 Switching input line ....................... 211
Tow-starting
Emergency engine starting ............ 261
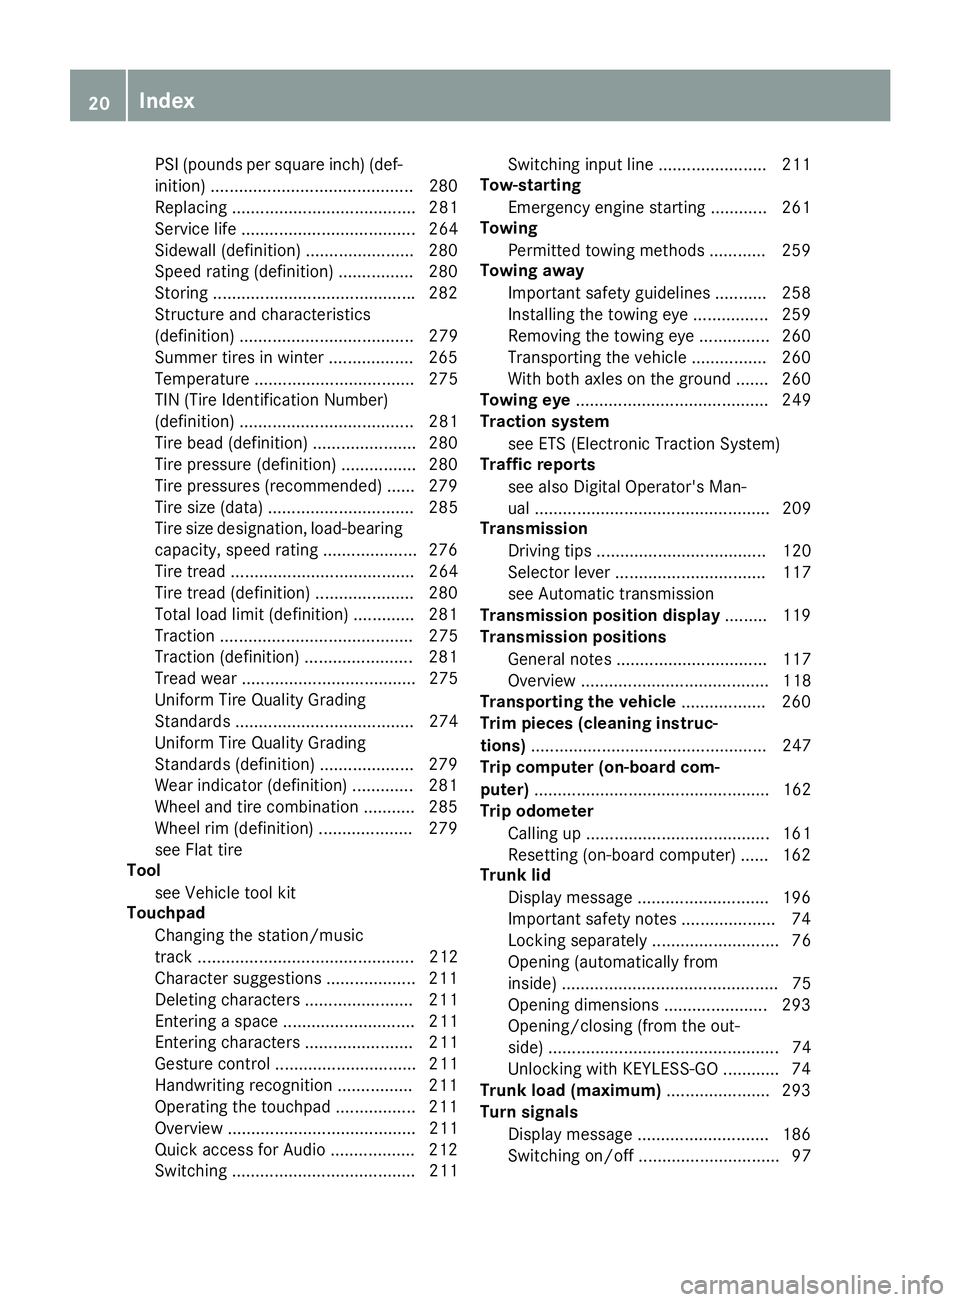
Towing
Permitted towing methods ............ 259
Towing away
Important safety guidelines ........... 258
Installing the towing eye ................ 259
Removing the towing eye ............... 260
Transporting the vehicle ................ 260
With both axles on the ground ....... 260
Towing eye ......................................... 249
Traction system
see ETS (Electronic Traction System)
Traffic reports
see also Digital Operator's Man-
ual .................................................. 209
Transmission
Driving tips .................................... 120
Selector lever ................................ 117
see Automatic transmission
Transmission position display ......... 119
Transmission positions
General notes ................................ 117
Overview ........................................ 118
Transporting the vehicle .................. 260
Trim pieces (cleaning instruc-
tions) .................................................. 247
Trip computer (on-board com-
puter) .................................................. 162
Trip odometer
Calling up ....................................... 161
Resetting (on-board computer) ...... 162
Trunk lid
Display message ............................ 196
Important safety notes .................... 74
Locking separately ........................... 76
Opening (automatically from
inside) .............................................. 75
Opening dimensions ...................... 293
Opening/closing (from the out-
side) ................................................. 74
Unlocking with KEYLESS-GO ............ 74
Trunk load (maximum) ...................... 293
Turn signals
Display message ............................ 186
Switching on/of f.............................. 97 20
Index
Page 23 of 298
Two-way radio
Frequencies ................................... 287
Installation ..................................... 287
Transmission output (maximum) .... 287
Type identification plate
see Vehicle identification plate U
Unlocking Emergency unlocking ....................... 73
From inside the vehicle (central
unlocking button) ............................. 72
USB devices
Connecting to the Media Inter-
face .............................................. .217 V
Vanity mirror (in the sun visor) ........221
Vehicle
Correct use ...................................... 28
Data acquisition ............................... 29
Display message ............................ 194
Electronics ..................................... 287
Equipment ....................................... 25
Individual settings .......................... 168
Limited Warranty ............................ .29
Loading .......................................... 271
Locking (in an emergency) ............... 73
Locking (SmartKey) .......................... 66
Lowering ........................................ 285
Maintenance .................................... 26
Operating safety .............................. 26
Parking .......................................... 127
Parking for a long period ................ 130
Pulling away ................................... 112
Raising ........................................... 282
Reporting problems ......................... 28
Securing from rolling away ............ 282
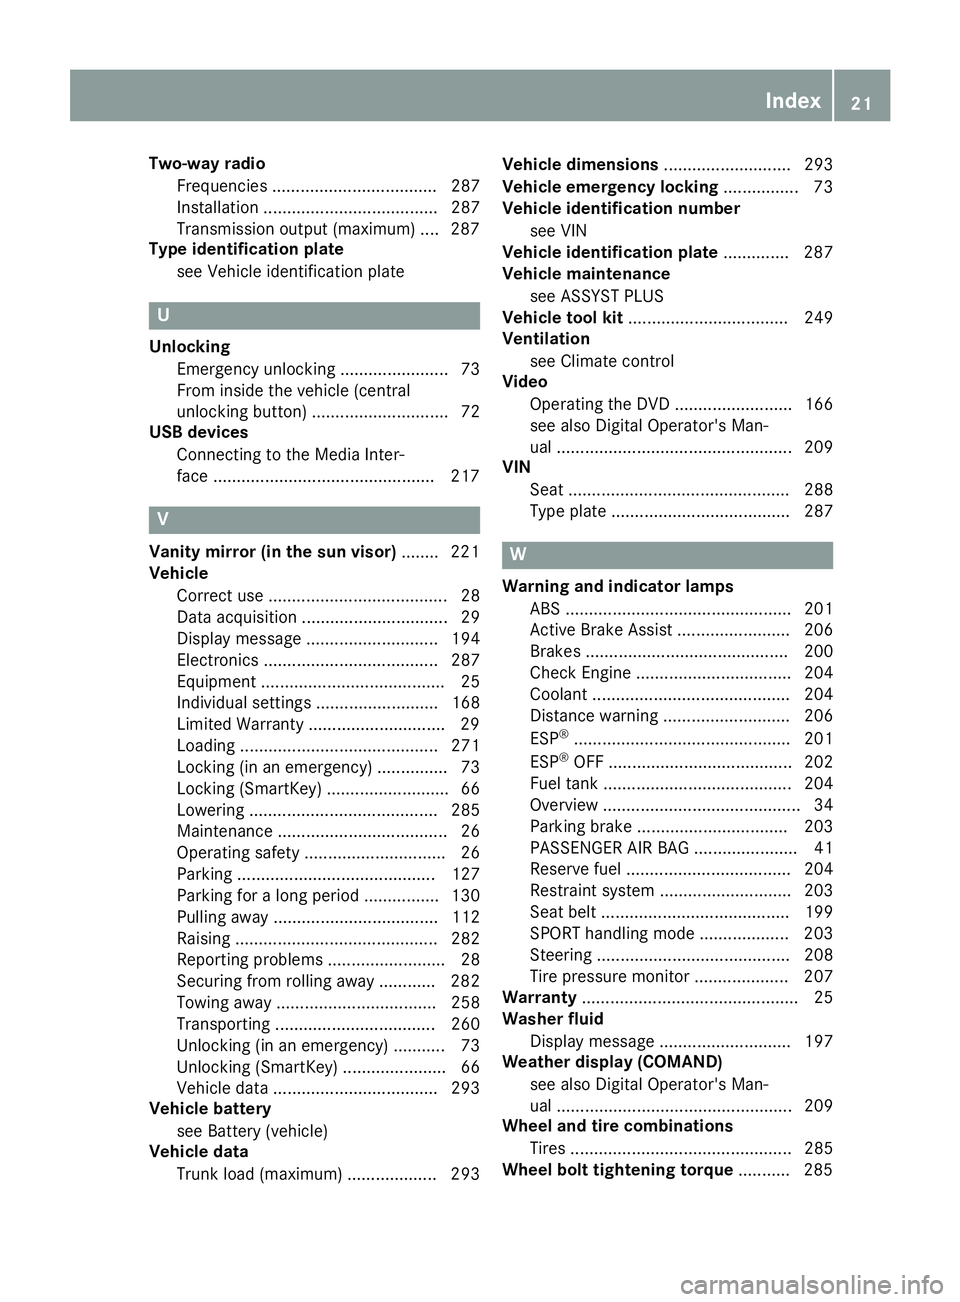
Towing away .................................. 258
Transporting .................................. 260
Unlocking (in an emergency) ........... 73
Unlocking (SmartKey )...................... 66
Vehicle data ................................... 293
Vehicle battery
see Battery (vehicle)
Vehicle data
Trunk load (maximum) ................... 293 Vehicle dimensions
........................... 293
Vehicle emergency locking ................ 73
Vehicle identification number
see VIN
Vehicle identification plate .............. 287
Vehicle maintenance
see ASSYST PLUS
Vehicle tool kit .................................. 249
Ventilation
see Climate control
Video
Operating the DVD ......................... 166
see also Digital Operator's Man-
ual .................................................. 209
VIN
Seat ............................................... 288
Type plate ...................................... 287 W
Warning and indicator lamps ABS ................................................ 201
Active Brake Assist ........................ 206
Brakes ........................................... 200
Check Engine ................................. 204
Coolant .......................................... 204
Distance warning ........................... 206
ESP ®
.............................................. 201
ESP ®
OFF ....................................... 202
Fuel tank ........................................ 204
Overview .......................................... 34
Parking brake ................................ 203
PASSENGER AIR BAG ...................... 41
Reserve fue l................................... 204
Restraint system ............................ 203
Seat belt ........................................ 199
SPORT handling mod e................... 203
Steering ......................................... 208
Tire pressure monitor .................... 207
Warranty .............................................. 25
Washer fluid
Display message ............................ 197
Weather display (COMAND)
see also Digital Operator's Man-
ual.................................................. 209
Wheel and tire combinations
Tires ............................................... 285
Wheel bolt tightening torque ........... 285 Index
21
Page 54 of 298
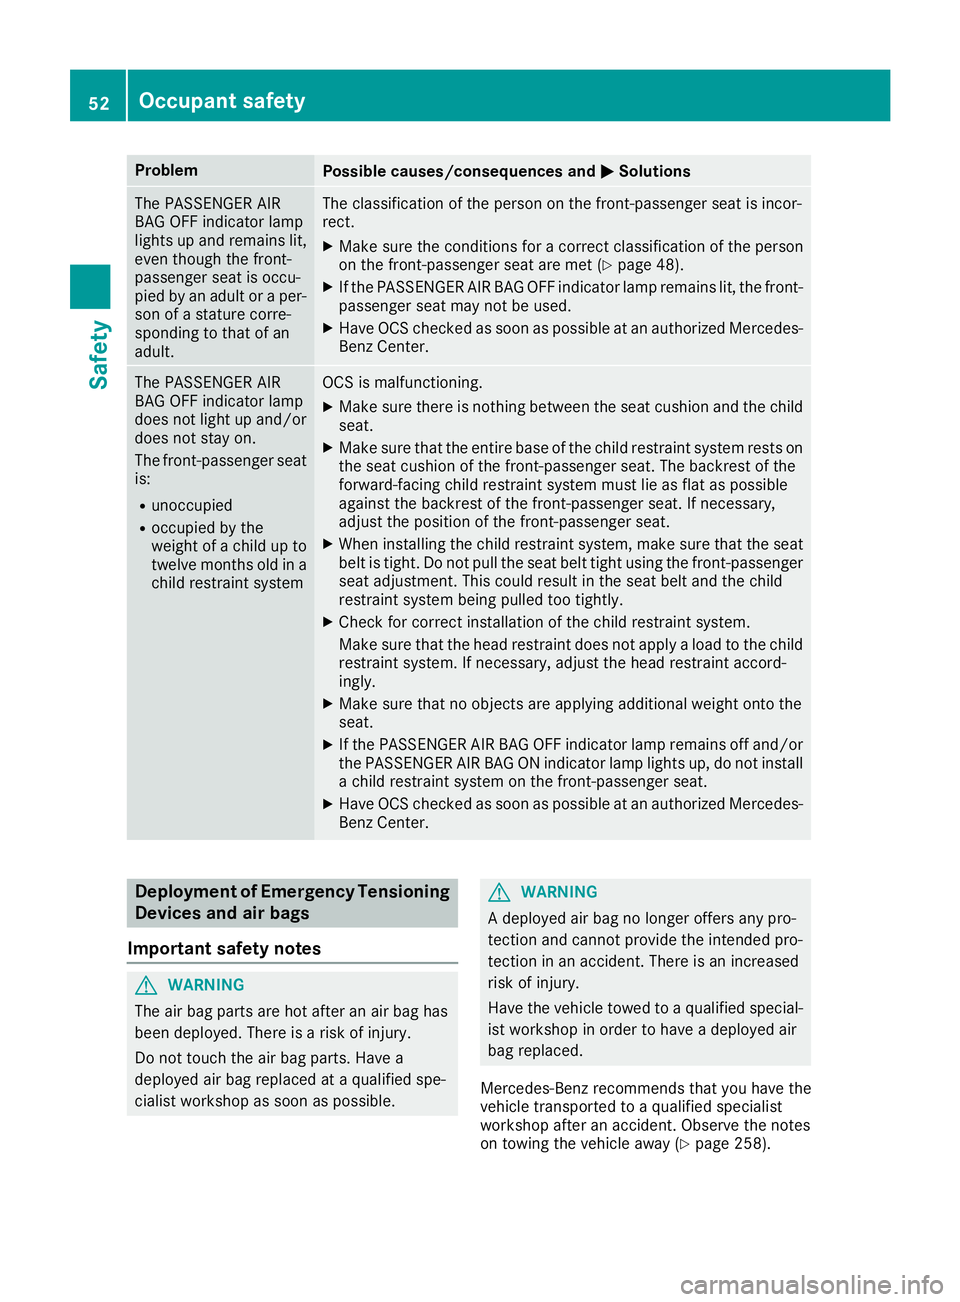
Problem
Possible causes/consequences and
0050
0050Solutions The PASSENGER AIR
BAG OFF indicator lamp
lights up and remains lit,
even though the front-
passenger seat is occu-
pied by an adult or a per-
son of a stature corre-
sponding to that of an
adult. The classification of the person on the front-passenger seat is incor-
rect.
X Make sure the conditions for a correct classification of the person
on the front-passenger seat are met (Y page 48).
X If the PASSENGER AIR BAG OFF indicator lamp remains lit, the front-
passenger seat may not be used.
X Have OCS checked as soon as possible at an authorized Mercedes-
Benz Center. The PASSENGER AIR
BAG OFF indicator lamp
does not light up and/or
does not stay on.
The front-passenger seatis:
R unoccupied
R occupied by the
weight of a child up to
twelve months old in achild restraint system OCS is malfunctioning.
X Make sure there is nothing between the seat cushion and the child
seat.
X Make sure that the entire base of the child restraint system rests on
the seat cushion of the front-passenger seat. The backrest of the
forward-facing child restraint system must lie as flat as possible
against the backrest of the front-passenger seat. If necessary,
adjust the position of the front-passenger seat.
X When installing the child restraint system, make sure that the seat
belt is tight. Do not pull the seat belt tight using the front-passenger
seat adjustment. This could result in the seat belt and the child
restraint system being pulled too tightly.
X Check for correct installation of the child restraint system.
Make sure that the head restraint does not apply a load to the child restraint system. If necessary, adjust the head restraint accord-
ingly.
X Make sure that no objects are applying additional weight onto the
seat.
X If the PASSENGER AIR BAG OFF indicator lamp remains off and/or
the PASSENGER AIR BAG ON indicator lamp lights up, do not install a child restraint system on the front-passenger seat.
X Have OCS checked as soon as possible at an authorized Mercedes-
Benz Center. Deployment of Emergency Tensioning
Devices and air bags
Important safety notes G
WARNING
The air bag parts are hot after an air bag has
been deployed. There is a risk of injury.
Do not touch the air bag parts. Have a
deployed air bag replaced at a qualified spe-
cialist workshop as soon as possible. G
WARNING
A deployed air bag no longer offers any pro-
tection and cannot provide the intended pro-
tection in an accident. There is an increased
risk of injury.
Have the vehicle towed to a qualified special- ist workshop in order to have a deployed air
bag replaced.
Mercedes-Benz recommends that you have the
vehicle transported to a qualified specialist
workshop after an accident. Observe the notes
on towing the vehicle away (Y page 258).52
Occupant safetySafety
Page 58 of 298
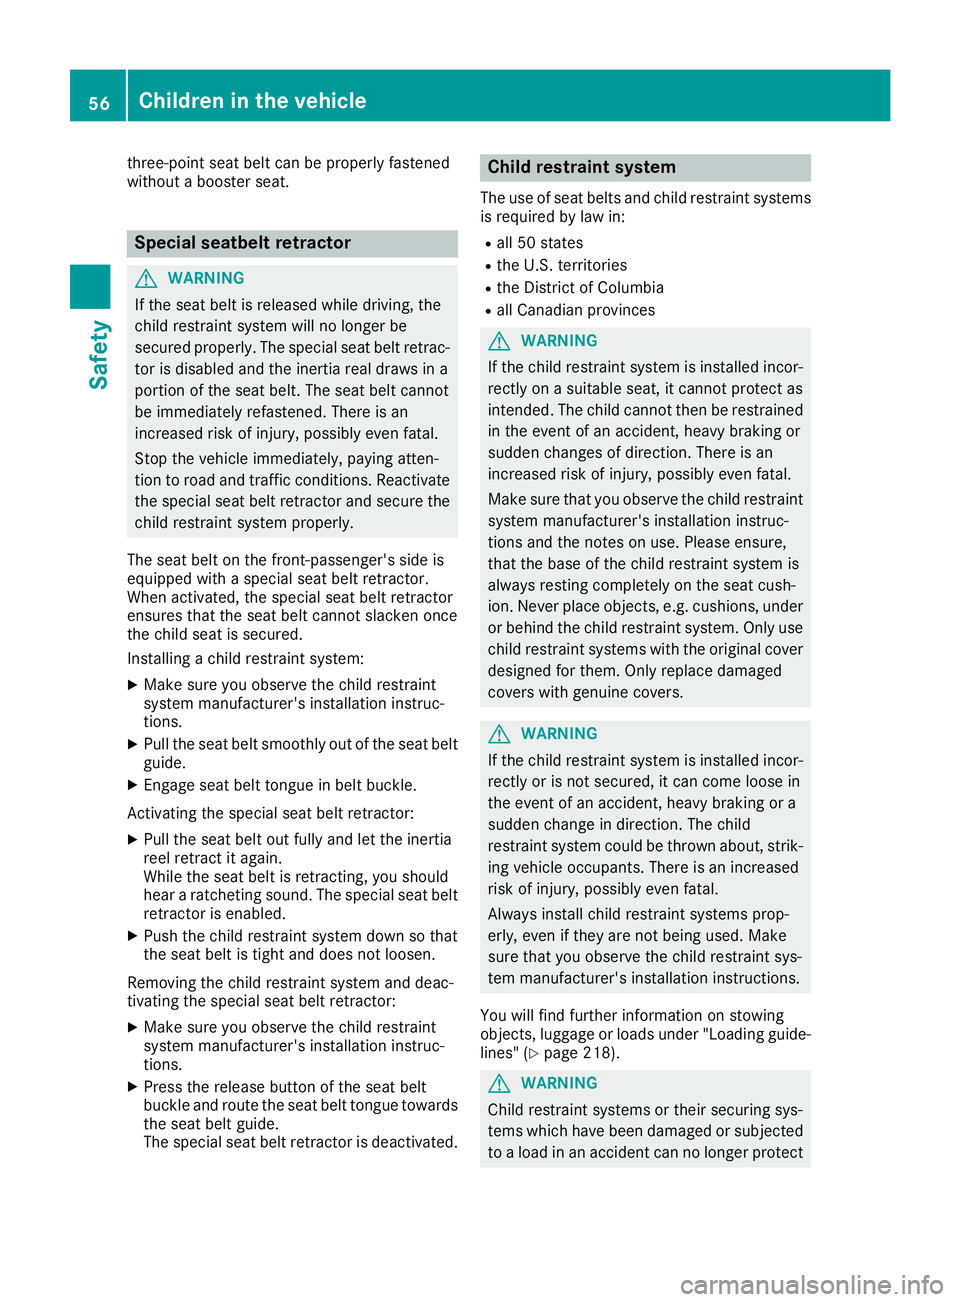
three-point seat belt can be properly fastened
without a booster seat. Special seatbelt retractor
G
WARNING
If the seat belt is released while driving, the
child restraint system will no longer be
secured properly. The special seat belt retrac- tor is disabled and the inertia real draws in a
portion of the seat belt. The seat belt cannot
be immediately refastened. There is an
increased risk of injury, possibly even fatal.
Stop the vehicle immediately, paying atten-
tion to road and traffic conditions. Reactivate
the special seat belt retractor and secure the
child restraint system properly.
The seat belt on the front-passenger's side is
equipped with a special seat belt retractor.
When activated, the special seat belt retractor
ensures that the seat belt cannot slacken once
the child seat is secured.
Installing a child restraint system:
X Make sure you observe the child restraint
system manufacturer's installation instruc-
tions.
X Pull the seat belt smoothly out of the seat belt
guide.
X Engage seat belt tongue in belt buckle.
Activating the special seat belt retractor: X Pull the seat belt out fully and let the inertia
reel retract it again.
While the seat belt is retracting, you should
hear a ratcheting sound. The special seat belt
retractor is enabled.
X Push the child restraint system down so that
the seat belt is tight and does not loosen.
Removing the child restraint system and deac-
tivating the special seat belt retractor:
X Make sure you observe the child restraint
system manufacturer's installation instruc-
tions.
X Press the release button of the seat belt
buckle and route the seat belt tongue towards
the seat belt guide.
The special seat belt retractor is deactivated. Child restraint system
The use of seat belts and child restraint systems
is required by law in:
R all 50 states
R the U.S. territories
R the District of Columbia
R all Canadian provinces G
WARNING
If the child restraint system is installed incor- rectly on a suitable seat, it cannot protect as
intended. The child cannot then be restrained in the event of an accident, heavy braking or
sudden changes of direction. There is an
increased risk of injury, possibly even fatal.
Make sure that you observe the child restraint
system manufacturer's installation instruc-
tions and the notes on use. Please ensure,
that the base of the child restraint system is
always resting completely on the seat cush-
ion. Never place objects, e.g. cushions, under or behind the child restraint system. Only use
child restraint systems with the original cover
designed for them. Only replace damaged
covers with genuine covers. G
WARNING
If the child restraint system is installed incor- rectly or is not secured, it can come loose in
the event of an accident, heavy braking or a
sudden change in direction. The child
restraint system could be thrown about, strik- ing vehicle occupants. There is an increased
risk of injury, possibly even fatal.
Always install child restraint systems prop-
erly, even if they are not being used. Make
sure that you observe the child restraint sys-
tem manufacturer's installation instructions.
You will find further information on stowing
objects, luggage or loads under "Loading guide-
lines" (Y page 218). G
WARNING
Child restraint systems or their securing sys-
tems which have been damaged or subjected to a load in an accident can no longer protect 56
Children in the vehicleSafety
Page 120 of 298
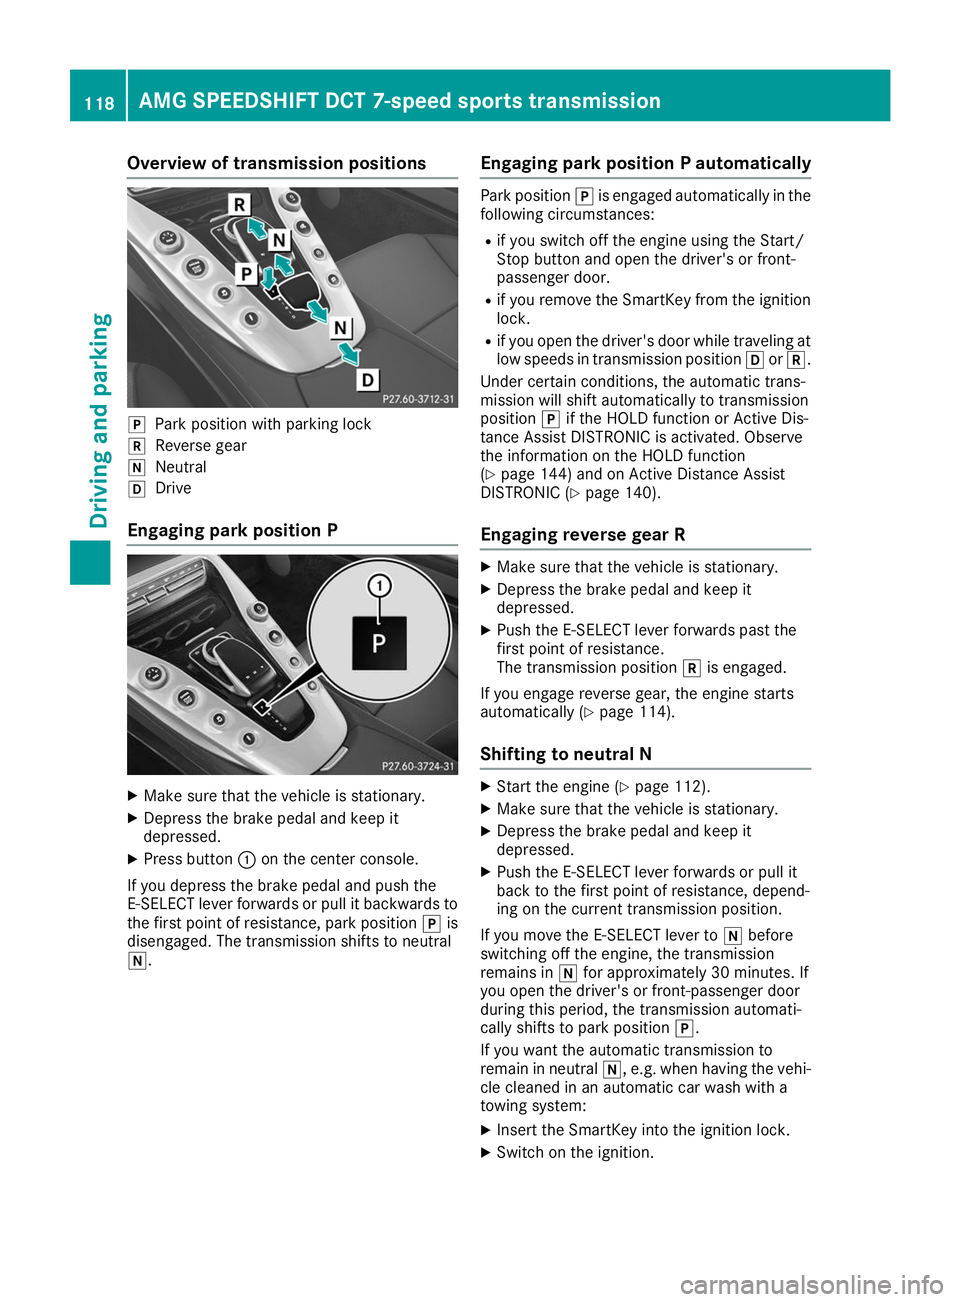
Overview of transmission positions
005D
Park position with parking lock
005E Reverse gear
005C Neutral
005B Drive
Engaging park position P X
Make sure that the vehicle is stationary.
X Depress the brake pedal and keep it
depressed.
X Press button 0043on the center console.
If you depress the brake pedal and push the
E‑SELECT lever forwards or pull it backwards to
the first point of resistance, park position 005Dis
disengaged. The transmission shifts to neutral
005C. Engaging park position P automatically Park position
005Dis engaged automatically in the
following circumstances:
R if you switch off the engine using the Start/
Stop button and open the driver's or front-
passenger door.
R if you remove the SmartKey from the ignition
lock.
R if you open the driver's door while traveling at
low speeds in transmission position 005Bor005E.
Under certain conditions, the automatic trans-
mission will shift automatically to transmission
position 005Dif the HOLD function or Active Dis-
tance Assist DISTRONIC is activated. Observe
the information on the HOLD function
(Y page 144) and on Active Distance Assist
DISTRONIC (Y page 140).
Engaging reverse gear R X
Make sure that the vehicle is stationary.
X Depress the brake pedal and keep it
depressed.
X Push the E-SELECT lever forwards past the
first point of resistance.
The transmission position 005Eis engaged.
If you engage reverse gear, the engine starts
automatically (Y page 114).
Shifting to neutral N X
Start the engine (Y page 112).
X Make sure that the vehicle is stationary.
X Depress the brake pedal and keep it
depressed.
X Push the E-SELECT lever forwards or pull it
back to the first point of resistance, depend-
ing on the current transmission position.
If you move the E-SELECT lever to 005Cbefore
switching off the engine, the transmission
remains in 005Cfor approximately 30 minutes. If
you open the driver's or front-passenger door
during this period, the transmission automati-
cally shifts to park position 005D.
If you want the automatic transmission to
remain in neutral 005C, e.g. when having the vehi-
cle cleaned in an automatic car wash with a
towing system:
X Insert the SmartKey into the ignition lock.
X Switch on the ignition. 118
AMG SPEEDSHIFT DCT 7-speed sports transmissionDriving and parking
Page 139 of 298
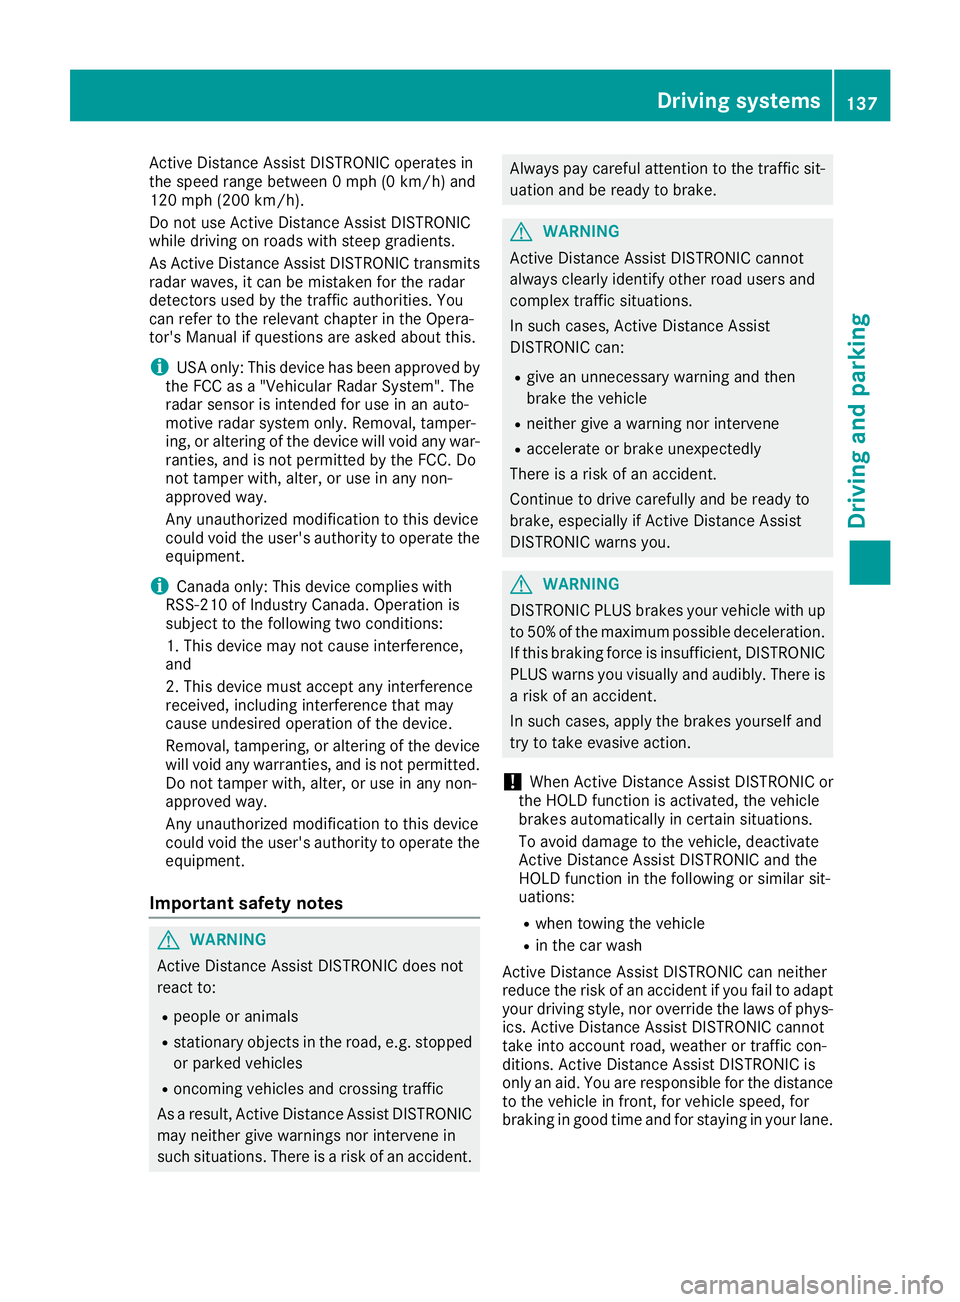
Active Distance Assist DISTRONIC operates in
the speed range between 0 mph (0 km/h) and
120 mph (200 km/h).
Do not use Active Distance Assist DISTRONIC
while driving on roads with steep gradients.
As Active Distance Assist DISTRONIC transmits
radar waves, it can be mistaken for the radar
detectors used by the traffic authorities. You
can refer to the relevant chapter in the Opera-
tor's Manual if questions are asked about this.
i USA only: This device has been approved by
the FCC as a "Vehicular Radar System". The
radar sensor is intended for use in an auto-
motive radar system only. Removal, tamper-
ing, or altering of the device will void any war-
ranties, and is not permitted by the FCC. Do
not tamper with, alter, or use in any non-
approved way.
Any unauthorized modification to this device
could void the user's authority to operate the equipment.
i Canada only: This device complies with
RSS-210 of Industry Canada. Operation is
subject to the following two conditions:
1. This device may not cause interference,
and
2. This device must accept any interference
received, including interference that may
cause undesired operation of the device.
Removal, tampering, or altering of the device will void any warranties, and is not permitted.
Do not tamper with, alter, or use in any non-
approved way.
Any unauthorized modification to this device
could void the user's authority to operate the
equipment.
Important safety notes G
WARNING
Active Distance Assist DISTRONIC does not
react to:
R people or animals
R stationary objects in the road, e.g. stopped
or parked vehicles
R oncoming vehicles and crossing traffic
As a result, Active Distance Assist DISTRONIC
may neither give warnings nor intervene in
such situations. There is a risk of an accident. Always pay careful attention to the traffic sit-
uation and be ready to brake. G
WARNING
Active Distance Assist DISTRONIC cannot
always clearly identify other road users and
complex traffic situations.
In such cases, Active Distance Assist
DISTRONIC can:
R give an unnecessary warning and then
brake the vehicle
R neither give a warning nor intervene
R accelerate or brake unexpectedly
There is a risk of an accident.
Continue to drive carefully and be ready to
brake, especially if Active Distance Assist
DISTRONIC warns you. G
WARNING
DISTRONIC PLUS brakes your vehicle with up to 50% of the maximum possible deceleration.
If this braking force is insufficient, DISTRONIC
PLUS warns you visually and audibly. There is a risk of an accident.
In such cases, apply the brakes yourself and
try to take evasive action.
! When Active Distance Assist DISTRONIC or
the HOLD function is activated, the vehicle
brakes automatically in certain situations.
To avoid damage to the vehicle, deactivate
Active Distance Assist DISTRONIC and the
HOLD function in the following or similar sit-
uations:
R when towing the vehicle
R in the car wash
Active Distance Assist DISTRONIC can neither
reduce the risk of an accident if you fail to adapt
your driving style, nor override the laws of phys- ics. Active Distance Assist DISTRONIC cannot
take into account road, weather or traffic con-
ditions. Active Distance Assist DISTRONIC is
only an aid. You are responsible for the distance
to the vehicle in front, for vehicle speed, for
braking in good time and for staying in your lane. Driving systems
137Driving and parking Z
Page 147 of 298
To avoid damage to the vehicle, deactivate
Active Distance Assist DISTRONIC and the
HOLD function in the following or similar sit-
uations:
R when towing the vehicle
R in the car wash
Deactivate the HOLD function (Y page 145).
Activation conditions You can activate the HOLD function if all of the
following conditions are fulfilled:
R
the vehicle is stationary.
R the engine is running or if it has been auto-
matically switched off by the ECO start/stop
function.
R the driver's door is closed or your seat belt is
fastened.
R the electric parking brake is released.
R the transmission is in position 005B,005Eor005C.
Activating the HOLD function X
Make sure that the activation conditions are
met.
X Depress the brake pedal.
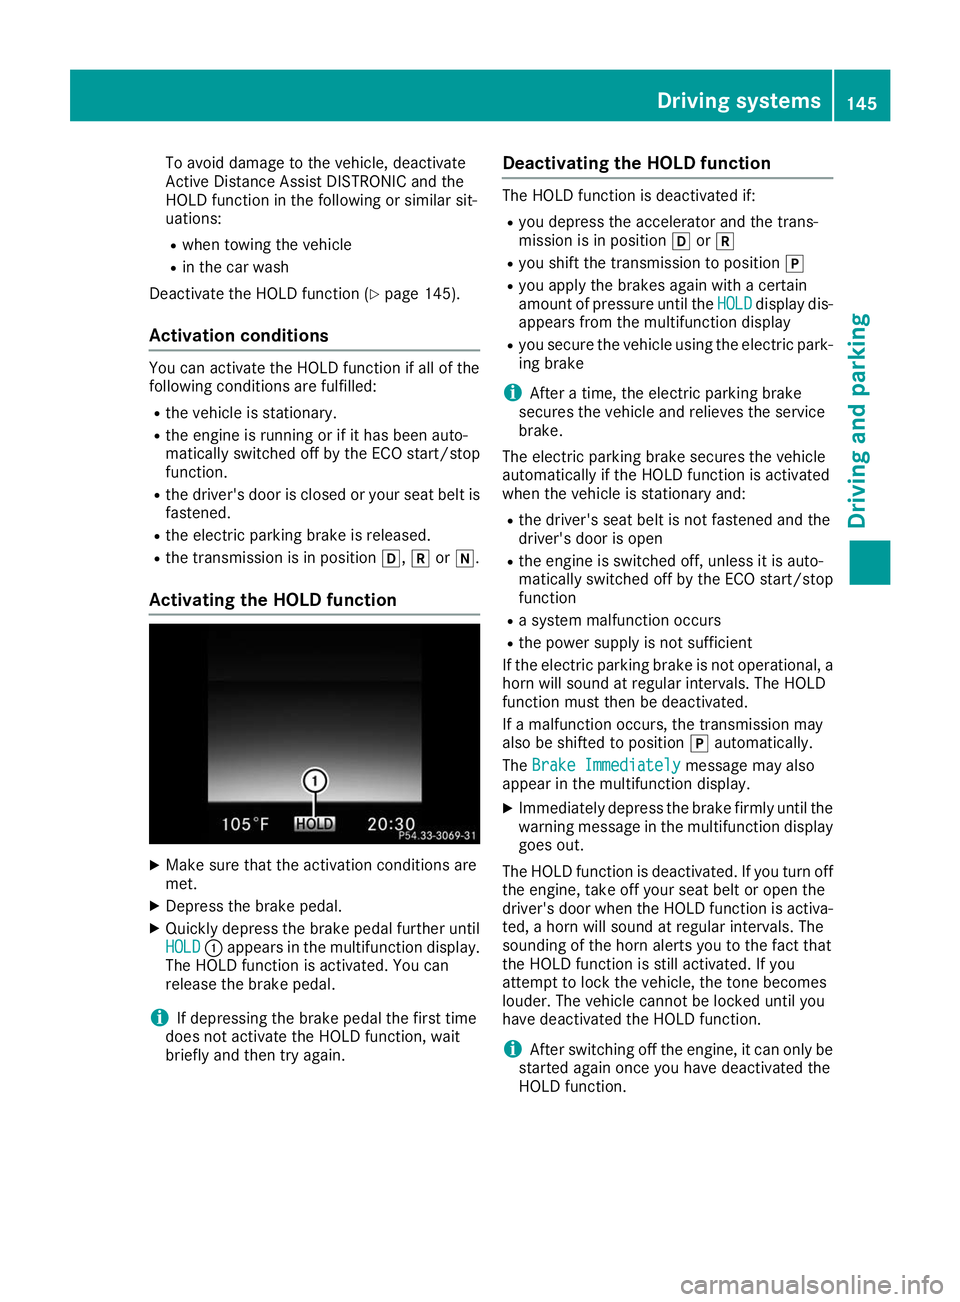
X Quickly depress the brake pedal further until
HOLD HOLD 0043appears in the multifunction display.
The HOLD function is activated. You can
release the brake pedal.
i If depressing the brake pedal the first time
does not activate the HOLD function, wait
briefly and then try again. Deactivating the HOLD function The HOLD function is deactivated if:
R you depress the accelerator and the trans-
mission is in position 005Bor005E
R you shift the transmission to position 005D
R you apply the brakes again with a certain
amount of pressure until the HOLD
HOLD display dis-
appears from the multifunction display
R you secure the vehicle using the electric park-
ing brake
i After a time, the electric parking brake
secures the vehicle and relieves the service
brake.
The electric parking brake secures the vehicle
automatically if the HOLD function is activated
when the vehicle is stationary and:
R the driver's seat belt is not fastened and the
driver's door is open
R the engine is switched off, unless it is auto-
matically switched off by the ECO start/stop
function
R a system malfunction occurs
R the power supply is not sufficient
If the electric parking brake is not operational, a
horn will sound at regular intervals. The HOLD
function must then be deactivated.
If a malfunction occurs, the transmission may
also be shifted to position 005Dautomatically.
The Brake Immediately Brake Immediately message may also
appear in the multifunction display.
X Immediately depress the brake firmly until the
warning message in the multifunction display
goes out.
The HOLD function is deactivated. If you turn off the engine, take off your seat belt or open the
driver's door when the HOLD function is activa- ted, a horn will sound at regular intervals. The
sounding of the horn alerts you to the fact that
the HOLD function is still activated. If you
attempt to lock the vehicle, the tone becomes
louder. The vehicle cannot be locked until you
have deactivated the HOLD function.
i After switching off the engine, it can only be
started again once you have deactivated the
HOLD function. Driving systems
145Driving and parking Z
Page 227 of 298
multifunction display. The audio output is
muted.
If a connection can be established, the Call Call
Connected
Connected message appears in the multifunc-
tion display.
If a mobile phone network and GPS reception
are available, the system transfers data to the
Mercedes-Benz Customer Assistance Center,
for example:
R Current location of the vehicle
R Vehicle identification number
The multimedia system display indicates that a
call is active. During the call, you can change to
the navigation menu by pressing the NAVI but-
ton on the multimedia system, for example.
Voice output is not available in this case.
A voice connection is established between the
Mercedes-Benz Customer Assistance Center
and the vehicle occupants.
From the remote malfunction diagnosis, the
Mercedes-Benz Customer Assistance Center
can ascertain the nature of the problem
(Y page 228).
The Mercedes-Benz Customer Assistance Cen-
ter either sends a qualified Mercedes-Benz tech-
nician or makes arrangements for your vehicle
to be transported to the nearest Mercedes-Benz
Service Center.
You may be charged for services such as repair work and/or towing.
You can find more information in the separate
mbrace manual.
The system has not been able to initiate a Road- side Assistance call, if:
R the 0052 indicator lamp for the Roadside
Assistance call button is flashing continu-
ously.
R no voice connection to the Mercedes-Benz
Customer Assistance Center was estab-
lished.
This can occur if the relevant mobile phone net-
work is not available, for example.
The Call Failed
Call Failed message appears in the mul-
tifunction display.
X To end a call: press the0076button on the
multifunction steering wheel.
or X Press the corresponding multimedia system
button for ending a phone call. Info call button
X
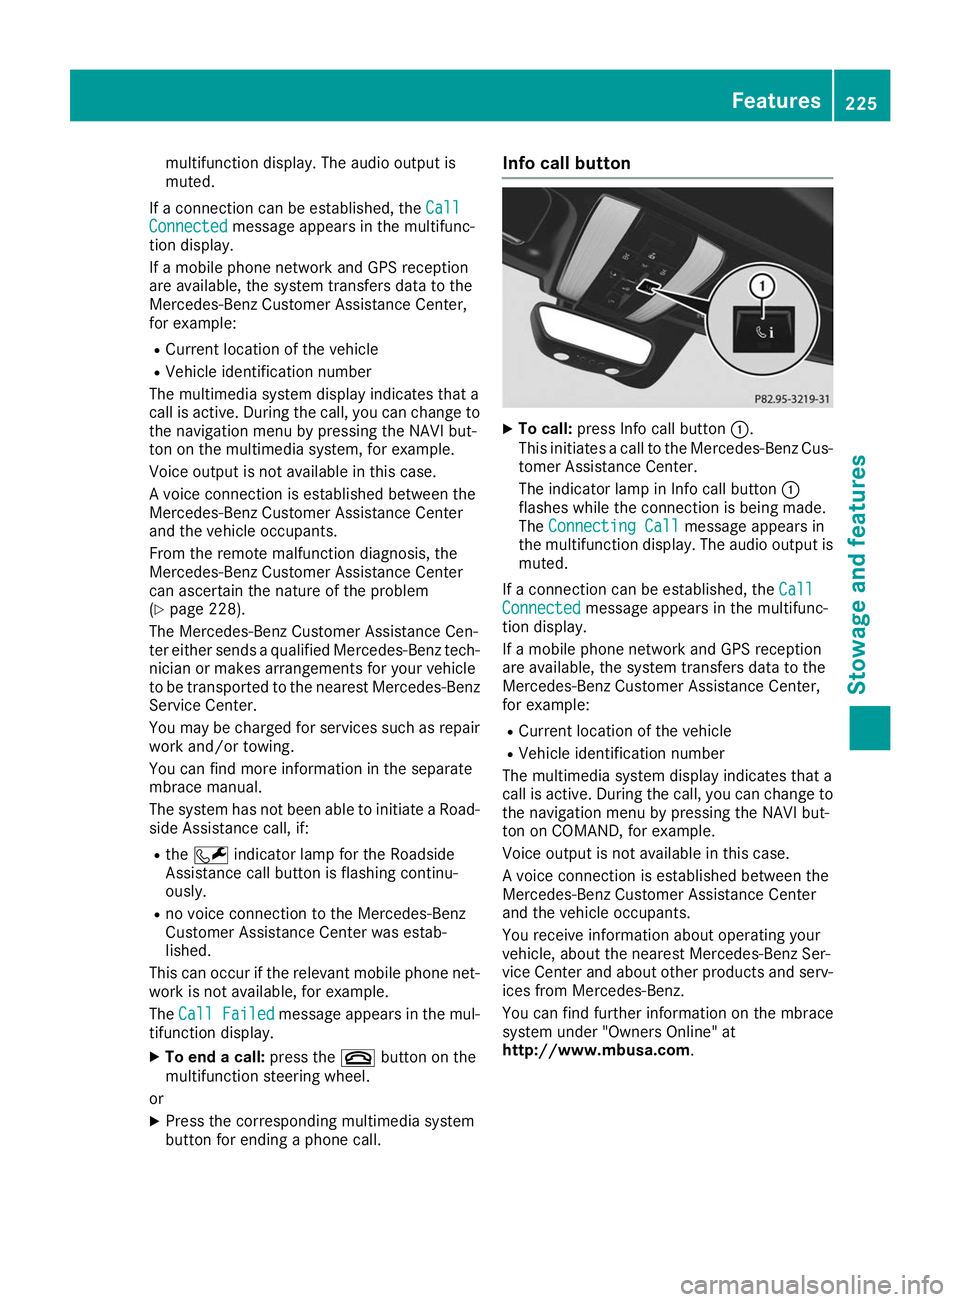
To call: press Info call button 0043.
This initiates a call to the Mercedes-Benz Cus-
tomer Assistance Center.
The indicator lamp in Info call button 0043
flashes while the connection is being made.
The Connecting Call Connecting Call message appears in
the multifunction display. The audio output is muted.
If a connection can be established, the Call
Call
Connected
Connected message appears in the multifunc-
tion display.
If a mobile phone network and GPS reception
are available, the system transfers data to the
Mercedes-Benz Customer Assistance Center,
for example:
R Current location of the vehicle
R Vehicle identification number
The multimedia system display indicates that a
call is active. During the call, you can change to
the navigation menu by pressing the NAVI but-
ton on COMAND, for example.
Voice output is not available in this case.
A voice connection is established between the
Mercedes-Benz Customer Assistance Center
and the vehicle occupants.
You receive information about operating your
vehicle, about the nearest Mercedes-Benz Ser-
vice Center and about other products and serv- ices from Mercedes-Benz.
You can find further information on the mbrace
system under "Owners Online" at
http://www.mbusa.com . Features
225Stowage and features Z