MERCEDES-BENZ B-Class ELECTRIC 2016 W246 Owner's Manual
Manufacturer: MERCEDES-BENZ, Model Year: 2016, Model line: B-Class ELECTRIC, Model: MERCEDES-BENZ B-Class ELECTRIC 2016 W246Pages: 342, PDF Size: 7.53 MB
Page 191 of 342
low, the display shows a vehicle being
charged instead of the approximate range.
The specified values for range depend on
the driving program selected and may vary
as a result of:
Rhigher and lower outside temperatures
Rthe style of driving
Ractivated electrical consumers
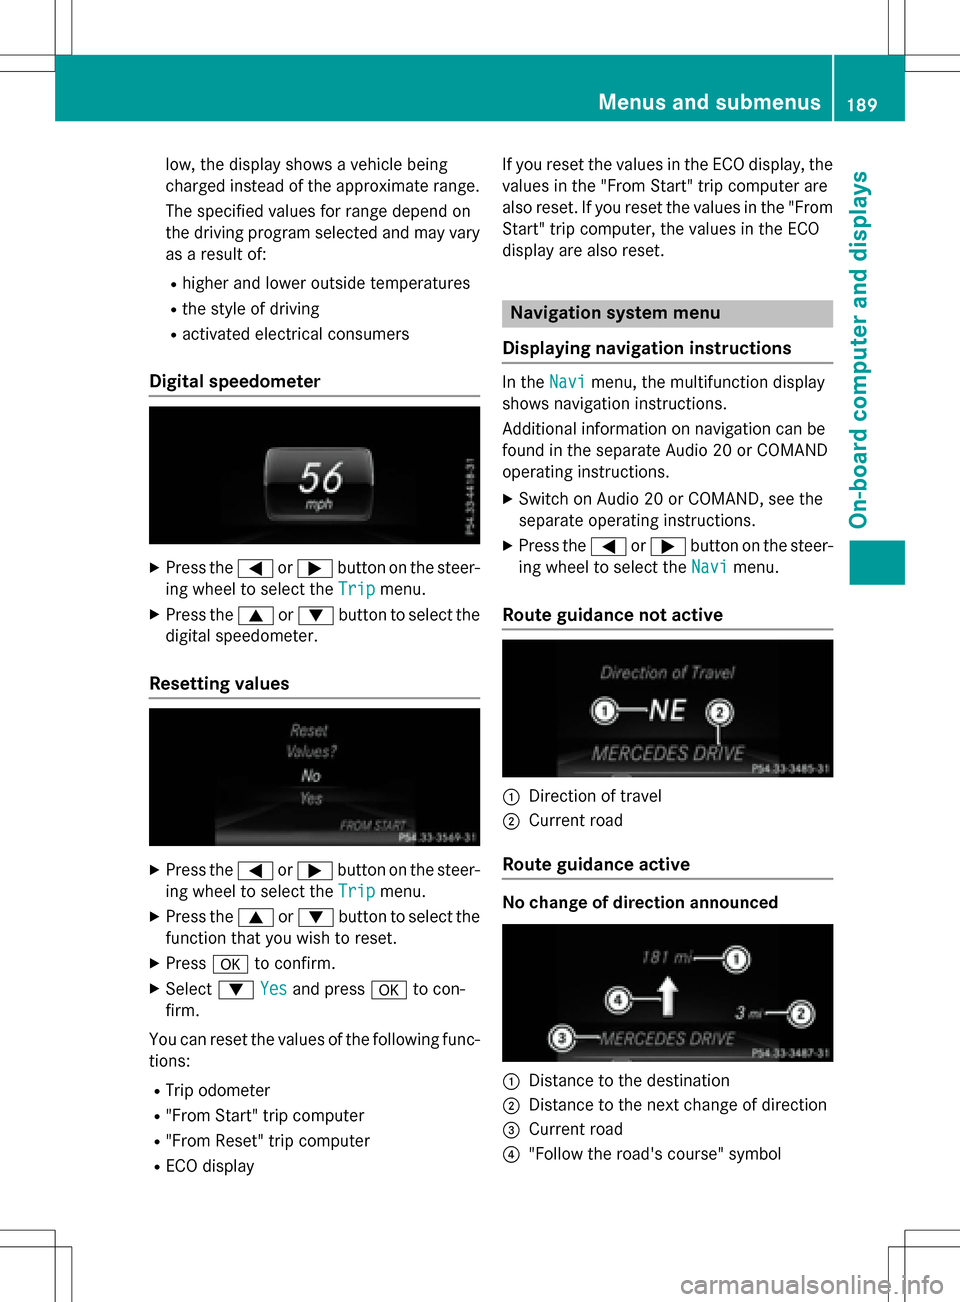
Digital speedometer
XPress the=or; button on the steer-
ing wheel to select the Trip
menu.
XPress the9or: button to select the
digital speedometer.
Resetting values
XPress the =or; button on the steer-
ing wheel to select the Trip
menu.
XPress the9or: button to select the
function that you wish to reset.
XPress ato confirm.
XSelect :Yesand press ato con-
firm.
You can reset the values of the following func- tions:
RTrip odometer
R"From Start" trip computer
R"From Reset" trip computer
RECO display If you reset the values in the ECO display, the
values in the "From Start" trip computer are
also reset. If you reset the values in the "From
Start" trip computer, the values in the ECO
display are also reset.
Navigation system menu
Displaying navigation instructions
In the Navimenu, the multifunction display
shows navigation instructions.
Additional information on navigation can be
found in the separate Audio 20 or COMAND
operating instructions.
XSwitch on Audio 20 or COMAND, see the
separate operating instructions.
XPress the =or; button on the steer-
ing wheel to select the Navi
menu.
Route guidance not active
:Direction of travel
;Current road
Route guidance active
No change of direction announced
:Distance to the destination
;Distance to the next change of direction
=Current road
?"Follow the road's course" symbol
Menus and submenus189
On-board computer and displays
Z
Page 192 of 342
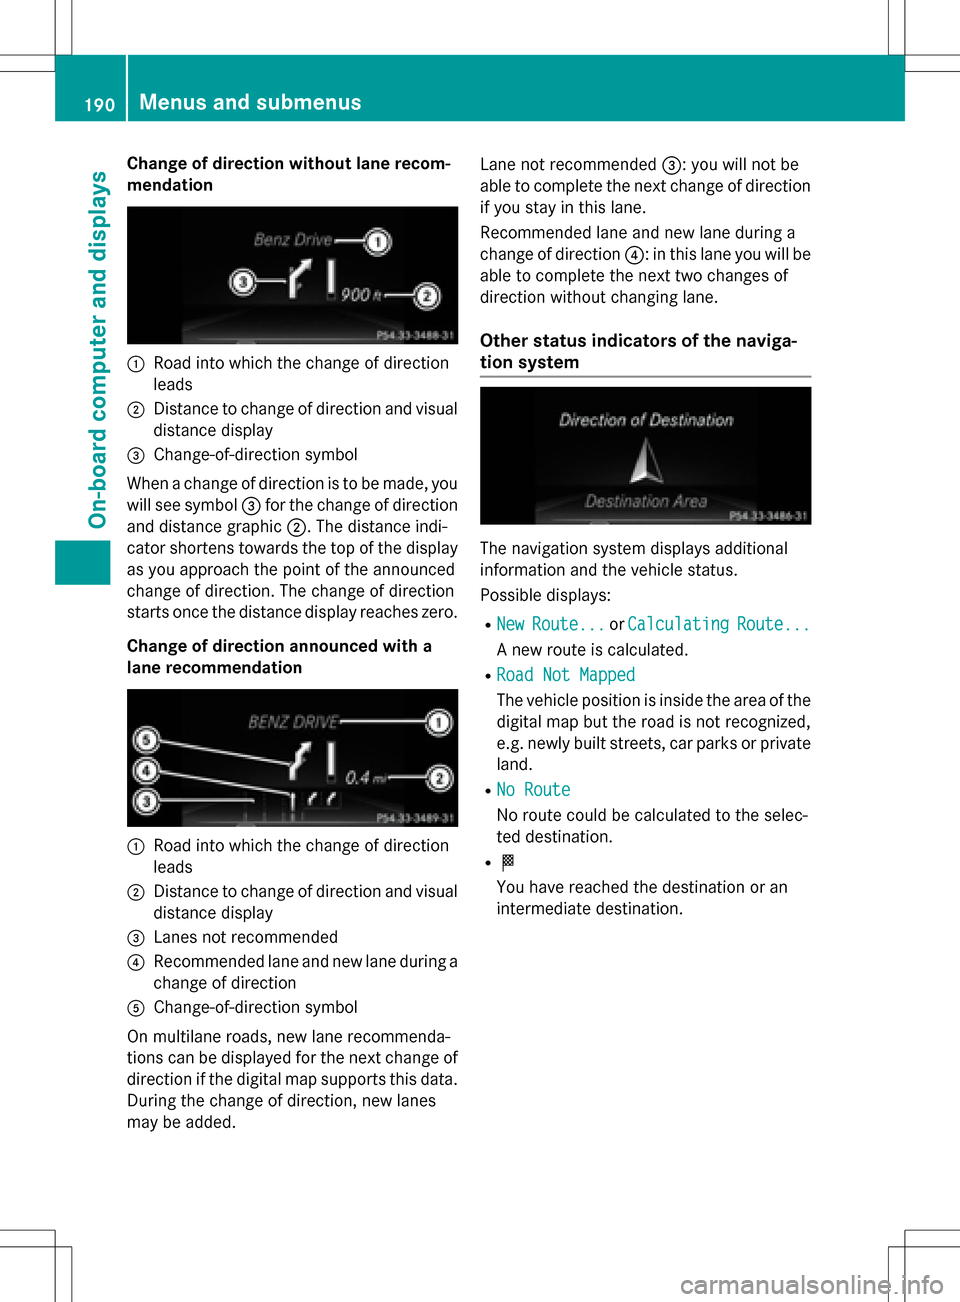
Change of direction without lane recom-
mendation
:Road into which the change of direction
leads
;Distance to change of direction and visual
distance display
=Change-of-direction symbol
When a change of direction is to be made, you
will see symbol =for the change of direction
and distance graphic ;. The distance indi-
cator shortens towards the top of the display
as you approach the point of the announced
change of direction. The change of direction
starts once the distance display reaches zero.
Change of direction announced with a
lane recommendation
:Road into which the change of direction
leads
;Distance to change of direction and visual
distance display
=Lanes not recommended
?Recommended lane and new lane during a
change of direction
AChange-of-direction symbol
On multilane roads, new lane recommenda-
tions can be displayed for the next change of
direction if the digital map supports this data.
During the change of direction, new lanes
may be added. Lane not recommended
=: you will not be
able to complete the next change of direction
if you stay in this lane.
Recommended lane and new lane during a
change of direction ?: in this lane you will be
able to complete the next two changes of
direction without changing lane.
Other status indicators of the naviga-
tion system
The navigation system displays additional
information and the vehicle status.
Possible displays:
RNewRoute...or CalculatingRoute...
A new route is calculated.
RRoad Not Mapped
The vehicle position is inside the area of the
digital map but the road is not recognized,
e.g. newly built streets, car parks or private
land.
RNo Route
No route could be calculated to the selec-
ted destination.
RO
You have reached the destination or an
intermediate destination.
190Menus and submenus
On-board computer and displays
Page 193 of 342
Audio menu
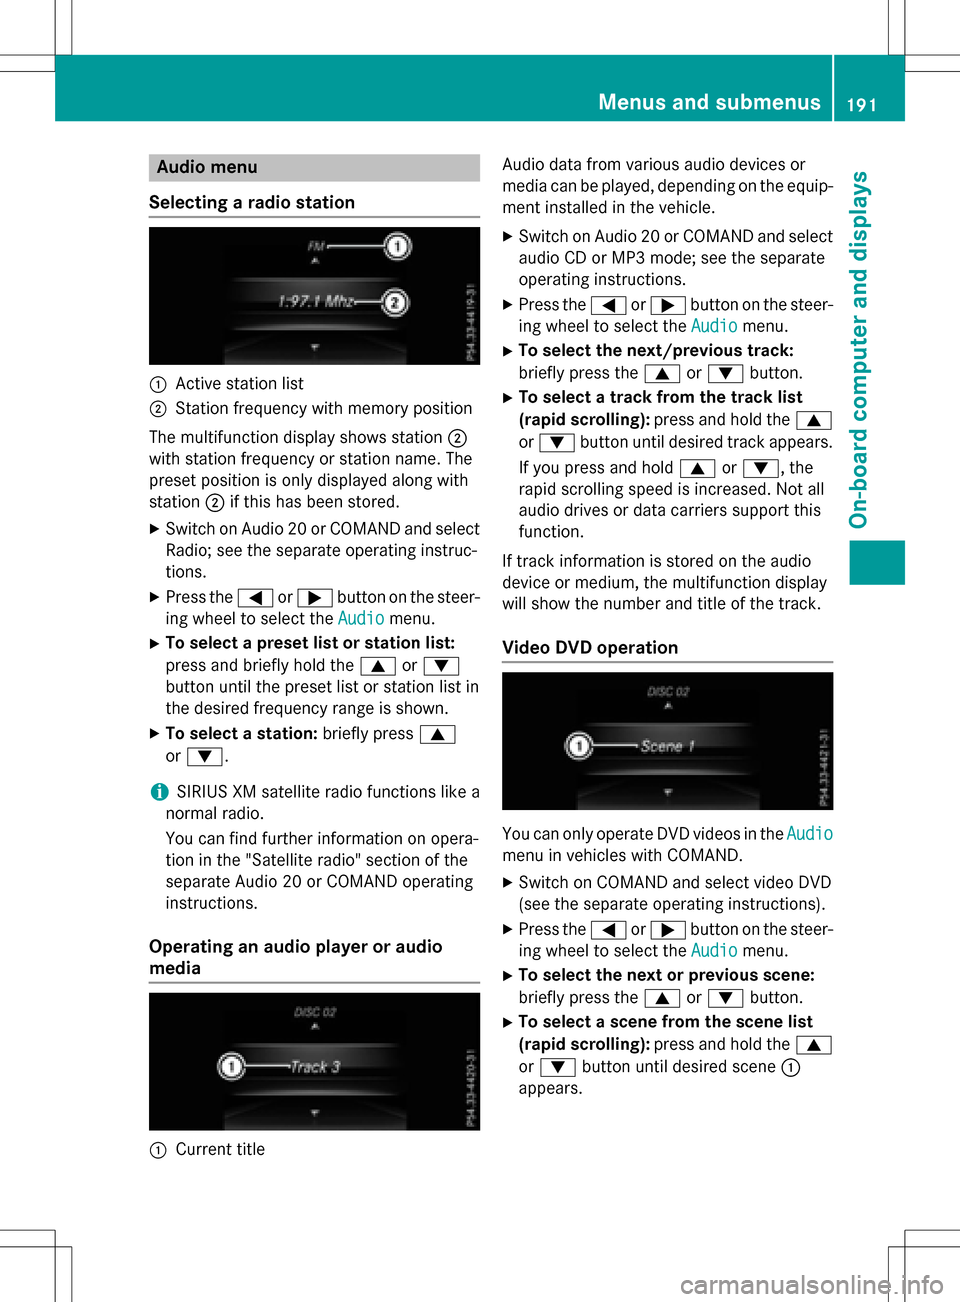
Selecting a radio station
:Active station list
;Station frequency with memory position
The multifunction display shows station ;
with station frequency or station name. The
preset position is only displayed along with
station ;if this has been stored.
XSwitc h on Audio 20 or COMAND and select
Radio; see the separate operating instruc-
tions.
XPress the =or; button on the steer-
ing wheel to select the Audio
menu.
XTo select a preset list or station list:
press and briefly hold the 9or:
button until the preset list or station list in
th e desired frequency range is shown.
XTo select a station: briefly press9
or :.
iSIRIUS XM satellite radio functions likea
normal radio.
You can find further information on opera-
tion in the "Satellite radio" section of the
separate Audio 20 or COMAND operating
instructions.
Operating an audio player or audio
media
:Current title Audio data from various audio devices or
media can be played, depending on the equip-
ment installed in the vehicle.
XSwitc h on Audio 20 or COMAND and select
audio CD or MP3 mode; see the separate
operating instructions.
XPress the= or; button on the steer-
ing wheel to select the Audio
menu.
XTo select the next/previous track:
briefly press the9 or: button.
XTo select a track from the track list
(rapid scrolling): press and hold the 9
or : button until desired track appears.
If you press and hold 9or:, the
rapid scrolling speed is increased. Not all
audio drives or data carriers support this
function.
If track information is stored on the audio
device or medium, the multifunction display
will show the number and title of the track.
Video DVD operation
You can only operate DVD videos in the Audio
menu in vehicles with COMAND.
XSwitch on COMAND and select video DVD
(see the separate operating instructions).
XPress the= or; button on the steer-
ing wheel to select the Audio
menu.
XTo select the next or previous scene:
briefly press the9or: button.
XTo select a scene from the scene list
(rapid scrolling): press and hold the 9
or : button until desired scene :
appears.
Menus and submenus19 1
On-board computer and displays
Z
Page 194 of 342
Telephone menu
Introduction
GWARNING
If you operate information systems and com-
munication equipment integrated in the vehi-
cle while driving, you will be distracted from
traffic conditions. You could also lose control
of the vehicle. There is a risk of an accident.
Only operate the equipment when the traffic
situation permits. If you are not sure that this
is possible, park the vehicle paying attention
to traffic conditions and operate the equip-
ment when the vehicle is stationary.
When telephoning, you must observe the
legal requirements for the country in which
you are currently driving.
XSwitch on the mobile phone (see the man-
ufacturer’s operating instructions).
XSwitch on Audio 20 or COMAND, see the
separate operating instructions.
XEstablish a Bluetooth®connection to Audio
20 or COMAND, see the separate operating
instructions.
XPress the =or; button on the steer-
ing wheel to select the Tel
menu.
You will see one of the following display mes-
sages in the multifunction display:
RPhone READYor the name of the network
provider: the mobile phone has found a
network and is ready to receive.
RPhone No Service: there is no network
available or the mobile phone is searching
for a network.
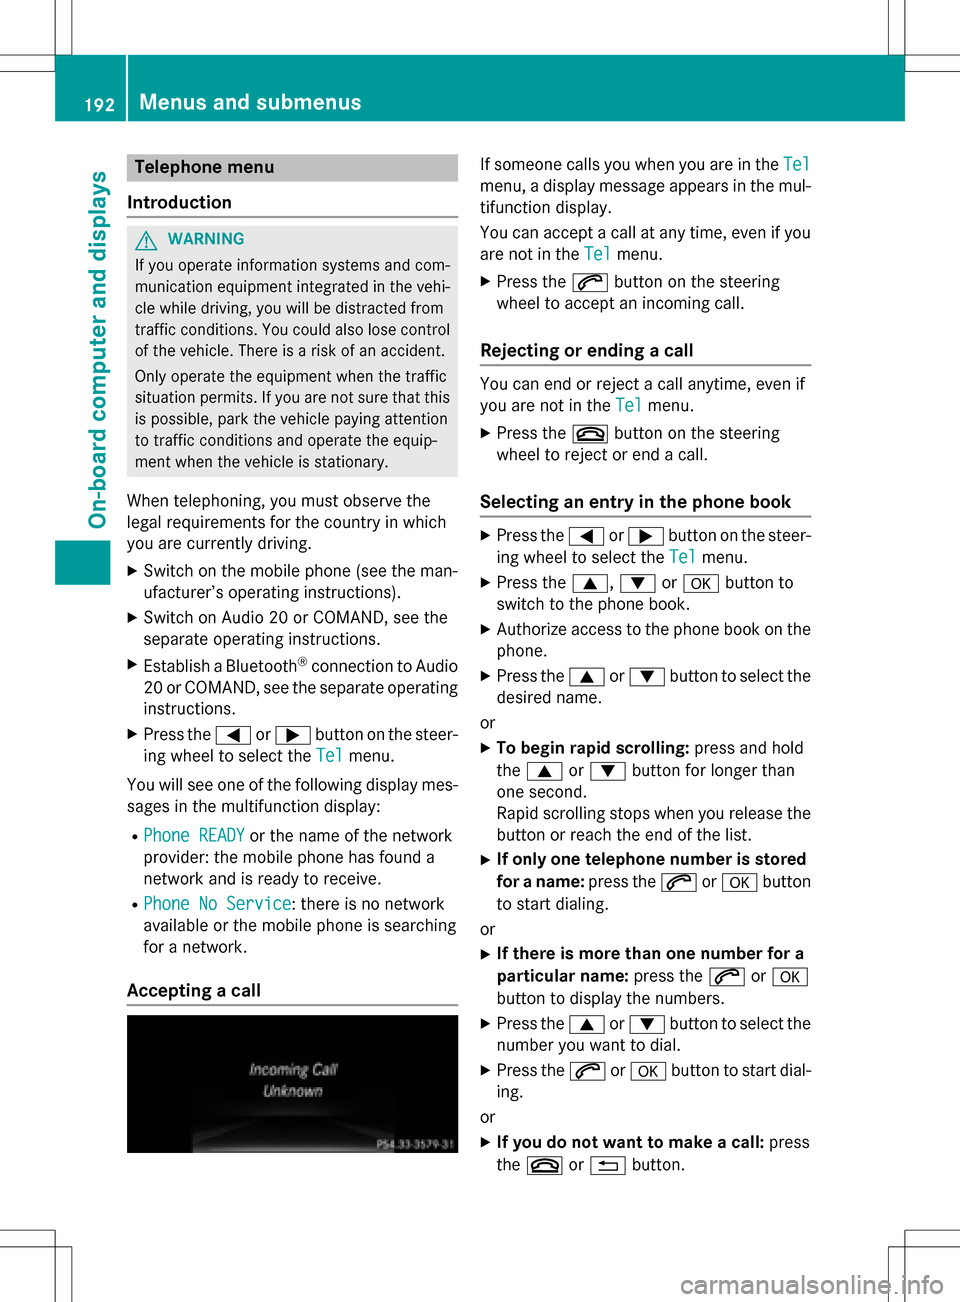
Accepting a call
If someone calls you when you are in the Tel
menu, a display message appears in the mul-
tifunction display.
You can accept a call at any time, even if you
are not in theTel
menu.
XPress the6button on the steering
wheel to accept an incoming call.
Rejecting or ending a call
You can end or reject a call anytime, even if
you are not in the Tel
menu.
XPress the~button on the steering
wheel to reject or end a call.
Selecting an entry in the phone book
XPress the =or; button on the steer-
ing wheel to select the Tel
menu.
XPress the9,:ora button to
switch to the phone book.
XAuthorize access to the phone book on the
phone.
XPress the 9or: button to select the
desired name.
or
XTo begin rapid scrolling: press and hold
the 9 or: button for longer than
one second.
Rapid scrolling stops when you release the
button or reach the end of the list.
XIf only one telephone number is stored
for a name: press the6ora button
to start dialing.
or
XIf there is more than one number for a
particular name: press the6ora
button to display the numbers.
XPress the 9or: button to select the
number you want to dial.
XPress the 6ora button to start dial-
ing.
or
XIf you do not want to make a call: press
the ~ or% button.
192Menus and submenus
On-board computer and displays
Page 195 of 342
Redialing
The on-board computer saves the last namesor numbers dialed in the redial memory.
XPress the =or; button on the steer-
ing wheel to select the Tel
menu.
XPress the6button to switch to the
redial memory.
XPress the 9or: button to select the
desired name or number.
XPress the 6ora button to start dial-
ing.
or
XIf you do not want to make a call: press
the ~ or% button.
Assistance menu
Introduction
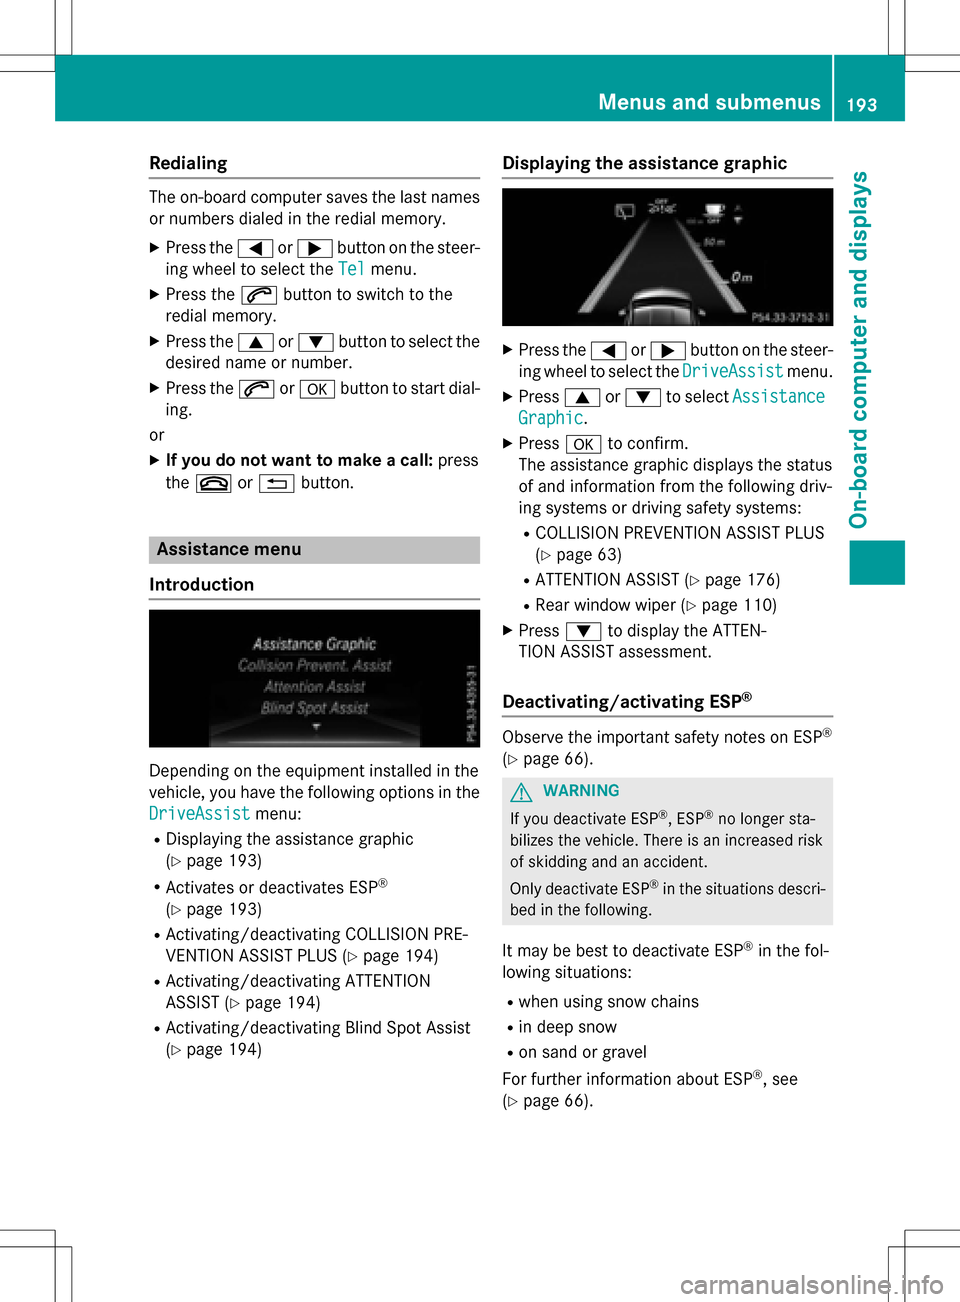
Depending on the equipment installed in the
vehicle, you have the following options in the
DriveAssist
menu:
RDisplaying the assistance graphic
(
Ypage 193)
RActivates or deactivates ESP®
(Ypage 193)
RActivating/deactivating COLLISION PRE-
VENTION ASSIST PLUS (
Ypage 194)
RActivating/deactivating ATTENTION
ASSIST (
Ypage 194)
RActivating/deactivating Blind Spot Assist
(
Ypage 194)
Displaying the assistance graphic
XPress the =or; button on the steer-
ing wheel to select the DriveAssist
menu.
XPress9or: to select Assistance
Graphic.
XPressato confirm.
The assistance graphic displays the status
of and information from the following driv-
ing systems or driving safety systems:
RCOLLISION PREVENTION ASSIST PLUS
(
Ypage 63)
RATTENTION ASSIST (Ypage 176)
RRear window wiper (Ypage 110)
XPress :to display the ATTEN-
TION ASSIST assessment.
Deactivating/activating ESP®
Observe the important safety notes on ESP®
(Ypage 66).
GWARNING
If you deactivate ESP
®, ESP®no longer sta-
bilizes the vehicle. There is an increased risk
of skidding and an accident.
Only deactivate ESP
®in the situations descri-
bed in the following.
It may be best to deactivate ESP®in the fol-
lowing situations:
Rwhen using snow chains
Rin deep snow
Ron sand or gravel
For further information about ESP
®, see
(
Ypage 66).
Menus and submenus193
On-board computer and displays
Z
Page 196 of 342
XStart the drive system.
XPress the=or; button on the steer-
ing wheel to select the DriveAssist
menu.
XPress9or: to select ESP.
XPressato confirm.
The current selection appears.
XTo activate/deactivate: press thea
button again.
ESP
®is deactivated if the åwarning
lamp in the instrument cluster lights up
continuously when the drive system is run-
ning.
If the ÷ andå warning lamps light up
continuously, ESP
®is not available due to a
malfunction.
Observe the information on warning lamps
(
Ypage 235).
Observe the information on display messages
(
Ypage 201).
Activating/deactivating COLLISION
PREVENTION ASSIST PLUS
XPress the =or; button on the steer-
ing wheel to select the DriveAssist
menu.
XPress the9or: button to select
Collision Prevent. Assist
.
XPress ato confirm.
The current selection appears.
XTo activate/deactivate: press thea
button again.
When COLLISION PREVENTION ASSIST
PLUS is deactivated, the æsymbol
appears in the multifunction display in the
assistance graphic display.
For further information about COLLISION
PREVENTION ASSIST PLUS, see (
Ypage 63).
Activating/deactivating ATTENTION
ASSIST
XPress the =or; button on the steer-
ing wheel to select the DriveAssist
menu.
XPress the9or: button to select
Attention Assist
.
XPress ato confirm.
The current selection appears.
XPress ato confirm.
XPress the :or9 button to set Off,
Standard
or Sensitive.
XPress the abutton to save the setting.
When ATTENTION ASSIST is deactivated,
the é symbol appears in the multifunc-
tion display in the assistance graphics dis-
play.
For further information about ATTENTION
ASSIST, see (
Ypage 176).
Activating/deactivating Blind Spot
Assist
XPress the =or; button on the steer-
ing wheel to select the DriveAssist
menu.
XPress the9or: button to select
Blind Spot Assist
.
XPress ato confirm.
The current selection appears.
XTo activate/deactivate: press thea
button again.
For further information about Blind Spot
Assist, see (
Ypage 177).
Service menu
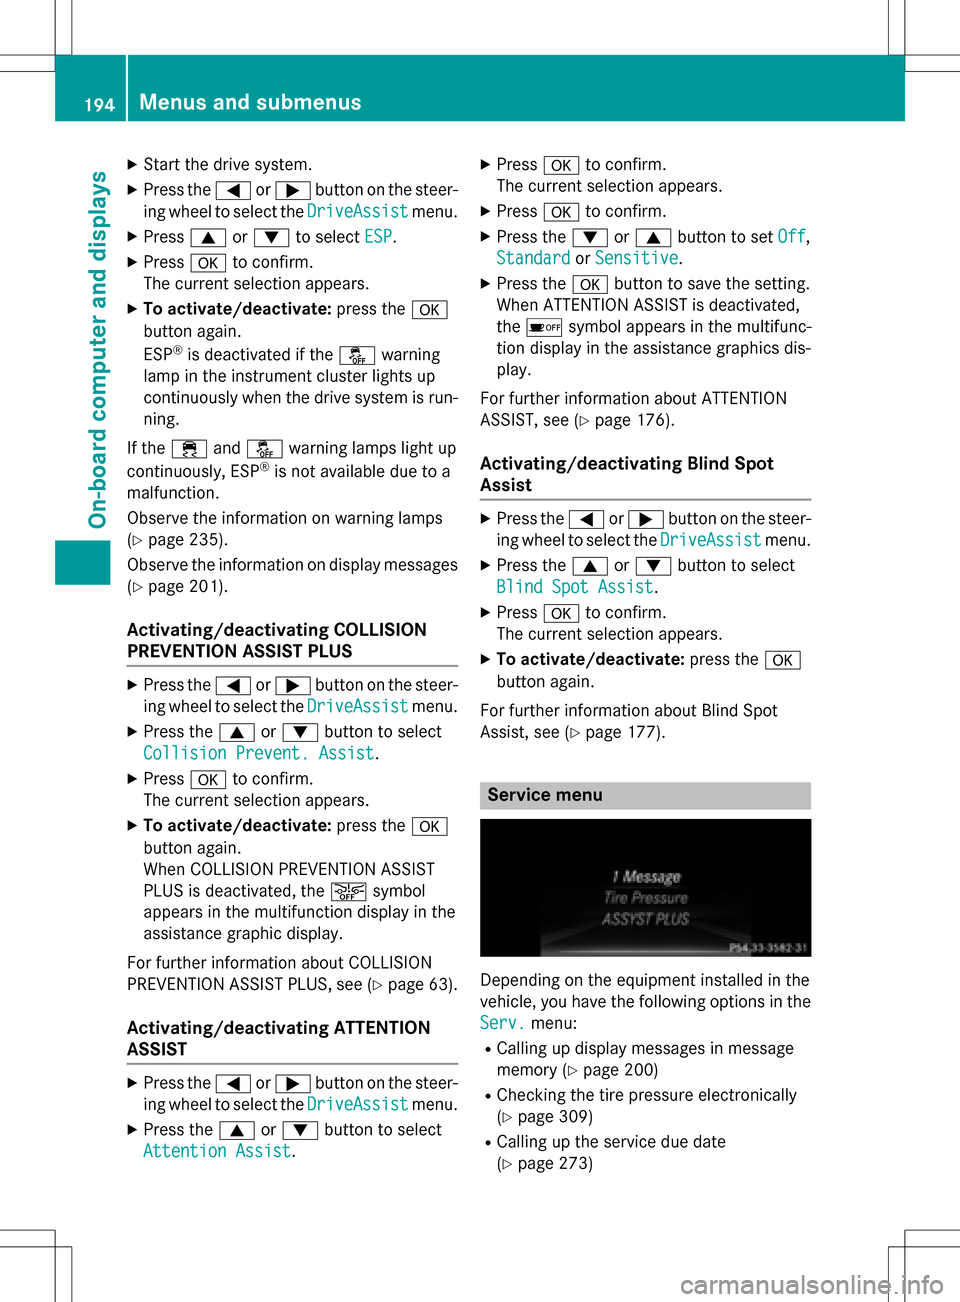
Depending on the equipment installed in the
vehicle, you have the following options in the
Serv.
menu:
RCalling up display messages in message
memory (
Ypage 200)
RChecking the tire pressure electronically
(
Ypage 309)
RCalling up the service due date
(
Ypage 273)
194Menus and submenus
On-board computer and displays
Page 197 of 342
Settings menu
Introduction
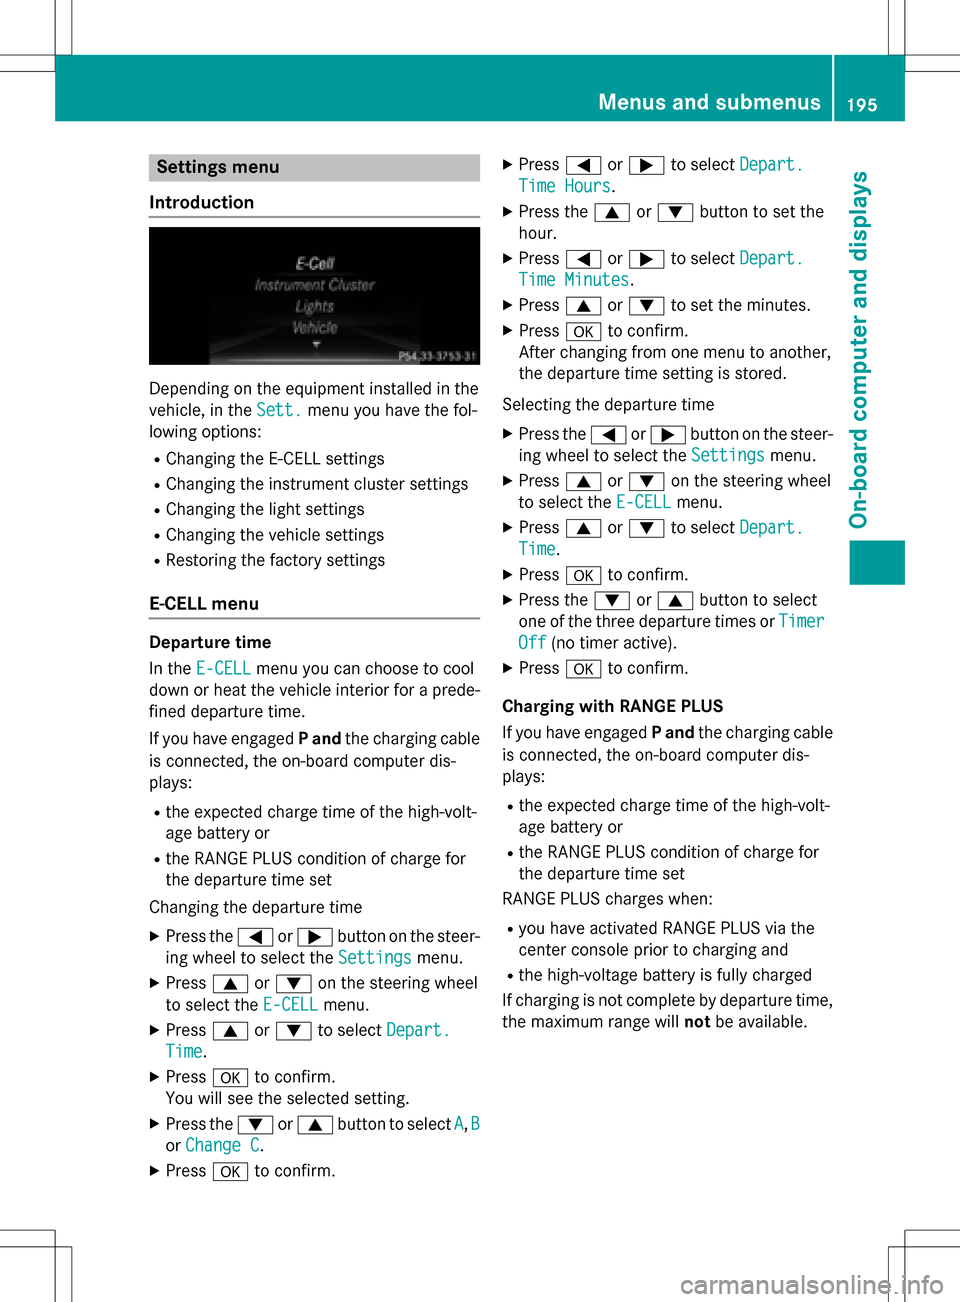
Depending on the equipment installed in the
vehicle, in the Sett.
menu you have the fol-
lowing options:
RChanging the E-CELL settings
RChanging the instrument cluster settings
RChanging the light settings
RChanging the vehicle settings
RRestoring the factory settings
E‑CELL menu
Departure time
In the E-CELL
menu you can choose to cool
down or heat the vehicle interior for a prede- fined departure time.
If you have engaged Pand the charging cable
is connected, the on-board computer dis-
plays:
Rthe expected charge time of the high-volt-
age battery or
Rthe RANGE PLUS condition of charge for
the departure time set
Changing the departure time
XPress the =or; button on the steer-
ing wheel to select the Settings
menu.
XPress9or: on the steering wheel
to select the E‑CELL
menu.
XPress9or: to select Depart.
Time.
XPressato confirm.
You will see the selected setting.
XPress the :or9 button to select A,B
or Change C.
XPress ato confirm.
XPress =or; to select Depart.
Time Hours.
XPress the 9or: button to set the
hour.
XPress =or; to select Depart.
Time Minutes.
XPress9or: to set the minutes.
XPress ato confirm.
After changing from one menu to another,
the departure time setting is stored.
Selecting the departure time
XPress the =or; button on the steer-
ing wheel to select the Settings
menu.
XPress9or: on the steering wheel
to select the E‑CELL
menu.
XPress9or: to select Depart.
Time.
XPressato confirm.
XPress the :or9 button to select
one of the three departure times or Timer
Off(no timer active).
XPressato confirm.
Charging with RANGE PLUS
If you have engaged Pand the charging cable
is connected, the on-board computer dis-
plays:
Rthe expected charge time of the high-volt-
age battery or
Rthe RANGE PLUS condition of charge for
the departure time set
RANGE PLUS charges when:
Ryou have activated RANGE PLUS via the
center console prior to charging and
Rthe high-voltage battery is fully charged
If charging is not complete by departure time,
the maximum range will notbe available.
Menus and submenus195
On-board computer and displays
Z
Page 198 of 342
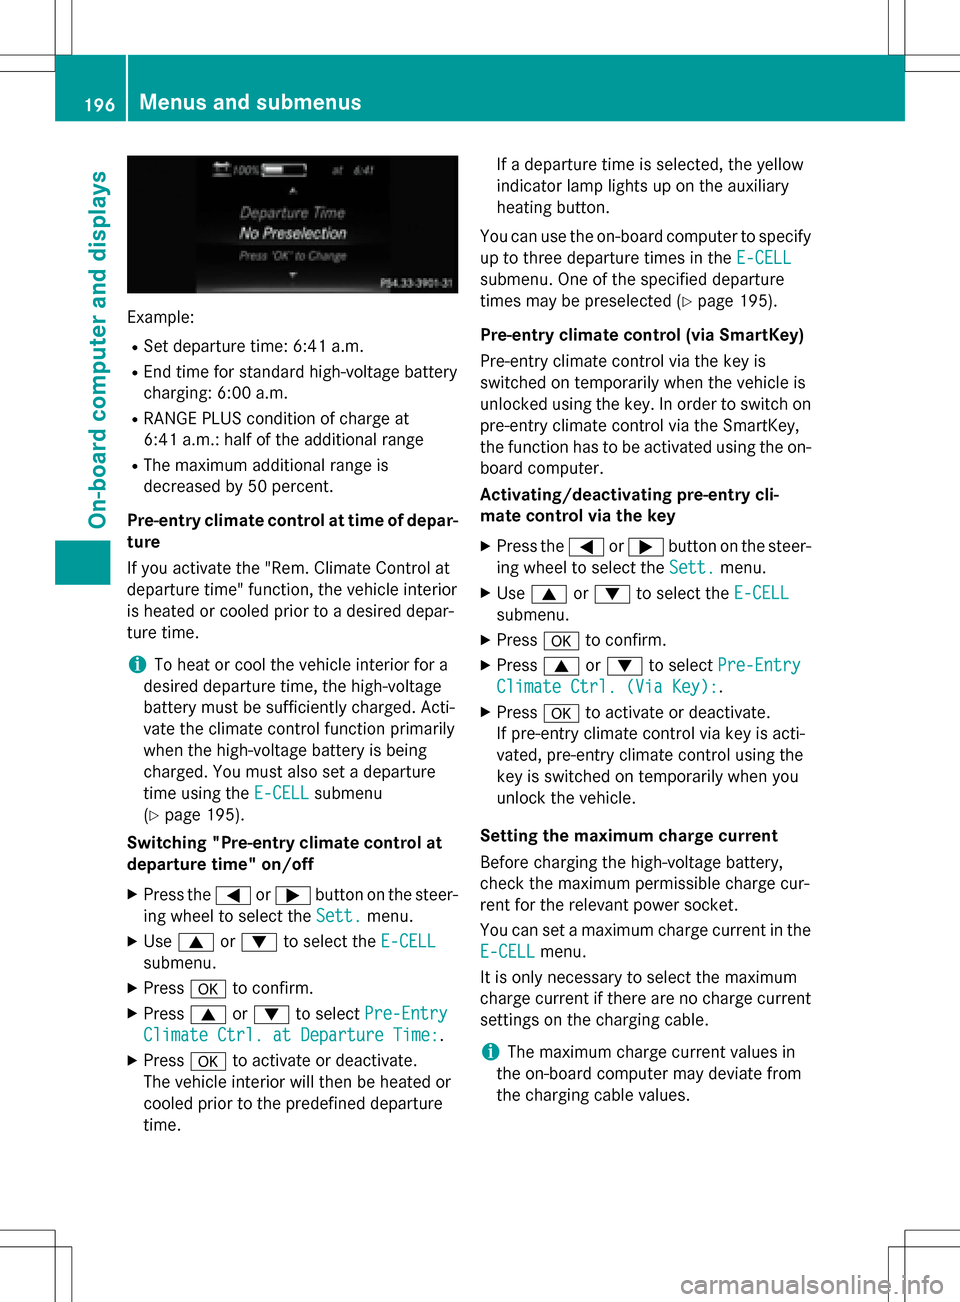
Example:
RSet departure time: 6:41 a.m.
REnd time for standard high-voltage battery
charging: 6:00 a.m.
RRANGE PLUS condition of charge at
6:41 a.m.:half of the additional range
RThe maximum additional range is
decreased by 50 percent.
Pre-entry climate control at time of depar-
ture
If you activate the "Rem. Climate Control at
departure time" function, the vehicle interior
is heated or cooled prior to a desired depar-
ture time.
iTo heat or cool the vehicle interior for a
desired departure time, the high-voltage
battery must be sufficiently charged. Acti-
vate the climate control function primarily
when the high-voltage battery is being
charged. You must also set a departure
time using the E-CELL
submenu
(
Ypage 195).
Switching "Pre-entry climate control at
departure time" on/off
XPress the =or; button on the steer-
ing wheel to select the Sett.
menu.
XUse9 or: to select the E-CELL
submenu.
XPressato confirm.
XPress 9or: to select Pre-Entry
Climate Ctrl. at Departure Time:.
XPressato activate or deactivate.
The vehicle interior will then be heated or
cooled prior to the predefined departure
time. If a departure time is selected, the yellow
indicator lamp lights up on the auxiliary
heating button.
You can use the on-board computer to specify
up to three departure times in the E-CELL
submenu. One of the specified departure
times may be preselected (
Ypage 195).
Pre-entry climate control (via SmartKey)
Pre-entry climate control via the key is
switched on temporarily when the vehicle is
unlocked using the key. In order to switch on
pre-entry climate control via the SmartKey,
the function has to be activated using the on- board computer.
Activating/deactivating pre-entry cli-
mate control via the key
XPress the =or; button on the steer-
ing wheel to select the Sett.
menu.
XUse9 or: to select the E-CELL
submenu.
XPressato confirm.
XPress 9or: to select Pre-Entry
Climate Ctrl. (Via Key):.
XPressato activate or deactivate.
If pre-entry climate control via key is acti-
vated, pre-entry climate control using the
key is switched on temporarily when you
unlock the vehicle.
Setting the maximum charge current
Before charging the high-voltage battery,
check the maximum permissible charge cur-
rent for the relevant power socket.
You can set a maximum charge current in the
E-CELL
menu.
It is only necessary to select the maximum
charge current if there are no charge current
settings on the charging cable.
iThe maximum charge current values in
the on-board computer may deviate from
the charging cable values.
196Menus and submenus
On-board computer and displays
Page 199 of 342
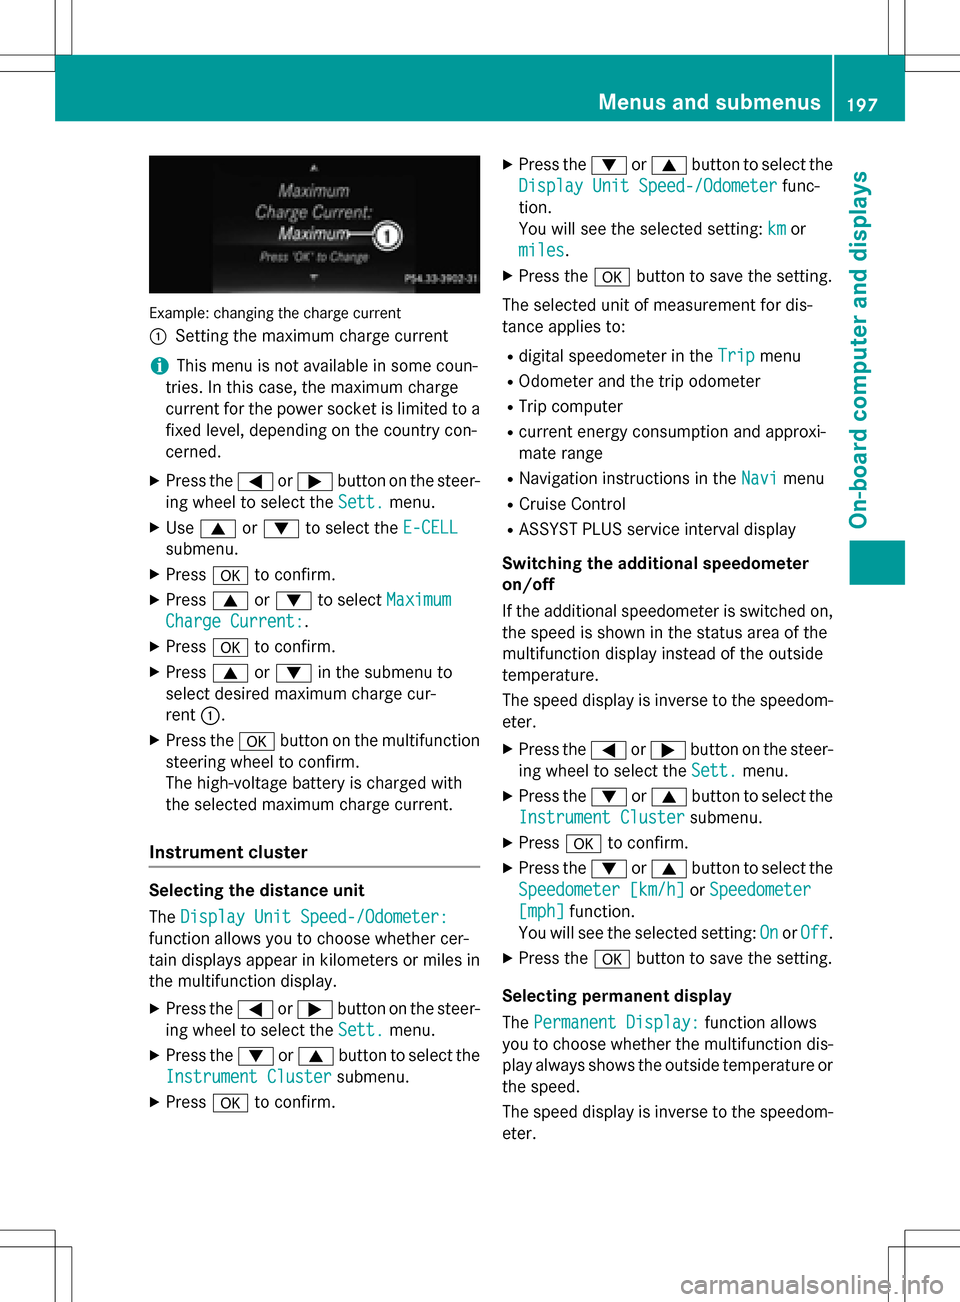
Example: changing the charge current
:
Setting the maximum charge current
iThis menu is not available in some coun-
tries. In this case, the maximum charge
current for the power socket is limited to a
fixed level, depending on the country con-
cerned.
XPress the =or; button on the steer-
ing wheel to select the Sett.
menu.
XUse9 or: to select the E-CELL
submenu.
XPressato confirm.
XPress 9or: to select Maximum
Charge Current:.
XPressato confirm.
XPress 9or: in the submenu to
select desired maximum charge cur-
rent :.
XPress the abutton on the multifunction
steering wheel to confirm.
The high-voltage battery is charged with
the selected maximum charge current.
Instrument cluster
Selecting the distance unit
The Display Unit Speed-/Odometer:
function allows you to choose whether cer-
tain displays appear in kilometers or miles in
the multifunction display.
XPress the =or; button on the steer-
ing wheel to select the Sett.
menu.
XPress the:or9 button to select the
Instrument Cluster
submenu.
XPress ato confirm.
XPress the :or9 button to select the
Display Unit Speed-/Odometer
func-
tion.
You will see the selected setting: km
or
miles
.
XPress the abutton to save the setting.
The selected unit of measurement for dis-
tance applies to:
Rdigital speedometer in the Tripmenu
ROdometer and the trip odometer
RTrip computer
Rcurrent energy consumption and approxi-
mate range
RNavigation instructions in the Navimenu
RCruise Control
RASSYST PLUS service interval display
Switching the additional speedometer
on/off
If the additional speedometer is switched on,
the speed is shown in the status area of the
multifunction display instead of the outside
temperature.
The speed display is inverse to the speedom-
eter.
XPress the =or; button on the steer-
ing wheel to select the Sett.
menu.
XPress the:or9 button to select the
Instrument Cluster
submenu.
XPress ato confirm.
XPress the :or9 button to select the
Speedometer [km/h]
or Speedometer
[mph]function.
You will see the selected setting: On
orOff.
XPress the abutton to save the setting.
Selecting permanent display
The Permanent Display:
function allows
you to choose whether the multifunction dis-
play always shows the outside temperature or
the speed.
The speed display is inverse to the speedom-
eter.
Menus and submenus197
On-board computer and displays
Z
Page 200 of 342
XPress the=or; button on the steer-
ing wheel to select the Sett.
menu.
XPress the:or9 button to select the
Instrument Cluster
submenu.
XPress ato confirm.
XPress the :or9 button to select the
Permanent Display:
function.
The current setting Outside
Temperature
orSpeedometer [km/h]/Speedometer
[mph]appears.
XPress the abutton to save the setting.
Lights
Switching the daytime running lamps on/
off
XPress the =or; button on the steer-
ing wheel to select the Sett.
menu.
XPress the:or9 button to select the
Light
submenu.
XPress ato confirm.
XPress the :or9 button to select the
Daytime Running Lights
function.
If the Daytime Running Lights
function
has been switched on, the multifunction
display shows the cone of light and the
W symbol in orange.
XPress the abutton to save the setting.
Further information on daytime running
lamps (
Ypage 100).
Vehicle
Activating/deactivating the automatic
door locking mechanism
XPress the =or; button on the steer-
ing wheel to select the Sett.
menu.
XPress the:or9 button to select the
Vehicle
submenu.
XPress ato confirm.
XPress the :or9 button to select the
Automatic Door Lock
function.
If the Automatic Door Lock
function is
switched on, the multifunction display
shows the doors in orange.
XPress the abutton to save the setting.
If you activate the Automatic door locks
function, the vehicle is centrally locked above
a speed of around 9 mph (15 km/h).
For further information on the automatic lock-
ing feature, see (
Ypage 80).
Activating/deactivating the acoustic
locking verification signal
If you switch on the Acoustic
Lockfunction,
an acoustic signal sounds when you lock the
vehicle.
XPress the =or; button on the steer-
ing wheel to select the Sett.
menu.
XPress the:or9 button to select the
Vehicle
submenu.
XPress ato confirm.
XPress the :or9 button to select the
Acoustic Lock
function.
If the Acoustic
Lockfunction is activated,
the multifunction display shows the &
symbol in orange.
XPress the abutton to save the setting.
Restoring the factory settings
XPress the =or; button on the steer-
ing wheel to select the Sett.
menu.
XPress the:or9 button to select the
Factory Setting
submenu.
XPress ato confirm.
The Reset All Settings?
function
appears.
XPress the :or9 button to select No
orYes.
XPress the abutton to confirm the selec-
tion.
If you have selected Yes
, the multifunction
display shows a confirmation message.
For safety reasons, not all functions are reset.
198Menus and submenus
On-board computer and displays