fuel cap MERCEDES-BENZ B-CLASS SPORTS 2013 Owners Manual
[x] Cancel search | Manufacturer: MERCEDES-BENZ, Model Year: 2013, Model line: B-CLASS SPORTS, Model: MERCEDES-BENZ B-CLASS SPORTS 2013Pages: 336, PDF Size: 30 MB
Page 12 of 336
E
EASY-VARIO-PLUS system Cargo compartment enlargement ..234
EBD (electronic brake force
distribution)
Display message ............................ 196
Function/notes ................................ 64
ECO display
Function/notes ............................. 145
On-board computer .......................183
ECO start/stop function
Deactivating/activating .................130
General information .......................128
Important safety notes ..................128
Electronic Stability Program
see ESP ®
(Electroni cStability Program)
Emergenc yrelease
Driver's door .................................... 75
Vehicle ............................................. 75
Emergency spare wheel
General notes ................................ 318
Important safety notes ..................318
Removing ....................................... 319
Technical data ............................... 319
Emergency tensioning device
Activation ......................................... 37
Emergency Tensioning Devices
Function .......................................... .47
Safety guidelines. ............................ 38
Emergency unlocking
Tailgate ............................................ 77
Emissions control
Service and warranty information ....21
Engine
Check Engine warning lamp ........... 226
Display message ............................ 206
ECO start/stop function ................128
Engine number ............................... 324
Irregularr unning............................ 131
Jump-starting ................................. 283
Starting problems ..........................131
Starting the engine with the
SmartKey ....................................... 127
Switching off .................................. 142
Tow-starting (vehicle) ..................... 287
Engine electronics
Problem (malfunction) ...................131Engine jump starting
see Jump starting (engine)
Engine oil
Adding ........................................... 262
Additives ........................................ 327
Checking the oil level ..................... 261
Checking the oil level using the
dipstick .......................................... 262
Display message ............................ 208
Filling capacity ............................... 327
Notes about oil grades ................... 326
Notes on oil level/consumption ....261
Viscosity ........................................ 327
ESP ®
(Electronic Stability
Program) Deactivating/activating .................187
Deactivating/activating (notes) .......64
Display message ............................ 194
ETS .................................................. 63
Function/notes ................................ 63
Important safety information ...........63
Warning lamp ................................. 222
ETS (Electronic Traction System) ....... 63
Exhaus tcheck ................................... 145
Exhaus tpipe (cleaning
instructions) ...................................... 269
Exterior lighting Setting options ................................ 96
see Lights
Exterior mirrors
Adjusting ......................................... 90
Dipping (automatic) .........................91
Folding in/out( automatically).........91
Folding in/out( electrically).............91
Folding in whenl ocking (on-board
computer) ...................................... 192
Out of position (troubleshooting) .....91
Setting ............................................. 91
Storing settings (memory
function) .......................................... 93
Storing the parking position ............. 92
Eyeglasses compartment .................231 F
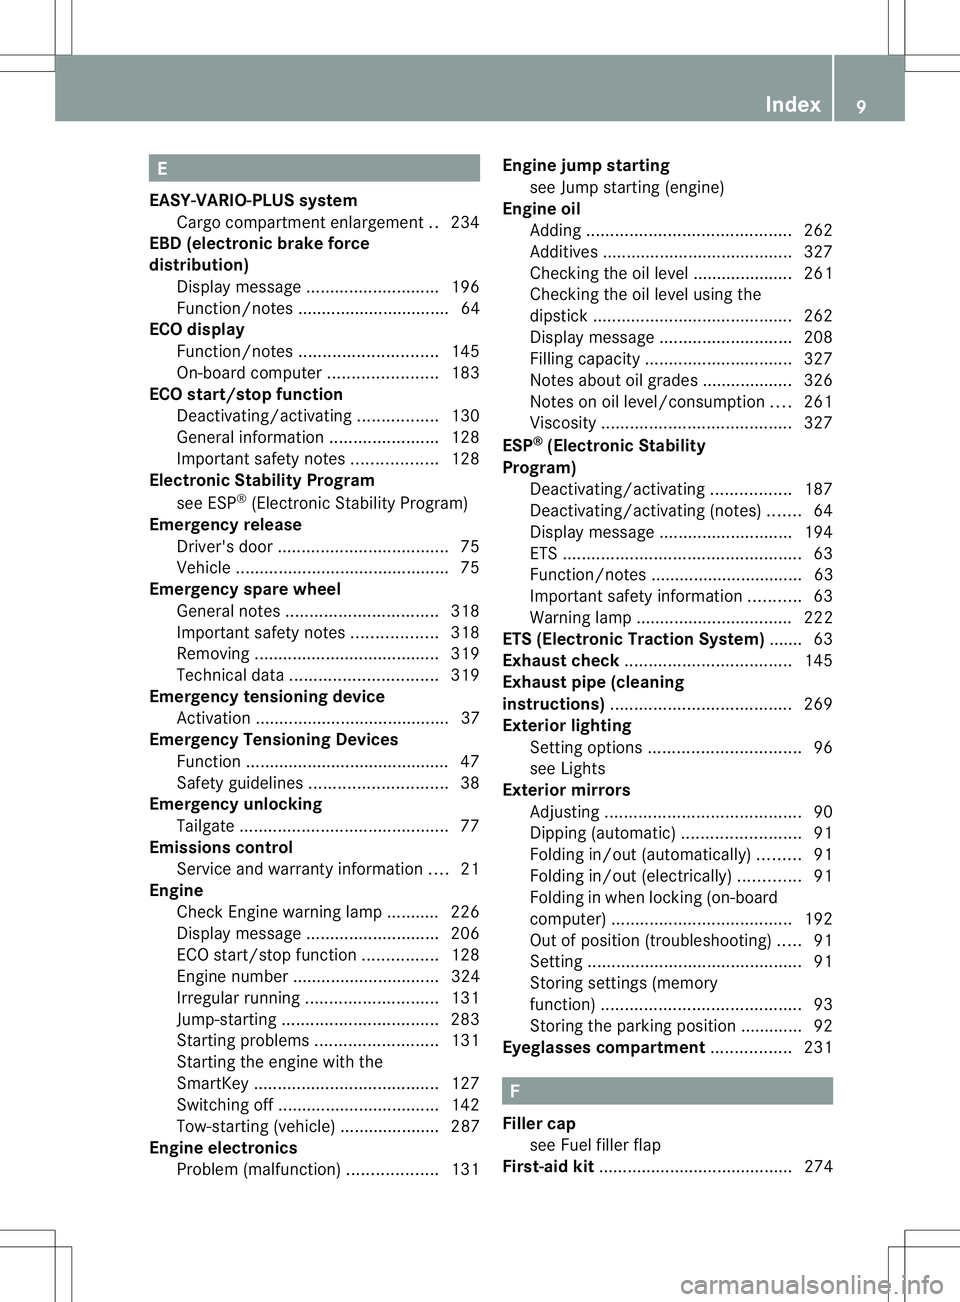
Fille rcap
see Fuel filler flap
First-aid kit ......................................... 274 Index
9
Page 13 of 336
Flat tire
MOExtended tires ..........................275
Preparing the vehicle .....................275
TIREFIT kit ...................................... 276
see Emergency spare wheel
Floormat ............................................ .258
Fog lamps Extended range .............................. 100
Switching on/off .............................. 97
Folding table ...................................... 232
Front fog lamps Display message ............................ 204
Switching on/off .............................. 97
Front-passenger seat
Folding the backrestf orward/
back ............................................... 233
Fuel
Additives ........................................ 326
Consumption statistics ..................182
Displaying the current
consumption .................................. 183
Displaying the range ......................183
Driving tips .................................... 144
Fuel gauge ....................................... 27
Grade (gasoline) ............................ 325
Important safety notes ..................324
Premium-grade unleaded gasoline .325
Problem (malfunction) ...................141
Refueling ........................................ 139
Tank content/reserve fuel .............325
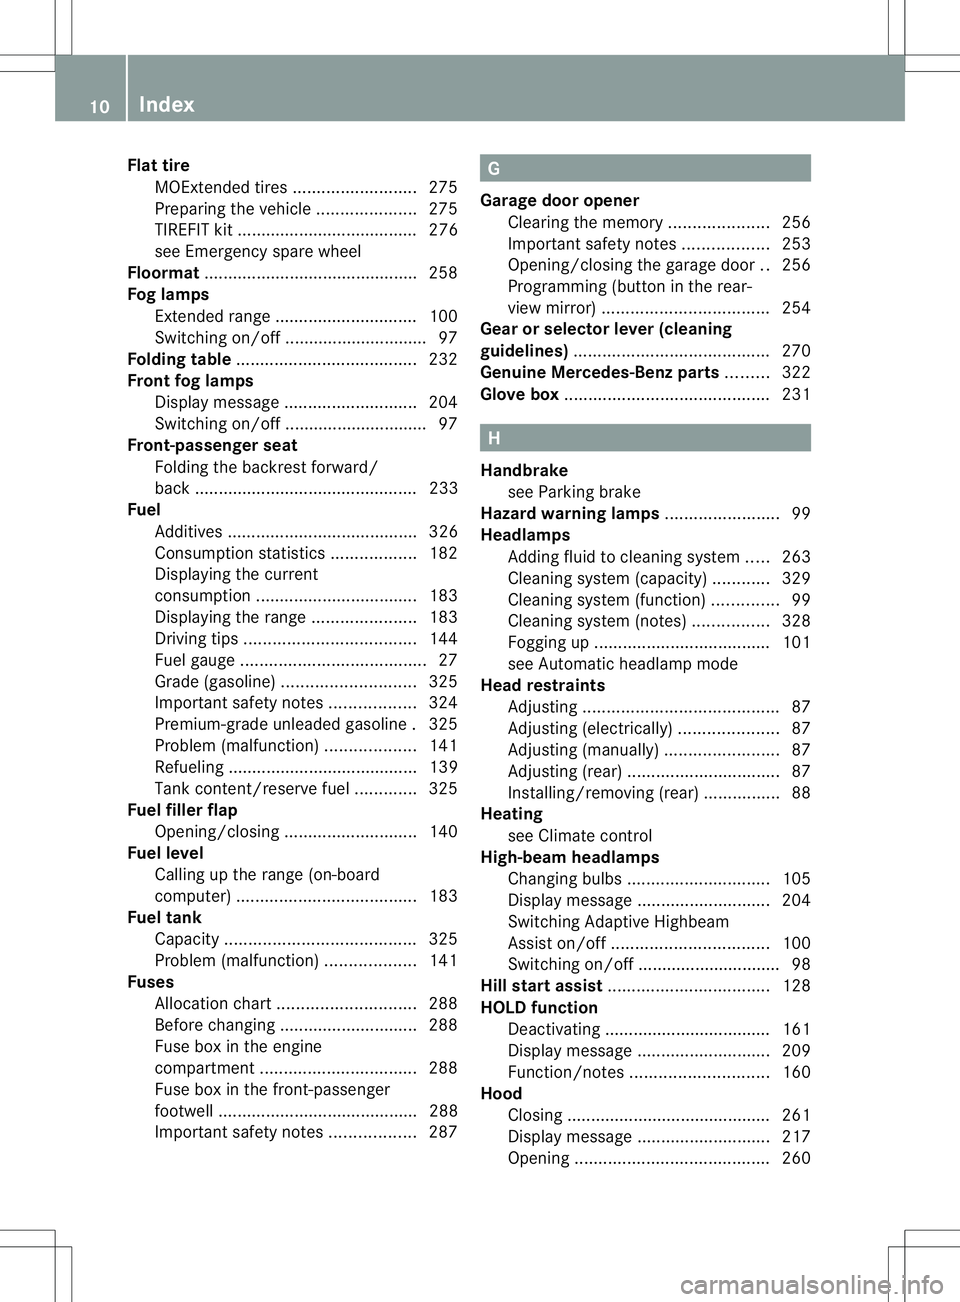
Fuel filler flap
Opening/closing ............................ 140
Fuel level
Calling up the range (on-board
computer) ...................................... 183
Fuel tank
Capacity ........................................ 325
Problem (malfunction) ...................141
Fuses
Allocation chart ............................. 288
Before changing ............................. 288
Fuse box in the engine
compartment ................................. 288
Fuse box in the front-passenger
footwell .......................................... 288
Important safety notes ..................287 G
Garage door opener Clearing the memory .....................256
Important safety notes ..................253
Opening/closing the garage door ..256
Programming (button in the rear-
view mirror) ................................... 254
Gear or selector lever (cleaning
guidelines) ......................................... 270
Genuine Mercedes-Benz parts .........322
Glove box ........................................... 231 H
Handbrake see Parking brake
Hazard warning lamps ........................99
Headlamps Adding fluid to cleaning system .....263
Cleaning system (capacity )............ 329
Cleaning system (function) ..............99
Cleaning system (notes) ................328
Fogging up ..................................... 101
see Automatic headlamp mode
Head restraints
Adjusting ......................................... 87
Adjusting (electrically). ....................87
Adjusting (manually). .......................87
Adjusting (rear) ................................ 87
Installing/removing (rear) ................88
Heating
see Climate control
High-beam headlamps
Changing bulbs .............................. 105
Display message ............................ 204
Switching Adaptive Highbeam
Assist on/off ................................. 100
Switching on/off .............................. 98
Hill start assist .................................. 128
HOLD function Deactivating ................................... 161
Display message ............................ 209
Function/notes ............................. 160
Hood
Closing .......................................... .261
Display message ............................ 217
Opening ......................................... 26010
Index
Page 19 of 336
Stowage areas
................................... 230
Stowage compartments Armrest (front) ............................... 231
Armrest (under) ............................. 232
Center console .............................. 231
Cuph olders ................................... 241
Eyeglasses compartment ...............231
Glove box ...................................... .231
Important safety information .........230
Parce lnet ...................................... 233
Under driver's seat/front-
passenger seat. ............................. 232
Stowage space
Center console (rear) .....................232
Summer tires ..................................... 294
Sun visor ............................................ 242
Supplement Restraint System see SRS (Supplemental Restraint
System)
Surround lighting (on-board
computer) .......................................... 190
Switching air-recirculation mode
on/off ................................................. 122
Switching off the alarm (ATA) ............65 T
Tachometer ........................................ 179
Tailgate Display message ............................ 217
Emergency unlocking .......................77
Important safety notes ....................76
Opening/closing (from outside) .......76
Opening dimensions ......................329
Tail lamps
Display message ............................ 204
Tank content
Fuel gauge ....................................... 27
Technical data
Capacities ...................................... 324
Emergency spare wheel .................319
Information .................................... 322
Tires/wheels ................................. 316
Vehicle data ................................... 329
TELEAID
Call priority .................................... 249
Downloading destinations
(COMAND) ..................................... 249Downloading route
s....................... 252
Emergency call .............................. 246
Geo fencing ................................... 253
Important safety notes ..................245
Locating astolen vehicl e............... 251
MB info call button ........................248
Remote vehicle locking ..................251
Roadside Assistance button ..........247
Search &Send ............................... 250
Self-test ......................................... 246
Speed alert .................................... 253
System .......................................... 245
Triggering the vehicle alarm ........... 253
Vehicle remote malfunction
diagnosi s....................................... 251
Vehicle remote unlocking ..............250
Telephone
Accepting acall............................. 186
Display message ............................ 217
Menu (on-board computer) ............186
Number from the phone book ....... .187
Redialing ........................................ 187
Rejecting/ending acall................. 186
Temperature
Coolant .......................................... 179
Outside temperature ..................... .179
Setting (climate control) ................119
Theft deterrent systems
ATA (Anti-Theft Alarm system) .........65
Immobilize r...................................... 65
Through-loading ................................ 233
Time see Separate Operator's Manual
TIREFIT kit .......................................... 276
Tire pressure Checking manually ........................298
Display message ............................ 214
Maximum ....................................... 298
Notes ............................................. 297
Not reached (TIREFIT) ....................278
Reached (TIREFIT) ..........................278
Recommended ............................... 295
Tire pressure loss warning system
Important safety notes ..................298
Restarting ...................................... 299
Tires
Aspect ratio (definition) .................31116
Index
Page 142 of 336
Problems with the transmission
Problem Possible causes/consequences and
M Solutions
The transmission has
problems shifting gear. The transmission is losing oil.
X
Have the transmission checked at a qualified specialist
workshop immediately. The acceleration ability
is deteriorating.
The transmission no
longer shifts into all of
the gears.
Reverse gear can no
longer be engaged. The transmission is in emergency mode.
X
Stop the vehicle.
X Shift the transmission to position P.
X Switch off the engine.
X Wait at least 10 seconds before restarting the engine.
X Shift the transmission to position D.
X Have the transmission checked at a qualified specialist
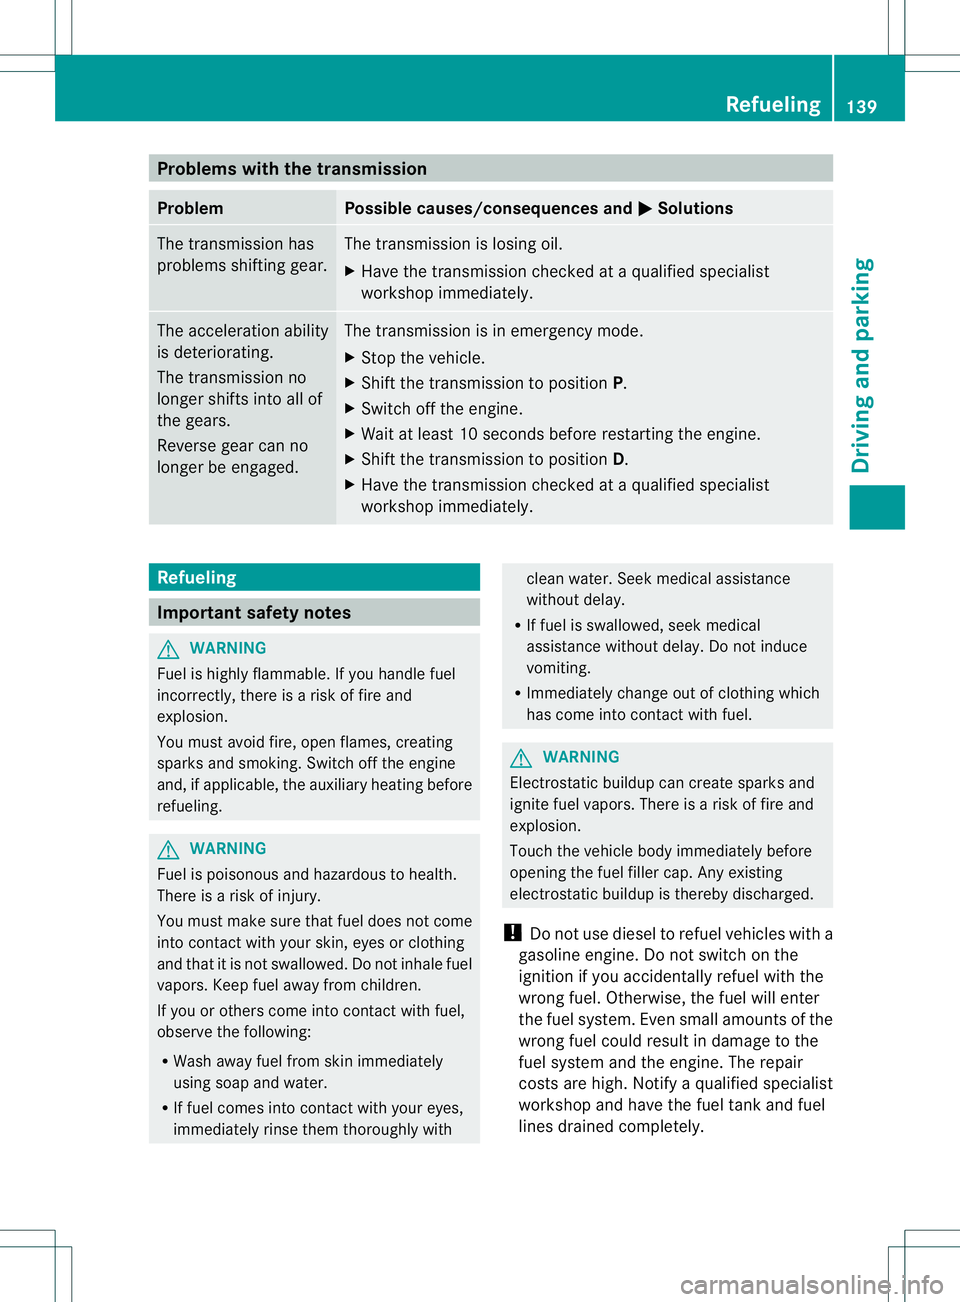
workshop immediately. Refueling
Important safety notes
G
WARNING
Fuel is highly flammable. If you handle fuel
incorrectly, there is a risk of fire and
explosion.
You must avoid fire, open flames, creating
sparks and smoking. Switch off the engine
and, if applicable, the auxiliary heating before
refueling. G
WARNING
Fuel is poisonous and hazardous to health.
There is a risk of injury.
You must make sure that fuel does not come
into contact with your skin, eyes or clothing
and that it is not swallowed. Do not inhale fuel
vapors. Keep fuel away from children.
If you or others come into contact with fuel,
observe the following:
R Wash away fuel from skin immediately
using soap and water.
R If fuel comes into contact with your eyes,
immediately rinse them thoroughly with clean water. Seek medical assistance
without delay.
R If fuel is swallowed, seek medical
assistance without delay.Don ot induce
vomiting.
R Immediately change out of clothing which
has come into contact with fuel. G
WARNING
Electrostatic buildup can create sparks and
ignite fuel vapors. There is a risk of fire and
explosion.
Touch the vehicle body immediately before
opening the fuel filler cap. Any existing
electrostatic buildup is thereby discharged.
! Do not use diesel to refuel vehicles with a
gasoline engine. Do not switch on the
ignition if you accidentally refuel with the
wrong fuel. Otherwise, the fuel will enter
the fuel system. Even small amounts of the
wrong fuel could result in damage to the
fuel system and the engine. The repair
costs are high. Notify aqualified specialist
workshop and have the fuel tan kand fuel
lines drained completely. Refueling
139Driving and parking Z
Page 143 of 336
!
Overfilling the fuel tank could damage the
fuel system.
! Take care not to spill any fuel on painted
surfaces. You could otherwise damage the
paintwork.
! Use a filter when refueling from a fuel can.
Otherwise, the fuel lines and/or injection
system could be blocked by particles from
the fuel can.
If you overfill the fuel tank, fuel could spray
out when the fuel pump nozzle is removed.
Further information on fuel and on fuel grades
can be found in the "Fuel" section
(Y page 324). Refueling
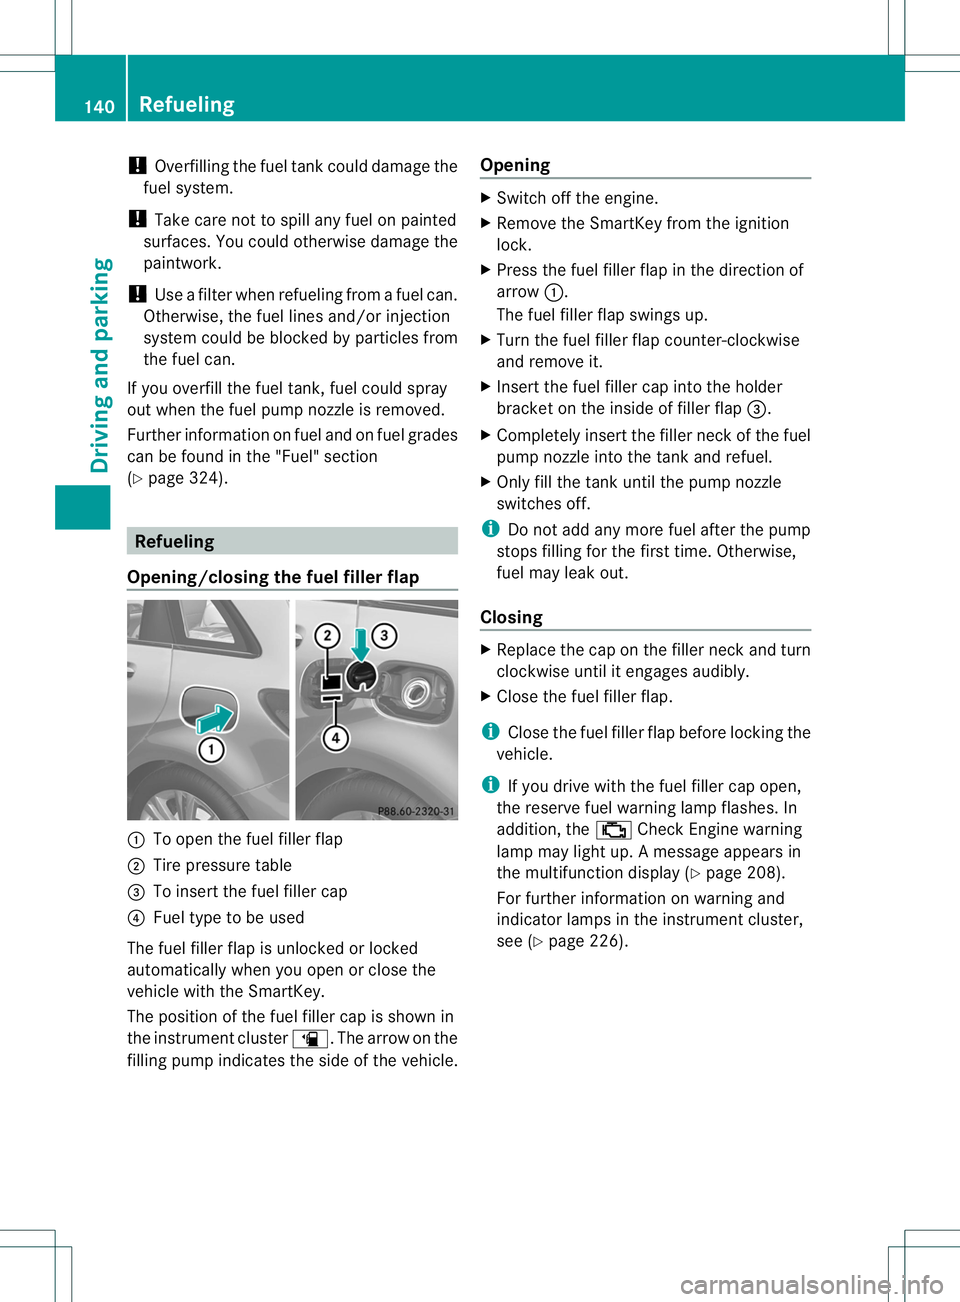
Opening/closing the fuel filler flap :
To open the fuel filler flap
; Tire pressure table
= To insert the fuel filler cap
? Fuel type to be used
The fuel filler flap is unlocked or locked
automatically when you open or close the
vehicle with the SmartKey.
The position of the fuel filler cap is shown in
the instrument cluster æ.The arrow on the
filling pump indicates the side of the vehicle. Opening X
Switch off the engine.
X Remove the SmartKey from the ignition
lock.
X Press the fuel filler flap in the direction of
arrow :.
The fuel filler flap swings up.
X Turn the fuel filler flap counter-clockwise
and remove it.
X Insert the fuel filler cap into the holder
bracket on the inside of filler flap =.
X Completely insert the filler neck of the fuel
pump nozzle into the tank and refuel.
X Only fill the tank until the pump nozzle
switches off.
i Do not add any more fuel after the pump
stops filling for the first time. Otherwise,
fuel may leak out.
Closing X
Replace the cap on the filler neck and turn
clockwise until it engages audibly.
X Close the fuel filler flap.
i Close the fuel filler flap before locking the
vehicle.
i If you drive with the fuel filler cap open,
the reserve fuel warning lamp flashes. In
addition, the ;Check Engine warning
lamp may light up. Amessage appears in
the multifunction display (Y page 208).
For further information on warning and
indicator lamps in the instrument cluster,
see (Y page 226). 140
RefuelingDriving and parking
Page 212 of 336
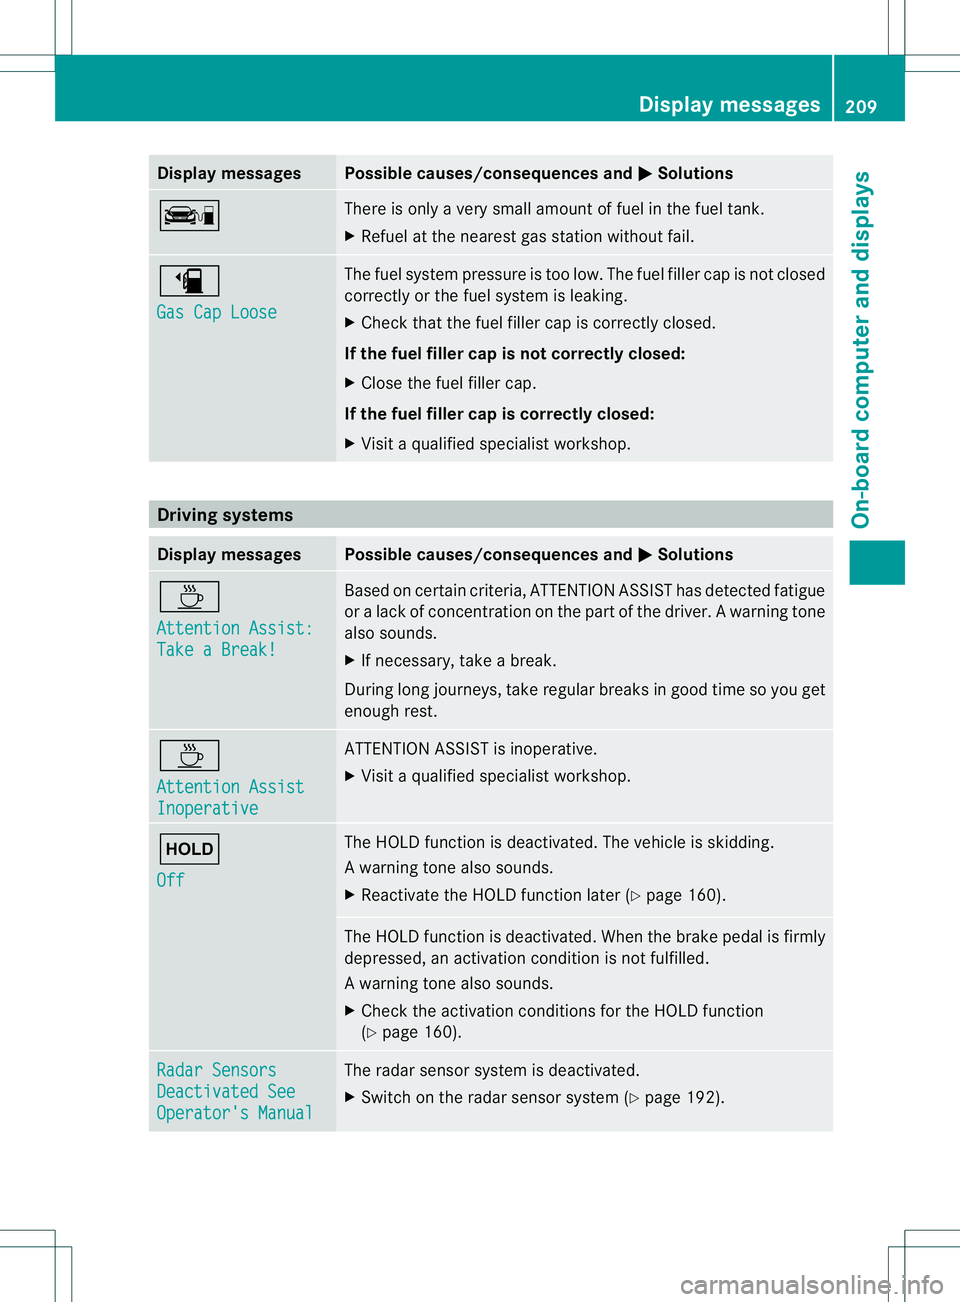
Display messages Possible causes/consequences and
M Solutions
ç There is only a very small amount of fuel in th
efuel tank.
X Refuel at the neares tgas statio nwithout fail. æ
Gas Cap Loose The fuel system pressure is too low. The fuel filler cap is not closed
correctly or the fuel system is leaking.
X
Check that the fuel filler cap is correctly closed.
If the fuel filler cap is not correctly closed:
X Close the fuel filler cap.
If the fuel filler cap is correctly closed:
X Visit a qualified specialist workshop. Driving systems
Displa
ymessages Possible causes/consequences and
M Solutions
À
Attention Assist:
Take a Break! Based on certain criteria, ATTENTION ASSIST has detected fatigue
or
alack of concentration on thep art of thedriver. A warning tone
also sounds.
X If necessary, take a break.
During long journeys, take regular breaks in good time so you get
enough rest. À
Attention Assist
Inoperative ATTENTION ASSIST is inoperative.
X
Visi taqualified specialist workshop. ë
Off The HOLD function is deactivated. The vehicle is skidding.
Aw
arning tone also sounds.
X Reactivate the HOLD function later (Y page 160). The HOLD function is deactivated. When the brak
epedal is firmly
depressed, an activation condition is not fulfilled.
Aw arning tone also sounds.
X Check the activation conditions for the HOLD function
(Y page 160). Radar Sensors
Deactivated See
Operator's Manual The radar sensor system is deactivated.
X
Switch on the radar sensor system (Y page 192). Display messages
209On-board computer and displays Z
Page 229 of 336
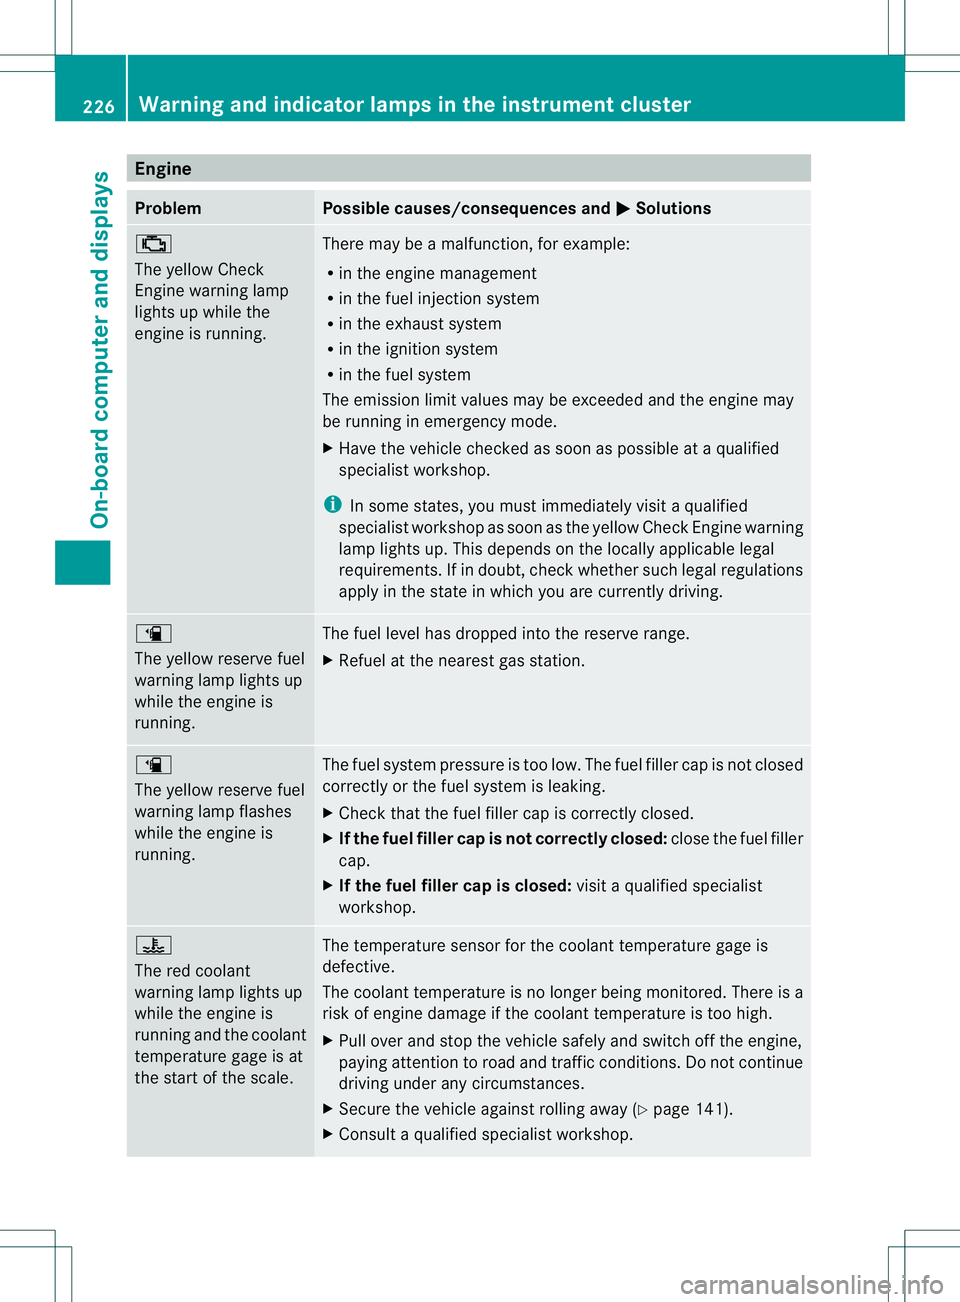
Engine
Problem Possible causes/consequences and
M Solutions
;
The yellow Check
Engine warning lamp
lights up while the
engine is running.
There may be a malfunction, for example:
R
in the engine management
R in the fuel injection system
R in the exhaust system
R in the ignition system
R in the fuel system
The emission limit values may be exceeded and the engin emay
be running in emergency mode.
X Have the vehicle checked as soon as possible at a qualified
specialist workshop.
i In some states, you must immediately visit a qualified
specialist workshop as soon as the yellow Chec kEngine warning
lamp lights up.T his depends on the locally applicable legal
requirements. If in doubt, check whether such legal regulations
apply in the state in which you are currently driving. æ
The yellow reserve fuel
warning lamp lights up
while the engine is
running.
The fuel level has dropped into the reserve range.
X
Refuel at the nearest gas station. æ
The yellow reserve fuel
warning lamp flashes
while the engine is
running.
The fuel system pressure is too low. The fuel filler cap is not closed
correctly or the fuel system is leaking.
X
Check that the fuel filler cap is correctly closed.
X If the fuel filler cap is not correctly closed: close the fuel filler
cap.
X If the fuel filler cap is closed: visit a qualified specialist
workshop. ?
The red coolant
warning lamp lights up
while the engine is
running and the coolant
temperature gage is at
the start of the scale.
The temperature sensor for the coolant temperature gage is
defective.
The coolant temperature is no longer being monitored. There is a
risk of engine damage if the coolant temperature is too high.
X
Pull over and stop the vehicle safely and switch off the engine,
paying attention to road and traffic conditions. Do not continue
driving under any circumstances.
X Secure the vehicle against rolling away (Y page 141).
X Consult a qualified specialist workshop. 226
Warning and indicator lamps in the instrument clusterOn-board computer and displays
Page 286 of 336
Jump-starting
G
WARNING
Battery acid is caustic. There is a risk of injury.
Avoid contact with the skin, eyes or clothing. Do not inhale any battery gases. Do not lean over
the battery. Keep children away from batteries. Wash battery acid immediately with water and
seek medical attention. G
WARNING
During charging and jump-starting, explosive gases can escape from the battery. There is a risk
of an explosion.
Particularly avoid fire, open flames, creating sparks and smoking. Ensure there is sufficient
ventilation while charging and jump-starting. Do not lean over a battery. G
WARNING
During the charging process, a battery produces hydrogen gas. If a short circuit occurs or sparks
are created, the hydrogen gas can ignite. There is a risk of an explosion.
R Make sure that the positive terminal of a connected battery does not come into contact with
vehicle parts.
R Never place metal objects or tools on a battery.
R It is important that you observe the described order of the battery terminals when connecting
and disconnecting a battery.
R When jump-starting, make sure that the battery poles with identical polarity are connected.
R It is particularly important to observe the described order when connecting and disconnecting
the jumper cables.
R Never connect or disconnect the battery terminals while the engine is running. G
WARNING
Non-combusted fuel can collect in the exhaust system and ignite. There is a risk of fire. Avoid
repeated and lengthy starting attempts.
! Avoid repeated and lengthy starting attempts. Otherwise, the catalytic converter could be
damaged by the non-combusted fuel.
Do not start the vehicle using a rapid charging device. If your vehicle's battery is discharged,
the engine can be jump-started from another vehicle or from a second battery using jumper
cables. Observe the following points:
R The battery is not accessible in all vehicles. If the other vehicle's battery is not accessible,
jump-start the vehicle using a second battery or ajump-starting device.
R You may only jump-start the vehicle when the engine and exhaust system are cold.
R Do not start the engine if the battery is frozen. Let the battery thaw first.
R Jump-starting may only be performed from batteries with a nominal voltage of 12 V.
R Only use jumper cables which have a sufficien tcross-section and insulated terminal clamps. Jump-starting
283Breakdown assistance Z
Page 300 of 336
For more information, contact a qualified
specialist workshop.
Important notes on tire pressure
G
WARNING
If the tire pressure drop srepeatedly, the
wheel, valve or tire may be damaged. Tire
pressure that is too low may result in a tire
blow-out. There is a risk of an accident.
R Check the tire for foreign objects.
R Check whether the wheel is losing air or the
valve is leaking.
If you are unable to rectify the damage,
contact a qualified specialist workshop. G
WARNING
If you fit unsuitable accessories onto tire
valves, the tire valves may be overloaded and
malfunction, which can cause tire pressure
loss. Due to their design, retrofitted tire
pressure monitors keep the tire valve open.
This can also result in tire pressure loss. There
is a risk of an accident.
Only screw the standard valve cap or other
valve caps approved by Mercedes-Benz for
your vehicle onto the tire valve.
Use a suitable pressure gauge to chec kthe
tire pressure. The outer appearance of a tire
does not permit any reliable conclusion about
the tire pressure.
The tire temperature and pressure increase
when the vehicle is in motion. This is
dependent on the driving speed and the load.
Therefore, you should only correct tire
pressures when the tires are cold.
The tires are cold:
R if the vehicle has been parked without
direct sunlight on the tires for at least three
hours and
R if the vehicle has not been driven further
than 1 mile (1.6 km)
The tire temperature changes depending on
the outside temperature, the vehicle speed and the tire load. If the tire temperature
changes by 18 ‡ (10 †), the tire pressure
changes by approximately 10 kPa (0.1 bar/
1.5 psi). Take this into account when
checking the pressure of warm tires. Only
correct the tire pressure if it is too low for the
current operating conditions. If you check the
tire pressure when the tires are warm, the
resulting value will be higher than if the tires
were cold. This is normal. Do not reduce the
tire pressure to the value specified for cold
tires. The tire pressure would otherwise be
too low.
Observe the recommended tire pressures for
cold tires:
R
on the Tire and Loading Information placard
on the B-pillar on the driver's side
R in the tire pressure table on the inside of
the fuel filler flap Underinflated or overinflated tires
Underinflation G
WARNING
Tires with pressure that is too low can
overheat and burst as a consequence. In
addition, they also suffer from excessive and/
or irregular wear, which can severely impair
the braking properties and the driving
characteristics. There is a risk of an accident.
Avoid tire pressures that are too low in all the
tires, including the spare wheel.
Underinflated tires may:
R wear quickly and unevenly
R have an adverse effect on fuel consumption
R overheat, leading to tire defects
R have an adverse effect on handling
characteristics Tire pressure
297Wheels and tires Z
Page 301 of 336
Overinflation
G
WARNING
Tires with excessively high pressure can burst
because they are damaged more easily by
road debris, potholes etc.Ina ddition, they
also suffer from irregular wear, which can
severely impair the brakin gproperties and the
driving characteristics. There is a risk of an
accident.
Avoid tire pressures that are too high in all the
tires, including the spare wheel.
Overinflated tires may:
R have an adverse effect on handling
characteristics
R wearq uickly and unevenly
R be more susceptible to damage
R have an adverse effect on ride comfort
R increase the braking distance
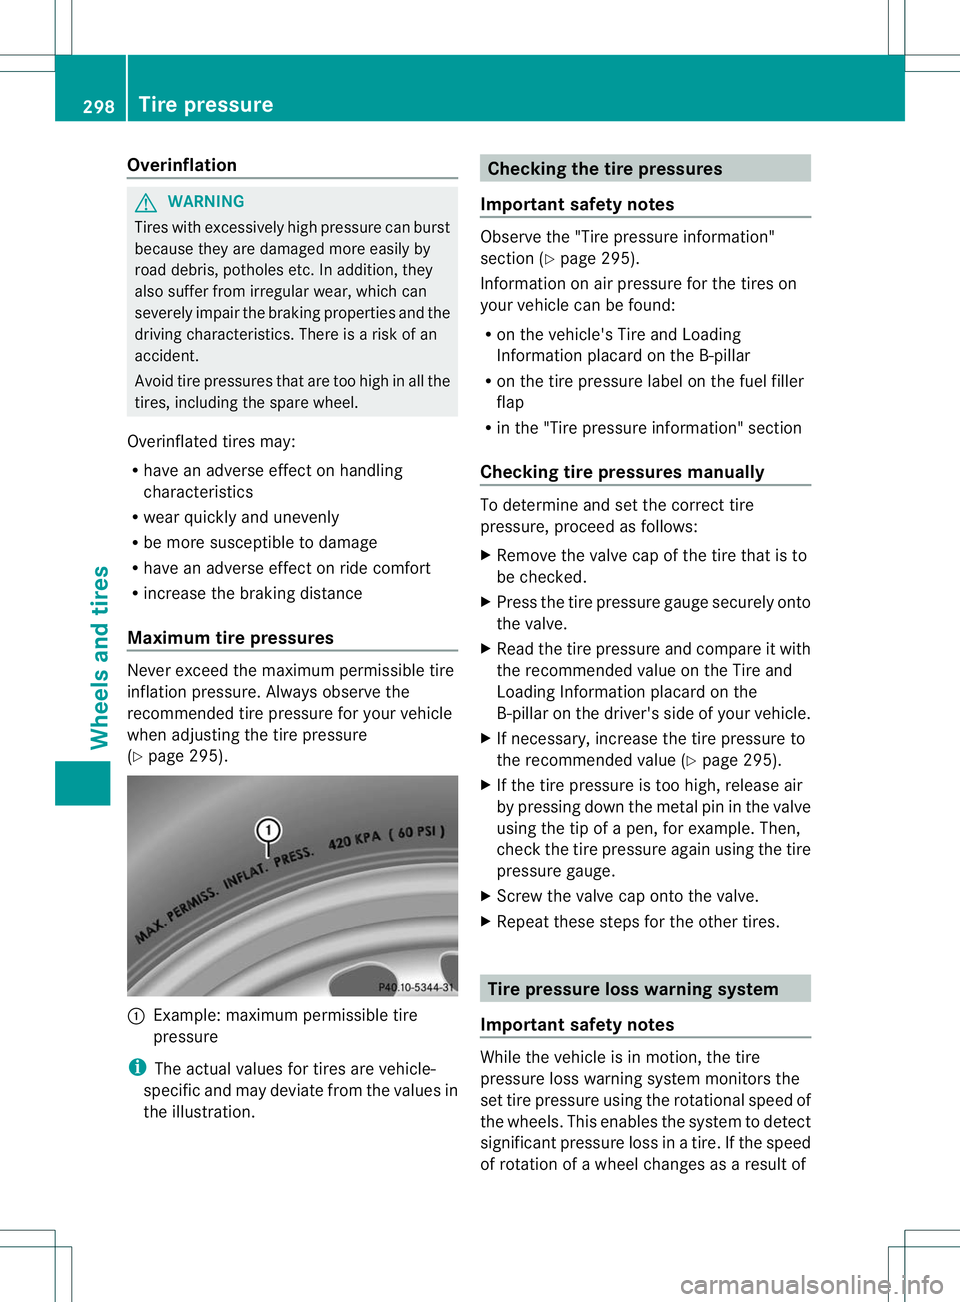
Maximum tire pressures Never exceed the maximum permissible tire
inflation pressure. Always observe the
recommended tire pressure for your vehicle
when adjusting the tire pressure
(Y
page 295). :
Example :maximum permissible tire
pressure
i The actual values for tires are vehicle-
specific and may deviate from the values in
the illustration. Checking the tire pressures
Important safety notes Observe the "Tire pressure information"
sectio
n(Ypage 295).
Information on air pressure for the tires on
your vehicle can be found:
R on the vehicle's Tire and Loading
Information placard on the B-pillar
R on the tire pressure label on the fuel filler
flap
R in the "Tire pressure information" section
Checking tire pressures manually To determine and set the correct tire
pressure, proceed as follows:
X
Remove the valve cap of the tire that is to
be checked.
X Press the tire pressure gauge securely onto
the valve.
X Read the tire pressure and compare it with
the recommended value on the Tire and
Loading Information placard on the
B-pillar on the driver's side of your vehicle.
X If necessary, increase the tire pressure to
the recommended value (Y page 295).
X If the tire pressure is too high, release air
by pressing down the metal pin in the valve
using the tip of a pen, for example. Then,
chec kthe tire pressure again using the tire
pressure gauge.
X Screw the valve cap onto the valve.
X Repeatt hese steps for the other tires. Tire pressure loss warning system
Important safety notes While the vehicle is in motion, the tire
pressure loss warning system monitors the
set tire pressure using the rotational speed of
the wheels. This enables the system to detect
significant pressure loss in a tire. If the speed
of rotation of a wheel changes as a result of298
Tire pressureWheels and tires