Switch MERCEDES-BENZ C-Class 2000 W202 User Guide
[x] Cancel search | Manufacturer: MERCEDES-BENZ, Model Year: 2000, Model line: C-Class, Model: MERCEDES-BENZ C-Class 2000 W202Pages: 130, PDF Size: 2.43 MB
Page 24 of 130

Panic Button
To activate press and hold button (1) for at least one second.
The alarm will last for approximately 3 minutes in form of blinking
exterior lamps, and an alarm will sound
To deactivate press button (1) again, or insert electronic key in
steering lock.
Note:
For operation in the USA only: This devise complies with Part 15 of the FCC Rules. Operation is subject to the
following two conditions: (1) This device may not cause harmful interference, and (2) this device must accept any
interference received, including interference that may cause undesired operation. Any unauthorized modification to
this device could void the user's authority to operate the equipment.
Mechanical Keys
The entire vehicle may be locked or unlocked by using either the mechanical key in driver's door or trunk lock, or
central locking switch located in center console. The central locking system also locks or unlocks the fuel filler flap.
Note:
If the fuel filler flap cannot be opened, refer to Fuel Filler Flap, Manual Release (see Index).
Page 26 of 130
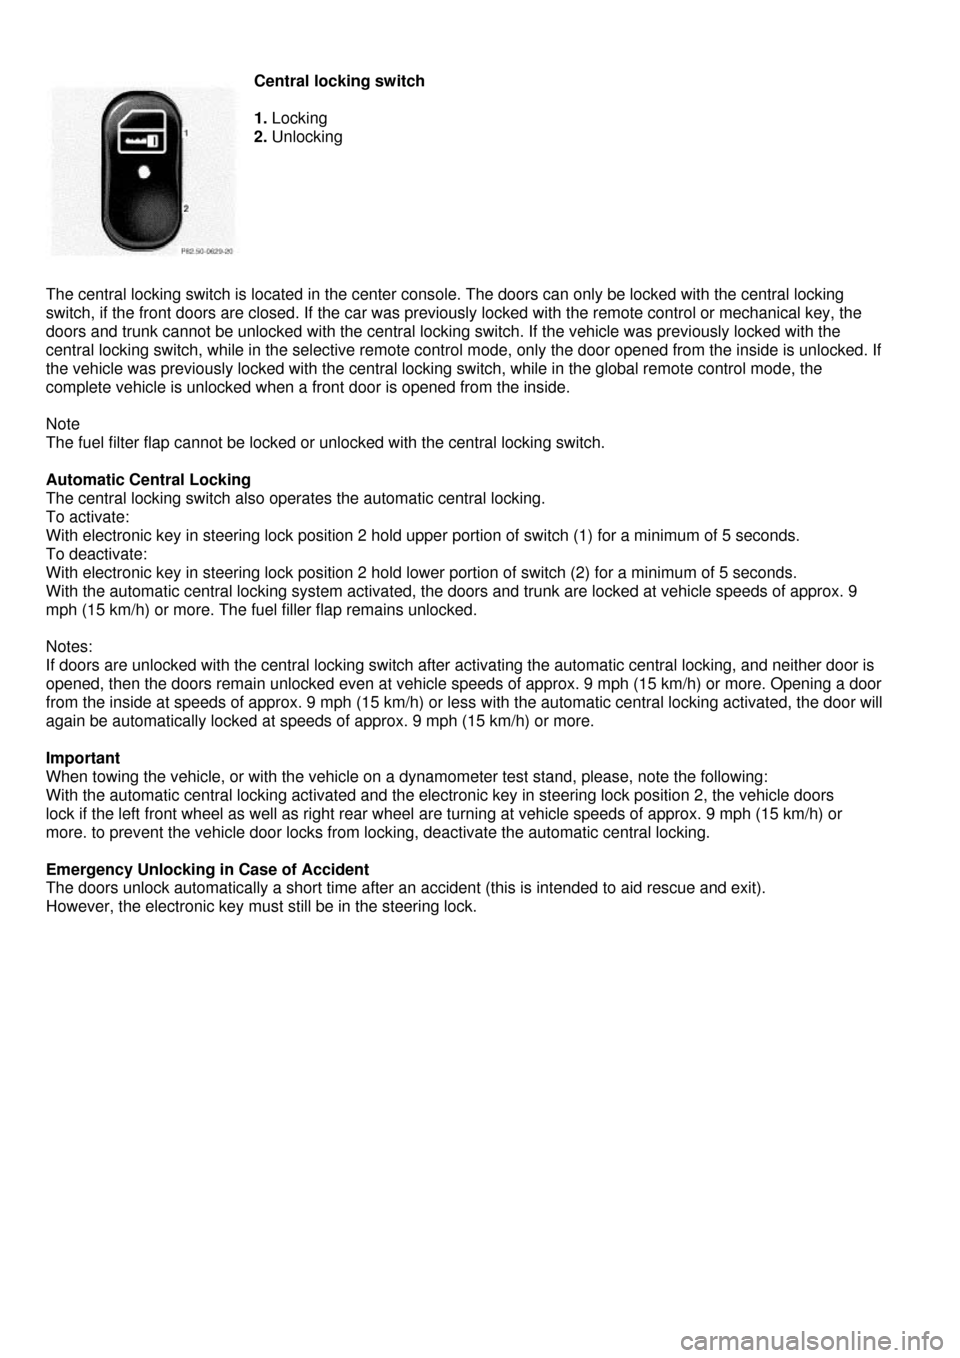
Central locking switch
1. Locking
2. Unlocking
The central locking switch is located in the center console. The doors can only be locked with the central locking
switch, if the front doors are closed. If the car was previously locked with the remote control or mechanical key, the
doors and trunk cannot be unlocked with the central locking switch. If the vehicle was previously locked with the
central locking switch, while in the selective remote control mode, only the door opened from the inside is unlocked. If
the vehicle was previously locked with the central locking switch, while in the global remote control mode, the
complete vehicle is unlocked when a front door is opened from the inside.
Note
The fuel filter flap cannot be locked or unlocked with the central locking switch.
Automatic Central Locking
The central locking switch also operates the automatic central locking.
To activate:
With electronic key in steering lock position 2 hold upper portion of switch (1) for a minimum of 5 seconds.
To deactivate:
With electronic key in steering lock position 2 hold lower portion of switch (2) for a minimum of 5 seconds.
With the automatic central locking system activated, the doors and trunk are locked at vehicle speeds of approx. 9
mph (15 km/h) or more. The fuel filler flap remains unlocked.
Notes:
If doors are unlocked with the central locking switch after activating the automatic central locking, and neither door is
opened, then the doors remain unlocked even at vehicle speeds of approx. 9 mph (15 km/h) or more. Opening a door
from the inside at speeds of approx. 9 mph (15 km/h) or less with the automatic central locking activated, the door will
again be automatically locked at speeds of approx. 9 mph (15 km/h) or more.
Important
When towing the vehicle, or with the vehicle on a dynamometer test stand, please, note the following:
With the automatic central locking activated and the electronic key in steering lock position 2, the vehicle doors
lock if the left front wheel as well as right rear wheel are turning at vehicle speeds of approx. 9 mph (15 km/h) or
more. to prevent the vehicle door locks from locking, deactivate the automatic central locking.
Emergency Unlocking in Case of Accident
The doors unlock automatically a short time after an accident (this is intended to aid rescue and exit).
However, the electronic key must still be in the steering lock.
Page 29 of 130
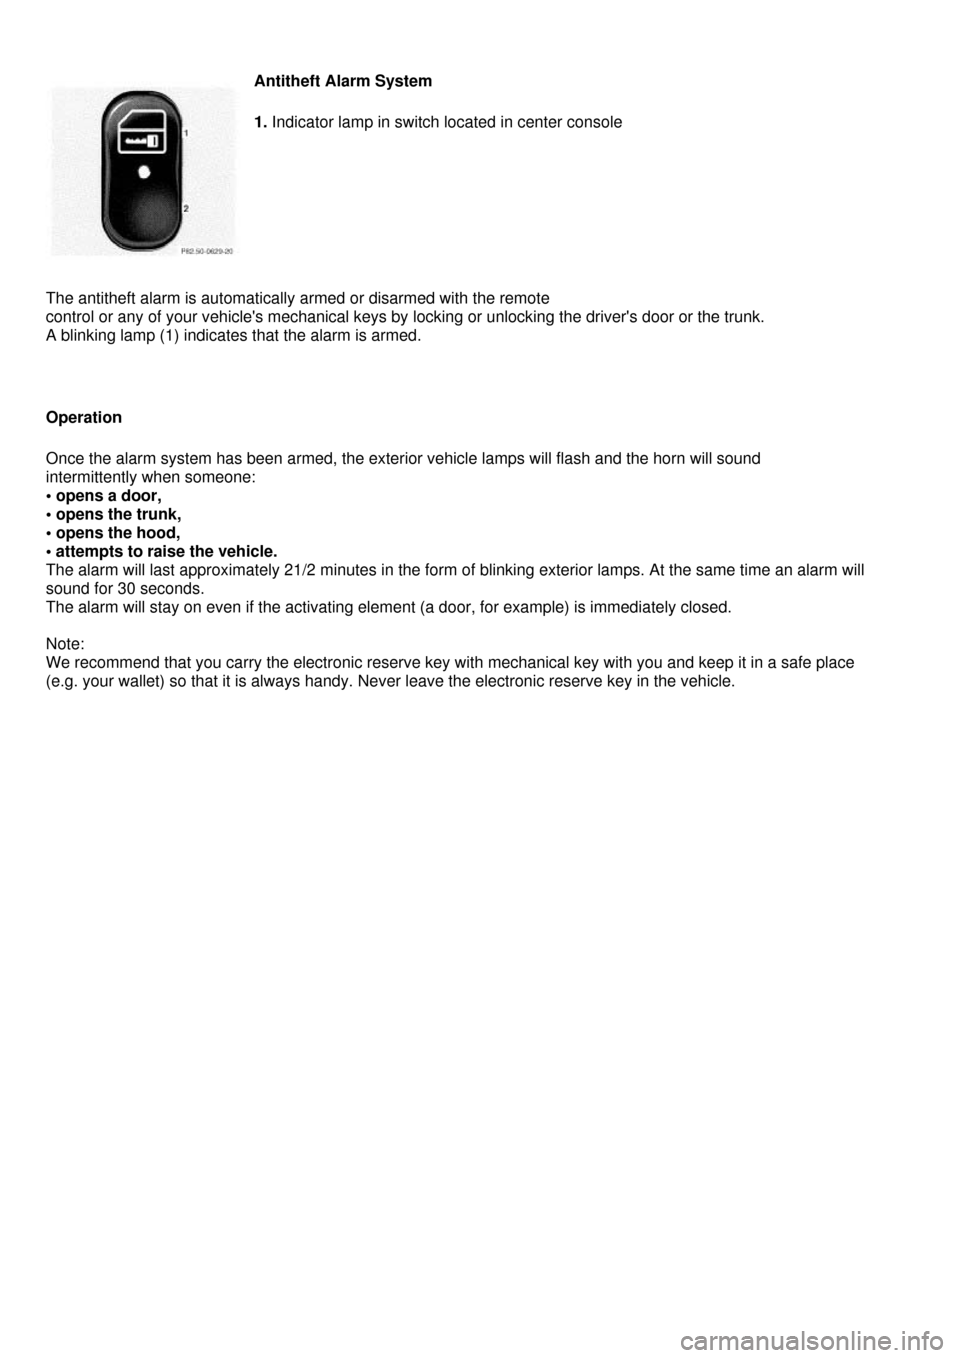
Antitheft Alarm System
1. Indicator lamp in switch located in center console
The antitheft alarm is automatically armed or disarmed with the remote
control or any of your vehicle's mechanical keys by locking or unlocking the driver's door or the trunk.
A blinking lamp (1) indicates that the alarm is armed.
Operation
Once the alarm system has been armed, the exterior vehicle lamps will flash and the horn will sound
intermittently when someone:
• opens a door,
• opens the trunk,
• opens the hood,
• attempts to raise the vehicle.
The alarm will last approximately 21/2 minutes in the form of blinking exterior lamps. At the same time an alarm will
sound for 30 seconds.
The alarm will stay on even if the activating element (a door, for example) is immediately closed.
Note:
We recommend that you carry the electronic reserve key with mechanical key with you and keep it in a safe place
(e.g. your wallet) so that it is always handy. Never leave the electronic reserve key in the vehicle.
Page 30 of 130

Tow-Away Protection
1. Press to switch off.
2. Indicator lamp
The switch is located in the center console.
Once the alarm system has been armed, the exterior vehicle lamps will flash and an alarm will sound when someone
attempts to raise the vehicle. The alarm will last approximately 21/2 minutes in the form of flashing exterior lamps.
At the same time an alarm will sound for 30 seconds. The alarm will stay on even if the vehicle is immediately
lowered.
To prevent triggering the alarm, switch off the tow-away protection before towing the vehicle, or when parking on a
surface subject to movement, such as a ferry or auto train.
To do so, turn electronic key in steering lock to position 1 or 0, or remove electronic key from steering lock. Press
tow-away protection switch (1). The indicator lamp (2) illuminates briefly. Exit vehicle, and lock vehicle with
mechanical key or remote control.
The tow-away protection remains switched off until the vehicle is locked again with mechanical key or remote control.
Page 31 of 130
Seats, Front
Warning !
Do not adjust the driver's seat while driving. Adjusting the seat while driving could cause the driver to lose
control of the vehicle. Never ride in a moving vehicle with the seat back reclined. Sitting in an excessively
reclined position can be dangerous.
You could slide under the seat belt in a collision. If you slide under it, the belt would apply force at the
abdomen or neck. That could cause serious or even fatal injuries. The seat backrest and seat belt provide
the best restraint when the wearer is in an upright position and the belt is property positioned on the body.
Never place hands under seat or near any moving parts while a seat is being adjusted
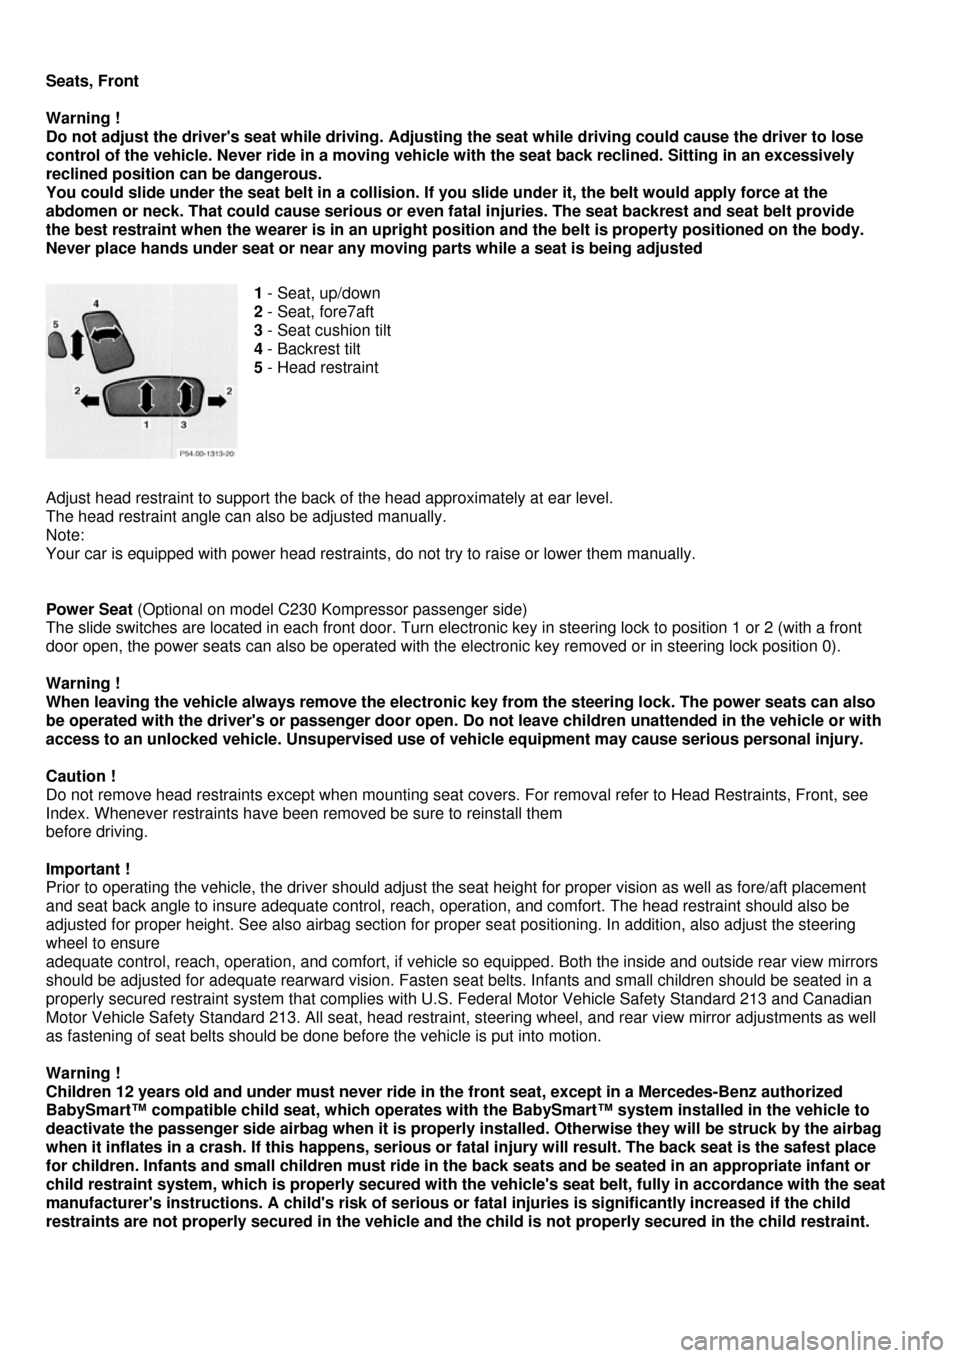
1 - Seat, up/down
2 - Seat, fore7aft
3 - Seat cushion tilt
4 - Backrest tilt
5 - Head restraint
Adjust head restraint to support the back of the head approximately at ear level.
The head restraint angle can also be adjusted manually.
Note:
Your car is equipped with power head restraints, do not try to raise or lower them manually.
Power Seat (Optional on model C230 Kompressor passenger side)
The slide switches are located in each front door. Turn electronic key in steering lock to position 1 or 2 (with a front
door open, the power seats can also be operated with the electronic key removed or in steering lock position 0).
Warning !
When leaving the vehicle always remove the electronic key from the steering lock. The power seats can also
be operated with the driver's or passenger door open. Do not leave children unattended in the vehicle or with
access to an unlocked vehicle. Unsupervised use of vehicle equipment may cause serious personal injury.
Caution !
Do not remove head restraints except when mounting seat covers. For removal refer to Head Restraints, Front, see
Index. Whenever restraints have been removed be sure to reinstall them
before driving.
Important !
Prior to operating the vehicle, the driver should adjust the seat height for proper vision as well as fore/aft placement
and seat back angle to insure adequate control, reach, operation, and comfort. The head restraint should also be
adjusted for proper height. See also airbag section for proper seat positioning. In addition, also adjust the steering
wheel to ensure
adequate control, reach, operation, and comfort, if vehicle so equipped. Both the inside and outside rear view mirrors
should be adjusted for adequate rearward vision. Fasten seat belts. Infants and small children should be seated in a
properly secured restraint system that complies with U.S. Federal Motor Vehicle Safety Standard 213 and Canadian
Motor Vehicle Safety Standard 213. All seat, head restraint, steering wheel, and rear view mirror adjustments as well
as fastening of seat belts should be done before the vehicle is put into motion.
Warning !
Children 12 years old and under must never ride in the front seat, except in a Mercedes-Benz authorized
BabySmart™ compatible child seat, which operates with the BabySmart™ system installed in the vehicle to
deactivate the passenger side airbag when it is properly installed. Otherwise they will be struck by the airbag
when it inflates in a crash. If this happens, serious or fatal injury will result. The back seat is the safest place
for children. Infants and small children must ride in the back seats and be seated in an appropriate infant or
child restraint system, which is properly secured with the vehicle's seat belt, fully in accordance with the seat
manufacturer's instructions. A child's risk of serious or fatal injuries is significantly increased if the child
restraints are not properly secured in the vehicle and the child is not properly secured in the child restraint.
Page 33 of 130

Multicontour Seat (optional)
We recommend to adjust the multicontour seat in the following order:
1. Seat cushion depth
2. Backrest bottom
3. Backrest center
4. Side bolster adjustment
Some models may be equipped with multicontour seats. These seats have movable seat cushions,
and inflatable air cushions built into the backrest to provide additional lumbar and side support.
The seat cushion movement and amount of backrest cushion height and curvature can be
continuously varied with regulators (1, 2 and 3) after turning the electronic key in steering lock to
position 2.
The side bolsters of the backrest can be adjusted with rocker switch (4):
• press down forward end-increase side support,
• press down rearward end-decrease side support.
If the engine is turned off, the last cushion setting is retained in memory, and automatically adjusts
the cushion to this setting when the engine is restarted.
Page 34 of 130

Heated Seats (optional)
Heated Seats (optional)
The front seat heater can be switched on with the electronic key in steering lock
positions 1 or 2.
Press switch to turn on seat heater:
1. Normal seat heating mode. One indicator lamp in the switch lights up.
2. Rapid seat heating mode. Both indicator lamps in the switch light up. After
approximately 5 minutes in the rapid seat heating mode, the seat heater automatically
switches to normal operation and only one indicator lamp will stay on.
Turning off seat heater:
If one indicator lamp is on, press upper half of switch.
If both indicator lamps are on, press lower half of switch.
If left on, the seatheater automatically turns off after approximately 30 minutes of operation.
Note:
When in operation, the seat heater consumes a large amount of electrical power. It is not advisable to use the seat
heater longer than necessary. The seat heaters may automatically switch off if too many power consumers are
switched on at the same time, or if the battery charge is low. When this occurs, the indicator lamp in the switch will
blink (both indicator lamps blink during rapid seat heating mode). The seat heaters will switch on again automatically
as soon as sufficient voltage is available. If the blinking of the indicator lamps is distracting to you, the seat heaters
can be switched off.
Page 36 of 130
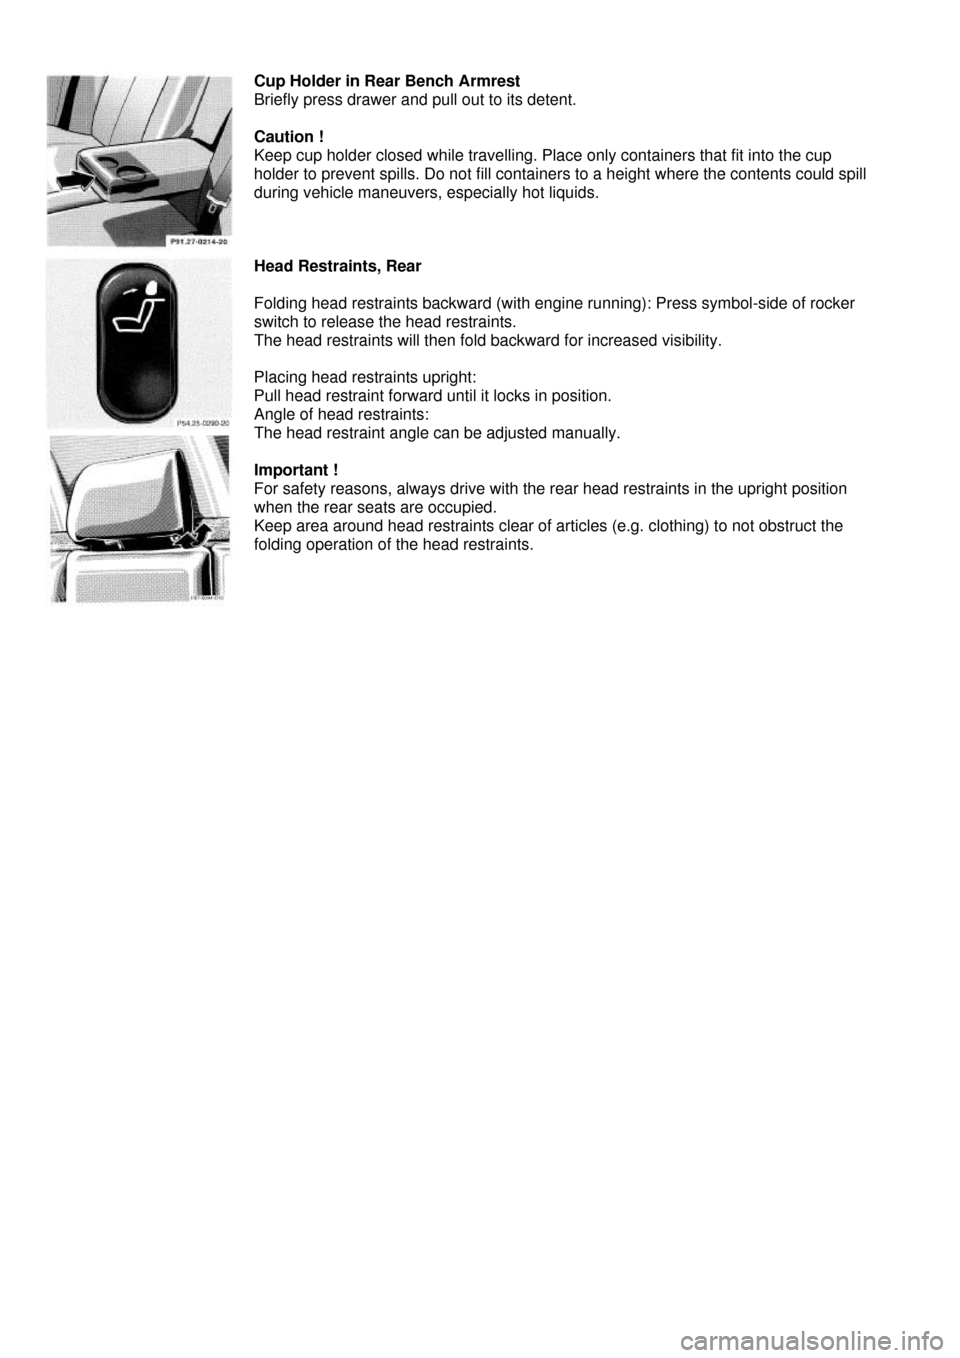
Cup Holder in Rear Bench Armrest
Briefly press drawer and pull out to its detent.
Caution !
Keep cup holder closed while travelling. Place only containers that fit into the cup
holder to prevent spills. Do not fill containers to a height where the contents could spill
during vehicle maneuvers, especially hot liquids.
Head Restraints, Rear
Folding head restraints backward (with engine running): Press symbol-side of rocker
switch to release the head restraints.
The head restraints will then fold backward for increased visibility.
Placing head restraints upright:
Pull head restraint forward until it locks in position.
Angle of head restraints:
The head restraint angle can be adjusted manually.
Important !
For safety reasons, always drive with the rear head restraints in the upright position
when the rear seats are occupied.
Keep area around head restraints clear of articles (e.g. clothing) to not obstruct the
folding operation of the head restraints.
Page 51 of 130
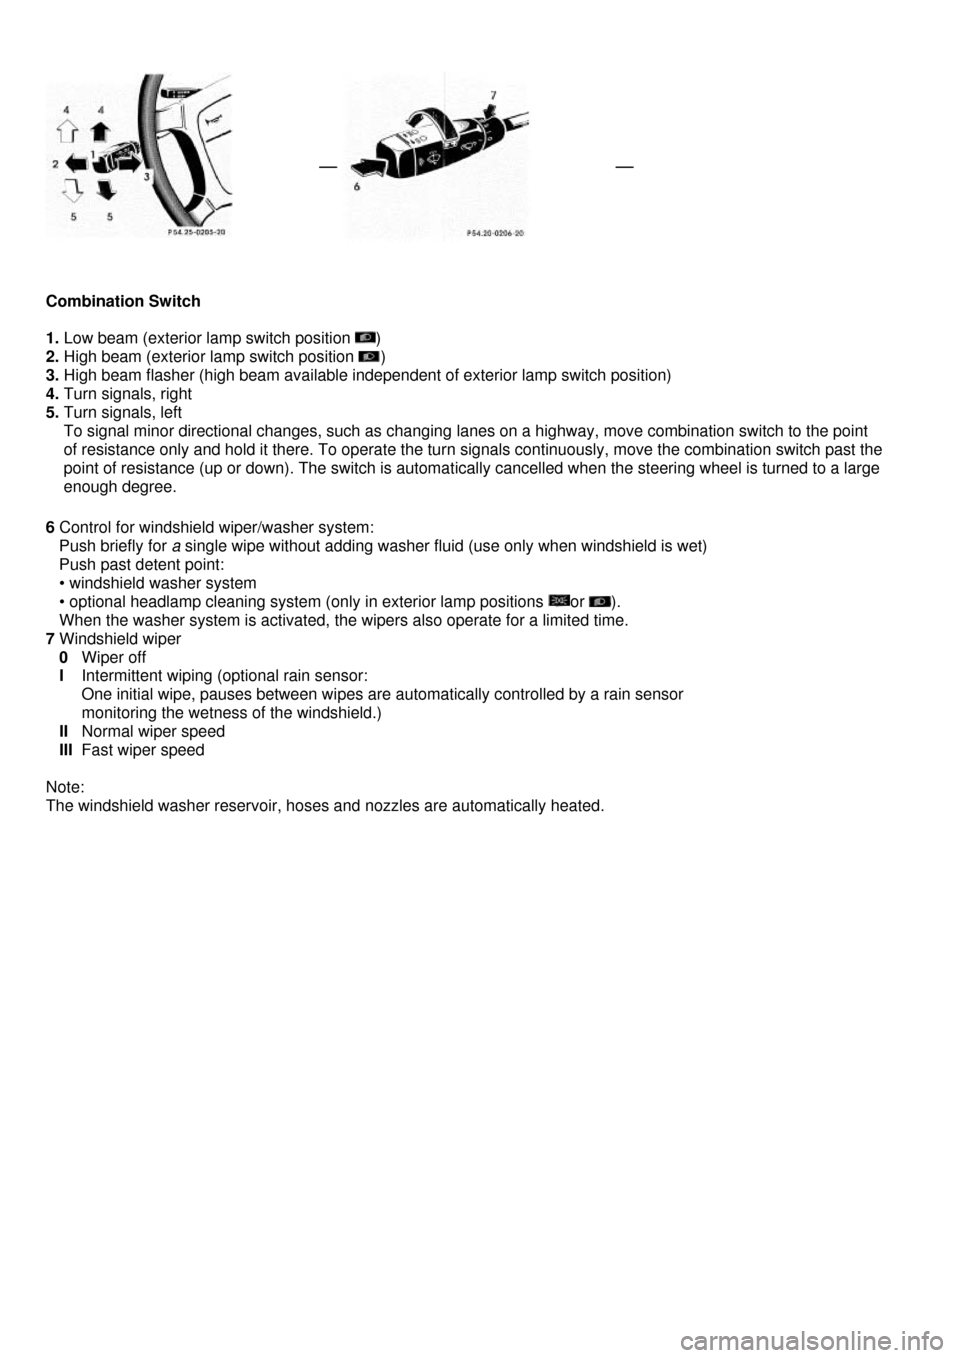
Combination Switch
1. Low beam (exterior lamp switch position )
2. High beam (exterior lamp switch position )
3. High beam flasher (high beam available independent of exterior lamp switch position)
4. Turn signals, right
5. Turn signals, left
To signal minor directional changes, such as changing lanes on a highway, move combination switch to the point
of resistance only and hold it there. To operate the turn signals continuously, move the combination switch past the
point of resistance (up or down). The switch is automatically cancelled when the steering wheel is turned to a large
enough degree.
6 Control for windshield wiper/washer system:
Push briefly for a single wipe without adding washer fluid (use only when windshield is wet)
Push past detent point:
• windshield washer system
• optional headlamp cleaning system (only in exterior lamp positions or ).
When the washer system is activated, the wipers also operate for a limited time.
7 Windshield wiper
0 Wiper off
I Intermittent wiping (optional rain sensor:
One initial wipe, pauses between wipes are automatically controlled by a rain sensor
monitoring the wetness of the windshield.)
II Normal wiper speed
III Fast wiper speed
Note:
The windshield washer reservoir, hoses and nozzles are automatically heated.
Page 52 of 130

Windshield Washer Fluid Mixing Ratio
For temperatures above freezing: MB Windshield Washer Concentrate "S" and water 1 part "S" to
100 parts water (40 ml "S" to 1 gallon water). For temperature below freezing: MB Windshield
Washer Concentrate "S" and commercially available premixed windshield washer solvent/antifreeze
1 part "S" to 100 parts solvent (40 ml "S" to 1 gallon solvent).
Windshield Wiper Smears
If the windshield wiper smears the windshield, even dur ing rain, activate the washer system as often
as necessary. The fluid in the washer reservoir should be mixed in the correct ratio.
Blocked Windshield Wiper
If the windshield wiper becomes blocked (for example, due to snow), switch off the wiper. For safety
reasons before removing ice or snow, remove electronic key from steering lock. Remove blockage.
Activate combination switch again (electronic key in steering lock position 1).
Turn Signal Failure
If one of the turn signals fails, the turn signal indicator system flashes and sounds at a faster than
normal rate.