Signal switch MERCEDES-BENZ C-Class 2000 W202 Owner's Manual
[x] Cancel search | Manufacturer: MERCEDES-BENZ, Model Year: 2000, Model line: C-Class, Model: MERCEDES-BENZ C-Class 2000 W202Pages: 130, PDF Size: 2.43 MB
Page 22 of 130

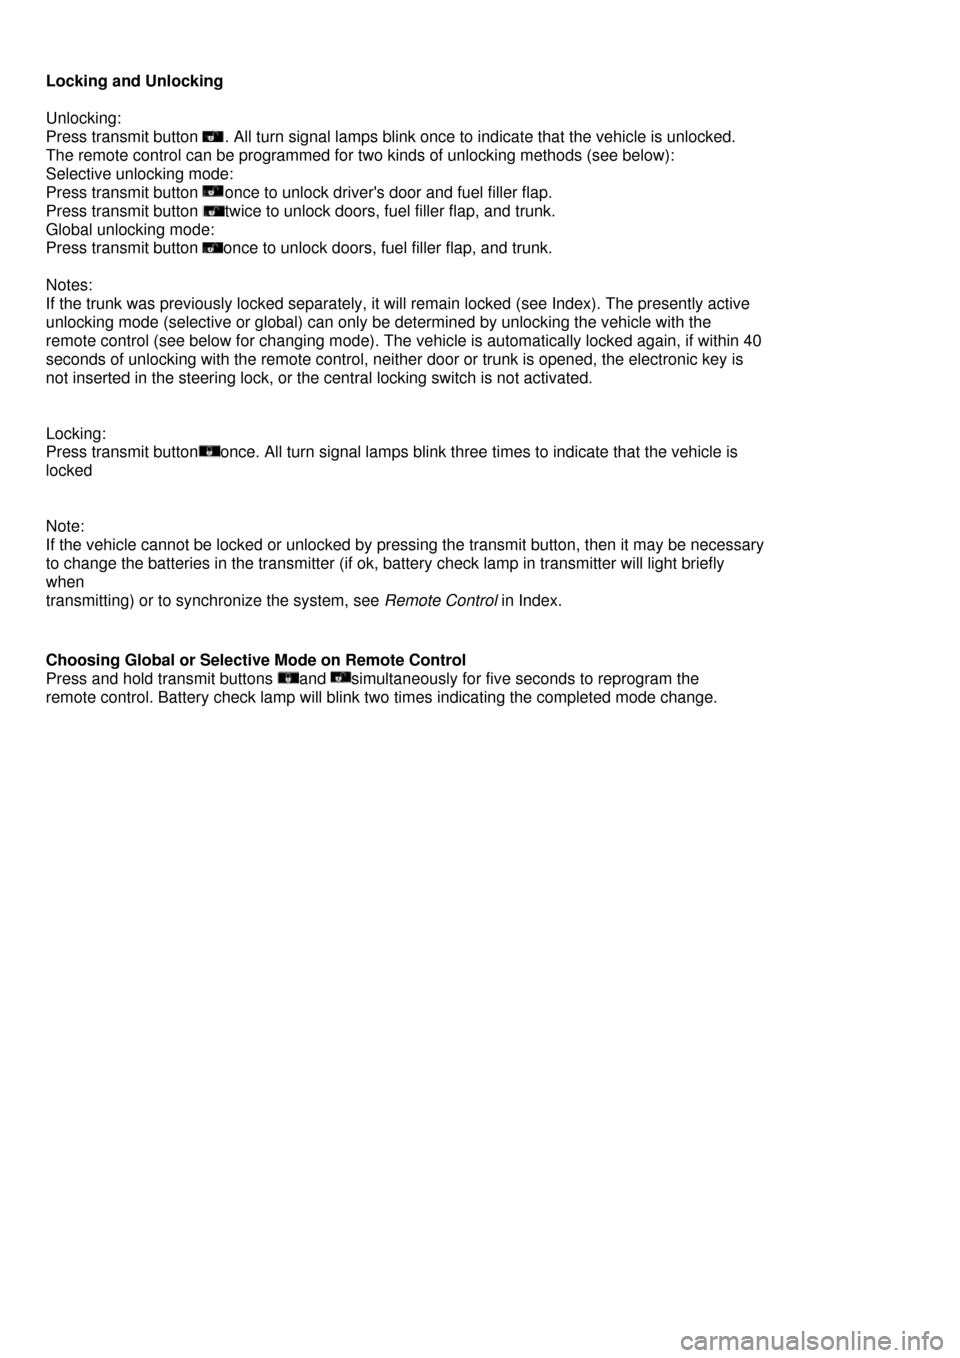
Locking and Unlocking
Unlocking:
Press transmit button . All turn signal lamps blink once to indicate that the vehicle is unlocked.
The remote control can be programmed for two kinds of unlocking methods (see below):
Selective unlocking mode:
Press transmit button once to unlock driver's door and fuel filler flap.
Press transmit button twice to unlock doors, fuel filler flap, and trunk.
Global unlocking mode:
Press transmit button once to unlock doors, fuel filler flap, and trunk.
Notes:
If the trunk was previously locked separately, it will remain locked (see Index). The presently active
unlocking mode (selective or global) can only be determined by unlocking the vehicle with the
remote control (see below for changing mode). The vehicle is automatically locked again, if within 40
seconds of unlocking with the remote control, neither door or trunk is opened, the electronic key is
not inserted in the steering lock, or the central locking switch is not activated.
Locking:
Press transmit buttononce. All turn signal lamps blink three times to indicate that the vehicle is
locked
Note:
If the vehicle cannot be locked or unlocked by pressing the transmit button, then it may be necessary
to change the batteries in the transmitter (if ok, battery check lamp in transmitter will light briefly
when
transmitting) or to synchronize the system, see Remote Control in Index.
Choosing Global or Selective Mode on Remote Control
Press and hold transmit buttons and simultaneously for five seconds to reprogram the
remote control. Battery check lamp will blink two times indicating the completed mode change.
Page 51 of 130

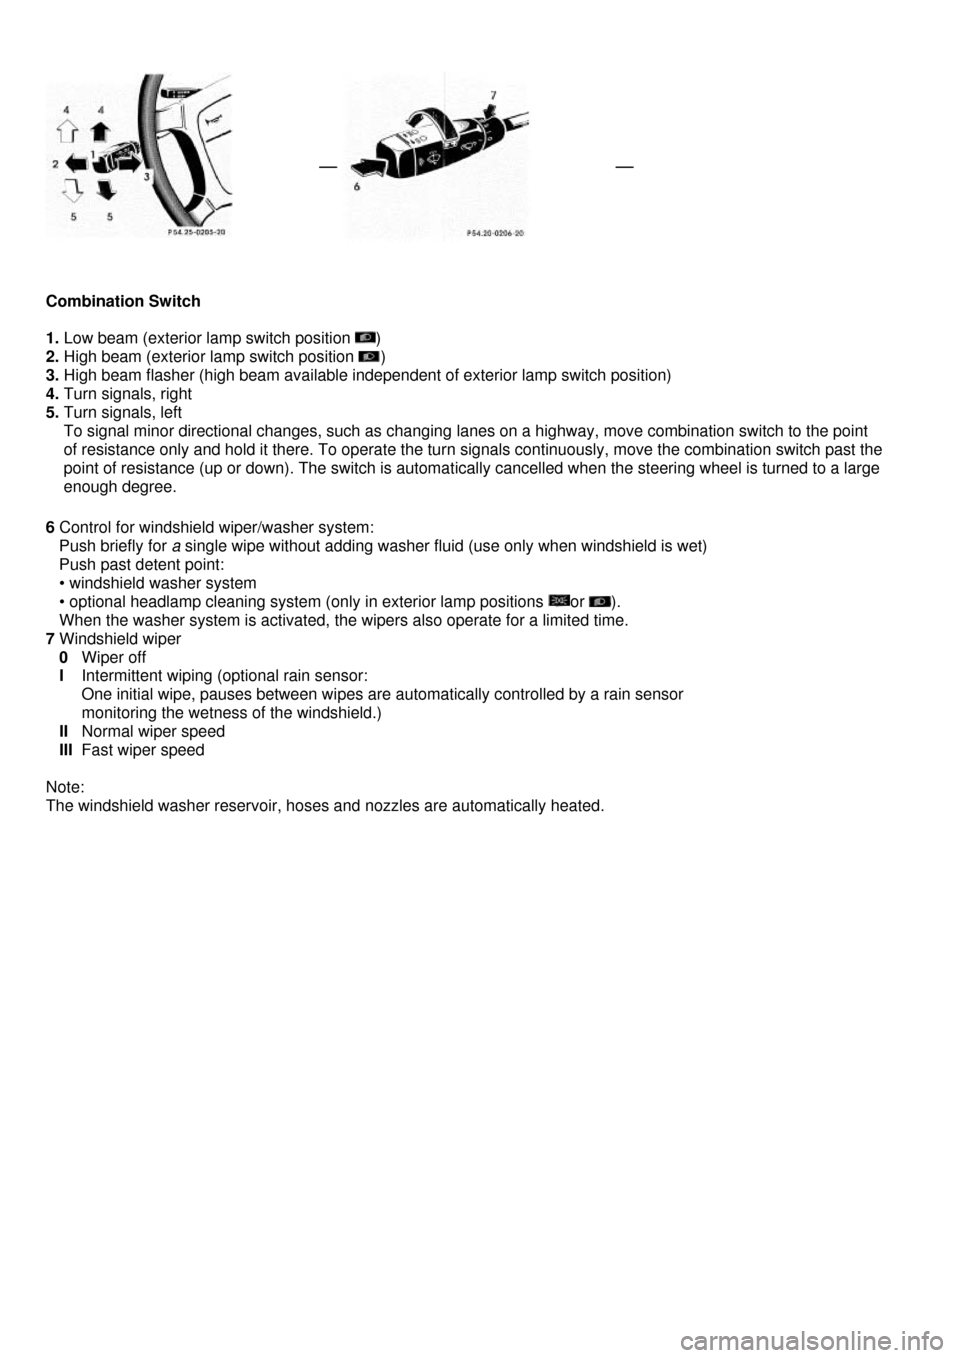
Combination Switch
1. Low beam (exterior lamp switch position )
2. High beam (exterior lamp switch position )
3. High beam flasher (high beam available independent of exterior lamp switch position)
4. Turn signals, right
5. Turn signals, left
To signal minor directional changes, such as changing lanes on a highway, move combination switch to the point
of resistance only and hold it there. To operate the turn signals continuously, move the combination switch past the
point of resistance (up or down). The switch is automatically cancelled when the steering wheel is turned to a large
enough degree.
6 Control for windshield wiper/washer system:
Push briefly for a single wipe without adding washer fluid (use only when windshield is wet)
Push past detent point:
• windshield washer system
• optional headlamp cleaning system (only in exterior lamp positions or ).
When the washer system is activated, the wipers also operate for a limited time.
7 Windshield wiper
0 Wiper off
I Intermittent wiping (optional rain sensor:
One initial wipe, pauses between wipes are automatically controlled by a rain sensor
monitoring the wetness of the windshield.)
II Normal wiper speed
III Fast wiper speed
Note:
The windshield washer reservoir, hoses and nozzles are automatically heated.
Page 52 of 130

Windshield Washer Fluid Mixing Ratio
For temperatures above freezing: MB Windshield Washer Concentrate "S" and water 1 part "S" to
100 parts water (40 ml "S" to 1 gallon water). For temperature below freezing: MB Windshield
Washer Concentrate "S" and commercially available premixed windshield washer solvent/antifreeze
1 part "S" to 100 parts solvent (40 ml "S" to 1 gallon solvent).
Windshield Wiper Smears
If the windshield wiper smears the windshield, even dur ing rain, activate the washer system as often
as necessary. The fluid in the washer reservoir should be mixed in the correct ratio.
Blocked Windshield Wiper
If the windshield wiper becomes blocked (for example, due to snow), switch off the wiper. For safety
reasons before removing ice or snow, remove electronic key from steering lock. Remove blockage.
Activate combination switch again (electronic key in steering lock position 1).
Turn Signal Failure
If one of the turn signals fails, the turn signal indicator system flashes and sounds at a faster than
normal rate.
Page 83 of 130

Emission Control
Certain systems of the engine serve to keep the toxic components of the exhaust gases within permissible limits
required by law. These systems, of course, will function properly only when maintained strictly according to factory
specifications. Any adjustments on the engine should, ther efore, be carried out only by qualified Mercedes-Benz
authorized dealer technicians. Engine adjustments should not be altered in any way. Moreover, the specified service
jobs must be carried out regularly according to Mercedes -Benz servicing requirements. For details refer to the
Service Booklet.
Warning !
Inhalation of exhaust gas is hazardous to your health. All exhaust gas contains carbon monoxide, and
inhaling it can cause unconsciousness and lead to death.
Do not run the engine in confined areas (such as a garage) which are not properly ventilated.
If you think that exhaust gas fumes are entering the vehicle while driving, have the cause determined and
corrected immediately. If you must drive under these conditions, drive only with at least one window fully
open.
On-Board Diagnostic System
The Sequential Multiport Fuel Injection (SFI) control module monitors emission control components that either provide
input signals to or receive output sign als from the control module. Malfunctions resulting from interruptions or failure
of any of these components are indica ted by the "CHECK ENGINE" malfunction indicator lamp in the instrument
cluster and are simultaneously stored in the SFI control module. If the "CHECK ENGINE" malfunction indicator lamp
comes on, have the system checked at your authorized Mercedes-Benz dealer as soon as possible. With some
exceptions the control module switches off the "CHECK ENGINE" indicator lamp if the condition, causing the lamp to
come on, no longer exists during three consecutive cycles. An on-board diagnostic connector is located in the
passenger compartment near to the parking brake pedal, allowi ng the accurate identification of system malfunctions
through the readout of diagnostic trouble codes.
Page 104 of 130

Towing the Vehicle
Warning!
Prior to towing the vehicle with all wheels on the ground, make
certain that the electronic key is in steering lock position 2.
If the electronic key is left in the steering lock position 0 for
an extended period of time, it can no longer be turned in the
lock. In this case, the steering is locked. To unlock, remove
electronic key from steering lock and reinsert.
Important !
When towing the vehicle, please, note the following:
With the automatic central locking activated and the electronic key inn steering lock position 2, the vehicle
doors lock if the left front wheel as well as the right rear wheel are turning at vehicle speeds of approx. 9 mph (15
km/h) or more. To prevent the vehicle door locks from locking, deactivate the automatic central locking.
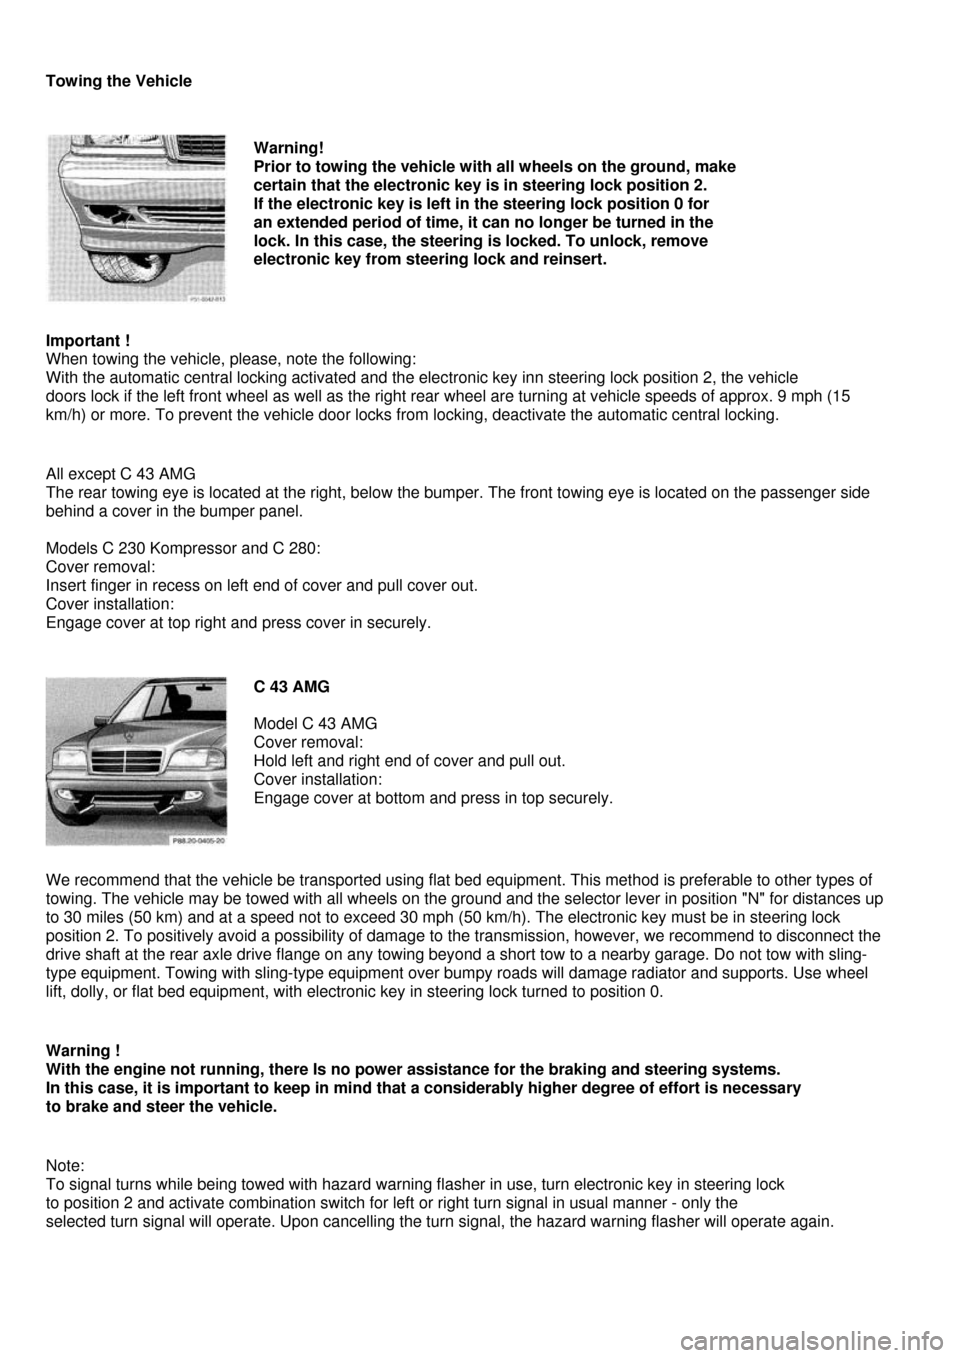
All except C 43 AMG
The rear towing eye is located at the right, below the bumper. The front towing eye is located on the passenger side
behind a cover in the bumper panel.
Models C 230 Kompressor and C 280:
Cover removal:
Insert finger in recess on left end of cover and pull cover out.
Cover installation:
Engage cover at top right and press cover in securely.
C 43 AMG
Model C 43 AMG
Cover removal:
Hold left and right end of cover and pull out.
Cover installation:
Engage cover at bottom and press in top securely.
We recommend that the vehicle be transported using flat bed equipment. This method is preferable to other types of
towing. The vehicle may be towed with all wheels on the ground and the selector lever in position "N" for distances up
to 30 miles (50 km) and at a speed not to exceed 30 mph (50 km/h). The electronic key must be in steering lock
position 2. To positively avoid a possibility of damage to the transmission, however, we recommend to disconnect the
drive shaft at the rear axle drive flange on any towing beyond a short tow to a nearby garage. Do not tow with sling-
type equipment. Towing with sling-type equipment over bumpy roads will damage radiator and supports. Use wheel
lift, dolly, or flat bed equipment, with electronic key in steering lock turned to position 0.
Warning !
With the engine not running, there Is no power assistance for the braking and steering systems.
In this case, it is important to keep in mind that a considerably higher degree of effort is necessary
to brake and steer the vehicle.
Note:
To signal turns while being towed with hazard warning flasher in use, turn electronic key in steering lock
to position 2 and activate combination switch for left or right turn signal in usual manner - only the
selected turn signal will operate. Upon cancelling the turn signal, the hazard warning flasher will operate again.