fold seats MERCEDES-BENZ C-CLASS 2002 Owners Manual
[x] Cancel search | Manufacturer: MERCEDES-BENZ, Model Year: 2002, Model line: C-CLASS, Model: MERCEDES-BENZ C-CLASS 2002Pages: 399, PDF Size: 16.95 MB
Page 59 of 399
56
Seats
Te ch n i c a l
data
Instruments
and controls Operation
DrivingInstrument
cluster display Practical hints Car care Index
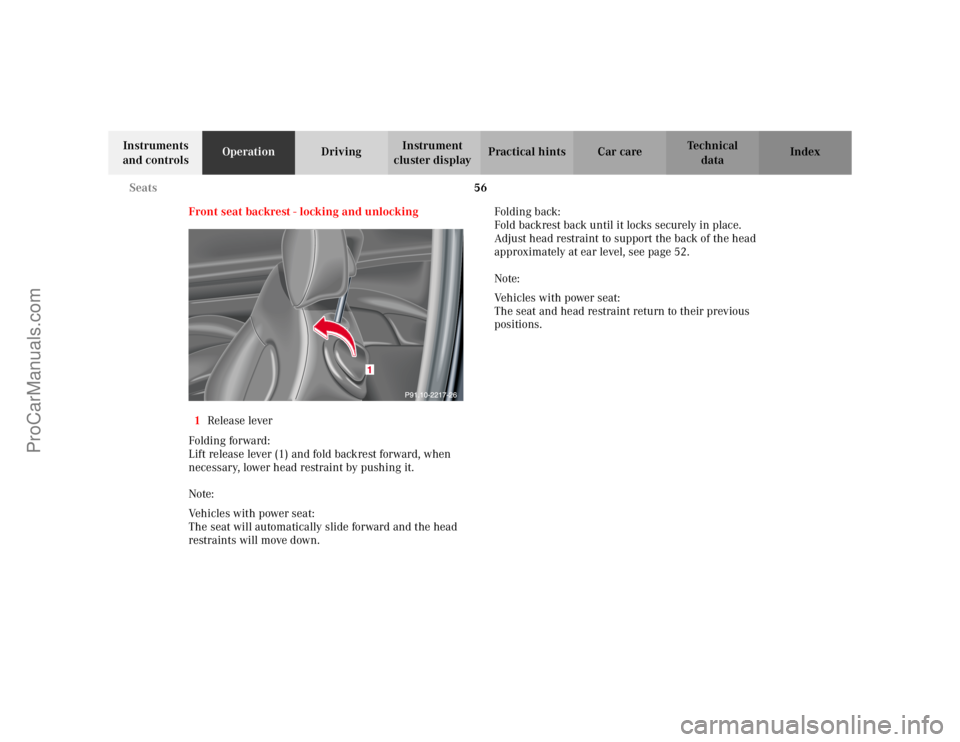
Front seat backrest - locking and unlocking
1 Release lever
Folding forward:
Lift release lever (1) and fold backrest forward, when
necessary, lower head restraint by pushing it.
Note:
Vehicles with power seat:
The seat will automatically slide forward and the head
restraints will move down. Folding back:
Fold backrest back until it locks securely in place.
Adjust head restraint to support the back of the head
approximately at ear level, see page 52.
Note:
Vehicles with power seat:
The seat and head restraint return to their previous
positions.
ProCarManuals.com
Page 60 of 399

57
Seats
Te ch n i c a l
data
Instruments
and controls Operation
DrivingInstrument
cluster display Practical hints Car care Index
Wa r n i n g !
When leaving the vehicle always remove the
electronic key from the steering lock, and lock your
vehicle.The power seats can also be operated with the
driver’s or passenger door open. Do not leave
children unattended in the vehicle or with access
to an unlocked vehicle. Unsupervised use of vehicle
equipment may cause serious personal injury.Never place hands under seat or near any moving
parts during a seat adjustment procedure.
Wa r n i n g !
When raising backrest, observe that backrest is not
pushed against an occupant or object.Vehicles with manual seat:
After folding backrest up, adjust head restraint to
support the back of the head approximately at ear
level.
ProCarManuals.com
Page 63 of 399
60
Seats
Te ch n i c a l
data
Instruments
and controls Operation
DrivingInstrument
cluster display Practical hints Car care Index
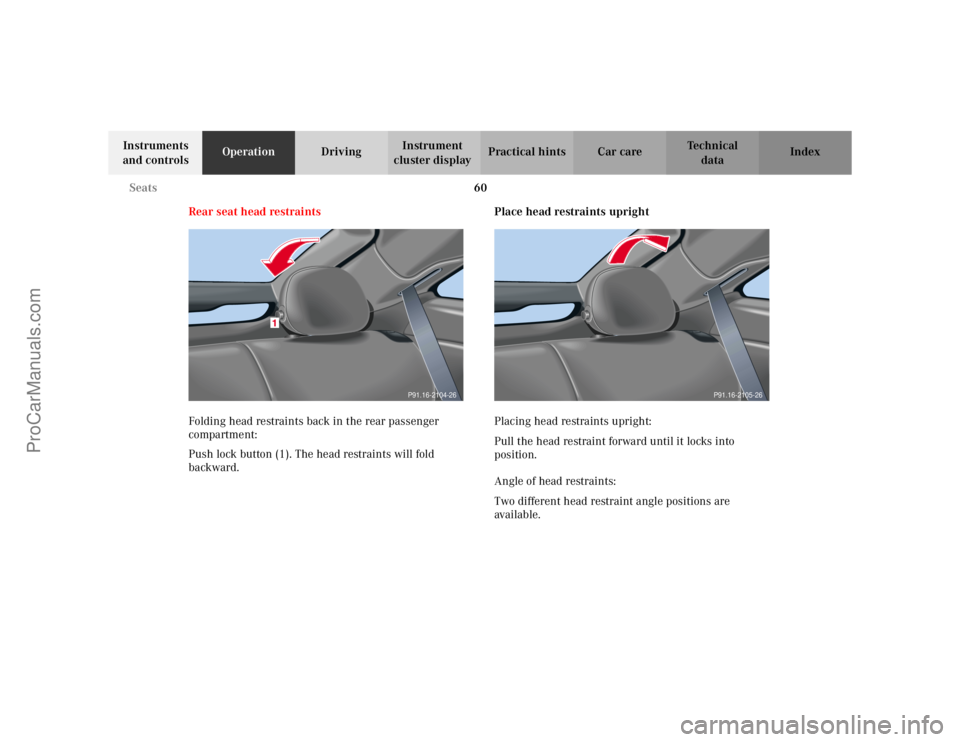
Rear seat head restraints
Folding head restraints back in the rear passenger
compartment:
Push lock button (1). The head restraints will fold
backward. Place head restraints upright
Placing head restraints upright:
Pull the head restraint forward until it locks into
position.
Angle of head restraints:
Two different head restraint angle positions are
ava i l ab le .
P91.16-2104-26
P91.16-2105-26
ProCarManuals.com
Page 64 of 399
61
Seats
Te ch n i c a l
data
Instruments
and controls Operation
DrivingInstrument
cluster display Practical hints Car care Index
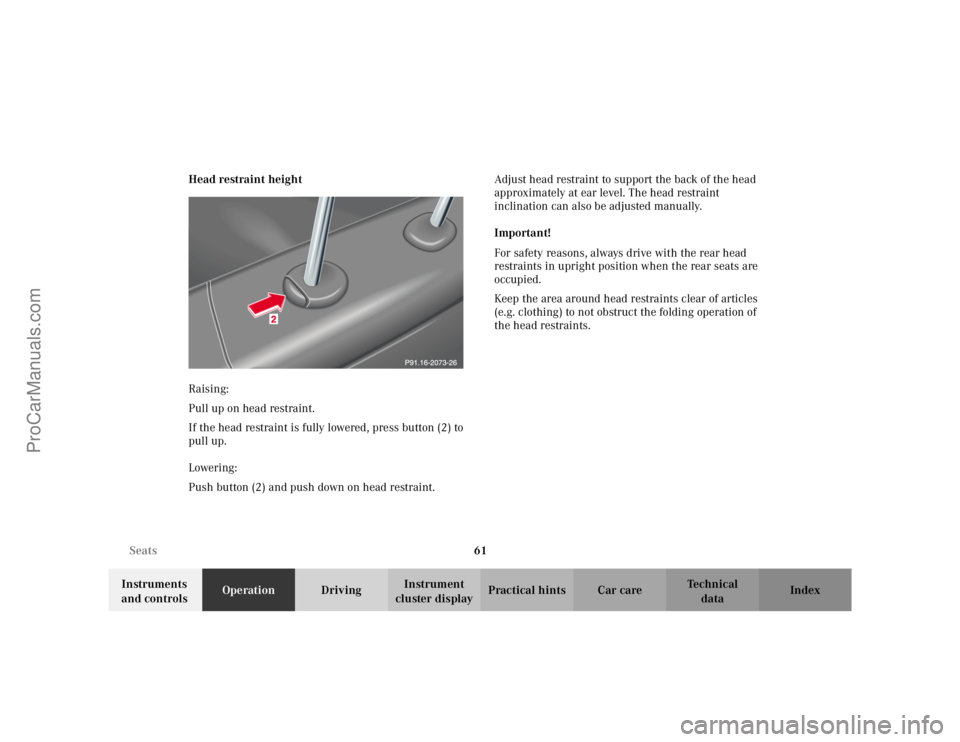
Head restraint height
Raising:
Pull up on head restraint.
If the head restraint is fully lowered, press button (2) to
pull up.
Lowering:
Push button (2) and push down on head restraint.
Adjust head restraint to support the back of the head
approximately at ear level. The head restraint
inclination can also be adjusted manually.
Important!
For safety reasons, always drive with the rear head
restraints in upright position when the rear seats are
occupied.
Keep the area around head restraints clear of articles
(e.g. clothing) to not obstruct the folding operation of
the head restraints.
ProCarManuals.com
Page 88 of 399
85
Restraint systems
Te ch n i c a l
data
Instruments
and controls Operation
DrivingInstrument
cluster display Practical hints Car care Index
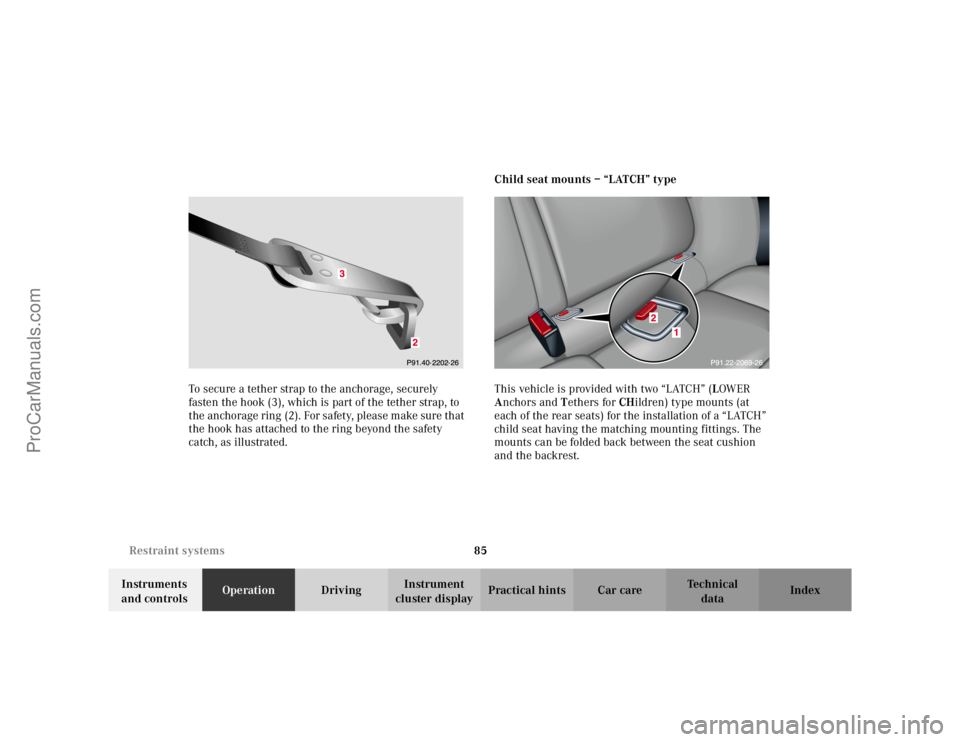
To secure a tether strap to the anchorage, securely
fasten the hook (3), which is part of the tether strap, to
the anchorage ring (2). For safety, please make sure that
the hook has attached to the ring beyond the safety
catch, as illustrated. Child seat mounts – “LATCH” type
This vehicle is provided with two “LATCH” (
LOWER
A nchors and Tethers for CHildren) type mounts (at
each of the rear seats) for the installation of a “LATCH”
child seat having the matching mounting fittings. The
mounts can be folded back between the seat cushion
and the backrest.
ProCarManuals.com
Page 89 of 399
86
Restraint systems
Te ch n i c a l
data
Instruments
and controls Operation
DrivingInstrument
cluster display Practical hints Car care Index
To install a “LATCH” type child seat, the mounts (1)
must be folded forward until they lock in place. To do so,
grip inner side of mounts and fold forward. Install child
seat according to the manufacturer’s instructions.
The child seat must be firmly attached in the right and
left side mounting fittings (1).
To fold mounts (1) back, press down button (2) on each
mount and return mount into its catch.
Non-“LATCH” type child seats may also be used and are
capable of being installed using the vehicle’s seat belt
system. Install child seat according to the
manufacturer’s instructions.
Wa r n i n g !
The “LATCH” mounting fittings are intended for
children up to 22 kg (50 lbs) in weight.Children too big for child restraint systems must
ride in back seats using regular seat belts. Position
shoulder belt across chest and shoulder, not face or
neck. A booster seat may be necessary to achieve
proper belt positioning for children from 41 lbs. to
the point where a lap / shoulder belt fits properly
without one.Before installing the child seat, make sure the
mounting fittings (1) are folded out and locked in
place.Install child seat according to manufacturer’s
instructions.The child seat must be firmly attached in the right
and left side mounting fittings (1).An incorrectly mounted child seat may come loose
during an accident.Damaged or impact damaged child seats or child
seat mounting fittings must be replaced.Do not leave children unattended in the vehicle,
even if the children are secured in a child restraint
system.
ProCarManuals.com
Page 394 of 399

391
Index
Te ch n i c a l
data
Instruments
and controls Operation Driving
Instrument
cluster display Practical hints Car care
Index
Unfastening .................................................................. 66
Warning lamp ............................................................ 288
Seat belts and integrated restraint system .................. 62
Seats Front seat adjustment ................................................ 48
Heated seat .................................................................. 58
Manual seat ................................................................. 51
Memory ........................................................................ 93
Selective locking See Central locking system ....................................... 31
Self-test BabySmart
TM without special child seat
installed ........................................................................ 69
Setting the audio volume.............................................. 136
Side impact airbags ......................................................... 75
Side marker lamp........................................................... 350
Sliding/pop-up roof Opening and closing................................................... 34
Synchronizing ........................................................... 202
SOS-call See Tele Aid ............................................................... 228
Spare wheel, storage compartment............................. 321
Split folding rear seat bench ........................................ 215
Standby bulb function ................................................... 350
Start lock-out..................................................................... 30
Starter switch ................................................................. 240
Starting and turning off the engine ............................ 242 Steering lock
See starter switch ..................................................... 240
Steering wheel Easy-entry/exit feature .............................................. 47
STEERING WHEEL ADJUST. - malfunction and warning messages ..................... 308
Steering wheel adjustment electrical ....................................................................... 88
manual .......................................................................... 87
Storage compartments and armrests .......................... 206
Storing mirror positions.................................................. 90
Storing seat positions ...................................................... 50
Stowing things in the vehicle....................................... 311
Sun visors....................................................................... 205
Sunshade for panorama sliding/pop-up roof............. 199
Supplemental Restraint System (SRS) .......................... 70
TTechnical data ................................................................ 373
Electrical system ....................................................... 376
Main Dimensions ...................................................... 376
Rims – Tires ............................................................... 374
Weights ....................................................................... 376
Tele Aid ........................................................................... 228
ProCarManuals.com