USB port MERCEDES-BENZ C-Class 2015 W205 Comand Manual
[x] Cancel search | Manufacturer: MERCEDES-BENZ, Model Year: 2015, Model line: C-Class, Model: MERCEDES-BENZ C-Class 2015 W205Pages: 214, PDF Size: 5.16 MB
Page 13 of 214
Gesture control
................................ 21
Handwriting recognition ................... 23
Operating the touchpad ...................21
Overview .......................................... 21
Quick access for audio and tele-
phone .............................................. 25
Switching input line .........................24
Tow-away alarm
Arming/deactivating (COMAND) .....52
Traffic jam function .............................84
Traffic reports Calling up a list ................................ 86
Reading out on route .......................88
Real-time traffic report ....................87
Trunk lid opening height restric-
tion Activating/deactivating
(COMAND) ....................................... 52U
Updating the digital map ....................96
USB audio mode Selecting a track ............................ 170
USB devices
Connecting to the Media Inter-
face ............................................... 168V
Vehicle settings ................................... 48
Video see Video DVD
Video-AUX
Connecting an external video
source ............................................ 190
Switching to ................................... 190
Video DVD
Control option ................................ 192
DVD's control menu ......................194
DVD functions ............................... 195
DVD menu ..................................... 195
Function restrictions ......................192
Menu options ................................ .193
Notes on discs ............................... 192
Operation ....................................... 191
Overview ........................................ 193
Pause function ............................... 196Picture settings .............................. 194
Playing conditions .......................... 192
Safety notes .................................. 191
Selecting a scene/chapter ............196
Stop function ................................. 196
Switching to ................................... 193
Video menu ................................... 195
Voice Control System
Settings ........................................... 39
Volume, adjusting
Navigation messages .......................26 W
Waypoints Accepting waypoints for the route ...78
Creating ........................................... 76
Editing .............................................. 77
Entering ........................................... 76
Searching for a gas station when
the fuel level is low ..........................78
Weather App (COMAND)
Closing .......................................... .143
Opening ......................................... 143
Weather map (SIRIUS)
Calling up ....................................... 207
Legend .......................................... .211
Moving ........................................... 208
Showing/hiding layers ...................208
Showing/hiding the menu .............208
Time stamp .................................... 211
Weather memory (SIRIUS)
Selecting an area ........................... 207
Storing an area .............................. 207
WLAN
Activating ........................................ .39
Connecting the device .....................39 Index
11
Page 18 of 214
Overview
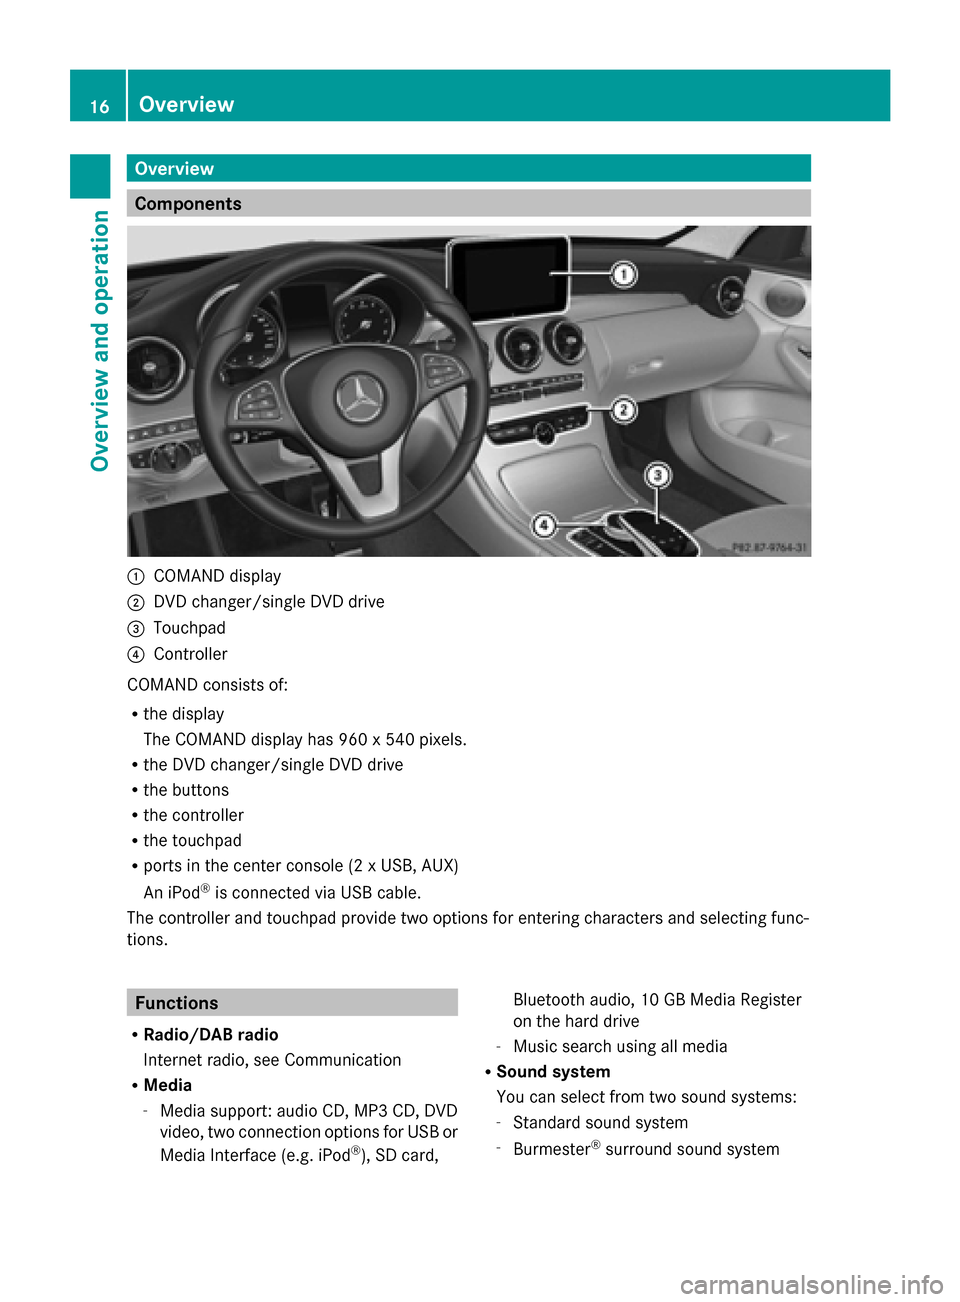
Components
0043
COMAND display
0044 DVD changer/single DVD drive
0087 Touchpad
0085 Controller
COMAND consists of:
R the display
The COMAND display has 960 x 540 pixels.
R the DVD changer/single DVD drive
R the buttons
R the controller
R the touchpad
R ports in the center console (2 x USB, AUX)
An iPod ®
is connected via USB cable.
The controller and touchpad provide two options for entering characters and selecting func-
tions. Functions
R Radio/DAB radio
Internet radio, see Communication
R Media
-Media support: audio CD, MP3 CD, DVD
video, two connection options for USB or
Media Interface (e.g. iPod ®
), SD card, Bluetooth audio, 10 GB Media Register
on the hard drive
- Music search using all media
R Sound system
You can select from two sound systems:
-Standard sound system
- Burmester ®
surround sound system 16
OverviewOverview and operation
Page 45 of 214

Further information on favorites (Y
page 32).Importing/exporting data
General notes
! Never remove the stick or card when writ-
ing data to the USB stick or the memory
card. You may otherwise lose data.
Using this function, you can:
R transfer your personal COMAND data from
one system/vehicle to another.
R make a backup copy of your personal data
(export data) and load it again (import
data).
R protect your data from unwanted export by
activating a pin prompt (presetting: deacti-
vated 0053).
You can either use an SD memory card or a
USB storage device (e.g. a USB stick) as tem-
porary storage. Activating/deactivating PIN protec-
tion X
Press the 00D4button.
The Vehicle Vehicle menu appears.
X To select System Settings
System Settings : slide6the
controller, turn and press to confirm.
A menu appears. X
To select Data Import/Export Data Import/Export: turn and
press the controller.
X Select Activate PIN Protection Activate PIN Protection.
Activate 0073or deactivate 0053PIN protec-
tion. When activating PIN protection, you
will be prompted to enter a PIN. X
To enter the 4-digit PIN and select 0054:
turn and press the controller.
You will be prompted to enter the PIN
again.
X Enter the PIN again and select 0054.
The PIN prompt now protects your personal
data from unwanted export.
i If you deactivate your PIN protection, you
will first be prompted to enter your PIN. If
you have forgotten your PIN, an authorized
Mercedes-Benz Center can deactivate your
PIN protection for you. Alternatively, you
can deactivate PIN protection by resetting
your personal COMAND data
(Y page 44). Importing/exporting data Importing/exporting data
43System settings
Page 46 of 214

X
Insert the SD memory card (Y page 168).
or
X Connect a USB device (e.g. a USB memory
stick) (Y page 168).
X Press the 00D4button in the center con-
sole.
The Vehicle
Vehicle menu appears.
X To select System SystemSettings
Settings: slide 6and
press the controller.
A menu appears.
X To select Data Import/Export Data Import/Export: turn and
press the controller.
X Select Import Data
Import Data orExport Data
Export Data.
i If you import data such as address data,
the existing data on COMAND is overwrit-
ten. You will see a message to this effect.
COMAND is restarted after the data import. If PIN protection is activated, a PIN prompt
appears when you select Export Data Export Data.
X To enter the PIN: turn the controller and
press 0054to confirm.
PIN protection is deactivated.
X To select Memory Card
Memory Card, USB 1 USB 1orUSB 2
USB 2:
turn and press the controller.
This function exports all the data to the
selected disc.
A window appears with the message that
the data has been exported.
You can export address data, bookmarks,
system settings that you have made and radio
station lists, for example. Personal music files
in the MEDIA REGISTER cannot be saved and
imported again using this function. Mercedes-Benz is not liable for any loss of
data. Reset function
You can reset COMAND to the factory set-
tings. Amongst other things, this will delete
all personal COMAND data. These include:
R Channel presets
R Entries in the destination memory
R Entries in the list of previous destinations
in the navigation system
R Entries in the address book
R Authorized telephone
In addition, an activated PIN protection,
which you have used to protect your data
against unwanted export, will be deactivated.
Resetting is recommended before selling or
transferring ownership of your vehicle, for
example.
Data on the internal hard drive, e.g. music
files in the MEDIA REGISTER, will be deleted.
Mercedes-Benz is not liable for any loss of
data.
X Press the 00D4button in the center con-
sole.
The Vehicle
Vehicle menu appears.
X To select System Settings System Settings : slide6the
controller, turn and press to confirm.
A menu appears.
X To select Reset Reset: turn and press the con-
troller.
A prompt appears asking whether you wish
to reset.
X Select Yes YesorNo
No.
If you select No
Nothe process is canceled.
If you select Yes
Yesa prompt will appear again
asking whether you really wish to reset.
X Select Yes
YesorNo
No.
If you select Yes
Yesa message will be shown.
COMAND is reset to the factory settings
and restarted. 44
Reset functionSystem settings
Page 116 of 214
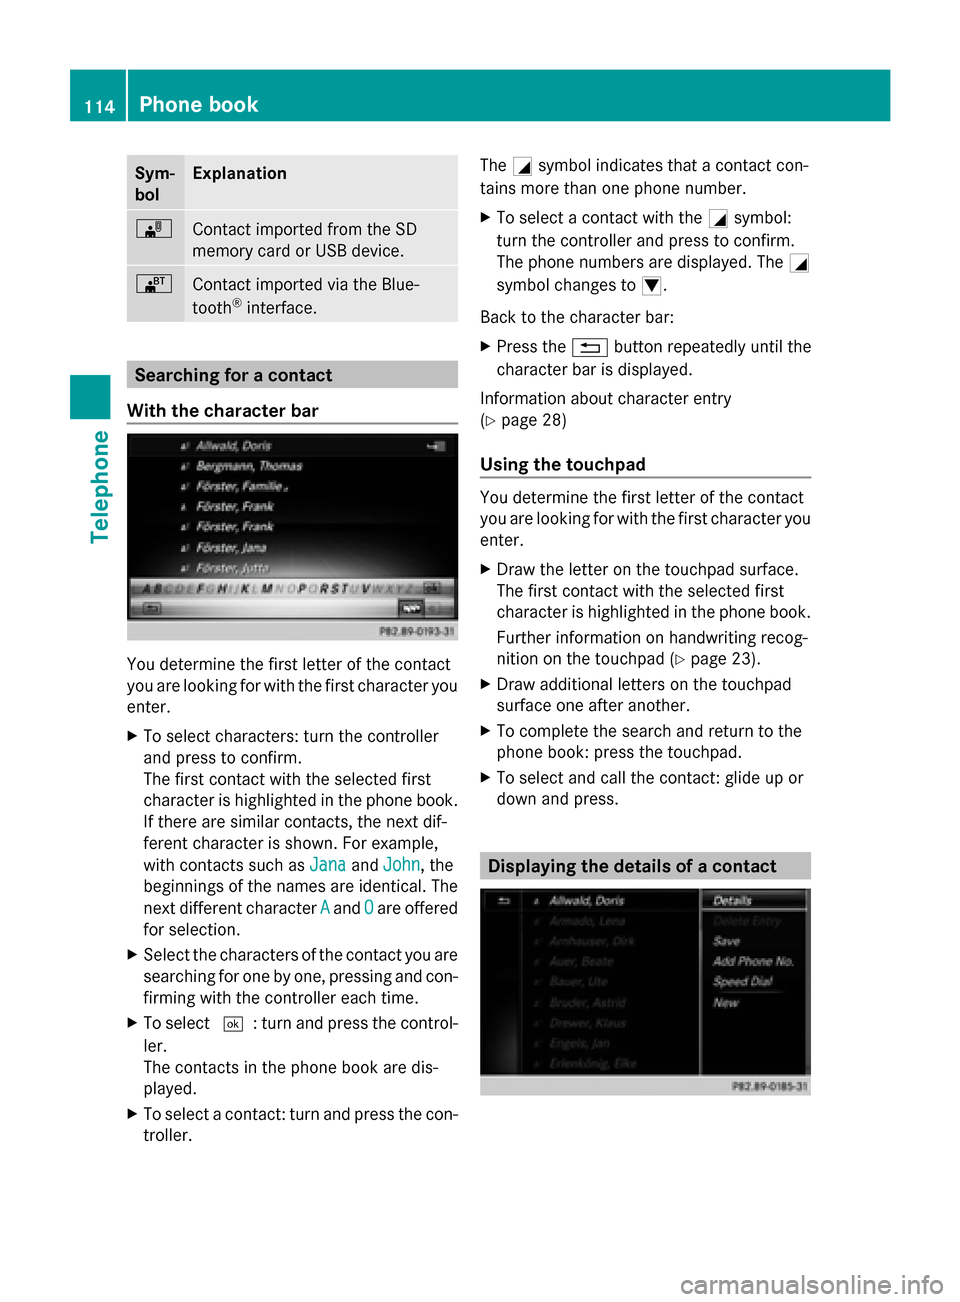
Sym-
bol Explanation
00BB
Contact imported from the SD
memory card or USB device.
00BA
Contact imported via the Blue-
tooth ®
interface. Searching for a contact
With the character bar You determine the first letter of the contact
you are looking for with the first character you
enter.
X
To select characters: turn the controller
and press to confirm.
The first contact with the selected first
character is highlighted in the phone book.
If there are similar contacts, the next dif-
ferent character is shown. For example,
with contacts such as Jana JanaandJohn
John, the
beginnings of the names are identical. The
next different character A Aand O
Oare offered
for selection.
X Select the characters of the contact you are
searching for one by one, pressing and con-
firming with the controller each time.
X To select 0054: turn and press the control-
ler.
The contacts in the phone book are dis-
played.
X To select a contact: turn and press the con-
troller. The
0043symbol indicates that a contact con-
tains more than one phone number.
X To select a contact with the 0043symbol:
turn the controller and press to confirm.
The phone numbers are displayed. The 0043
symbol changes to 0045.
Back to the character bar:
X Press the 0038button repeatedly until the
character bar is displayed.
Information about character entry
(Y page 28)
Using the touchpad You determine the first letter of the contact
you are looking for with the first character you
enter.
X Draw the letter on the touchpad surface.
The first contact with the selected first
character is highlighted in the phone book.
Further information on handwriting recog-
nition on the touchpad (Y page 23).
X Draw additional letters on the touchpad
surface one after another.
X To complete the search and return to the
phone book: press the touchpad.
X To select and call the contact: glide up or
down and press. Displaying the details of a contact114
Phone bookTelephone
Page 118 of 214
Saving a contact
Saved contacts are indicated in the phone
book by different symbols (Y page 113).
X Search for a contact on the mobile phone
0034 (Ypage 114).
X To select G: slide 9the controller.
X To select Save
Save: turn and press the control-
ler.
The contact has now been saved. The con-
tact is identified by the ¥symbol in the
phone book.
i Saved contacts are also displayed in the
address book.
Saving or editing the contact data on
COMAND does not change the contacts on
the mobile phone. If automatic calling up of
phone contacts is activated, COMAND dis-
plays the copy ¥with the changed data.
To add additional data, such as additional
phone numbers or e-mail addresses, select
this contact. In this way, you avoid creating
additional copies of the mobile phone
entry. Deleting the contact
You can delete contacts that have been
added, supplemented, saved or imported in
COMAND.
If there are only phone numbers saved under
the contact, the contact is deleted from the
phone book and the address book.
If there are additional entries under the con-
tact, such as a navigable destination, only the
phone numbers are deleted. The contact is
retained in the address book with the remain-
ing entries.
X To highlight a contact in the phone book:
turn the controller.
X To select G: slide 9the controller. X
To select Delete Contacts
Delete Contacts: turn and
press the controller.
A prompt appears asking whether the con-
tact should be deleted.
X To select Yes Yes: turn and press the controller.
The phone number is deleted.
or
X To select No No: turn and press the controller.
The process is canceled. Closing the phone book
X To select 0039from the character bar: turn
the controller and press to confirm.
or
X Press the 0038button. Address book
Introduction
Always pay attention to traffic conditions.
Familiarize yourself with the address book
functions before beginning your journey.
You can use COMAND when the road and
traffic conditions permit. You could otherwise
become involved in an accident in which you
or others could be injured.
The address book displays all the contacts
from the various sources (mobile phone,
memory card, USB device, COMAND phone
book, navigation).
You can use the contacts to make telephone
calls, navigate and to write messages.
If a mobile phone is connected to COMAND
and automatic calling up is activated
(Y page 121), the mobile phone's contacts
are displayed in the address book. If you dis-
connect the mobile phone from COMAND,
these contacts are no longer displayed in the
address book.
When you import, save, edit or add contacts,
they will be saved in COMAND. These con-
tacts will remain there even when you con-
nect COMAND to a different mobile phone. 116
Address bookTelephone
Page 124 of 214
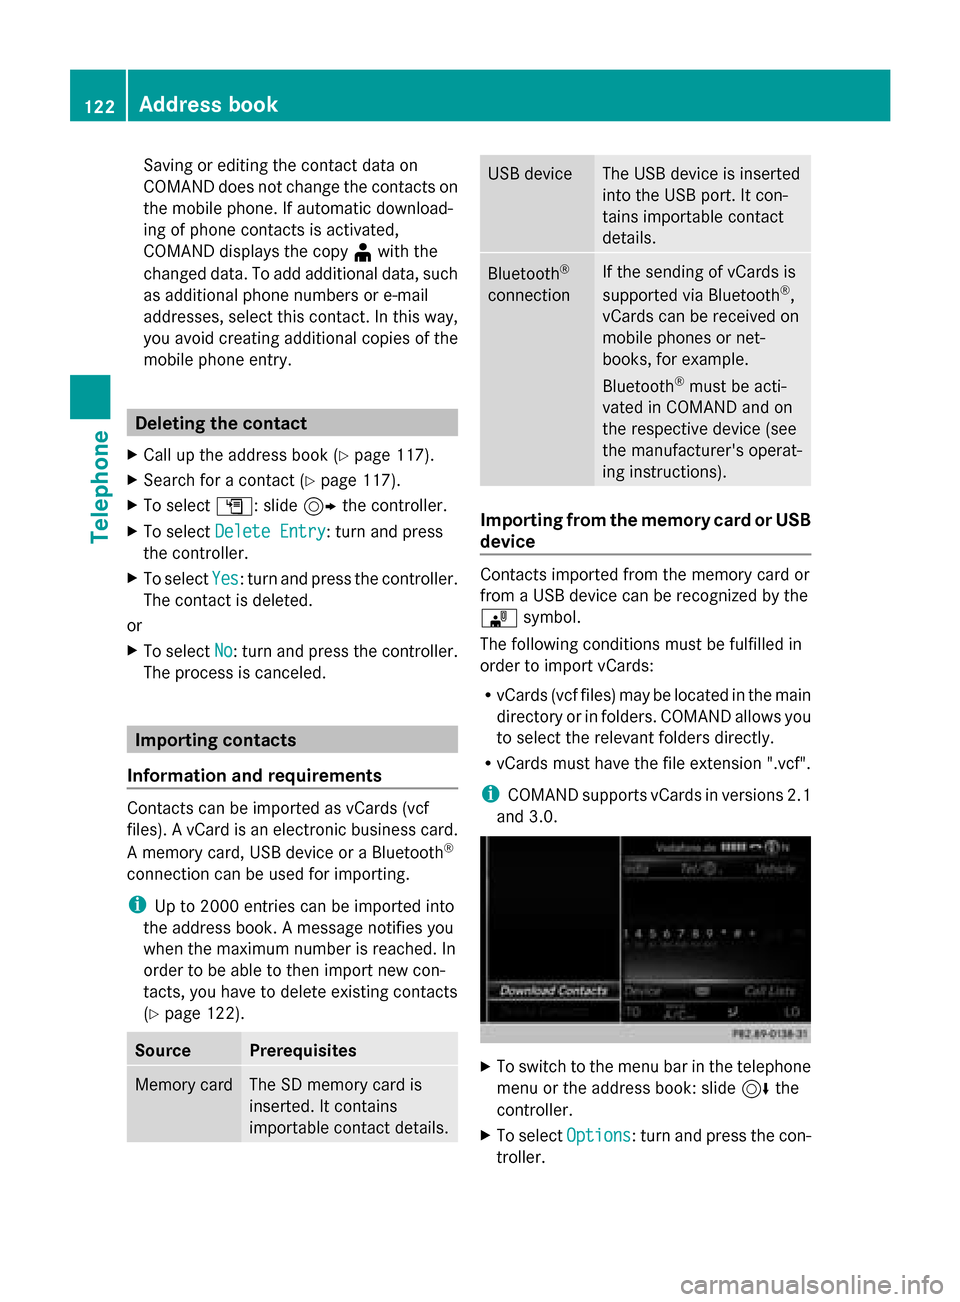
Saving or editing the contact data on
COMAND does not change the contacts on
the mobile phone. If automatic download-
ing of phone contacts is activated,
COMAND displays the copy ¥with the
changed data. To add additional data, such
as additional phone numbers or e-mail
addresses, select this contact. In this way,
you avoid creating additional copies of the
mobile phone entry. Deleting the contact
X Call up the address book (Y page 117).
X Search for a contact (Y page 117).
X To select G: slide 9the controller.
X To select Delete Entry
Delete Entry: turn and press
the controller.
X To select Yes Yes: turn and press the controller.
The contact is deleted.
or
X To select No
No: turn and press the controller.
The process is canceled. Importing contacts
Information and requirements Contacts can be imported as vCards (vcf
files). A vCard is an electronic business card.
A memory card, USB device or a Bluetooth ®
connection can be used for importing.
i Up to 2000 entries can be imported into
the address book. A message notifies you
when the maximum number is reached. In
order to be able to then import new con-
tacts, you have to delete existing contacts
(Y page 122). Source Prerequisites
Memory card The SD memory card is
inserted. It contains
importable contact details. USB device The USB device is inserted
into the USB port. It con-
tains importable contact
details.
Bluetooth
®
connection If the sending of vCards is
supported via Bluetooth
®
,
vCards can be received on
mobile phones or net-
books, for example.
Bluetooth ®
must be acti-
vated in COMAND and on
the respective device (see
the manufacturer's operat-
ing instructions). Importing from the memory card or USB
device
Contacts imported from the memory card or
from a USB device can be recognized by the
00BB
symbol.
The following conditions must be fulfilled in
order to import vCards:
R vCards (vcf files) may be located in the main
directory or in folders. COMAND allows you
to select the relevant folders directly.
R vCards must have the file extension ".vcf".
i COMAND supports vCards in versions 2.1
and 3.0. X
To switch to the menu bar in the telephone
menu or the address book: slide 6the
controller.
X To select Options Options: turn and press the con-
troller. 122
Address bookTelephone
Page 125 of 214
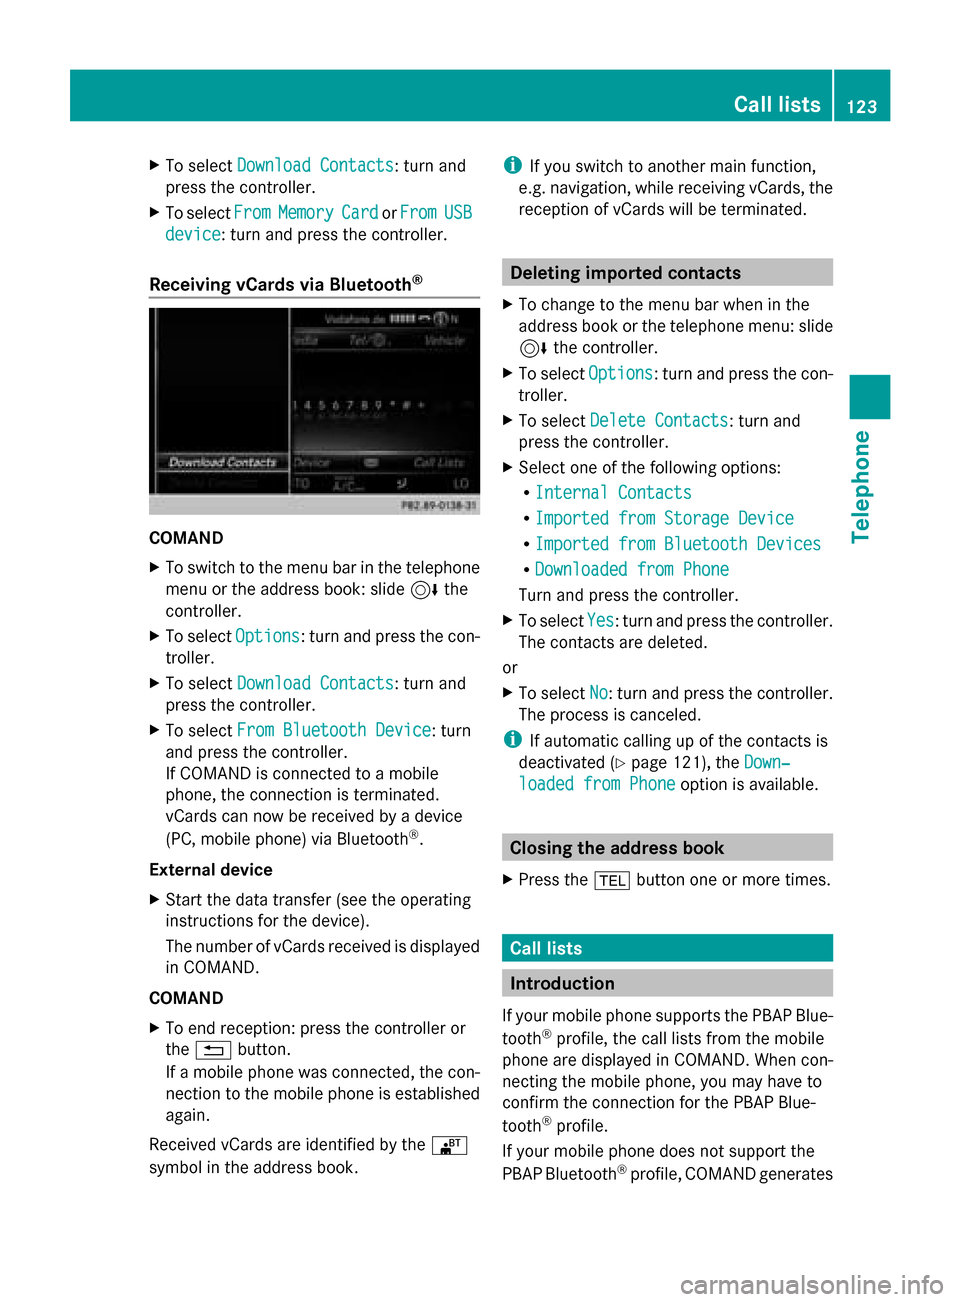
X
To select Download Contacts
Download Contacts: turn and
press the controller.
X To select From
From Memory
Memory Card
CardorFrom
From USB
USB
device
device: turn and press the controller.
Receiving vCards via Bluetooth ®COMAND
X
To switch to the menu bar in the telephone
menu or the address book: slide 6the
controller.
X To select Options
Options: turn and press the con-
troller.
X To select Download Contacts
Download Contacts: turn and
press the controller.
X To select From Bluetooth Device
From Bluetooth Device: turn
and press the controller.
If COMAND is connected to a mobile
phone, the connection is terminated.
vCards can now be received by a device
(PC, mobile phone) via Bluetooth ®
.
External device
X Start the data transfer (see the operating
instructions for the device).
The number of vCards received is displayed
in COMAND.
COMAND
X To end reception: press the controller or
the 0038 button.
If a mobile phone was connected, the con-
nection to the mobile phone is established
again.
Received vCards are identified by the 00BA
symbol in the address book. i
If you switch to another main function,
e.g. navigation, while receiving vCards, the
reception of vCards will be terminated. Deleting imported contacts
X To change to the menu bar when in the
address book or the telephone menu: slide
6 the controller.
X To select Options Options: turn and press the con-
troller.
X To select Delete Contacts Delete Contacts: turn and
press the controller.
X Select one of the following options:
R
Internal Contacts Internal Contacts
R Imported from Storage Device
Imported from Storage Device
R Imported from Bluetooth Devices
Imported from Bluetooth Devices
R Downloaded from Phone
Downloaded from Phone
Turn and press the controller.
X To select Yes
Yes: turn and press the controller.
The contacts are deleted.
or
X To select No No: turn and press the controller.
The process is canceled.
i If automatic calling up of the contacts is
deactivated (Y page 121), the Down‐
Down‐
loaded from Phone
loaded from Phone option is available. Closing the address book
X Press the 002Bbutton one or more times. Call lists
Introduction
If your mobile phone supports the PBAP Blue-
tooth ®
profile, the call lists from the mobile
phone are displayed in COMAND. When con-
necting the mobile phone, you may have to
confirm the connection for the PBAP Blue-
tooth ®
profile.
If your mobile phone does not support the
PBAP Bluetooth ®
profile, COMAND generates Call lists
123Telephone Z
Page 170 of 214
poses an increased risk of injury or even fatal
injury.
Keep SD memory cards out of the reach of
children. If an SD memory card is swallowed,
seek immediate medical attention.
! If you are no longer using the SD memory
card, you should remove it. High tempera-
tures can damage the card.
COMAND supports SD memory cards
(Secure Digital), SDHC memory cards
(Secure DigitalHighCapacity), and SDXC
memory cards (Secure Digital eXtended
Capacity.
Inserting an SD memory card X
Insert the SD memory card into the SD card
slot in the stowage space under the arm-
rest until the SD memory card engages into
place. The side with the contacts must face
downwards.
The music is played while the files are
loaded in the background. If there are no
supported audio/video files, you will see a
message to this effect.
Ejecting an SD memory card X
Press the memory card.
The memory card is ejected.
X Remove the memory card. Connecting USB devices
There are two USB ports in the stowage space
under the armrest.
X Connect the USB device to the USB port.
The data medium will only be played and
the files will only be loaded in the back-
ground if the corresponding media display
is visible. Otherwise, the system does not
automatically switch to USB. If there are no
supported audio/video files, you will see a
message to this effect. i
MP3 players must support Media Transfer
Protocol (MTP). Activating media mode
Switching on automatically After an external media source has been con-
nected, COMAND will only activate the cor-
responding media mode automatically and
show the basic display in the case of CDs and
SD cards. If the CD/DVD is started using
another application (e.g. navigation), the dis-
play will not change.
When using USB devices, depending on the
vehicle's equipment, the relevant Media
Interface 1, 2 or USB 1, 2 basic display must
already be activated.
X Insert the CDs/DVDs (Y page 166)
or
X Insert a SD memory card: (Y page 168)
or
X Connect a USB device: (Y page 168)
COMAND loads the medium inserted and
starts to play it automatically.
Further options for switching on R
Using the number keypad: (Y page 165)
R Using the main function bar: (Y page 165)
R Using the device list: (Y page 165)
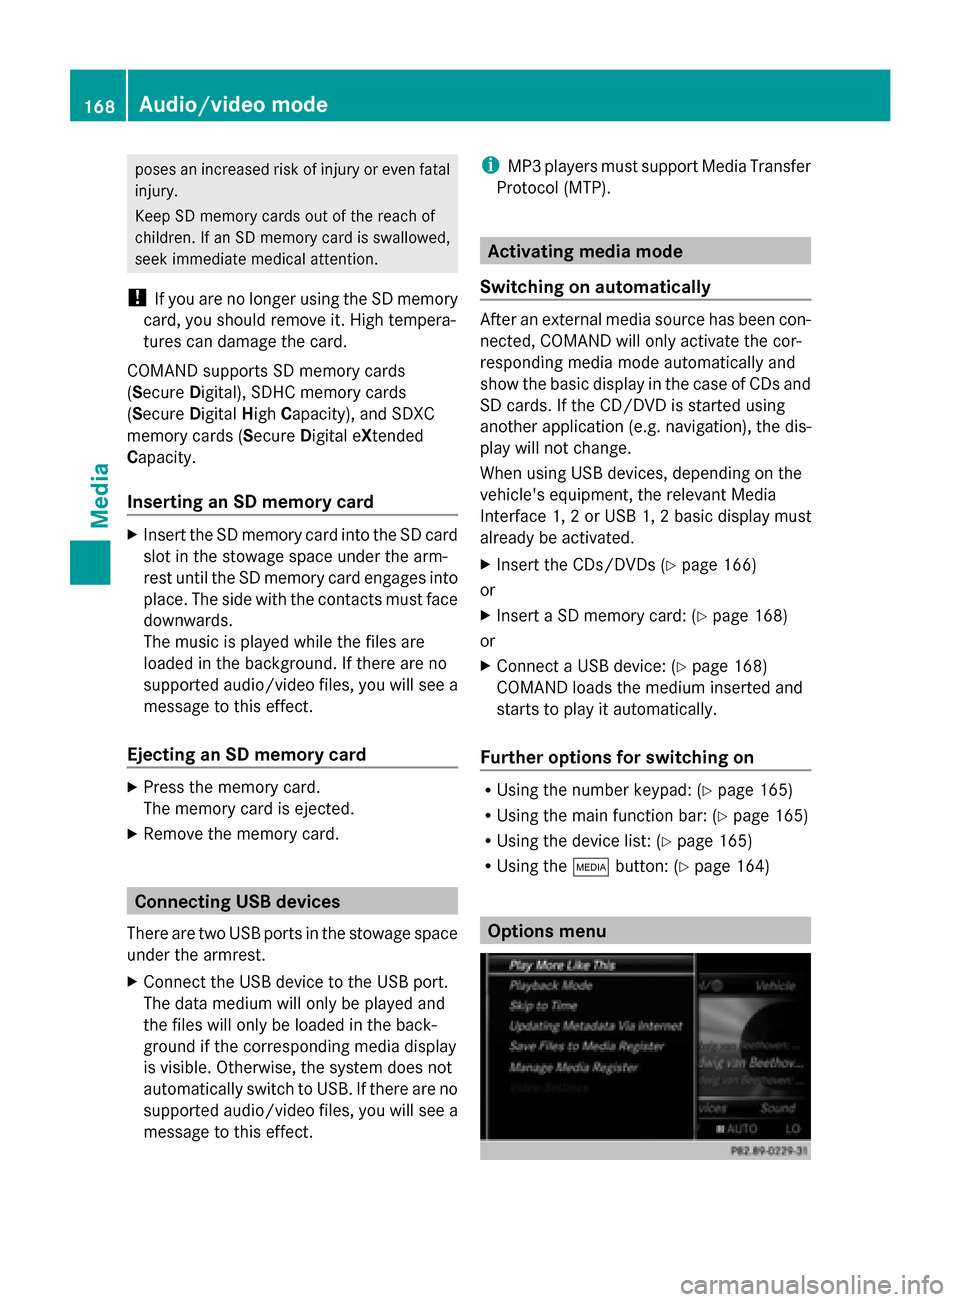
R Using the 00FDbutton: (Y page 164) Options menu168
Audio/video modeMedia
Page 171 of 214

X
In Media mode, slide 00520064the controller.
The media menu bar is shown.
X To select Options
Options: turn and press the con-
troller.
Playing similar tracks
X To select Play PlayMore
More Like
LikeThis
This: turn and
press the controller.
COMAND automatically creates and plays
a track list with similar tracks. If there are
no comparable tracks on the data carrier,
you will see a message to this effect.
X Select the required track. Play mode
X
To select Playback Mode Playback Mode: turn and press
the controller.
X Select Normal Track Sequence
Normal Track Sequence.
The current track list is played in the order
it appears on the data medium.
X Select Random Track List
Random Track List.
The current track list is played in random
order.
X Select Random Medium
Random Medium.
All tracks on the data medium are played in
random order. Skip to time
X
To select Skip
Skip to toTime
Time : turn and press the
controller.
A pop-up menu appears.
X To set the time: turn the controller
or
X Set the desired time using the number key-
pad.
Select active partition
X To select Select Active Partition Select Active Partition:
turn and press the controller.
With the Select Active Partition Select Active Partition
option, you can select a partition in the USB
data medium.
Save files to Media Register
i With the Save Files to Media Reg‐ Save Files to Media Reg‐
ister
ister option, you can transfer supported
audio/video/image files to the COMAND
hard drive.
X To select the Save SaveFiles
Files to
toMedia
Media Reg‐
Reg‐
ister
ister option: turn and press the controller.
A menu appears (Y page 176). Manage Media Register
X
To select Manage ManageMedia
MediaRegister
Register : press
the controller.
The contents are shown. Using the control-
ler, files and folders can be renamed or
deleted.
A pop-up window appears when the file is
renamed. The characters are entered using
the controller (Y page 28).
X To select Delete All Media Files
Delete All Media Files : turn
and press the controller. Audio/video mode
169Media Z