display MERCEDES-BENZ C-Class 2017 W205 Comand Manual
[x] Cancel search | Manufacturer: MERCEDES-BENZ, Model Year: 2017, Model line: C-Class, Model: MERCEDES-BENZ C-Class 2017 W205Pages: 178, PDF Size: 5.62 MB
Page 68 of 178
Saving as a personal route
You can save a route including intermediate
destinations on the SD card.
Requirements: the SD card has the FAT data
system format (e.g. FAT32).
XInsert the SD memory card (Ypage 141).
XTo selectSave As Personal Routein the
intermediate destinations menu: press the
controller.
An input field appears.
XEnter a file name in the input field. Press OKto
confirm.
The route is saved to the SD memory card.
Searching for a gas station when the
fuel level is low
Requirement: the setting GasonReservemust
be enabled (Ypage 55).
If the fuel tank reserve level is displayed, you will
see the Reserve Fuel Would you like to
start a search for surrounding gasstations?message.
XTo select YesorNo: turn and press the con-
troller.
If you select Yes
: the gas station search
starts. When the search is complete, a list of
the gas stations available along the route or in
the vicinity is displayed.
If you select No
: the search is canceled.
XSelect the gas station.
The address of the gas station is displayed.
XTo selectStart: press the controller.
The selected gas station is entered into posi-
tion 1 of the intermediate destinations menu.
Route guidance begins.
If the intermediate destinations menu already
contains four intermediate destinations, a
prompt will be displayed, asking you whether you wish to enter the gas station into position
1. If you select Yes
, the gas station is trans-
ferred into the list and intermediate destina-
tion 4 is deleted.
Entering a destination from
Mercedes-Benz Apps
Requirement (USA): mbrace is activated for the
Mercedes-Benz Apps (Ypage 119). Requirement (Canada): a mobile phone is con-
nected to the multimedia system via Bluetooth
®
(Ypage 91) or USB (Ypage 155).
XTo switch to navigation mode:
press the
Ø button.
XIf no route guidance is active, select Desti‐nation.
iIf route guidance is active, first slide6the
controller and show the menu.
XSelect Mercedes-Benz Apps.
The list of Mercedes-Benz Apps appears.
Using geo-coordinates
XTo switch to navigation mode: press the
Ø button.
XIf no route guidance is active, select Desti‐nation.
iIf route guidance is active, first slide6the
controller and show the menu.
XSelect Geo-coordinates.
Geo-coordinates (longitude and latitude) are
entered in degrees, minutes and seconds.
XTo enter geo-coordinates: turn the control-
ler.
The value for degree, minute or second
changes.
XTo move the selection within the line: slide
1 the controller.
XTo move the selection between lines: slide
4the controller.
XTo confirm the value: press the controller.
XTo store geo-coordinates: selectSaveby
turning and pressing the controller.
The destination with the geo-coordinates can
be saved as:
Ra home address in the address book
Ra navigable address book contact
For further information on the address
book, see (
Ypage 103)
Ra personal destination on the SD card
(Ypage 80).
XTo start route calculation: selectStart
RouteGuidanceby turning and pressing the
controller.
66Destination entry
Navigation
Page 69 of 178
Personal POIs and routes
General notes
The use of personal POIs for displaying traffic
surveillance equipment is not permitted in everycountry. Please observe the country-specific
regulations and always drive at a suitable speed.
Personal POIs are filed in categories:
RNot Classified
Standard entry for personal POIs
RMercedes-Benz Apps
Personal POIs (destinations, routes) that you
have imported via the online functions.
RCategories which you have created yourself,
e.g. on your PC
Personal routes are not categorized.
Settings for personal POIs
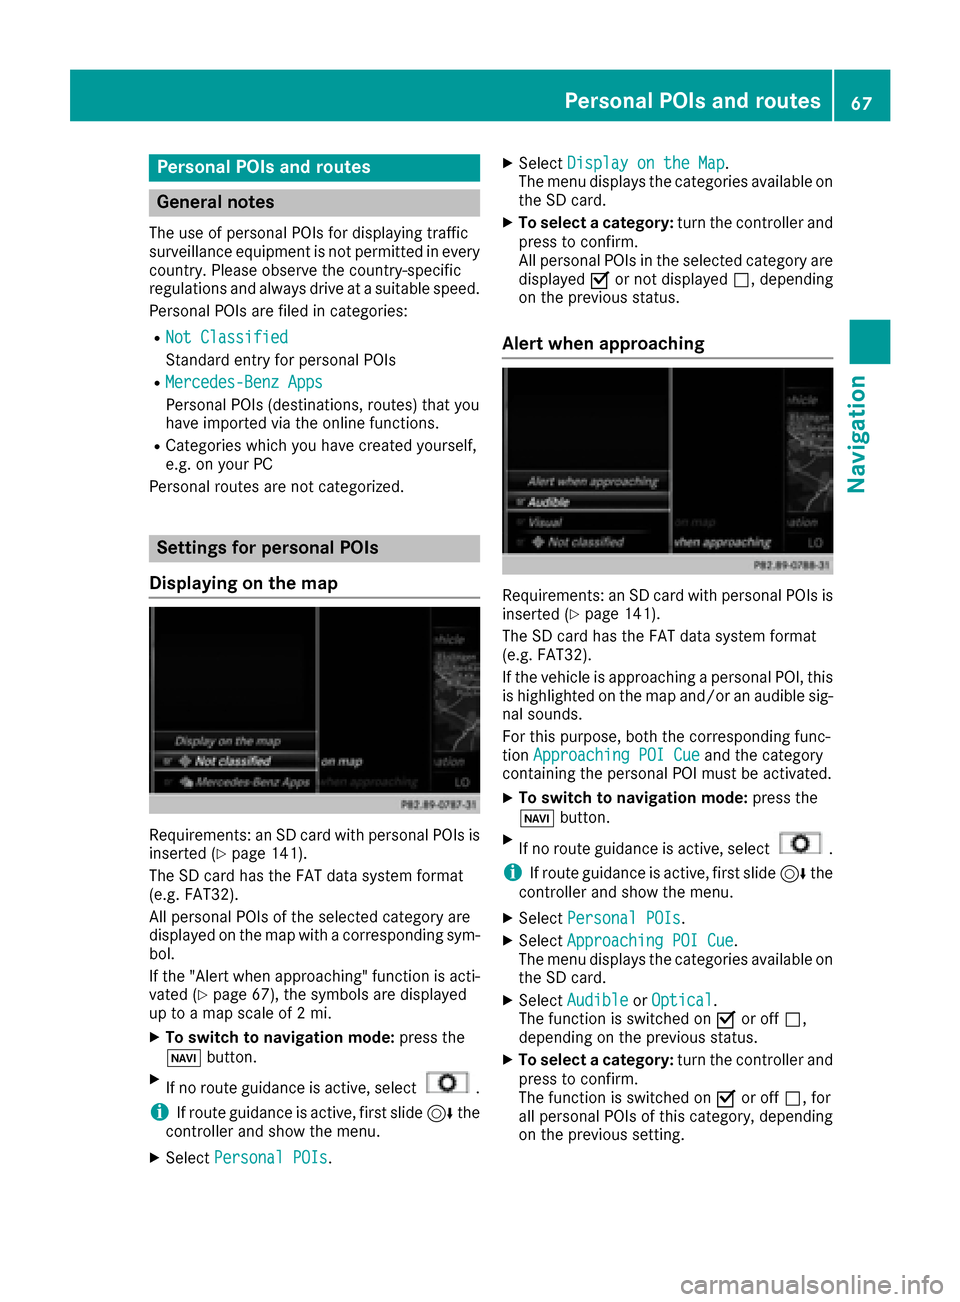
Displaying on the map
Requirements: an SD card with personal POIs is
inserted (Ypage 141).
The SD card has the FAT data system format
(e.g. FAT32).
All personal POIs of the selected category are
displayed on the map with a corresponding sym-
bol.
If the "Alert when approaching" function is acti-
vated (
Ypage 67), the symbols are displayed
up to a map scale of 2 mi.
XTo switch to navigation mode: press the
Ø button.
XIf no route guidance is active, select.
iIf route guidance is active, first slide 6the
controller and show the menu.
XSelect Personal POIs.
XSelectDisplay on the Map.
The menu displays the categories available on
the SD card.
XTo select a category: turn the controller and
press to confirm.
All personal POIs in the selected category are
displayed Oor not displayed ª, depending
on the previous status.
Alert when approaching
Requirements: an SD card with personal POIs is
inserted (Ypage 141).
The SD card has the FAT data system format
(e.g. FAT32).
If the vehicle is approaching a personal POI, this
is highlighted on the map and/or an audible sig-
nal sounds.
For this purpose, both the corresponding func-
tion Approaching POI Cue
and the category
containing the personal POI must be activated.
XTo switch to navigation mode: press the
Ø button.
XIf no route guidance is active, select.
iIf route guidance is active, first slide 6the
controller and show the menu.
XSelect Personal POIs.
XSelectApproaching POI Cue.
The menu displays the categories available on
the SD card.
XSelect AudibleorOptical.
The function is switched on Oor off ª,
depending on the previous status.
XTo select a category: turn the controller and
press to confirm.
The function is switched on Oor off ª, for
all personal POIs of this category, depending
on the previous setting.
Personal POIs and routes67
Navigation
Z
Page 70 of 178
Saving personal POIs and routes
General notes
Personal POIs and routes are geodata which are
saved in open GPX format (GPS Exchange for-
mat) on the SD card.
Requirements: the SD card has the FAT data
system format (e.g. FAT32).
Personal POI from current vehicle posi-
tion or crosshair position
XInsert the SD memory card (Ypage 141).
XTo switch to navigation mode: press the
Ø button.
XWhen the map is displayed, press the con-
troller until a message appears.
The current vehicle position is saved to the
Not Classified
category on the SD card
and also stored in the "Last destinations"
memory (
Ypage 81).
If the "Move map" function is selected
(
Ypage 53), the crosshair position is saved.
iIf no SD card is inserted, the personal POI
will only be stored in the "Last destinations"
memory.
Personal POI from destination address
XInsert the SD memory card (Ypage 141).
XTo switch to navigation mode: press the
Ø button.
XCall up the address entry menu and enter the
destination address (Ypage 56).
XSelect Saveby sliding 6the controller.
XTurn and press the controller.
XTo make a selection, turn and press the con-
troller.
XEnter the name.
XSelect a category.
The current address is saved as a personal
POI on the SD card.
iYou can select a destination from the Pre‐vious DestinationsorContactsmemo-
ries and save it on the SD card.
RPrevious Destinations(Ypage 60)
RContacts(Ypage 60)
Personal route from a tour including
intermediate destinations
XInsert the SD memory card (Ypage 141).
XTo switch to navigation mode: press the
Ø button.
XEnter a destination, e.g. by address
(Ypage 56).
XStart route calculation (Ypage 58).
XEnter an intermediate destination
(Ypage 64).
XSelect Save As Personal Routein the
intermediate destinations menu.
The route is saved in the Personal Routes
folder on the SD card.
Importing personal destinations and
routes via Mercedes-Benz Apps
You can use Mercedes-Benz Apps (e.g. Down-
load POI, Local Search) to import destinations to
the navigation system. These have their own
symbol and are filed in the Mercedes-Benz
Appscategory.
You can save the imported destinations and
routes as personal POIs and routes (
Ypage 68).
When importing routes, please note:
RThe Mercedes-Benz Apps may generate a
route based on a different map from the one
used by the multimedia system. Points on the
route may therefore be situated off the digital
roads.
RThe Mercedes-Benz Apps minimize the num-
ber of route points offered.
For this reason an imported route com-
menced in the multimedia system may devi-
ate from the original route from the
Mercedes-Benz Apps.
68Personal POIs and routes
Navigation
Page 71 of 178
Selecting and editing personal POIs
and routes
Selecting
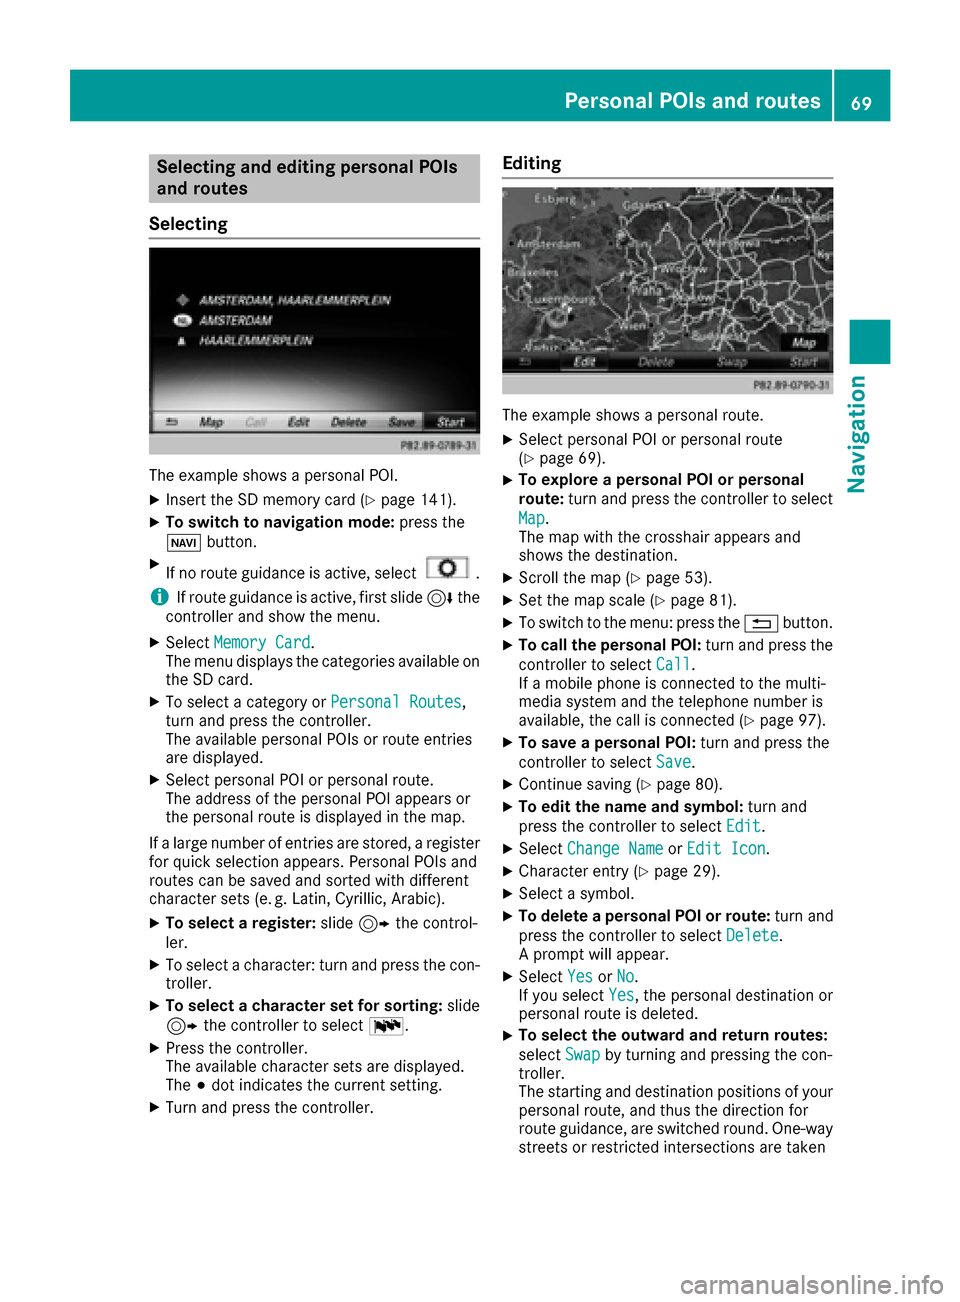
The example shows a personal POI.
XInsert the SD memory card (Ypage 141).
XTo switch to navigation mode: press the
Ø button.
XIf no route guidance is active, select.
iIf route guidance is active, first slide 6the
controller and show the menu.
XSelect Memory Card.
The menu displays the categories available on
the SD card.
XTo select a category or Personal Routes,
turn and press the controller.
The available personal POIs or route entries
are displayed.
XSelect personal POI or personal route.
The address of the personal POI appears or
the personal route is displayed in the map.
If a large number of entries are stored, a register
for quick selection appears. Personal POIs and
routes can be saved and sorted with different
character sets (e. g. Latin, Cyrillic, Arabic).
XTo select a register: slide9 the control-
ler.
XTo select a character: turn and press the con- troller.
XTo select a character set for sorting: slide
9 the controller to select B.
XPress the controller.
The available character sets are displayed.
The#dot indicates the current setting.
XTurn and press the controller.
Editing
The example shows a personal route.
XSelect personal POI or personal route
(Ypage 69).
XTo explore a personal POI or personal
route: turn and press the controller to select
Map
.
The map with the crosshair appears and
shows the destination.
XScroll the map (Ypage 53).
XSet the map scale (Ypage 81).
XTo switch to the menu: press the %button.
XTo call the personal POI: turn and press the
controller to select Call
.
If a mobile phone is connected to the multi-
media system and the telephone number is
available, the call is connected (
Ypage 97).
XTo save a personal POI: turn and press the
controller to select Save
.
XContinue saving (Ypage 80).
XTo edit the name and symbol: turn and
press the controller to select Edit
.
XSelectChange NameorEdit Icon.
XCharacter entry (Ypage 29).
XSelect a symbol.
XTo delete a personal POI or route: turn and
press the controller to select Delete
.
A prompt will appear.
XSelect YesorNo.
If you select Yes, the personal destination or
personal route is deleted.
XTo select the outward and return routes:
select Swap
by turning and pressing the con-
troller.
The starting and destination positions of your
personal route, and thus the direction for
route guidance, are switched round. One-way
streets or restricted intersections are taken
Personal POIs and routes69
Navigation
Z
Page 72 of 178
into consideration. Therefore, the outward
and return routes may differ from each other.
XTo start route guidance:turn and press the
controller to select Start
.
Recording the route
General notes
Routes are recorded using the SD card.
Requirements: the SD card has the FAT data
system format (e.g. FAT32).
When recording the route, bear in mind the fol-
lowing:
RIf the SD card is inserted, it must not be
removed during recording.
RIf route recording is started manually, it must
be finished manually before the multimedia
system is switched off (e. g. when the engine
is switched off).
RThe multimedia system minimizes the num-
ber of route points recorded. Therefore when
the recorded route is subsequently com-
menced, it may differ from the route that was
originally recorded.
Starting/finishing route recording
XInsert the SD memory card (Ypage 141).
XTo switch to navigation mode: press the
Ø button.
XIf no route guidance is active, select.
iIf route guidance is active, first slide 6the
controller and show the menu.
XSelect Memory Card.
XSelectStart Route Recording.
The route is recorded and REC appears at the
bottom edge of the screen.
XTo stop recording, select End RouteRecordingfrom the menu.
The route is stored under Personal Routes.
Displaying/editing the recorded route
XInsert the SD memory card (Ypage 141).
XTo switch to navigation mode: press the
Ø button.
XIf no route guidance is active, select.
iIf route guidance is active, first slide 6the
controller and show the menu.
XSelect Memory Card.
XSelectPersonal Routes.
Previously recorded routes are displayed.
XTo select a route, turn and press the control-
ler.
The map appears with a menu. The recorded
route is shown on the map in blue.
XTo calculate a route: selectStart.
XTo change the name and symbol: select
Edit
.
XSelect Change NameorEdit Icon.
XCharacter entry (Ypage 29).
XSelect a symbol.
Route guidance
General notes
The multimedia system calculates the route to
the destination without taking the following into
account, for example:
Rtraffic lights
Rstop and yield signs
Rparking or stopping restrictions
Rroad narrowing
Rtemporary traffic rules and regulations
The navigation system can give differing driving
recommendations if the actual street/traffic sit-
uation does not correspond with the digital
map's data. For example, if the road layout or
the direction of a one-way street has been
changed.
For this reason, you must always observe road
and traffic rules and regulations during your
journey. Road and traffic rules and regulations
always have priority over system driving recom-
mendations.
Route guidance begins once a route has been
calculated (
Ypage 58).
The multimedia system guides you to your des-
tination by means of navigation announcements
in the form of audible navigation announce-
ments and route guidance displays.
The route guidance displays can be seen if nav-
igation mode is switched on.
If you do not follow the navigation announce-
ments or if you leave the calculated route, the
70Route guidance
Navigation
Page 73 of 178
multimedia system automatically calculates a
new route to the destination.
If the digital map contains the corresponding
information, the following applies:
RDuring route guidance, the multimedia sys-
tem tries to avoid roads with restricted
access. These include, for example, roads
which are closed to through-traffic.
RRoads that have time restrictions (e.g. closed
on Sundays and public holidays) are consid-
ered for route guidance on days when they are
open. For this purpose, the relevant times
must be correctly stored in the database.
Change of direction
Overview
Changes of direction have three phases:
RPreparation phase
RAnnouncement phase
RChange-of-direction phase
Changes in direction are also shown in the mul-
tifunction display of the instrument cluster (see
the vehicle Operator's Manual).
Preparation phase
The multimedia system prepares you for the
upcoming driving maneuver, e.g. with the
announcement "Prepare to turn right". You see
the full-screen map.
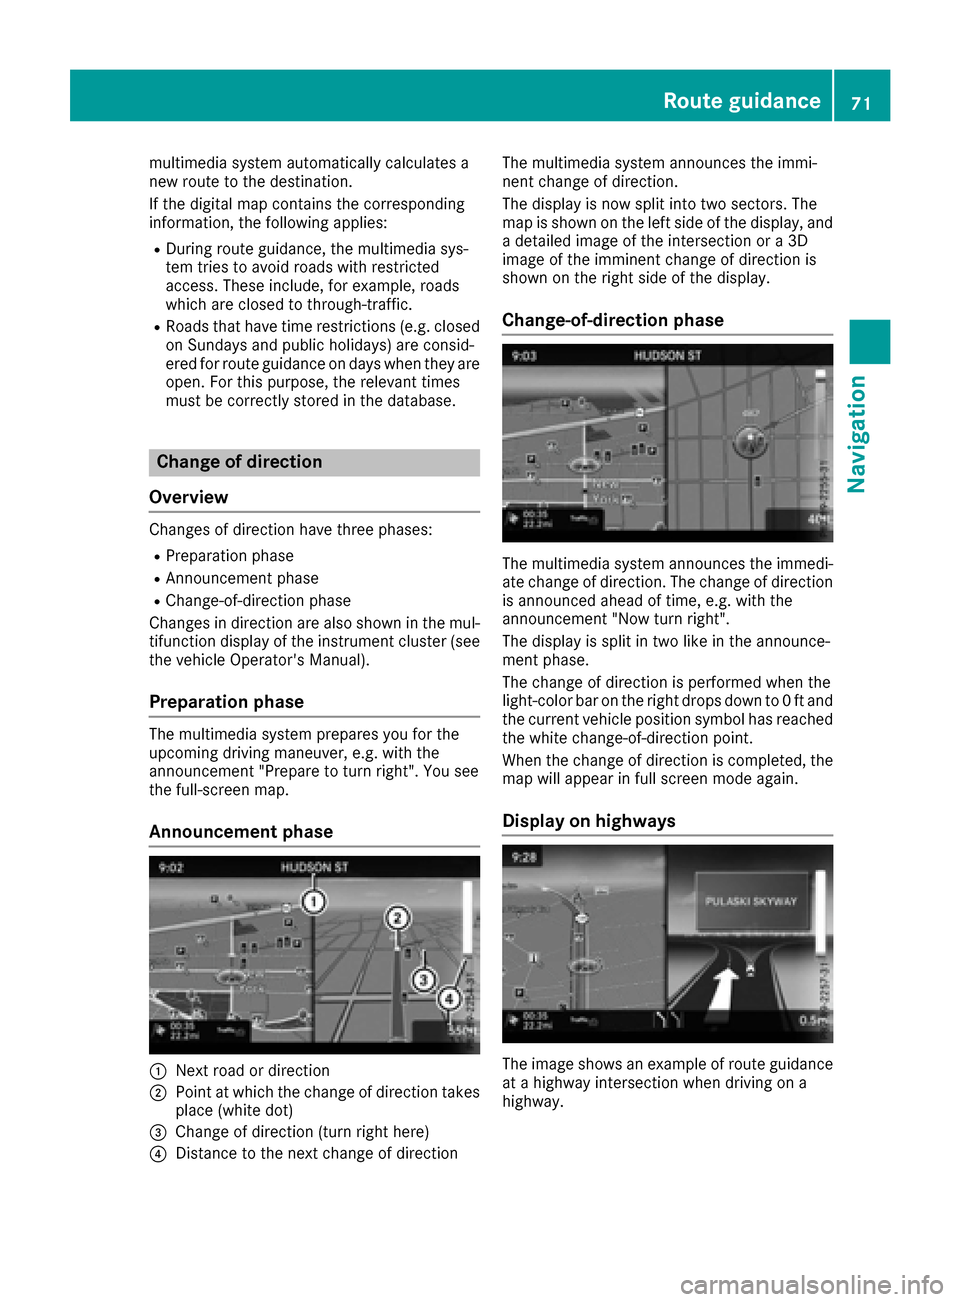
Announcement phase
:Next road or direction
;Point at which the change of direction takes
place (white dot)
=Change of direction (turn right here)
?Distance to the next change of direction The multimedia system announces the immi-
nent change of direction.
The display is now split into two sectors. The
map is shown on the left side of the display, and
a detailed image of the intersection or a 3D
image of the imminent change of direction is
shown on the right side of the display.
Change-of-direction phase
The multimedia system announces the immedi-
ate change of direction. The change of direction
is announced ahead of time, e.g. with the
announcement "Now turn right".
The display is split in two like in the announce-
ment phase.
The change of direction is performed when the
light-color bar on the right drops down to 0 ft and
the current vehicle position symbol has reached
the white change-of-direction point.
When the change of direction is completed, the
map will appear in full screen mode again.
Display on highways
The image shows an example of route guidance
at a highway intersection when driving on a
highway.
Route guidance71
Navigation
Z
Page 74 of 178
Lane recommendations
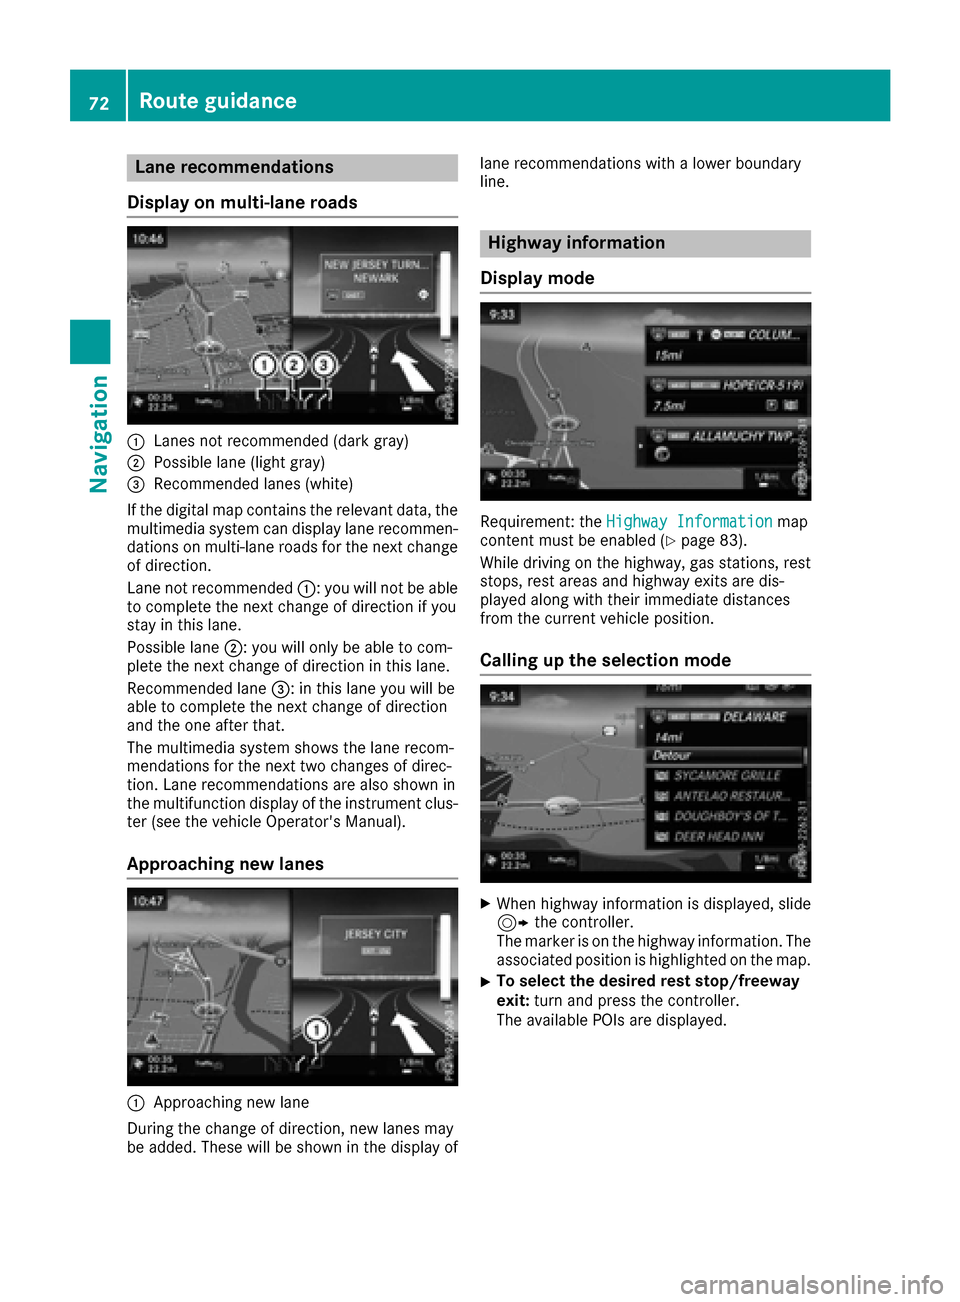
Display on multi-lane roads
:Lanes not recommended (dark gray)
;Possible lane (light gray)
=Recommended lanes (white)
If the digital map contains the relevant data, the
multimedia system can display lane recommen-
dations on multi-lane roads for the next change
of direction.
Lane not recommended :: you will not be able
to complete the next change of direction if you
stay in this lane.
Possible lane ;: you will only be able to com-
plete the next change of direction in this lane.
Recommended lane =: in this lane you will be
able to complete the next change of direction
and the one after that.
The multimedia system shows the lane recom-
mendations for the next two changes of direc-
tion. Lane recommendations are also shown in
the multifunction display of the instrument clus-
ter (see the vehicle Operator's Manual).
Approaching new lanes
:Approaching new lane
During the change of direction, new lanes may
be added. These will be shown in the display of lane recommendations with a lower boundary
line.
Highway information
Display mode
Requirement: the Highway Informationmap
content must be enabled (Ypage 83).
While driving on the highway, gas stations, rest
stops, rest areas and highway exits are dis-
played along with their immediate distances
from the current vehicle position.
Calling up the selection mode
XWhen highway information is displayed, slide 9 the controller.
The marker is on the highway information. The
associated position is highlighted on the map.
XTo select the desired rest stop/freeway
exit: turn and press the controller.
The available POIs are displayed.
72Route guidance
Navigation
Page 75 of 178
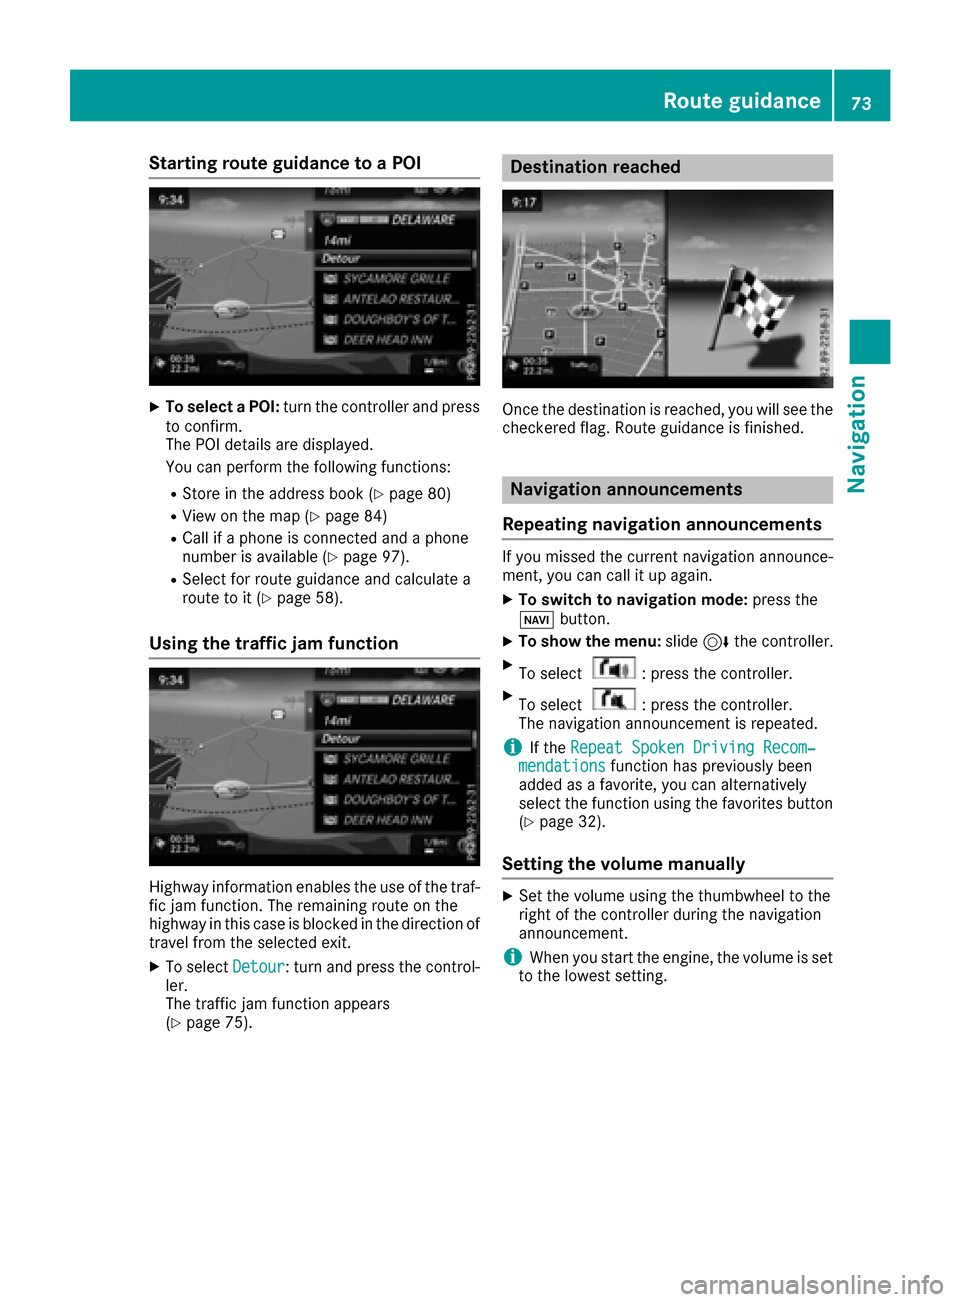
Starting route guidance to a POI
XTo select a POI:turn the controller and press
to confirm.
The POI details are displayed.
You can perform the following functions:
RStore in the address book (Ypage 80)
RView on the map (Ypage 84)
RCall if a phone is connected and a phone
number is available (Ypage 97).
RSelect for route guidance and calculate a
route to it (Ypage 58).
Using the traffic jam function
Highway information enables the use of the traf-
fic jam function. The remaining route on the
highway in this case is blocked in the direction of
travel from the selected exit.
XTo select Detour: turn and press the control-
ler.
The traffic jam function appears
(
Ypage 75).
Destination reached
Once the destination is reached, you will see the
checkered flag. Route guidance is finished.
Navigation announcements
Repeating navigation announcements
If you missed the current navigation announce-
ment, you can call it up again.
XTo switch to navigation mode: press the
Ø button.
XTo show the menu: slide6the controller.
XTo select: press the controller.
XTo select: press the controller.
The navigation announcement is repeated.
iIf the Repeat Spoken Driving Recom‐mendationsfunction has previously been
added as a favorite, you can alternatively
select the function using the favorites button
(
Ypage 32).
Setting the volume manually
XSet the volume using the thumbwheel to the
right of the controller during the navigation
announcement.
iWhen you start the engine, the volume is set
to the lowest setting.
Route guidance73
Navigation
Z
Page 76 of 178
Switching navigation announcements
on/off
XTo switch off navigation announcements:
during a navigation announcement, press thethumbwheel to the right of the controller.
or
XPress the 8button on the multifunction
steering wheel during a navigation message.
The Spoken driving recommendations
have been deactivated.message
appears.
XTo switch navigation announcements
back on: slide6the controller.
XTo select: turn and press the control-
ler.
The multimedia system automatically switches
the navigation announcements back on when:
Ra new route is calculated
Ryou start the vehicle
A navigation message is given if the route is
recalculated during dynamic route guidance due
to new traffic reports (
Ypage 76).
Canceling/continuing route guidance
Canceling route guidance
XSlide 6the controller.
The menu is shown.
XTo select Destination: turn and press the
controller.
XSelect Cancel Active Route Guidance.
The blue route line is no longer shown on the
map.
Resuming route guidance
XSlide 6the controller.
The menu is shown.
XTo select Destination: turn and press the
controller.
XSelect Continue Route Guidance.
The multimedia system calculates the route.
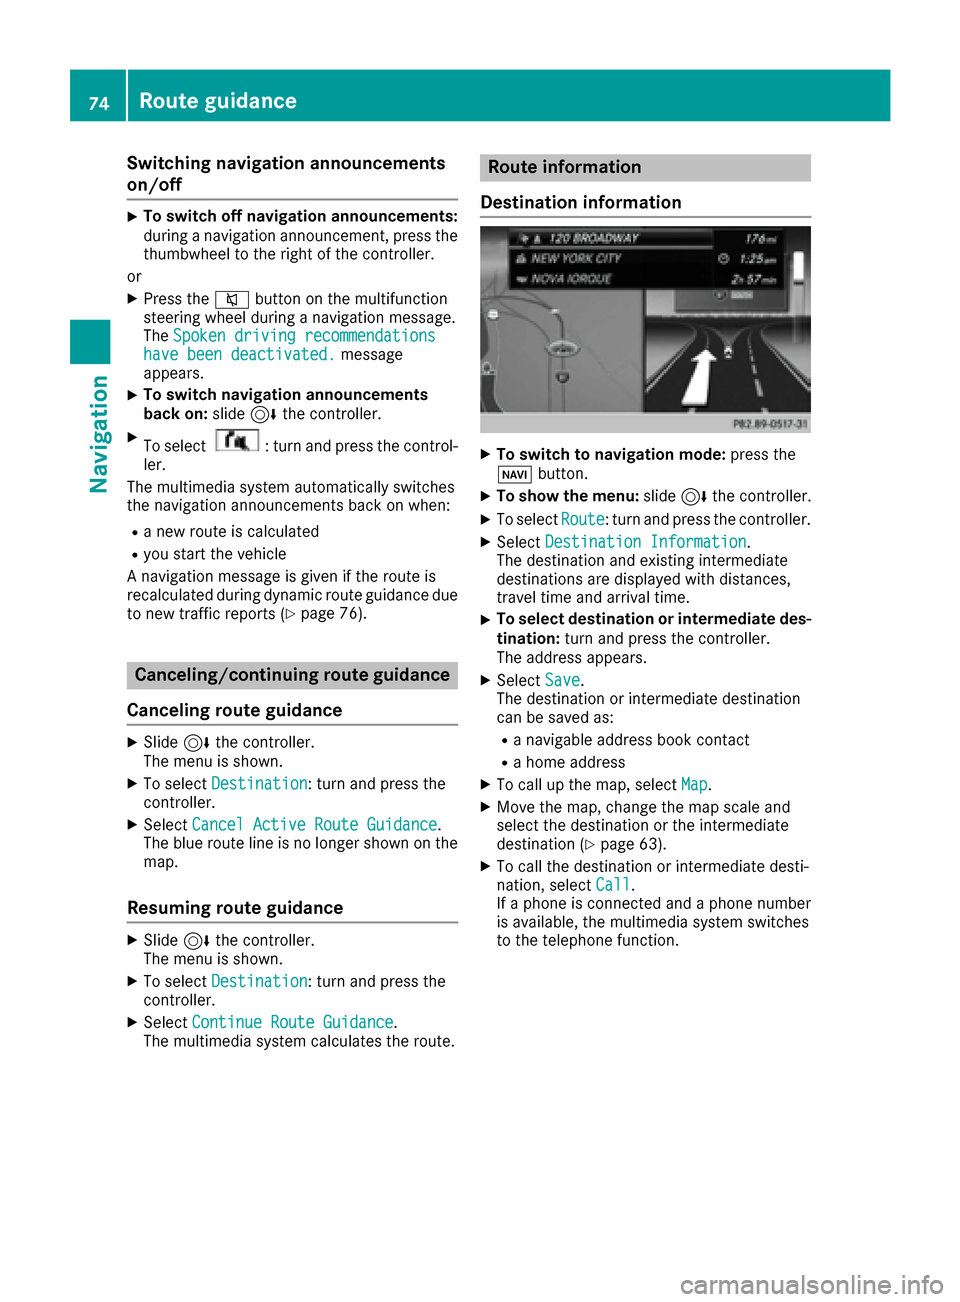
Route information
Destination information
XTo switch to navigation mode: press the
Ø button.
XTo show the menu: slide6the controller.
XTo select Route: turn and press the controller.
XSelectDestination Information.
The destination and existing intermediate
destinations are displayed with distances,
travel time and arrival time.
XTo select destination or intermediate des-
tination: turn and press the controller.
The address appears.
XSelect Save.
The destination or intermediate destination
can be saved as:
Ra navigable address book contact
Ra home address
XTo call up the map, select Map.
XMove the map, change the map scale and
select the destination or the intermediate
destination (
Ypage 63).
XTo call the destination or intermediate desti-
nation, selectCall.
If a phone is connected and a phone number
is available, the multimedia system switches
to the telephone function.
74Route guidance
Navigation
Page 77 of 178
Taking an alternative route
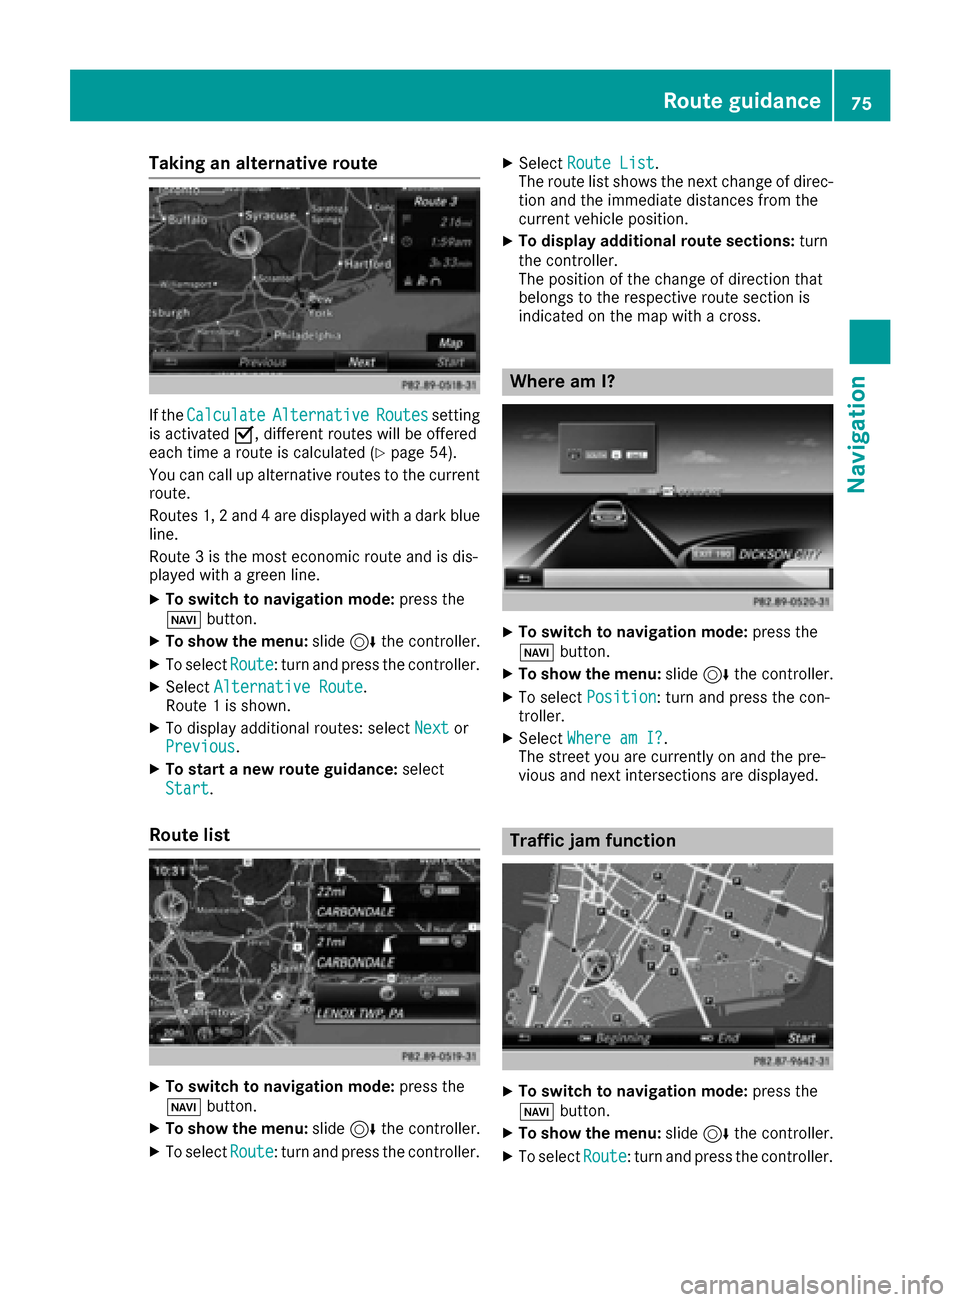
If theCalculateAlternativeRoutessetting
is activated O, different routes will be offered
each time a route is calculated (
Ypage 54).
You can call up alternative routes to the current
route.
Routes 1, 2 and 4 are displayed with a dark blue line.
Route 3 is the most economic route and is dis-
played with a green line.
XTo switch to navigation mode: press the
Ø button.
XTo show the menu: slide6the controller.
XTo select Route: turn and press the controller.
XSelectAlternative Route.
Route 1 is shown.
XTo display additional routes: select Nextor
Previous.
XTo start a new route guidance: select
Start
.
Route list
XTo switch to navigation mode: press the
Ø button.
XTo show the menu: slide6the controller.
XTo select Route: turn and press the controller.
XSelectRoute List.
The route list shows the next change of direc-
tion and the immediate distances from the
current vehicle position.
XTo display additional route sections: turn
the controller.
The position of the change of direction that
belongs to the respective route section is
indicated on the map with a cross.
Where am I?
XTo switch to navigation mode: press the
Ø button.
XTo show the menu: slide6the controller.
XTo select Position: turn and press the con-
troller.
XSelect Where am I?.
The street you are currently on and the pre-
vious and next intersections are displayed.
Traffic jam function
XTo switch to navigation mode: press the
Ø button.
XTo show the menu: slide6the controller.
XTo select Route: turn and press the controller.
Route guidance75
Navigation
Z