navigation MERCEDES-BENZ C-Class 2017 W205 Comand Manual
[x] Cancel search | Manufacturer: MERCEDES-BENZ, Model Year: 2017, Model line: C-Class, Model: MERCEDES-BENZ C-Class 2017 W205Pages: 178, PDF Size: 5.62 MB
Page 105 of 178
Closing the phone book
XTo select&from the character bar: turn the
controller and press to confirm.
or
XPress the %button.
Address book
Introduction
Always pay attention to traffic conditions.
Familiarize yourself with the address book func-
tions before beginning your journey.
You can use the multimedia system when the
road and traffic conditions permit. You could
otherwise become involved in an accident in
which you or others could be injured.
The address book displays all the contacts from
the various sources (mobile phone, memory
card, USB device, the phone book of the multi-
media system, navigation).
You can use the contacts to make telephone
calls, navigate and to write messages.
If a mobile phone is connected to the multimedia
system and automatic calling up is activated
(
Ypage 107), the mobile phone's contacts are
displayed in the address book. If you disconnect
the mobile phone from the multimedia system,
these contacts are no longer displayed in the
address book.
When you import, save, edit or add contacts,
they will be saved in the multimedia system.
These contacts will remain available even when
you connect the multimedia system to a differ-
ent mobile phone. You can view these contacts
even without a mobile phone.
iThe address book can store a total of 5000
contacts.
R2000 entries are reserved for permanently
saved contacts.
R3000 entries are reserved for contacts that
you can load from the mobile phone.
iBefore selling your vehicle, delete the con-
tacts saved in the multimedia system using
the reset function (
Ypage 42).
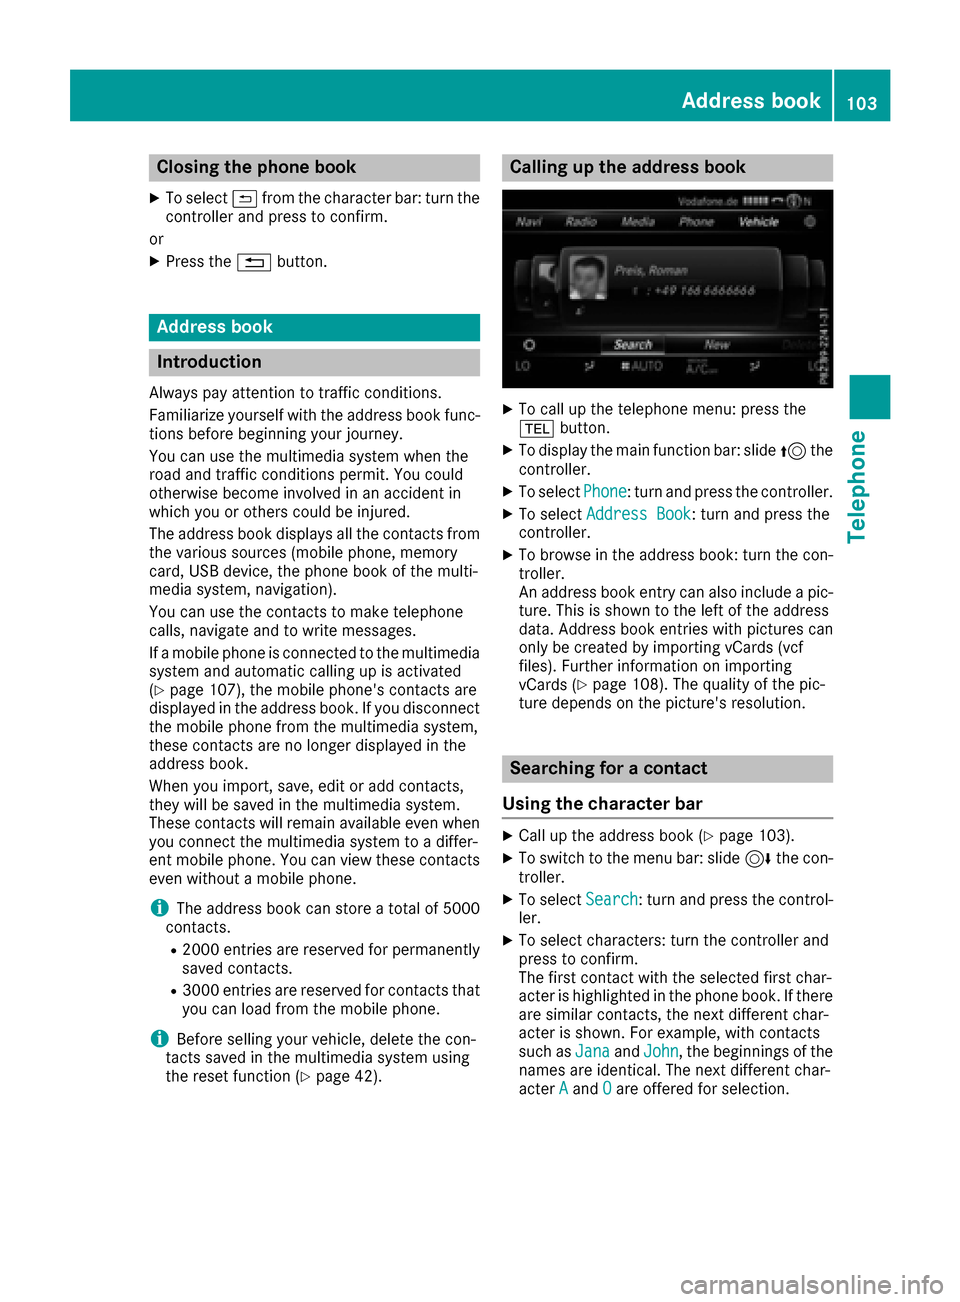
Calling up the address book
XTo call up the telephone menu: press the
% button.
XTo display the main function bar: slide 5the
controller.
XTo select Phone: turn and press the controller.
XTo select Address Book: turn and press the
controller.
XTo browse in the address book: turn the con- troller.
An address book entry can also include a pic-
ture. This is shown to the left of the address
data. Address book entries with pictures can
only be created by importing vCards (vcf
files). Further information on importing
vCards (
Ypage 108). The quality of the pic-
ture depends on the picture's resolution.
Searching for a contact
Using the character bar
XCall up the address book (Ypage 103).
XTo switch to the menu bar: slide 6the con-
troller.
XTo select Search: turn and press the control-
ler.
XTo select characters: turn the controller and
press to confirm.
The first contact with the selected first char-
acter is highlighted in the phone book. If there
are similar contacts, the next different char-
acter is shown. For example, with contacts
such as Jana
andJohn, the beginnings of the
names are identical. The next different char-
acter A
andOare offered for selection.
Address book103
Telephone
Z
Page 106 of 178
XSelect the characters of the contact you are
searching for one by one, pressing and con-
firming with the controller each time.
XTo complete the search: slide5the con-
troller repeatedly until the character bar dis-
appears.
or
XTo select ¬: turn and press the controller.
The contacts in the address book are dis-
played.
XTo select a contact: turn and press the con-
troller.
Back to the character bar
XPress the %button repeatedly until the
character bar is displayed.
Information about character entry (
Ypage 29).
Using the touchpad
XCall up the address book (Ypage 103).
XTo switch to the menu bar: glide down.
XSelect Search.
XDraw the letter on the touchpad surface.
The first contact with the selected first char-
acter is highlighted in the address book.
Further information on handwriting recogni-
tion on the touchpad (
Ypage 25).
XDraw additional letters on the touchpad sur-
face one after another.
XTo complete the search and return to the
phone book: press the touchpad.
XTo select and call the contact: glide up or
down and press.
Adding a new contact
You can enter address data directly into the
address book. If you store telephone numbers in
the phone book of the multimedia system, these
are also saved in the address book. If you store
a navigation destination, the multimedia system
creates an address book entry that includes the
complete navigable address data.
XCall up the address book (Ypage 103).
XTo switch to the menu bar: slide 6the con-
troller.
XTo select New: turn and press the controller.
The surname and first name input lines are
displayed.
XEnter characters using the controller
(Ypage 29) or the touchpad (Ypage 25).
XTo save the surname and first name: select
¬.
The details for the contact are displayed.
XTo add a desired entry (e.g. Add E-MailAddress): turn and press the controller.
Depending on the type of entry, the corre-
sponding input menu appears.
XEnter characters using the controller
(Ypage 29) or the touchpad (Ypage 25).
XTo finish and save an entry: select ¬.
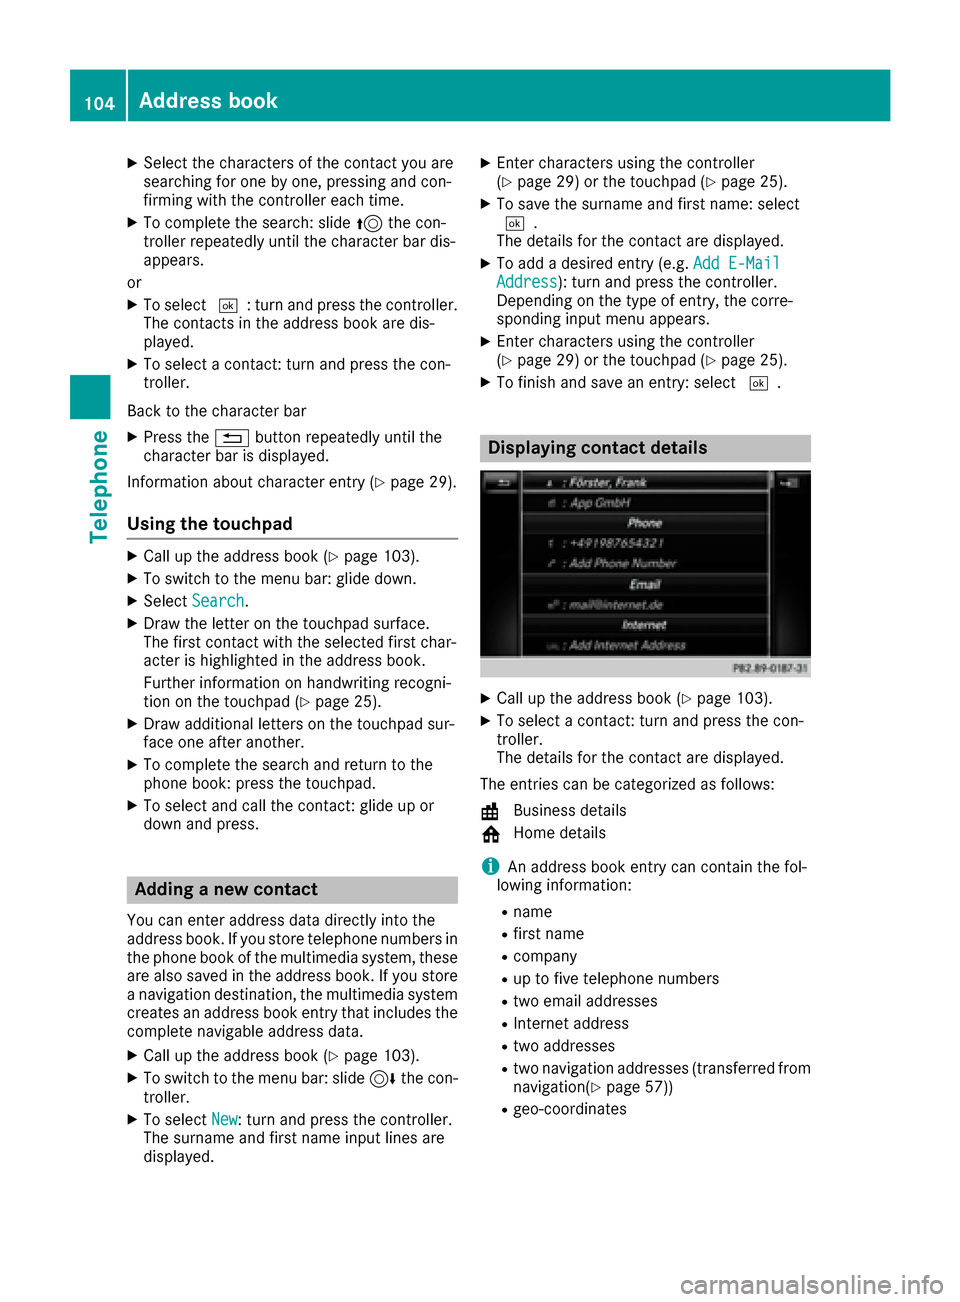
Displaying contact details
XCall up the address book (Ypage 103).
XTo select a contact: turn and press the con-
troller.
The details for the contact are displayed.
The entries can be categorized as follows:
\ Business details
6 Home details
iAn address book entry can contain the fol-
lowing information:
Rname
Rfirst name
Rcompany
Rup to five telephone numbers
Rtwo email addresses
RInternet address
Rtwo addresses
Rtwo navigation addresses (transferred from
navigation(Ypage 57))
Rgeo-coordinates
104Address book
Telephone
Page 107 of 178
Adding information to a contact
XCall up theaddress book (Ypage 103).
XTo selectacontact :tur nand press th econ-
troller .
The details for th econtact are displayed.
XTo add adesired entr y(e.g. Add E-MailAddres s): turnand press th econtroller .
Dependin gon th etyp eof entry, th ecorre-
sponding input men uappears.
XEnte rcharacters usin gth econtroller
(Ypage 29) or th etouchpad (Ypage 25).
XTo finish and sav ean entry: select ¬.
A maximum of fiv etelephon enumber scan be
saved for on econtact .
Starting route guidance to an address
or geo-coor dinates
If an address wit h aZIP code is saved, th e
address can be used for rout eguidance .If th e
ZIP code canno tbe assigned to an exact
address ,you can adjust th edestination subse-
quentl yusin gth econtroller .
XCall up theaddress book (Ypage 103).
XTo selectacontact :tur nand press th econ-
troller .
The details for th econtact are displayed.
XTo select an address :tur nand press th econ-
troller .
or
XTo select an entr ywit hgeo-coordinates: tur n
and press th econtroller .
The navigation men uis displayed.
XTo select StartRouteGuidance:slid e6
and press th econtroller .
The rout eto th edestination address is calcu-
lated and rout eguidance starts.
Making a call
XCall up th eaddress book (Ypage 103).
XTo selectacontact :tur nand press th econ-
troller .
The details for th econtact are displayed.
XTo select atelephon enumber :tur nand press
th econtroller .
The number is dialed .Further information
about th efunction sduring acall (
Ypage 97).
Sending text messages
XCall up th eaddress book (Ypage 103).
XTo selectacontact :tur nand press th econ-
troller .
The details for th econtact are displayed.
XTo highligh tth etelephon enumber :tur nth e
controller .
XTo select G:slide9 thecontroller .
XTo select SendTex tMessag e:tur nand
press th econtroller .
The entr yfields for atext message are dis-
played (
Ypage 115).
Observ eth erequirements for th emessage func-
tion (
Ypage 112).
Sending an e-mail
XCall up th eaddress book (Ypage 103).
XSelectan entry: tur nand press th econtroller .
The details for th econtact are displayed.
XTo select an e-mail address :tur nand press
th econtroller .
The entr yfields for an e-mail are displayed
(
Ypage 116).
Observ eth erequirements for th emessage func-
tion (
Ypage 112).
Displaying sub-entry inform ation
XCall up theaddress book (Ypage 103).
XSelectan entry: tur nand press th econtroller .
The details for th econtact are displayed.
XTo highligh tth edesired entry: tur nth econ-
troller .
XTo select G:slide9 thecontroller .
XTo select Details:tur nand press th econ-
troller .
The display is shown in full.
XTo close th edetailed display: press th e%
button.
Address book105
Telephone
Z
Page 111 of 178
Received vCards are identifiedby th e®
symbol in th eaddress book .
iIf you switch to another main function ,e.g.
navigation ,while receiving vCards, th erecep-
tion of vCards will be terminated.
Deleting imported contacts
XTo chang eto th emen ubar when in th e
address book or th etelephon emenu: slid e
6 thecontroller .
XTo select:tur nand press th econtrol -
ler .
XTo select Delete Contacts:tur nand press
th econtroller .
XSelecton eof th efollowin goptions:
RInternal Contacts
RImported fro mStorag eDevice
RImported fro mBluetooth Device s
RDownloadedfro mPhone
Turn and press th econtroller .
XTo select Yes:tur nand press th econtroller .
The contact sare deleted.
Closing the address book
XPress th e% buttonon eor mor etimes .
Call lists
Introduction
If your mobile phon esupport sth ePBAP Blue -
toot h®profile ,th ecall list sfrom th emobile
phon eare displayed in th emultimedia system.
When connecting th emobile phone, you may
hav eto confirm th econnection for th ePBAP
Bluetoot h
®profile.
If your mobile phon edoes no tsupport th ePBAP
Bluetoot h
®profile,th emultimedia system gen -
erates it sown call lists. These are no tth esam e
as th ecall list sin your mobile phone.
The call list soption is no tavailable unless a
mobile phon eis connecte dto th emultimedia
system.
If th econtact for an incoming call is no tsaved in
th eaddress book ,you can use th ecall list to
sav eth etelephon enumber .You can sav ethis telephon
enumber as ane wcontact in th e
address book or add it to an existing contact
(
Ypage 110).
iIf you connec t adifferen tmobile phon eto
th emultimedia system, th ecall list sfrom th e
ne wmobile phon eare displayed.
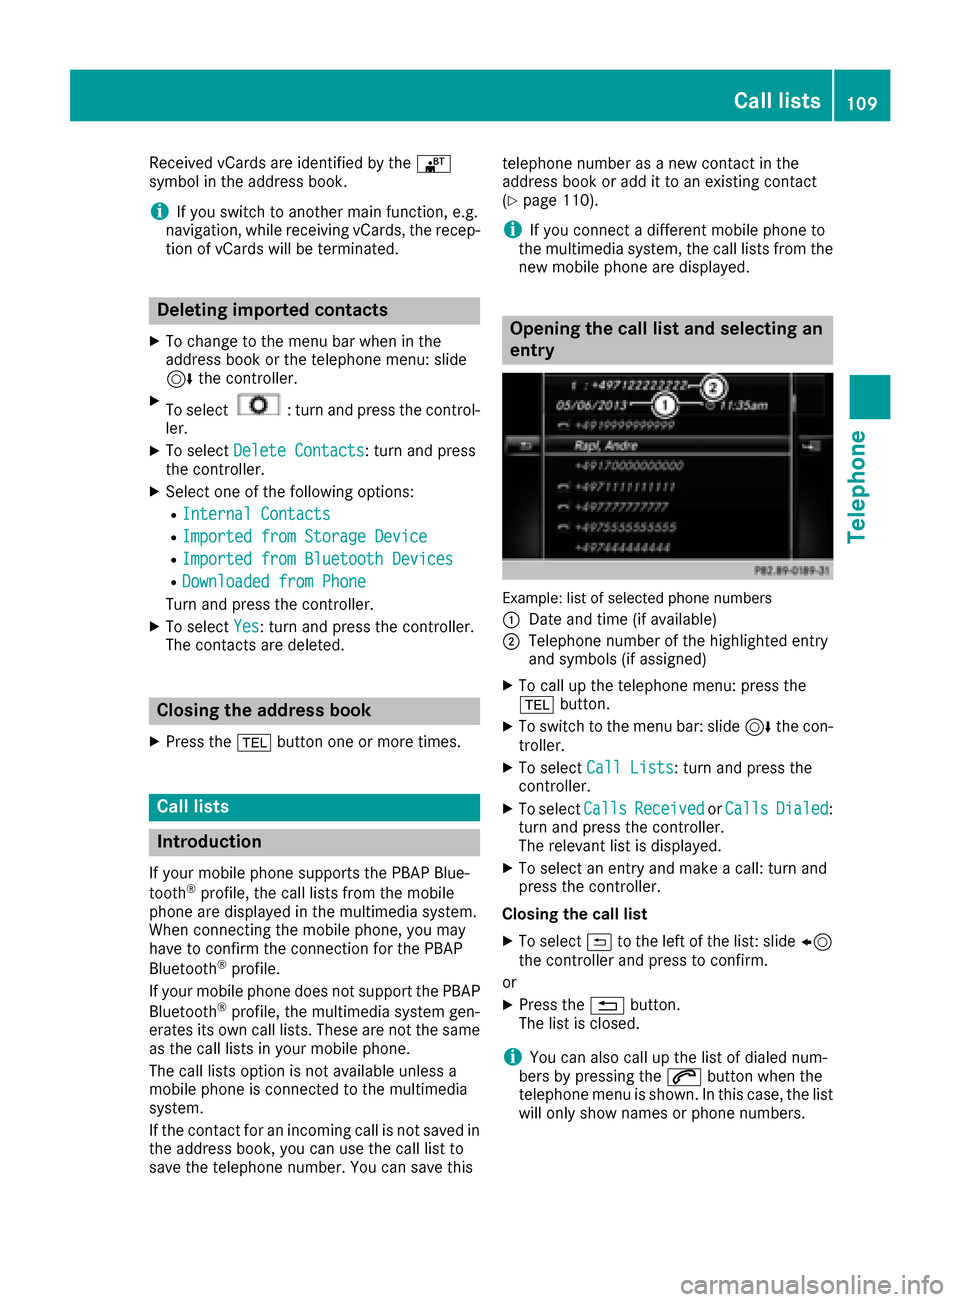
Opening the call list and selecting an
entry
Example: list of selected phone number s
:
Dat eand time (if available)
;Telephon enumber of th ehighlighte dentr y
and symbols (if assigned)
XTo call up th etelephon emenu: press th e
% button.
XTo switch to th emen ubar: slid e6 thecon-
troller .
XTo select CallLists:tur nand press th e
controller .
XTo selectCallsReceivedorCallsDialed:
tur nand press th econtroller .
The relevan tlist is displayed.
XTo select an entr yand mak e acall:tur nand
press th econtroller .
Closin gth ecall list
XTo select &to th elef tof th elist :slid e8
th econtroller and press to confirm .
or
XPress th e% button.
The list is closed.
iYou can also call up th elist of dialed num -
ber sby pressing th e6 buttonwhen th e
telephon emen uis shown. In this case, th elist
will only sho wnames or phon enumbers.
Call lists109
Telephone
Z
Page 141 of 178
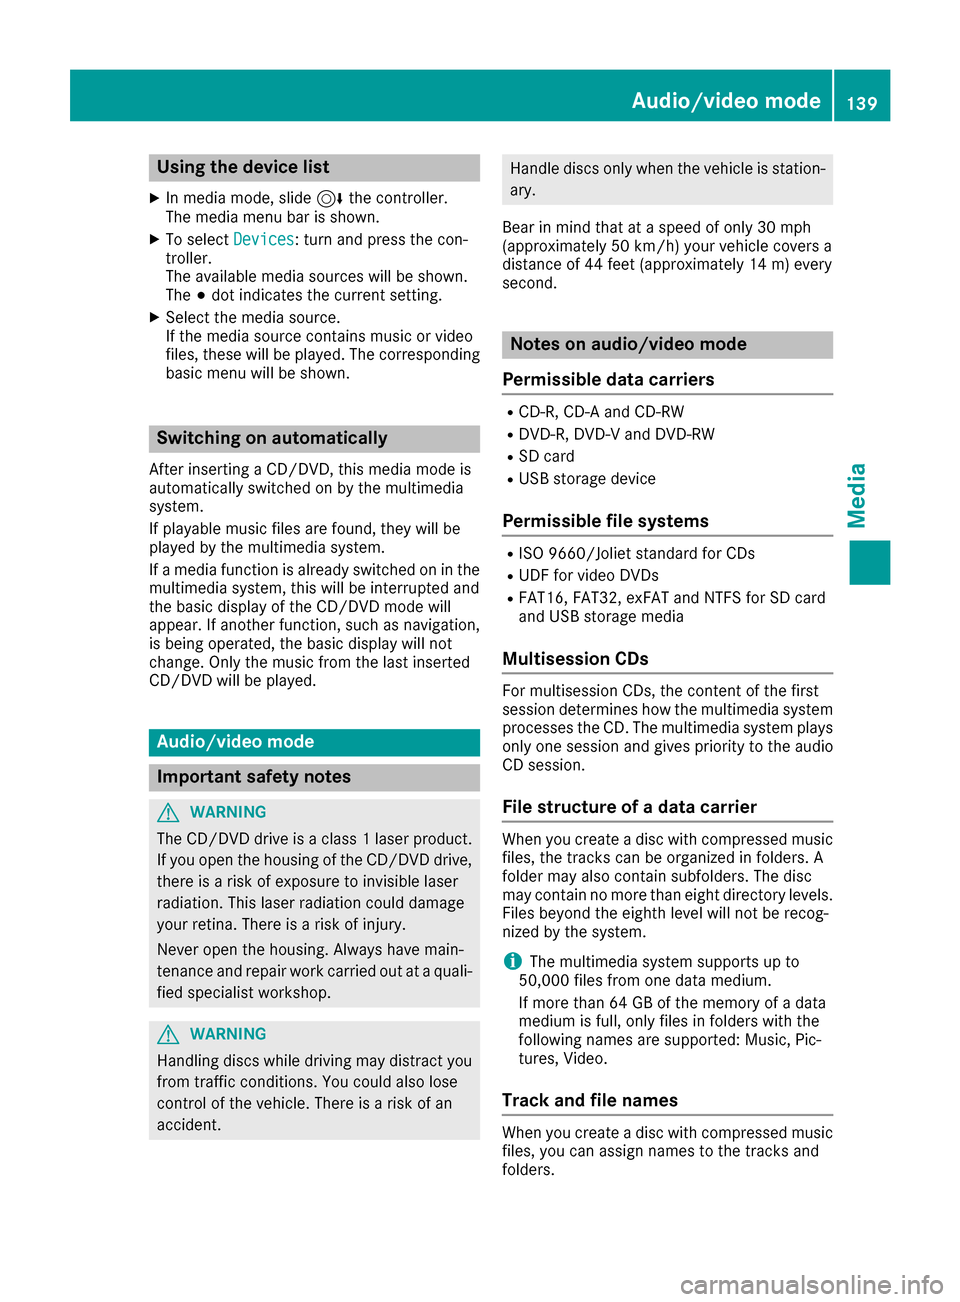
Using the device list
XIn media mode, slide6the controller.
The media menu bar is shown.
XTo select Devices: turn and press the con-
troller.
The available media sources will be shown.
The #dot indicates the current setting.
XSelect the media source.
If the media source contains music or video
files, these will be played. The corresponding
basic menu will be shown.
Switching on automatically
After inserting a CD/DVD, this media mode is
automatically switched on by the multimedia
system.
If playable music files are found, they will be
played by the multimedia system.
If a media function is already switched on in the
multimedia system, this will be interrupted and
the basic display of the CD/DVD mode will
appear. If another function, such as navigation,
is being operated, the basic display will not
change. Only the music from the last inserted
CD/DVD will be played.
Audio/video mode
Important safety notes
GWARNING
The CD/DVD drive is a class 1 laser product.
If you open the housing of the CD/DVD drive,
there is a risk of exposure to invisible laser
radiation. This laser radiation could damage
your retina. There is a risk of injury.
Never open the housing. Always have main-
tenance and repair work carried out at a quali- fied specialist workshop.
GWARNING
Handling discs while driving may distract you from traffic conditions. You could also lose
control of the vehicle. There is a risk of an
accident.
Handle discs only when the vehicle is station-
ary.
Bear in mind that at a speed of only 30 mph
(approximately 50 km/h) your vehicle covers a
distance of 44 feet (approximately 14 m) every
second.
Notes on audio/video mode
Permissible data carriers
RCD-R, CD-A and CD-RW
RDVD-R, DVD-V and DVD-RW
RSD card
RUSB storage device
Permissible file systems
RISO 9660/Joliet standard for CDs
RUDF for video DVDs
RFAT16, FAT32, exFAT and NTFS for SD card
and USB storage media
Multisession CDs
For multisession CDs, the content of the first
session determines how the multimedia system
processes the CD. The multimedia system plays
only one session and gives priority to the audio
CD session.
File structure of a data carrier
When you create a disc with compressed music
files, the tracks can be organized in folders. A
folder may also contain subfolders. The disc
may contain no more than eight directory levels.
Files beyond the eighth level will not be recog-
nized by the system.
iThe multimedia system supports up to
50,000 files from one data medium.
If more than 64 GB of the memory of a data
medium is full, only files in folders with the
following names are supported: Music, Pic-
tures, Video.
Track and file names
When you create a disc with compressed music
files, you can assign names to the tracks and
folders.
Audio/video mode139
Media
Z
Page 143 of 178
Discs with copy protection are not compatible
with the audio CD standard and therefore may
not be able to be played.
Playback problems may occur when playing
copied discs.
There may be playback problems if you play CDs
that you have copied yourself with a storage
capacity of more than 700 MB.
iThe multimedia system is able to play back
audio CDs in multichannel audio format.
Inserting and removing a disc from
the single CD/DVD drive
Before inserting or removing a CD/DVD, ensure
that the cup holder is empty.
XTo insert:press the þbutton on the single
drive.
If there is a disc already inserted, it will be
ejected.
XInsert a disc into the disc slot with the printed
side facing upwards.
The drive closes and the disc is played.
If the CD/DVD is operated in Media mode, the
corresponding basic menu will be shown. If
the CD/DVD is started using another appli-
cation (e.g. navigation), the display will not
change.
iThe drive may not be able to play discs with
copy protection.
XTo remove: press theþbutton.
The drive ejects the disc.
XRemove the ejected disc from the slot.
If you do not take the disc out of the slot, it is drawn in again automatically after a short
while.
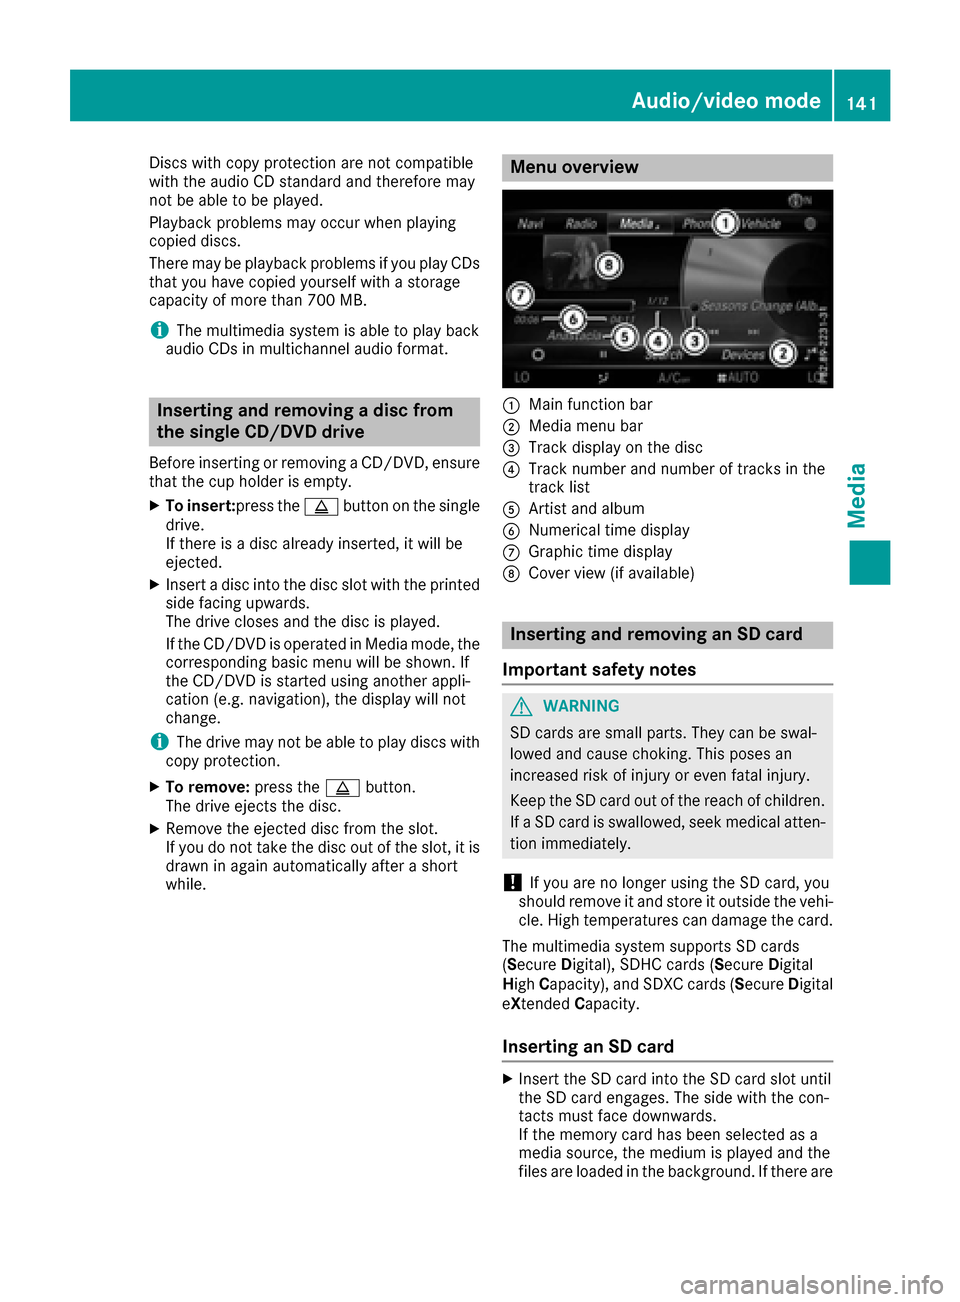
Menu overview
:Main function bar
;Media menu bar
=Track display on the disc
?Track number and number of tracks in the
track list
AArtist and album
BNumerical time display
CGraphic time display
DCover view (if available)
Inserting and removing an SD card
Important safety notes
GWARNING
SD cards are small parts. They can be swal-
lowed and cause choking. This poses an
increased risk of injury or even fatal injury.
Keep the SD card out of the reach of children. If a SD card is swallowed, seek medical atten-
tion immediately.
!If you are no longer using the SD card, you
should remove it and store it outside the vehi-
cle. High temperatures can damage the card.
The multimedia system supports SD cards
( S ecure Digital), SDHC cards ( Secure Digital
High Capacity), and SDXC cards ( Secure Digital
e Xtended Capacity.
Inserting an SD card
XInsert the SD card into the SD card slot until
the SD card engages. The side with the con-
tacts must face downwards.
If the memory card has been selected as a
media source, the medium is played and the
files are loaded in the background. If there are
Audio/video mode141
Media
Z
Page 144 of 178
no supported audio/video files, you will see a
message to this effect.
XSelect the media source (Ypage 138).
Removing an SD card
XPress the SD card.
The SD card is ejected.
XRemove the SD card.
Connecting USB devices
There are two USB ports in the stowage space
under the armrest (Ypage 138).
XConnect the USB device to the USB port.
If the corresponding media display is visible,
the medium is played and the files are loaded
in the background. If there are no supported
audio/video files, you will see a message to
this effect.
iMP3 players must support Media Transfer
Protocol (MTP).
Activating media mode
After inserting a CD/DVD, the media mode is
automatically switched on by the multimedia
system.
If playable music files are found, they will be
played by the multimedia system.
If a media function is already switched on in the
multimedia system, this will be interrupted and
the basic display of the CD/DVD mode will
appear. If another function, such as navigation,
is being operated, the basic display will not
change. Only the music from the last inserted
CD/DVD will be played.
Depending on the vehicle equipment, the basic
display must already be turned on when using
with USB devices or SD cards.
XInsert the CDs/DVDs (Ypage 141)
or
XInsert an SD card: (Ypage 141)
or
XConnect a USB device: (Ypage 142)
The multimedia system loads the medium
inserted and playback starts automatically. Further options for switching on:
RUsing the main function bar (Ypage 138)
RUsing the device list (Ypage 139)
RUsing the
Õbutton (Ypage 138)
Playback options
XIn media mode, slide 6the controller.
The media menu bar is shown.
XTo select: turn and press the control-
ler.
Playing similar tracks
XTo select Play More Like This: turn and
press the controller.
The multimedia system automatically creates
and plays a track list with similar tracks. If
there are no comparable tracks on the data
carrier, you will see a message to this effect.
XSelect the required track.
Playback mode
XTo select PlaybackMode: turn and press the
controller.
XSelect Normal Track Sequence.
The current track list is played in the order it
appears on the data medium.
XSelect Random Track List.
The current track list is played in random
order.
XSelect Random Medium.
All tracks on the data medium are played in
random order.
Direct track entry
XTo select TrackNumber:: turn and press the
controller.
A menu appears.
XEnter the desired track number.
Skip to time
XTo select Skip to Time: turn and press the
controller.
A menu appears.
XTo set the time: turn the controller.
142Audio/video mode
Media