display MERCEDES-BENZ C-CLASS CABRIOLET 2018 COMAND Manual
[x] Cancel search | Manufacturer: MERCEDES-BENZ, Model Year: 2018, Model line: C-CLASS CABRIOLET, Model: MERCEDES-BENZ C-CLASS CABRIOLET 2018Pages: 174, PDF Size: 4.1 MB
Page 120 of 174
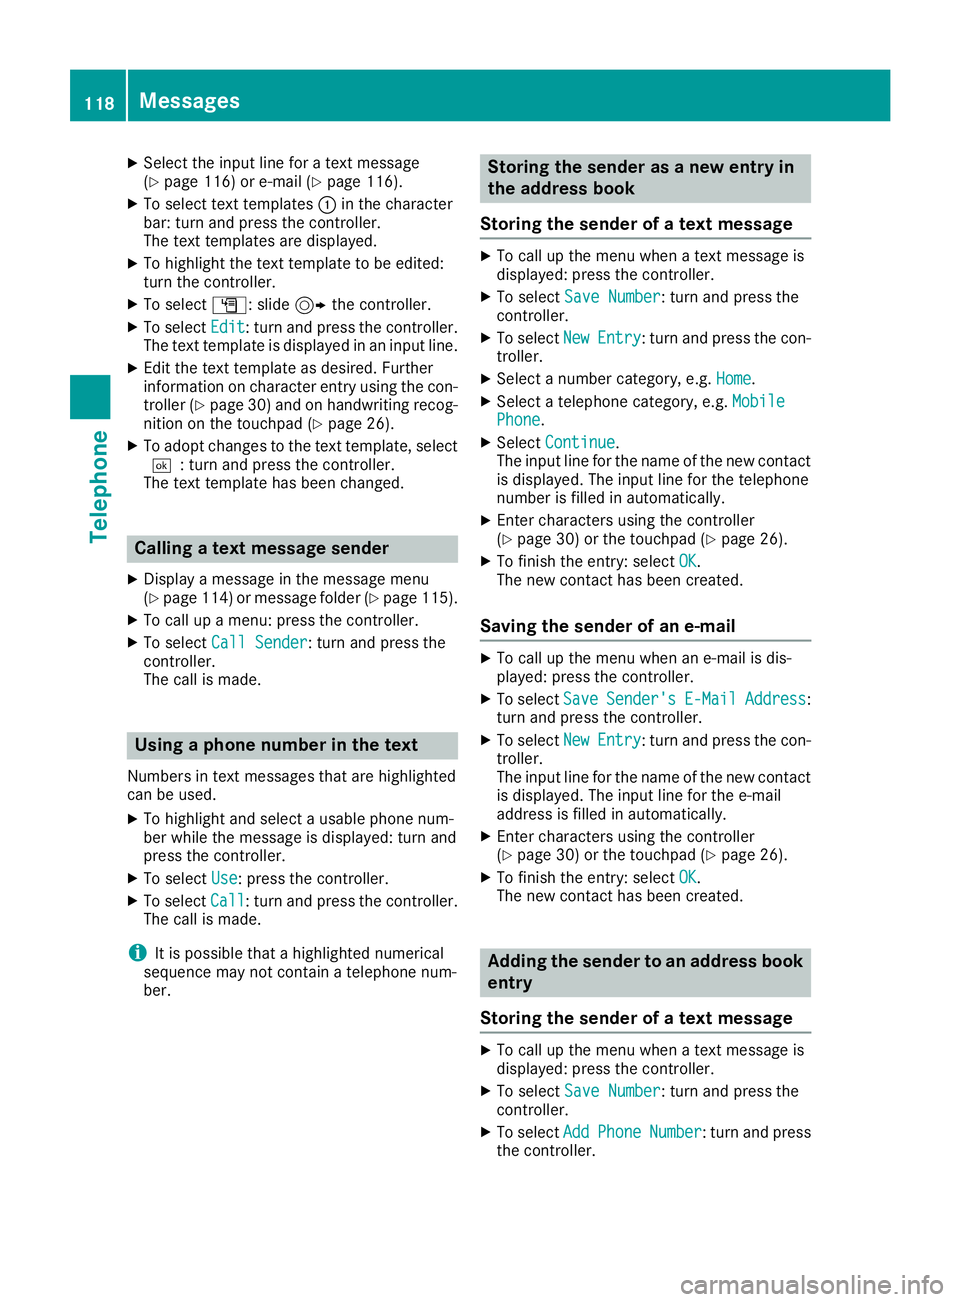
XSelect the input line for a text message
(Ypage 116) or e-mail (Ypage 116).
XTo select text templates:in the character
bar: turn and press the controller.
The text templates are displayed.
XTo highlight the text template to be edited:
turn the controller.
XTo select G: slide 9the controller.
XTo select Edit: turn and press the controller.
The text template is displayed in an input line.
XEdit the text template as desired. Further
information on character entry using the con-
troller (
Ypage 30) and on handwriting recog-
nition on the touchpad (Ypage 26).
XTo adopt changes to the text template, select
¬: turn and press the controller.
The text template has been changed.
Calling a text message sender
XDisplay a message in the message menu
(Ypage 114 )or message folder (Ypage 115).
XTo call up a menu: press the controller.
XTo select Call Sender: turn and press the
controller.
The call is made.
Using a phone number in the text
Numbers in text messages that are highlighted
can be used.
XTo highlight and select a usable phone num-
ber while the message is displayed: turn and
press the controller.
XTo select Use: press the controller.
XTo selectCall: turn and press the controller.
The call is made.
iIt is possible that a highlighted numerical
sequence may not contain a telephone num-
ber.
Storing the sender as a new entry in
the address book
Storing the sender of a text message
XTo call up the menu when a text message is
displayed: press the controller.
XTo select Save Number: turn and press the
controller.
XTo select NewEntry: turn and press the con-
troller.
XSelect a number category, e.g. Home.
XSelect a telephone category, e.g. MobilePhone.
XSelectContinue.
The input line for the name of the new contact
is displayed. The input line for the telephone
number is filled in automatically.
XEnter characters using the controller
(Ypage 30) or the touchpad (Ypage 26).
XTo finish the entry: select OK.
The new contact has been created.
Saving the sender of an e-mail
XTo call up the menu when an e-mail is dis-
played: press the controller.
XTo select SaveSender'sE-MailAddress:
turn and press the controller.
XTo select NewEntry: turn and press the con-
troller.
The input line for the name of the new contact
is displayed. The input line for the e-mail
address is filled in automatically.
XEnter characters using the controller
(Ypage 30) or the touchpad (Ypage 26).
XTo finish the entry: select OK.
The new contact has been created.
Adding the sender to an address book
entry
Storing the sender of a text message
XTo call up the menu when a text message is
displayed: press the controller.
XTo select Save Number: turn and press the
controller.
XTo select AddPhoneNumber: turn and press
the controller.
118Messages
Telephone
Page 121 of 174
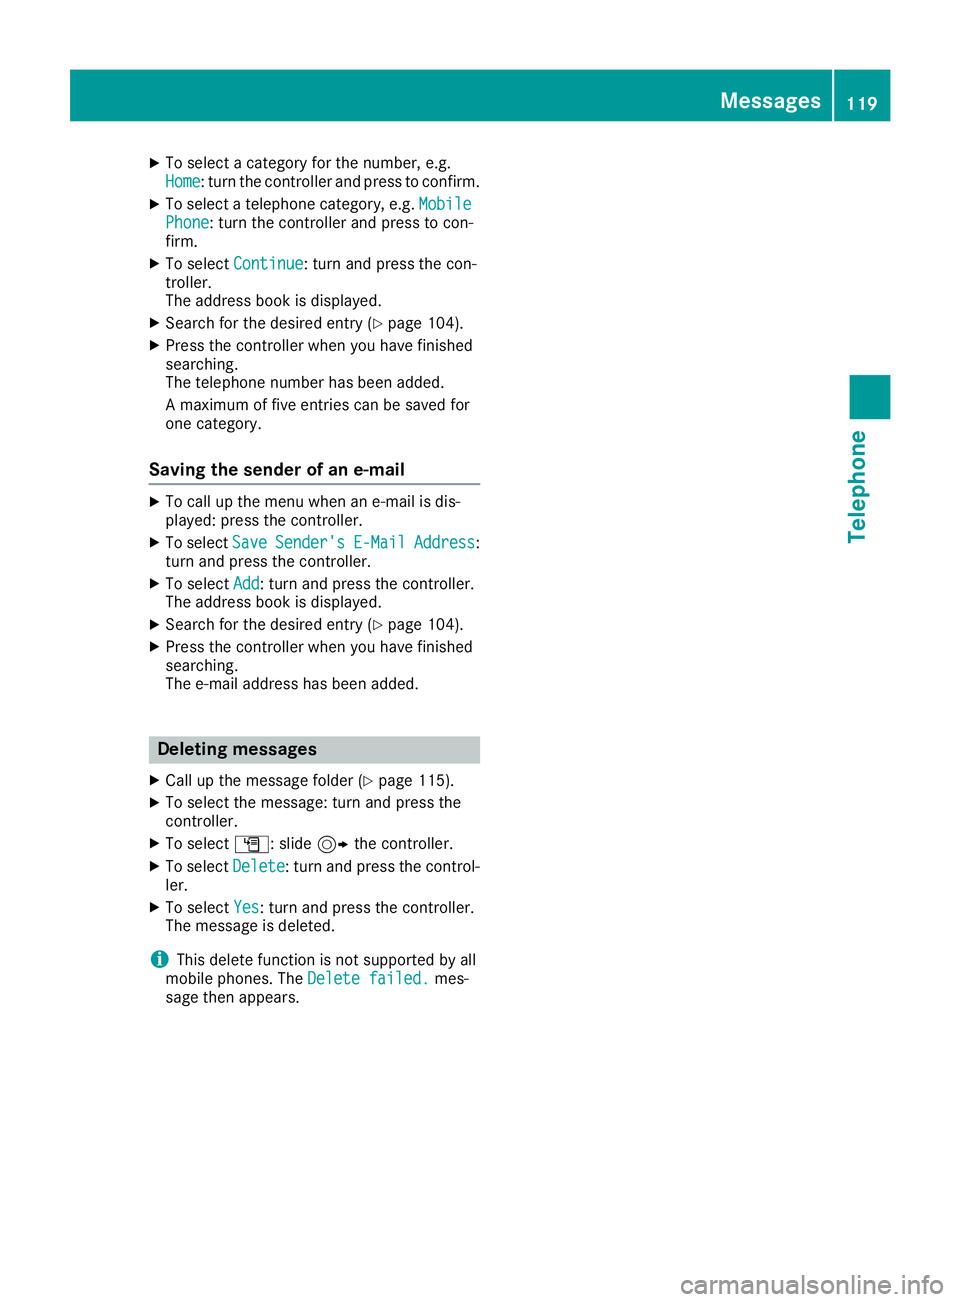
XTo select a category for the number, e.g.
Home: turn the controller and press to confirm.
XTo select a telephone category, e.g.MobilePhone: turn the controller and press to con-
firm.
XTo select Continue: turn and press the con-
troller.
The address book is displayed.
XSearch for the desired entry (Ypage 104).
XPress the controller when you have finished
searching.
The telephone number has been added.
A maximum of five entries can be saved for
one category.
Saving the sender of an e-mail
XTo call up the menu when an e-mail is dis-
played: press the controller.
XTo select SaveSender'sE-MailAddress:
turn and press the controller.
XTo select Add: turn and press the controller.
The address book is displayed.
XSearch for the desired entry (Ypage 104).
XPress the controller when you have finished
searching.
The e-mail address has been added.
Deleting messages
XCall up the message folder (Ypage 115).
XTo select the message: turn and press the
controller.
XTo select G: slide 9the controller.
XTo select Delete: turn and press the control-
ler.
XTo select Yes: turn and press the controller.
The message is deleted.
iThis delete function is not supported by all
mobile phones. The Delete failed.mes-
sage then appears.
Messages119
Telephone
Z
Page 123 of 174
option, which is used to calculate the associated
connection costs.
Conditions for a Bluetooth
®connection
RThe mobile phone supports at least one of the
Bluetooth®profiles DUN (Dial- UpNetwork-
ing) or PAN (Personal AreaNetwork).
The Bluetooth
®profiles DUN and PAN enable
the Internet connection of the mobile phone
to be made available to the system.
Conditions for a USB connection
RThe mobile phone supports at least one of the
USB classes:
-RNDIS (Remote Network DriverInterface
Specification)
-CDC/NCM (Network ControlModel)
-CDC/ECM (Ethernet ControlModel)
-CDC/ACM (Access ControlModel)
The USB classes enable the mobile phone
Internet connection to be made available to
the system.
The terms of use are shown when the system is
used for the first time and then once a year
thereafter. Only read and accept the terms of
use when the vehicle is stationary.
The driver is not permitted to call up websites
while driving and use of the Mercedes-Benz
Apps is restricted.
iThe availability of individual Mercedes-Benz
Apps may vary depending on the country.
Setting up an Internet connection
(Canada)
Procedure and general information
In order to set up a mobile phone for Internet
access, your mobile phone must be connected
to the multimedia system via Bluetooth
®
(Ypage 92) or USB (Ypage 142).
If you are using Internet access for the first time,
you must enable the connected mobile phone
for Internet access (
Ypage 121). If the con-
nected mobile phone supports the Bluetooth®
PAN profile or the USB classes RNDIS,
CDC/NCM or CDC/ECM, you do not need to
make additional settings. The Internet connec-
tion is established. If the connected mobile
phone does not support the named Bluetooth
®
profile or the named USB classes, predefined (
Ypage 121) or manual access data
(Ypage 122) must be set.
While initializing the mobile phone for the Inter-
net connection, access data which is already on
the mobile phone may be overwritten. You
should therefore check the settings on the
mobile phone (see the manufacturer's operating
instructions).
Enabling the mobile phone for Inter-
net access
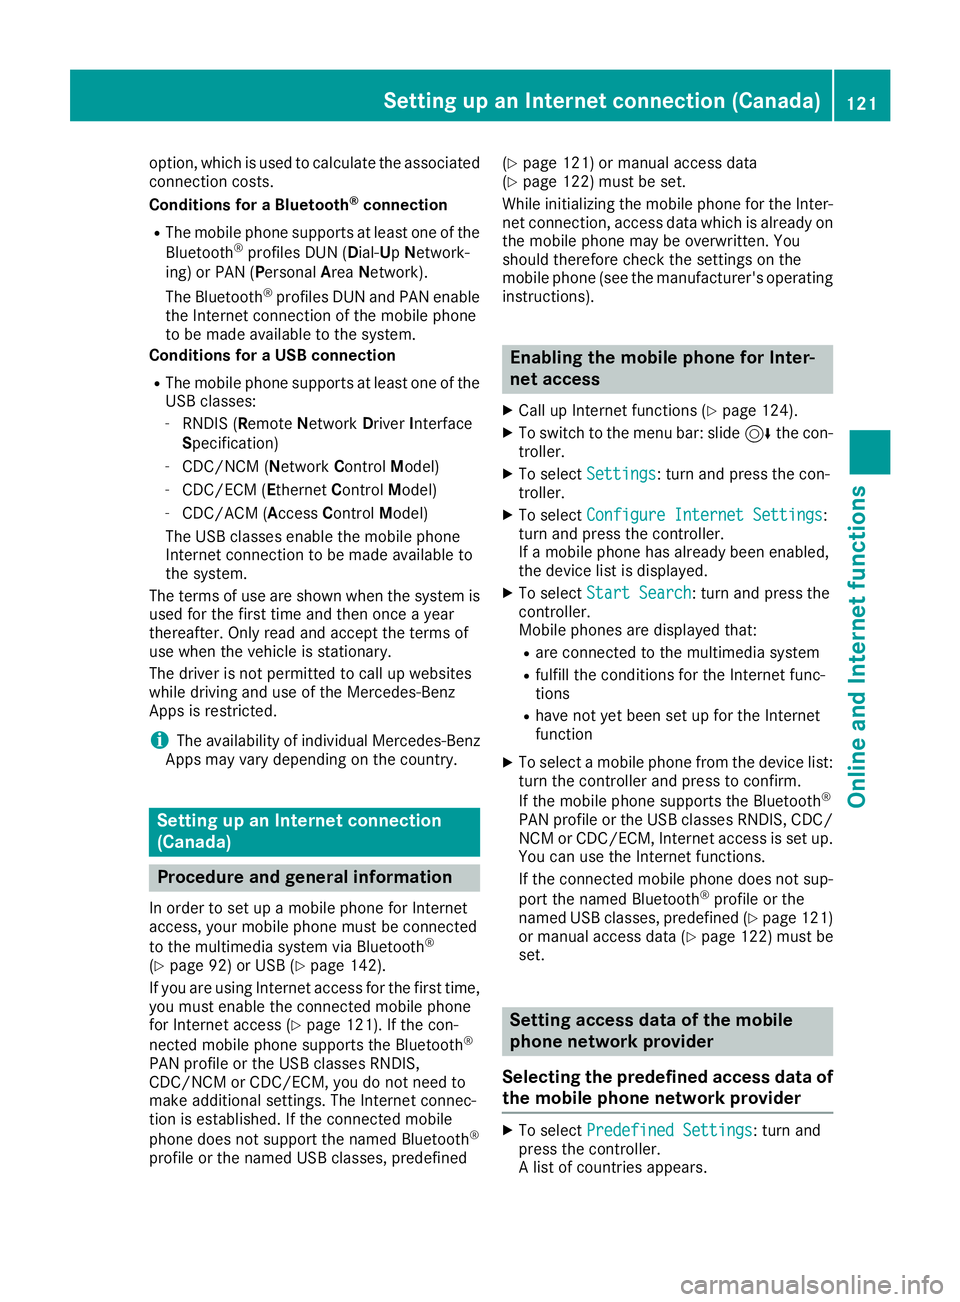
XCall up Internet functions (Ypage 124).
XTo switch to the menu bar: slide 6the con-
troller.
XTo select Settings: turn and press the con-
troller.
XTo select Configure Internet Settings:
turn and press the controller.
If a mobile phone has already been enabled,
the device list is displayed.
XTo select Start Search: turn and press the
controller.
Mobile phones are displayed that:
Rare connected to the multimedia system
Rfulfill the conditions for the Internet func-
tions
Rhave not yet been set up for the Internet
function
XTo select a mobile phone from the device list: turn the controller and press to confirm.
If the mobile phone supports the Bluetooth
®
PAN profile or the USB classes RNDIS, CDC/
NCM or CDC/ECM, Internet access is set up.
You can use the Internet functions.
If the connected mobile phone does not sup-
port the named Bluetooth
®profile or the
named USB classes, predefined (Ypage 121)
or manual access data (Ypage 122) must be
set.
Setting access data of the mobile
phone network provider
Selecting the predefined access data of
the mobile phone network provider
XTo select Predefined Settings: turn and
press the controller.
A list of countries appears.
Setting up an Internet connection (Canada)121
Online and Internet functions
Z
Page 124 of 174
If the mobile phone network provider provides
multiple access data options, the relevant
access data still has to be selected. This
depends on the data package used, for example.
To check whether the predetermined dial-in
data corresponds with the dial-in data providedby your mobile phone network provider, pro-
ceed as follows (
Ypage 123) and select Man‐ual Settings. The access data is displayed.
The access data for the mobile phone network
provider is selected once for the mobile phone
connected and is loaded again each time the
mobile phone is connected. Establishing a con-
nection (
Ypage 124).
You must set the access data of the mobile
phone network provider who provides the SIM
card and the associated data package (access
settings) for the connected mobile phone. The
access data remains the same when you are in a
different country (roaming). The access data of
another network is notselected.
Manually setting the access data of the
mobile phone network provider
XTo select Manual Settings: turn and press
the controller.
An overview of the provider settings appears.
XSet access data (Ypage 122).
XTo select ConfirmSettings: turn and press
the controller.
The access data for the mobile phone network
provider is selected once for the mobile phone
connected and is loaded again each time the
mobile phone is connected. Establishing a con-
nection (
Ypage 124).
You must set the access data of the mobile
phone network provider who provides the SIM
card and the associated data package (access
settings) for the connected mobile phone. The
access data remains the same when you are in a
different country (roaming). The access data of
another network is notselected.
Setting access data
Set the access data in accordance with your
data package. You can contact your mobile
phone network provider to obtain the precise
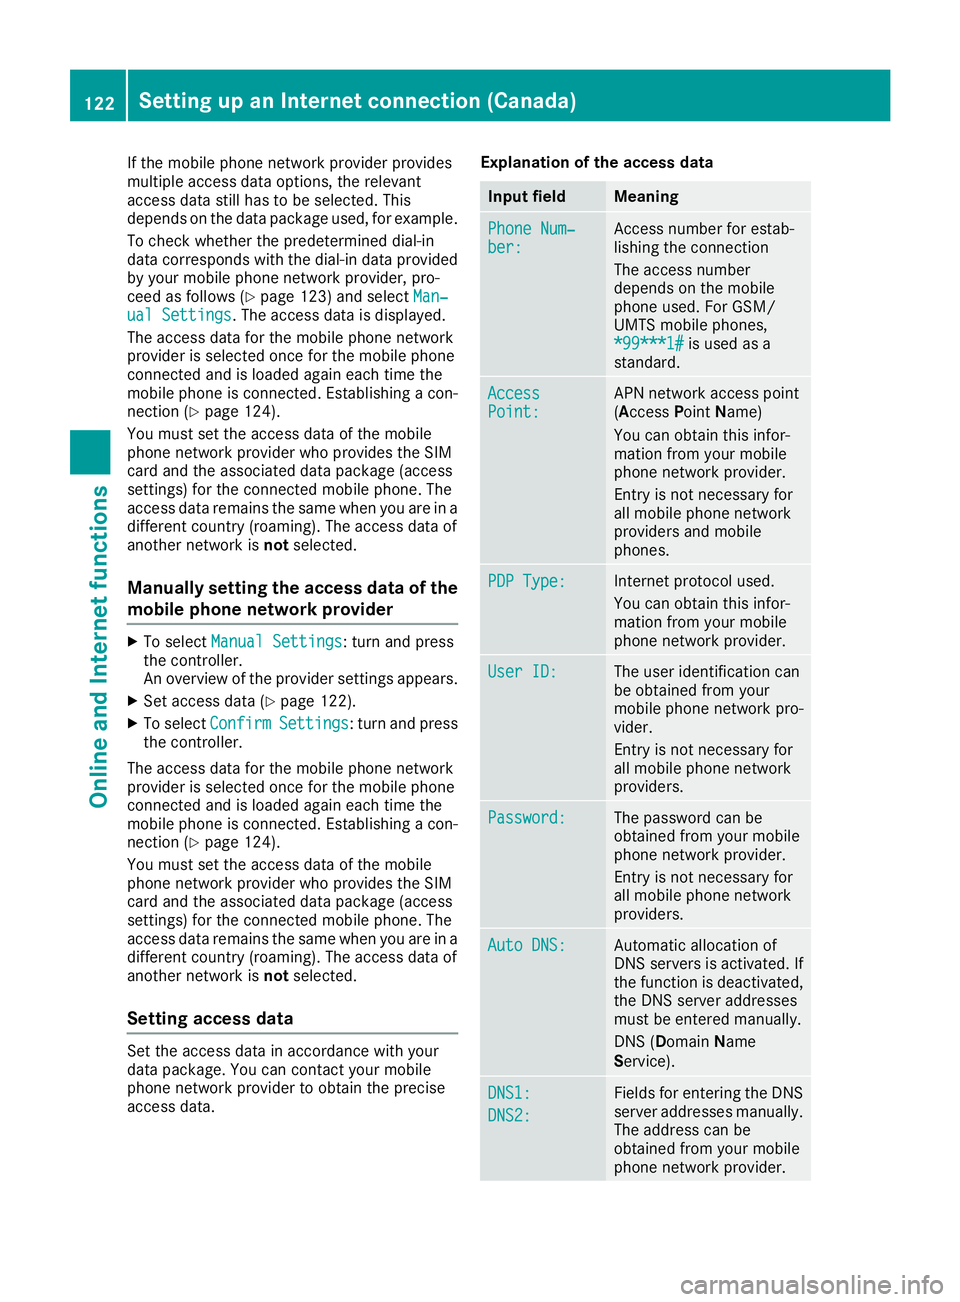
access data. Explanation of the access data
Input fieldMeaning
Phone Num‐ber:Access number for estab-
lishing the connection
The access number
depends on the mobile
phone used. For GSM/
UMTS mobile phones,
*99***1#
is used as a
standard.
AccessPoint:APN network access point
(A ccess PointName)
You can obtain this infor-
mation from your mobile
phone network provider.
Entry is not necessary for
all mobile phone network
providers and mobile
phones.
PDP Type:Internet protocol used.
You can obtain this infor-
mation from your mobile
phone network provider.
User ID:The user identification can
be obtained from your
mobile phone network pro-
vider.
Entry is not necessary for
all mobile phone network
providers.
Password:The password can be
obtained from your mobile
phone network provider.
Entry is not necessary for
all mobile phone network
providers.
Auto DNS:Automatic allocation of
DNS servers is activated. If
the function is deactivated,
the DNS server addresses
must be entered manually.
DNS ( Domain Name
Service).
DNS1:
DNS2:
Fields for entering the DNS
server addresses manually. The address can be
obtained from your mobile
phone network provider.
122Setting up an Internet connection (Canada)
Online and Internet functions
Page 125 of 174
Managing existing access data
Calling up the device list
XCall up Internet functions (Ypage 124).
XTo switch to the menu bar: slide 6the con-
troller.
XTo select Settings: turn and press the con-
troller.
XTo select Configure Internet Settings:
turn and press the controller.
The device list is displayed.
Editing the access data
The mobile phone must be connected with the
system for the access data to be changed.
When the Internet connection is active, you can-
not edit or delete the access data of the cur-
rently set mobile phone network provider.
XCall up the device list (Ypage 123).
XTo highlight the desired mobile phone in the
device list: turn the controller.
XTo select G: slide 9the controller.
XTo select Change Configuration: turn and
press the controller.
XSelect Predefined SettingsorManualSettings.
The provider settings are displayed.
In order to edit the access data of the mobile
phone network provider you have two options:
ROption 1: select the predefined access data of
the mobile phone network provider
(
Ypage 121).
ROption 2: manually set the access data of the
mobile phone network provider (Ypage 122).
Canceling Internet access permission
for a mobile phone
XCall up the device list (Ypage 123).
XTo highlight the desired mobile phone in the
device list: turn the controller.
XTo select G: slide 9the controller.
XTo select Delete Configuration: turn and
press the controller.
A prompt appears asking whether you wish to
delete the Internet configuration.
XTo select Yes: turn and press the controller.
The Internet access permission for the mobile
phone is now canceled. The mobile phone can now no longer be used by the system for
Internet functions.
Setting automatic disconnection of
the Internet connection
If a preset time has elapsed during which the
Internet functions have not been used, the Inter-
net automatically disconnects.
XCall up the device list (Ypage 123).
XTo highlight the desired mobile phone in the
device list: turn the controller.
XTo select
G: slide 9the controller.
XTo select Disconnect AutomaticallyWhen Inactive: turn and press the control-
ler.
XTo select 5 Minutes,10 Minutesor 20Minutes: turn and press the controller.
Managing all Internet devices
If multiple mobile phones have been enabled for
Internet usage, these can be given priorities.
The system then selects the mobile phone with
the highest priority to establish an Internet con-
nection.
XCall up the device list (Ypage 123).
XTo highlight the mobile phone: turn the con-
troller.
XTo select G: slide 9the controller.
XTo select Manage All Internet Devices:
turn and press the controller.
A menu appears.
XTo highlight a mobile telephone: turn the con-
troller.
XTo select G: slide 9the controller.
XTo select Change Device Priority: turn
and press the controller.
XTo move the desired mobile phone up or
down: turn and press the controller.
The mobile phone's priority is changed.
The priority of the mobile phones is deter-
mined by the hierarchy. The mobile phone at
the top of the list has the highest priority.
Setting up an Internet connection (Canada)123
Online and Internet functions
Z
Page 126 of 174
Establishing/ending the connection
Establishing a connection
Read the conditions for establishing a connec-
tion (Ypage 120).
A connection can be established, for example
by:
Rentering a web address (Ypage 125)
Rcalling up a Mercedes-Benz App
(Ypage 124)
Rcalling up a favorite
Ending the connection
XPress Cancelin the connections window.
Calling up Internet functions
XTo display the main function bar: slide 5the
controller.
XTo select ®: turn and press the controller.
The menu with the Internet functions is dis-
played.
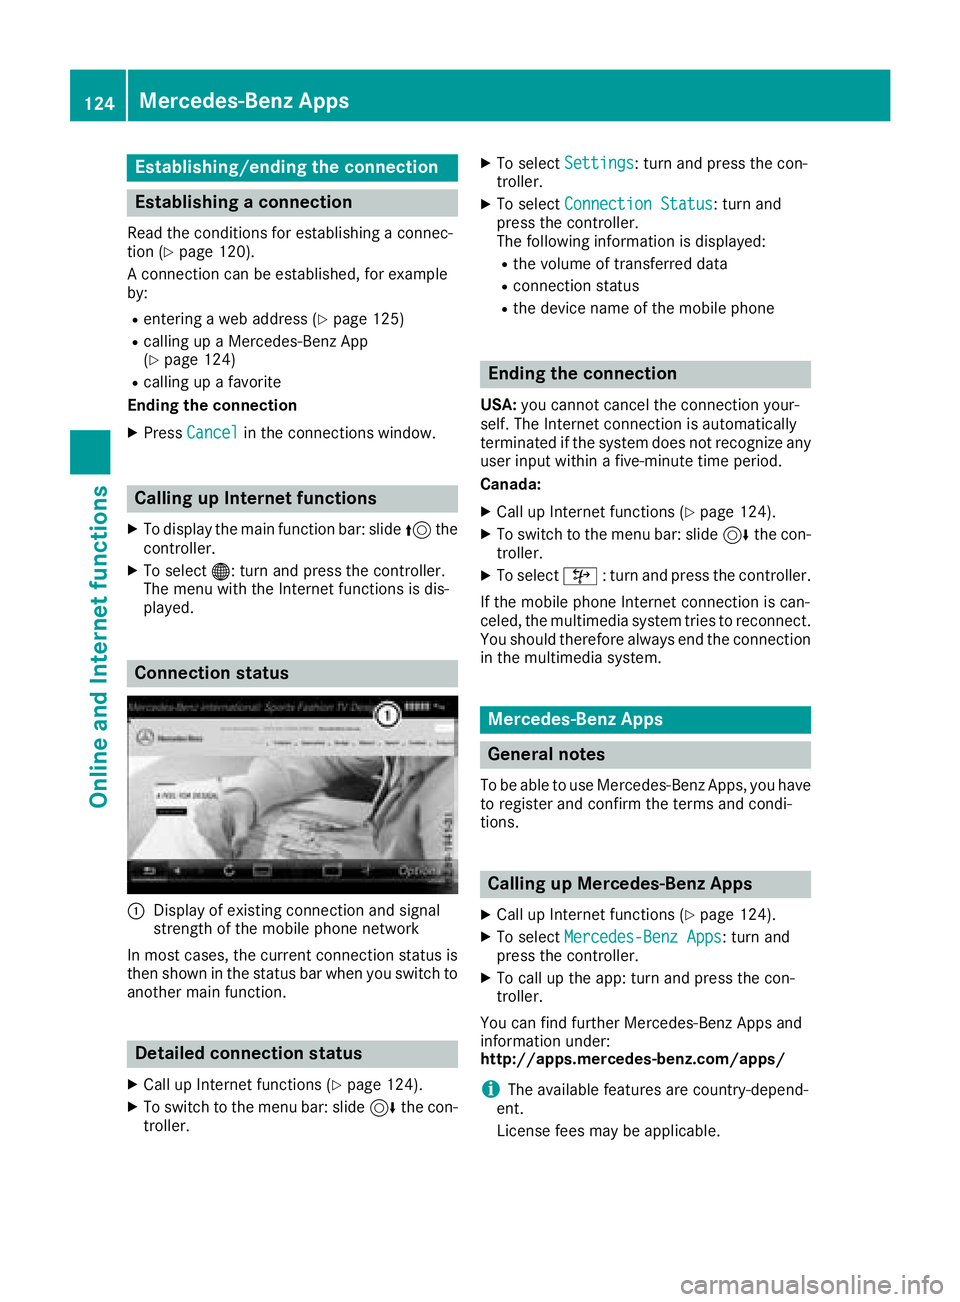
Connection status
:Display of existing connection and signal
strength of the mobile phone network
In most cases, the current connection status is
then shown in the status bar when you switch to
another main function.
Detailed connection status
XCall up Internet functions (Ypage 124).
XTo switch to the menu bar: slide 6the con-
troller.
XTo select Settings: turn and press the con-
troller.
XTo select Connection Status: turn and
press the controller.
The following information is displayed:
Rthe volume of transferred data
Rconnection status
Rthe device name of the mobile phone
Ending the connection
USA: you cannot cancel the connection your-
self. The Internet connection is automatically
terminated if the system does not recognize any
user input within a five-minute time period.
Canada:
XCall up Internet functions (Ypage 124).
XTo switch to the menu bar: slide 6the con-
troller.
XTo select ©: turn and press the controller.
If the mobile phone Internet connection is can-
celed, the multimedia system tries to reconnect.
You should therefore always end the connection
in the multimedia system.
Mercedes-Benz Apps
General notes
To be able to use Mercedes-Benz Apps, you have
to register and confirm the terms and condi-
tions.
Calling up Mercedes-Benz Apps
XCall up Internet functions (Ypage 124).
XTo select Mercedes-Benz Apps: turn and
press the controller.
XTo call up the app: turn and press the con-
troller.
You can find further Mercedes-Benz Apps and
information under:
http://apps.mercedes-benz.com/apps/
iThe available features are country-depend-
ent.
License fees may be applicable.
124Mercedes-Benz Apps
Online and Internet functions
Page 127 of 174
Door-to-door navigation
Mercedes-Benz Companion
The Mercedes-BenzCompanion app is available
in th eUSA.
Mercedes-Ben zCompanion enable sdoor-to -
doo rnavigation .
Door-to-doo rnavigation means :
RThe currentdestination is transferred from
th evehicle' smultimedia syste mto an exter-
nal devic e(mobile phone or smartwatch).
Thi senable syou to continue navigatin gto a
destination whic his in apedestrian zone ,fo r
example.
RConversely, adestination can be selecte don
th eexternal devic eand transferred to th e
vehicle' smultimedia system.
Other functions:
RNavigatin gto th evehicle' slocation
RDisplayin gvarious information about th evehi-
cl e
Mor einformation on suitable mobile phones:
http://www.mercedes-benz.com/connec t
Further information on Mercedes-Ben zCom -
panion (se eAp pStor edescription).
Web browser
Calling up awebsite
Function restrictions
Internet page scanno tbe shown whil eth evehi-
cl e is in motion .
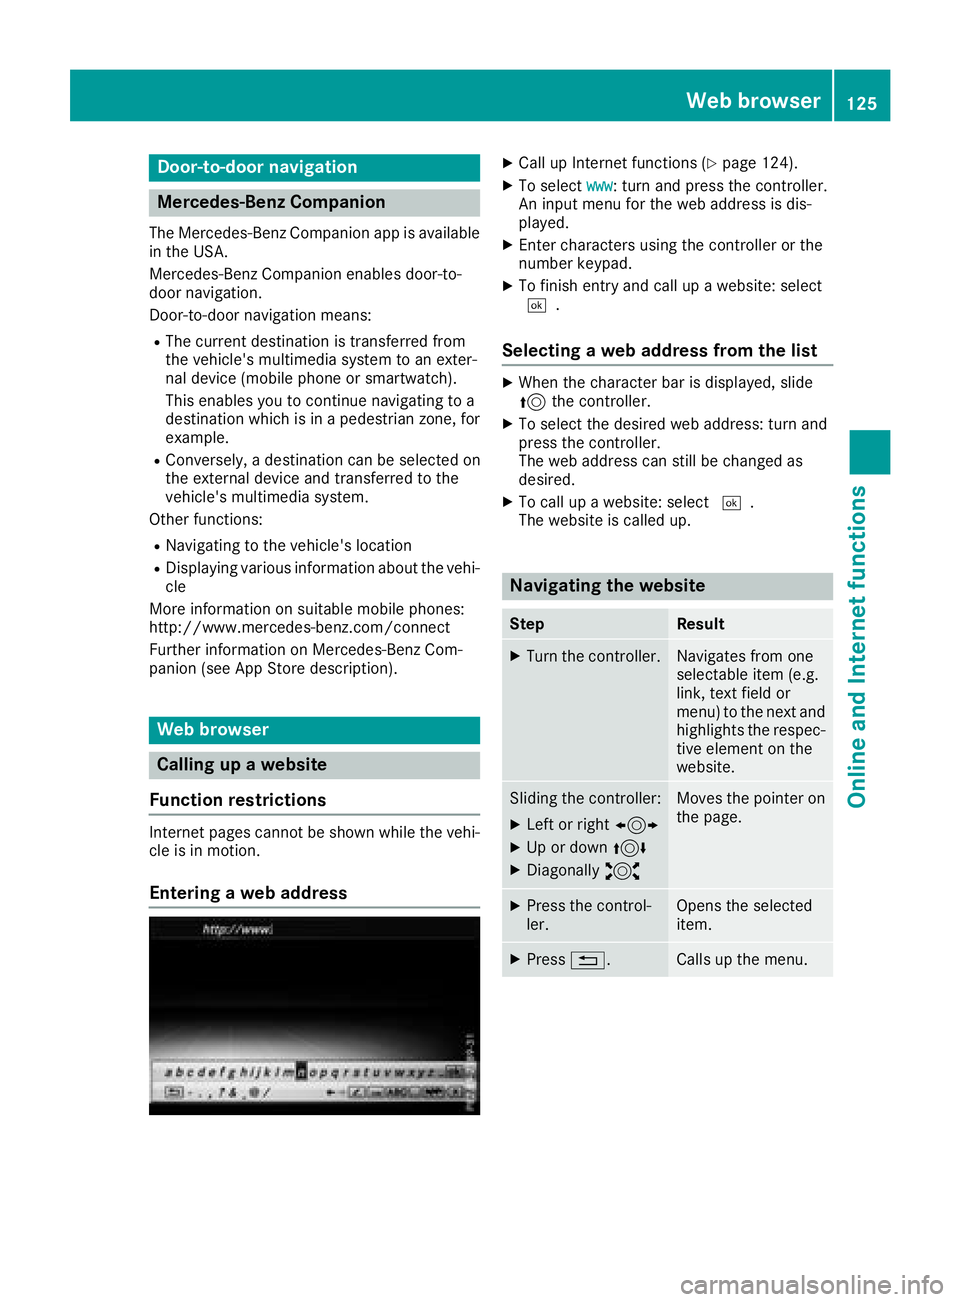
Enteringaweb address
XCall up Internet function s (Ypage 124).
XTo selectwww:turn and press th econtroller .
An input men ufo rth eweb address is dis -
played.
XEnte rcharacters usin gth econtroller or th e
number keypad.
XTo finish entr yand cal lup awebsite: selec t
¬.
Selecting aweb address from th elist
XWhe nth echaracte rbar is displayed, slid e
5 thecontroller .
XTo selectth edesire dweb address :turn and
press th econtroller .
The web address can still be changed as
desired.
XTo cal lup awebsite: selec t¬.
The websit eis called up.
Navigating th ewebsite
StepResult
XTur nth econtroller .Navigates from on e
selectable item (e.g.
link, text field or
menu) to th enext and
highlight sth erespec -
tive elemen ton th e
website.
Slidin gth econtroller :
XLeftor right 1
XUp or down 4
XDiagonally2
Moves thepointe ron
th epage .
XPress th econtrol-
ler .Opens th eselecte d
item.
XPress %.Calls up th emenu.
Web browser125
Online and Internet functions
Z
Page 129 of 174
XTo navigate on the web page: slide1,
4 or2 the controller.
XTo zoom in on the web page: turn the control-
ler.
Jumping from link to link
You can use this function to skip from one link to
the next on a website.
XTo show the menu: press the%button.
XTo select 3: turn and press the controller.
A menu appears. The #dot indicates the cur-
rent setting.
XSelect Jump From Link To Link.
If a website has been called up and the con-
troller is turned, the cursor jumps from link to
link.
Directional scrolling
You can use this function to scroll up and down
on the web page.
XTo show the menu: press the%button.
XTo select 3: turn and press the controller.
A menu appears. The #dot indicates the cur-
rent setting.
XSelect Directional Scrolling.
If a website has been called up and the con-
troller is turned, the cursor moves up or down
depending on the direction of the turn.
Settings
Overview
XTo show the menu: press the%button.
XTo select 3: turn and press the controller.
A menu appears.
XSelect Settings. You can activate or deactivate the following set-
tings:
RDownload Images Automatically
It may take some time to download the con-
tents of websites that contain a large amount
of images. Therefore, it may be useful to deac-
tivate this option.
RBlock Pop-Ups
Popups are windows (usually with advertise-
ments) which are displayed automatically
when you call up a website. You can block
these displays.
RActivate Javascript
Javascript makes it possible to display and
interact with dynamic content on the website.
RAllow Cookies
Some websites save information in small text
files (cookies) on your system. You can deter-
mine whether cookies may be stored.
REnable Internet Audio
You can switch the browser's audio playback
on or off here.
RHide Scroll Bars
You can show or hide the scroll bar here.
RShow Link Target
You can display the link's URL here.
RCharacter Size
You can select the font size which is used
when displaying the website.
RCharacter Code
You can select a different character set here,
e.g. if the characters of a website appear dis-
torted.
Changing settings
XTo select the desired setting: turn and press
the controller.
Switch the setting on
Oor off ª.
Changing the character size or character
code
XSelect CharacterSizeorCharacterCode.
XTo select the setting you require: turn and
press the controller.
iIf you change the settings, the websites may
not be displayed correctly.
Web browser127
Online and Internet functions
Z
Page 132 of 174
Your multimediasyste mequipment
These operatin ginstruction sdescribe all th e
standar dan doptional equipment of your multi-
media system, as available at th etime of going
to press. Country-specifi cdifference sare pos -
sible. Bear in min dthat your vehicle may no t
feature all function sdescribed here. Thi salso
applies to safety-relevan tsystems an dfunc-
tions.
Read th einformation on qualifie dspecialis t
workshop sin th evehicle Operator's Manual.
Switchin gon th eradi o
XPress th e$ button.
The radio men uappears .You will hear th elast
station set on th ewaveban dselecte dlast .
Switching HD Radi oon/of f
XIn radio mode: slid e6 thecontroller .
XTo selectOption s:turn an dpress th econ-
troller.
XSwitch HD RadioonO or of fª .
If HD
Radiois switched off, th esyste mdoe sno t
switch to digita lradio an dit is no tpossible to
selec tan ysub-channels.
iHD Radio ™an dth eHD ,HD Radio ,an d“Arc ”
logos are proprietary trademark sof iBiquit y
Digital Corp.
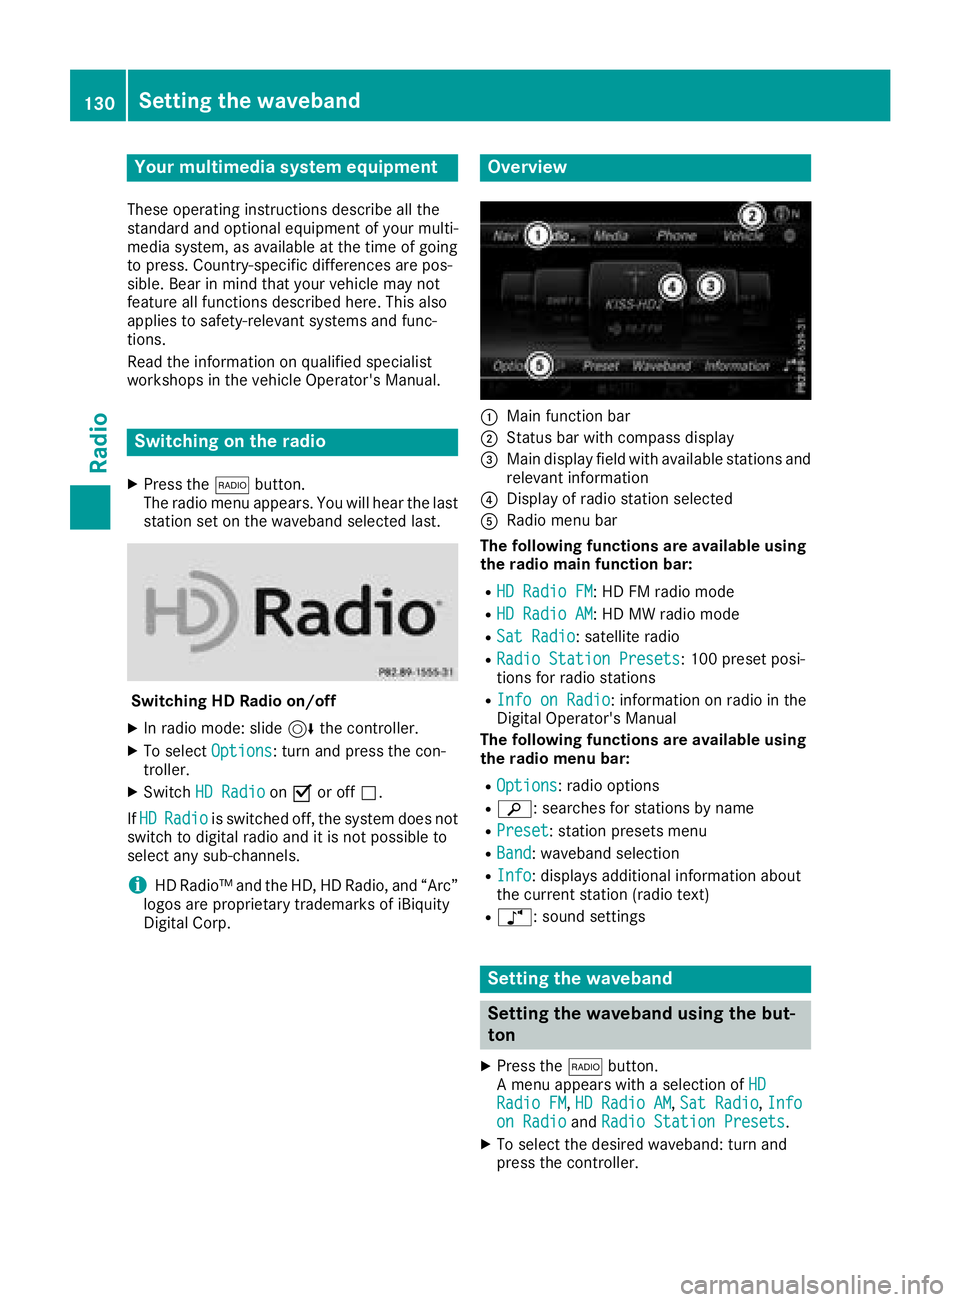
Overview
:Main function bar
;Status bar wit hcompass display
=Main display field wit havailable station san d
relevant information
?Display of radio station selecte d
ARadio menubar
Th efollowin gfunctions ar eavailable using
th eradi omain function bar:
RHD Radi oFM:HD FM radio mode
RHD Radi oAM:HD MW radio mode
RSa tRadi o:satellite radio
RRadio Statio nPreset s:10 0preset posi-
tion sfo rradio station s
RInfo on Radi o:information on radio in th e
Digital Operator's Manual
Th efollowin gfunctions ar eavailable using
th eradi omenu bar:
ROption s:radio option s
Rè:searches fo rstation sby name
RPreset:station preset smen u
RBand:waveban dselection
RInfo:displays additional information about
th ecurren tstation (radio text )
Rà:sound setting s
Setting thewaveband
Setting th ewaveband using th ebut-
to n
XPress th e$ button.
A men uappears wit h aselection of HD
Radio FM,HD Radi oAM,Sa tRadi o,Infoon Radi oandRadi oStatio nPreset s.
XTo selec tth edesire dwaveband: turn an d
press th econtroller .
130Setting the waveband
Radio
Page 133 of 174
Setting the waveband using the main
function bar
XIn radio mode: slide5the controller.
The radio main function bar and menu bar
appear. Radio
is active.
XPress the controller.
A menu appears with a selection of HD
RadioFM,HDRadioAM,SatRadio,RadioStation Presetsand Info on Radio.
XTo select the desired waveband: turn and
press the controller.
Setting the waveband using the menu
bar
XIn radio mode: slide 6the controller.
The radio menu bar appears.
XTo select Band: turn and press the controller.
A menu appears with a selection of HD
Radio FM,HD Radio AMand Sat Radio.
XTo select the desired waveband: turn and
press the controller.
Station
Selecting a station
Setting a station from the main display
field
All currently available stations are displayed.
XIn radio mode, turn the controller until the
desired station is in the center.
Setting a station from the current sta-
tion list
iThe station list is available in HD FM radio
mode or HD AM radio mode. It includes all
stations that can be received.
XIn radio mode, press the controller.
The station list appears with the stations cur-
rently available.
XTo select the desired station: turn and press
the controller.
Entering the station frequency
XIn radio mode: slide 6the controller.
The radio menu bar appears.
XTo select Options: turn and press the con-
troller.
XSelect Direct Entry.
An additional menu appears.
HD FM radio mode:
XTo select the HDFM Frequencyoption: turn
and press the controller.
XEnter the frequency of the desired station in
the entry field.
HD MW radio mode:
XTo select the HDAM Frequencyoption: turn
and press the controller.
XEnter the frequency of the desired station in
the entry field.
Satellite radio operation
XTo select the SatRadioChanneloption: turn
and press the controller.
XEnter the number of the desired channel in
the entry field.
Station presets:
XTo select the Radio Station Presetsoption: turn and press the controller.
XEnter the station preset of the desired station.
Finding a station
XIn radio mode: slide 6the controller.
The radio menu bar appears.
XSelect èand enter the first letters of the
required station using the controller.
XPress OKto confirm.
The multimedia system displays a list of avail-
able stations.
XTo select stations from the list: turn the con-
troller and press to confirm.
Entering a preset
XIn radio mode: slide 6the controller.
XTo select Preset: turn and press the control-
ler.
XTo select Enter Preset: turn and press the
controller.
XEnter the station preset of the desired station.
Station131
Radio