height MERCEDES-BENZ C-CLASS CABRIOLET 2018 COMAND Manual
[x] Cancel search | Manufacturer: MERCEDES-BENZ, Model Year: 2018, Model line: C-CLASS CABRIOLET, Model: MERCEDES-BENZ C-CLASS CABRIOLET 2018Pages: 174, PDF Size: 4.1 MB
Page 15 of 174

Setting the format ............................ 37
Setting the time ............................... 37
Setting the time zone ....................... 36
Setting the time/date format .......... 37
Switching automatic time on/off ..... 36
Touchpad
Calling up quick access for audio .... 24
Changing the input language for
handwriting recognition ................... 27
Changing the station/music
track ................................................ 28
Character suggestions ..................... 26
Deleting characters ......................... 26
Entering a space .............................. 26
Entering characters ......................... 26
Gesture control ................................ 24
Handwriting recognition ................... 26
Operating the touchpad ................... 24
Overview .......................................... 23
Quick access for Audio .................... 28
Selecting a menu item ..................... 24
Switching ......................................... 23
Switching input line ......................... 27
Track
Selecting (CD, DVD, MP3) .............. 143
Traffic reports
Calling up a list ................................ 78
Real-time traffic report .................... 78
Trunk lid opening height restric-
tion
Activating/deactivating
(COMAND) ....................................... 46
U
Updating the digital map .................... 86
USB audio mode
Selecting a track ............................ 143
USB devices
Connecting to the Media Inter-
face ............................................... 142
see Audio CD/DVD and MP3 mode
V
Vehicle
Data acquisition ............................... 16
Vehicle settings
Calling up ......................................... 44 Video
see Video DVD
Video DVD
Control option ................................ 155
DVD menu ..................................... 157
DVD's control menu ...................... 157
Full-screen mode ........................... 156
Function restrictions ...................... 155
Menu options ................................. 156
Notes on discs ............................... 155
Overview ........................................ 156
Overview of DVD functions ............ 157
Pause function ............................... 158
Picture settings .............................. 156
Playing conditions .......................... 155
Safety notes .................................. 154
Selecting a scene/chapter ............ 158
Stop function ................................. 158
Switching to ................................... 156
Video menu ................................... 157
Voice Control System
Settings ........................................... 38
see Voice Control System
Volume, adjusting
Navigation messages ....................... 28
W
Weather map (SIRIUS)Activating/deactivating display
levels ............................................. 166
Calling up ....................................... 165
Legend ........................................... 168
Moving ........................................... 165
Showing/hiding the menu ............. 165
Storm overview .............................. 169
Storm watch areas ......................... 168
Time stamp .................................... 168
Weather memory (SIRIUS)
Selecting an area ........................... 165
Storing an area .............................. 165
Web browser
Entering a web address ................. 125
WiFi
Activating ......................................... 38
Changing the name of the SSID ....... 39
Connecting the device ..................... 38
Connecting via security key ............. 39
Index13
Page 48 of 174

XCallupVehicle Settings(Ypage 44).
XTo select Automatic Locking: turn and
press the controller.
The function switches on or off, dependin g on
the previous setting.
You can find further information on the locking
feature inthe veh icleOperator's Manual.
Setting the switch-off delay time
Interior lighting switch-off delay time
The interior lighting isactivated for the duration
of the switch-off delay time when the SmartKey
is removed from the ignition lock.
XCall upVehicle Settings(Ypage 44).
XTo select Interior Lighting DelayedSwitch-off: turn and press the controller.
The setting element isactive.
XTo change the delayed switch-off time: turn
and press the controller.
You can find further information on the interior
lighting inthe veh icleOperator's Manual.
Exterior lighting switch-off delay time
Ifyou switch on the Exterior LightingDelayed Switch-offfunction, the exterior
lighting is switched on for a short time after the
engine is switched off. The light switch must be
set to Ã; see the veh icleOperator's Manual.
The exterior lighting remains litfor 60 seconds
after the engine is switched off. Ifyou close all
the doors and the tailgate, the exterior lighting
swit ches off after the set time.
XCall upVehicle Settings(Ypage 44).
XTo select Exterior Lighting DelayedSwitch-off: turn and press the controller.
The setting element isactive.
XTo change the delayed switch-off time: turn
and press the controller.
Activating/deactivating the trunk lid
opening height restriction
Activating the Trunk Opening-heightRestrictionfunctionallowsyou to avoid
bumping the trunk lidon a low garage cei ling, for
example. Setting via the multimedia systemis
availab lefor the Sedan and Coupe.
XCall up Vehicle Settings(Ypage 44).
XTo select Trunk Opening-heightRestriction: turn and press the controller.
The function switches on or off, depending on
the previous setting.
360° camera
General notes
The 360° camera covers the immediate sur-
roundings of the vehicle and assists you, for
instance when parking or at exits with reduced
vis ibilit y.
The 360° camera isonly an aid. It is not a
replacement for your attention to your immedi-
ate surroundings. You are always responsible
for safe maneuvering and parking. Make sure
that no persons or animals are inthe maneu-
vering range.
For more information on the 360° camera see
the vehicle Operator's Manual.
Displaying the 360° camera image
The 360° camera image can be displayed if:
Ryour vehicle isequipped with a 360° camera
Rthe 360°Camerafunction is switched on (see
the vehicle Operator's Manual)
XPress the Øbutton.
or
XPress Vehiclein the main function bar.
The vehicle menu isdisplayed.
XTo select 360° Camera: turn and press the
controller.
The 360° camera image appears in split-
screen mode.
You willsee the previous view on the display if,
when the function is switched on:
Ryou turn the SmartKey to position 1in the
ignition lock
Ryou select transmission position j
Rwhen you are driving at moderate speeds
Switching the display off manually
XTo select &: slide 6and press the con-
troller.
46360° camera
Vehicle functions
Page 89 of 174

Carrying out a manual update
You can carry out the update yourself.
The update process may take some time (up to
45 minutes), depending on the size of the digital
map. The update will be completed more quickly if the vehicle is stationary. If you begin the
update while the vehicle is stationary and the
starter battery has insufficient power, the mul-
timedia system may switch off automatically.
This protects the battery. In order to prevent
this, a suitable power supply to the vehicle must
be maintained.
Functions in the Navigation menu
Calling up the navigation system
menu
XTo switch to navigation mode: press the
ß button.
XTo show the menu: slide5the controller.
Navi
is highlighted in the main function bar.
XPress the controller.
The navigation menu appears.
XTurn the controller.
The functions are displayed one after another.
XTo switch to the map, turn the controller until
Navigationappears and press the control-
ler.
Calling up the online map display
Requirement for online map display (USA):
mbrace must be activated for Internet access
(
Ypage 120).
Requirement for the online map display (Can-
ada): a mobile phone is connected to the multi-
media system via Bluetooth
®(Ypage 92) or
USB (Ypage 153).
XCall up the navigation menu (Ypage 87).
XTurn the controller until Online Map Dis‐playis brought to the front.
XPress the controller.
The online connection is established. Once
the connection is established, the Google
Maps™ map shows the vicinity of the current
vehicle position.
iAlternatively you can call up this function
using the touchpad (Ypage 24).
XTo exit the online map display: press the %
button.
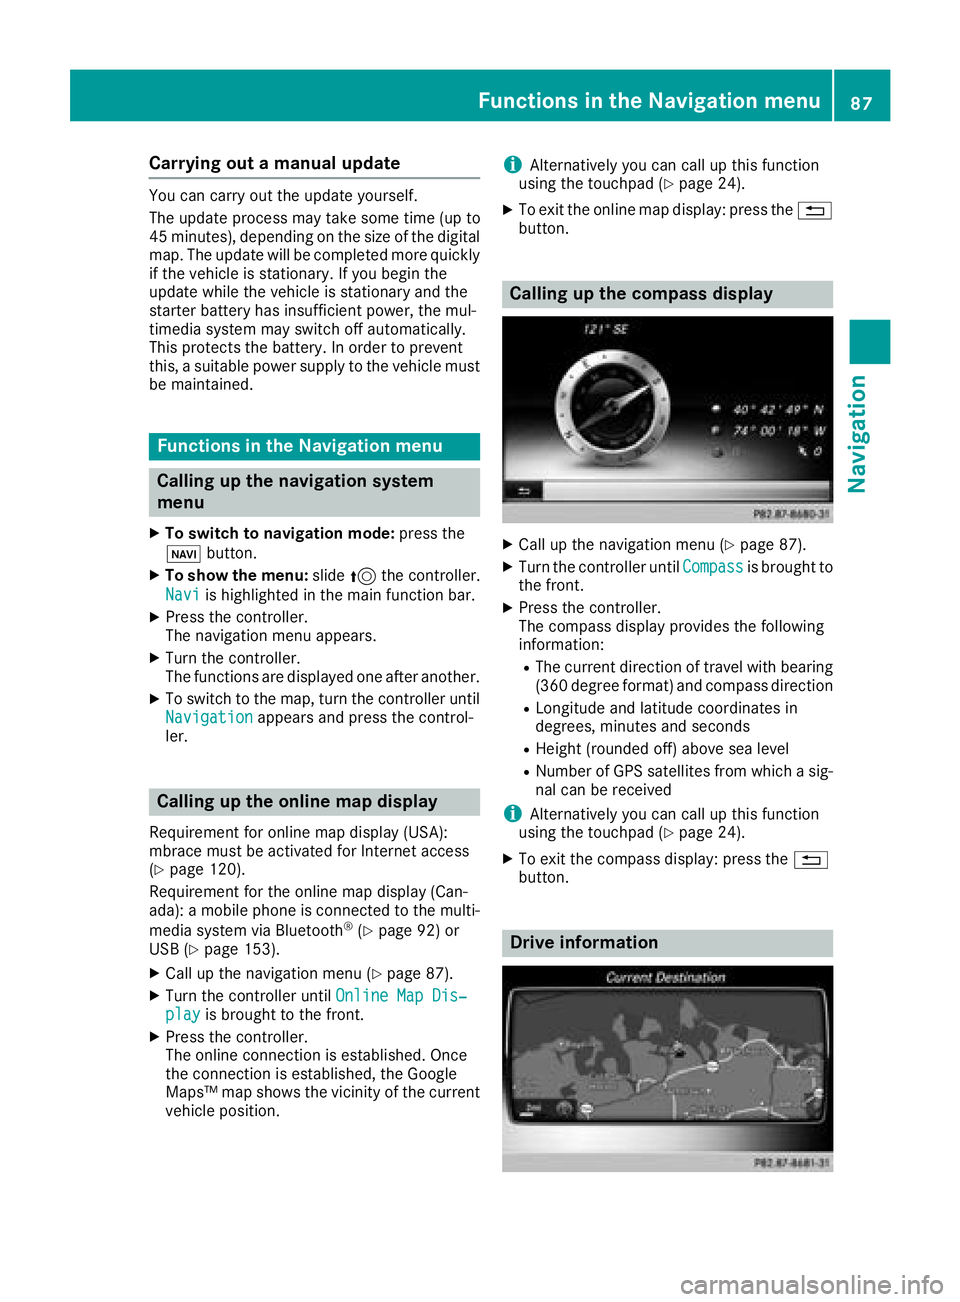
Calling up the compass display
XCall up the navigation menu (Ypage 87).
XTurn the controller until Compassis brought to
the front.
XPress the controller.
The compass display provides the following
information:
RThe current direction of travel with bearing
(360 degree format) and compass direction
RLongitude and latitude coordinates in
degrees, minutes and seconds
RHeight (rounded off) above sea level
RNumber of GPS satellites from which a sig- nal can be received
iAlternatively you can call up this function
using the touchpad (Ypage 24).
XTo exit the compass display: press the %
button.
Drive information
Functions in the Navigation menu87
Navigation
Z