start stop button MERCEDES-BENZ C-Class SEDAN 2014 W204 Owner's Manual
[x] Cancel search | Manufacturer: MERCEDES-BENZ, Model Year: 2014, Model line: C-Class SEDAN, Model: MERCEDES-BENZ C-Class SEDAN 2014 W204Pages: 362, PDF Size: 4.8 MB
Page 7 of 362
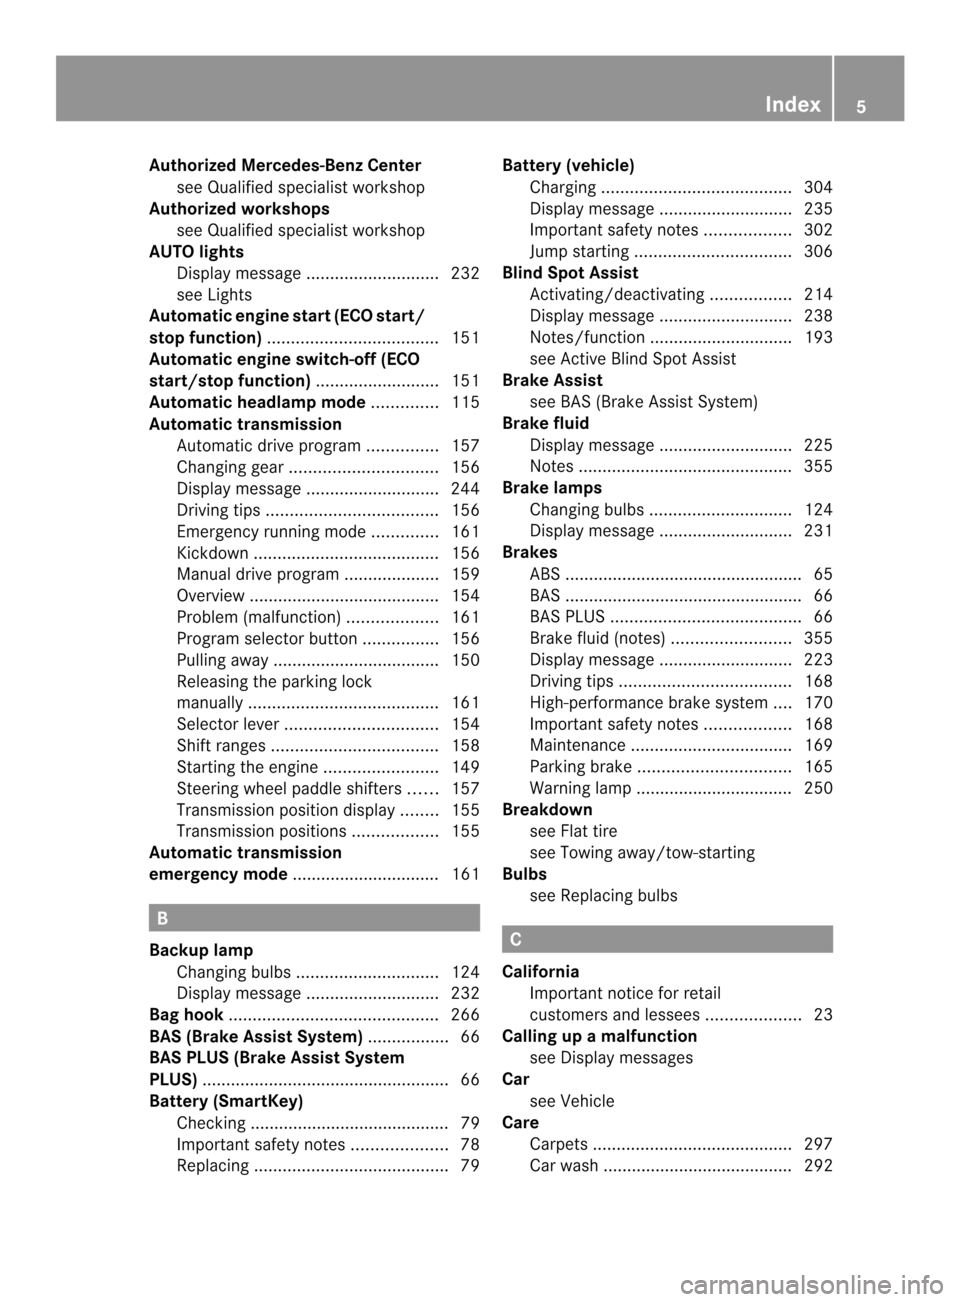
Authorized Mercedes-Benz Center
see Qualified specialist workshop
Authorized workshops
see Qualified specialist workshop
AUTO lights
Display message ............................ 232
see Lights
Automatic engine start (ECO start/
stop function) .................................... 151
Automatic engine switch-off (ECO
start/stop function) ..........................151
Automatic headlamp mode ..............115
Automatic transmission Automatic drive program ...............157
Changing gea r............................... 156
Display message ............................ 244
Driving tips .................................... 156
Emergency running mode ..............161
Kickdow n....................................... 156
Manual drive program ....................159
Overview ........................................ 154
Problem (malfunction) ...................161
Progra mselecto rbutton ................ 156
Pulling away ................................... 150
Releasing the parking lock
manually ........................................ 161
Selector leve r................................ 154
Shift range s................................... 158
Starting the engine ........................149
Steering wheel paddle shifters ......157
Transmission position displa y........ 155
Transmissio npositions .................. 155
Automatic transmission
emergency mode ............................... 161 B
Backup lamp Changing bulbs .............................. 124
Display message ............................ 232
Bag hook ............................................ 266
BAS (Brake Assist System) .................66
BAS PLUS (Brake Assist System
PLUS) .................................................... 66
Battery (SmartKey) Checking .......................................... 79
Important safety notes ....................78
Replacing ......................................... 79Battery (vehicle)
Charging ........................................ 304
Display message ............................ 235
Important safety notes ..................302
Jump starting ................................. 306
Blin dSpot Assist
Activating/deactivating .................214
Display message ............................ 238
Notes/function .............................. 193
see Active Blind Spot Assist
Brake Assist
see BAS (Brake Assist System)
Brake fluid
Display message ............................ 225
Notes ............................................. 355
Brake lamps
Changing bulbs .............................. 124
Display message ............................ 231
Brakes
ABS .................................................. 65
BAS .................................................. 66
BAS PLUS ........................................ 66
Brake fluid (notes) .........................355
Display message ............................ 223
Driving tips .................................... 168
High-performance brake system ....170
Important safety notes ..................168
Maintenance .................................. 169
Parking brake ................................ 165
Warning lamp ................................. 250
Breakdown
see Flat tire
see Towing away/tow-starting
Bulbs
see Replacing bulbs C
California Important notice for retail
customers and lessees ....................23
Calling up a malfunction
see Display messages
Car
see Vehicle
Care
Carpets .......................................... 297
Car wash ........................................ 292 Index
5
Page 13 of 362
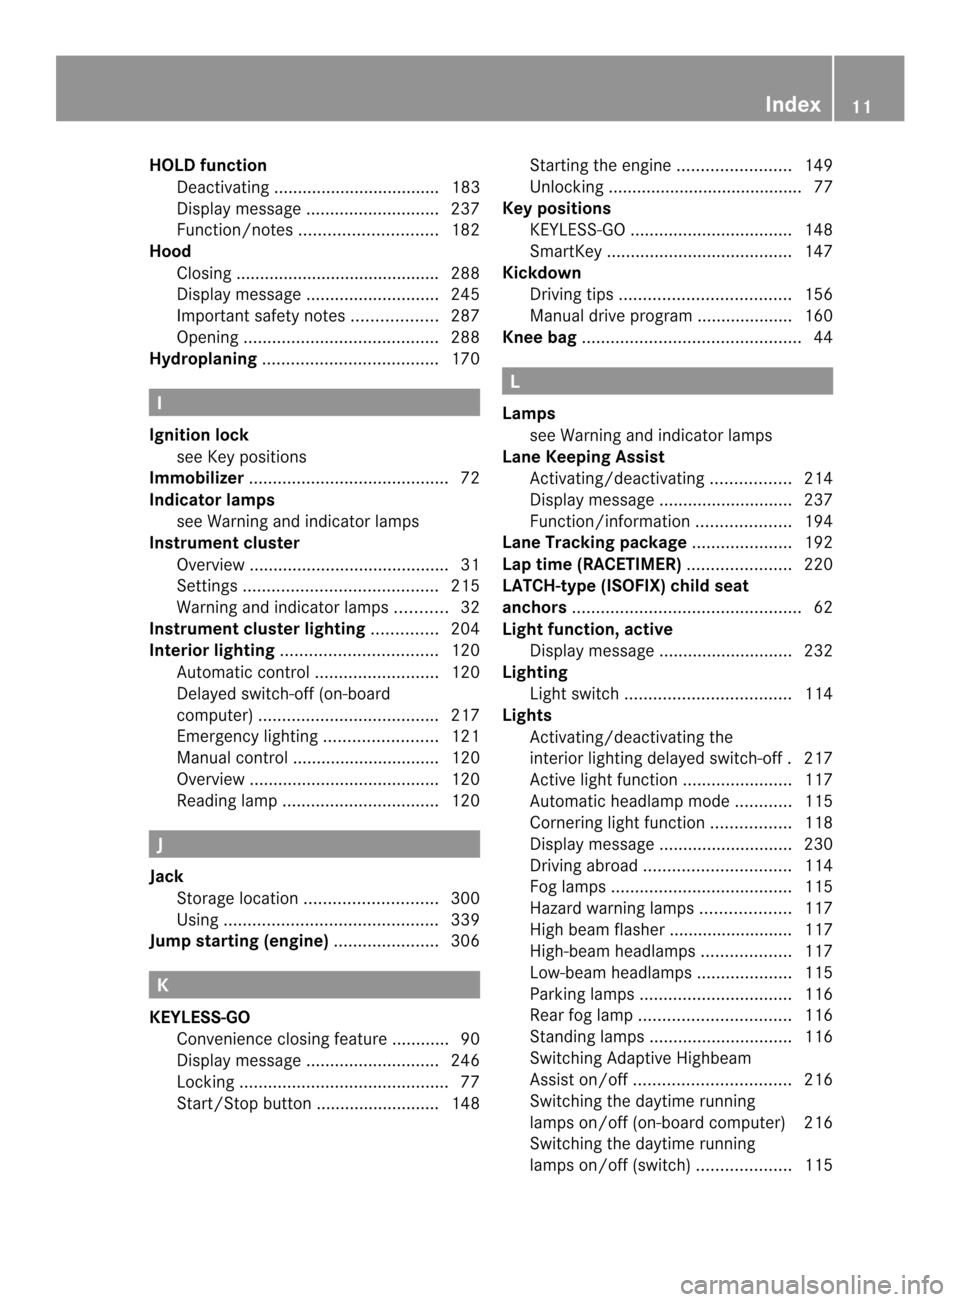
HOLD function
Deactivating ................................... 183
Display message ............................ 237
Function/notes ............................. 182
Hood
Closing .......................................... .288
Display message ............................ 245
Important safety notes ..................287
Opening ......................................... 288
Hydroplaning ..................................... 170I
Ignition lock see Key positions
Immobilizer .......................................... 72
Indicator lamps see Warning and indicator lamps
Instrument cluster
Overview .......................................... 31
Settings ......................................... 215
Warning and indicator lamps ...........32
Instrument cluster lighting ..............204
Interior lighting ................................. 120
Automatic control ..........................120
Delayed switch-off (on-board
computer) ...................................... 217
Emergency lighting ........................121
Manual control ............................... 120
Overview ........................................ 120
Reading lamp ................................. 120J
Jack Storage location ............................ 300
Using ............................................. 339
Jump starting (engine) ......................306 K
KEYLESS-GO Convenience closing feature ............90
Display message ............................ 246
Locking ............................................ 77
Start/Stop button .......................... 148 Starting the engine
........................149
Unlocking ......................................... 77
Keyp ositions
KEYLESS-GO .................................. 148
SmartKey ....................................... 147
Kickdown
Driving tips .................................... 156
Manual drive program ....................160
Knee bag .............................................. 44 L
Lamps see Warning and indicator lamps
Lane Keeping Assist
Activating/deactivating .................214
Display message ............................ 237
Function/informatio n.................... 194
Lane Tracking package .....................192
Lap time (RACETIMER) ......................220
LATCH-type (ISOFIX) child seat
anchors ................................................ 62
Light function ,active
Display message ............................ 232
Lighting
Ligh tswitc h................................... 114
Lights
Activating/deactivating the
interio rlighting delayed switch-off .217
Active light function .......................117
Automatic headlamp mode ............115
Cornering light function .................118
Display message ............................ 230
Driving abroad ............................... 114
Fog lamps ...................................... 115
Hazard warning lamps ...................117
High beam flasher .......................... 117
High-beam headlamps ...................117
Low-beam headlamps ....................115
Parking lamps ................................ 116
Rea rfog lamp ................................ 116
Standing lamps .............................. 116
Switching Adaptive Highbeam
Assist on/off ................................. 216
Switching the daytime running
lamps on/off (on-board computer) 216
Switching the daytime running
lamps on/off (switch) ....................115 Index
11
Page 18 of 362
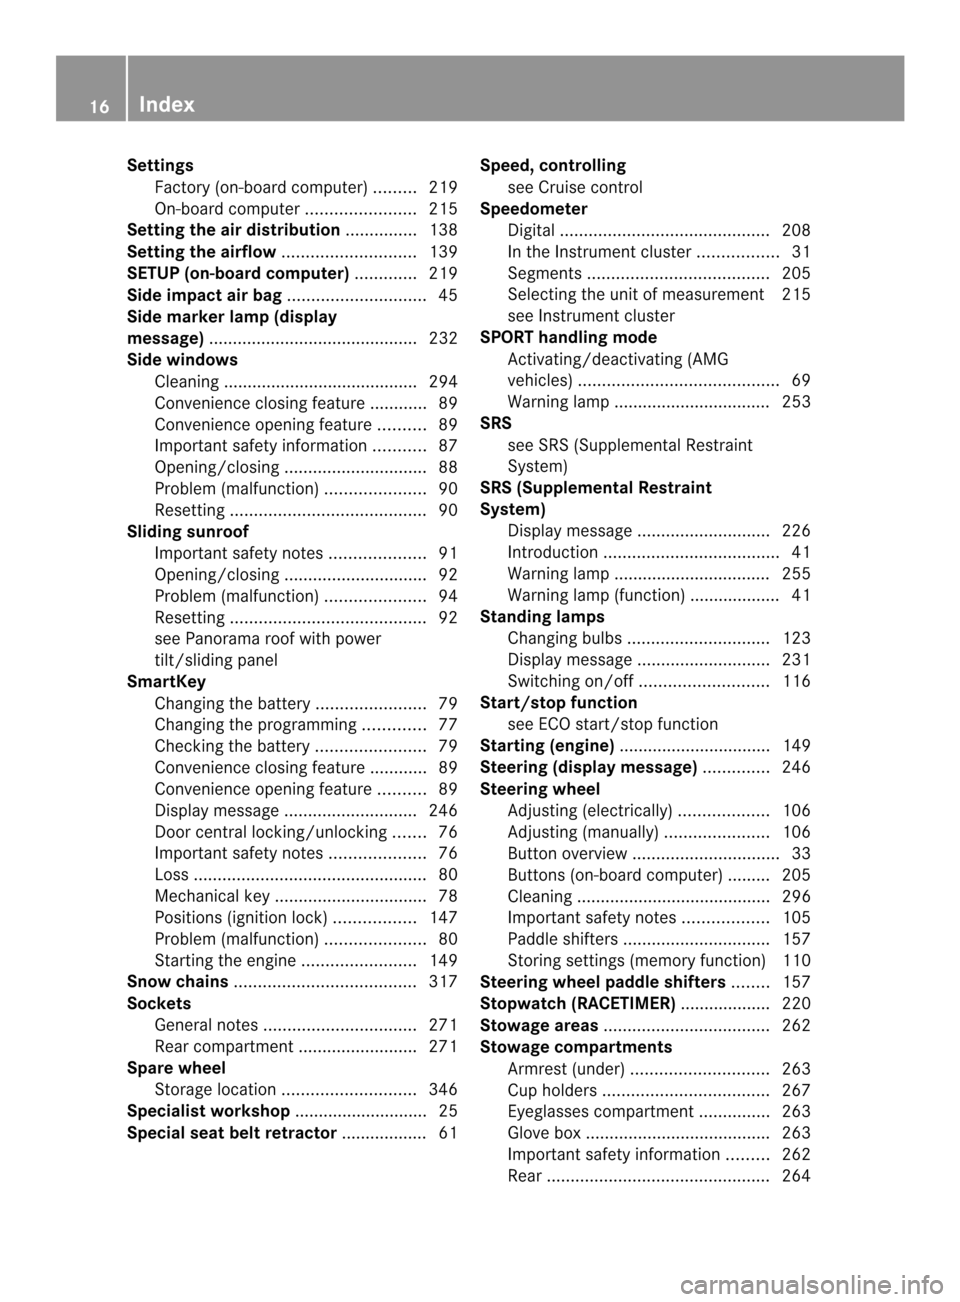
Settings
Factory (on-board computer) .........219
On-board computer .......................215
Setting the air distribution ...............138
Setting the airflow ............................139
SETUP (on-board computer) .............219
Side impact air bag .............................45
Side marker lamp (display
message) ............................................ 232
Side windows Cleaning ......................................... 294
Convenience closing feature ............89
Convenience opening feature ..........89
Important safety information ...........87
Opening/closing .............................. 88
Problem (malfunction) .....................90
Resetting ......................................... 90
Sliding sunroof
Important safety notes ....................91
Opening/closing .............................. 92
Problem (malfunction) .....................94
Resetting ......................................... 92
see Panorama roof with power
tilt/sliding panel
SmartKey
Changing the battery .......................79
Changing the programming .............77
Checking the battery .......................79
Convenience closing feature ............89
Convenience opening feature ..........89
Display message ............................ 246
Door central locking/unlocking .......76
Important safety notes ....................76
Loss ................................................. 80
Mechanical key ................................ 78
Positions (ignition lock) .................147
Problem (malfunction) .....................80
Starting the engine ........................149
Snow chains ...................................... 317
Sockets General notes ................................ 271
Rea rcompartmen t......................... 271
Spare wheel
Storage location ............................ 346
Specialist workshop ............................ 25
Special seat bel tretractor .................. 61 Speed
,controlling
see Cruise control
Speedometer
Digital ............................................ 208
In the Instrument cluster .................31
Segments ...................................... 205
Selecting the unit of measurement 215
see Instrument cluster
SPORT handling mode
Activating/deactivating (AMG
vehicles) .......................................... 69
Warning lamp ................................. 253
SRS
see SRS (Supplemental Restraint
System)
SRS (Supplemental Restraint
System)
Display message ............................ 226
Introduction ..................................... 41
Warning lamp ................................. 255
Warning lamp (function) ................... 41
Standing lamps
Changing bulbs .............................. 123
Display message ............................ 231
Switching on/off ........................... 116
Start/stop function
see ECO start/stop function
Starting (engine) ................................ 149
Steering (display message) ..............246
Steering wheel Adjusting (electrically). ..................106
Adjusting (manually). .....................106
Button overview ............................... 33
Buttons (on-board computer) ......... 205
Cleaning ......................................... 296
Important safety notes ..................105
Paddle shifters ............................... 157
Storing settings (memory function) 110
Steering wheel paddle shifters ........157
Stopwatch (RACETIMER) ................... 220
Stowage areas ................................... 262
Stowage compartments Armrest (under) ............................. 263
Cuph olders ................................... 267
Eyeglasses compartment ...............263
Glove box ...................................... .263
Important safety information .........262
Rea r............................................... 26416
Index
Page 32 of 362

Dashboard
Function Page
0002
Steering wheel paddle
shifters
157
0003
Combination switch 116
0022
Instrument cluster 31
0021
Horn
001F
PARKTRONIC warning
display
185
0020
Overhead control panel 36
0012
Climate control systems 130
0013
Ignition lock 147
Start/Stop button
148 Function Page
0014
Adjusting the steering
wheel manually 105
0015
Adjusting the steering
wheel electrically 105
0016
Cruise control lever 172
0018
Parking brake 165
0019
Diagnostics connection 25
001A
Opening the hood 288
001B
Releasing the parking brake 165
001D
Light switch 11430
Dashboa
rdAt a glance
Page 42 of 362
Useful information
i This Operator's Manual describes all
models and all standard and optional
equipment of your vehicle available at the
time of publication of the Operator's
Manual. Country-specific differences are
possible. Please note that your vehicle may
not be equipped with all features
described. This also applies to safety-
related systems and functions.
i Read the information on qualified
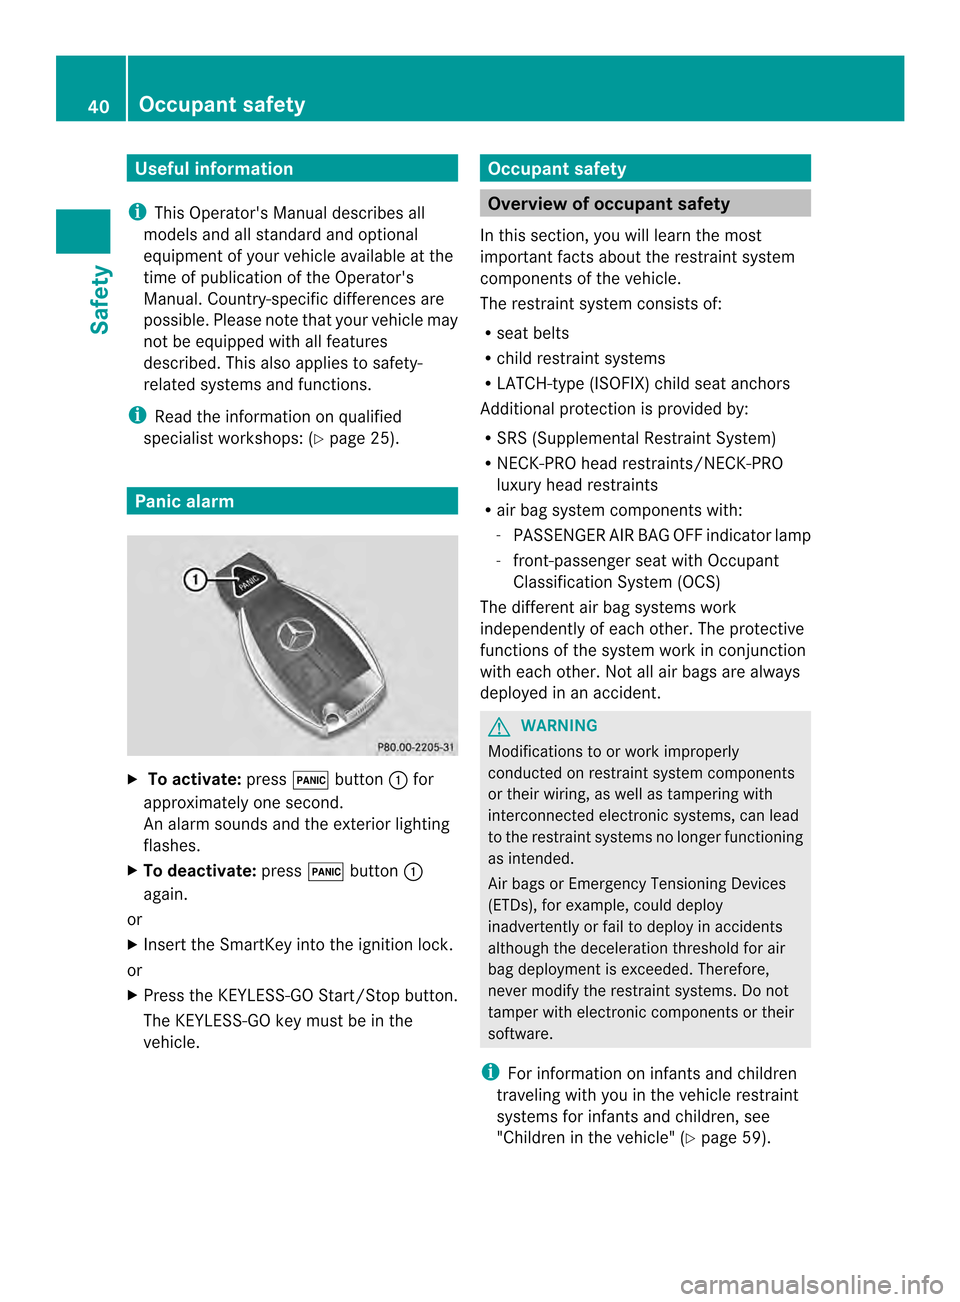
specialist workshops: (Y page 25).Panic alarm
X
To activate: press000Cbutton 0002for
approximately one second.
An alarm sounds and the exterior lighting
flashes.
X To deactivate: press000Cbutton 0002
again.
or
X Insert the SmartKey into the ignition lock.
or
X Press the KEYLESS-GO Start/Stop button.
The KEYLESS-GO key must be in the
vehicle. Occupant safety
Overview of occupant safety
In this section, you will learn the most
important facts about the restraint system
components of the vehicle.
The restraint system consists of:
R seat belts
R child restraint systems
R LATCH-type (ISOFIX) child seat anchors
Additional protection is provided by:
R SRS (Supplemental Restrain tSystem)
R NECK-PRO head restraints/NECK-PRO
luxury head restraints
R air bag system components with:
-PASSENGER AI RBAG OFF indicator lamp
- front-passenge rseat with Occupant
Classification System (OCS)
The differen tair bag systems work
independently of each other. The protective
functions of the system work in conjunction
with each other. Not all air bags are always
deployed in an accident. G
WARNING
Modifications to or work improperly
conducted on restraint system components
or their wiring, as well as tampering with
interconnected electronic systems, can lead
to the restraint systems no longer functioning
as intended.
Air bags or Emergency Tensioning Devices
(ETDs), for example, could deploy
inadvertently or fail to deploy in accidents
although the deceleration threshold for air
bag deploymen tis exceeded. Therefore,
never modify the restraint systems. Do not
tamper with electronic components or their
software.
i For information on infants and children
traveling with you in the vehicle restraint
systems for infants and children, see
"Children in the vehicle" (Y page 59).40
Occupant safetySafety
Page 51 of 362

Ac
hild in a rear-facing child restraint on the
front-passenger seat will be seriously
injured or even killed if the front-passenger
front air bag inflates.
R If you place a child in a forward-facing child
restraint on the front-passenger seat:
- move the seat as far back as possible
- use the proper child restraint
recommended for the age, size and
weight of the child
- secure child restraint with the vehicle's
seat belt according to the child seat
manufacturer's instructions
R For children larger than the typical 12-
month-old child, the front-passenger front
air bag may or may not be activated.
If the driver's air bag deploys, this does not
mean that the front-passenger front air bag
will also deploy.
The OCS may have detected that the seat:
R is empty or occupied by the weight of a
typical child up to twelve months old,
seated in a child restraint system.
R is occupied by a small individual, such as a
young teenager or a small adult.
R is occupied by a child in a child restraint
system whose weight is greater than that
of a typical twelve month old child.
These are examples of when the OCS
deactivates the front-passenger front air bag.
Deactivation takes place although the
collision fulfills the criteria for deploying the
driver's air bag. If the SmartKey is removed from the ignition
lock or is in position
0, the PASSENGER AIR
BAG OFF indicator lamp does not light up. G
WARNING
If the red 001ESRS warning lamp in the
instrument cluster and the 0019001B
indicator lamp light up simultaneously, the
OCS is malfunctioning. The front passenger
front air bag will be deactivated in this case.
Have the system checked by qualified
technicians as soon as possible. Contact an
authorized Mercedes-Ben zCenter.
Only have the seat repaired or replaced at an
authorized Mercedes-Benz Center.
In order to ensure proper operation of the air
bag system and OCS:
R Sit with the seat belt properly fastened in a
position that is as upright as possible with
your back against the seat backrest.
R When seated, a passenger should not
position him/herself in such a way as to
cause the passenger's weight to be lifted
from the seat cushion as this may result in
the OCS being unable to correctly
approximate the passenger's weight
category.
R Read and observe all warnings in this
chapter.
System self-test The PASSENGER AIR BAG OFF indicator lamp
lights up if you:
R
turn the SmartKey to position 1or 2in the
ignition lock
R press the KEYLESS-GO Start/Stop button
once or twice on vehicles with KEYLESS-
GO.
When an adult is sitting correctly on the front-
passenger seat and is categorized by the OCS
system as an adult, the PASSENGER AIR BAG
OFF indicator lamp lights up and goes off
again after approximately six seconds.
If the seat is not occupied and the OCS
system classifies the front-passenger seat as Occupant safety
49Safety Z
Page 59 of 362

Adjust the height so tha
tthe upper part of the
seat belt is routed across the center of your
shoulder.
X To raise: slide the belt sash guide upwards.
The belt sash guide engages in various
positions.
X To lower: press and hold belt sash guide
release 0002.
X Slide the belt sash guide downwards.
X Release belt sash guide release 0002and
make sure that the belt sash guide has
engaged.
Releasing seat belts X
Press release button 0021on belt buckle 0022.
X Guide belt tongue 0003to belt sash
guide 0002. !
Make sure that the seat belt is fully rolled
up. Otherwise, the seat belt or belt tongue
will be trapped in the door or in the seat
mechanism. This could damage the door,
the door trim panel and the seat belt.
Damaged seat belts can no longer fulfill
their protective function and must be
replaced. Visit a qualified specialist
workshop.
Belt warning for the driver and front
passenger Regardless of whether the driver's and front-
passenger seat belts have already been
fastened, the
001Fseat belt warning lamp
lights up for six seconds each time the engine
is started. It then goes out if the driver and
the front passenger have already fastened
their seat belts.
If the driver's seat belt is not fastened when
the engine is started, an additional warning
tone will sound. This warning tone stops after
a maximum of six seconds or once the
driver's seat belt is fastened.
If after six seconds the driver or front
passenger have not fastened their seat belts
and the doors are closed, the 001Fseat belt
warning lamp lights up:
R until the driver's or front passenger's seat
belt is fastened
R if a vehicle speed of 15 mph (25 km/h) is
exceeded, a warning tone also sounds with
increasing intensity for a maximum of
60 seconds or until the driver or front-
passenger seat belt has been fastened.
If the driver/front passenger unfasten their
seat belt while the vehicle is in motion, the
001F seat belt warning lamp lights up and a
warning tone sounds again.
The warning tone ceases even if the driver or
front-passenger seat belt has still not been
fastened after 60 seconds. The 001Fseat belt
warning lamp stops flashing but remains
illuminated. Occupant safety
57Safety Z
Page 75 of 362
X
To activate with the SmartKey: remove
the SmartKey from the ignition lock.
X To activate with KEYLESS-GO: switch the
ignition off and open the driver's door.
X To deactivate: switch on the ignition.
i The immobilize ris always deactivated
when you start the engine.
In the event that the engine cannot be
started when the starter battery is fully
charged, the immobilizer may be faulty.
Contact an authorized Mercedes-Benz
Center or call 1-800-FOR-MERCedes (in the
USA) or 1-800-387-0100 (in Canada). ATA (anti-theft alarm system)
Av isual and audible alarm is triggered if the
alarm system is armed and you open:
R a door
R the vehicle with the mechanical key
R the trunk lid
R the hood
The alarm is not switched off, even if you
close the open door that triggered it, for
example.
i If the alarm continues for more than
30 seconds, the mbrac eemergency call
system automatically notifies the
Customer Assistance Center. This is done
either by text message or data connection.
The emergency call system sends the
message or data provided that:
R you have subscribed to the mbrace
service.
R the mbrace service has been activated
properly.
R the necessary mobile phone network is
available. X
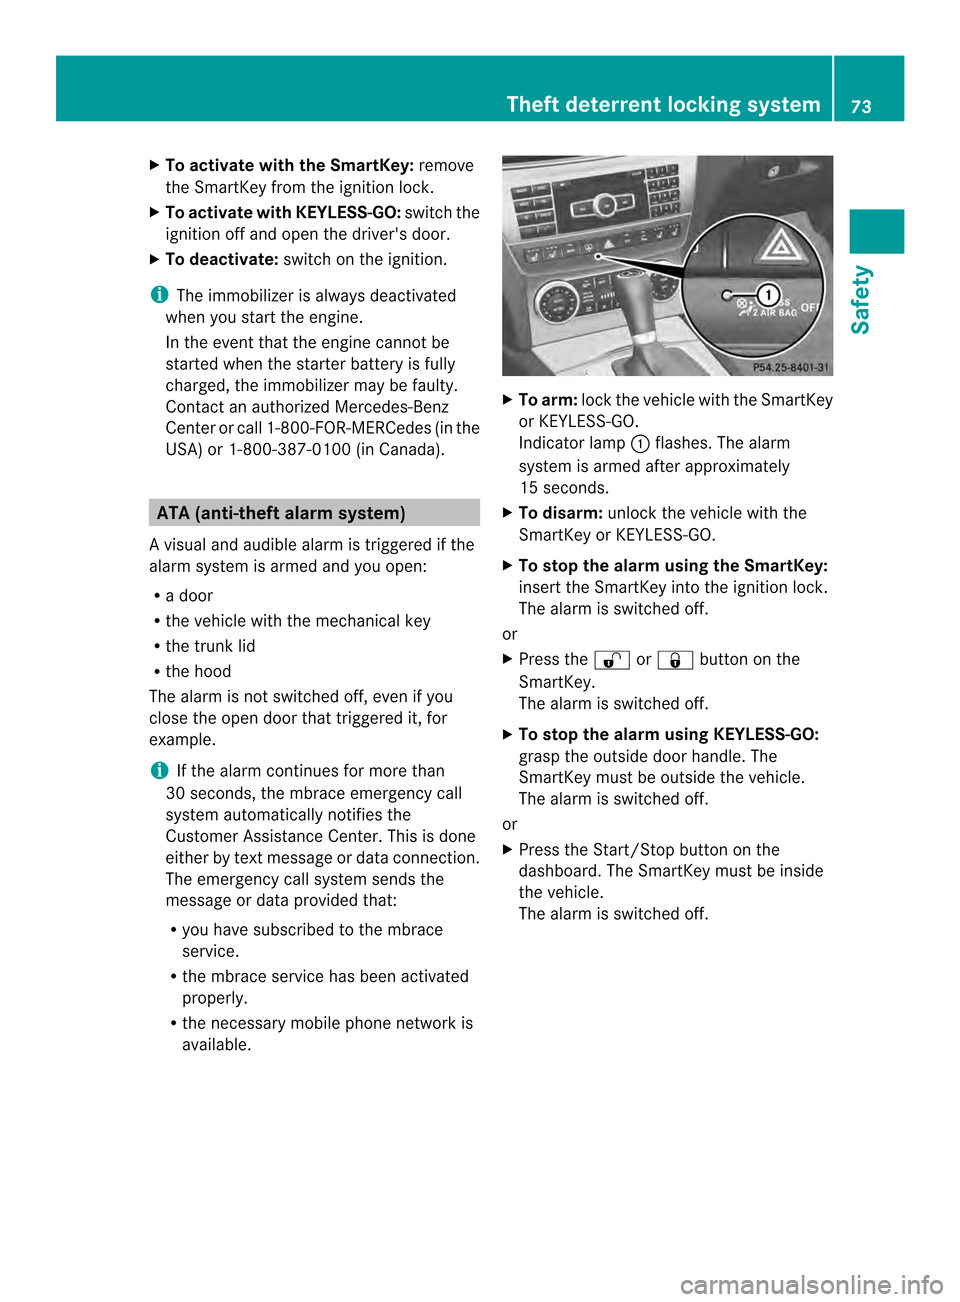
To arm: lock the vehicle with the SmartKey
or KEYLESS-GO.
Indicator lamp 0002flashes. The alarm
system is armed after approximately
15 seconds.
X To disarm: unlock the vehicle with the
SmartKey or KEYLESS-GO.
X To stop the alarm using the SmartKey:
insert the SmartKey into the ignition lock.
The alarm is switched off.
or
X Press the 000Bor000A button on the
SmartKey.
The alarm is switched off.
X To stop the alarm using KEYLESS-GO:
grasp the outside door handle. The
SmartKey must be outside the vehicle.
The alarm is switched off.
or
X Press the Start/Stop button on the
dashboard. The SmartKey must be inside
the vehicle.
The alarm is switched off. Theft deterrent locking system
73Safety Z
Page 80 of 362

vehicle is unlocked
.This is useful if you
frequently travel on your own.
X To change the setting: press and hold
down the 000Band000A buttons
simultaneously for approximately six
seconds until the battery check lamp
(Y page 79) flashes twice.
i If the setting of the locking system is
changed within the signal range of the
vehicle, pressing the 000Aor000B button:
R locks or
R unlocks the vehicle
The SmartKey now functions as follows:
X To unlock the driver's door: press the
000B button once.
X To unlock centrally: press the000B
button twice.
X To lock centrally: press the000Abutton.
The KEYLESS-GO function is changed as
follows:
X To unlock the driver's door: touch the
inner surface of the door handle on the
driver's door.
X To unlock centrally: touch the inner
surface of the door handle on the front-
passenger door or the rear door.
X To lock centrally: touch the outer sensor
surface on one of the door handles
(Y page 77).
X To restore the factory settings: press
and hold down the 000Band000A buttons
simultaneously for approximately six
seconds until the battery check lamp
flashes twice. Mechanical key
General notes If the vehicle can no longer be locked or
unlocked with the SmartKey or the KEYLESS-
GO key, use the mechanical key. If you use the mechanical key to unlock and
open the driver's door or the trunk lid, the
anti-theft alarm system will be triggered
(Y
page 73).
X To end the alarm: insert the SmartKey into
the ignition lock.
i With KEYLESS-GO: remove the Start/
Stop button from the ignition lock
beforehand.
If you unlock the vehicle using the mechanical
key, the fuel filler flap will not be unlocked
automatically.
X To unlock the fuel filler flap: insert the
SmartKey into the ignition lock.
Removing the mechanical key X
Push release catch 0002in the direction of
the arrow and at the same time remove
mechanical key 0003from the SmartKey. SmartKey battery
Important safety notes Mercedes-Ben
zrecommends that you have
the batteries replaced at a qualified specialist
workshop. G
WARNING
Batteries contain toxic and corrosive
substances. If batteries are swallowed, it can
result in severe health problems. There is a
risk of fatal injury. 78
SmartKeyOpening and closing
Page 96 of 362

This means that the reversing feature cannot
prevent someone being trapped in these
situations. There is a risk of injury.
When closing make sure that no parts of the
body are in the sweep of the roller sunblind.
If somebody becomes trapped:
R release the switch immediately, or
R during automatic operation, push the
switch briefly in any direction
The closing process is stopped.
Opening and closing Overhead control panel
0002
To open
0003 To open
0022 To close
X Turn the SmartKey to position 1or 2in the
ignition lock.
X Press or pull the 0002switch in the
corresponding direction.
i If you press the 0002switch beyond the
point of resistance, an automatic opening/
closing process is started in the
corresponding direction .You can stop
automatic operation by operating the
switch again.
Resetting the sliding sunroof and the
roller sunblinds Reset the panorama roof with power tilt/
sliding panel and the roller sunblinds if the
panorama roof with power tilt/sliding panel
or the roller sunblinds do not move smoothly. X
Turn the SmartKey to position 1or 2in the
ignition lock.
X Press the 0002button to the point of
resistance in the direction of arrow 0003until
the panorama roof with power tilt/sliding
panel is open approximately 4in(10 cm).
X Pull the 0002switch repeatedly to the point
of resistance in the direction of arrow 0022
until the panorama roof with power tilt/
sliding panel is fully closed.
X Keep the 0002switch pulled for an
additional second.
X Press the 0002button to the point of
resistance in the direction of arrow 0003until
the roller sunblinds are open approximately
4 in (10 cm).
X Pull the 0002switch repeatedly to the point
of resistance in the direction of arrow 0022
until the roller sunblinds are fully closed.
X Keep the 0002switch pulled for an
additional second.
X Make sure that the panorama roof with
power tilt/sliding panel and the roller
sunblinds can be fully opene dand closed
agai n(Ypage 93).
X If this is not the case, repeat the steps
above again.
! If the panorama roof with power tilt/
sliding panel and the roller sunblinds
cannot be fully opened or closed after
resetting, contact a qualified specialist
workshop. Problems with the sliding sunroof
Your vehicle may be equipped with a sliding
sunroof or a panorama roof with power tilt/
sliding panel. In this section, the term "sliding
sunroof" refers to both types of sliding
sunroof.
Problem :the sunroo fcanno tbe closed
and you cannot see the cause. 94
Sliding sunroofOpening and closing