ESP MERCEDES-BENZ C-Class SEDAN 2016 W205 Comand Manual
[x] Cancel search | Manufacturer: MERCEDES-BENZ, Model Year: 2016, Model line: C-Class SEDAN, Model: MERCEDES-BENZ C-Class SEDAN 2016 W205Pages: 190, PDF Size: 6.21 MB
Page 58 of 190
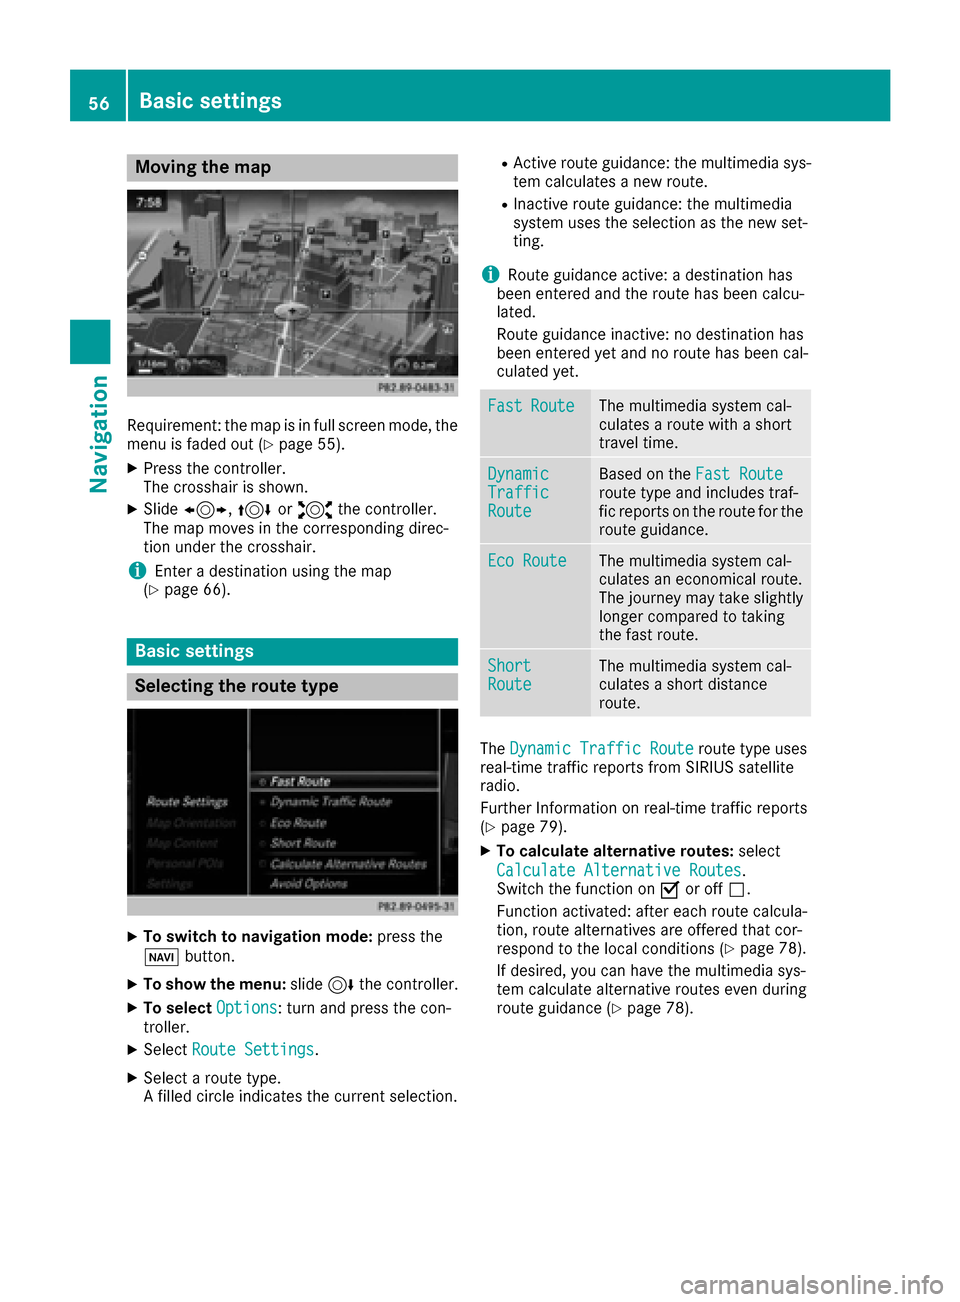
Moving the map
Requirement: the map is in full screen mode, the
menu is faded out (Ypage 55).
XPress the controller.
The crosshair is shown.
XSlide1, 4or2 the controller.
The map moves in the corresponding direc-
tion under the crosshair.
iEnter a destination using the map
(Ypage 66).
Basic settings
Selecting the route type
XTo switch to navigation mode: press the
Ø button.
XTo show the menu: slide6the controller.
XTo select Options: turn and press the con-
troller.
XSelect Route Settings.
XSelect a route type.
A filled circle indicates the current selection.
RActive route guidance: the multimedia sys-
tem calculates a new route.
RInactive route guidance: the multimedia
system uses the selection as the new set-
ting.
iRoute guidance active: a destination has
been entered and the route has been calcu-
lated.
Route guidance inactive: no destination has
been entered yet and no route has been cal-
culated yet.
FastRouteThe multimedia system cal-
culates a route with a short
travel time.
DynamicTrafficRoute
Based on the Fast Routeroute type and includes traf-
fic reports on the route for the
route guidance.
Eco RouteThe multimedia system cal-
culates an economical route.
The journey may take slightly
longer compared to taking
the fast route.
ShortRouteThe multimedia system cal-
culates a short distance
route.
TheDynamic Traffic Routeroute type uses
real-time traffic reports from SIRIUS satellite
radio.
Further Information on real-time traffic reports
(
Ypage 79).
XTo calculate alternative routes: select
Calculate Alternative Routes
.
Switch the function on Oor off ª.
Function activated: after each route calcula-
tion, route alternatives are offered that cor-
respond to the local conditions (
Ypage 78).
If desired, you can have the multimedia sys-
tem calculate alternative routes even during
route guidance (
Ypage 78).
56Basic settings
Navigation
Page 72 of 190
Personal routes are not categorized.
Settings for personal POIs
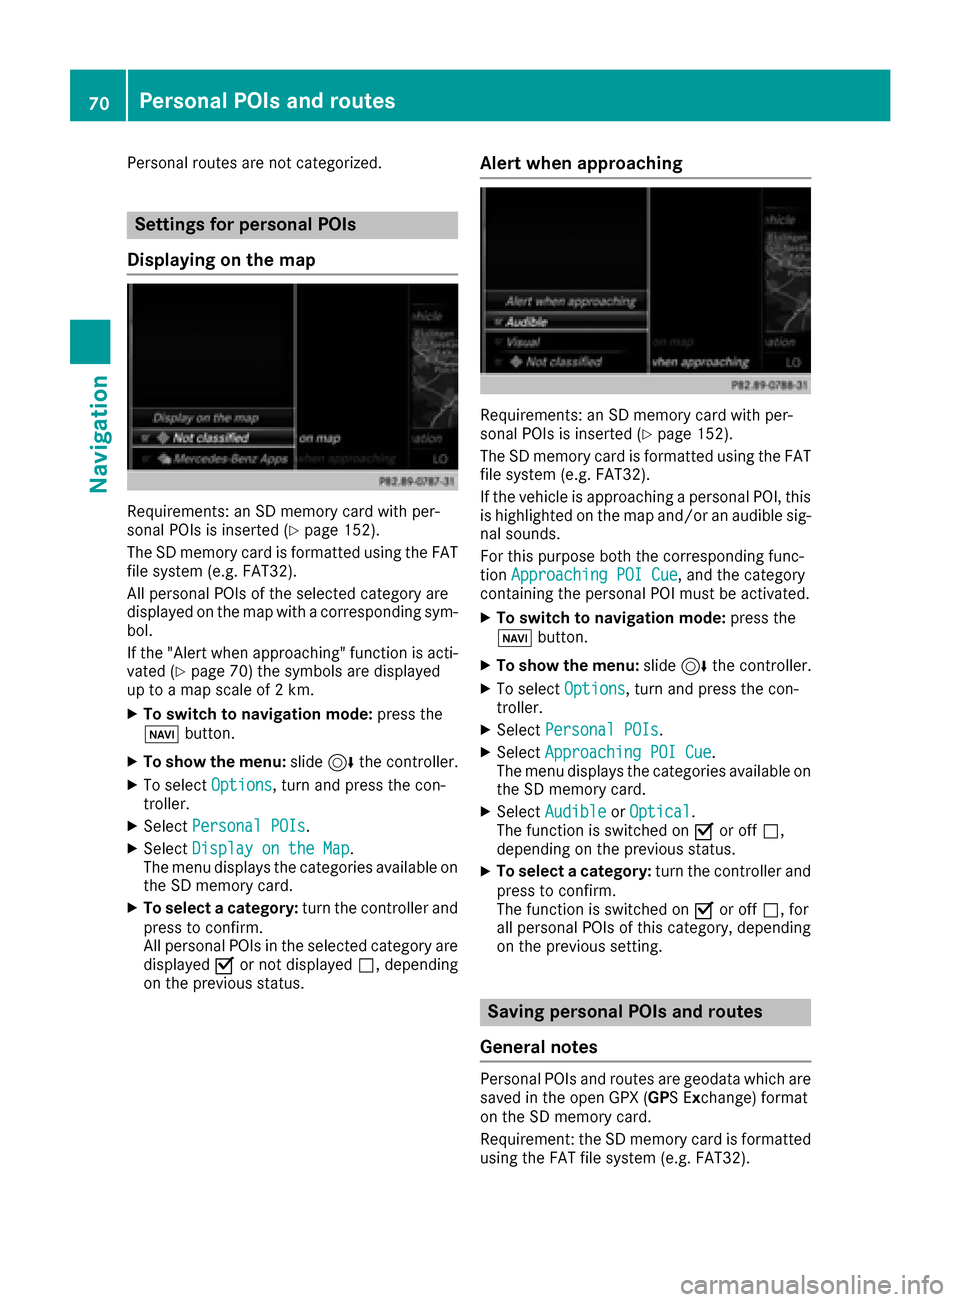
Displaying on the map
Requirements: an SD memory card with per-
sonal POIs is inserted (Ypage 152).
The SD memory card is formatted using the FAT
file system (e.g. FAT32).
All personal POIs of the selected category are
displayed on the map with a corresponding sym-
bol.
If the "Alert when approaching" function is acti-
vated (
Ypage 70) the symbols are displayed
up to a map scale of 2 km.
XTo switch to navigation mode: press the
ß button.
XTo show the menu: slide6the controller.
XTo select Options, turn and press the con-
troller.
XSelect Personal POIs.
XSelectDisplay on the Map.
The menu displays the categories available on
the SD memory card.
XTo select a category: turn the controller and
press to confirm.
All personal POIs in the selected category are
displayed Oor not displayed ª, depending
on the previous status.
Alert when approaching
Requirements: an SD memory card with per-
sonal POIs is inserted (Ypage 152).
The SD memory card is formatted using the FAT
file system (e.g. FAT32).
If the vehicle is approaching a personal POI, this is highlighted on the map and/or an audible sig-
nal sounds.
For this purpose both the corresponding func-
tion Approaching POI Cue
, and the category
containing the personal POI must be activated.
XTo switch to navigation mode: press the
ß button.
XTo show the menu: slide6the controller.
XTo select Options, turn and press the con-
troller.
XSelect Personal POIs.
XSelectApproaching POI Cue.
The menu displays the categories available on
the SD memory card.
XSelect AudibleorOptical.
The function is switched on Oor off ª,
depending on the previous status.
XTo select a category: turn the controller and
press to confirm.
The function is switched on Oor off ª, for
all personal POIs of this category, depending
on the previous setting.
Saving personal POIs and routes
General notes
Personal POIs and routes are geodata which are
saved in the open GPX (GPS E xchange) format
on the SD memory card.
Requirement: the SD memory card is formatted
using the FAT file system (e.g. FAT32).
70Personal POIs and routes
Navigation
Page 75 of 190
When recording the route, bear in mind the fol-
lowing:
Rif the SD memory card is inserted, it must not
be removed during recording.
RIf route recording is started manually, it must
be finished manually before the multimedia
system is switched off (e. g. when the engine
is switched off).
RThe multimedia system minimizes the num-
ber of route points recorded. Therefore when the recorded route is subsequently com-
menced, it may differ from the route that was
originally recorded.
Starting/finishing route recording
XInsert the SD memory card (Ypage 152).
XTo switch to navigation mode: press the
ß button.
XTo show the menu: slide6the controller.
XTo select Destination, turn and press the
controller.
XSelect From Memory Card.
XSelectStart Route Recording.
The route is recorded and REC appears at the
bottom edge of the screen.
XTo stop recording, select End RouteRecordingfrom the menu.
The route is stored under Personal Routes.
Displaying/editing the recorded route
XInsert the SD memory card (Ypage 152).
XTo switch to navigation mode: press the
ß button.
XTo show the menu: slide6the controller.
XTo select Destination, turn and press the
controller.
XSelect From Memory Card.
XSelectPersonal Routes.
Previously recorded routes are displayed.
XTo select a route, turn and press the control-
ler.
The map appears with a menu. The recorded
route is shown on the map in blue.
XTo calculate a route: selectStart.
XTo change the name and symbol: select
Edit
.
XSelect Change NameorEdit Icon.
XCharacter entry (Ypage 30).
XSelect a symbol.
Route guidance
General notes
The multimedia system calculates the route to
the destination without taking the following into
account, for example:
Rtraffic lights
Rstop and yield signs
Rparking or stopping restrictions
Rroad narrowing
Rtemporary traffic rules and regulations
The navigation system can give differing driving
recommendations if the actual street/traffic sit-
uation does not correspond with the digital
map's data. For example, if the road layout or
the direction of a one-way street has been
changed.
For this reason, you must always observe road
and traffic rules and regulations during your
journey. Road and traffic rules and regulations
always have priority over system driving recom-
mendations.
Route guidance begins once a route has been
calculated (
Ypage 60).
The multimedia system guides you to your des-
tination by means of navigation announcements
in the form of audible navigation announce-
ments and route guidance displays.
The route guidance displays can be seen if nav-
igation mode is switched on.
If you do not follow the navigation announce-
ments or if you leave the calculated route, the
multimedia system automatically calculates a
new route to the destination.
If the digital map contains the corresponding
information, the following applies:
RDuring route guidance, the multimedia sys-
tem tries to avoid roads with restricted
access. These include, for example, roads
which are closed to through-traffic.
RRoads that have time restrictions (e.g. closed
on Sundays and public holidays) are consid-
ered for route guidance on days when they are
Route guidance73
Navigation
Z
Page 80 of 190
Taking an alternative route
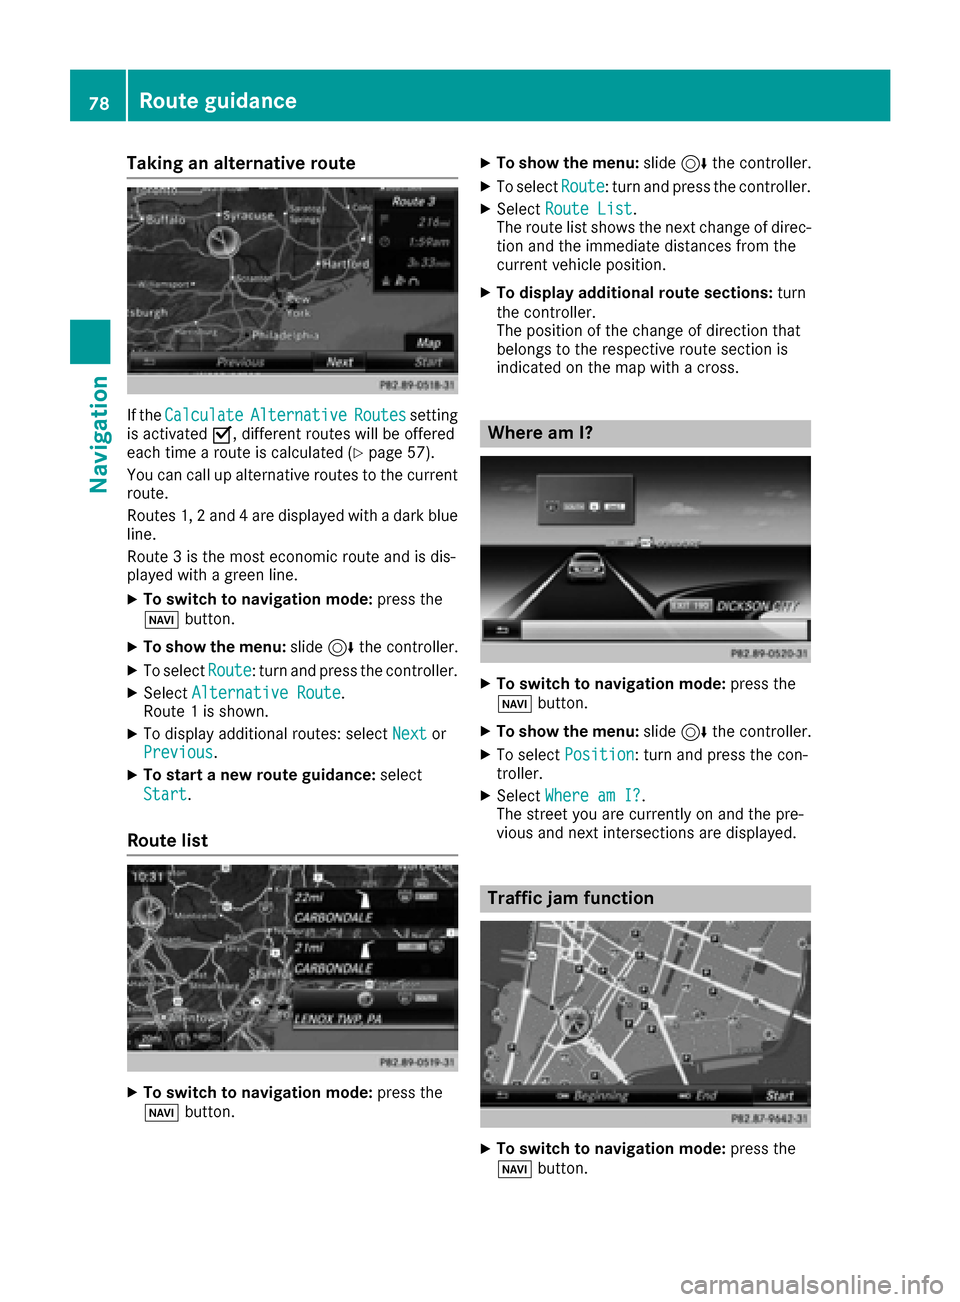
If theCalculateAlternativeRoutessetting
is activated O, different routes will be offered
each time a route is calculated (
Ypage 57).
You can call up alternative routes to the current
route.
Routes 1, 2 and 4 are displayed with a dark blue line.
Route 3 is the most economic route and is dis-
played with a green line.
XTo switch to navigation mode: press the
Ø button.
XTo show the menu: slide6the controller.
XTo select Route: turn and press the controller.
XSelectAlternative Route.
Route 1 is shown.
XTo display additional routes: select Nextor
Previous.
XTo start a new route guidance: select
Start
.
Route list
XTo switch to navigation mode: press the
Ø button.
XTo show the menu: slide6the controller.
XTo select Route: turn and press the controller.
XSelectRoute List.
The route list shows the next change of direc-
tion and the immediate distances from the
current vehicle position.
XTo display additional route sections: turn
the controller.
The position of the change of direction that
belongs to the respective route section is
indicated on the map with a cross.
Where am I?
XTo switch to navigation mode: press the
Ø button.
XTo show the menu: slide6the controller.
XTo select Position: turn and press the con-
troller.
XSelect Where am I?.
The street you are currently on and the pre-
vious and next intersections are displayed.
Traffic jam function
XTo switch to navigation mode: press the
Ø button.
78Route guidance
Navigation
Page 81 of 190
XTo show the menu:slide6the controller.
XTo select Route: turn and press the controller.
XSelectDetour.
XTo specify the start of the traffic jam sec-
tion: select Beginning
.
The next possible traffic jam section starting
point is marked.
XTurn the controller.
The marking moves along the route to the
next starting position.
XPress the controller.
The start of the traffic jam is set.
XTo specify the end of a traffic jam section:
select End
.
The next possible traffic jam section end point
is marked.
XTurn the controller.
The marking moves along the route to the
next end position.
XPress the controller.
The end of the traffic jam is determined.
XTo calculate the detour: selectStart.
Off-road
General notes
The navigation system may guide you to off-road
routes that your vehicle cannot drive on without
causing damage to the tires or wheels or the
vehicle itself. It is the driver’s sole responsibility to determine the suitability of the route. The
condition of the off-road routes may vary. The
navigability of off-road routes may be influenced
by various factors such as time of day, time of
year and prevailing weather conditions. The nav-
igation system cannot judge these factors or
take them into account for route guidance.
Route guidance to an off-road destina-
tion
The multimedia system can guide you to desti-
nations which are within the area of the digital
map, but which are not themselves on the map.
These destinations are known as off-road des-
tinations, which you can enter using the map, for
example. In these cases, the multimedia system
guides you for as long as possible with naviga-
tion announcements and displays on roads
known to the system. If the vehicle reaches an area which is not part of
the digital map, the display appears as a split-
screen view. On the right, an arrow appears that
points to the off-road destination. You hear the
announcement: "Please follow the arrow on the
display". As the vehicle approaches the desti-
nation, you will see a display to this effect.
Route guidance from an off-road loca-
tion to a destination
Off-road location: the vehicle's position is on the
digital map, but the map does not contain any
information about that location. The multimedia
system is able to guide you to a destination even
from an off-road location.
At the start of route guidance, you will see the
Road Not Mapped
message, an arrow and the
distance to the destination. The arrow shows
the compass heading to the actual destination.
As soon as the vehicle is back on a road known
to the system, route guidance continues in the
usual way.
Off-road during route guidance
Due to road construction, for example, there
may be differences between the data on the
digital map and the actual course of the road.
In such cases, the system will temporarily be
unable to locate the vehicle position on the dig-
ital map. The vehicle is therefore in an off-road
position.
In the display, you will then see the Road Not
Mappedmessage, an arrow and the distance to
the destination. The direction arrow shows the
compass heading to the destination.
As soon as the system can assign the vehicle
position to the map again, route guidance con-
tinues in the usual way.
Real-time traffic reports
Prerequisites
This function is currently not available for Can-
ada.
In order to receive real-time traffic reports via
satellite radio, you need to subscribe to SIRIUS
XM Satellite Radio Traffic Message Service.
Further information on satellite radio
(
Ypage 144).
Real-time traffic reports79
Navigation
Z
Page 86 of 190
XEnter a surname and first name. Character
entry (Ypage 31).
XSelectOK.
The Saving Successfulmessage appears.
The destination is saved to the SD memory
card.
Saving the current vehicle position
XTo switch to navigation mode: press the
ß button.
XTo show the menu: slide6the controller.
XTo select Position: turn and press the con-
troller.
XSelect Save.
The current vehicle position is saved in "Last
destinations".
Saving the crosshair position
XTo switch to navigation mode: press the
ß button.
XTo display the crosshair: press the control-
ler.
XMove the map to the desired position
(Ypage 56).
XTo show the menu: press the controller.
XTo select Position: turn and press the con-
troller.
XSelect Save.
The crosshair position is saved in the last des-
tinations.
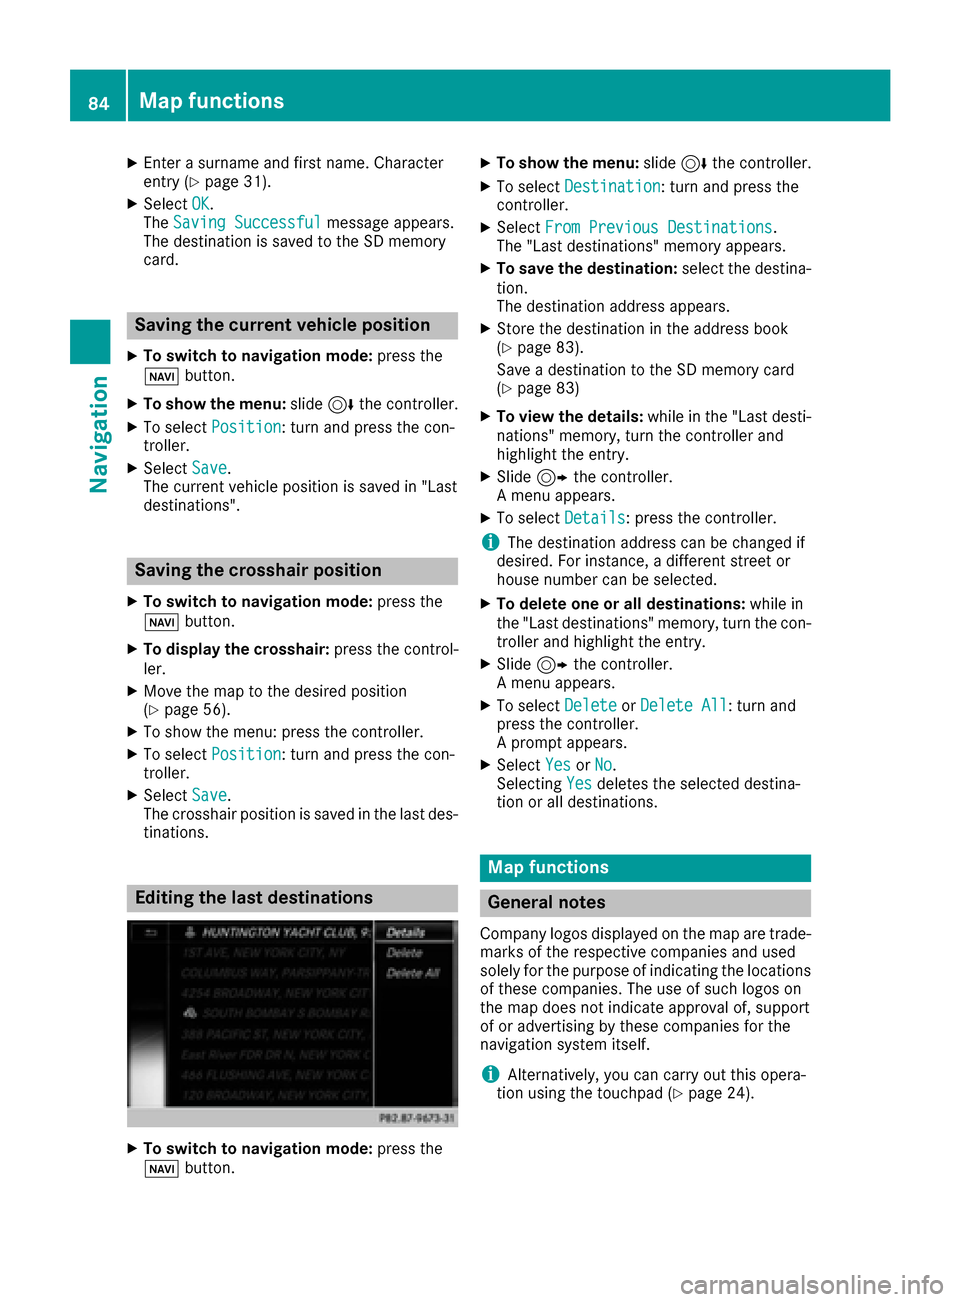
Editing the last destinations
XTo switch to navigation mode: press the
ß button.
XTo show the menu: slide6the controller.
XTo select Destination: turn and press the
controller.
XSelect From Previous Destinations.
The "Last destinations" memory appears.
XTo save the destination: select the destina-
tion.
The destination address appears.
XStore the destination in the address book
(Ypage 83).
Save a destination to the SD memory card
(
Ypage 83)
XTo view the details: while in the "Last desti-
nations" memory, turn the controller and
highlight the entry.
XSlide 9the controller.
A menu appears.
XTo select Details: press the controller.
iThe destination address can be changed if
desired. For instance, a different street or
house number can be selected.
XTo delete one or all destinations: while in
the "Last destinations" memory, turn the con-
troller and highlight the entry.
XSlide 9the controller.
A menu appears.
XTo select DeleteorDelete All: turn and
press the controller.
A prompt appears.
XSelect YesorNo.
Selecting Yesdeletes the selected destina-
tion or all destinations.
Map functions
General notes
Company logos displayed on the map are trade- marks of the respective companies and used
solely for the purpose of indicating the locations
of these companies. The use of such logos on
the map does not indicate approval of, support
of or advertising by these companies for the
navigation system itself.
iAlternatively, you can carry out this opera-
tion using the touchpad (Ypage 24).
84Map functions
Navigation
Page 105 of 190
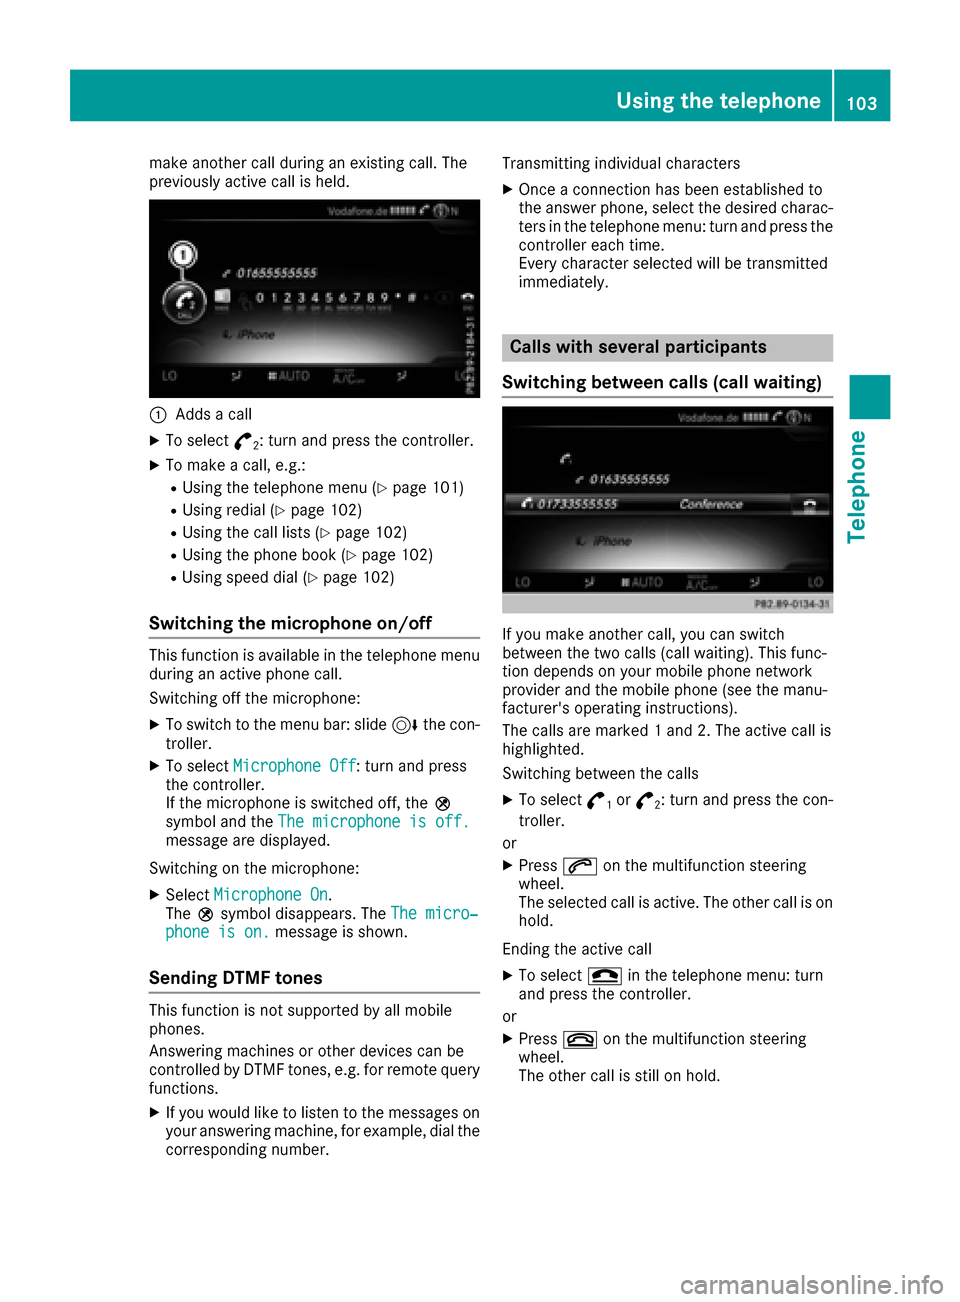
make another call during an existing call. The
previously active call is held.
:Adds a call
XTo select°2: turn and press the controller.
XTo make a call, e.g.:
RUsing the telephone menu (Ypage 101)
RUsing redial (Ypage 102)
RUsing the call lists (Ypage 102)
RUsing the phone book (Ypage 102)
RUsing speed dial (Ypage 102)
Switching the microphone on/off
This function is available in the telephone menu
during an active phone call.
Switching off the microphone:
XTo switch to the menu bar: slide 6the con-
troller.
XTo select Microphone Off: turn and press
the controller.
If the microphone is switched off, the Q
symbol and the The microphone is off.
message are displayed.
Switching on the microphone:
XSelect Microphone On.
The Qsymbol disappears. The The micro‐
phone is on.message is shown.
Sending DTMF tones
This function is not supported by all mobile
phones.
Answering machines or other devices can be
controlled by DTMF tones, e.g. for remote query
functions.
XIf you would like to listen to the messages on
your answering machine, for example, dial the
corresponding number. Transmitting individual characters
XOnce a connection has been established to
the answer phone, select the desired charac-
ters in the telephone menu: turn and press the
controller each time.
Every character selected will be transmitted
immediately.
Calls with several participants
Switching between calls (call waiting)
If you make another call, you can switch
between the two calls (call waiting). This func-
tion depends on your mobile phone network
provider and the mobile phone (see the manu-
facturer's operating instructions).
The calls are marked 1 and 2. The active call is
highlighted.
Switching between the calls
XTo select °1or°2: turn and press the con-
troller.
or
XPress 6on the multifunction steering
wheel.
The selected call is active. The other call is on
hold.
Ending the active call
XTo select =in the telephone menu: turn
and press the controller.
or
XPress ~on the multifunction steering
wheel.
The other call is still on hold.
Using the telephone103
Telephone
Z
Page 115 of 190
XTo selectG: slide 9the controller.
XTo select Delete Entry: turn and press the
controller.
XTo select Yes: turn and press the controller.
The contact is deleted.
or
XTo select No: turn and press the controller.
The process is canceled.
Importing contacts
Information and requirements
Contacts can be imported as vCards (vcf files). A vCard is an electronic business card. A memory
card, USB device or a Bluetooth
®connection
can be used for importing.
iUp to 2000 entries can be imported into the
address book. A message notifies you when
the maximum number is reached. In order to
be able to then import new contacts, you have
to delete existing contacts (
Ypage 112).
SourcePrerequisites
Memory cardThe SD memory card is inser-
ted. It contains importable
contact details.
USB deviceThe USB device is inserted
into the USB port. It contains
importable contact details.
Bluetooth®
connection
If the sending of vCards is
supported via Bluetooth®,
vCards can be received on
mobile phones or netbooks,
for example.
Bluetooth
®must be activa-
ted in the multimedia system
and on the respective device
(see the manufacturer's
operating instructions).
iIf automatic calling up of the contacts is
deactivated (Ypage 112), the ImportfromPhoneoption is available.
Importing from the memory card or USB
device
Contacts imported from the memory card or
from a USB device are identified by the ¯
symbol.
The following conditions must be fulfilled in
order to import vCards:
RvCards (vcf files) may be located in the main
directory or in folders. The multimedia system
allows for a targeted selection of the corre-
sponding directories.
RvCards must have the file extension "vcf".
iThe multimedia system supports vCards in
versions 2.1 and 3.0.
XTo switch to the menu bar in the telephone
menu or the address book: slide 6the con-
troller.
XTo select Options: turn and press the con-
troller.
XTo select Download Contacts: turn and
press the controller.
XTo select From Memory CardorFrom USBdevice: turn and press the controller.
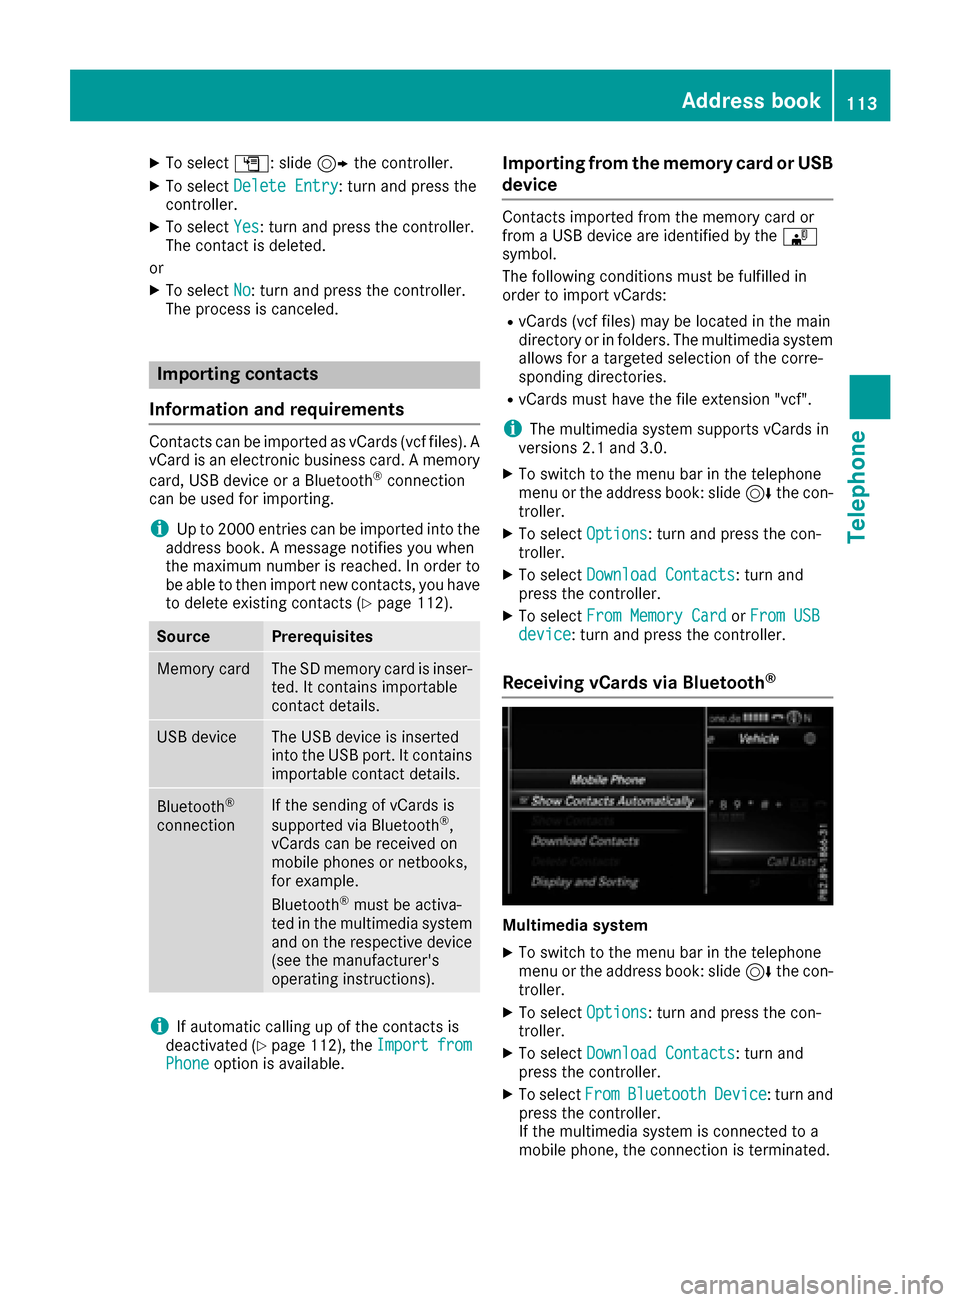
Receiving vCards via Bluetooth®
Multimedia system
XTo switch to the menu bar in the telephone
menu or the address book: slide 6the con-
troller.
XTo select Options: turn and press the con-
troller.
XTo select Download Contacts: turn and
press the controller.
XTo select FromBluetoothDevice: turn and
press the controller.
If the multimedia system is connected to a
mobile phone, the connection is terminated.
Address book113
Telephone
Z
Page 118 of 190
Adding information to an address book
entry
XTo call up th etelephon emenu: press th e
% button.
XTo switch to th emen ubar: slid e6 thecon-
troller .
XTo select CallLists:tur nand press th e
controller .
XTo selectCallsReceivedorCallsDialed:
tur nand press th econtroller .
The relevan tlist is displayed.
XTo highligh tth edesired telephon enumber :
tur nth econtroller .
XTo select G:slide9 thecontroller .
XTo selectSave:tur nand press th econtroller .
XSelectAdd Phone No..
XSelec t anumber category, e.g. Home.
XSelec t atelephon ecategory, e.g. MobilePhone.
XSelectContinue.
The address book is displayed.
XSearc hfor th edesired contact (Ypage 108).
XPress thecontroller when you hav efinishe d
searching .
The telephon enumber has been saved.
A maximum of fiv etelephon enumber scan be
saved for on econtact .
If fiv enumber sare already store dfor th eentr y
you are searching for , aprompt will appear ask -
ing whether you wish to overwrit eon eof th e
existing numbers.
Overwriting an entry
XTo select Yes:tur nand press th econtroller .
A list of th eexisting fiv enumber sis displayed.
XTo select th enumber to be overwritte nfrom
th elist :tur nth econtroller and press to con-
firm.
The entr yis overwritte nwit hth ene wtele-
phone number .
Canceling th eoverwriting of an entry
XTo select No:tur nand press th econtroller .
The process is canceled.
Deleting call lists
Call list swhic hare generated and managed by
th emultimedia system can be delete din th e
multimedia system. You canno
tdelete call list sfrom th emultimedia
system whic hare displayed on amobile phone
that support sth ePBAP Bluetoot h
®.
XTo call up thetelephon emenu: press th e
% button.
XTo switch to th emen ubar: slid e6 thecon-
troller .
XTo select CallLists:tur nand press th e
controller .
XSelectDelete Cal lLists.
A prompt appear sasking whether you wish to
delete all call lists.
XTo select Yes:tur nand press th econtroller .
The call list sare deleted.
or
XTo select No:tur nand press th econtroller .
The process is canceled.
iIf you delete call list sfrom th emobile phone
(see th emanufacturer' soperating instruc-
tions), th emultimedia system updates th e
call list display th enext time it connects .
Speed dial lists
Setting up
XTo call up thetelephon emenu: press th e
% button.
XTo call up th emen ubar: slid e6 thecon-
troller .
XTo select CallLists:tur nand press th e
controller .
XSelectSpeed Dia lPreset Lis t.
The spee ddial list is displayed.
XTo highligh t amemory position for th espee d
dial: tur nth econtroller .
If you highligh tan entr ythat already exist sin
th espee ddial list ,this is overwritte nwit hth e
ne wentry.
XTo select G:slide9 thecontroller .
XSelectAssign Speed Dia lPreset.
The phone book is displayed.
XSearc hfor acontact (Ypage 106).
XTo select acontact :tur nand press th econ-
troller .
The phone number has been saved as aspee d
dial.
116Speed dial lists
Telephone
Page 119 of 190
Deleting
Deleting aspeed dial preset
XTo cal lup th etelephon emenu: press th e
% button.
XTo cal lup th emen ubar :slid e6 thecon-
troller.
XTo selec tCal lLists:turn and press th e
controller .
XSelectSpeed Dia lPreset Lis t.
The speed dial list is displayed.
XTo highlight th ememor yposition you wan tto
delete :turn th econtroller .
XTo selectG: slide9 thecontroller .
XTo selectDeleteSpeedDia lPreset:turn
and press th econtroller .
XTo selectYes:turn and press th econtroller .
The speed dial preset has bee ndeleted.
or
XTo selec tNo:turn and press th econtroller .
The process is canceled.
Deleting all speed dial preset s
XTo callup th etelephon emenu: press th e
% button.
XTo cal lup th emen ubar :slid e6 thecon-
troller.
XTo selec tCal lLists:turn and press th e
controller .
XSelectSpeed Dia lPreset Lis t.
The speed dial list is displayed.
XTo highlight th edesire dmemor yposition :
turn th econtroller .
XTo selectG: slide9 thecontroller .
XTo selectDelete All Speed Dia lPre ‐sets:turn and press th econtroller .
XTo selectYes:turn and press th econtroller .
Al lspeed dials are deleted.
or
XTo selec tNo:turn and press th econtroller .
The process is canceled.
Messages (text messages an de-
mails)
General notes
New messages are identifie dby th e/ sym-
bol in th edisplay of th emultimedia system and
an audible signal .Once you hav erea dall th e
messages, th esymbol is no longer displayed.
The multimedia system displays th e10 0newest
text messages and e-mails.
The ú symbol is displaye dwhen th emobile
phone's messag ememor yis full .The symbol is
no longer displaye dif you delete messages on
th emobile phone .
Function restrictions
Textmessages canno tbe written whil eth evehi-
cl e is in motion .
Prerequisites
To use themessag efunctions, th econnecte d
mobile phone mus tsuppor tth eMA PBluetoot h®
profile. The prompt fo rth eMA PBluetoot h®pro-
fil e may hav eto be confirmed on th emobile
phone .
Wit hsom emobile phones, som esetting sstill
hav eto be mad eafter connecting to th emulti-
media syste m(se eth emanufacturer's operat -
in g instructions). The messages are then dis -
playe dth enext time you connec tto th emulti-
media system.
An e-mail accoun tmus tbe set up on th emobile
phone fo rth ee-mail function (se eth emanufac -
turer’s operatin ginstructions).
To rea dand write e-mail sin th emultimedia sys-
tem, th ee-mail accoun tfirst needs to be con-
figure d (
Ypage 118).
Som emobile phones wit hth eMAP Blue-
toot h
®profile:
Ronly sho wne wtext messages.
Rdo no tsuppor tth edeleting or editin gof text
messages.
Rdo no tsuppor tth edraft sfolder fo rtext mes -
sages.
Rdo no tsuppor tth esendin gof text messages.
Rdo no tsuppor tth ee-mail function .
Rdo notsen dmessages in alocke dstatus.
Messages (text messages and e-mails)11 7
Telephone
Z