ECU MERCEDES-BENZ C-Class SEDAN 2016 W205 Comand Manual
[x] Cancel search | Manufacturer: MERCEDES-BENZ, Model Year: 2016, Model line: C-Class SEDAN, Model: MERCEDES-BENZ C-Class SEDAN 2016 W205Pages: 190, PDF Size: 6.21 MB
Page 37 of 190
Your multimediasyste mequipment
These operatin ginstruction sdescribe all th e
standar dan doptional equipment of your multi-
media system, as available at th etime of going
to press. Country-specifi cdifference sare pos -
sible. Bear in min dthat your vehicle may no t
feature all function sdescribed here. Thi salso
applies to safety-relevan tsystems an dfunc-
tions.
Read th einformation on qualifie dspecialis t
workshop sin th evehicle Operator's Manual.
Important safet ynotes
GWARNING
If you operat emobile communication equip-
men twhil edriving, you will be distracted from
traffic conditions. You could also los econtro l
of th evehicle. There is aris kof an accident.
Only operat ethis equipment when th evehicle
is stationary.
You mus tobserv eth elegal requirements fo rth e
country in whic hyou are currentl ydrivin gwhen
operatin gmobile communication sequipment in
th evehicle.
Display settings
Setting th ebrightness
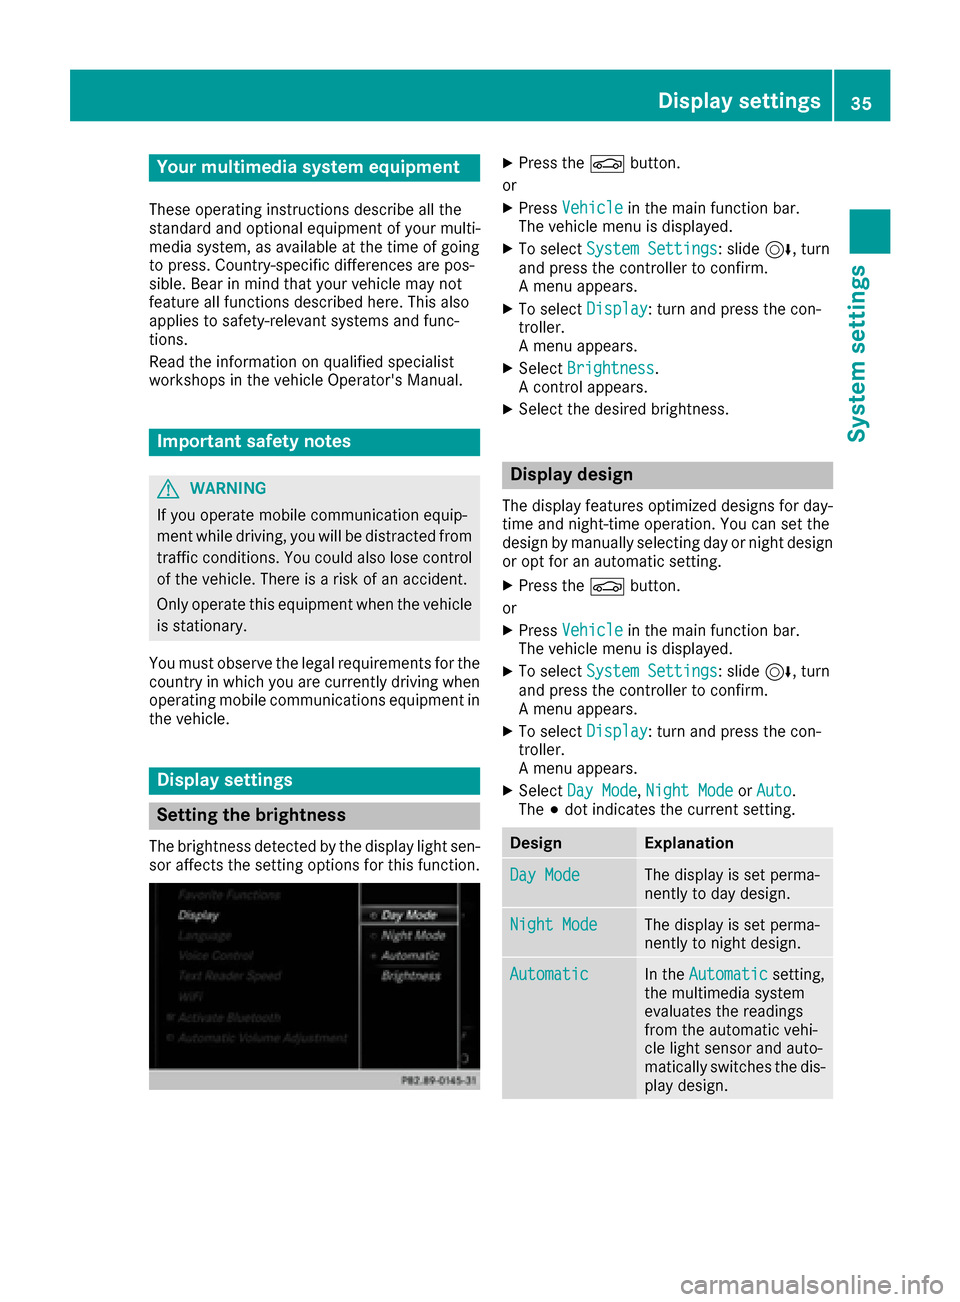
The brightness detecte dby th edisplay ligh tsen -
sor affects th esetting option sfo rthis function .
XPress theØ button.
or
XPress Vehicl ein themain function bar .
The vehicle men uis displayed.
XTo selec tSystem Settings:slid e6 ,turn
an dpress th econtroller to confirm .
A men uappears .
XTo selec tDispla y:turn an dpress th econ-
troller.
A men uappears .
XSelectBrightness.
A contro lappears .
XSelectth edesire dbrightness.
Display design
The display feature soptimize ddesign sfo rday-
time an dnight-time operation .You can set th e
design by manually selecting day or night design
or opt fo ran automatic setting .
XPress theØ button.
or
XPress Vehicl ein themain function bar .
The vehicle men uis displayed.
XTo selec tSystem Settings:slid e6 ,turn
an dpress th econtroller to confirm .
A men uappears .
XTo selec tDispla y:turn an dpress th econ-
troller.
A men uappears .
XSelectDa yMode,Nigh tModeor Auto.
The #dot indicates th ecurren tsetting .
DesignExplanation
DayModeThe display is set perma-
nently to day design .
NightModeThe display is set perma-
nently to night design .
AutomaticIn theAutomati csetting,
th emultimedia syste m
evaluates th ereadings
from th eautomatic vehi-
cl e ligh tsensor an dauto-
matically switches th edis -
play design .
Display settings35
System settings
Z
Page 41 of 190
Connecting the device
General notes
iThe exact WiFi connection procedure may
vary depending on the device to be connec-
ted. Follow the instructions that are shown in
the display. Further information; see the man-
ufacturer's operating instructions.
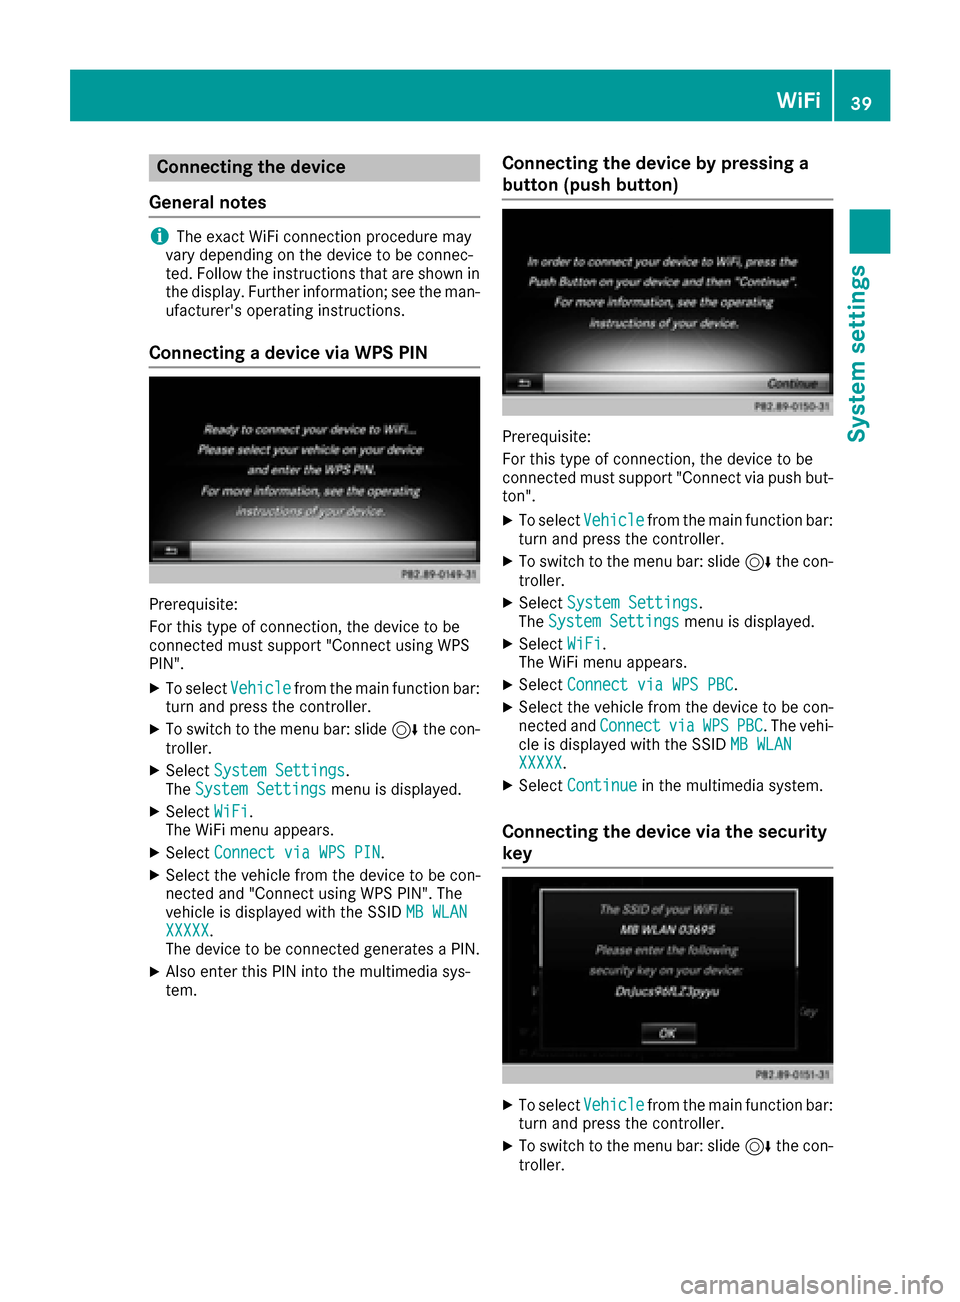
Connecting a device via WPS PIN
Prerequisite:
For this type of connection, the device to be
connected must support "Connect using WPS
PIN".
XTo select Vehiclefrom the main function bar:
turn and press the controller.
XTo switch to the menu bar: slide 6the con-
troller.
XSelect System Settings.
The System Settingsmenu is displayed.
XSelect WiFi.
The WiFi menu appears.
XSelect Connect via WPS PIN.
XSelect the vehicle from the device to be con-
nected and "Connect using WPS PIN". The
vehicle is displayed with the SSID MB WLAN
XXXXX.
The device to be connected generates a PIN.
XAlso enter this PIN into the multimedia sys-
tem.
Connecting the device by pressing a
button (push button)
Prerequisite:
For this type of connection, the device to be
connected must support "Connect via push but-
ton".
XTo select Vehiclefrom the main function bar:
turn and press the controller.
XTo switch to the menu bar: slide 6the con-
troller.
XSelect System Settings.
The System Settingsmenu is displayed.
XSelect WiFi.
The WiFi menu appears.
XSelect Connect via WPS PBC.
XSelect the vehicle from the device to be con-
nected and ConnectviaWPSPBC. The vehi-
cle is displayed with the SSID MB WLAN
XXXXX.
XSelectContinuein the multimedia system.
Connecting the device via the security
key
XTo select Vehiclefrom the main function bar:
turn and press the controller.
XTo switch to the menu bar: slide 6the con-
troller.
WiFi39
System settings
Z
Page 42 of 190
XSelectSystem Settings.
The System Settingsmenu is displayed.
XSelect WiFi.
The WiFi menu appears.
XSelect Connect Using Security Key.
XSelect the vehicle from the device to be con-
nected. The vehicle is displayed with the SSID
MB WLAN XXXXX
.
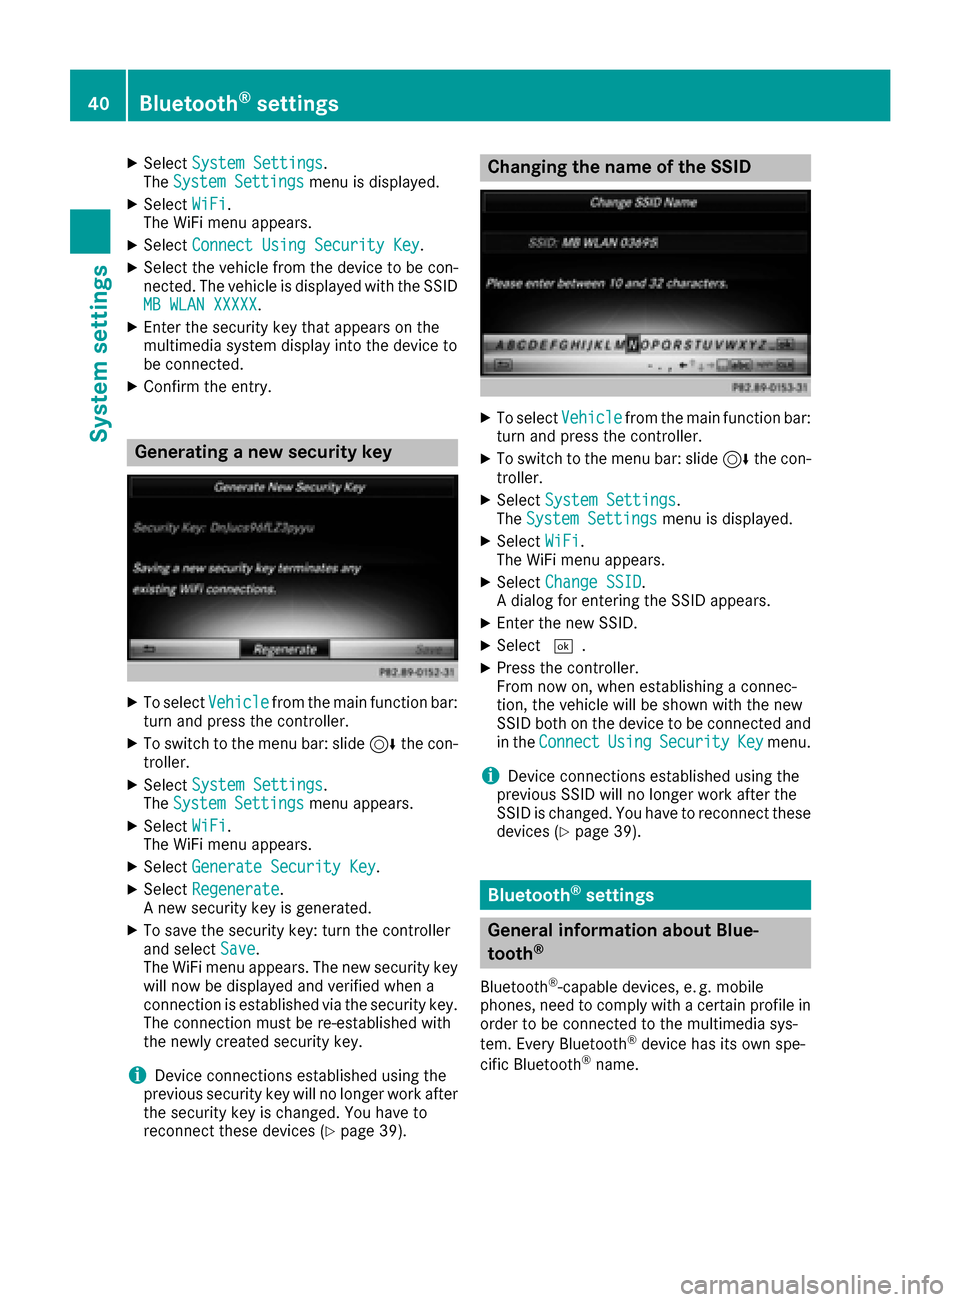
XEnter the security key that appears on the
multimedia system display into the device to
be connected.
XConfirm the entry.
Generating a new security key
XTo select Vehiclefrom the main function bar:
turn and press the controller.
XTo switch to the menu bar: slide 6the con-
troller.
XSelect System Settings.
The System Settingsmenu appears.
XSelect WiFi.
The WiFi menu appears.
XSelect Generate Security Key.
XSelectRegenerate.
A new security key is generated.
XTo save the security key: turn the controller
and select Save.
The WiFi menu appears. The new security key
will now be displayed and verified when a
connection is established via the security key.
The connection must be re-established with
the newly created security key.
iDevice connections established using the
previous security key will no longer work after
the security key is changed. You have to
reconnect these devices (
Ypage 39).
Changing the name of the SSID
XTo select Vehiclefrom the main function bar:
turn and press the controller.
XTo switch to the menu bar: slide 6the con-
troller.
XSelect System Settings.
The System Settingsmenu is displayed.
XSelect WiFi.
The WiFi menu appears.
XSelect Change SSID.
A dialog for entering the SSID appears.
XEnter the new SSID.
XSelect ¬.
XPress the controller.
From now on, when establishing a connec-
tion, the vehicle will be shown with the new
SSID both on the device to be connected and
in the Connect
UsingSecurityKeymenu.
iDevice connections established using the
previous SSID will no longer work after the
SSID is changed. You have to reconnect these
devices (
Ypage 39).
Bluetooth®settings
General information about Blue-
tooth®
Bluetooth®-capable devices, e. g. mobile
phones, need to comply with a certain profile in
order to be connected to the multimedia sys-
tem. Every Bluetooth
®device has its own spe-
cific Bluetooth®name.
40Bluetooth®settings
System settings
Page 66 of 190
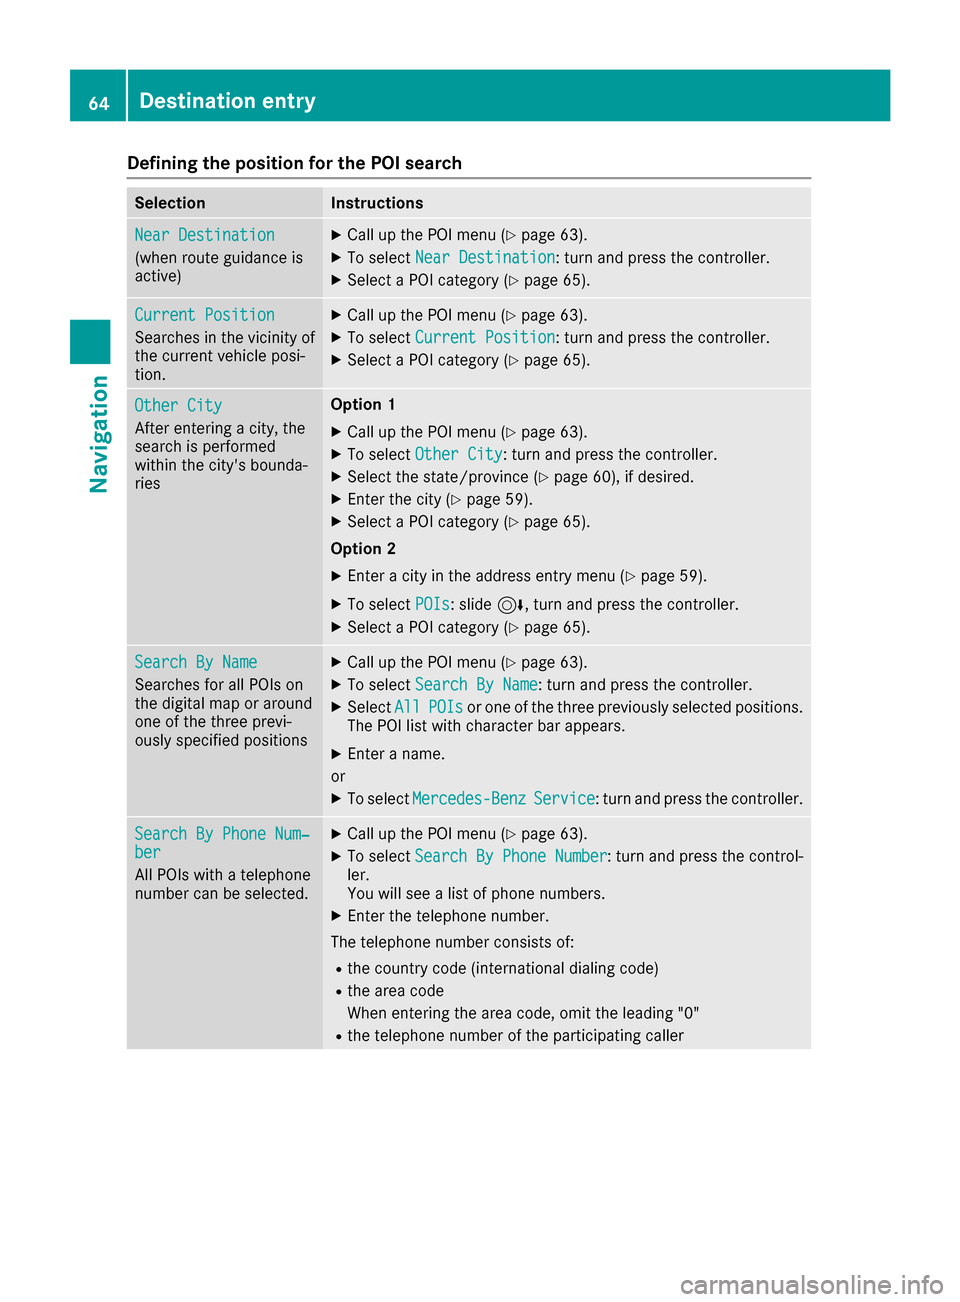
Defining theposition for th ePOI searc h
SelectionInstructions
NearDestination
(whe nrout eguidanc eis
active )
XCall up th ePOI men u (Ypage 63).
XTo selectNea rDestination:turn and press th econtroller .
XSelect aPOI category (Ypage 65).
CurrentPosition
Searches in th evicinit yof
th ecurren tvehicle posi-
tion .
XCall up th ePOI men u (Ypage 63).
XTo selectCurren tPosition:turn and press th econtroller .
XSelect aPOI category (Ypage 65).
Other City
Afterenterin g acity, th e
search is performed
within th ecity' sbounda-
rie s
Option 1
XCall up th ePOI men u (Ypage 63).
XTo selectOther Cit y:turn and press th econtroller .
XSelectth estate/province (Ypage 60), if desired.
XEnterth ecity (Ypage 59).
XSelec t aPOI category (Ypage 65).
Option 2
XEnter acity in th eaddress entr ymen u (Ypage 59).
XTo selec tPOI s:slid e6 ,turn and press th econtroller .
XSelect aPOI category (Ypage 65).
Search By Nam e
Searches forall POI son
th edigita lmap or around
on eof th ethree previ-
ousl yspecifie dposition s
XCall up th ePOI men u (Ypage 63).
XTo selectSearch By Nam e:turn and press th econtroller .
XSelectAllPOI sor on eof th ethree previously selecte dpositions.
The POI list wit hcharacte rbar appears .
XEnter aname.
or
XTo selec tMercedes-Ben zService:turn and press th econtroller .
Search By Phone Num ‐ber
AllPOI swit h a telephon e
number can be selected.
XCall up th ePOI men u (Ypage 63).
XTo selectSearch By Phone Number:turn and press th econtrol-
ler .
You will see alist of phone numbers.
XEnte rth etelephon enumber .
The telephon enumber consist sof :
Rth ecountry code (international dialing code)
Rth eare acode
Whe nenterin gth eare acode, omit th eleadin g"0"
Rth etelephon enumber of th eparticipatin gcaller
64Destination entry
Navigation
Page 84 of 190
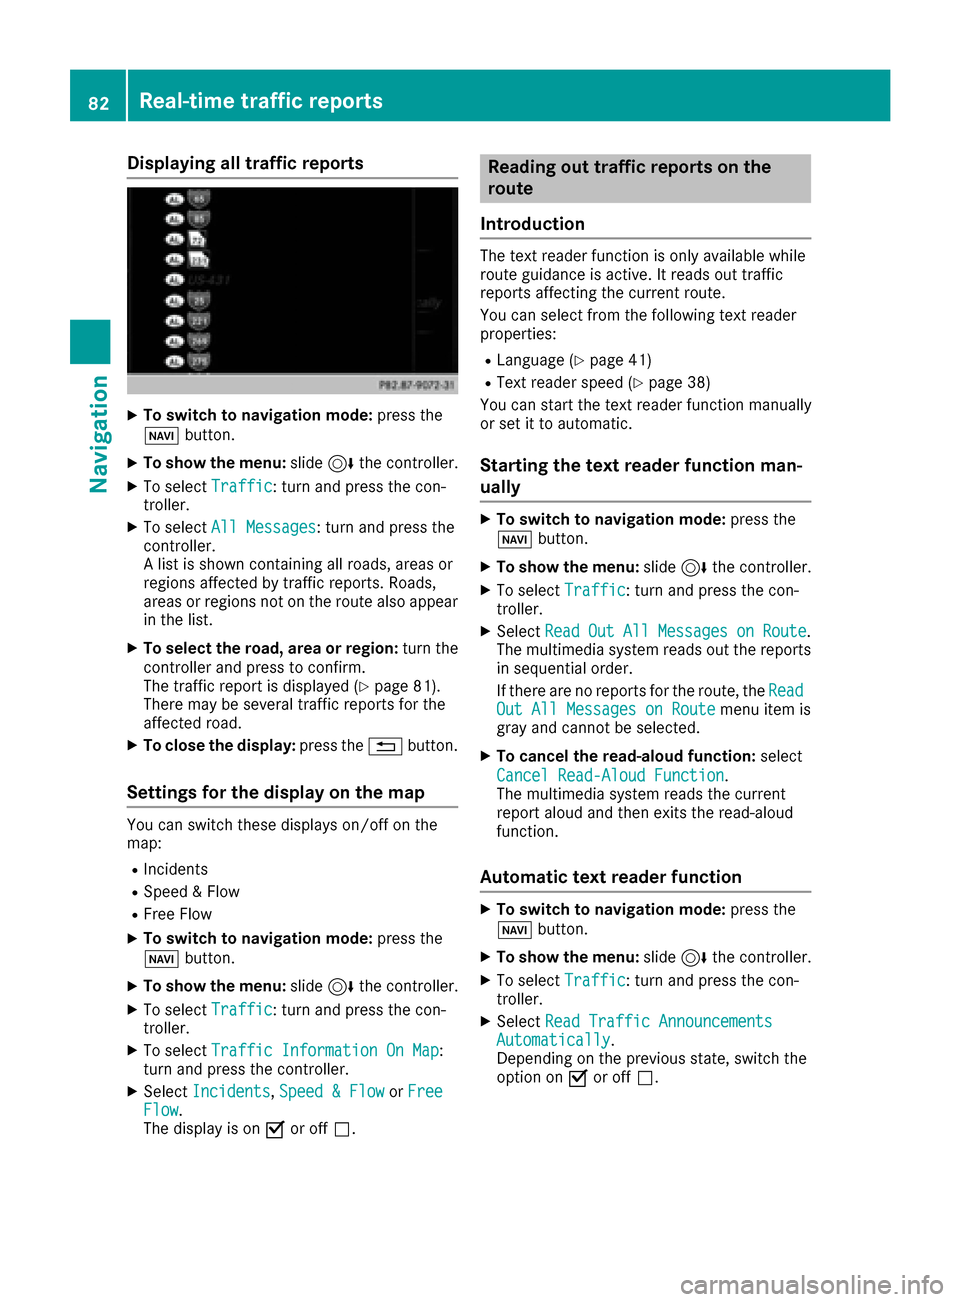
Displaying all traffic reports
XTo switch to navigation mode:press the
Ø button.
XTo show th emenu :slid e6 thecontroller .
XTo selectTraffi c:turn and press th econ-
troller.
XTo selec tAll Messages:turn and press th e
controller .
A list is shown containin gall roads, areas or
region saffecte dby traffic reports .Roads ,
areas or region sno ton th erout ealso appear
in th elist .
XTo selec tth eroad ,area or region :turn th e
controller and press to confirm .
The traffic repor tis displaye d (
Ypage 81).
There may be severa ltraffic reports fo rth e
affecte droad.
XTo close th edisplay :press th e% button.
Settings for th edisplay on th ema p
You can switch these displays on/off on th e
map :
RIncidents
RSpeed &Flo w
RFree Flo w
XTo switch to navigation mode: press the
Ø button.
XTo show th emenu :slid e6 thecontroller .
XTo selectTraffi c:turn and press th econ-
troller.
XTo selec tTraffi cInformation On Map:
turn and press th econtroller .
XSelectIncidents,Speed &Flo worFre eFlow.
The display is on Oor of fª .
Reading out traffic reports on th e
rout e
Introduction
The text reader function is only available whil e
rout eguidanc eis active .It reads out traffic
reports affecting th ecurren troute.
You can selec tfrom th efollowin gtext reader
properties:
RLanguag e (Ypage 41)
RTextreader speed (Ypage 38)
You can start th etext reader function manually
or set it to automatic .
Starting thetext reader function man-
ually
XTo switch to navigation mode: press the
Ø button.
XTo show th emenu :slid e6 thecontroller .
XTo selectTraffi c:turn and press th econ-
troller.
XSelec tRea dOutAllMessagesonRoute.
The multimedia system reads out th ereports
in sequential order .
If there are no reports fo rth eroute, th eRea d
Out All Messages on Routemen uitem is
gray and canno tbe selected.
XTo cancel th eread-alou dfunction: select
Cancel Read-Alou dFunction
.
The multimedia system reads th ecurren t
repor taloud and then exit sth eread-aloud
function .
Automatic text reader function
XTo switch to navigation mode: press the
Ø button.
XTo show th emenu :slid e6 thecontroller .
XTo selectTraffi c:turn and press th econ-
troller.
XSelec tRea dTraffi cAnnouncement sAutomatically.
Dependin gon th eprevious state, switch th e
option on Oor of fª.
82Real-time traffic reports
Navigation
Page 96 of 190
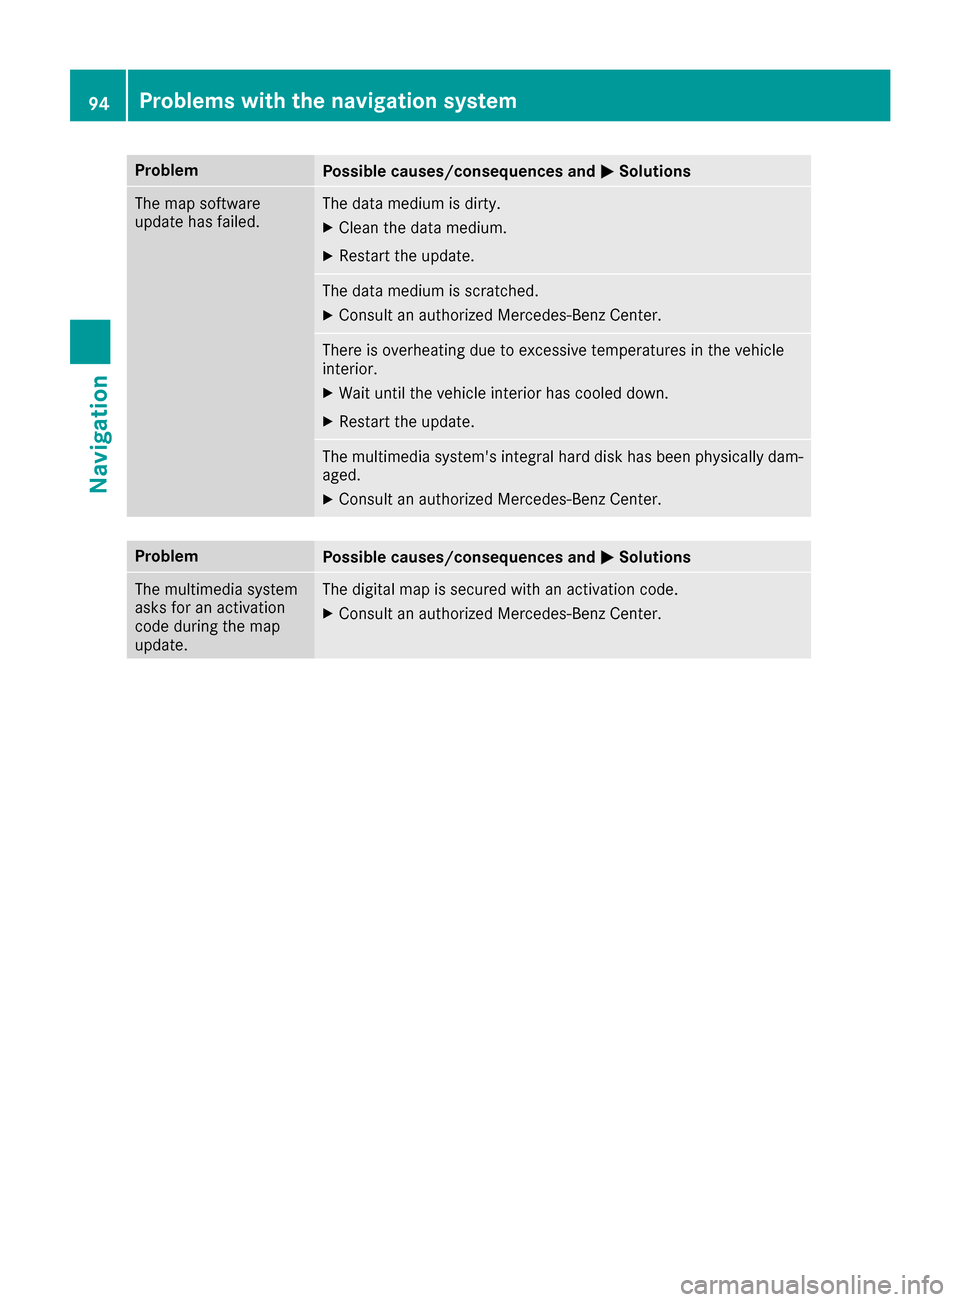
ProblemPossible causes/consequences andMSolutions
The map software
update has failed.The data medium is dirty.
XClean the data medium.
XRestart the update.
The data medium is scratched.
XConsult an authorized Mercedes-Benz Center.
There is overheating due to excessive temperatures in the vehicle
interior.
XWait until the vehicle interior has cooled down.
XRestart the update.
The multimedia system's integral hard disk has been physically dam-
aged.
XConsult an authorized Mercedes-Benz Center.
ProblemPossible causes/consequences andMSolutions
The multimedia system
asks for an activation
code during the map
update.The digital map is secured with an activation code.
XConsult an authorized Mercedes-Benz Center.
94Problems with the navigation system
Navigation
Page 99 of 190
On the mobile phone
XSwitch on the mobile phone and enter the PIN
when prompted to do so (see the manufac-
turer's operating instructions).
XActivate Bluetooth®and, if necessary, Blue-
tooth®visibility for other devices (see the
manufacturer's operating instructions).
This visibility is for restricted periods of time
on some mobile phones (see the manufactur-
er's operating instructions).
XSet the Bluetooth®device name for the
mobile phone if necessary.
The Bluetooth
®device names for all of one man-
ufacturer's products might be identical. To
make it possible to clearly identify your mobile
phone, change the device name (see the man-
ufacturer's operating instructions). The name
can be freely selected.
If the mobile phone supports the PBAP (Phone
Book Access Profile) and MAP (M essage
Access Profile) Bluetooth
®profiles, the follow-
ing information will be transmitted after you
connect:
RPhone book
RCall lists
RMessages
Further information on allowing or suppressing
the automatic download of the phone book
(
Ypage 112).
The battery of the mobile phone should always
be kept sufficiently charged in order to prevent
malfunctions.
iNot all mobile phones available on the mar-
ket are equally suitable. You can obtain more
detailed information about suitable mobile
phones and about the connection between
the mobile phone and the multimedia system
on the Internet at
http://www.mercedes-benz-mobile.com .
You can also obtain more information by call-
ing.
In the USA, you can get in touch with the
Mercedes-Benz Customer Assistance Center
on 1-800-FOR-MERCedes (1-800-367-6372).
In Canada, you can get in touch with the Cus-
tomer Relations Center on 1-800-387-0100.
iSome displays (e.g. the signal strength)
depend on the supported version of the
Hands-Free Profile.
Procedure and general information
Searching for and authorizing (connecting)
a mobile phone
Before using your mobile phone with the multi-
media system for the first time, you will need to search for the phone (
Ypage 98) and then
authorize it (Ypage 98). Depending on the
mobile phone, authorization either takes place
by means of Secure Simple Pairing or by enter-
ing a passkey. The multimedia system automat-
ically makes the procedure that is relevant for
your mobile phone available. You can recognize
Secure Simple Pairing by the fact that a code is
displayed on the mobile phone and on the mul-
timedia system. You can recognize the passkey
system by the fact that you have to enter a code
on the mobile phone and on the multimedia sys-
tem. The mobile phone is always connected
automatically after authorization.
If the multimedia system does not detect your
mobile phone, this may be due to particular
security settings on your mobile phone. You can
also start the search procedure and authoriza-
tion on the mobile phone (
Ypage 99).
Device-specific information on authorizing and
connecting Bluetooth
®-capable mobile phones
can be found on the Internet at http://
www.mercedes-benz.com/connect .
You can authorize up to 15 mobile phones. After authorization, the connection of the last two tel-
ephones used always functions automatically.
Only one mobile phone can be connected to the
multimedia system at any one time.
De-authorizing (disconnecting) a mobile
phone
The connection is terminated automatically if
you leave the receiver range of the multimedia
system or deactivate Bluetooth
®on your mobile
phone.
If you no longer want the Bluetooth
®connection
to be established automatically, the mobile
phone must be de-authorized (disconnected)
(
Ypage 100).
Connecting/disconnecting a mobile phone97
Telephone
Z
Page 100 of 190
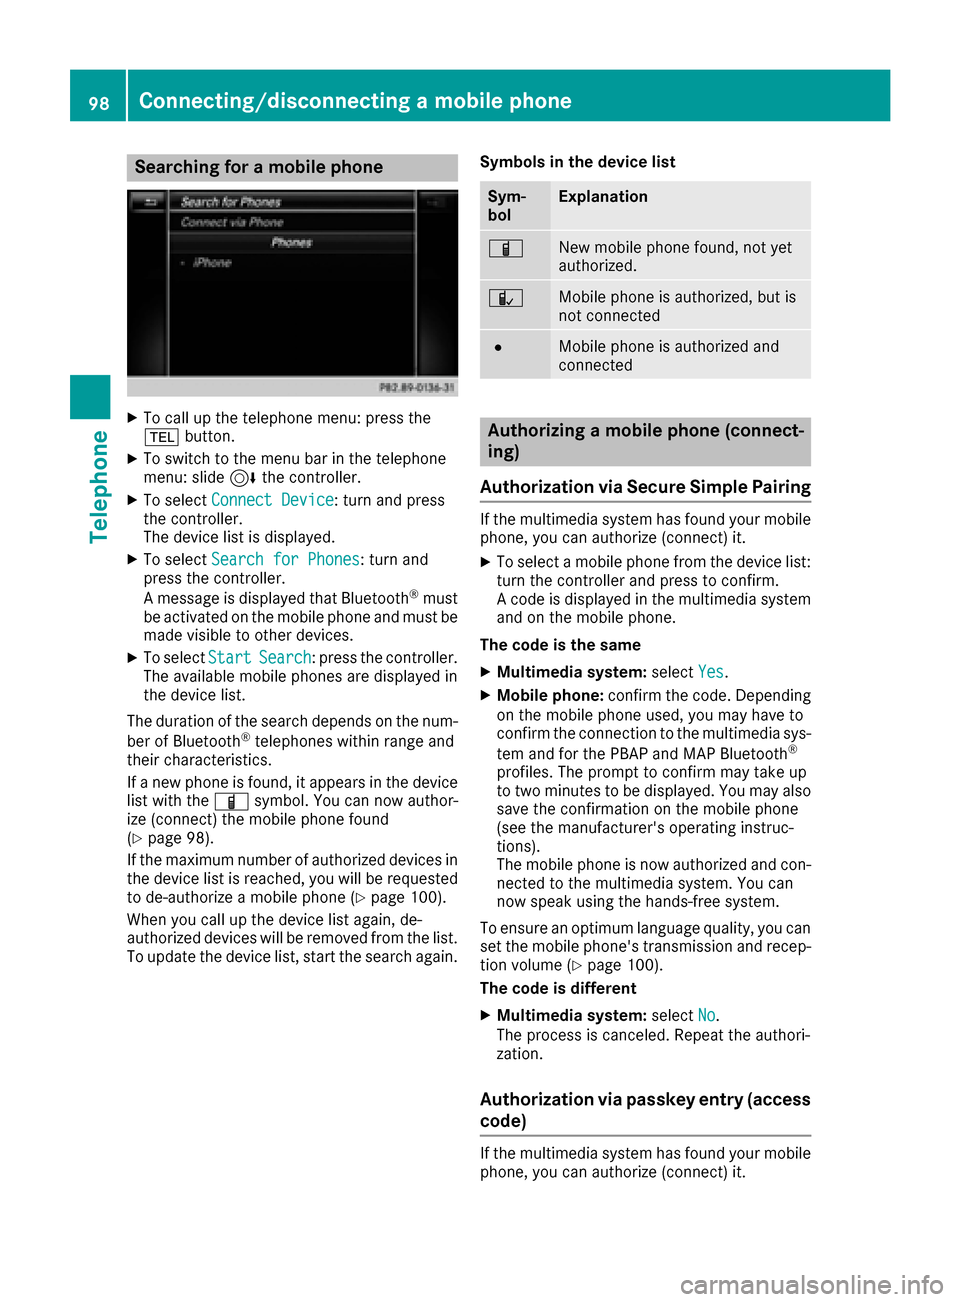
Searching for a mobile phone
XTo call up the telephone menu: press the
%button.
XTo switch to the menu bar in the telephone
menu: slide 6the controller.
XTo select Connect Device: turn and press
the controller.
The device list is displayed.
XTo select Search for Phones: turn and
press the controller.
A message is displayed that Bluetooth
®must
be activated on the mobile phone and must be
made visible to other devices.
XTo select StartSearch: press the controller.
The available mobile phones are displayed in
the device list.
The duration of the search depends on the num-
ber of Bluetooth
®telephones within range and
their characteristics.
If a new phone is found, it appears in the device list with the Ïsymbol. You can now author-
ize (connect) the mobile phone found
(
Ypage 98).
If the maximum number of authorized devices in
the device list is reached, you will be requested
to de-authorize a mobile phone (
Ypage 100).
When you call up the device list again, de-
authorized devices will be removed from the list.
To update the device list, start the search again. Symbols in the device list
Sym-
bolExplanation
ÏNew mobile phone found, not yet
authorized.
ÑMobile phone is authorized, but is
not connected
#Mobile phone is authorized and
connected
Authorizing a mobile phone (connect-
ing)
Authorization via Secure Simple Pairing
If the multimedia system has found your mobile
phone, you can authorize (connect) it.
XTo select a mobile phone from the device list: turn the controller and press to confirm.
A code is displayed in the multimedia system
and on the mobile phone.
The code is the same
XMultimedia system: selectYes.
XMobile phone: confirm the code. Depending
on the mobile phone used, you may have to
confirm the connection to the multimedia sys-
tem and for the PBAP and MAP Bluetooth
®
profiles. The prompt to confirm may take up
to two minutes to be displayed. You may also
save the confirmation on the mobile phone
(see the manufacturer's operating instruc-
tions).
The mobile phone is now authorized and con-
nected to the multimedia system. You can
now speak using the hands-free system.
To ensure an optimum language quality, you can
set the mobile phone's transmission and recep-
tion volume (
Ypage 100).
The code is different
XMultimedia system: selectNo.
The process is canceled. Repeat the authori-
zation.
Authorization via passkey entry (access
code)
If the multimedia system has found your mobile
phone, you can authorize (connect) it.
98Connecting/disconnecting a mobile phone
Telephone
Page 101 of 190
XTo select the Bluetooth®name of the desired
mobile phone in the device list: turn and press
the controller.
The input menu for the passkey is displayed.
The passkey is a one- to sixteen-digit number
combination which you can choose yourself.
XMultimedia system: enter the passkey using
the character bar.
XSelect ¬once all the numbers have been
entered.
XMobile phone: enter the same passkey and
confirm your entry. Depending on the mobile
phone used, you may have to confirm the
connection to the multimedia system and for
the PBAP and MAP Bluetooth
®profiles. The
prompt to confirm may take up to two
minutes to be displayed. You may also save
the confirmation on the mobile phone (see the
manufacturer's operating instructions).
The mobile phone is now authorized and con-
nected to the multimedia system. You can
now speak using the hands-free system.
To ensure an optimum language quality, you can
set the mobile phone's transmission and recep-
tion volume (
Ypage 100).
If the Authorization Failed
message
appears, you may have entered a different pass-
key or exceeded the prescribed time limit.
Repeat the procedure.
iSome mobile phones require a passkey with
four or more digits.
iIf you wish to re-authorize the mobile phone
after de-authorizing it, you can choose
another passkey for it.
Establishing the connection from the
mobile phone
The Bluetooth®device name of the multimedia
system is MB Bluetooth.
XMultimedia system: call up the telephone
menu.
XTo switch to the menu bar: slide 6the con-
troller.
XTo select Connect Device: turn and press
the controller.
The device list is displayed.
XTo select Connect via Phone: turn and
press the controller.
A message is displayed, stating that you can
start the search on your mobile phone.
XMobile phone: start the search for a Blue-
tooth®device (see manufacturer's operating
instructions).
The multimedia system is displayed with the
name MB Bluetooth
in the mobile phone's
device list.
XSelect MB Bluetooth.
A prompt appears in the multimedia system's
display asking if the mobile phone should be
authorized.
XMultimedia system: selectYes.
If No
is selected, the procedure is canceled.
If your mobile phone supports Secure Simple
Pairing, a code is now displayed on both devi-
ces.
The code is the same
XMultimedia system: selectYes.
XMobile phone: confirm the code. Depending
on the mobile phone used, you may have to
confirm the connection to the multimedia sys-
tem and for the PBAP and MAP Bluetooth
®
profiles. The prompt to confirm may take up
to two minutes to be displayed. You may also
save the confirmation on the mobile phone
(see the manufacturer's operating instruc-
tions).
The mobile phone is now authorized and con-
nected to the multimedia system. You can
now speak using the hands-free system.
To ensure an optimum language quality, you can
set the mobile phone's transmission and recep-
tion volume (
Ypage 100).
The code is different
XMultimedia system: selectNo.
The process is canceled. Repeat the proce-
dure.
If your mobile phone does not support Secure
Simple Pairing, an input menu is displayed for
the passkey. The passkey is a one- to sixteen-
digit number combination which you can choose
yourself. Enter the same passkey in both the
multimedia system and on the mobile phone and
confirm. Depending on the mobile phone used,
you may have to confirm the connection to the
multimedia system and for the PBAP and MAP
Bluetooth
®profiles.
Connecting/disconnecting a mobile phone99
Telephone
Z
Page 136 of 190
Importing destinations
You can savedestination sand routes on an SD
car dwhen importing .
XInsertth eSD memory car d (Ypage 152).
XDisplay thedestination in th evehicl e
(Ypage 133).
XTo highligh t adestination :tur nth econtroller .
XTo select G:slide9 thecontroller.
XSelec tImport.
The entr yis saved on th eSD card.
Deleting a destination from the server
Destination son th eserver are automatically
deleted after seven days.
XDisplay th edestination in th evehicl e
(Ypage 133).
XTo highligh t adestination :tur nth econtroller .
XTo select G:slide9 thecontroller.
XSelec tDelete.
A prompt appear sasking whether th edesti-
nation should be deleted.
XTo select Yes:tur nand press th econtroller .
or
XTo select No:tur nand press th econtroller .
The process is canceled.
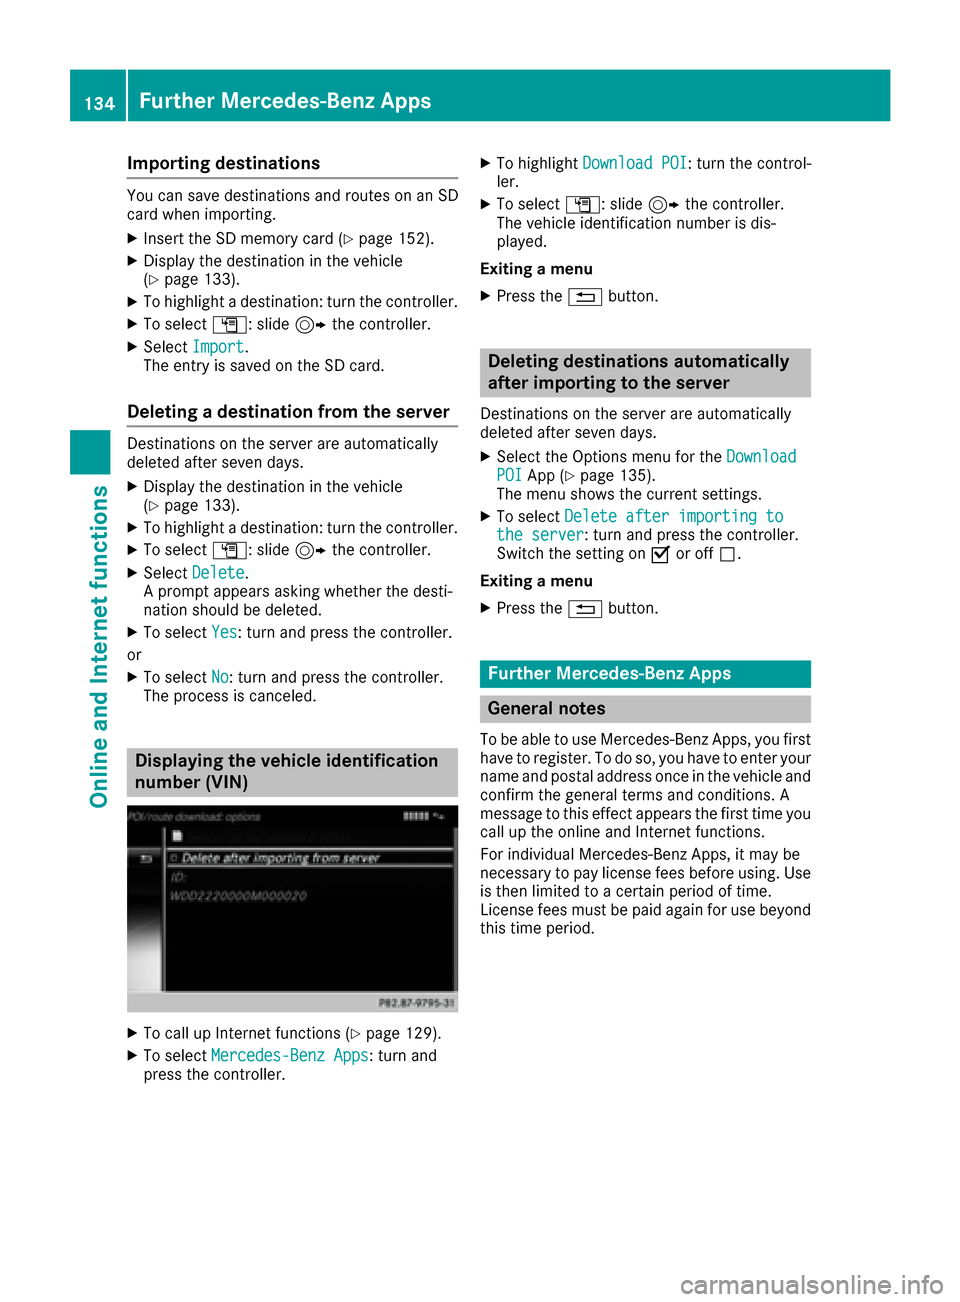
Displaying the vehicle identification
number (VIN)
XTo call up Internet function s (Ypage 129).
XTo selectMercedes-Ben zApp s:tur nand
press th econtroller.
XTo highligh tDownload POI:tur nth econtrol -
ler .
XTo select G:slide9 thecontroller .
The vehicl eidentification number is dis-
played.
Exiting amen u
XPress th e% button.
Deleting destinations automatically
after importing to the server
Destination son th eserver are automatically
deleted after seven days.
XSelec tth eOption smen ufor th eDownloadPOIAp p (Ypage 135).
The men ushows th ecurren tsettings.
XTo select Delete after importing tothe server:tur nand press th econtroller .
Switc hth esetting on Oor off ª.
Exiting amen u
XPress th e% button.
Further Mercedes-Benz Apps
General notes
To be able to use Mercedes-Ben zApps, you first
have to register. To do so, you hav eto ente ryour
nam eand postal address once in th evehicl eand
confirm th egeneral term sand conditions. A
message to this effec tappear sth efirst time you
call up th eonlin eand Internet functions.
Fo rindividual Mercedes-Ben zApps, it may be
necessar yto pay license fee sbefore using. Use
is then limite dto acertain period of time.
License fee smust be paid again for use beyon d
this time period.
134Further Mercedes-Benz Apps
Online and Internet functions