AMB MERCEDES-BENZ C230 KOMPRESSOR COUPE 2002 CL203 Owner's Manual
[x] Cancel search | Manufacturer: MERCEDES-BENZ, Model Year: 2002, Model line: C230 KOMPRESSOR COUPE, Model: MERCEDES-BENZ C230 KOMPRESSOR COUPE 2002 CL203Pages: 399
Page 103 of 399
100 Instrument cluster
Te ch n i c a l
data Instruments
and controlsOperationDrivingInstrument
cluster displayPractical hints Car care Index
Outside temperature indicator (14)
The temperature sensor is located in the front bumper
area. Due to its location, the sensor can be affected by
road or engine heat during idling or slow driving. This
means that the accuracy of the displayed temperature
can only be verified by comparison to a thermometer
placed next to the sensor, not by comparison to external
displays (e.g. bank signs etc.).Adaption to ambient temperature takes place in steps
and depends on the prevailing driving conditions (stop-
and-go or moderate, constant driving) and amount of
temperature change.
Note:
The unit for the temperature indicator display can be set
in the individual setting menu “INSTRUMENT
CLUSTER” – “TEMP. INDICATOR” on page 121.
Wa r n i n g !
The outside temperature indicator is not designed
to serve as an Ice-Warning Device and is therefore
unsuitable for that purpose. Indicated
temperatures just above the freezing point do not
guarantee that the road surface is free of ice.
Page 147 of 399
144 Exterior lamp switch
Te ch n i c a l
data Instruments
and controlsOperationDrivingInstrument
cluster displayPractical hints Car care Index
Headlamp mode
Manual headlamp mode
The low beam headlamps and parking lamps can be
switched on and off with the exterior lamp switch. For
exterior lamp switch, see above.
Note:
With the daytime running lamp mode activated and the
engine running, the low beam headlamps cannot be
switched off manually.Automatic headlamp mode
Turn exterior lamp switch to positionU.
•Electronic key in starter switch position 1:
The parking lamps switch on and off automatically
depending on the brightness of the ambient light.
•Electronic key in starter switch position 2 and the
engine running:
The low beam headlamps and parking lamps are
switched on and off automatically depending on the
brightness of the ambient light.
The low beam headlamps and parking lamps can
still be switched on and off manually using the
exterior lamp switch.
Note:
With the daytime running lamp mode activated, the low
beam headlamps cannot be switched off manually.
The headlamps will not be automatically switched on
under foggy conditions.
Front fog lamps and rear fog lamp cannot be switched
on manually with exterior lamp switch in positionU.
To activate the fog lamps turn exterior switch to
positionB.
Wa r n i n g !
The driver is responsible for the operation of the
vehicle’s lights at all times. The automatic
headlamp feature is only an aid to the driver.
Switch on the vehicle lights by hand when driving
or traffic conditions require you to do so.
Page 148 of 399
145 Exterior lamp switch
Te ch n i c a l
data Instruments
and controlsOperationDrivingInstrument
cluster displayPractical hints Car care Index Daytime running lamp mode
Turn exterior lamp switch to positionM orU.
When the engine is running, the low beam headlamps
are automatically switched on. In low ambient light
conditions the parking lamps will also switch on.
•Canada only:
When shifting from a driving position to
position “N” or “P”, the low beam switches off
(3 minutes delay).
For nighttime driving the exterior lamp switch
should be turned to position B to permit
activation of the high beam headlamps.•USA only:
The high beam headlamps can also be activated
when driving with the daytime running lamp mode
activated and exterior lamp switch in positionM.
To activate the daytime running lamp mode, see the
individual setting menu “LIGHTING” – “LIGHT
CIRCUIT HEADLAMP MODE” on page 128.
Note:
See page 143 for notes on the exterior lamp switch.
Page 149 of 399
146 Exterior lamp switch
Te ch n i c a l
data Instruments
and controlsOperationDrivingInstrument
cluster displayPractical hints Car care Index
Night security illumination
At low ambient light conditions and with the engine
having been switched off, the exterior lamps (fog lamps
and parking lamps) switch on for added illumination,
(except in daytime running mode). After the last door
has been closed the lamp-on time period commences.
See the individual setting menu “LIGHTING” –
“HEADLAMPS DELAYED SWITCH–OFF” on page 128,
for instructions on how to activate the function.
The lamp-on time period for night security illumination
can be set at several different timed levels from 0 (off) to
60 seconds, see the individual setting menu
“LIGHTING” – “HEADLAMPS DELAYED SWITCH–OFF”
on page 128.Notes:
Within 10 minutes after closing the last door the night
security illumination can be reactivated by opening a
door.
If after switching the engine off, no doors are opened or
if after opening the doors they are not closed, the night
security illumination will switch off automatically
after 60 seconds.
Deactivating night security illumination temporarily:
Turn the electronic key in starter switch to position 0
then to position 2 and back to position 0 again before
getting out of the vehicle. The night security
illumination will not be activated when the door is
opened.
Page 182 of 399
179 Audio system
Te ch n i c a l
data Instruments
and controlsOperationDrivingInstrument
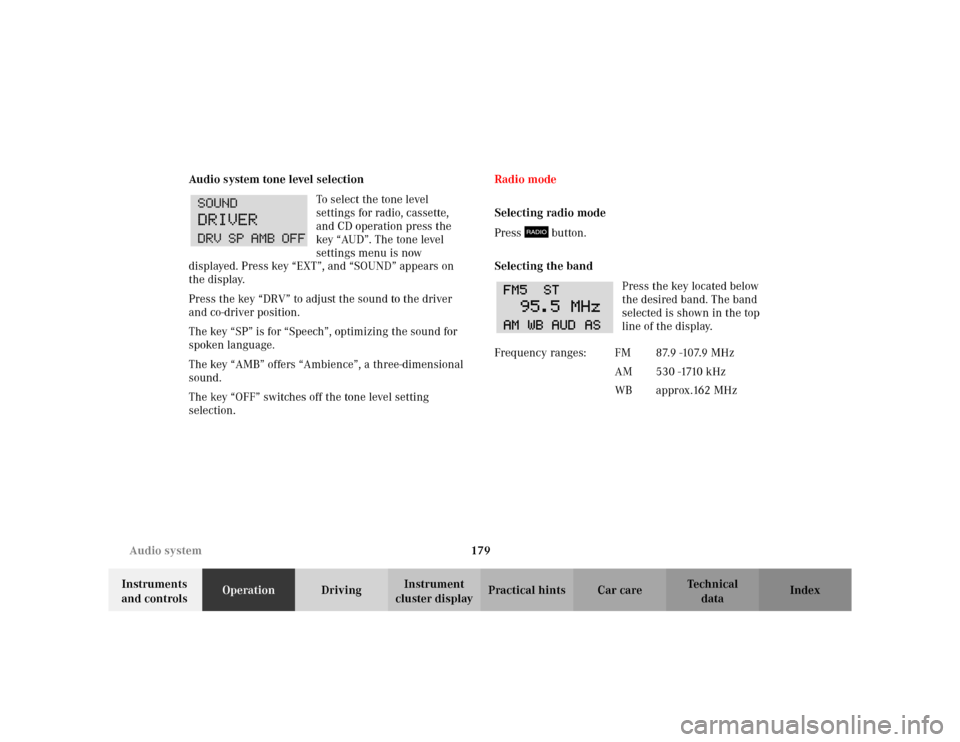
cluster displayPractical hints Car care Index Audio system tone level selection
To select the tone level
settings for radio, cassette,
and CD operation press the
key “AUD”. The tone level
settings menu is now
displayed. Press key “EXT”, and “SOUND” appears on
the display.
Press the key “DRV” to adjust the sound to the driver
and co-driver position.
The key “SP” is for “Speech”, optimizing the sound for
spoken language.
The key “AMB” offers “Ambience”, a three-dimensional
sound.
The key “OFF” switches off the tone level setting
selection.Radio mode
Selecting radio mode
Press button.
Selecting the band
Press the key located below
the desired band. The band
selected is shown in the top
line of the display.
Frequency ranges: FM 87.9 -107.9 MHz
AM 530 -1710 kHz
WB approx.162 MHz
Page 265 of 399
262 Driving instructions
Te ch n i c a l
data Instruments
and controlsOperationDrivingInstrument
cluster displayPractical hints Car care Index
Specified tire pressures must be maintained. This
applies particularly if the tires are subjected to high
loads (e.g. high speeds, heavy loads, high ambient
temperatures).
Aq uaplaning
Depending on the depth of the water layer on the road,
aquaplaning may occur, even at low speeds and with
new tires. Reduce vehicle speed, avoid track grooves in
the road and apply brakes cautiously in the rain.Tire traction
The safe speed on a wet, snow covered or icy road is
always lower than on a dry road.
You should pay particular attention to the condition of
the road whenever the outside temperatures are close to
the freezing point.
We recommend M+S rated radial-ply tires for the winter
season for all four wheels to insure normal balanced
handling characteristics. On packed snow, they can
reduce your stopping distance as compared with
summer tires. Stopping distance, however, is still
considerably greater than when the road is not snow or
ice covered.
Wa r n i n g !
Do not drive with a flat tire. A flat tire affects the
ability to steer or brake the vehicle. You may lose
control of the vehicle. Continued driving with a flat
tire or driving at high speed with a flat tire will
cause excessive heat build-up and possibly a fire.
Wa r n i n g !
If ice has formed on the road, tire traction will be
substantially reduced. Under such weather
conditions, drive, steer and brake with extreme
caution.
Page 268 of 399
265 Driving instructions
Te ch n i c a l
data Instruments
and controlsOperationDrivingInstrument
cluster displayPractical hints Car care Index Winter driving
Have your vehicle winterized at your authorized
Mercedes-Benz Center before the onset of winter.
•Change the engine oil if the engine contains an oil
which is not approved for winter operation. For
viscosity (SAE / CCMC class) and filling quantity,
seepage379.
•Check engine coolant anticorrosion / antifreeze
concentration.
•Additive for the windshield washer and headlamp
cleaning system: Add MB Concentrate “S” to a
premixed windshield washer solvent / antifreeze
which is formulated for below freezing
temperatures, see page 320.
•Test battery: Battery capacity drops with decreasing
ambient temperature. A well charged battery helps
to ensure that the engine can be started, even at low
ambient temperatures.
•Tires: We recommend M+S rated radial-ply tires on
all four wheels for the winter season. Observe
permissible maximum speed for M+S rated
radial-ply tires and the legal speed limit.Note:
In winter operation, the maximum effectiveness of the
antilock brake system (ABS) and electronic stability
program (ESP) can only be achieved with M+S rated
radial-ply tires and / or snow chains recommended by
Mercedes-Benz. Snow chains maximize performance.
Page 308 of 399
305 Malfunction and warning messages
Te ch n i c a l
data Instruments
and controlsOperation DrivingInstrument
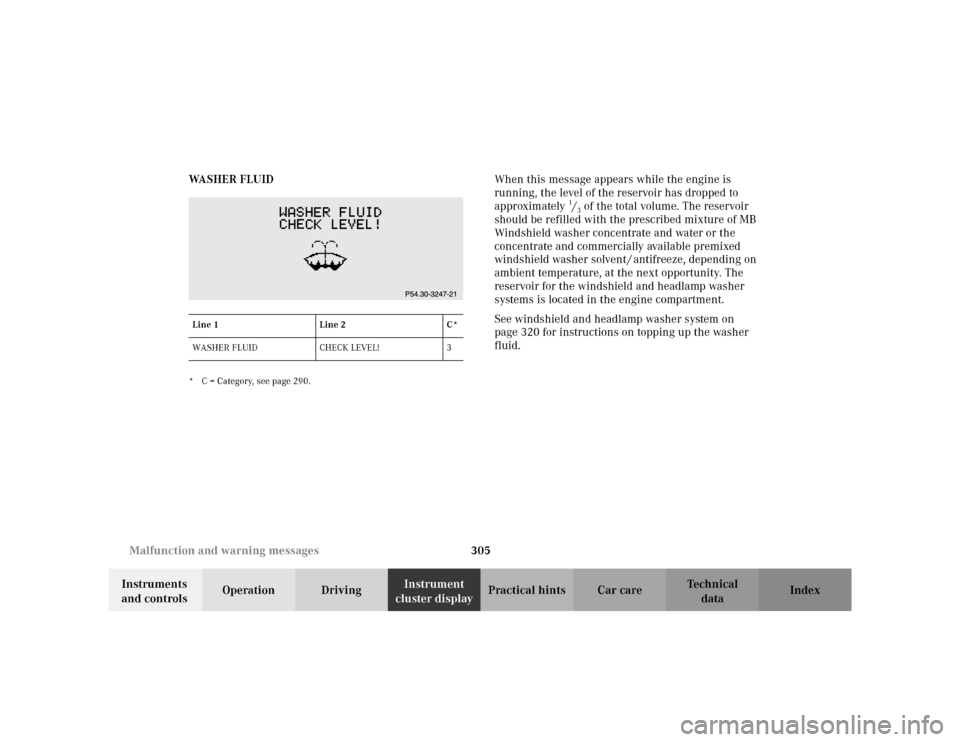
cluster displayPractical hints Car care Index WA S H E R F L U I D
* C = Category, see page 290.
When this message appears while the engine is
running, the level of the reservoir has dropped to
approximately
1/3 of the total volume. The reservoir
should be refilled with the prescribed mixture of MB
Windshield washer concentrate and water or the
concentrate and commercially available premixed
windshield washer solvent / antifreeze, depending on
ambient temperature, at the next opportunity. The
reservoir for the windshield and headlamp washer
systems is located in the engine compartment.
See windshield and headlamp washer system on
page 320 for instructions on topping up the washer
fluid.
Line 1 Line 2 C*
WASHER FLUID CHECK LEVEL! 3
Page 323 of 399
320 Engine compartment
Te ch n i c a l
data Instruments
and controlsOperation DrivingInstrument
cluster displayPractical hintsCar care Index
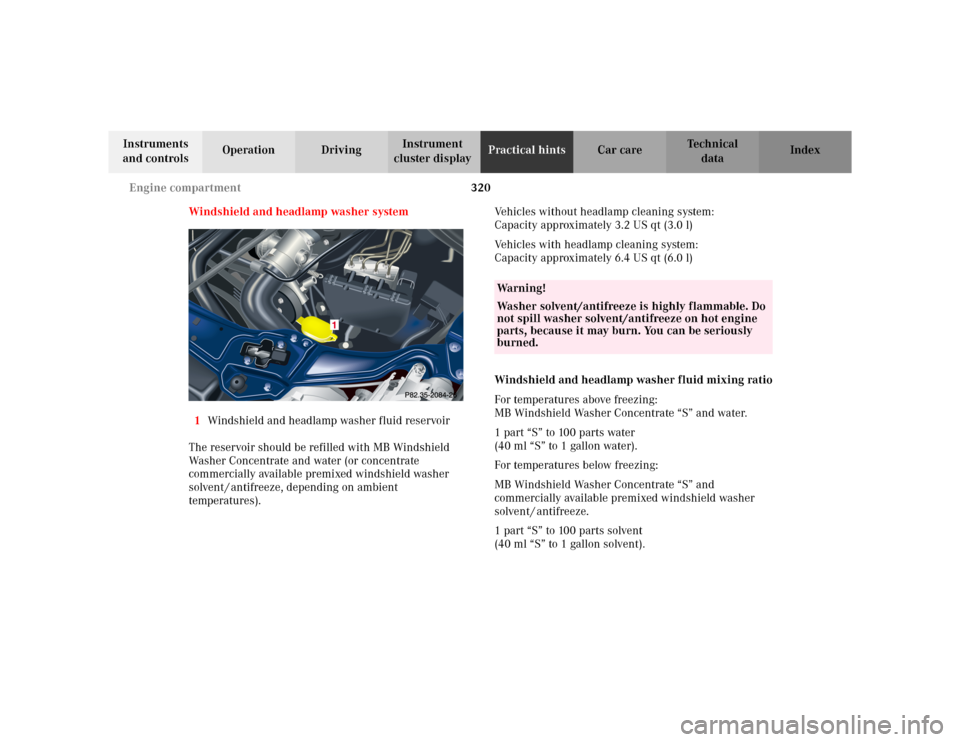
Windshield and headlamp washer system
1Windshield and headlamp washer fluid reservoir
The reservoir should be refilled with MB Windshield
Washer Concentrate and water (or concentrate
commercially available premixed windshield washer
solvent / antifreeze, depending on ambient
temperatures).Vehicles without headlamp cleaning system:
Capacity approximately 3.2 US qt (3.0 l)
Vehicles with headlamp cleaning system:
Capacity approximately 6.4 US qt (6.0 l)
Windshield and headlamp washer fluid mixing ratio
For temperatures above freezing:
MB Windshield Washer Concentrate “S” and water.
1 part “S” to 100 parts water
(40 ml “S” to 1 gallon water).
For temperatures below freezing:
MB Windshield Washer Concentrate “S” and
commercially available premixed windshield washer
solvent / antifreeze.
1 part “S” to 100 parts solvent
(40 ml “S” to 1 gallon solvent).
Wa r n i n g !
Washer solvent/antifreeze is highly flammable. Do
not spill washer solvent/antifreeze on hot engine
parts, because it may burn. You can be seriously
burned.
Page 338 of 399
335 Tires, Wheels
Te ch n i c a l
data Instruments
and controlsOperation DrivingInstrument
cluster displayPractical hintsCar care Index Tire inflation pressure
A table (see fuel filler flap) lists the tire inflation
pressures specified for Mercedes-Benz recommended
tires as well as for the varying operating conditions.
Important!
Tire pressure changes by approximately 1.5 psi (0.1 bar)
per 18
°F (10
°C) of air temperature change. Keep this in
mind when checking tire pressure inside a garage –
especially in the winter.
Example:
If garage temperature = approximately +68
°F (+20
°C)
and ambient temperature = approximately +32
°F (0
°C)
then the adjusted air pressure = specified air pressure
+3 psi (+0.2 bar).
Tire pressures listed for light loads are minimum values
offering high driving comfort. Increased inflation
pressures for heavy loads produce favorable handling
characteristics with lighter loads and are perfectly
permissible. The ride of the vehicle, however, will
become somewhat harder.
Tire temperature and pressure increase with the vehicle
speed. Tire pressure should therefore only be checked
and corrected on cold tires. Correct tire pressure in warm tires only if pressure has dropped below the
pressure listed in the table and the respective operating
conditions are taken into consideration.
An underinflated tire due to a slow leak (e.g. due to a
nail in the tire) may cause damage such as tread
separation, bulging etc. Regular tire pressure checks
(including the spare tire) at intervals of no more than
14 days are therefore essential.
If a tire constantly loses air, it should be inspected for
damage.
The spare tire should be checked periodically for
condition and inflation. Spare tire will age and become
worn over time even if never used, and thus should be
inspected and replaced when necessary.
Wa r n i n g !
Do not overinflate tires. Overinflating tires can
result in sudden deflation (blowout) because they
are more likely to become punctured or damaged
by road debris, potholes etc. Follow recommended
inflation pressures.Do not overload the tires by exceeding the specified
vehicle capacity weight as indicated by the label on
the driver’s door latch post). Overloading the tires
can overheat them, possibly causing a blowout.