warning MERCEDES-BENZ C240 2001 W203 Workshop Manual
[x] Cancel search | Manufacturer: MERCEDES-BENZ, Model Year: 2001, Model line: C240, Model: MERCEDES-BENZ C240 2001 W203Pages: 381, PDF Size: 19.92 MB
Page 296 of 381
287 Malfunction and warning messages
Te ch n i c a l
data Instruments
and controlsOperation DrivingInstrument
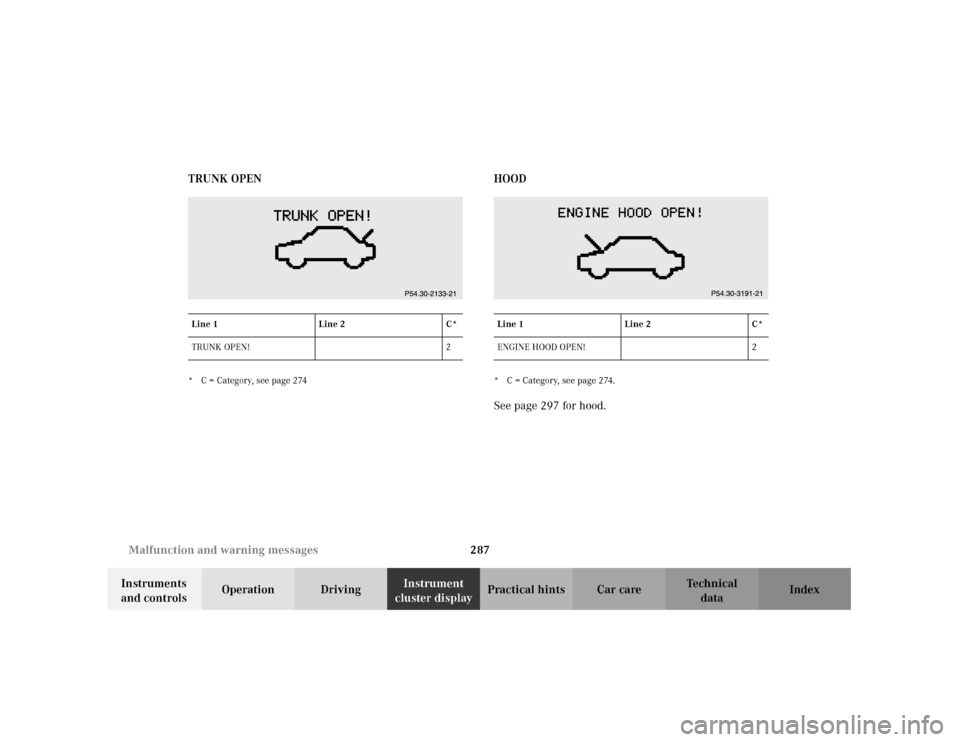
cluster displayPractical hints Car care Index TRUNK OPEN
* C = Category, see page 274
HOOD* C = Category, see page 274.See page 297 for hood.
Line 1 Line 2 C*
TRUNK OPEN! 2
Line 1 Line 2 C*
ENGINE HOOD OPEN! 2
Page 297 of 381
288 Malfunction and warning messages
Te ch n i c a l
data Instruments
and controlsOperation DrivingInstrument
cluster displayPractical hints Car care Index
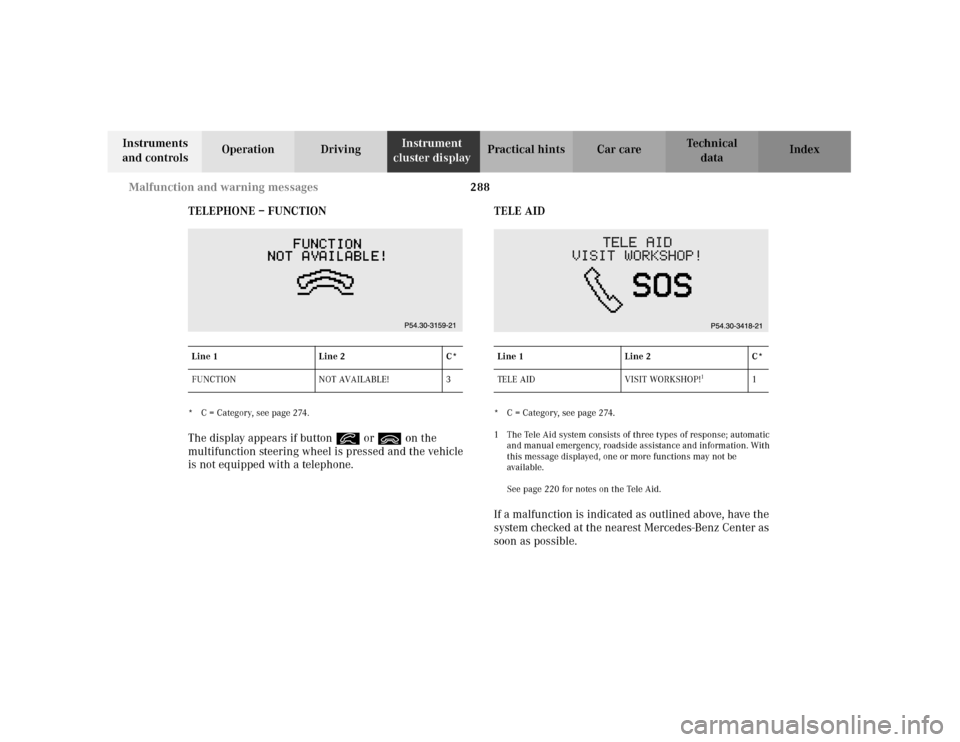
TELEPHONE – FUNCTION
* C = Category, see page 274.The display appears if button í or ì on the
multifunction steering wheel is pressed and the vehicle
is not equipped with a telephone.TELE AID
* C = Category, see page 274.
1 The Tele Aid system consists of three types of response; automatic
and manual emergency, roadside assistance and information. With
this message displayed, one or more functions may not be
avai lable.
See page 220 for notes on the Tele Aid.If a malfunction is indicated as outlined above, have the
system checked at the nearest Mercedes-Benz Center as
soon as possible.
Line 1 Line 2 C*
FUNCTION NOT AVAILABLE! 3
Line 1 Line 2 C*
TE L E A I D V I S I T WO R KS H O P !
1
1
Page 298 of 381
289 Malfunction and warning messages
Te ch n i c a l
data Instruments
and controlsOperation DrivingInstrument
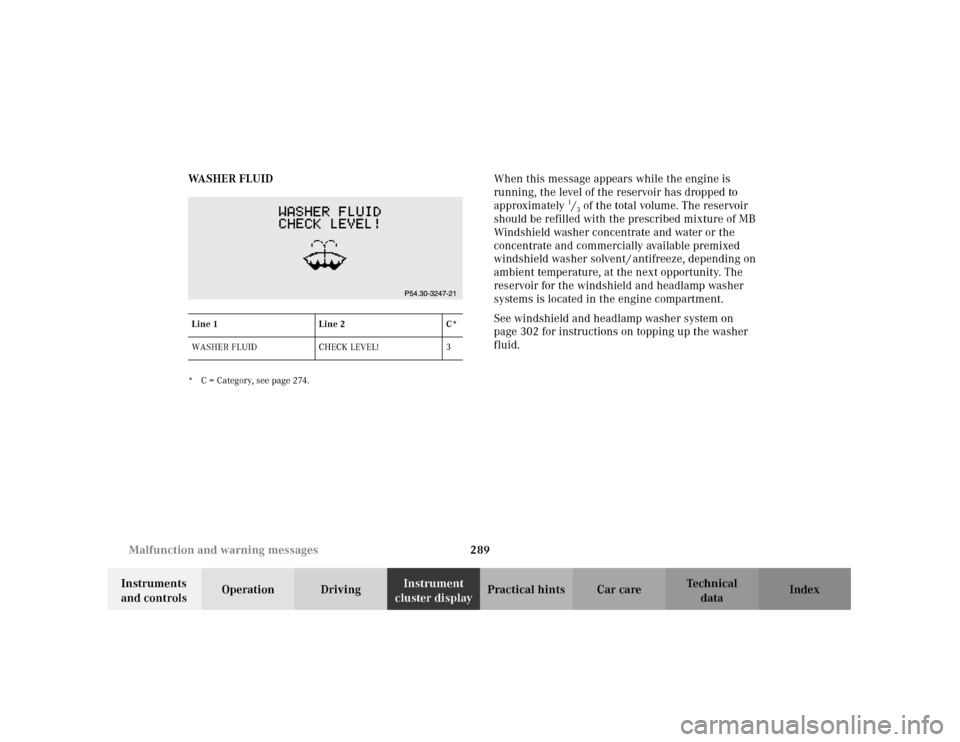
cluster displayPractical hints Car care Index WA S H E R F L U I D
* C = Category, see page 274.
When this message appears while the engine is
running, the level of the reservoir has dropped to
approximately
1/3 of the total volume. The reservoir
should be refilled with the prescribed mixture of MB
Windshield washer concentrate and water or the
concentrate and commercially available premixed
windshield washer solvent / antifreeze, depending on
ambient temperature, at the next opportunity. The
reservoir for the windshield and headlamp washer
systems is located in the engine compartment.
See windshield and headlamp washer system on
page 302 for instructions on topping up the washer
fluid.
Line 1 Line 2 C*
WASHER FLUID CHECK LEVEL! 3
Page 299 of 381
290 Malfunction and warning messages
Te ch n i c a l
data Instruments
and controlsOperation DrivingInstrument
cluster displayPractical hints Car care Index
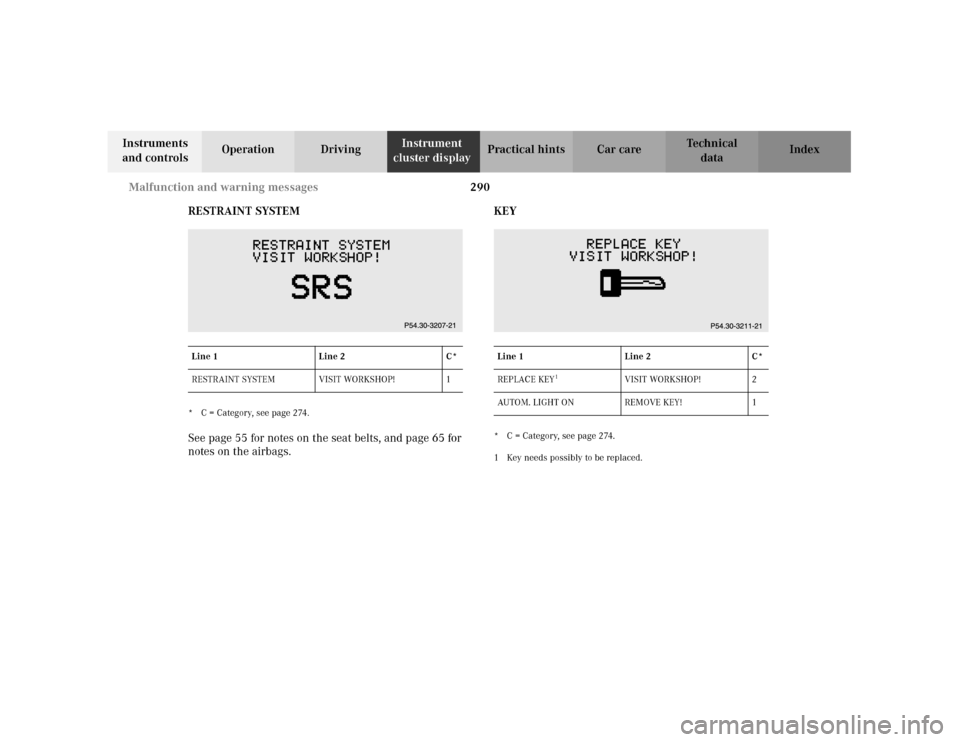
RESTRAINT SYSTEM
* C = Category, see page 274.See page 55 for notes on the seat belts, and page 65 for
notes on the airbags.KEY
* C = Category, see page 274.
1 Key needs possibly to be replaced. Line 1 Line 2 C*
RESTRAINT SYSTEM VISIT WORKSHOP! 1Line 1 Line 2 C*
REPLACE KEY
1
VISIT WORKSHOP! 2
AUTOM. LIGHT ON REMOVE KEY! 1
Page 300 of 381
291 Malfunction and warning messages
Te ch n i c a l
data Instruments
and controlsOperation DrivingInstrument
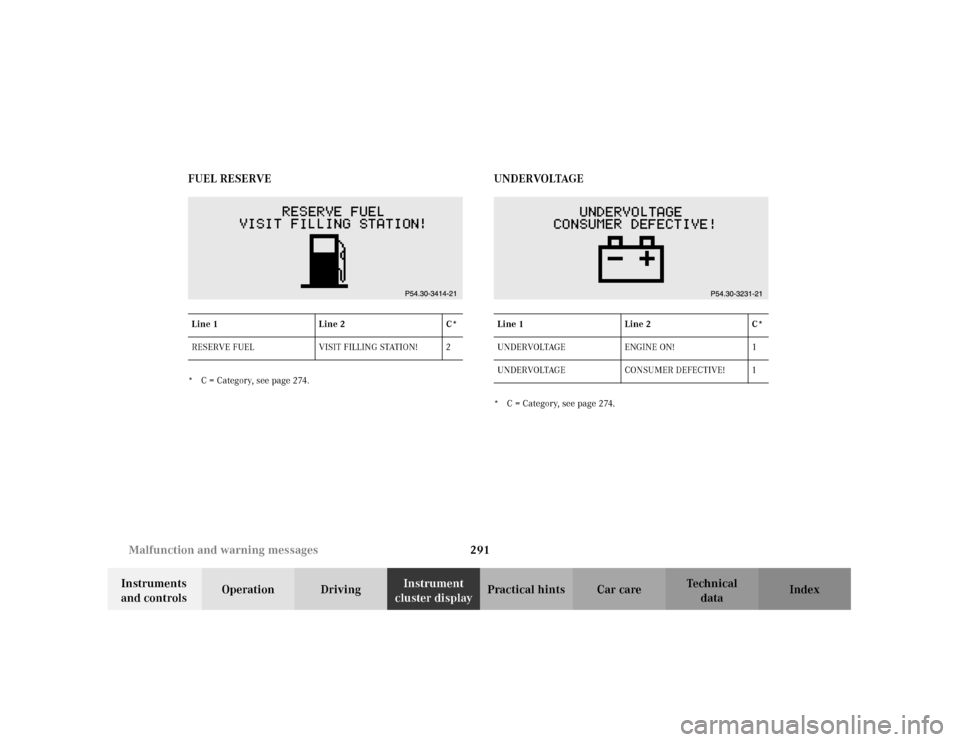
cluster displayPractical hints Car care Index FUEL RESERVE
* C = Category, see page 274.
UNDERVOLTAGE* C = Category, see page 274. Line 1 Line 2 C*
RESERVE FUEL VISIT FILLING STATION! 2Line 1 Line 2 C*
UNDERVOLTAGE ENGINE ON! 1
UNDERVOLTAGE CONSUMER DEFECTIVE! 1
Page 301 of 381
292 Malfunction and warning messages
Te ch n i c a l
data Instruments
and controlsOperation DrivingInstrument
cluster displayPractical hints Car care Index
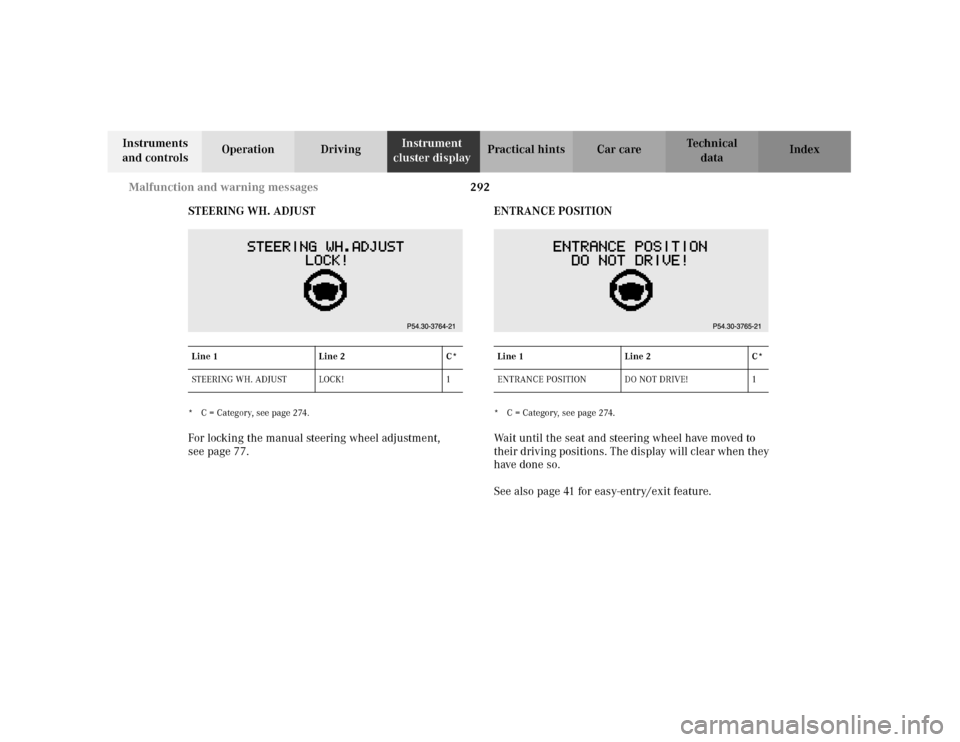
STEERING WH. ADJUST
* C = Category, see page 274.For locking the manual steering wheel adjustment,
seepage77.ENTRANCE POSITION
* C = Category, see page 274.Wait until the seat and steering wheel have moved to
their driving positions. The display will clear when they
have done so.
See also page 41 for easy-entry/exit feature.
Line 1 Line 2 C*
STEERING WH. AD JU ST LOCK! 1
Line 1 Line 2 C*
ENTRANCE POSITION DO NOT DRIVE! 1
Page 309 of 381
300 Engine compartment
Te ch n i c a l
data Instruments
and controlsOperation DrivingInstrument
cluster displayPractical hintsCar care Index
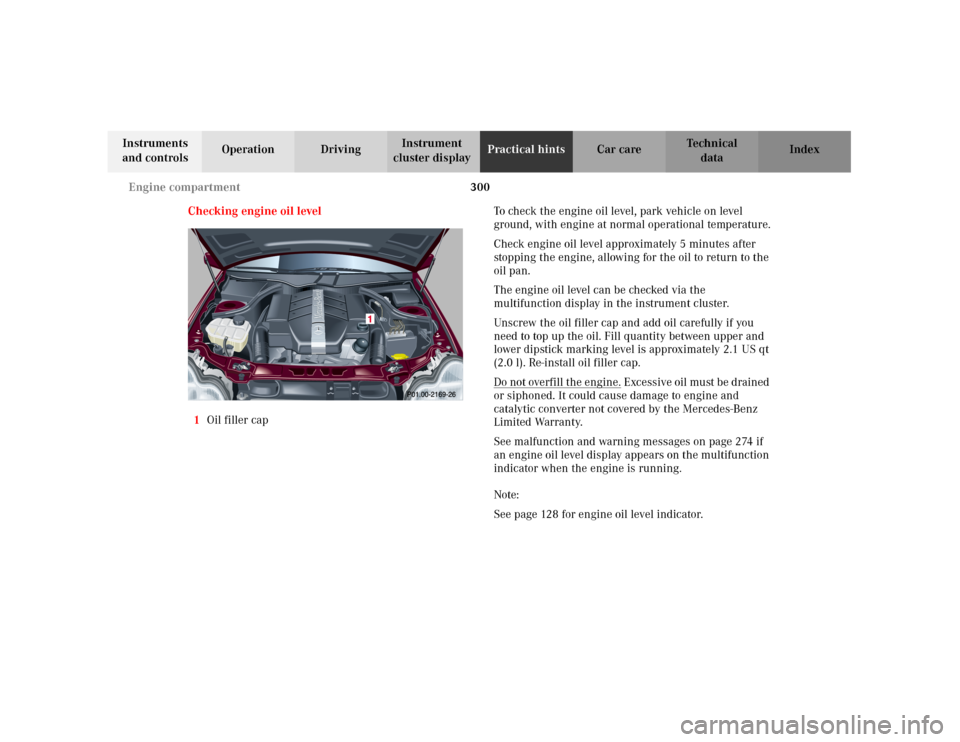
Checking engine oil level
1Oil filler capTo check the engine oil level, park vehicle on level
ground, with engine at normal operational temperature.
Check engine oil level approximately 5 minutes after
stopping the engine, allowing for the oil to return to the
oil pan.
The engine oil level can be checked via the
multifunction display in the instrument cluster.
Unscrew the oil filler cap and add oil carefully if you
need to top up the oil. Fill quantity between upper and
lower dipstick marking level is approximately 2.1 US qt
(2.0 l). Re-install oil filler cap.
Do not overfill the engine.
Excessive oil must be drained
or siphoned. It could cause damage to engine and
catalytic converter not covered by the Mercedes-Benz
Limited Warranty.
See malfunction and warning messages on page 274 if
an engine oil level display appears on the multifunction
indicator when the engine is running.
Note:
See page 128 for engine oil level indicator.
Page 319 of 381
310 Tires, Wheels
Te ch n i c a l
data Instruments
and controlsOperation DrivingInstrument
cluster displayPractical hintsCar care Index
Move vehicle to a level area which is a safe distance
from the roadway.
1. Set parking brake and turn on hazard warning
flasher.
2. Move selector lever to position “P” and turn off
engine (manual transmission to 1st or reverse gear).
3. Prevent vehicle from rolling away by blocking
wheels with wheel chocks (not supplied with
vehicle) or sizable wood block or stone. When
changing a wheel on a hill, place chocks on the
downhill side blocking both wheels of the other
axle. On an level road, place one chock in front of
and one behind the wheel that is diagonally
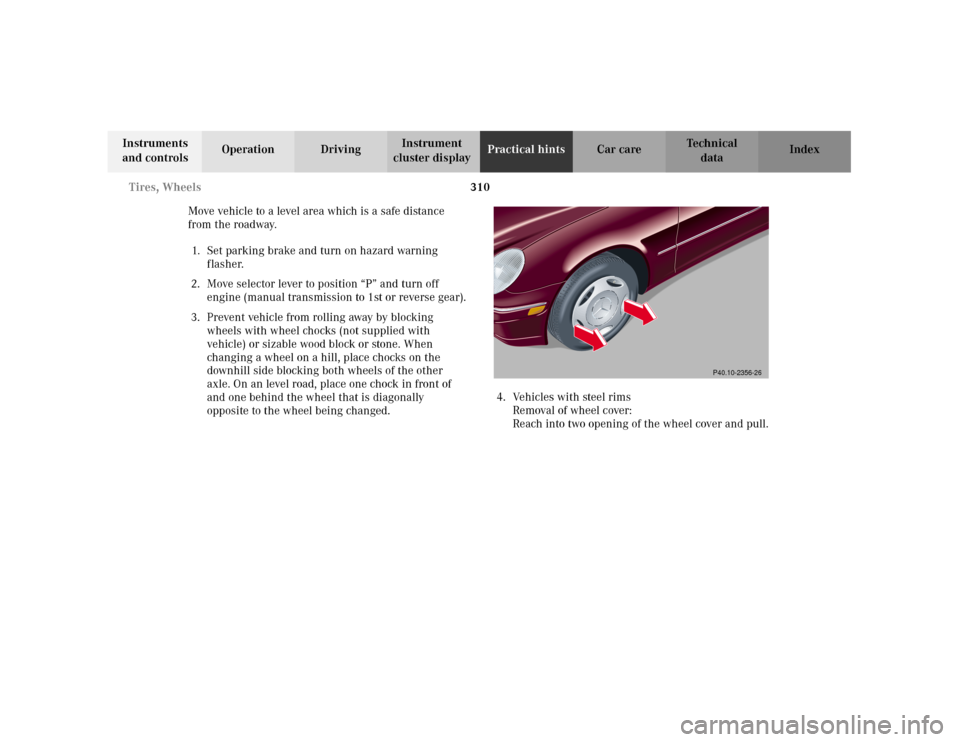
opposite to the wheel being changed.4. Vehicles with steel rims
Removal of wheel cover:
Reach into two opening of the wheel cover and pull.
P40.10-2356-26
Page 329 of 381

320 Jump starting
Te ch n i c a l
data Instruments
and controlsOperation DrivingInstrument
cluster displayPractical hintsCar care Index
Proceed as follows:
1. Position the vehicle with the charged battery so that
the jumper cables will reach, but never let the
vehicles touch. Make sure the jumper cables do not
have loose or missing insulation.
2. On both vehicles:
•Turn off engine and all lights and accessories,
except hazard warning flashers or work lights.
•Apply parking brake and shift selector lever to
position “P” (manual transmission to Neutral).
Important!
3. Clamp one end of the first jumper cable to the
positive (+) under hood terminal of the discharged
battery and the other end to the positive (+) terminal
of the charged battery. Make sure the cable clamps
do not touch any other metal parts.
4. Clamp one end of the second jumper cable to the
grounded negative (–) terminal of the charged
battery and the final connection to the negative (–)
under hood terminal of the disabled vehicle.Important!
5. Start engine of the vehicle with the charged battery
and run at high idle. Make sure the cables are not
on or near pulleys, fans, or other parts that move
when the engine is started. Allow the discharged
battery to charge for a few minutes. Start engine of
the disabled vehicle in the usual manner.
6. After the engine has started, remove jumper cables
by exactly reversing the above installation
sequence, starting with the last connection made
first. When removing each clamp, make sure that it
does not touch any other metal while the other end
is still attached.
Page 333 of 381
324 Towing the vehicle
Te ch n i c a l
data Instruments
and controlsOperation DrivingInstrument
cluster displayPractical hintsCar care Index
Use wheel lift, dolly, or flat bed equipment, with
electronic key in starter switch turned to position 0.
Note:
To signal turns while being towed with hazard warning
flasher in use, turn electronic key in starter switch to
position 2 and activate combination switch for left or
right turn signal in usual manner – only the selected
turn signal will operate.Upon canceling the turn signal, the hazard warning
flasher will operate again.
Caution!
If the vehicle is towed with the front axle raised, the
engine must be shut off (electronic key in starter switch
position 0 or 1). Otherwise, the ESP will immediately be
engaged and will apply the rear wheel brakes.
Switch off the tow-away alarm (see page 39) as well as
the ESP (see page 260).
Wa r n i n g !
With the engine not running, there is no power
assistance for the braking and steering systems. In
this case, it is important to keep in mind that a
considerably higher degree of effort is necessary to
brake and steer the vehicle.