Release MERCEDES-BENZ C240 2002 W203 Owner's Guide
[x] Cancel search | Manufacturer: MERCEDES-BENZ, Model Year: 2002, Model line: C240, Model: MERCEDES-BENZ C240 2002 W203Pages: 406
Page 267 of 406
264 Driving instructions
Te ch n i c a l
data Instruments
and controlsOperationDrivingInstrument
cluster displayPractical hints Car care Index
Parking Important!
It is advisable to set the parking brake whenever
parking or leaving the vehicle. In addition, move
selector lever to position “P” (manual transmission: first
or reverse gear). When parking on hills, always set the
parking brake.
Wa r n i n g !
To reduce the risk of personal injury as a result of
vehicle movement, before
turning off the engine
and leaving the vehicle always:
1. Keep right foot on service brake pedal.
2. Firmly depress parking brake pedal.
3. Move the selector lever to position “P”
(manual transmission: first or reverse gear).
4. Slowly release service brake pedal.
5. Turn front wheels towards the road curb.
6. Turn the electronic key to starter switch
position 0 and remove.
7. Take the electronic key and lock vehicle when
leaving.
OM_203.book Seite 264 Donnerstag, 31. Mai 2001 11:57 11
Page 275 of 406
272 Driving systems
Te ch n i c a l
data Instruments
and controlsOperationDrivingInstrument
cluster displayPractical hints Car care Index
Cruise control
The cruise control allows you to drive in a more relaxed
manner, for example over long distances, as it
automatically maintains the set speed by actively
regulating the throttle setting.
Any given speed above approximately 25 mph
(40 km / h) can be maintained with the cruise control by
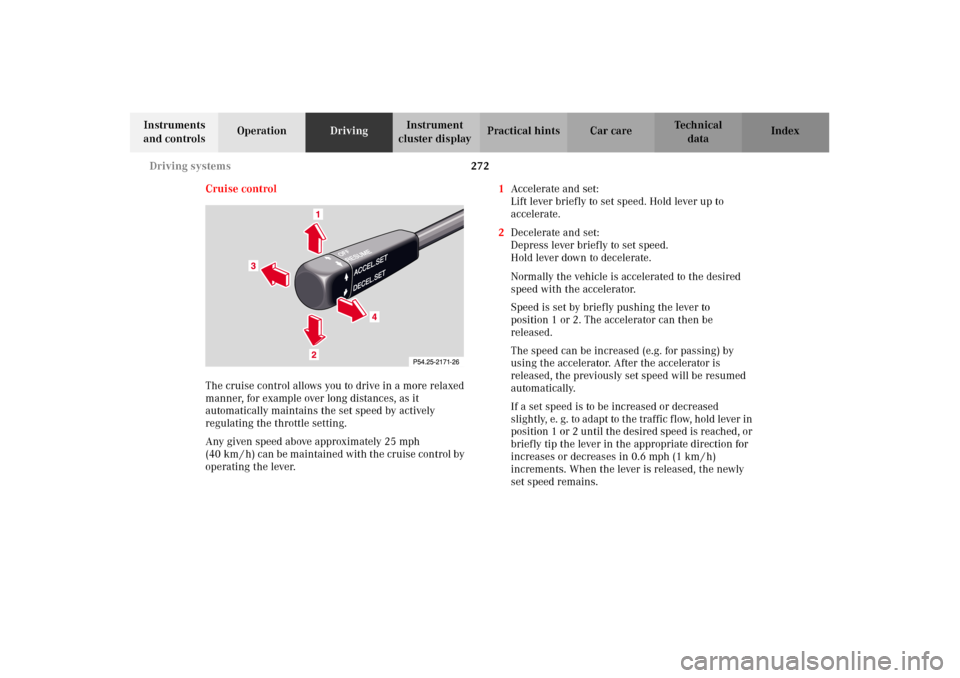
operating the lever.1Accelerate and set:
Lift lever briefly to set speed. Hold lever up to
accelerate.
2Decelerate and set:
Depress lever briefly to set speed.
Hold lever down to decelerate.
Normally the vehicle is accelerated to the desired
speed with the accelerator.
Speed is set by briefly pushing the lever to
position 1 or 2. The accelerator can then be
released.
The speed can be increased (e.g. for passing) by
using the accelerator. After the accelerator is
released, the previously set speed will be resumed
automatically.
If a set speed is to be increased or decreased
slightly, e. g. to adapt to the traf f ic f low, hold lever in
position 1 or 2 until the desired speed is reached, or
briefly tip the lever in the appropriate direction for
increases or decreases in 0.6 mph (1 km / h)
increments. When the lever is released, the newly
set speed remains.
OM_203.book Seite 272 Donnerstag, 31. Mai 2001 11:57 11
Page 278 of 406
275 Driving systems
Te ch n i c a l
data Instruments
and controlsOperationDrivingInstrument
cluster displayPractical hints Car care Index Brake assist system (BAS)
The BAS is designed to maximize the vehicle’s braking
capability during emergency braking maneuvers by
having maximum power boost applied to the brakes
more quickly in emergency braking conditions than
might otherwise be afforded solely by the driver’s
braking style. This can help reduce braking distances
over what ordinary driving and braking style might do.
The BAS complements the antilock brake system (ABS).Applying the brakes very quickly results in maximum
BAS assistance.
To receive the benefit of the system you must apply
continuous full braking power during the stopping
sequence. Do not reduce brake pedal pressure.
Once the brake pedal is released, the BAS is deactivated.
If the BAS warning message is displayed, a malfunction
has been detected in the system. The brake system
functions in the usual manner, but without BAS.
With the ABS malfunctioning, the BAS is also switched
off.
If a BAS warning message is displayed, have the BAS
checked at your authorized Mercedes-Benz Center as
soon as possible.
Wa r n i n g !
BAS cannot prevent the natural laws of physics
from acting on the vehicle, nor can it increase
braking efficiency beyond that afforded by the
condition of the vehicle brakes and tires or the
traction afforded. The BAS cannot prevent
ac c id ent s, i nc l udi ng t hose resul tin g from exc es si ve
speed in turns, following another vehicle too
closely, or aquaplaning. Only a safe, attentive, and
skillful driver can prevent accidents. The
capabilities of a BAS equipped vehicle must never
be exploited in a reckless or dangerous manner
which could jeopardize the user’s safety or the
safety of others.
OM_203.book Seite 275 Donnerstag, 31. Mai 2001 11:57 11
Page 285 of 406
282 What you should know at the gas station
Te ch n i c a l
data Instruments
and controlsOperationDrivingInstrument
cluster displayPractical hints Car care Index
What you should know at the gas station
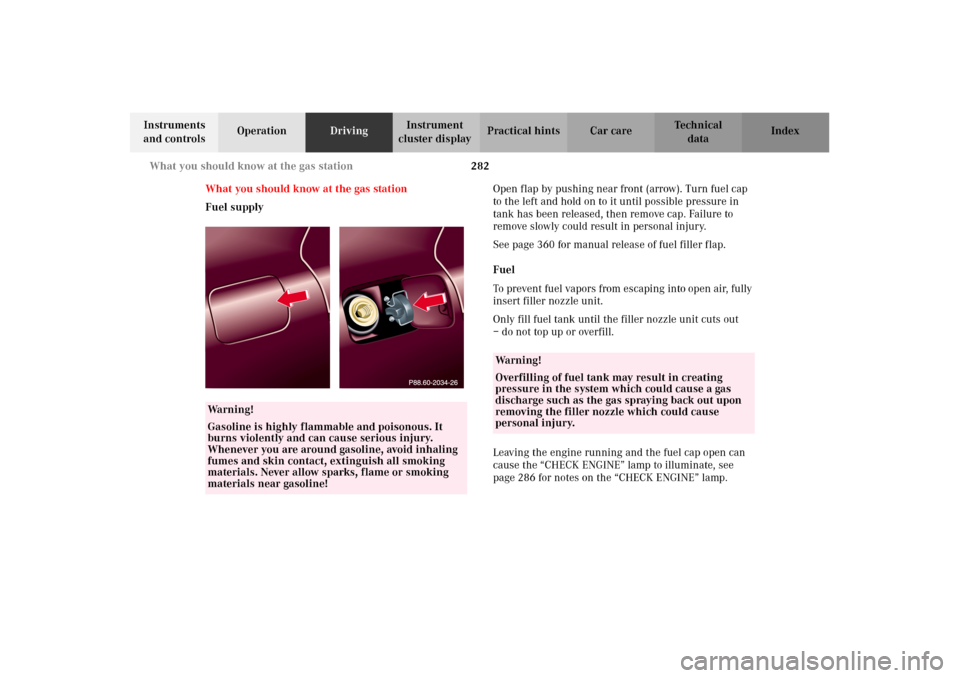
Fuel supplyOpen flap by pushing near front (arrow). Turn fuel cap
to the left and hold on to it until possible pressure in
tank has been released, then remove cap. Failure to
remove slowly could result in personal injury.
See page 360 for manual release of fuel filler flap.
Fuel
To prevent fuel vapors from escaping into open air, fully
insert filler nozzle unit.
Only fill fuel tank until the filler nozzle unit cuts out
– do not top up or overfill.
Leaving the engine running and the fuel cap open can
cause the “CHECK ENGINE” lamp to illuminate, see
page 286 for notes on the “CHECK ENGINE” lamp.
Wa r n i n g !
Gasoline is highly flammable and poisonous. It
burns violently and can cause serious injury.
Whenever you are around gasoline, avoid inhaling
fumes and skin contact, extinguish all smoking
materials. Never allow sparks, flame or smoking
materials near gasoline!
Wa r n i n g !
Overfilling of fuel tank may result in creating
pressure in the system which could cause a gas
discharge such as the gas spraying back out upon
removing the filler nozzle which could cause
personal injury.
OM_203.book Seite 282 Donnerstag, 31. Mai 2001 11:57 11
Page 291 of 406
288 Malfunction and indicator lamps
Te ch n i c a l
data Instruments
and controlsOperation DrivingInstrument
cluster displayPractical hints Car care Index
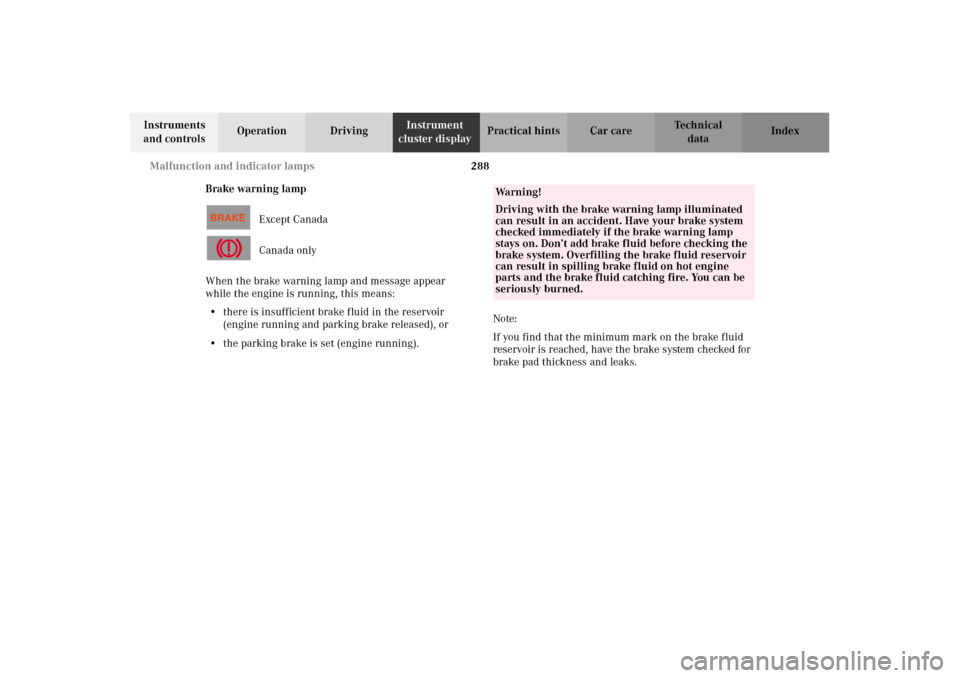
Brake warning lamp
Except Canada
Canada only
When the brake warning lamp and message appear
while the engine is running, this means:
•there is insufficient brake fluid in the reservoir
(engine running and parking brake released), or
•the parking brake is set (engine running).Note:
If you find that the minimum mark on the brake fluid
reservoir is reached, have the brake system checked for
brake pad thickness and leaks.
Wa r n i n g !
Driving with the brake warning lamp illuminated
can result in an accident. Have your brake system
checked immediately if the brake warning lamp
stays on. Don’t add brake fluid before checking the
brake system. Overfilling the brake fluid reservoir
can result in spilling brake fluid on hot engine
parts and the brake fluid catching fire. You can be
seriously burned.
OM_203.book Seite 288 Donnerstag, 31. Mai 2001 11:57 11
Page 302 of 406
299 Malfunction and warning messages
Te ch n i c a l
data Instruments
and controlsOperation DrivingInstrument
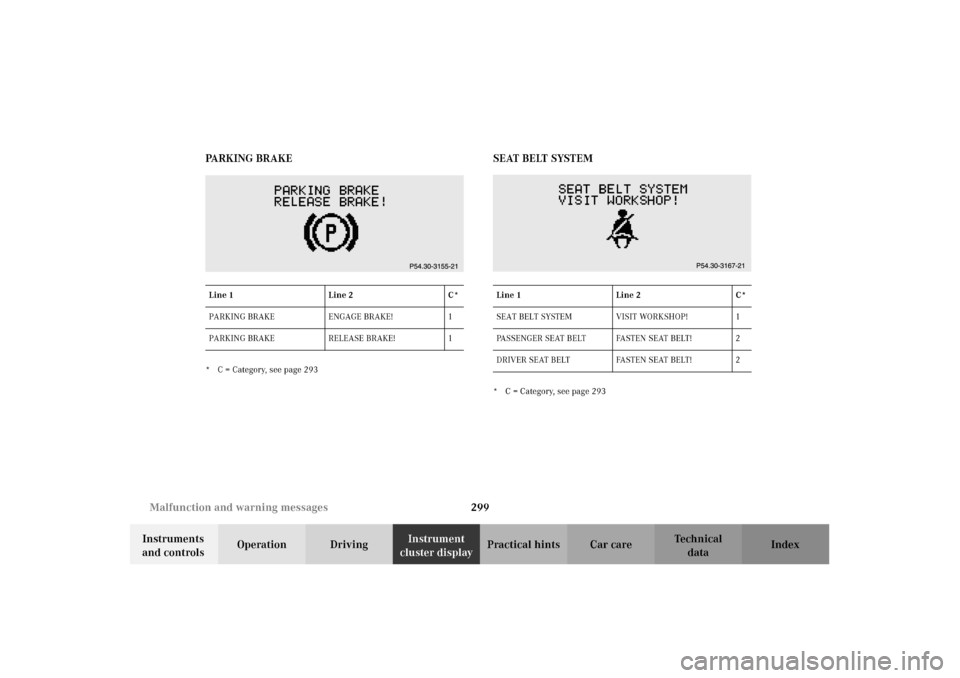
cluster displayPractical hints Car care Index PA R K I N G B R A K E
* C = Category, see page 293
SEAT BELT SYSTEM* C = Category, see page 293 Line 1 Line 2 C*
PARKING BRAKE ENGAGE BRAKE! 1
PARKING BRAKE RELEASE BRAKE! 1Line 1 Line 2 C*
SEAT BELT SYSTEM VISIT WORKSHOP! 1
PASSENGER SEAT BELT FASTEN SEAT BELT! 2
DRIVER SEAT BELT FASTEN SEAT BELT! 2
OM_203.book Seite 299 Donnerstag, 31. Mai 2001 11:57 11
Page 316 of 406
313 Contents - Practical hints
Te ch n i c a l
data Instruments
and controlsOperation DrivingInstrument
cluster displayPractical hintsCar care Index
Practical hintsFirst aid kit ..................................... 314
Stowing things in the vehicle ...... 314
Fuses ................................................ 315
Hood ................................................. 318
Adding engine oil .......................... 321
Automatic transmission
fluid level ...................................322
Coolant level ...................................322
Adding coolant ...........................323
Windshield and
headlamp washer system ........323
Spare wheel, vehicle tools,
storage compartment ................325TIREFIT, vehicle tools,
storage compartment
(C 32 AMG only) ....................... 326
Vehicle jack .................................... 327
Wheels ............................................ 328
Tire replacement ....................... 328
Rotating wheels ......................... 329
Spare wheel .................................... 330
Spare wheel bolts ...................... 330
Changing wheels ........................... 331
TIREFIT ........................................... 337
Tire inflation pressure ................. 341
Battery ............................................. 342
Jump starting ................................. 344Towing the vehicle .........................347
Transmission selector lever,
manually unlocking ...................350
Exterior lamps ................................ 351
Replacing bulbs .......................... 351
Standby bulb function ...................356
Changing batteries in the
electronic main key ..................357
Synchronizing
remote control ............................359
Emergency engine shut-down .....359
Fuel filler flap, manual release ...360
Replacing wiper blade insert .......362
Roof rack .........................................363
OM_203.book Seite 313 Donnerstag, 31. Mai 2001 11:57 11
Page 319 of 406
316 Fuses
Te ch n i c a l
data Instruments
and controlsOperation DrivingInstrument
cluster displayPractical hintsCar care Index
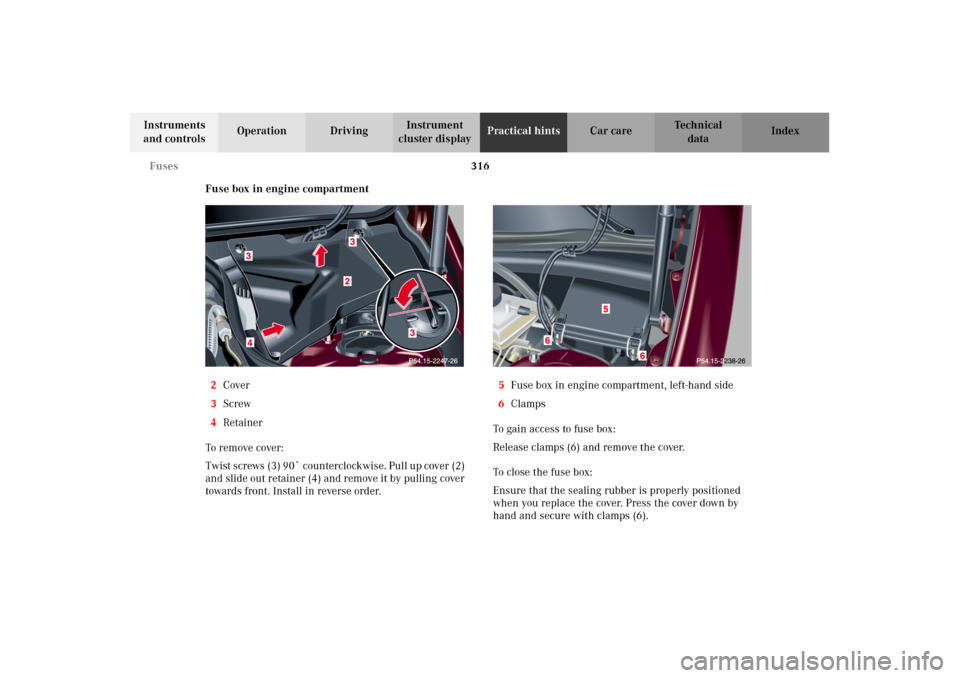
Fuse box in engine compartment
2Cover
3Screw
4Retainer
To remove cover:
Twist screws (3) 90˚ counterclockwise. Pull up cover (2)
and slide out retainer (4) and remove it by pulling cover
towards front. Install in reverse order.5Fuse box in engine compartment, left-hand side
6Clamps
To gain access to fuse box:
Release clamps (6) and remove the cover.
To close the fuse box:
Ensure that the sealing rubber is properly positioned
when you replace the cover. Press the cover down by
hand and secure with clamps (6).
OM_203.book Seite 316 Donnerstag, 31. Mai 2001 11:57 11
Page 322 of 406
319 Engine compartment
Te ch n i c a l
data Instruments
and controlsOperation DrivingInstrument
cluster displayPractical hintsCar care Index To o pen :
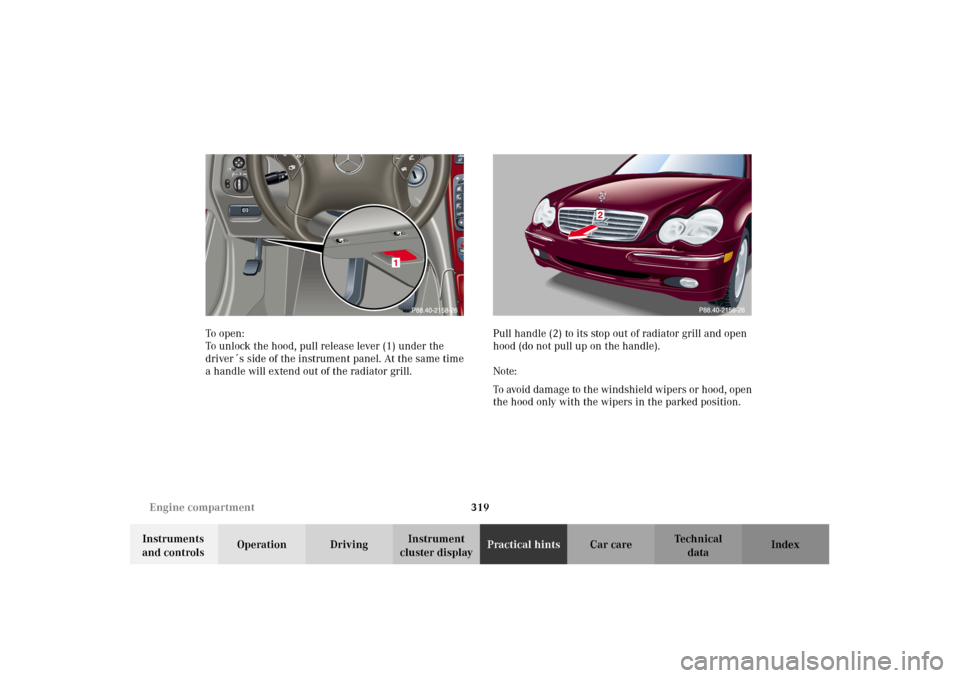
To unlock the hood, pull release lever (1) under the
driver´s side of the instrument panel. At the same time
a handle will extend out of the radiator grill.Pull handle (2) to its stop out of radiator grill and open
hood (do not pull up on the handle).
Note:
To avoid damage to the windshield wipers or hood, open
the hood only with the wipers in the parked position.
OM_203.book Seite 319 Donnerstag, 31. Mai 2001 11:57 11
Page 346 of 406
343 Battery
Te ch n i c a l
data Instruments
and controlsOperation DrivingInstrument
cluster displayPractical hintsCar care Index Therefore, we strongly recommend that you have the
battery charge checked frequently, and corrected if
necessary, especially if you use the vehicle less than
approximately 200 miles (300 km) per month,
mostly for short distance trips, or if it is not used for
long periods of time.
Only charge a battery with a battery charger after the
battery has been disconnected from the vehicle’s
electrical circuit.
Always disconnect the battery negative lead first and
connect last.
When removing and connecting the battery, always
make sure that all electrical consumers are off and the
electronic key is in starter switch position 0. The
battery, its filler caps, the vent tube and the opposite
plug must always be securely installed when the vehicle
is in operation.
While the engine is running the battery terminal clamps
must not be loosened or detached, otherwise the
generator and other electronic components would be
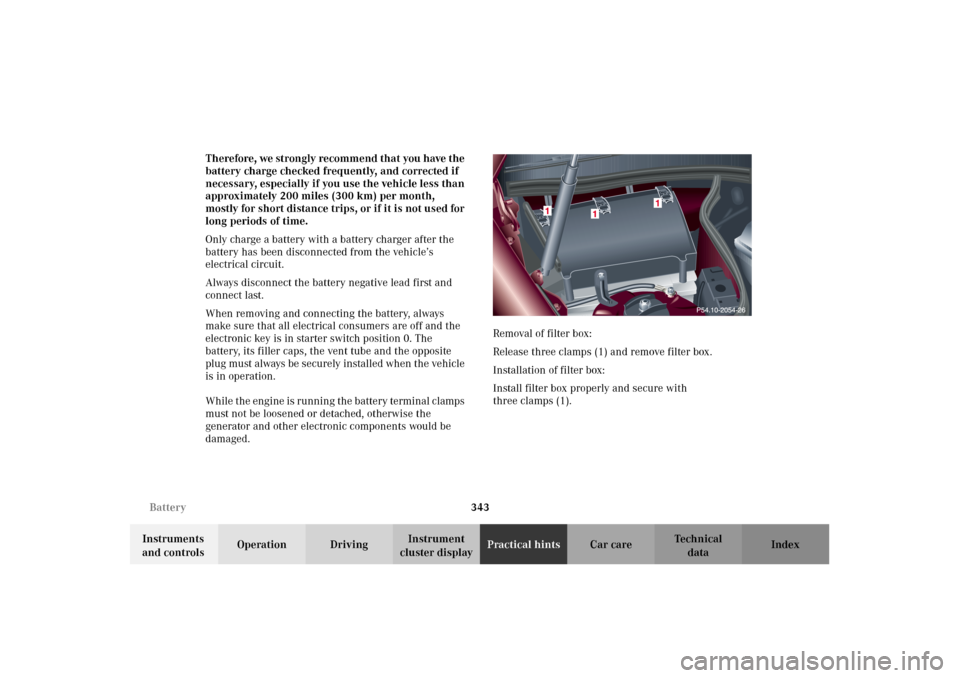
damaged.Removal of filter box:
Release three clamps (1) and remove filter box.
Installation of filter box:
Install filter box properly and secure with
three clamps (1).
OM_203.book Seite 343 Donnerstag, 31. Mai 2001 11:57 11