stop start MERCEDES-BENZ C320 2002 W203 Owner's Manual
[x] Cancel search | Manufacturer: MERCEDES-BENZ, Model Year: 2002, Model line: C320, Model: MERCEDES-BENZ C320 2002 W203Pages: 406
Page 99 of 406
96 Memory function
Te ch n i c a l
data Instruments
and controlsOperationDrivingInstrument
cluster displayPractical hints Car care Index
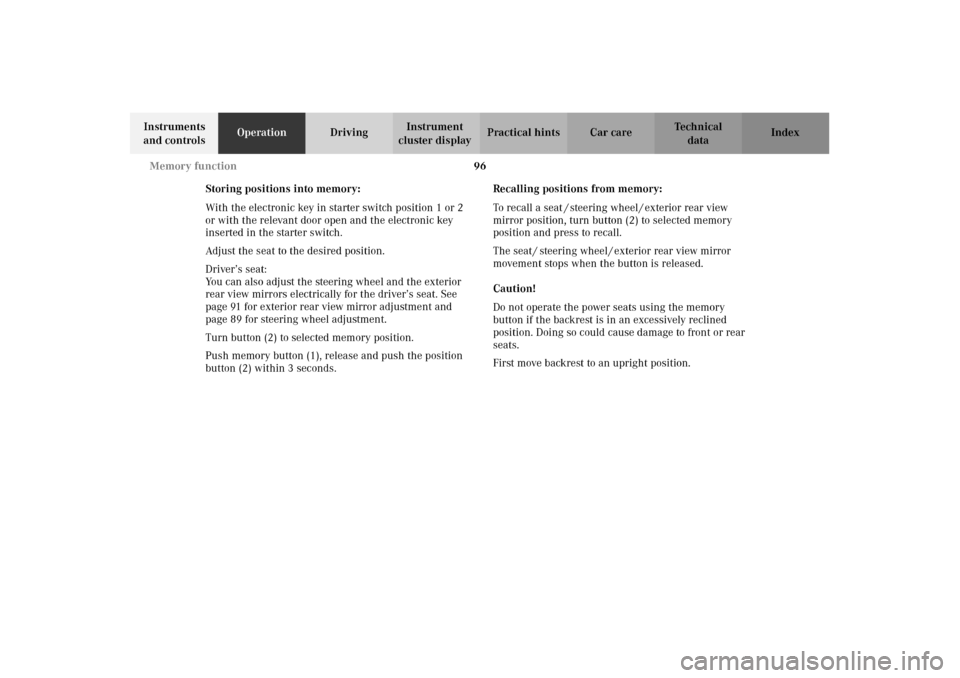
Storing positions into memory:
With the electronic key in starter switch position 1 or 2
or with the relevant door open and the electronic key
inserted in the starter switch.
Adjust the seat to the desired position.
Driver’s seat:
You can also adjust the steering wheel and the exterior
rear view mirrors electrically for the driver’s seat. See
page 91 for exterior rear view mirror adjustment and
page 89 for steering wheel adjustment.
Turn button (2) to selected memory position.
Push memory button (1), release and push the position
button (2) within 3 seconds.Recalling positions from memory:
To recall a seat / steering wheel / exterior rear view
mirror position, turn button (2) to selected memory
position and press to recall.
The seat / steering wheel / exterior rear view mirror
movement stops when the button is released.
Caution!
Do not operate the power seats using the memory
button if the backrest is in an excessively reclined
position. Doing so could cause damage to front or rear
seats.
First move backrest to an upright position.
OM_203.book Seite 96 Donnerstag, 31. Mai 2001 11:57 11
Page 140 of 406
137 Coolant temperature gauge
Te ch n i c a l
data Instruments
and controlsOperationDrivingInstrument
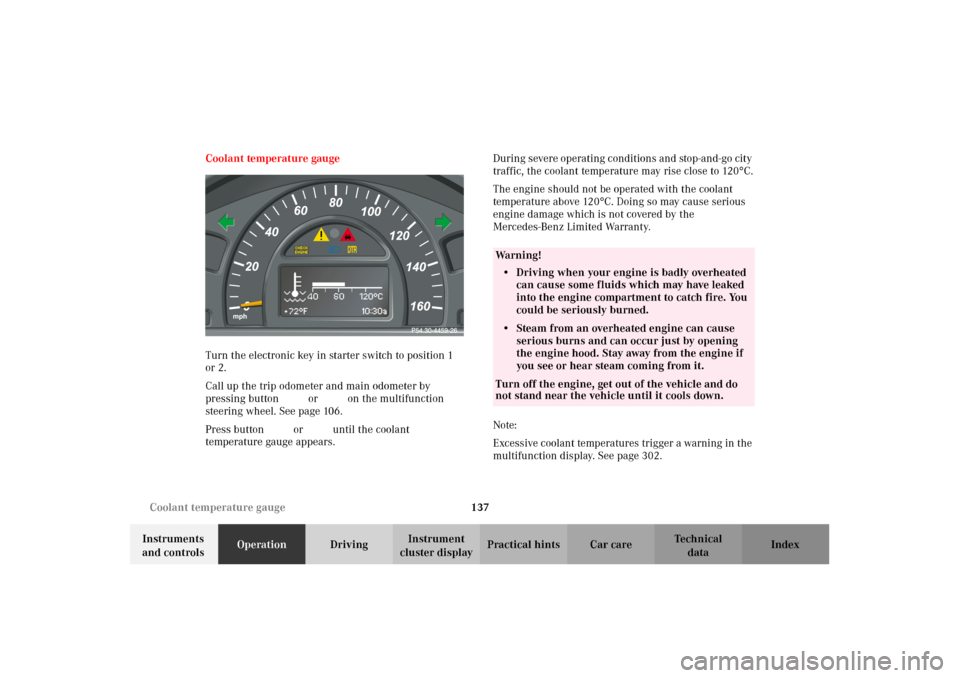
cluster displayPractical hints Car care Index Coolant temperature gauge
Turn the electronic key in starter switch to position 1
or 2.
Call up the trip odometer and main odometer by
pressing button è or ÿ on the multifunction
steering wheel. See page 106.
Press button j or k until the coolant
temperature gauge appears.During severe operating conditions and stop-and-go city
traffic, the coolant temperature may rise close to 120
°C.
The engine should not be operated with the coolant
temperature above 120
°C. Doing so may cause serious
engine damage which is not covered by the
Mercedes-Benz Limited Warranty.
Note:
Excessive coolant temperatures trigger a warning in the
multifunction display. See page 302.
Wa r n i n g !
• Driving when your engine is badly overheated
can cause some fluids which may have leaked
into the engine compartment to catch fire. You
could be seriously burned.• Steam from an overheated engine can cause
serious burns and can occur just by opening
the engine hood. Stay away from the engine if
you see or hear steam coming from it.Turn off the engine, get out of the vehicle and do
not stand near the vehicle until it cools down.
OM_203.book Seite 137 Donnerstag, 31. Mai 2001 11:57 11
Page 144 of 406
141 Engine oil level indicator
Te ch n i c a l
data Instruments
and controlsOperationDrivingInstrument
cluster displayPractical hints Car care Index Engine oil level indicator
To check the engine oil level, park vehicle on level
ground, with engine at normal operational temperature.
Check oil level approximately 5 minutes after stopping
the engine, allowing for the oil to return to the oil pan.
The message “OBSERVE WAITING PERIOD” will be
displayed if the required waiting period has not been
observed after stopping the engine:
•with engine at operational temperature
approximately 5 minutes.•with engine not at operational temperature up to
approximately 30 minutes.
The engine oil level check can be repeated after a short
time.
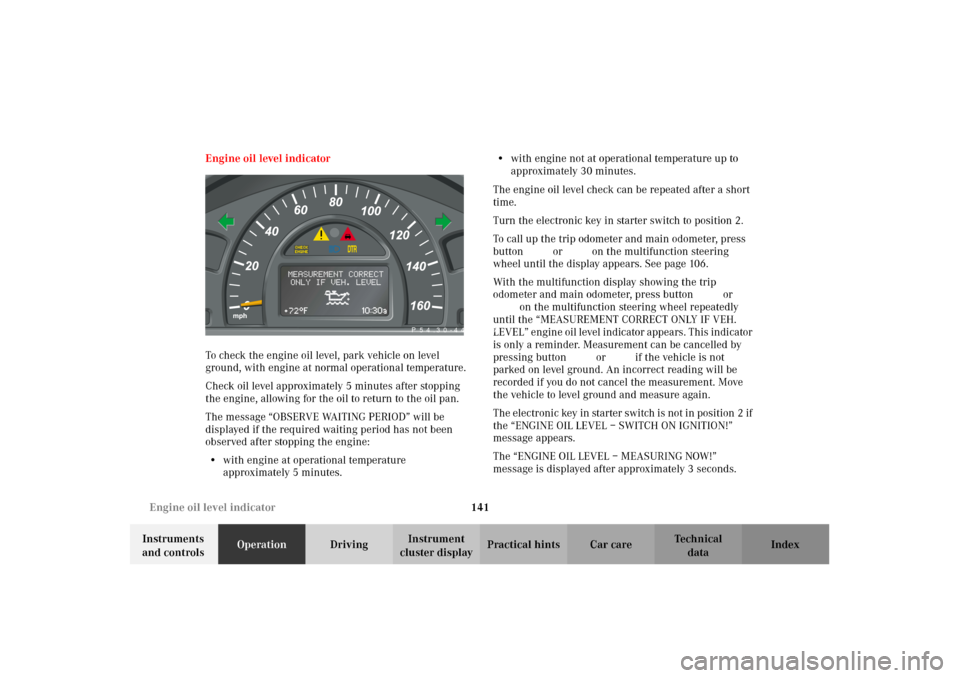
Turn the electronic key in starter switch to position 2.
To call up the trip odometer and main odometer, press
button è or ÿ on the multifunction steering
wheel until the display appears. See page 106.
With the multifunction display showing the trip
odometer and main odometer, press button j or
k on the multifunction steering wheel repeatedly
until the “MEASUREMENT CORRECT ONLY IF VEH.
LEVEL” engine oil level indicator appears. This indicator
is only a reminder. Measurement can be cancelled by
pressing button j or k if the vehicle is not
parked on level ground. An incorrect reading will be
recorded if you do not cancel the measurement. Move
the vehicle to level ground and measure again.
The electronic key in starter switch is not in position 2 if
the “ENGINE OIL LEVEL – SWITCH ON IGNITION!”
message appears.
The “ENGINE OIL LEVEL – MEASURING NOW!”
message is displayed after approximately 3 seconds.
P 54.30-4461-26
OM_203.book Seite 141 Donnerstag, 31. Mai 2001 11:57 11
Page 187 of 406
184 Audio system
Te ch n i c a l
data Instruments
and controlsOperationDrivingInstrument
cluster displayPractical hints Car care Index
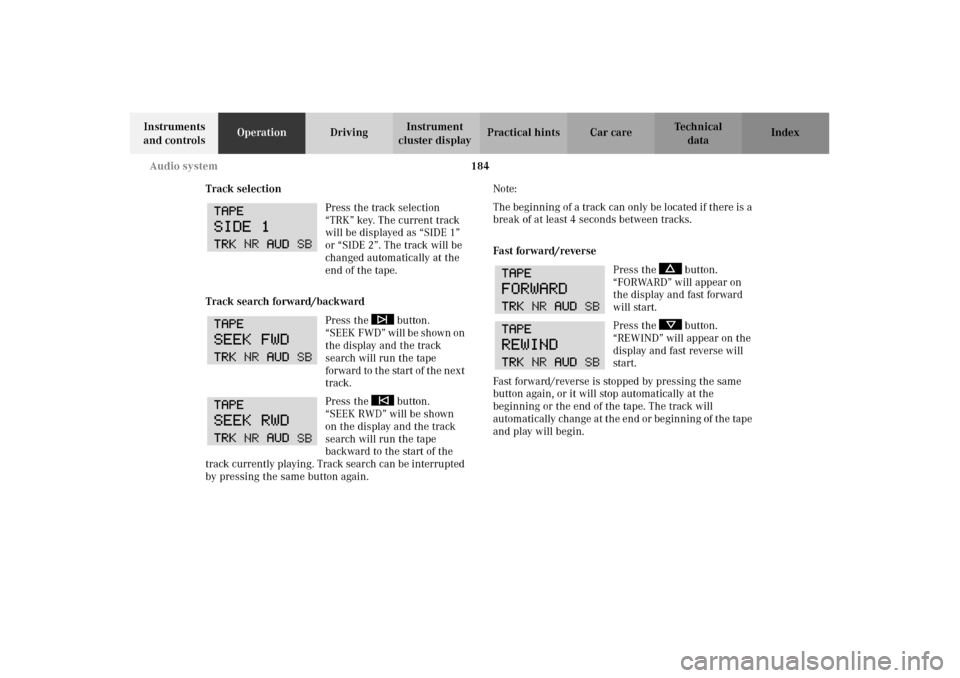
Track selection
Press the track selection
“TRK” key. The current track
will be displayed as “SIDE 1”
or “SIDE 2”. The track will be
changed automatically at the
end of the tape.
Track search forward/backward
Press the button.
“ S E E K F W D ” w i l l b e s h ow n o n
the display and the track
search will run the tape
for ward to t he start of t he n ex t
track.
Press the button.
“SEEK RWD” will be shown
on the display and the track
search will run the tape
backward to the start of the
track currently playing. Track search can be interrupted
by pressing the same button again.Note:
The beginning of a track can only be located if there is a
break of at least 4 seconds between tracks.
Fa st fo rwa rd/ r eve rse
Press the button.
“FORWARD” will appear on
the display and fast forward
will start.
Press the button.
“REWIND” will appear on the
display and fast reverse will
start.
Fast forward/reverse is stopped by pressing the same
button again, or it will stop automatically at the
beginning or the end of the tape. The track will
automatically change at the end or beginning of the tape
and play will begin.
OM_203.book Seite 184 Donnerstag, 31. Mai 2001 11:57 11
Page 201 of 406
198 Interior equipment
Te ch n i c a l
data Instruments
and controlsOperationDrivingInstrument
cluster displayPractical hints Car care Index
Express opening and closing
Press or pull switch past resistance point and release –
window opens or closes completely.
To interrupt procedure, briefly press or pull switch.
If the upward movement of the window is blocked
during the closing procedure, the window will stop
during the last few inches before closure and open
slightly.
When pulling and holding the switch to close the
window, and upward movement of the window is
blocked during the last few inches before closure, it will
stop but not
open slightly.
The windows can also be opened and closed using:
•the summer opening / convenience feature, see
page 35.
•the button O in the control panel of the climate
control, see page 158 or of the automatic climate
control, see page 167.
•the button e in the control panel of the
automatic climate control, see page 168.
Wa r n i n g !
When closing the windows, be sure that there is no
danger of anyone being harmed by the closing
procedure.In case of obstruction, the automatic reversal will
not operate if a door window is being closed by
pulling the switch to its resistance point and
holding it there, or when using the electronic key.The closing procedure of door windows can be
immediately reversed by either pressing or pulling
the switch, or pressing buttonΠon the
electronic key and holding it.When leaving the vehicle, always remove the
electronic key from starter switch, and lock your
vehicle. Do not leave children unattended in the
vehicle, or with access to an unlocked vehicle.
Unsupervised use of vehicle equipment can cause
serious personal injury.
OM_203.book Seite 198 Donnerstag, 31. Mai 2001 11:57 11
Page 204 of 406
201 Interior equipment
Te ch n i c a l
data Instruments
and controlsOperationDrivingInstrument
cluster displayPractical hints Car care Index Opening or closing the sliding / pop-up roof
automatically
Move the switch past resistance point in the direction
required and release.
The sliding / pop-up roof opens or closes completely.
Stopping the sliding / pop-up roof:
Move the switch in any direction.
If the movement of the sliding / pop-up roof is blocked
during the closing procedure, the roof will stop and
reopen slightly.With the roof closed or tilted open, a screen can be slid
into the roof opening to guard against sun rays. When
sliding the roof open, the screen will also retract.
The sliding / pop-up roof can also be opened and closed
using:
•the summer opening / convenience feature, see
page 35.
•the button O in the control panel of the climate
control, see page 158 or of the automatic climate
control, see page 167.
•the button ein the control panel of the
automatic climate control, see page 168.
Notes:
To avoid damaging the seals, do not transport any
objects with sharp edges which can stick out of the
sliding / pop-up roof.
The sliding/pop-up roof can be opened or closed
manually should an electrical malfunction occur, see
page 360.
Wa r n i n g !
When closing the sliding / pop-up roof, be sure that
there is no danger of anyone being harmed by the
closing procedure.When leaving the vehicle, always remove the
electronic key from starter switch, and lock your
vehicle. Do not leave children unattended in the
vehicle, or with access to an unlocked vehicle.
Unsupervised use of vehicle equipment can cause
serious personal injury.
OM_203.book Seite 201 Donnerstag, 31. Mai 2001 11:57 11
Page 232 of 406
229 Garage door opener
Te ch n i c a l
data Instruments
and controlsOperationDrivingInstrument
cluster displayPractical hints Car care Index 3. Firmly press and release the programmed
integrated remote control transmit button. Press
and release same button a second time to complete
the training process. (Some garage door openers
may required you to do this procedure a third time
to complete the training.)
4. Confirm the garage door operation by pressing the
programmed button on the integrated remote
control transmitter.
Canadian programming:
During programming, your hand-held transmitter may
automatically stop transmitting. Continue to press and
hold the integrated remote control transmitter button
(note steps 2 through 4 in the “Programming” portion)
while you press and re-press (“cycle”) your hand-held
transmitter every two seconds until the frequency
signal has been learned. The indicator lamp will flash
slowly and then rapidly after several seconds upon
successful training.Operation of remote control:
1. Turn electronic key in starter switch to position 1
or 2.
2. Select and press the appropriate button to activate
the remote control device. The integrated remote
control transmitter continues to send the signal as
long as the button is pressed – up to 20 seconds.
Erasing the remote control memory:
1. Turn electronic key in starter switch to position 1
or 2.
2. Simultaneously holding down the left and right side
buttons for approximately 20 seconds, or until the
control lamp blink rapidly, will erase the codes of all
three channels.
OM_203.book Seite 229 Donnerstag, 31. Mai 2001 11:57 11
Page 250 of 406
247 Starter switch
Te ch n i c a l
data Instruments
and controlsOperationDrivingInstrument
cluster displayPractical hints Car care Index Important!
If the electronic key is left in the starter switch
position 0 for a extended period of time, it can no longer
be turn ed in t he lock . In t his cas e, rem ove electron ic key
from starter switch and reinsert.
Caution!
To prevent accelerated battery discharge and a possible
dead battery, always remove the electronic key from the
starter switch. Do not leave the electronic key in starter
switch position 0.Notes:
A warning sounds when the driver’s door is opened
with the electronic key is in starter switch position 1
or 0.
If the electronic key cannot be turned in the starter
switch, the vehicle battery may not be sufficiently
charged. See battery on page 342 or jump starting on
page 344.
With the engine at idle speed, the charging rate of the
alternator (output) is limited.
It is therefore recommended that you turn off
unnecessary electrical consumers while driving in stop-
and-go traffic. This precaution helps to avoid draining of
the battery.
Unnecessary strain on the battery and charging system
may be minimized by turning off the following power
consumers, for example:
Heated seats, rear window defroster. In addition, the
automatic climate air volume control should be set to
the lowest position.
OM_203.book Seite 247 Donnerstag, 31. Mai 2001 11:57 11
Page 251 of 406
248 Starting and turning off the enginge
Te ch n i c a l
data Instruments
and controlsOperationDrivingInstrument
cluster displayPractical hints Car care Index
Starting and turning off the engine
Before starting
Ensure that parking brake is engaged and that selector
lever is in position “P” or “N” (gearshift lever in
neutral). Turn electronic key in starter switch to
position 2.
Starting
Vehicles with automatic transmission:
Do n ot de pr ess accelerato r. B rie f ly turn electron ic key i n
starter switch clockwise to the stop and release. The
starter will engage until the engine is running.
If engine will not run, and the starting procedure stops,
turn electronic key completely to the left and repeat
starting the engine.
After several unsuccessful attempts, have the system
checked at the nearest authorized Mercedes-Benz
Center.Vehicles with manual transmission:
Do not depress accelerator. Fully depress clutch pedal,
otherwise the engine cannot be started due to the
integrated safety interlock.
Turn electronic key in starter switch clockwise to the
stop. Release only when the engine is firing regularly.
Important!
Due to the installed starter non-repeat feature, the
electronic key must be turned completely to the left
before attempting to start the engine again.
In areas where temperatures frequently drop below -4
°F
(-20
°C) we recommend that an engine block heater be
installed. Your authorized Mercedes-Benz Center will
advise you on this subject, see page 269.
Turning off
Turn the electronic key in the starter switch to
position 0 to turn off the engine.
Vehicles with automatic transmission:
The electronic key can only be removed with the
selector lever in position “P”.
OM_203.book Seite 248 Donnerstag, 31. Mai 2001 11:57 11
Page 256 of 406
253 Automatic transmission
Te ch n i c a l
data Instruments
and controlsOperationDrivingInstrument
cluster displayPractical hints Car care Index Stopping
For brief stops, e.g. at traffic lights, leave the
transmission in gear and hold vehicle with the service
brake.
For longer stops with the engine idling, shift into “N”
or “P” and hold the vehicle with the service brake.
When stopping the vehicle on an uphill gradient, do not
hold it with the accelerator, use the brake. This avoids
unnecessary transmission heat build up.
Maneuvering
To maneuver in tight areas, e.g. when pulling into a
parking space, control the vehicle speed by gradually
releasing the brakes. Accelerate gently and never
abruptly step on the accelerator.
To rock a vehicle out of soft ground (mud or snow),
alternately shift from forward to reverse, while applying
slight partial throttle.Rocking a vehicle free in this manner may cause the
ABS or traction system malfunction indicator lamp to
come on. Turn off and restart the engine to clear the
malfunction indication.
Wa r n i n g !
Getting out of your vehicle with the selector lever
not fully engaged in position “P” is dangerous.
A ls o, w hen pa rked on a n in c li ne, pos i tion “P” a lon e
may not prevent your vehicle from moving,
possibly hitting people or objects.Always set the parking brake in addition to shifting
to position “P”, see page 260 for parking brake. When parked on an incline, also turn front wheel
towards the road curb.Wa r n i n g !
When leaving the vehicle always remove the key
from the steering lock, and lock the vehicle. Do not
leave children unattended in the vehicle, or with
access to an unlocked vehicle. Children could move
the selector lever from position “P”, which could
result in an accident or serious injury.
OM_203.book Seite 253 Donnerstag, 31. Mai 2001 11:57 11