adding oil MERCEDES-BENZ CL-Class 2012 C216 Owner's Manual
[x] Cancel search | Manufacturer: MERCEDES-BENZ, Model Year: 2012, Model line: CL-Class, Model: MERCEDES-BENZ CL-Class 2012 C216Pages: 488, PDF Size: 21.88 MB
Page 13 of 488

Emergency releaseDriver's door .................................... 81
Trunk ............................................... 85
Vehicle ............................................. 81
Emergency spare wheel
Storage location ............................ 424
Emergency Tensioning Devices
Function ........................................... 55
Safety guidelines ............................. 41
Emissions purification
Service and warranty information ....26
Engine
Check Engine warning lamp ........... 384
Display message ............................ 362
ECO start/stop function ................270
Emergency starting ........................437
Engine number ............................... 474
Irregular running ............................ 272
Starting problems ..........................272
Starting the engine with the
SmartKey ....................................... 268
Starting with KEYLESS-GO .............269
Switching off .................................. 283
Engine electronics
Problem (malfunction) ...................272
Engine emergency stop .................... 439
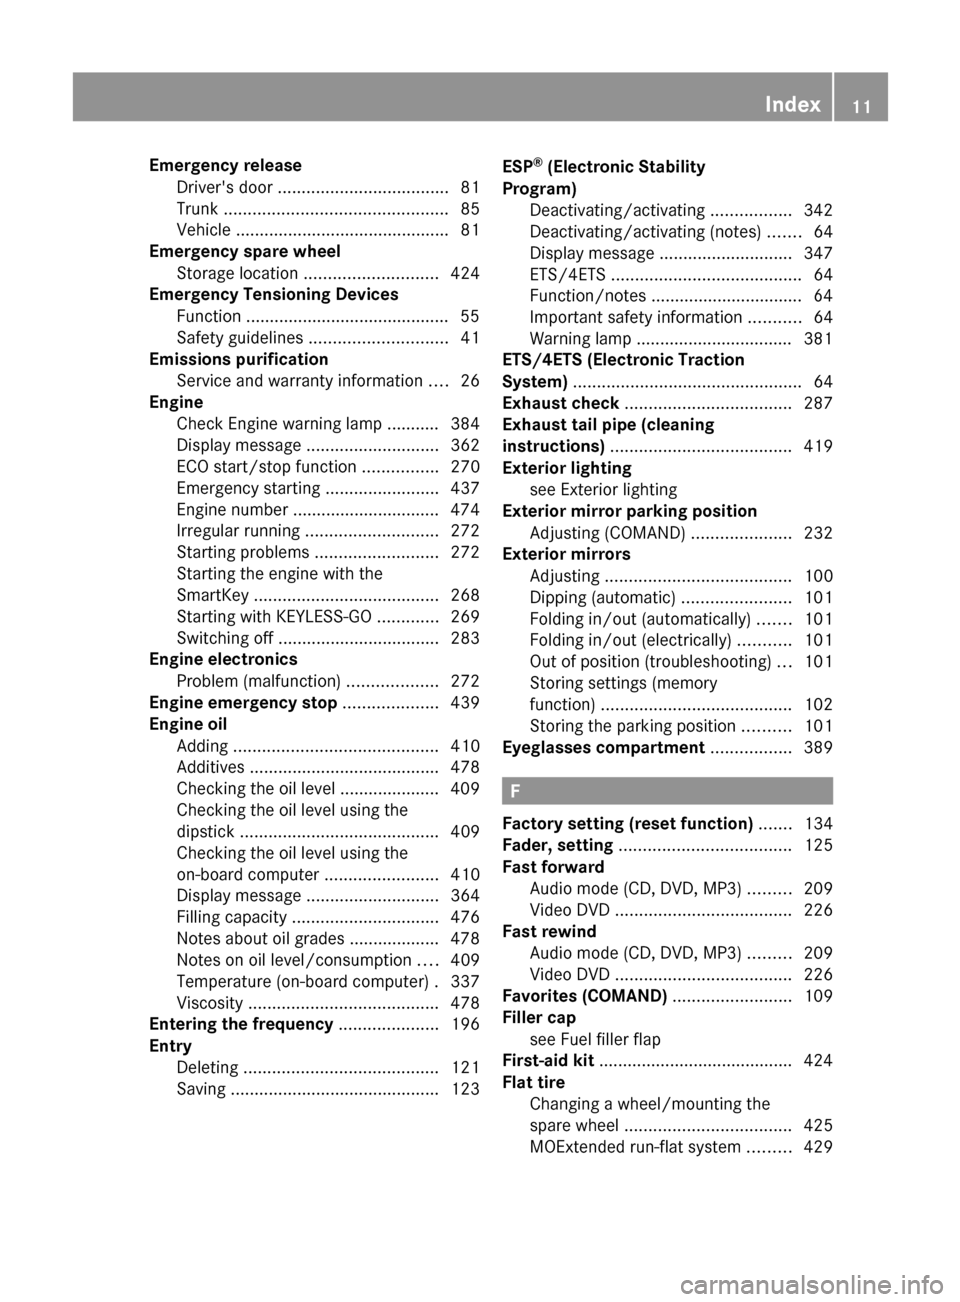
Engine oil Adding ........................................... 410
Additives ........................................ 478
Checking the oil level ..................... 409
Checking the oil level using the
dipstick .......................................... 409
Checking the oil level using the
on-board computer ........................410
Display message ............................ 364
Filling capacity ............................... 476
Notes about oil grades ................... 478
Notes on oil level/consumption ....409
Temperature (on-board computer) . 337
Viscosity ........................................ 478
Entering the frequency ..................... 196
Entry Deleting ......................................... 121
Saving ............................................ 123ESP®
(Electronic Stability
Program) Deactivating/activating .................342
Deactivating/activating (notes) .......64
Display message ............................ 347
ETS/4ETS ........................................ 64
Function/notes ................................ 64
Important safety information ...........64
Warning lamp ................................. 381
ETS/4ETS (Electronic Traction
System) ................................................ 64
Exhaust check ................................... 287
Exhaust tail pipe (cleaning
instructions) ...................................... 419
Exterior lighting see Exterior lighting
Exterior mirror parking position
Adjusting (COMAND) .....................232
Exterior mirrors
Adjusting ....................................... 100
Dipping (automatic) .......................101
Folding in/out (automatically) .......101
Folding in/out (electrically) ...........101
Out of position (troubleshooting) ...101
Storing settings (memory
function) ........................................ 102
Storing the parking position ..........101
Eyeglasses compartment ................. 389
F
Factory setting (reset function) ....... 134
Fader, setting .................................... 125
Fast forward Audio mode (CD, DVD, MP3) .........209
Video DVD ..................................... 226
Fast rewind
Audio mode (CD, DVD, MP3) .........209
Video DVD ..................................... 226
Favorites (COMAND) ......................... 109
Filler cap see Fuel filler flap
First-aid kit ......................................... 424
Flat tire Changing a wheel/mounting the
spare wheel ................................... 425
MOExtended run-flat system .........429
Index11
Page 412 of 488

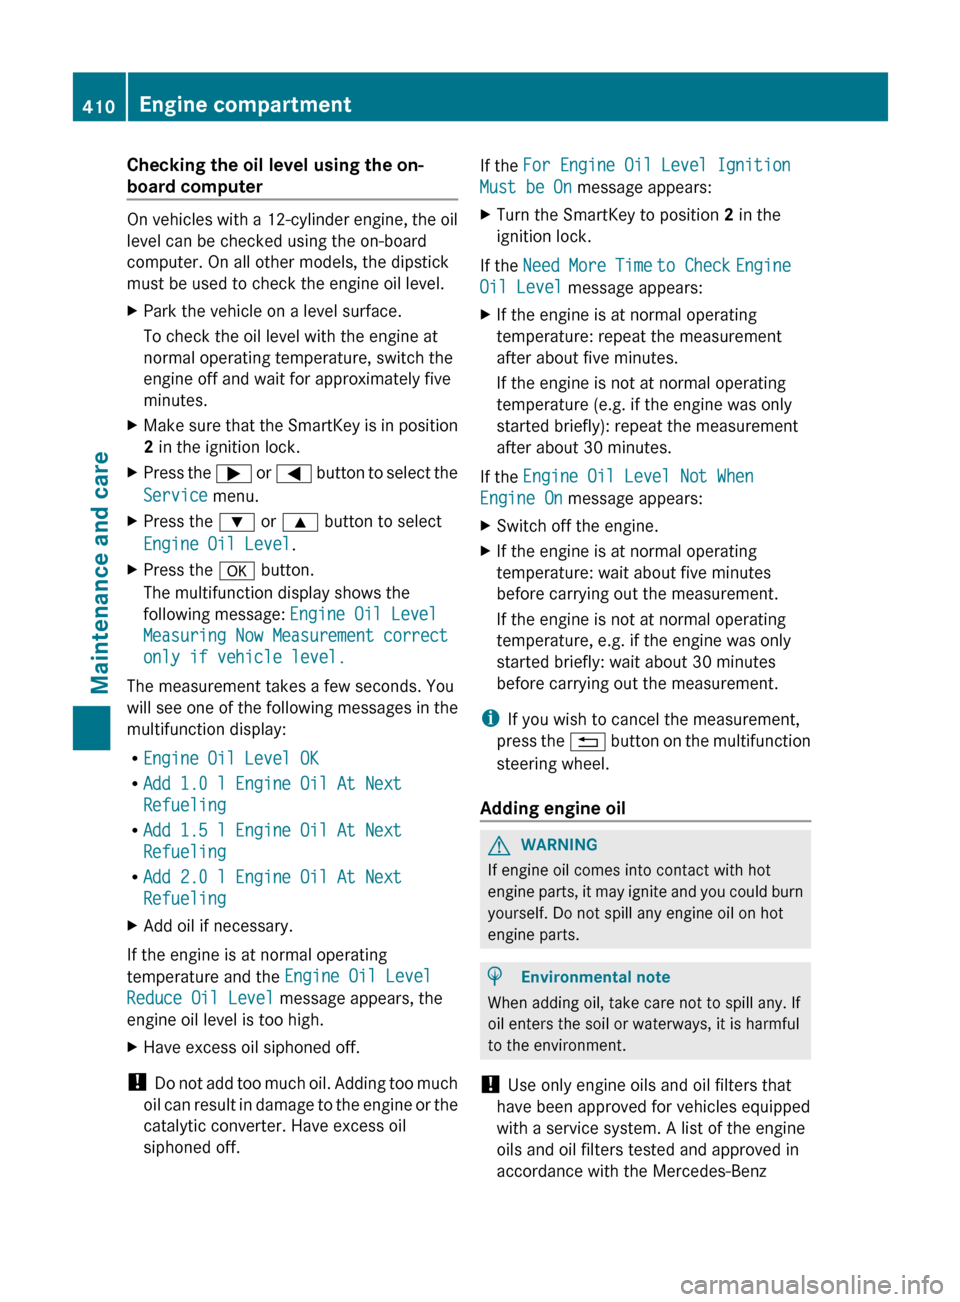
Checking the oil level using the on-
board computer
On vehicles with a 12-cylinder engine, the oil
level can be checked using the on-board
computer. On all other models, the dipstick
must be used to check the engine oil level.
XPark the vehicle on a level surface.
To check the oil level with the engine at
normal operating temperature, switch the
engine off and wait for approximately five
minutes.XMake sure that the SmartKey is in position
2 in the ignition lock.XPress the ; or = button to select the
Service menu.XPress the : or 9 button to select
Engine Oil Level .XPress the a button.
The multifunction display shows the
following message: Engine Oil Level
Measuring Now Measurement correct
only if vehicle level.
The measurement takes a few seconds. You
will see one of the following messages in the
multifunction display:
R Engine Oil Level OK
R Add 1.0 l Engine Oil At Next
Refueling
R Add 1.5 l Engine Oil At Next
Refueling
R Add 2.0 l Engine Oil At Next
Refueling
XAdd oil if necessary.
If the engine is at normal operating
temperature and the Engine Oil Level
Reduce Oil Level message appears, the
engine oil level is too high.
XHave excess oil siphoned off.
! Do not add too much oil. Adding too much
oil can result in damage to the engine or the
catalytic converter. Have excess oil
siphoned off.
If the For Engine Oil Level Ignition
Must be On message appears:XTurn the SmartKey to position 2 in the
ignition lock.
If the Need More Time to Check Engine
Oil Level message appears:
XIf the engine is at normal operating
temperature: repeat the measurement
after about five minutes.
If the engine is not at normal operating
temperature (e.g. if the engine was only
started briefly): repeat the measurement
after about 30 minutes.
If the Engine Oil Level Not When
Engine On message appears:
XSwitch off the engine.XIf the engine is at normal operating
temperature: wait about five minutes
before carrying out the measurement.
If the engine is not at normal operating
temperature, e.g. if the engine was only
started briefly: wait about 30 minutes
before carrying out the measurement.
i If you wish to cancel the measurement,
press the % button on the multifunction
steering wheel.
Adding engine oil
GWARNING
If engine oil comes into contact with hot
engine parts, it may ignite and you could burn
yourself. Do not spill any engine oil on hot
engine parts.
HEnvironmental note
When adding oil, take care not to spill any. If
oil enters the soil or waterways, it is harmful
to the environment.
! Use only engine oils and oil filters that
have been approved for vehicles equipped
with a service system. A list of the engine
oils and oil filters tested and approved in
accordance with the Mercedes-Benz
410Engine compartmentMaintenance and care
Page 413 of 488

Specifications for Service Products can be
called up by visiting http://
www.mbusa.com (USA only). More
information about tested and approved
engine oils and oil filters is available from
any authorized Mercedes-Benz Center.
Damage to the engine or exhaust system is
caused by the following:
R using engine oils and oil filters which
have not been specifically approved for
the service system.
R replacing the engine oil or oil filter after
the replacement interval required by the
service system has elapsed
R using engine oil additives.
! Do not add too much oil. If the oil level is
above the "max" mark on the dipstick, too
much oil has been added. This can lead to
damage to the engine or the catalytic
converter. Have excess oil siphoned off.
Example: engine oil cap
XTurn cap : counterclockwise and remove
it.XAdd engine oil.
Vehicles with oil level measurement
function in the on-board computer: observe
the information in the on-board computer
when doing so. Vehicles with oil dipstick: if
the oil level is at or below the MIN mark on
the oil dipstick,
add 0.55 to 1.1 US qt (0.5 to 1.0 l) engine
oil.XReplace cap : on the filler neck and turn
clockwise.
Ensure that the cap locks into place
securely.XCheck the oil level again with the oil
dipstick ( Y page 409) or the on-board
computer ( Y page 410).
Further information on engine oil
( Y page 478).
Checking and adding other service
products
Checking the coolant level
Only check the coolant level when the vehicle
is on a level surface and the engine has cooled
down.
XTurn the SmartKey to position
2 (Y page 267) in the ignition lock.
On vehicles with KEYLESS-GO, press the
Start/Stop button twice ( Y page 267).XCheck the coolant temperature display in
the instrument cluster.
The coolant temperature must be below
158 ‡ (70 †).GWARNING
In order to avoid any potentially serious burns:
R use extreme caution when opening the
hood if there are any signs of steam or
coolant leaking from the cooling system, or
if the coolant temperature display indicates
that the coolant is overheated.
R do not remove the pressure cap on the
coolant reservoir if the coolant temperature
is above 158 ‡ (70 †). Allow the engine to
cool down before removing the cap. The
coolant reservoir contains hot fluid and is
under pressure.
R using a rag, slowly turn the cap
approximately 1
/ 2 turn to relieve excess
pressure. If opened immediately, scalding
Engine compartment411Maintenance and careZ