brake fluid MERCEDES-BENZ CL-Class 2014 C217 Owner's Manual
[x] Cancel search | Manufacturer: MERCEDES-BENZ, Model Year: 2014, Model line: CL-Class, Model: MERCEDES-BENZ CL-Class 2014 C217Pages: 494, PDF Size: 13.55 MB
Page 8 of 494
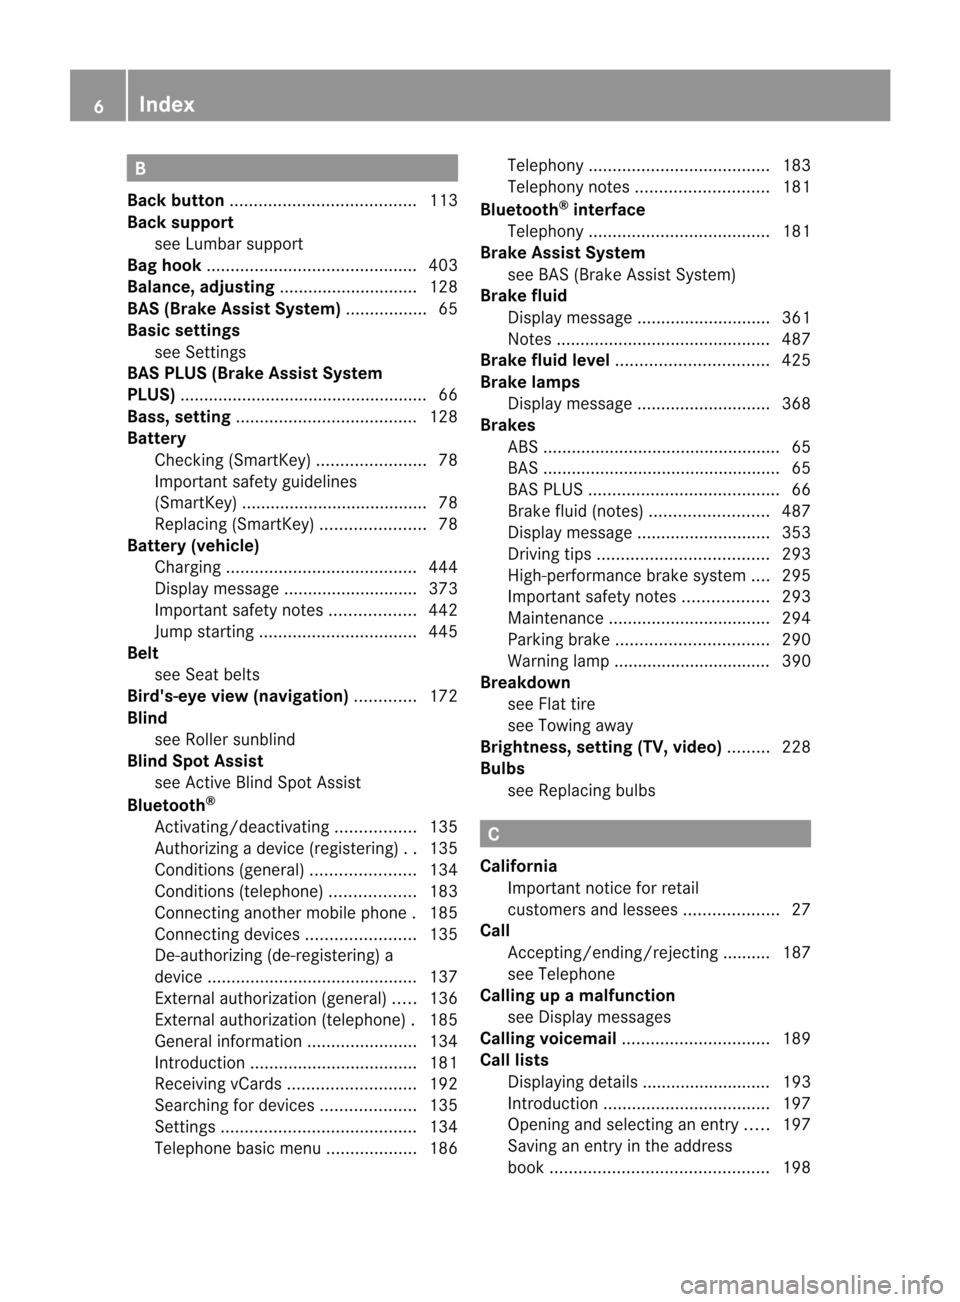
B
Back button ....................................... 113
Back support see Lumbar support
Bag hook ............................................ 403
Balance, adjusting .............................128
BAS (Brake Assist System) .................65
Basic settings see Settings
BAS PLUS (Brake Assist System
PLUS) .................................................... 66
Bass, setting ...................................... 128
Battery Checking (SmartKey) .......................78
Important safety guidelines
(SmartKey) ....................................... 78
Replacing (SmartKey) ......................78
Battery (vehicle)
Charging ........................................ 444
Display message ............................ 373
Important safety notes ..................442
Jump starting ................................. 445
Belt
see Seat belts
Bird's-eye view (navigation) .............172
Blind see Roller sunblind
Blin dSpot Assist
see Active Blind Spot Assist
Bluetooth ®
Activating/deactivating .................135
Authorizing a device (registering) ..135
Conditions (general )...................... 134
Conditions (telephone ).................. 183
Connecting another mobile phone .185
Connecting devices .......................135
De-authorizing (de-registering) a
device ............................................ 137
External authorization (general) .....136
External authorization (telephone) .185
General information .......................134
Introduction ................................... 181
Receiving vCards ........................... 192
Searching for devices ....................135
Settings ......................................... 134
Telephone basic menu ...................186Telephony
...................................... 183
Telephony notes ............................ 181
Bluetooth ®
interface
Telephony ...................................... 181
Brake Assist System
see BAS (Brake Assist System)
Brake fluid
Display message ............................ 361
Notes ............................................. 487
Brake fluid level ................................ 425
Brake lamps Display message ............................ 368
Brakes
ABS .................................................. 65
BAS .................................................. 65
BAS PLUS ........................................ 66
Brake fluid (notes) .........................487
Display message ............................ 353
Driving tips .................................... 293
High-performance brake system ....295
Important safety notes ..................293
Maintenance .................................. 294
Parking brake ................................ 290
Warning lamp ................................. 390
Breakdown
see Flat tire
see Towing away
Brightness, setting (TV, video) .........228
Bulbs see Replacing bulbs C
California Important notice for retail
customers and lessees ....................27
Call
Accepting/ending/rejecting .......... 187
see Telephone
Calling up a malfunction
see Display messages
Calling voicemail ............................... 189
Call lists Displaying details ........................... 193
Introduction ................................... 197
Opening and selecting an entry .....197
Saving an entry in the address
book .............................................. 1986
Index
Page 14 of 494
Fast forward
Audio mode (CD, DVD, MP3) .........214
Video DVD ..................................... 231
Fast rewind
Audio mode (CD, DVD, MP3) .........214
Video DVD ..................................... 231
Favorites (COMAND) .........................113
Fille rcap
see Fuel filler flap
Filling capacities (Technical data) ...484
First-aid kit ......................................... 436
Flat tire Changing a wheel/mounting the
spare wheel ................................... 437
MOExtended run-fla tsystem ......... 441
Preparing the vehicle .....................437
Raising the vehicle .........................438
Floormats ........................................... 417
Freeway information .........................175
Front fog lamps ................................. 252
Display message ............................ 369
Switching on/off ........................... 252
Front-passenger seat
Adjusting from the driver's sea t....... 98
Fron twindshield
see Windshield
Fuel
Additives ........................................ 486
Displaying the current
consumption .................................. 340
Displaying the range ......................340
Driving tips .................................... 292
Fuel gauge ....................................... 35
Grade (gasoline) ............................ 485
Important safety notes ..................484
Premium-grade unleaded gasoline .485
Problem (malfunction) ...................289
Refueling ........................................ 286
Tank content/reserve fuel .............485
Fuel filler flap, opening/closing ....... 287
Fuel level Calling up the range (on-board
computer) ...................................... 340
Fuel tank
Capacity ........................................ 485
Problem (malfunction) ...................289
Function buttons (COMAND) ............113Fuses
Allocation chart ............................. 449
Before changing ............................. 449
Dashboard fuse box .......................450
Engine emergency stop .................451
Fuse box in the engine
compartment ................................. 450
Fuse box in the rear compartment .450
Important safety notes ..................449 G
Garage door opener Clearing the memory .....................417
Important safety notes ..................414
Opening/closing the garage door ..416
Programming (button in the rear-
view mirror) ................................... 415
Gear indicator (on-board computer) 343
Gear or selector lever (cleaning
guidelines) ......................................... 433
Glove box ........................................... 400
GPS reception .................................... 138
Gracenote Media Database ..............215 H
Handbrake see Parking brake
Harman/kardon ®
Logic 7 ®
surround sound system see Surround sound (harman/
kardon ®
surround sound system)
Hazard warning lamps ......................253
HD Radio™ ......................................... 203
Heading up (navigation) ...................172
Headlamp cleaning system Notes ............................................. 488
Headlamps
Adding fluid to cleaning system .....425
Cleaning system (function) ............252
Fogging up ..................................... 255
see Automatic headlamp mode
Head restraints
Adjusting ......................................... 99
Adjusting (electrically). ....................99
Adjusting (rear) ................................ 9912
Index
Page 21 of 494
Route guidance (on-board
computer)
.......................................... 341
Route information see Dynami croute guidance/TMC S
Safety Children in the vehicle .....................59
Child restraint systems ....................59
Occupant Classification System
(OCS) ............................................... 50
Overview of occupant safety
systems ........................................... 44
Safety notes
Audio CD/DVD and MP3 mode .....209
Operating safety ............................ 110
Video DVD mode ........................... 229
Safety systems
see Driving safety systems
SatRadio ............................................. 205
Displaying information ...................208
Registering .................................... 205
Selecting acategor y...................... 206
Screen
see Display
SD memory card
Loading .......................................... 210
Seat belts
Automatic comfort-fit feature ..........59
Belt force limiters ............................ 59
Cleaning ......................................... 433
Correct usage .................................. 56
Emergency Tensioning Devices ....... .59
Fastening ......................................... 57
Important safety guidelines .............55
Releasing ......................................... 58
Safety guidelines ............................. 45
Specia lseat belt retractor ...............61
Warning lamp ................................. 389
Warning lamp (function) ................... 58
Seats
Active multicontour seat ....... .101, 245
Adjusting (electrically). ....................98
Adjusting lumba rsuppor t.............. 101
Adjusting the head restraint ............99
Cleaning the cover .........................433
Correct driver's seat position ........... 96 Folding the backrests forward/
back ............................................... 100
Important safety notes ....................97
Multicontour sea t.......................... 101
Seat backres tdisplay message .....387
Seat heating problem ....................102
Seat ventilation problem ................102
Selecting (COMAND) .....................244
Storing settings (memory function) 106
Switching sea theating on/off .......101
Switching seat ventilation on/off ..102
Selecting stations (radio)
Using statio npresets ..................... 200
Using statio nsearch ...................... 200
Sending DTMF tones .........................191
Sensors (cleaning instructions) .......431
Service Center see Qualified specialist workshop
Service interval display
Displaying service messages .........426
Hiding service messages ...............426
Notes ............................................. 426
Service messages ..........................426
Service menu (on-board computer) .349
Service products Brake fluid ..................................... 487
Coolant (engine) ............................ 487
Engine oil ....................................... 486
Fuel ................................................ 484
Important safety notes ..................484
Refrigerant (air-conditioning
system) .......................................... 489
Washer fluid .................................. .488
Setting astation (radio)
Via manual frequency entry ...........201
Settings
Display ........................................... 130
Menu overview .............................. 115
On-board computer .......................349
Picture (COMAND) .........................228
Sound settings ............................... 128
System settings ............................. 130
Setting the language
COMAND ....................................... 137
Setting the night design ...................130
Setting the text reader speed ..........132
Setting the vehicle level ...................310 Index
19
Page 27 of 494
W
Waiting call ........................................ 189
Warning and indicator lamps ABS ................................................ 391
Brakes ........................................... 390
Check Engine ................................. 396
Distance warning ........................... 397
DISTRONI CPLUS ........................... 397
ESP ®
.............................................. 393
ESP ®
OFF ....................................... 393
Fuel tank ........................................ 396
Overview .......................................... 36
PASSENGER AIR BAG OFF
indicator lamp .................................. 50
Reserve fuel ................................... 396
Seat bel t........................................ 389
SRS ................................................ 395
Tire pressure monitor ....................398
Warranty ............................................ 482
Washer fluid Display message ............................ 387
Weather Band
Searching for achannel ................. 202
Switching on .................................. 202
Wheel bol ttightening torque ...........441
Wheel chock ...................................... 438
Wheels Changing awheel .......................... 437
Checking ........................................ 455
Cleaning ......................................... 429
Cleaning (warning) .........................477
Important safety notes ..................454
Interchanging/changing ................477
Mounting anew wheel ................... 440
Removing awheel .......................... 440
Storing ........................................... 477
Tightening torque ........................... 441
Whee lsize/tir esize ....................... 477
Window curtain air bag
Display message ............................ 363
Operation ........................................ .50
Windows
see Side windows
Windshield
Defrosting ...................................... 265
Infrared reflective .......................... 417Windshiel
dwasher fluid
see Windshield washer system
Windshiel dwasher system ..............425
Notes ............................................. 488
Windshiel dwipers
Problem (malfunction) ...................259
Replacing the wiper blades ............258
Switching on/off ........................... 257
Winte rdriving
Important safety note s.................. 456
Slippery road surfaces ...................296
Snow chains .................................. 457
Winter tires
M+S tires ....................................... 456
Wiper blades
Cleaning ......................................... 430
Important safety notes ..................258
Wooden trim (cleaning instructions) 433
Workshop see Qualified specialist workshop Index
25
Page 261 of 494
Changing the windshiel
dwiper blades Moving the wiper blades to
avertical
position
Vehicles without KEYLESS-GO
X Turn the SmartKey to position 1or 2in the
ignitio nlock.
X Set the windshield wipers to
position °.
X When the wiper arms have reached a
vertical position, turn the SmartKey to
position 0and remove it from the ignition
lock.
Vehicles with KEYLESS-GO
X Switch off the engine.
X Remove your foot from the brake pedal.
X Set the windshield wipers to
position °.
X Press the Start/Stop button repeatedly
until the windshield wipers start.
X When the wiper arms have reached a
vertical position, press the Start/Stop
button.
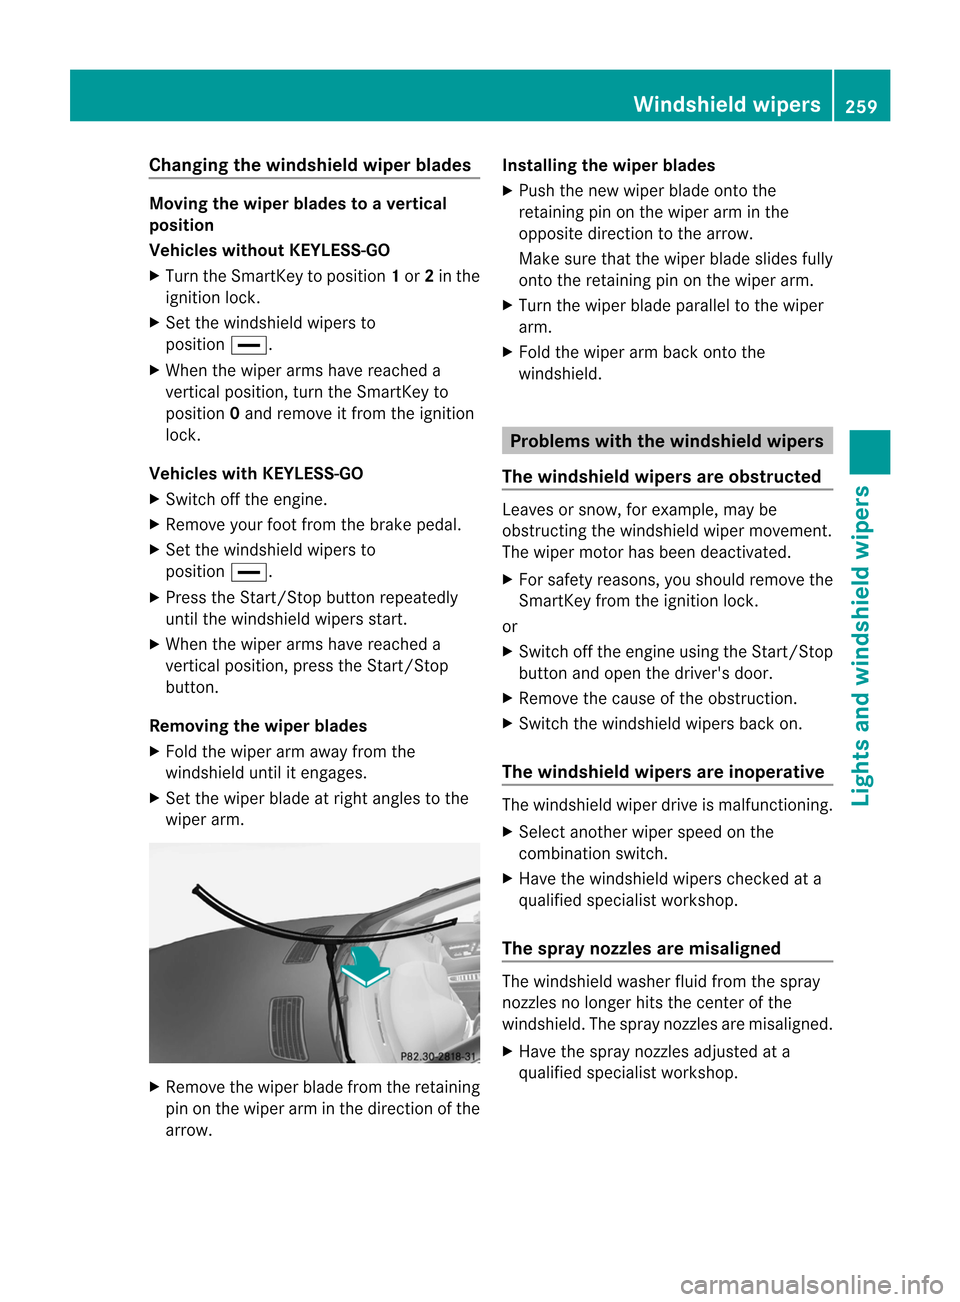
Removing the wiper blades
X Fold the wiper arm away from the
windshield until it engages.
X Set the wiper blade at right angles to the
wiper arm. X
Remove the wiper blade from the retaining
pin on the wiper arm in the direction of the
arrow. Installing the wiper blades
X
Push the new wiper blade ontot he
retaining pin on the wiper arm in the
opposite direction to the arrow.
Make sure that the wiper blade slides fully
onto the retaining pin on the wiper arm.
X Turn the wiper blade parallel to the wiper
arm.
X Fold the wiper arm back onto the
windshield. Problems with the windshield wipers
The windshield wipers are obstructed Leaves or snow, for example, may be
obstructing the windshield wiper movement.
The wiper motor has been deactivated.
X
For safety reasons, you should remove the
SmartKey from the ignition lock.
or
X Switch off the engine using the Start/Stop
button and open the driver's door.
X Remove the cause of the obstruction.
X Switch the windshield wipers back on.
The windshield wipers are inoperative The windshield wiper drive is malfunctioning.
X
Select another wiper speed on the
combination switch.
X Have the windshield wipers checked at a
qualified specialist workshop.
The spray nozzles are misaligned The windshield washer fluid from the spray
nozzles no longer hits the center of the
windshield. The spray nozzles are misaligned.
X
Have the spray nozzles adjusted at a
qualified specialist workshop. Windshield wipers
259Lights and windshield wipers Z
Page 296 of 494
more firmly. Maintain a safe distance from
vehicles in front.
After driving on a wet road or having the
vehicle washed, brake firmly while paying
attention to the traffic conditions. This will
warm up the brake discs, thereby drying them
more quickly and protecting them against
corrosion.
Limited braking performance on salt-
treated roads G
WARNING
The layer of saltont he brake discs and the
brake pads/linings may cause a delay in the
braking effect, resulting in a significantly
longer braking distance, which could lead to
an accident.
To avoid this danger, you should:
R occasionally brake carefully, without
putting other road users at risk, when you
are driving on salted roads. This helps to
remove any salt that may have started to
build up on the brake discs and the brake
pads/linings.
R maintain a greater distance to the vehicle
ahead and drive with particular care.
R carefully apply the brakes at the end of a
trip and immediately after commencing a
new trip, so that salt residues are removed
from the brake discs.
Servicing the brakes !
If the red brake warning lamp lights up in
the instrumentc luster and you hear a
warning tone while the engine is running,
the brake fluid level may be too low.
Observe additional warning messages in
the multifunction display.
The brake fluid level may be too low due to
brake pad wear or leaking brake lines.
Have the brake system checked
immediately. This work should be carried
out at a qualified specialist workshop. All checks and maintenance work on the
brake system must be carried out at a
qualified specialist workshop. Consult a
qualified specialist workshop to arrange this.
Have brake pads installed and brake fluid
replaced at a qualified specialist workshop. G
WARNING
If brake pads or brake fluid other than those
recommended are used, the braking
properties of the vehicle can be degraded to
an extent that safe braking is substantially
impaired. This could result in an accident.
! Vehicles with 4MATIC: function or
performance tests may only be carried out
on a 2-axle dynamometer. If you are
planning to have the vehicle tested on such
a dynamometer, contact an authorized
Mercedes-Benz Center to obtain further
information first. Otherwise, you could
damage the drive train or the brake system.
! Vehicles with 4MATIC: as the ESP®
system operates automatically, the engine
and the ignition must be switched off
(SmartKey in position 0or 1in the ignition
lock or Start/Stop button in position 0or
1) when the electric parking brake is being
tested on a brake dynamometer.
Braking maneuvers triggere dautomatically
by ESP ®
may seriously damage the brake
system.
! Vehicles with 4MATIC: as the ESP®
system operates automatically, the engine
and the ignition system must be switched
off (SmartKey in position 0or 1in the
ignition lock or Start/Stop button in
position 0or 1) when:
R testing the electric parking brake on a
brake dynamometer.
R you intend to have the vehicle towed with
one of the axles raised.
Braking maneuvers triggered automatically
by ESP ®
may seriously damage the brake
system. 294
Driving tipsDriving and pa
rking
Page 363 of 494
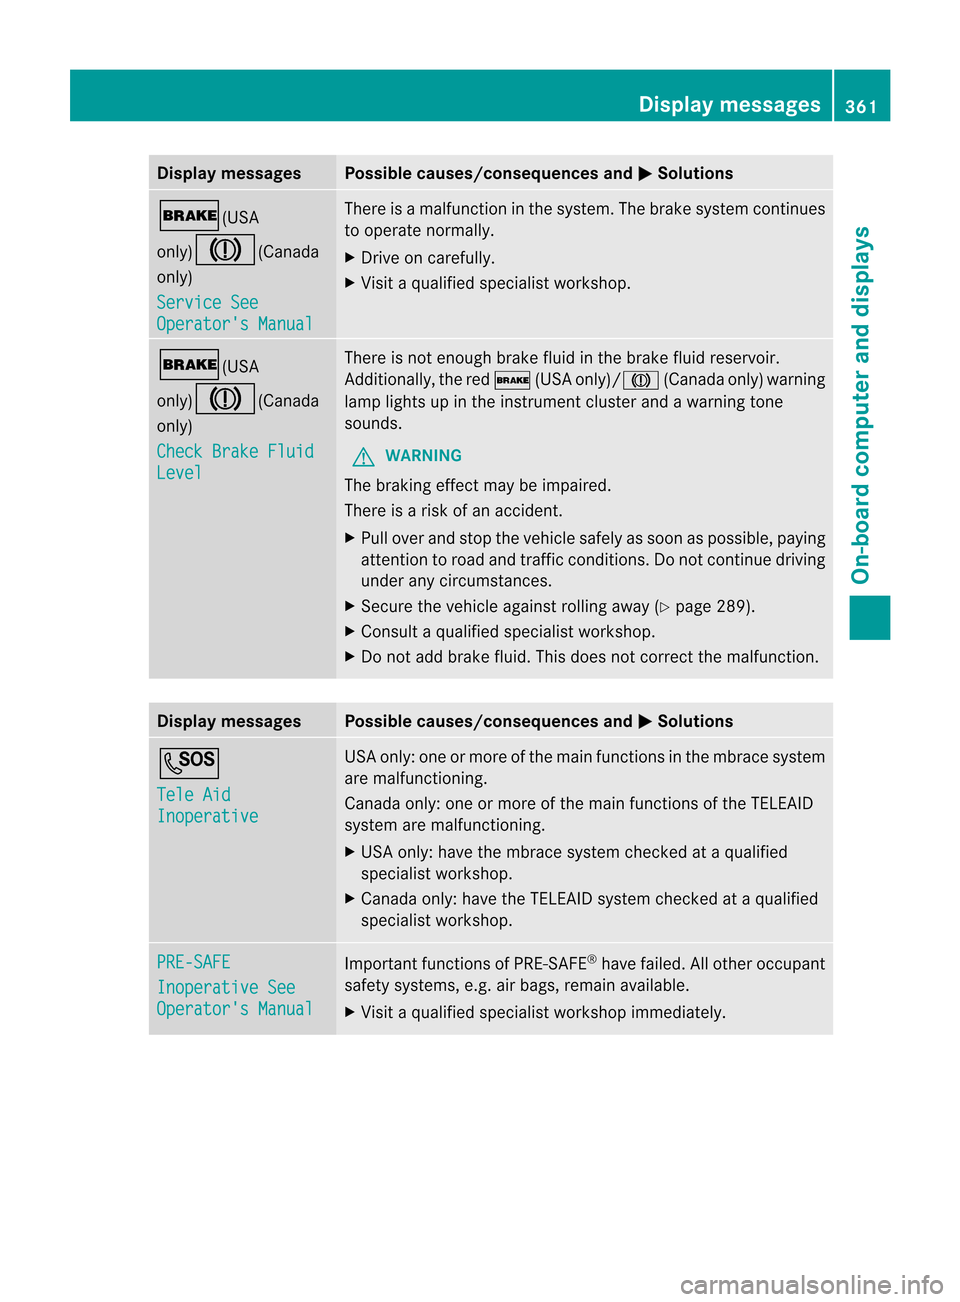
Display messages Possible causes/consequences and
M Solutions
$(USA
only)
J(Canada
only)
Service See Operator's Manual There is a malfunction in the system. The brak
esystem continues
to operate normally.
X Drive on carefully.
X Visit a qualified specialist workshop. $(USA
only)
J(Canada
only)
Check Brake Fluid Level There is no
tenough brake fluid in the brake fluid reservoir.
Additionally, the red $(USA only)/ J(Canada only) warning
lamp lights up in the instrument cluster and a warning tone
sounds.
G WARNING
The braking effect may be impaired.
There is a ris kofanaccident.
X Pull ove rand stop the vehicle safely as soo nas possible, paying
attention to road and traffic conditions. Do not continue driving
under any circumstances.
X Secure the vehicle against rolling away (Y page 289).
X Consult a qualified specialist workshop.
X Do not add brake fluid. This does not correct the malfunction. Display messages Possible causes/consequences and
M Solutions
G
Tele Aid
Inoperative USA only: one or more of the main functions in the mbrace system
are malfunctioning.
Canada only: one or more of the main functions of the TELEAID
system are malfunctioning.
X USA only: have the mbrace system checked at aqualified
specialist workshop.
X Canada only: have the TELEAI Dsystem checked at a qualified
specialist workshop. PRE-SAFE
Inoperative See
Operator's Manual Important function
sof PRE-SAFE ®
have failed .All other occupant
safety systems, e.g. air bags, remain available.
X Visit a qualified specialist workshop immediately. Display messages
361On-board computer and displays Z
Page 392 of 494
Safety systems
Problem Possible causes/consequences and
M Solutions
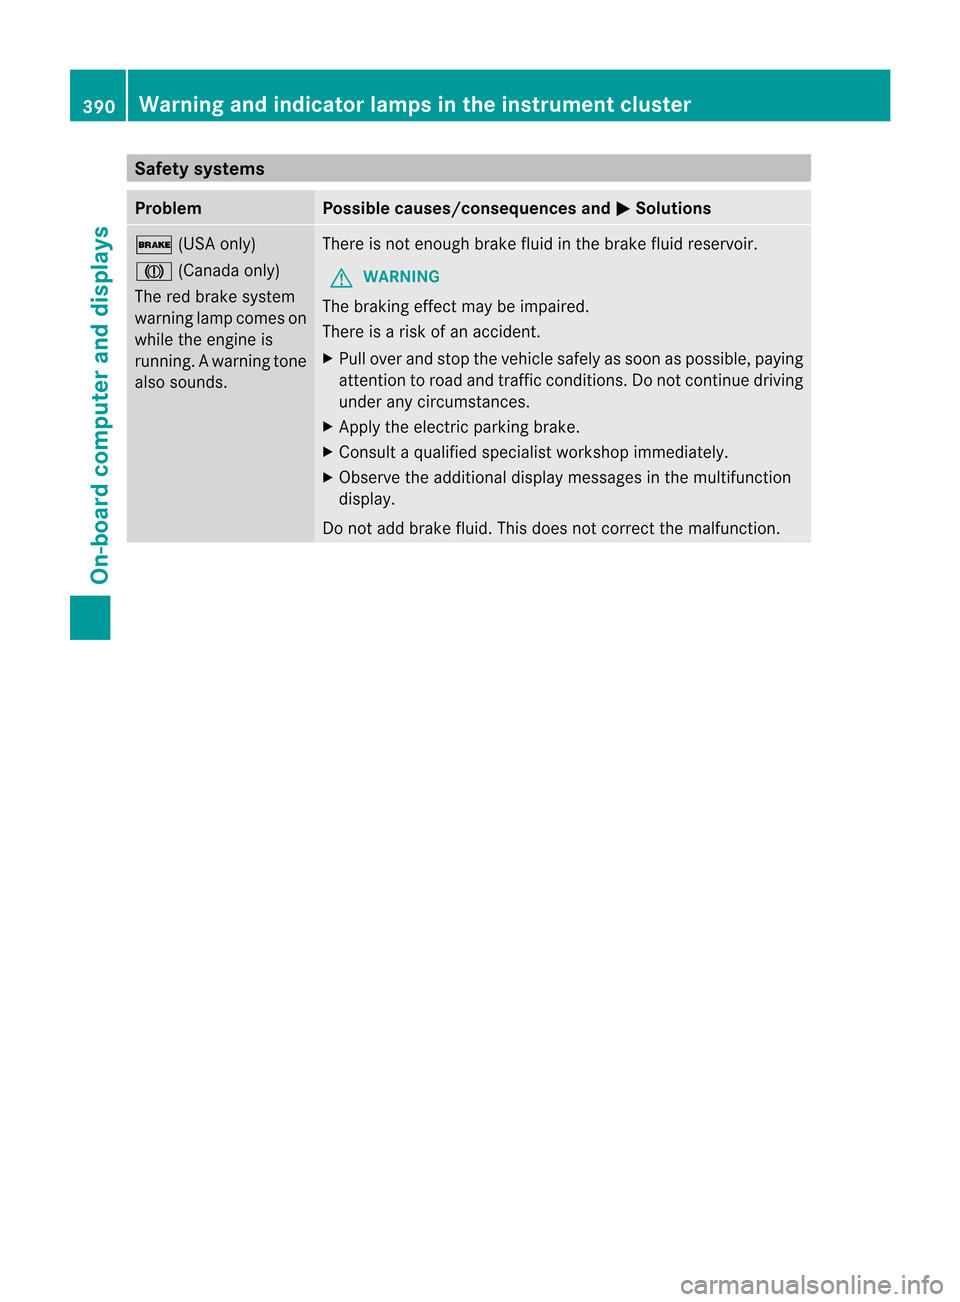
$
(USA only)
J (Canada only)
The red brake system
warning lamp comes on
while the engine is
running. A warning tone
also sounds. There is not enough brake fluid in the brake fluid reservoir.
G WARNING
The braking effect may be impaired.
There is a risk of an accident.
X Pull over and stop the vehicle safely as soon as possible, paying
attention to road and traffic conditions. Do not continue driving
under any circumstances.
X Apply the electric parking brake.
X Consult a qualified specialist workshop immediately.
X Observe the additional display messages in the multifunction
display.
Do not add brake fluid. This does not correct the malfunction. 390
Warning and indicator lamps in the instrument clusterOn-board computer and displays
Page 427 of 494
X
Park the vehicle on a level surface.
Only check the coolant level when the
vehicle is on a level surface and the engine
has cooled down.
X Turn the SmartKey to position 2in the
ignition lock (Y page 273).
On vehicles with KEYLESS-GO, press the
Start/Stop button twice (Y page 273).
X Check the coolant temperature display in
the instrument cluster.
The coolant temperature must be below
158 ‡ (70 †).
X Turn the SmartKey to position
0(Y page 273) in the ignition lock.
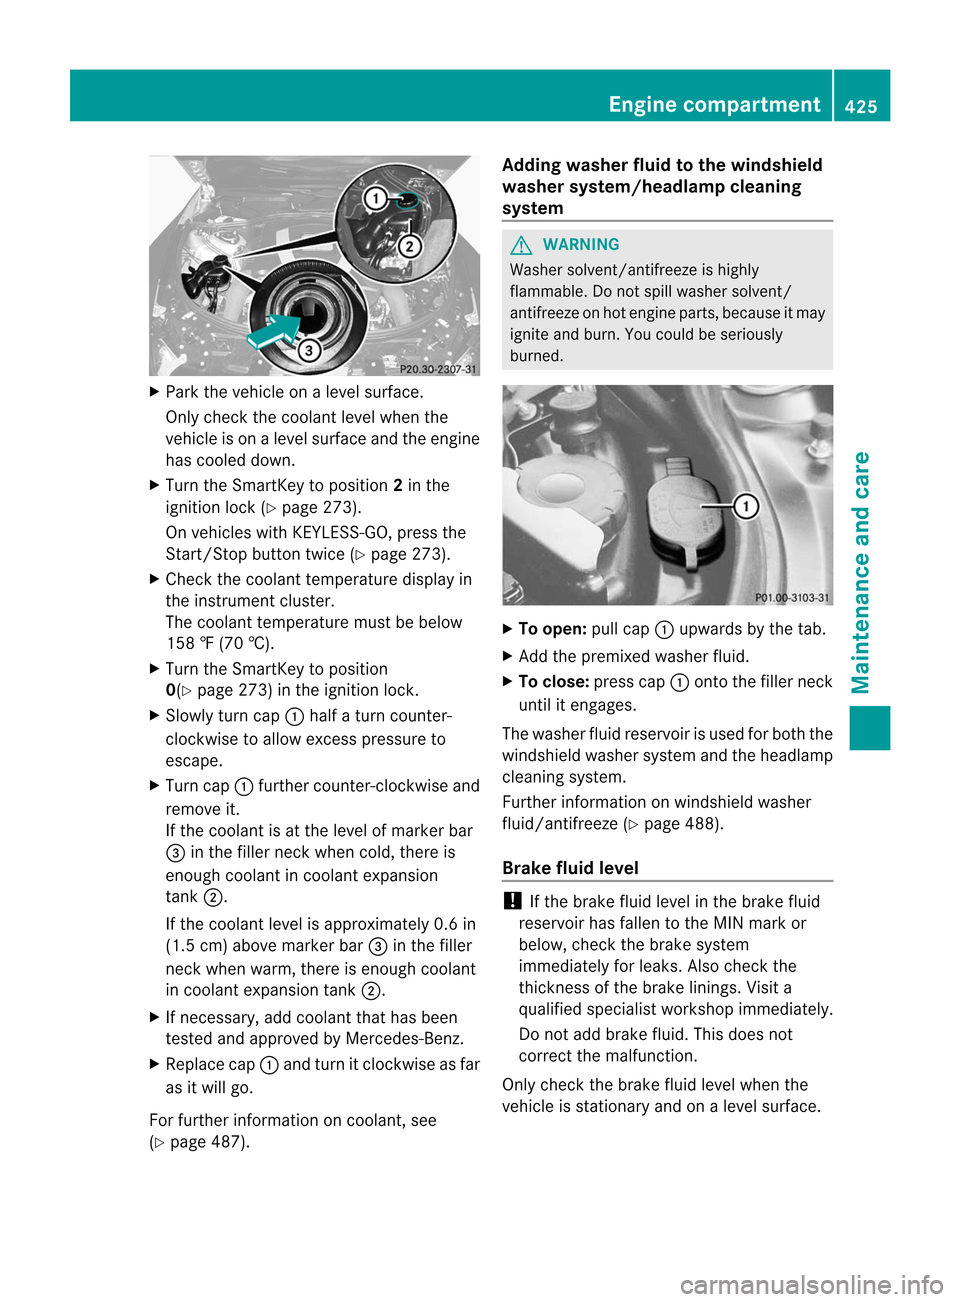
X Slowly turn cap :half a turn counter-
clockwise to allow excess pressure to
escape.
X Turn cap :further counter-clockwise and
remove it.
If the coolant is at the level of marker bar
= in the filler neck when cold, there is
enough coolant in coolant expansion
tank ;.
If the coolant level is approximately 0.6 in
(1.5 cm) above marker bar =in the filler
neck when warm, there is enough coolant
in coolant expansion tank ;.
X If necessary, add coolant that has been
tested and approved by Mercedes-Benz.
X Replace cap :and turn it clockwise as far
as it will go.
For further information on coolant, see
(Y page 487). Adding washer fluid to the windshield
washer system/headlam
pcleaning
system G
WARNING
Washer solvent/antifreeze is highly
flammable. Do not spill washer solvent/
antifreeze on hot engin eparts, because it may
ignite and burn .You could be seriously
burned. X
To open: pull cap:upwards by the tab.
X Add the premixed washer fluid.
X To close: press cap :onto the filler neck
until it engages.
The washer fluid reservoir is used for both the
windshield washer system and the headlamp
cleaning system.
Further information on windshield washer
fluid/antifreeze (Y page 488).
Brake fluid level !
If the brake fluid level in the brake fluid
reservoir has fallen to the MIN mark or
below, check the brake system
immediately for leaks. Also check the
thickness of the brake linings. Visit a
qualified specialist workshop immediately.
Do not add brake fluid. This does not
correct the malfunction.
Only check the brake fluid level when the
vehicle is stationary and on a level surface. Engine compartment
425Maintenance and care Z
Page 428 of 494
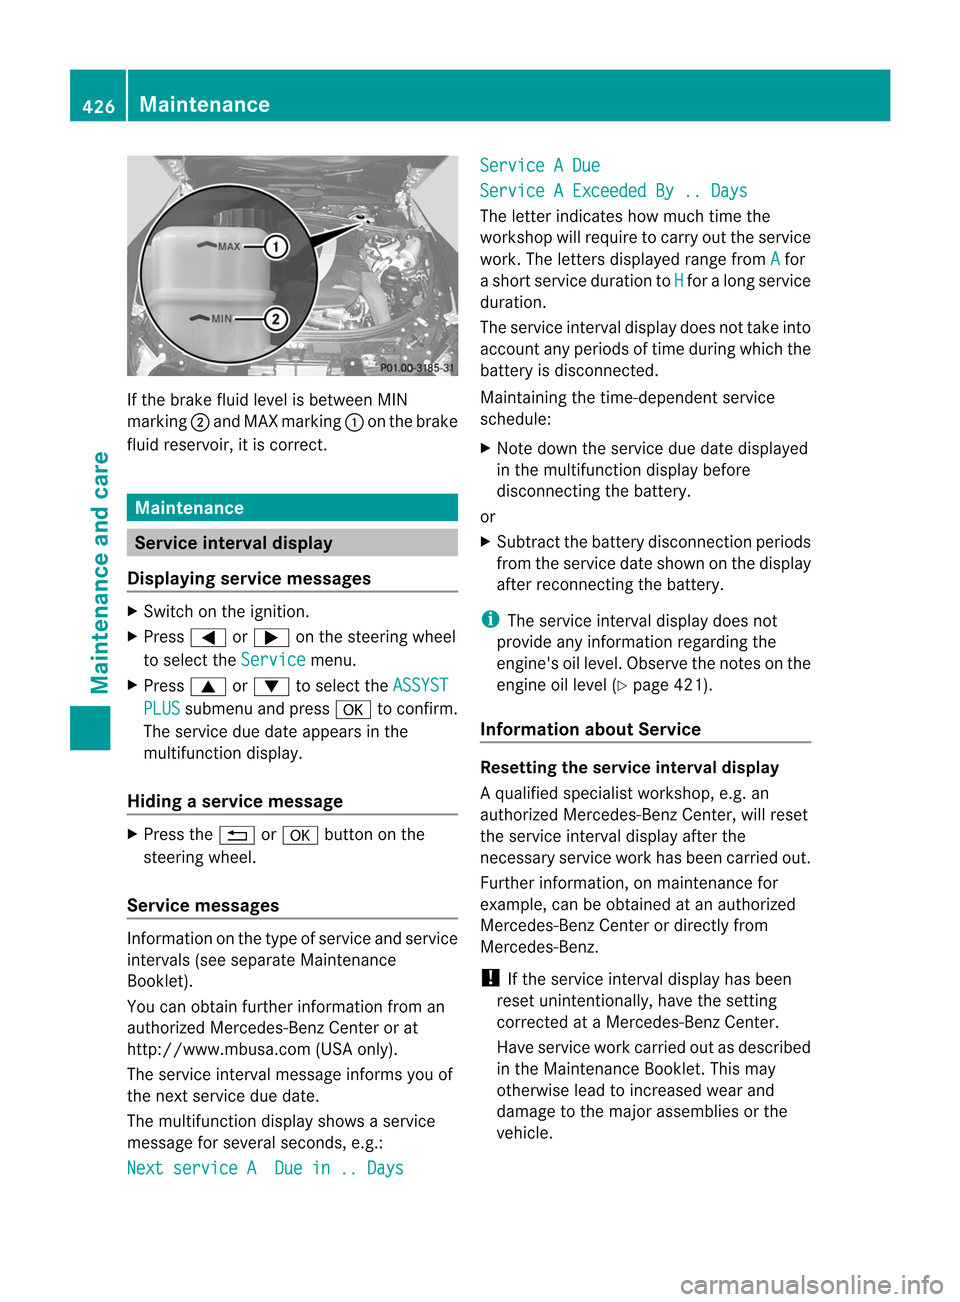
If the brake fluid level is betwee
nMIN
marking ;and MAX marking :on the brake
fluid reservoir, it is correct. Maintenance
Service interval display
Displaying service messages X
Switch on the ignition.
X Press =or; on the steering wheel
to select the Service menu.
X Press 9or: to select the ASSYST PLUS submenu and press
ato confirm.
The service due date appears in the
multifunction display.
Hiding aservice message X
Press the %ora button on the
steering wheel.
Service messages Information on the type of service and service
intervals (see separate Maintenance
Booklet).
You can obtain further information from an
authorized Mercedes-Ben
zCenter or at
http://www.mbusa.com (USA only).
The service interval message informs you of
the nexts ervice due date.
The multifunction display shows a service
message for several seconds, e.g.:
Next service A Due in .. Days Service A Due
Service A Exceeded By .. Days
The letter indicates how much time the
workshop will require to carry out the service
work. The letters displayed range from
A for
a short service duration to H for a long service
duration.
The service interval display does not take into
accoun tany periods of time during which the
battery is disconnected.
Maintaining the time-dependent service
schedule:
X Note down the service due date displayed
in the multifunctio ndisplay before
disconnecting the battery.
or
X Subtract the battery disconnection periods
fro mt he service date shown on the display
after reconnecting the battery.
i The service interval display does not
provide any information regarding the
engine's oil level. Observe the notes on the
engine oil level (Y page 421).
Information about Service Resetting the service interval display
Aq
ualified specialist workshop, e.g. an
authorized Mercedes-Ben zCenter, will reset
the service interval display after the
necessary service work has been carried out.
Further information, on maintenance for
example, can be obtained at an authorized
Mercedes-Benz Center or directly from
Mercedes-Benz.
! If the service interval display has been
reset unintentionally, have the setting
corrected at a Mercedes-Benz Center.
Have service work carried out as described
in the Maintenance Booklet. This may
otherwise lead to increased wear and
damage to the major assemblies or the
vehicle. 426
MaintenanceMaintenance and care