MERCEDES-BENZ CL550 2010 W216 Owner's Manual
Manufacturer: MERCEDES-BENZ, Model Year: 2010, Model line: CL550, Model: MERCEDES-BENZ CL550 2010 W216Pages: 500, PDF Size: 9.5 MB
Page 191 of 500
USB storage device
i
This function is available for
alphabetically ordered directories. The
function is
not available within playlists for
example.
X Within a folder, press the respective button
on the telephone keypad once or more to
enter the first character of the desired
artist name. For example, press button
l three
times for an artist whose name
starts with a “C”.
The available characters are displayed on
the bottom of the display.
When the directory contains folders only,
COMAND will search for folders. Selecting active partition (USB
storage devices only)
You can
select this function with USB storage
devices when the storage space is
partitioned. The system supports up to 4
partitions (primary or logical, FAT formatted).
i The Windows formatting program
supports FAT partitions of up to 32 gigabyte
by default.
X Select Media Interface Q Select
Active Partition. Playback options
The following options are available:
R Normal Track Sequence
Tracks are
played back in regular order (e.g.
in numerical or in alphabetical order).
R Random Tracks
All available tracks on the current medium
are played back in random order.
R Category Mix or Random Folder (with
USB devices when Folder was selected) Tracks of the currently active category or
folder
and
its subfolders are played back in
random order.
X Selecting playback options: Select
Media Interface in the basic display.
The list of options appears. The dot
#
indicates the currently selected option.
X Select an option. COMAND vehicle menu
Introduction
In this menu, you can program the following
vehicle functions: Function
Multi-function Contour Seat
Settings (Y page 198)
Rear Window Sunshade (Y page 190)
Easy Entry/Exit Feature
(Y page 190)
Exterior Lighting Delayed Shut-off
(Y page 191)
Interior Lighting Delayed Shut-off
(Y page 191)
Ambient Lighting (Y page 192)
Automatic Mirror Folding
(Y page 192)
Locator Lighting (Y page 192)
Automatic Locking (Y page 193)
Trunk Opening-height Restriction
(Y page 193)
You can select the individual vehicle
functions in two ways. COMAND vehicle menu
189
Control systems
216_AKB; 3; 90, en-US
d2ureepe, Version: 2.11.8.1 2009-05-15T11:47:50+02:00 - Seite 189 Z
Page 192 of 500
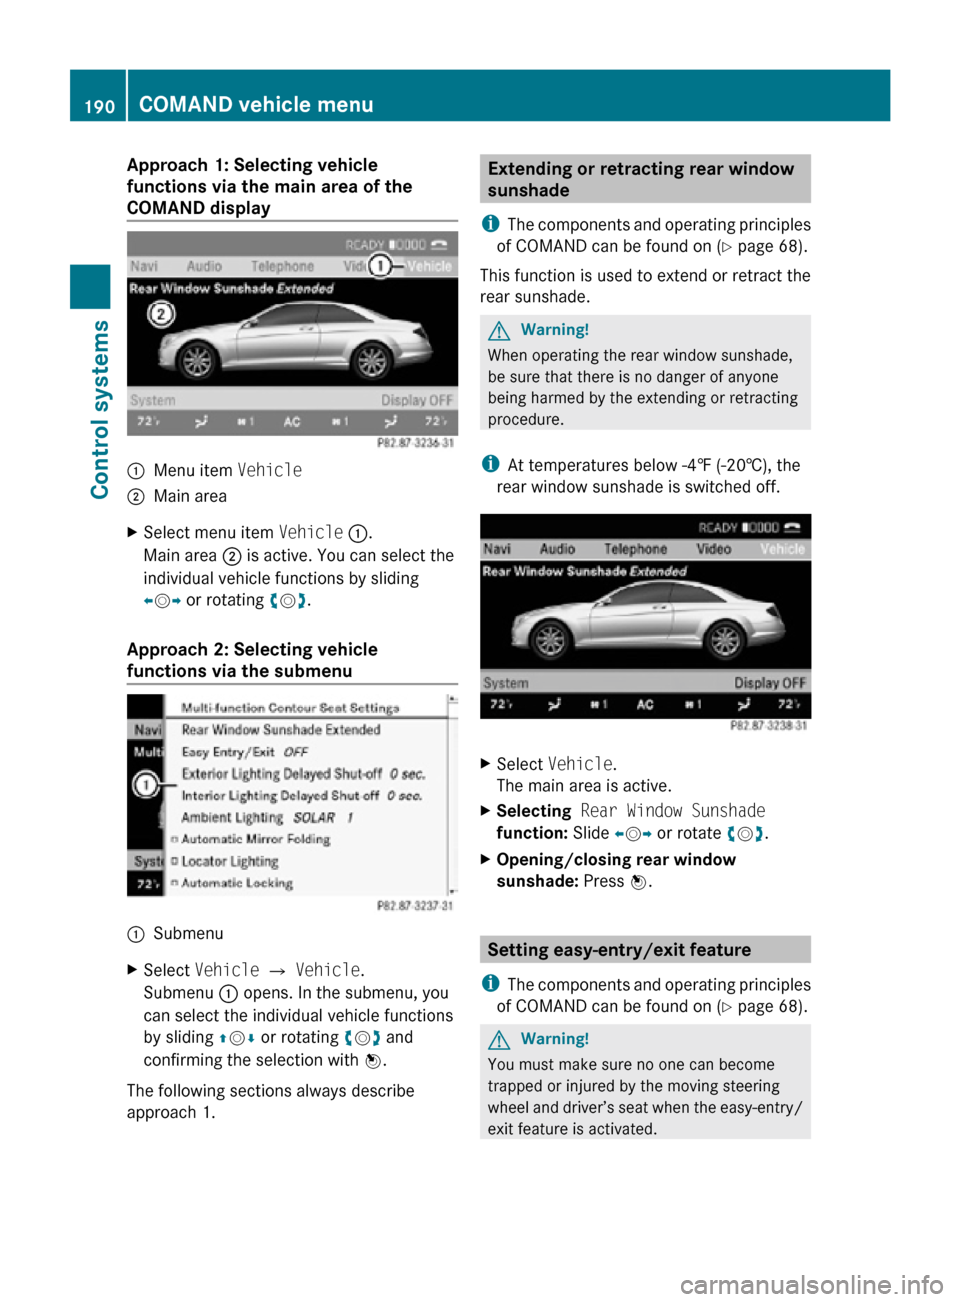
Approach 1: Selecting vehicle
functions via the main area of the
COMAND display
:
Menu item Vehicle
; Main area
X Select menu item Vehicle :.
Main area ; is active. You can select the
individual vehicle functions by sliding
XVY or rotating cVd.
Approach 2: Selecting vehicle
functions via the submenu :
Submenu
X Select Vehicle Q Vehicle.
Submenu : opens. In the submenu, you
can select the individual vehicle functions
by sliding ZVÆ or rotating cVd and
confirming the selection with W.
The following sections always describe
approach 1. Extending or retracting rear window
sunshade
i The components and operating principles
of COMAND can be found on ( Y page 68).
This function is used to extend or retract the
rear sunshade. G
Warning!
When operating the rear window sunshade,
be sure that there is no danger of anyone
being harmed by the extending or retracting
procedure.
i At temperatures below -4‡ (-20†), the
rear window sunshade is switched off. X
Select Vehicle.
The main area is active.
X Selecting Rear Window Sunshade
function: Slide XVY or rotate cVd.
X Opening/closing rear window
sunshade: Press W. Setting easy-entry/exit feature
i The components and operating principles
of COMAND can be found on ( Y page 68). G
Warning!
You must make sure no one can become
trapped or injured by the moving steering
wheel and driver’s seat when the easy-entry/
exit feature is activated. 190
COMAND vehicle menuControl systems
216_AKB; 3; 90, en-US
d2ureepe,
Version: 2.11.8.1 2009-05-15T11:47:50+02:00 - Seite 190
Page 193 of 500
To stop seat/steering wheel movement, do
one of the following:
R
Press seat adjustment switch.
R Move steering wheel adjustment stalk.
R Press one of the memory position buttons
or the memory button M.
Do not leave children unattended in the
vehicle, or with access to an unlocked vehicle.
Children could open the driver’s door and
unintentionally activate the easy-entry/exit
feature, which could result in an accident
and/or serious personal injury.
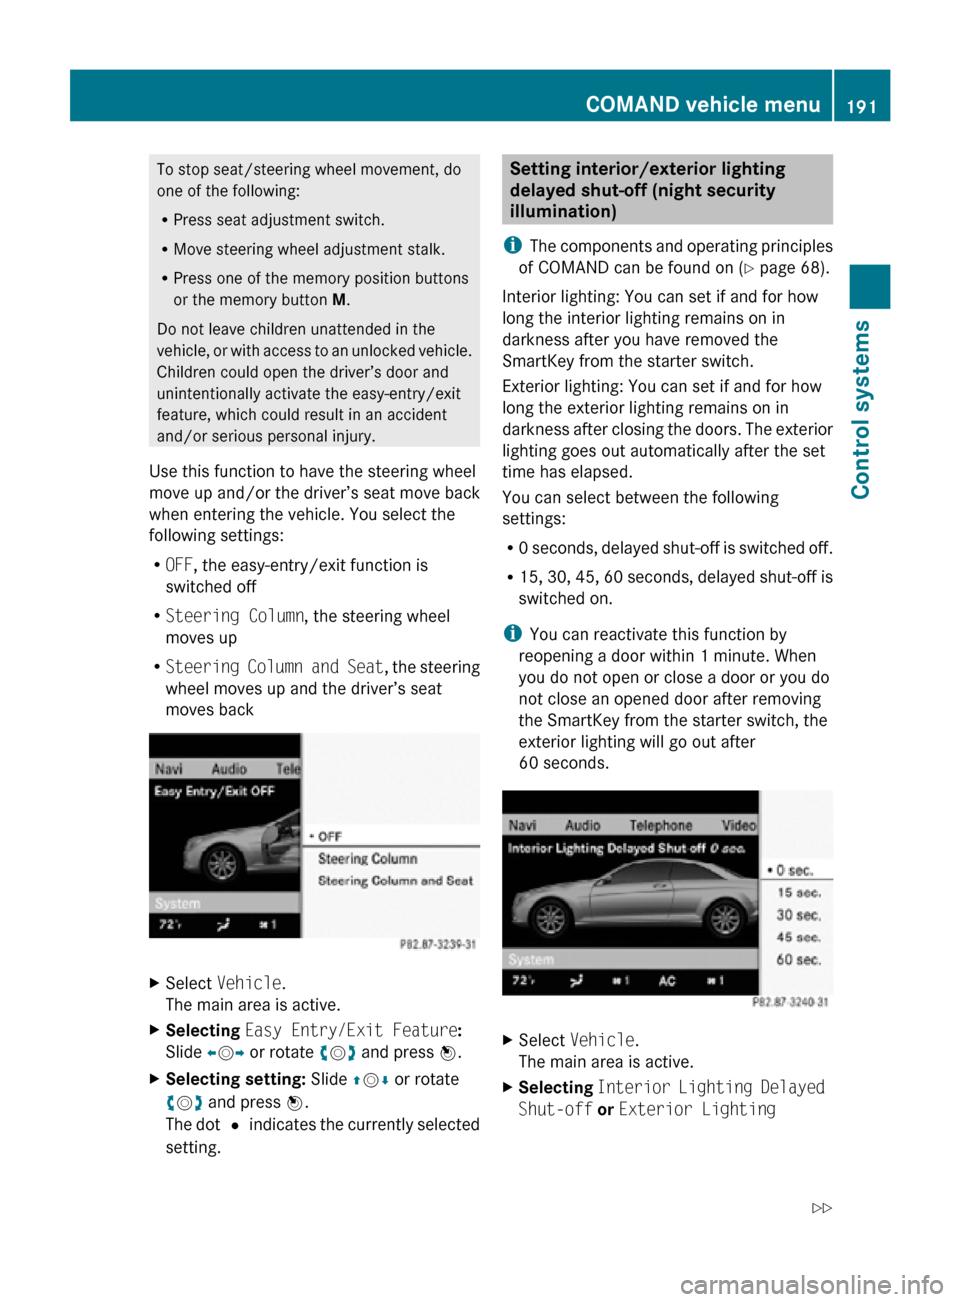
Use this function to have the steering wheel
move up and/or the driver’s seat move back
when entering the vehicle. You select the
following settings:
R OFF, the easy-entry/exit function is
switched off
R Steering Column, the steering wheel
moves up
R Steering Column and Seat , the steering
wheel moves up and the driver’s seat
moves back X
Select Vehicle.
The main area is active.
X Selecting Easy Entry/Exit Feature:
Slide XVY or rotate cVd and press W.
X Selecting setting: Slide ZVÆ or rotate
cVd and press W.
The dot # indicates the currently selected
setting. Setting interior/exterior lighting
delayed shut-off (night security
illumination)
i The components and operating principles
of COMAND can be found on ( Y page 68).
Interior lighting: You can set if and for how
long the interior lighting remains on in
darkness after you have removed the
SmartKey from the starter switch.
Exterior lighting: You can set if and for how
long the exterior lighting remains on in
darkness after closing the doors. The exterior
lighting goes out automatically after the set
time has elapsed.
You can select between the following
settings:
R 0 seconds, delayed shut-off is switched off.
R 15, 30, 45, 60 seconds, delayed shut-off is
switched on.
i You can reactivate this function by
reopening a door within 1 minute. When
you do not open or close a door or you do
not close an opened door after removing
the SmartKey from the starter switch, the
exterior lighting will go out after
60 seconds. X
Select Vehicle.
The main area is active.
X Selecting Interior Lighting Delayed
Shut-off or Exterior Lighting COMAND vehicle menu
191Control systems
216_AKB; 3; 90, en-US
d2ureepe, Version: 2.11.8.1 2009-05-15T11:47:50+02:00 - Seite 191 Z
Page 194 of 500
Delayed Shut-off: Slide XVY or rotate
cVd and press W.
A menu appears.
The dot
# indicates the currently selected
setting.
X Selecting setting: Slide ZVÆ or rotate
cVd and press W.
The dot # indicates the currently selected
setting.
i The exterior lamp switch must be in
position c (Y page 275) before turning
off the engine. Otherwise the exterior
lighting will not come on when leaving the
vehicle. Setting interior ambient lighting
i The components and operating principles
of COMAND can be found on ( Y page 68).
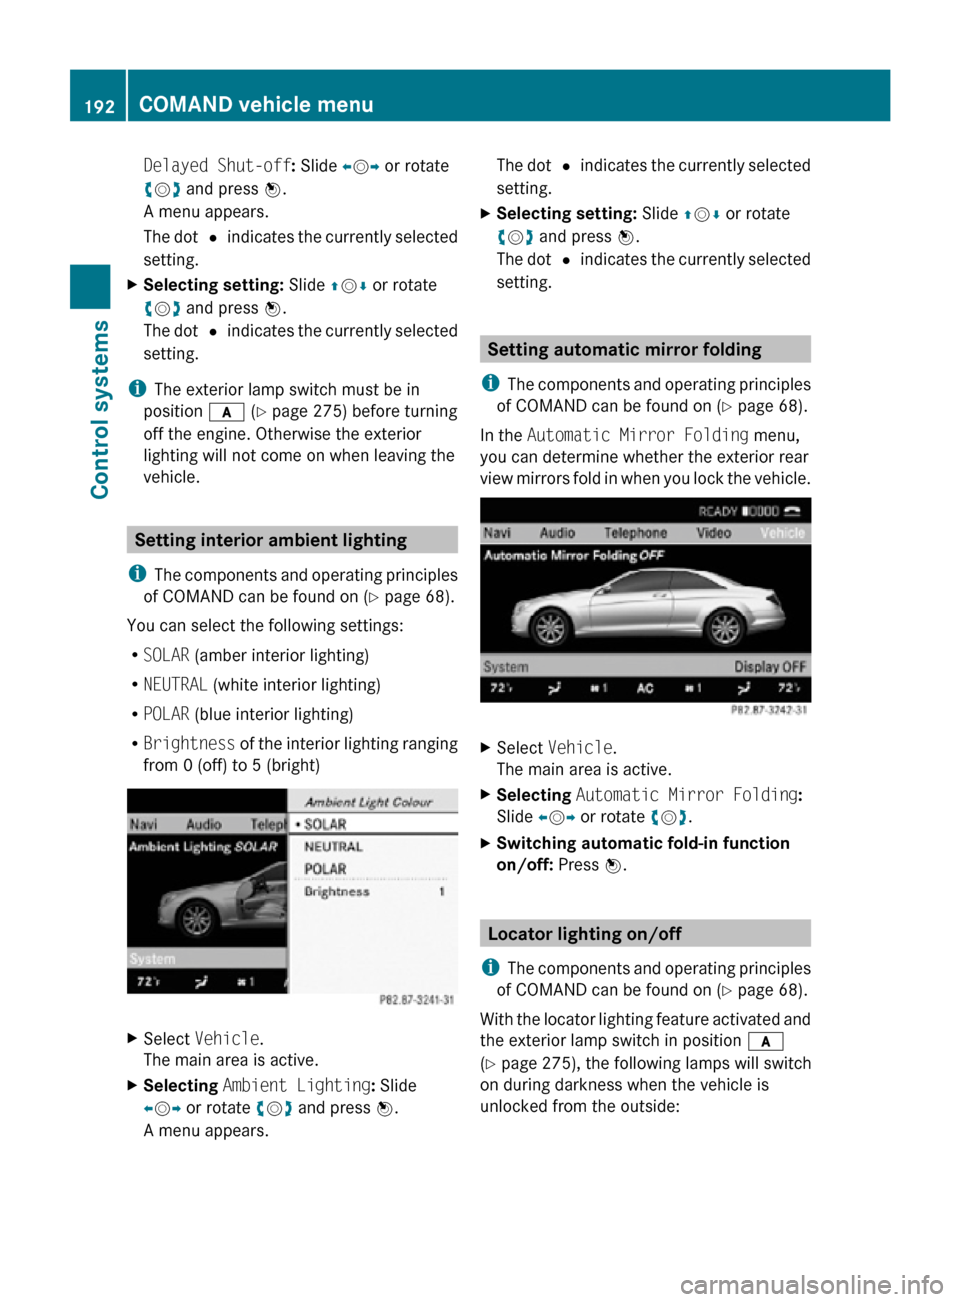
You can select the following settings:
R SOLAR (amber interior lighting)
R NEUTRAL (white interior lighting)
R POLAR (blue interior lighting)
R Brightness of the interior lighting ranging
from 0 (off) to 5 (bright) X
Select Vehicle.
The main area is active.
X Selecting Ambient Lighting: Slide
XVY or rotate cVd and press W.
A menu appears. The dot
# indicates the currently selected
setting.
X Selecting setting: Slide ZVÆ or rotate
cVd and press W.
The dot # indicates the currently selected
setting. Setting automatic mirror folding
i The components and operating principles
of COMAND can be found on ( Y page 68).
In the Automatic Mirror Folding menu,
you can determine whether the exterior rear
view mirrors fold in when you lock the vehicle. X
Select Vehicle.
The main area is active.
X Selecting Automatic Mirror Folding:
Slide XVY or rotate cVd.
X Switching automatic fold-in function
on/off: Press W. Locator lighting on/off
i The components and operating principles
of COMAND can be found on ( Y page 68).
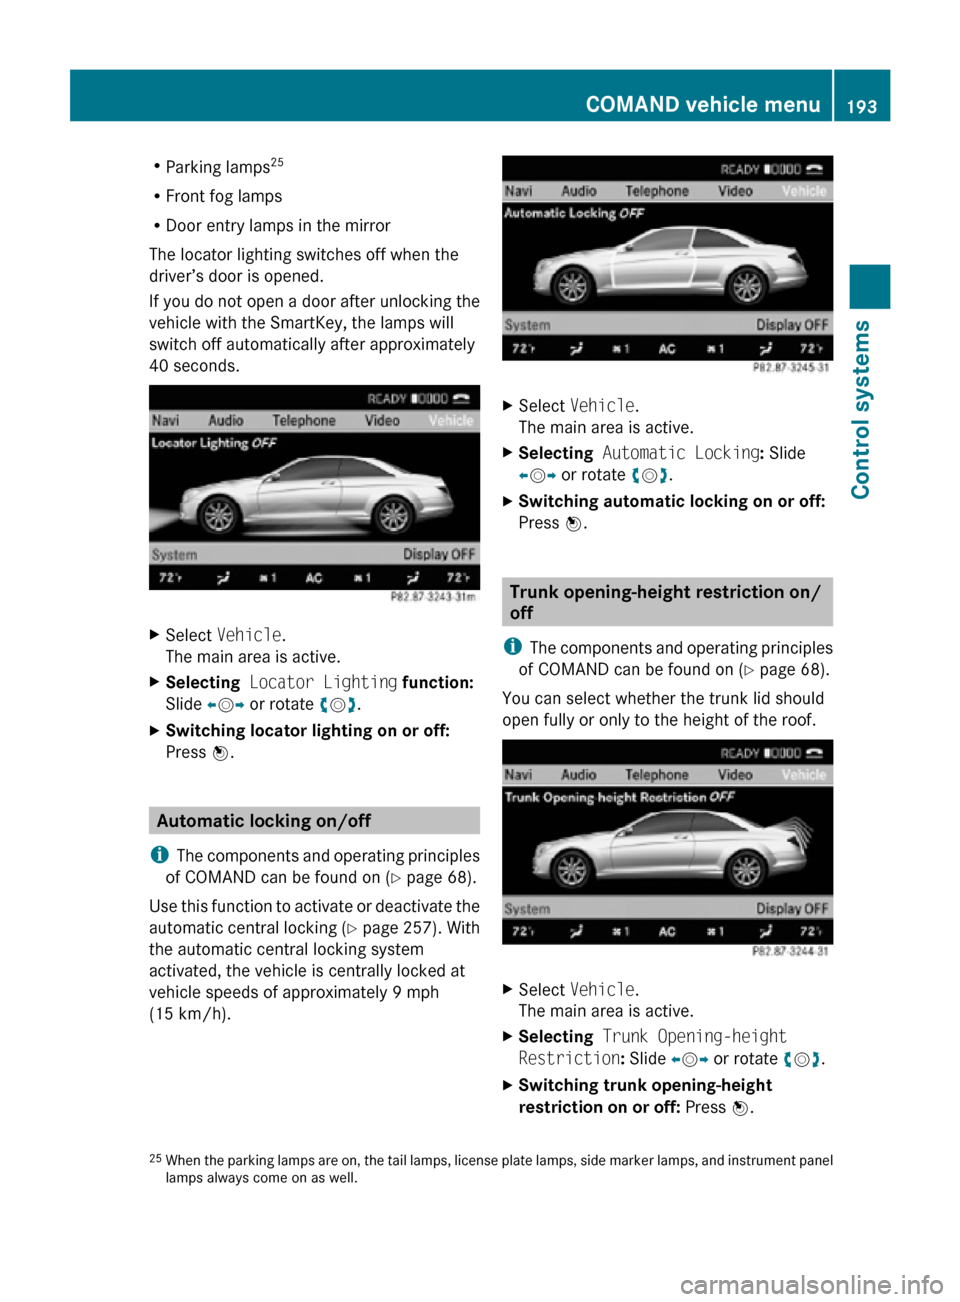
With the locator lighting feature activated and
the exterior lamp switch in position c
(Y page 275), the following lamps will switch
on during darkness when the vehicle is
unlocked from the outside: 192
COMAND vehicle menuControl systems
216_AKB; 3; 90, en-US
d2ureepe,
Version: 2.11.8.1 2009-05-15T11:47:50+02:00 - Seite 192
Page 195 of 500
R
Parking lamps 25
R Front fog lamps
R Door entry lamps in the mirror
The locator lighting switches off when the
driver’s door is opened.
If you do not open a door after unlocking the
vehicle with the SmartKey, the lamps will
switch off automatically after approximately
40 seconds. X
Select Vehicle.
The main area is active.
X Selecting Locator Lighting function:
Slide XVY or rotate cVd.
X Switching locator lighting on or off:
Press W. Automatic locking on/off
i The components and operating principles
of COMAND can be found on ( Y page 68).
Use this function to activate or deactivate the
automatic central locking (Y page 257). With
the automatic central locking system
activated, the vehicle is centrally locked at
vehicle speeds of approximately 9 mph
(15 km/h). X
Select Vehicle.
The main area is active.
X Selecting Automatic Locking: Slide
XVY or rotate cVd.
X Switching automatic locking on or off:
Press W. Trunk opening-height restriction on/
off
i The components and operating principles
of COMAND can be found on ( Y page 68).
You can select whether the trunk lid should
open fully or only to the height of the roof. X
Select Vehicle.
The main area is active.
X Selecting Trunk Opening-height
Restriction: Slide XVY or rotate cVd.
X Switching trunk opening-height
restriction on or off: Press W.
25 When the parking lamps are on, the tail lamps, license plate lamps, side marker lamps, and instrument panel
lamps always come on as well. COMAND vehicle menu
193Control systems
216_AKB; 3; 90, en-US
d2ureepe, Version: 2.11.8.1 2009-05-15T11:47:50+02:00 - Seite 193 Z
Page 196 of 500
COMAND automatic climate control
Introduction
i The components and operating principles
of COMAND can be found on ( Y page 68).G
Warning!
Follow the recommended settings for heating
and cooling given on the following pages and
pages in the “Controls in detail” chapter.
Otherwise the windows could fog up,
impairing visibility and endangering you and
others.
You can operate the climate control via
COMAND or via the buttons on the climate
control panel (Y page 338).
Some of the special climate control functions
can only be operated via COMAND.
The following climate control functions can
be operated via COMAND:
R Temperature ( Y page 194)
R Air distribution (Y page 195)
R Air volume ( Y page 195)
R Switching off cooling (Æ)
(Y page 196)
R Central climate control (Mono)
(Y page 196)
R Footwell temperature ( Y page 197)
R Air flow from air vents (Y page 197)
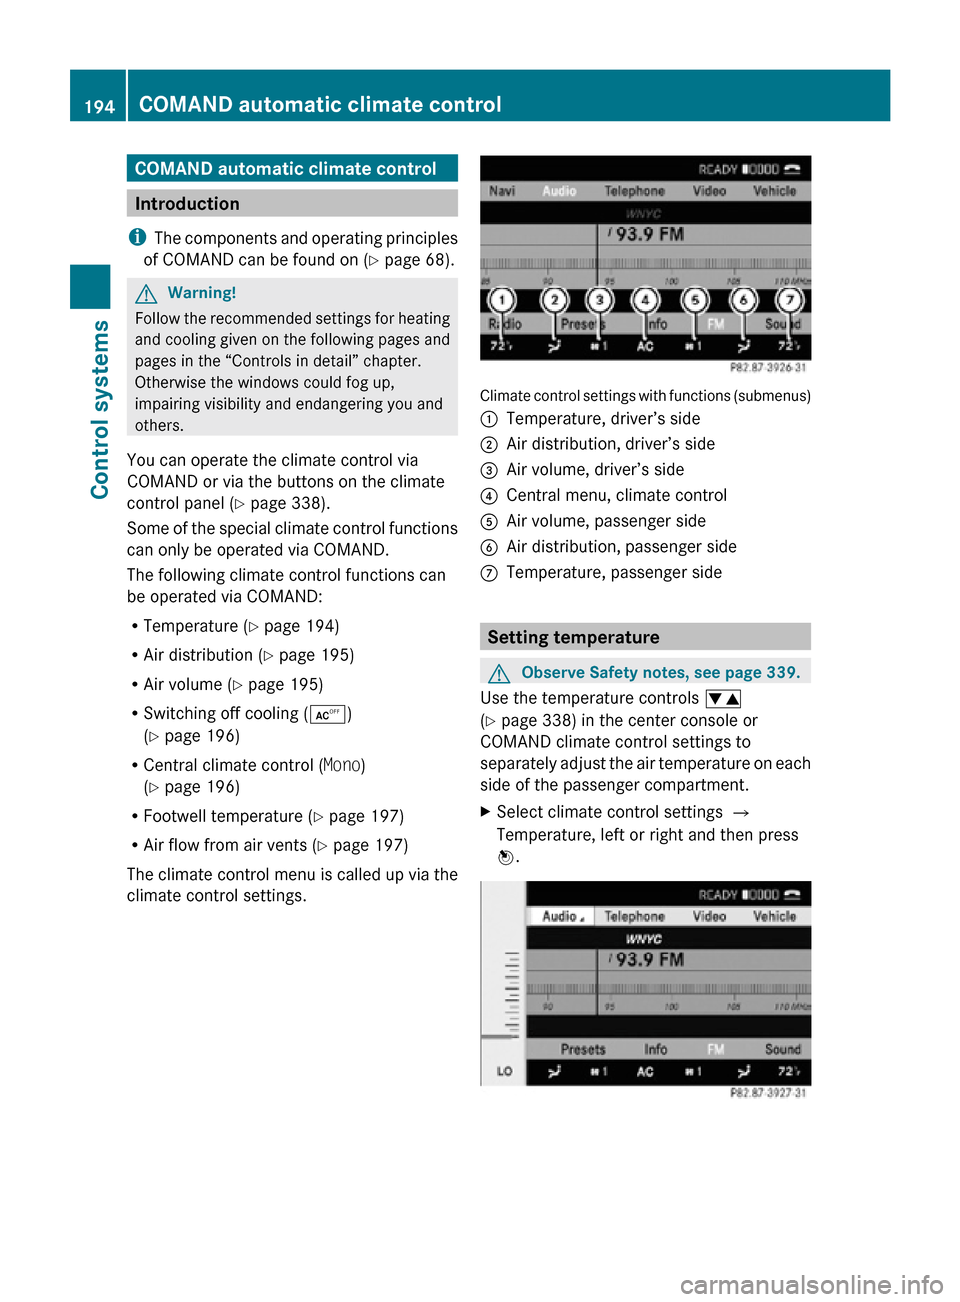
The climate control menu is called up via the
climate control settings. Climate control settings with functions (submenus)
:
Temperature, driver’s side
; Air distribution, driver’s side
= Air volume, driver’s side
? Central menu, climate control
A Air volume, passenger side
B Air distribution, passenger side
C Temperature, passenger side Setting temperature
G
Observe Safety notes, see page 339.
Use the temperature controls w
(Y page 338) in the center console or
COMAND climate control settings to
separately adjust the air temperature on each
side of the passenger compartment.
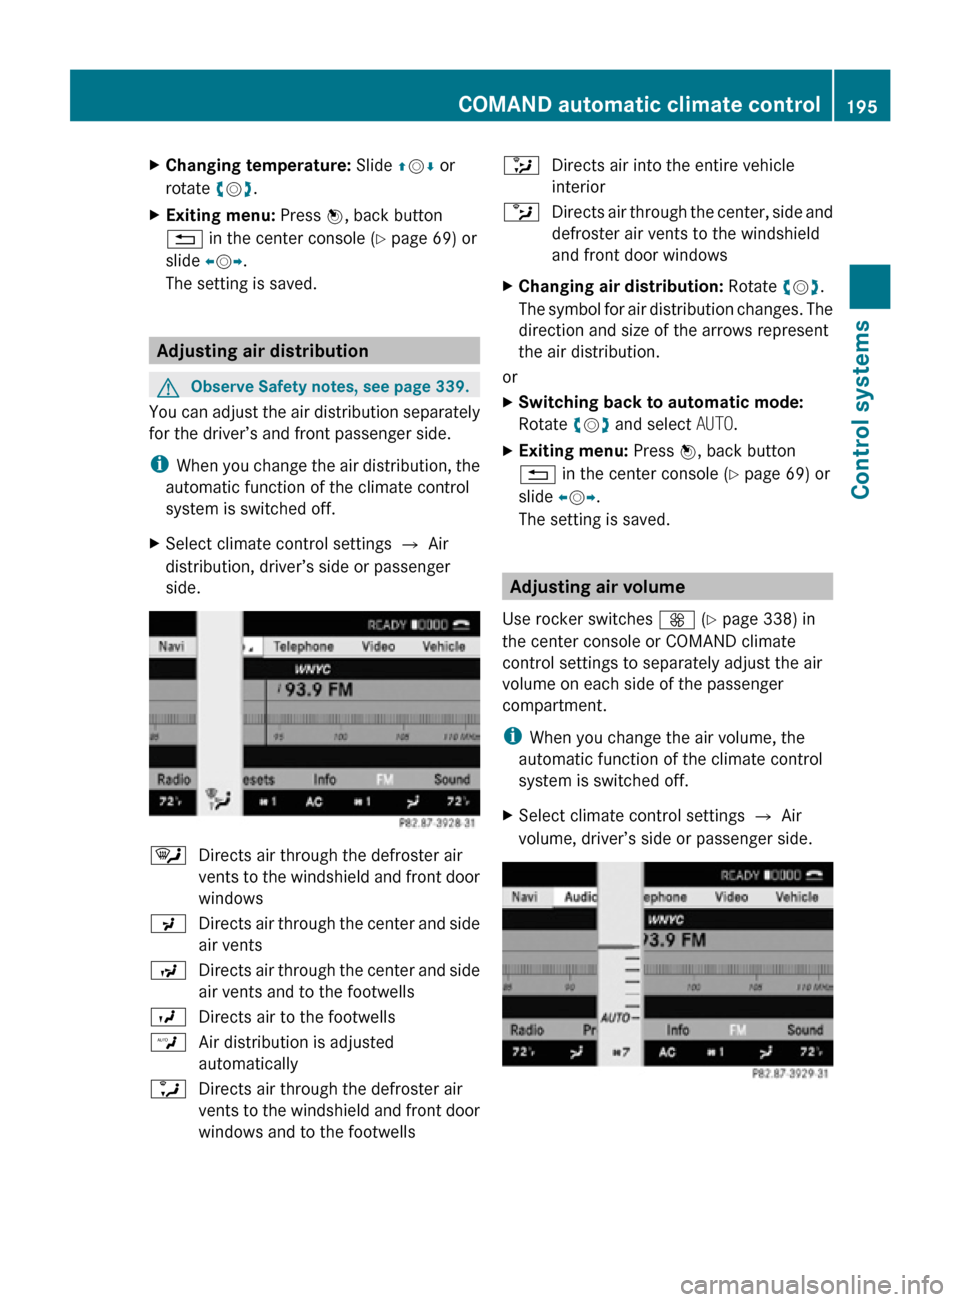
X Select climate control settings Q
Temperature, left or right and then press
W. 194
COMAND automatic climate controlControl systems
216_AKB; 3; 90, en-US
d2ureepe,
Version: 2.11.8.1 2009-05-15T11:47:50+02:00 - Seite 194
Page 197 of 500
X
Changing temperature: Slide ZVÆ or
rotate cVd.
X Exiting menu: Press W, back button
% in the center console (Y page 69) or
slide XVY.
The setting is saved. Adjusting air distribution
G
Observe Safety notes, see page 339.
You can adjust the air distribution separately
for the driver’s and front passenger side.
i When you change the air distribution, the
automatic function of the climate control
system is switched off.
X Select climate control settings Q Air
distribution, driver’s side or passenger
side. ¯
Directs air through the defroster air
vents to the windshield and front door
windows
P Directs air through the center and side
air vents
N Directs air through the center and side
air vents and to the footwells
O Directs air to the footwells
W Air distribution is adjusted
automatically
a Directs air through the defroster air
vents to the windshield and front door
windows and to the footwells _
Directs air into the entire vehicle
interior
b Directs air through the center, side and
defroster air vents to the windshield
and front door windows
X Changing air distribution: Rotate cVd.
The symbol for air distribution changes. The
direction and size of the arrows represent
the air distribution.
or
X Switching back to automatic mode:
Rotate cVd and select AUTO.
X Exiting menu: Press W, back button
% in the center console (Y page 69) or
slide XVY.
The setting is saved. Adjusting air volume
Use rocker switches K (Y page 338) in
the center console or COMAND climate
control settings to separately adjust the air
volume on each side of the passenger
compartment.
i When you change the air volume, the
automatic function of the climate control
system is switched off.
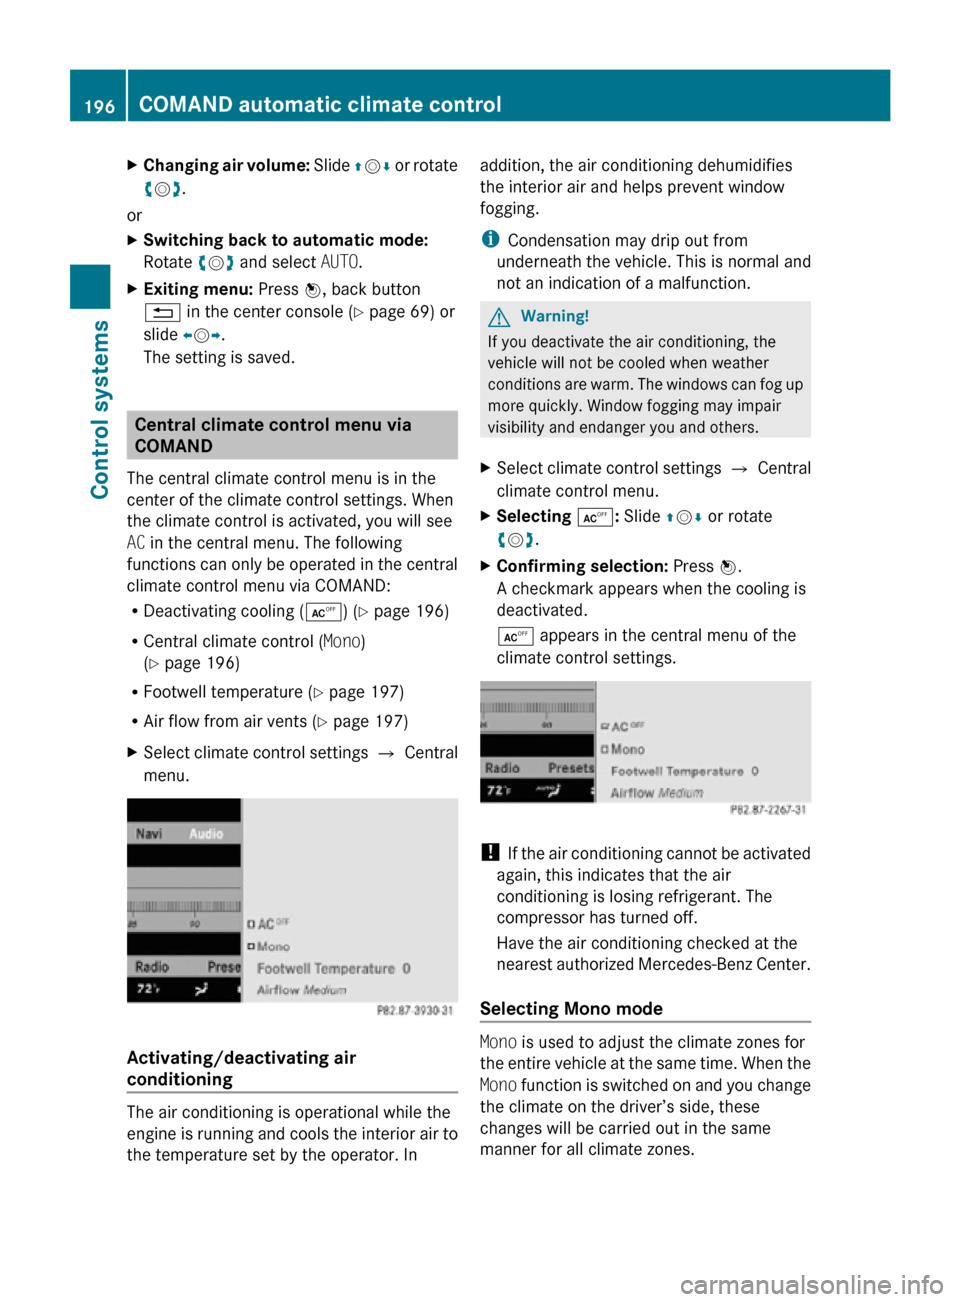
X Select climate control settings Q Air
volume, driver’s side or passenger side. COMAND automatic climate control
195Control systems
216_AKB; 3; 90, en-US
d2ureepe, Version: 2.11.8.1 2009-05-15T11:47:50+02:00 - Seite 195 Z
Page 198 of 500
X
Changing air volume: Slide ZVÆ or rotate
cVd.
or
X Switching back to automatic mode:
Rotate cVd and select AUTO.
X Exiting menu: Press W, back button
% in the center console (Y page 69) or
slide XVY.
The setting is saved. Central climate control menu via
COMAND
The central climate control menu is in the
center of the climate control settings. When
the climate control is activated, you will see
AC in the central menu. The following
functions can only be operated in the central
climate control menu via COMAND:
R Deactivating cooling (Æ) (Y page 196)
R Central climate control (Mono)
(Y page 196)
R Footwell temperature ( Y page 197)
R Air flow from air vents (Y page 197)
X Select climate control settings Q Central
menu. Activating/deactivating air
conditioning
The air conditioning is operational while the
engine is running and cools the interior air to
the temperature set by the operator. In addition, the air conditioning dehumidifies
the interior air and helps prevent window
fogging.
i
Condensation may drip out from
underneath the vehicle. This is normal and
not an indication of a malfunction. G
Warning!
If you deactivate the air conditioning, the
vehicle will not be cooled when weather
conditions are warm. The windows can fog up
more quickly. Window fogging may impair
visibility and endanger you and others.
X Select climate control settings Q Central
climate control menu.
X Selecting Æ: Slide ZVÆ or rotate
cVd.
X Confirming selection: Press W.
A checkmark appears when the cooling is
deactivated.
Æ appears in the central menu of the
climate control settings. !
If the air conditioning cannot be activated
again, this indicates that the air
conditioning is losing refrigerant. The
compressor has turned off.
Have the air conditioning checked at the
nearest authorized Mercedes-Benz Center.
Selecting Mono mode Mono is used to adjust the climate zones for
the entire vehicle at the same time. When the
Mono function is switched on and you change
the climate on the driver’s side, these
changes will be carried out in the same
manner for all climate zones.196
COMAND automatic climate controlControl systems
216_AKB; 3; 90, en-US
d2ureepe,
Version: 2.11.8.1 2009-05-15T11:47:50+02:00 - Seite 196
Page 199 of 500
X
Select climate control settings Q Central
climate control menu.
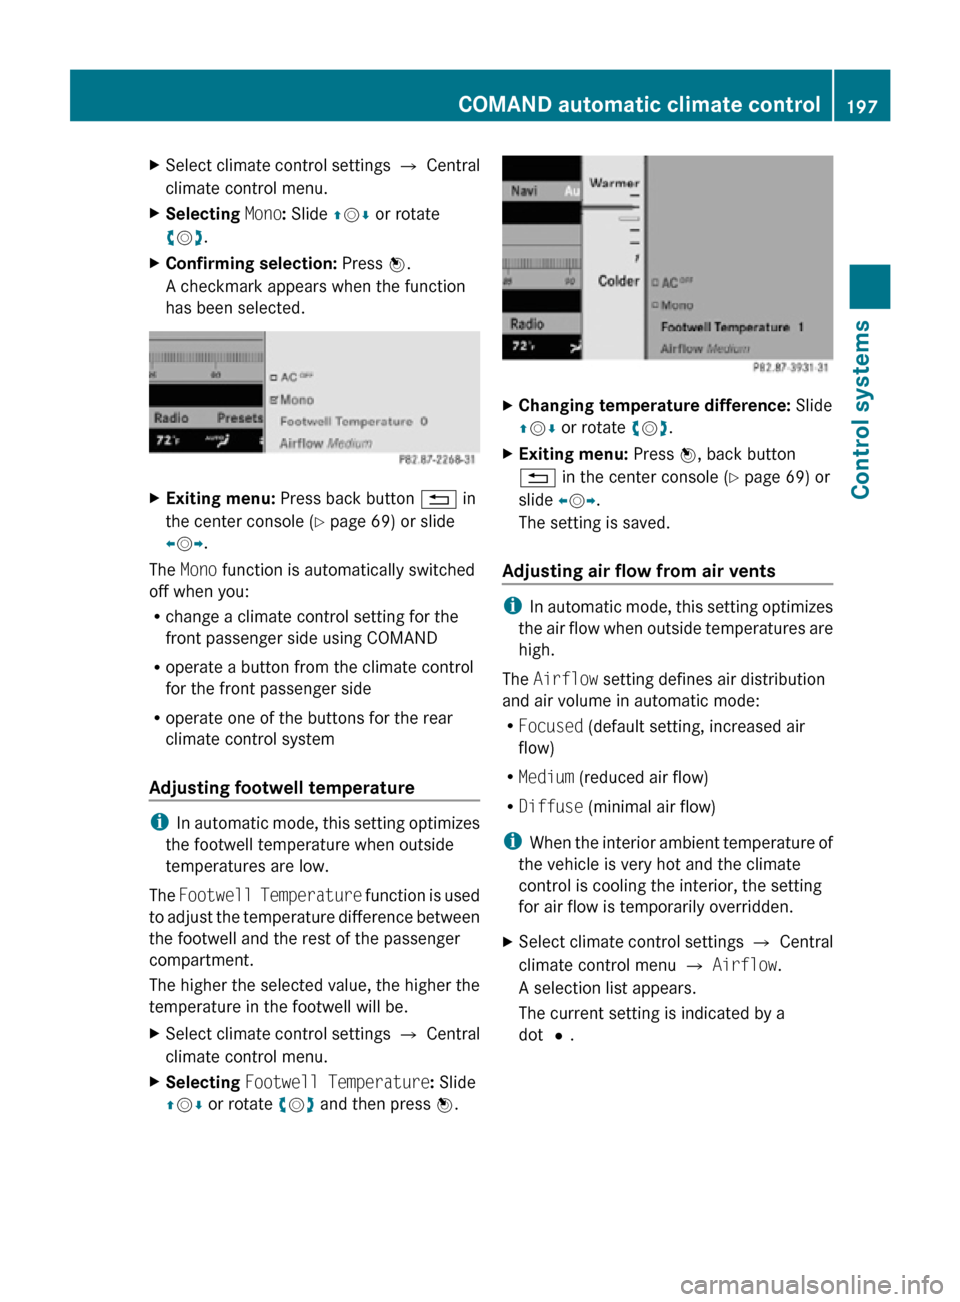
X Selecting Mono: Slide ZVÆ or rotate
cVd.
X Confirming selection: Press W.
A checkmark appears when the function
has been selected. X
Exiting menu: Press back button % in
the center console (Y page 69) or slide
XVY.
The Mono function is automatically switched
off when you:
R change a climate control setting for the
front passenger side using COMAND
R operate a button from the climate control
for the front passenger side
R operate one of the buttons for the rear
climate control system
Adjusting footwell temperature i
In automatic mode, this setting optimizes
the footwell temperature when outside
temperatures are low.
The Footwell Temperature function is used
to adjust the temperature difference between
the footwell and the rest of the passenger
compartment.
The higher the selected value, the higher the
temperature in the footwell will be.
X Select climate control settings Q Central
climate control menu.
X Selecting Footwell Temperature: Slide
ZVÆ or rotate cVd and then press W. X
Changing temperature difference: Slide
ZVÆ or rotate cVd.
X Exiting menu: Press W, back button
% in the center console (Y page 69) or
slide XVY.
The setting is saved.
Adjusting air flow from air vents i
In automatic mode, this setting optimizes
the air flow when outside temperatures are
high.
The Airflow setting defines air distribution
and air volume in automatic mode:
R Focused (default setting, increased air
flow)
R Medium (reduced air flow)
R Diffuse (minimal air flow)
i When the interior ambient temperature of
the vehicle is very hot and the climate
control is cooling the interior, the setting
for air flow is temporarily overridden.
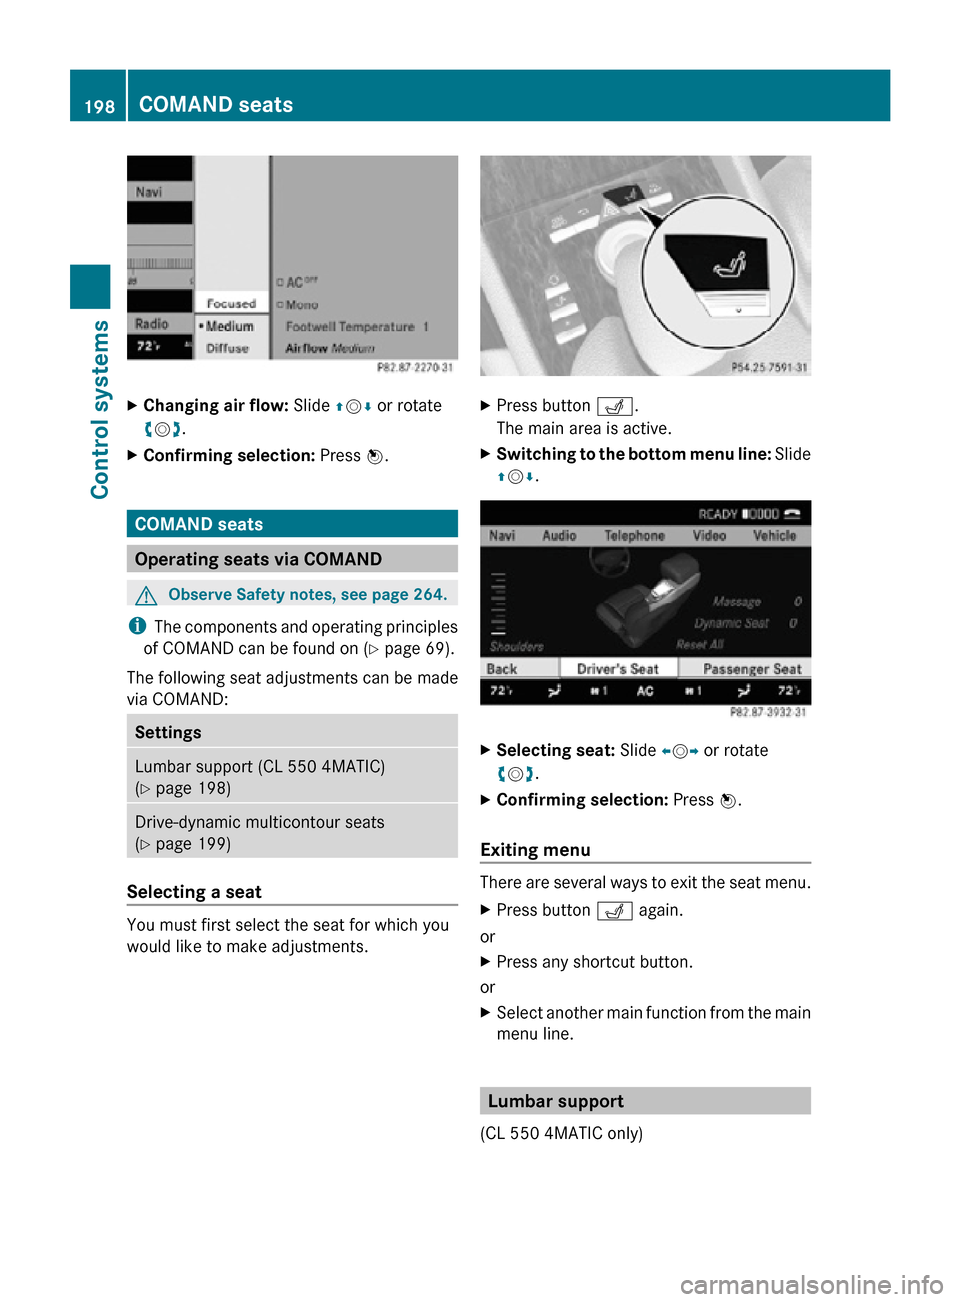
X Select climate control settings Q Central
climate control menu Q Airflow.
A selection list appears.
The current setting is indicated by a
dot #. COMAND automatic climate control
197Control systems
216_AKB; 3; 90, en-US
d2ureepe, Version: 2.11.8.1 2009-05-15T11:47:50+02:00 - Seite 197 Z
Page 200 of 500
X
Changing air flow: Slide ZVÆ or rotate
cVd.
X Confirming selection: Press W.COMAND seats
Operating seats via COMAND
G
Observe Safety notes, see page 264.
i The components and operating principles
of COMAND can be found on ( Y page 69).
The following seat adjustments can be made
via COMAND: Settings
Lumbar support (CL 550 4MATIC)
(Y page 198)
Drive-dynamic multicontour seats
(Y page 199)
Selecting a seat
You must first select the seat for which you
would like to make adjustments. X
Press button T.
The main area is active.
X Switching to the bottom menu line: Slide
ZVÆ. X
Selecting seat: Slide XVY or rotate
cVd.
X Confirming selection: Press W.
Exiting menu There are several ways to exit the seat menu.
X
Press button T again.
or
X Press any shortcut button.
or
X Select another main function from the main
menu line. Lumbar support
(CL 550 4MATIC only) 198
COMAND seatsControl systems
216_AKB; 3; 90, en-US
d2ureepe,
Version: 2.11.8.1 2009-05-15T11:47:50+02:00 - Seite 198