manual radio set MERCEDES-BENZ CLA-Class 2015 C117 Owner's Manual
[x] Cancel search | Manufacturer: MERCEDES-BENZ, Model Year: 2015, Model line: CLA-Class, Model: MERCEDES-BENZ CLA-Class 2015 C117Pages: 362, PDF Size: 6.93 MB
Page 16 of 362

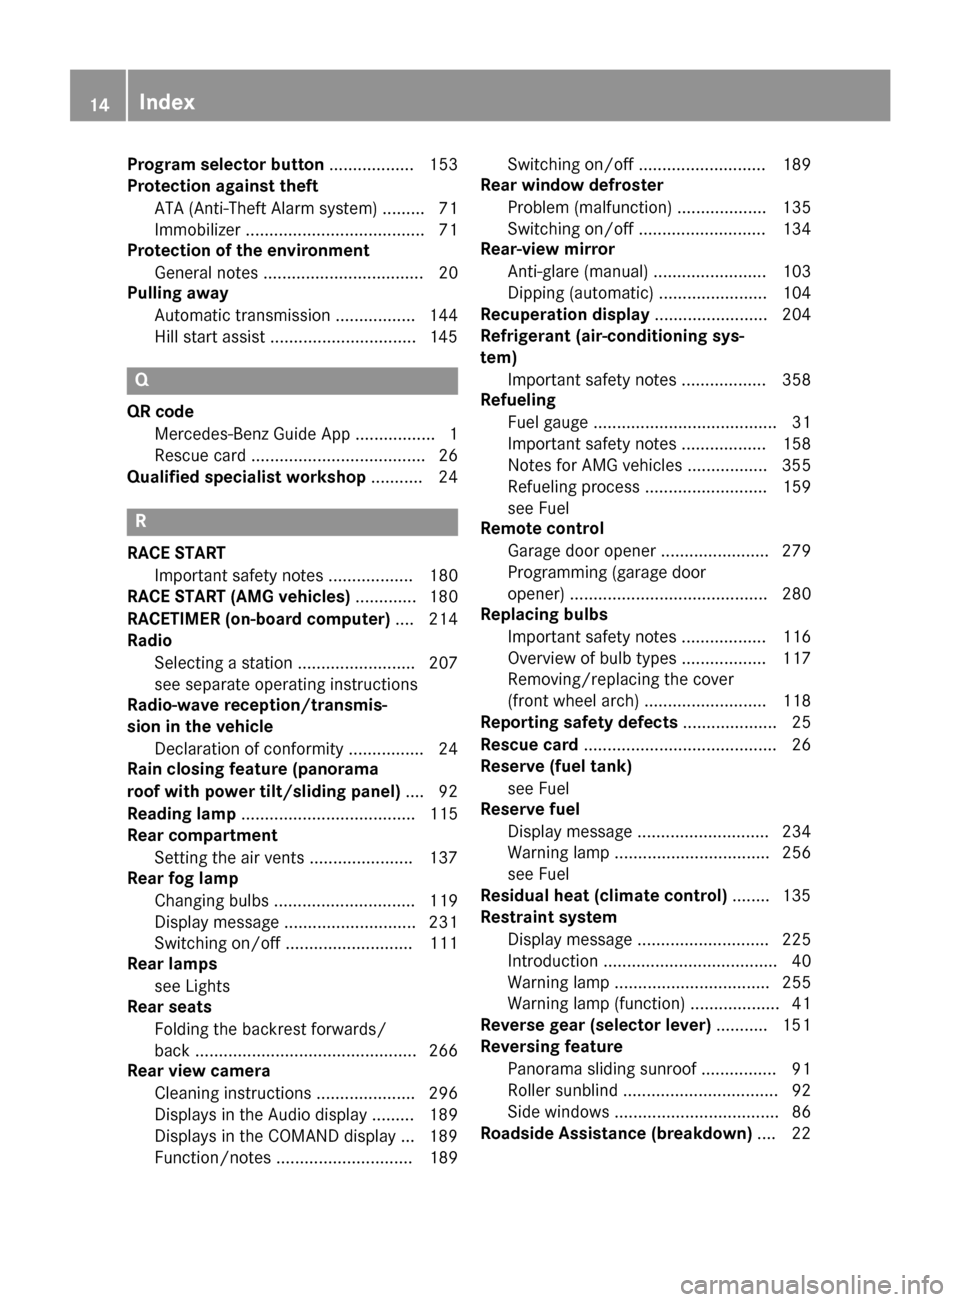
Program selector button
.................. 153
Protection against theft
ATA (Anti-Theft Alarm system) ......... 71
Immobilizer ...................................... 71
Protection of the environment
General notes ..................................20
Pulling away
Automatic transmission ................. 144
Hill start assist ...............................1 45Q
QR code Mercedes-Benz Guide App ................. 1
Rescue card ..................................... 26
Qualified specialist workshop ........... 24R
RACE START Important safety notes .................. 180
RACE START (AMG vehicles) ............. 180
RACETIMER (on-board computer) .... 214
Radio
Selecting a station ......................... 207
see separate operating instructions
Radio-wave reception/transmis-
sion in the vehicle
Declaration of conformity ................ 24
Rain closing feature (panorama
roof with power tilt/sliding panel) .... 92
Reading lamp ..................................... 115
Rear compartment
Setting the air vents ..................... .137
Rear fog lamp
Changing bulbs .............................. 119
Display message ............................ 231
Switching on/off ........................... 111
Rear lamps
see Lights
Rear seats
Folding the backrest forwards/
back ............................................... 266
Rear view camera
Cleaning instructions ..................... 296
Displays in the Audio displa y......... 189
Displays in the COMAND display ... 189
Function/note s............................. 189 Switching on/of
f........................... 189
Rear window defroster
Problem (malfunction) ................... 135
Switching on/of f........................... 134
Rear-view mirror
Anti-glare (manual) ........................ 103
Dipping (automatic) ....................... 104
Recuperation display ........................ 204
Refrigerant (air-conditioning sys-
tem)
Important safety notes .................. 358
Refueling
Fuel gauge ....................................... 31
Important safety notes .................. 158
Notes for AMG vehicles ................. 355
Refueling process .......................... 159
see Fuel
Remote control
Garage door opener ....................... 279
Programming (garage door
opener) .......................................... 280
Replacing bulbs
Important safety notes .................. 116
Overview of bulb types .................. 117
Removing/replacing the cover
(front wheel arch) .......................... 118
Reporting safety defects .................... 25
Rescue card ......................................... 26
Reserve (fuel tank)
see Fuel
Reserve fuel
Display message ............................ 234
Warning lamp ................................. 256
see Fuel
Residual heat (climate control) ........ 135
Restraint system
Display message ............................ 225
Introduction ..................................... 40
Warning lamp ................................. 255
Warning lamp (function) ................... 41
Reverse gear (selector lever) ........... 151
Reversing feature
Panorama sliding sunroof ................ 91
Roller sunblind ................................. 92
Side windows ................................... 86
Roadside Assistance (breakdown) .... 2214
Index
Page 331 of 362

detect the new reference values after you
have changed the tire pressure. However, you
can also define reference values manually as
described here. The tire pressure monitor
then monitors the new tire pressure values.
X Set the tire pressure to the value recom-
mended for the corresponding driving sit-
uation on the Tire and Loading Information
placard on the driver's side
B-pillar (Y page 322).
Additional tire pressure values for different loads can also be found on the tire pressure
table on the inside of the fuel filler flap
(Y page 159).
X Make sure that the tire pressure is correct
on all four wheels.
X Make sure that the SmartKey is in position
2 in the ignition lock (Y page 141).
X Press =or; on the steering wheel
to select the Serv. Serv.menu.
X Press the 9or: button to select
Tire Pressure
Tire Pressure.
X Press the abutton.
The multifunction display shows the cur-
rent tire pressure for each tire or the Tire
Tire
pressure will be displayed after
pressure will be displayed after
driving a few minutes driving a few minutes message.
X Press the :button.
The multifunction display shows the Use
Use
current
current pressures
pressures as
asnew
new reference
reference
values
values message.
If you wish to confirm the restart: X Press the abutton.
The Tire Press. Monitor Restarted
Tire Press. Monitor Restarted
message appears in the multifunction dis-
play.
After driving for a few minutes, the system checks whether the current tire pressures
are within the specified range. The new tire
pressures are then accepted as reference
values and monitored. If you wish to cancel the restart:
X Press the %button.
The tire pressure values stored at the last
restart will continue to be monitored.
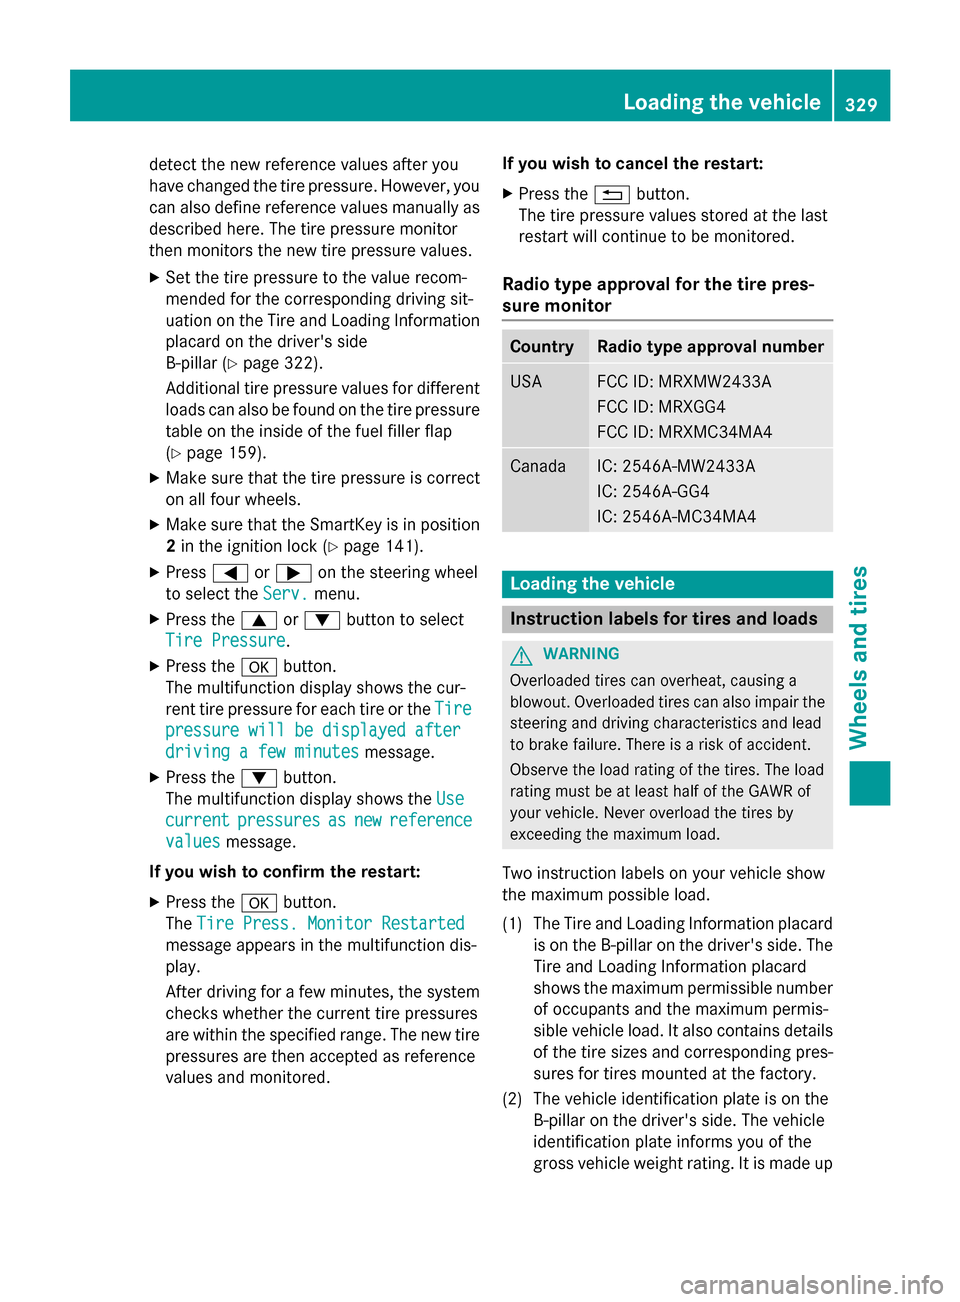
Radio type approval for the tire pres-
sure monitor Country Radio type approval number
USA FCC ID: MRXMW2433A
FCC ID: MRXGG4
FCC ID: MRXMC34MA4
Canada IC: 2546A-MW2433A
IC: 2546A-GG4
IC: 2546A-MC34MA4
Loading the vehicle
Instruction labels for tires and loads
G
WARNING
Overloaded tires can overheat, causing a
blowout. Overloaded tires can also impair the steering and driving characteristics and lead
to brake failure. There is a risk of accident.
Observe the load rating of the tires. The load
rating must be at least half of the GAWR of
your vehicle. Never overload the tires by
exceeding the maximum load.
Two instruction labels on your vehicle show
the maximum possible load.
(1) The Tire and Loading Information placard is on the B-pillar on the driver's side. The
Tire and Loading Information placard
shows the maximum permissible number
of occupants and the maximum permis-
sible vehicle load. It also contains details
of the tire sizes and corresponding pres-
sures for tires mounted at the factory.
(2) The vehicle identification plate is on the B-pillar on the driver's side. The vehicle
identification plate informs you of the
gross vehicle weight rating. It is made up Loading the vehicle
329Wheels and tires Z