USB MERCEDES-BENZ CLA-Class 2016 C117 Comand Manual
[x] Cancel search | Manufacturer: MERCEDES-BENZ, Model Year: 2016, Model line: CLA-Class, Model: MERCEDES-BENZ CLA-Class 2016 C117Pages: 246, PDF Size: 6.73 MB
Page 92 of 246
RUSA: view the vicinity of the destination if
street images are available and mbrace is
activated for Internet access
(
Ypage 150)
RCanada: view the vicinity of the destina-
tion if street images are available and a
mobile phone is connected to COMAND
via Bluetooth
®(Ypage 114) or USB
(
Ypage 197)
RUSA: download data from the Internet if
an Internet address is available and
mbrace is activated for Internet access
(
Ypage 114)
RCanada: download data from the Internet
if an Internet address is available and a
mobile phone is connected to COMAND
via Bluetooth
®(Ypage 114) or USB
(
Ypage 197)
Rselect for route guidance and calculate a route to it (
Ypage 71).
Using the traffic jam function
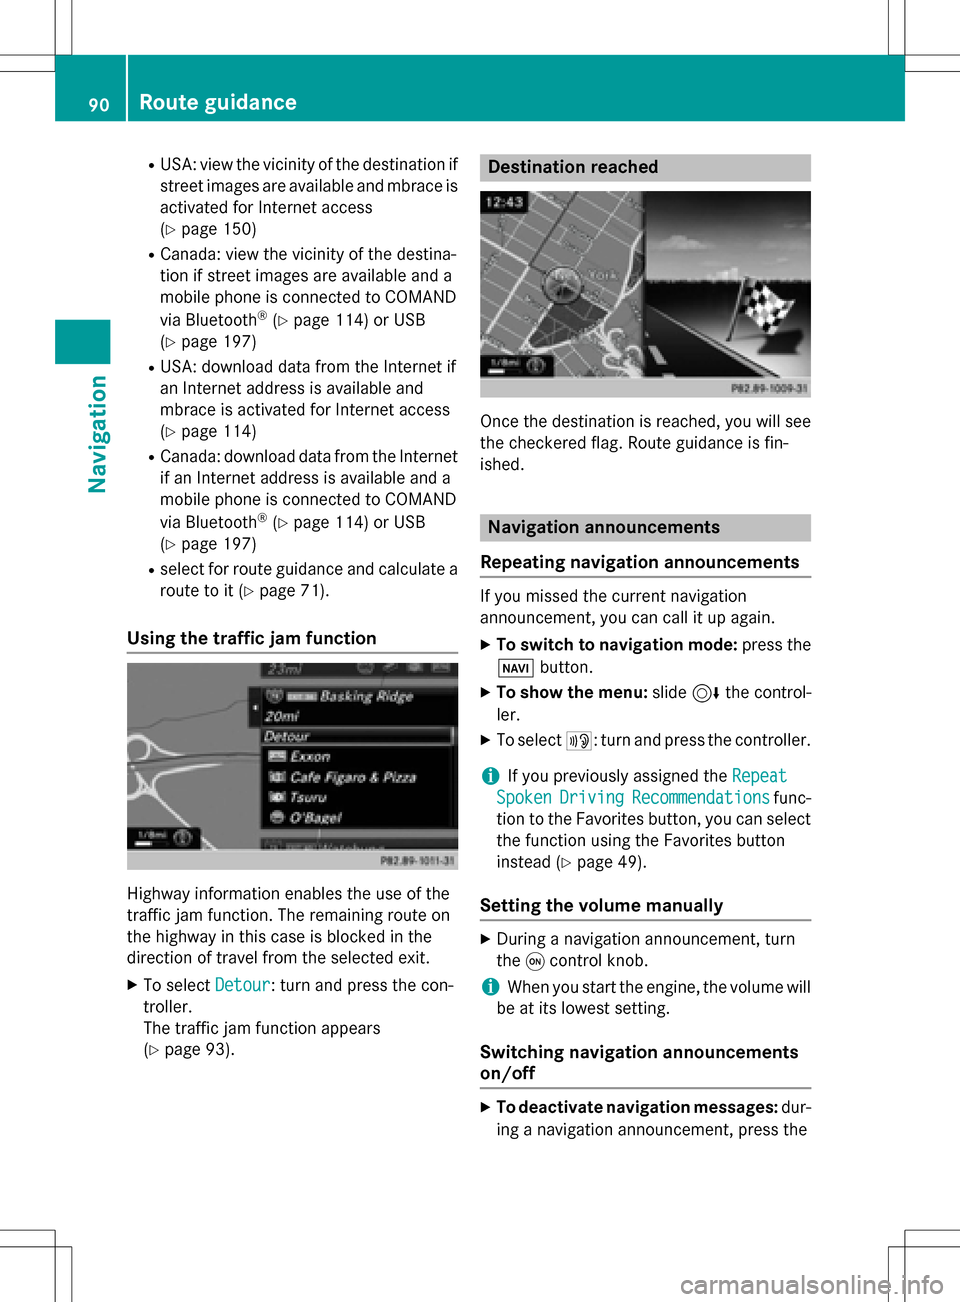
Highway information enables the use of the
traffic jam function. The remaining route on
the highway in this case is blocked in the
direction of travel from the selected exit.
XTo select Detour: turn and press the con-
troller.
The traffic jam function appears
(
Ypage 93).
Destination reached
Once the destination is reached, you will see
the checkered flag. Route guidance is fin-
ished.
Navigation announcements
Repeating navigation announcements
If you missed the current navigation
announcement, you can call it up again.
XTo switch to navigation mode: press the
Ø button.
XTo show the menu: slide6the control-
ler.
XTo select +: turn and press the controller.
iIf you previously assigned the Repeat
SpokenDrivingRecommendationsfunc-
tion to the Favorites button, you can select the function using the Favorites button
instead (
Ypage 49).
Setting the volume manually
XDuring a navigation announcement, turn
the qcontrol knob.
iWhen you start the engine, the volume will
be at its lowest setting.
Switching navigation announcements
on/off
XTo deactivate navigation messages: dur-
ing a navigation announcement, press the
90Route guidance
Navigation
Page 94 of 246
RUSA: view the vicinity of the destination if
street images are available and mbrace is
activated for Internet access
(
Ypage 150)
RCanada: view the vicinity of the destina-
tion if street images are available and a
mobile phone is connected to COMAND
via Bluetooth
®(Ypage 114) or USB
(
Ypage 197)
RUSA: download data from the Internet if
an Internet address is available and
mbrace is activated for Internet access
(
Ypage 114).
RCanada: download data from the Internet
if an Internet address is available and a
mobile phone is connected to COMAND
via Bluetooth
®(Ypage 114) or USB
(
Ypage 197).
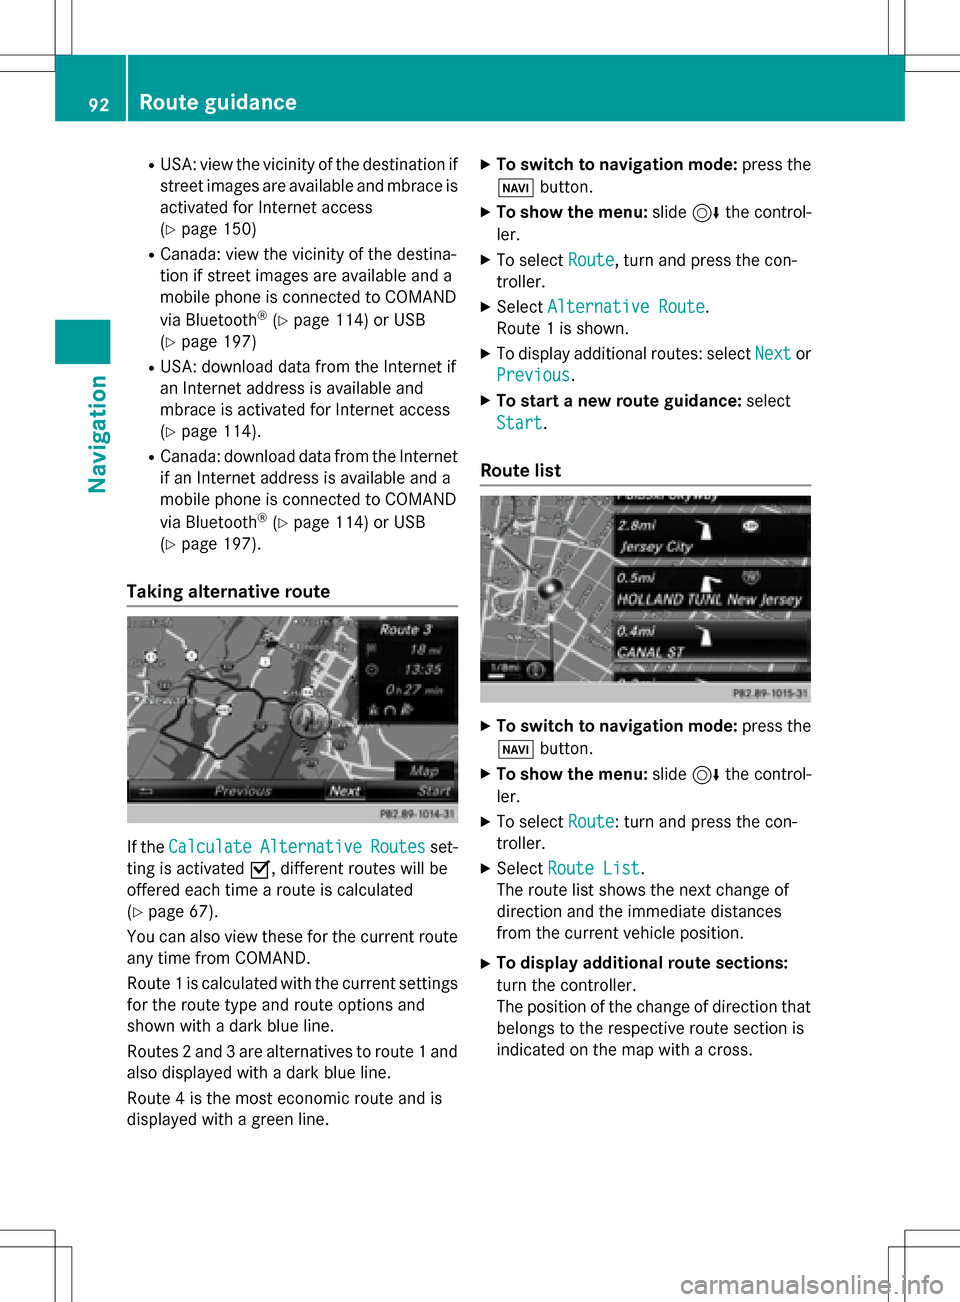
Taking alternative route
If the CalculateAlternativeRoutesset-
ting is activated O, different routes will be
offered each time a route is calculated
(
Ypage 67).
You can also view these for the current route
any time from COMAND.
Route 1 is calculated with the current settings
for the route type and route options and
shown with a dark blue line.
Routes 2 and 3 are alternatives to route 1 and
also displayed with a dark blue line.
Route 4 is the most economic route and is
displayed with a green line.
XTo switch to navigation mode: press the
Ø button.
XTo show the menu: slide6the control-
ler.
XTo select Route, turn and press the con-
troller.
XSelect Alternative Route.
Route 1 is shown.
XTo display additional routes: select Nextor
Previous
.
XTo start a new route guidance: select
Start
.
Route list
XTo switch to navigation mode: press the
Ø button.
XTo show the menu: slide6the control-
ler.
XTo select Route: turn and press the con-
troller.
XSelect Route List.
The route list shows the next change of
direction and the immediate distances
from the current vehicle position.
XTo display additional route sections:
turn the controller.
The position of the change of direction that
belongs to the respective route section is
indicated on the map with a cross.
92Route guidance
Navigation
Page 112 of 246
ProblemPossible causes/consequences andMSolutions
The map software
update has failed.The digital map can be loaded with a DVD, SD memory card or USB
stick.
XCheck the readability of the data medium, e.g. in a PC.
XTo restart the update: insert the DVD.
or
XInsert an SD memory card or USB stick.
COMAND asks for an activation code during the map update. The
code must be validated in the vehicle.
XSwitch on the ignition.
XTo restart the update: insert the DVD.
or
XInsert an SD memory card or USB stick.
COMAND's integrated hard disk is defective.
XConsult an authorized Mercedes-Benz Center.
110Problems with the navigation system
Navigation
Page 126 of 246
You can now search for a contact
(
Ypage 124).
Further information on the symbols shown
(
Ypage 124).
iYou can also call up the phone book with
the multifunction steering wheel; see the
separate operating instructions.
Symbol overview
Sym-
bolExplanation
ÆContact that has been entered, edi-
ted or saved on COMAND.
\Contact with voice tag
These contacts have also been
assigned a voice tag. Voice tags are
available in vehicles with the Voice
Control System (see the separate
operating instructions).
ÃContact that was called up from a
mobile phone
¯Contact imported from the SD
memory card or USB device.
®Contact imported via the Blue-
tooth®interface.
Searching for a contact
Using the character bar
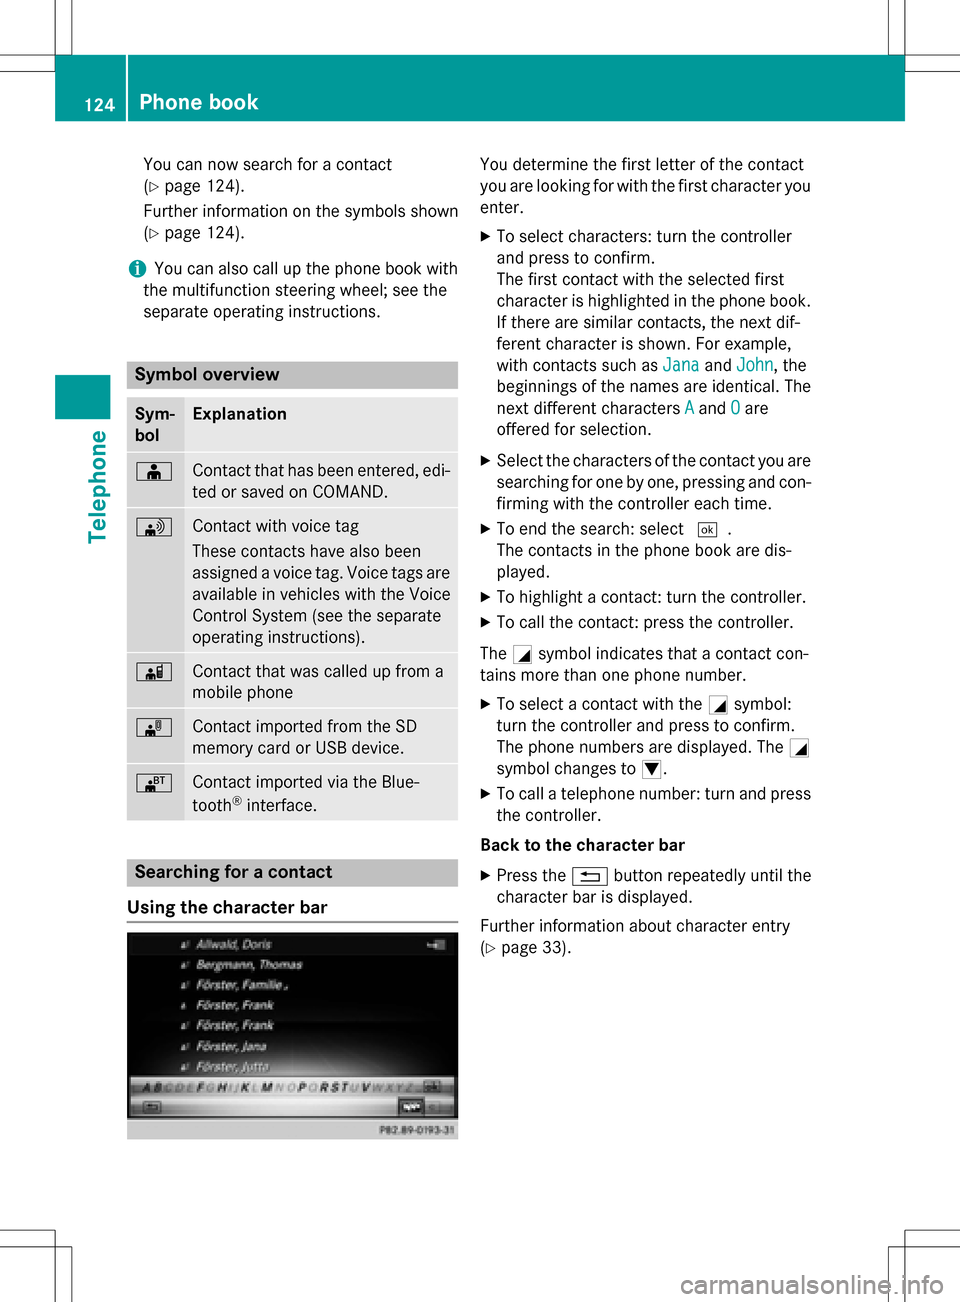
You determine the first letter of the contact
you are looking for with the first character you
enter.
XTo select characters: turn the controller
and press to confirm.
The first contact with the selected first
character is highlighted in the phone book.
If there are similar contacts, the next dif-
ferent character is shown. For example,
with contacts such as Jana
andJohn, the
beginnings of the names are identical. The
next different characters A
andOare
offered for selection.
XSelect the characters of the contact you are
searching for one by one, pressing and con- firming with the controller each time.
XTo end the search: select ¬.
The contacts in the phone book are dis-
played.
XTo highlight a contact: turn the controller.
XTo call the contact: press the controller.
The Gsymbol indicates that a contact con-
tains more than one phone number.
XTo select a contact with the Gsymbol:
turn the controller and press to confirm.
The phone numbers are displayed. The G
symbol changes to I.
XTo call a telephone number: turn and press
the controller.
Back to the character bar
XPress the %button repeatedly until the
character bar is displayed.
Further information about character entry
(
Ypage 33).
124Phone book
Telephone
Page 129 of 246
XTo selectG: slide 9the controller.
XTo select Save: turn and press the control-
ler.
The contact has now been saved. The con-
tact is identified by the ¥symbol in the
phone book.
iSaved contacts are also displayed in the
address book.
Saving or editing the contact data on
COMAND does not change the contacts on
the mobile phone. If automatic calling up of
phone contacts is activated, COMAND dis-
plays the copy ¥with the changed data.
Deleting a contact
You can delete contacts that have been
added, supplemented, saved or imported in
COMAND.
If there are one or several phone numbers
saved under the contact, the contact is
deleted from the phone book and the address
book.
If there are additional entries under the con-
tact, such as a navigable destination, only the
phone numbers are deleted. The contact is
retained in the address book with the remain-
ing entries.
XCall up the phone book (Ypage 123).
XSearch for and highlight a contact in the
phone book (
Ypage 124).
XTo select G: slide 9the controller.
XTo select Delete: turn and press the con-
troller.
A prompt appears asking whether the con-
tact should be deleted.
XTo select Yes: turn and press the controller.
The phone number is deleted.
or
XTo select No: turn and press the controller.
The process is canceled.
Closing the phone book
XTo select &from the character bar: turn
the controller and press to confirm.
or
XPress the %button.
Address book
Introduction
Always pay attention to traffic conditions.
Familiarize yourself with the address book
functions before beginning your journey.
You can use COMAND when the road and
traffic conditions permit. You could otherwise
become involved in an accident in which you
or others could be injured.
The address book displays all the contacts
from the various sources (mobile phone,
memory card, USB device, COMAND phone
book, navigation).
You can use the contacts to make telephone
calls, navigate and to write messages.
If a mobile phone is connected to COMAND
and automatic calling up is activated
(
Ypage 132), the mobile phone's contacts
are displayed in the address book. If you dis- connect the mobile phone from COMAND,
these contacts are no longer displayed in the
address book.
When you import, save, edit or add contacts,
they will be saved in COMAND. These con-
tacts will remain there even when you con-
nect COMAND to a different mobile phone.
You can view these contacts even without a
mobile phone.
iThe address book can store a total of
5000 contacts.
R2000 entries are reserved for perma-
nently saved contacts.
R3000 entries are reserved for contacts
that you can load from the mobile phone.
Address book127
Telephone
Z
Page 135 of 246
iIf the saved address book entry contains a
phone number, the entry is also displayed
in the phone book.
Saving or editing the contact data on
COMAND does not change the contacts on
the mobile phone. If automatic download-
ing of phone contacts is activated,
COMAND displays the copy ¥with the
changed data. To add additional data, such
as additional phone numbers or e-mail
addresses, select this contact. In this way,
you avoid creating additional copies of the
mobile phone entry.
Deleting a name
XCall up the address book (Ypage 128).
XSearch for a contact (Ypage 128).
XTo select G: slide 9the controller.
XTo select Delete Entry: turn and press
the controller.
XTo select Yes: turn and press the controller.
The contact is deleted.
or
XTo select No: turn and press the controller.
The process is canceled.
Closing the address book
XPress the %button.
Importing contacts
Information and requirements
Contacts can be imported as vCards (vcf
files). A vCard is an electronic business card.
A memory card, USB device or a Bluetooth
®
connection can be used for importing.
iUp to 2000 entries can be imported into
the address book. A message notifies you
when the maximum number is reached. In
order to be able to then import new con- tacts, you have to delete existing contacts
(
Ypage 133).
SourceRequirements
Memory cardThe SD memory card is
inserted. It contains
importable contact details.
USB deviceThe USB device is inserted
into the USB port. It con-
tains importable contact
details.
Bluetooth®
connection
If the sending of vCards is
supported via Bluetooth®,
vCards can be received on
mobile phones or net-
books, for example.
Bluetooth
®must be activa-
ted in COMAND and on the
respective device (see the
manufacturer's operating
instructions).
Importing from the memory card or
USB device
Contacts imported from the memory card or
from a USB device are identified by the ¯
symbol.
The following conditions must be fulfilled in
order to import vCards:
RvCards (vcf files) may be located in the main
directory or in folders. COMAND allows you
to select the relevant folders directly.
RvCards must have the file extension ".vcf".
iCOMAND supports vCards in versions 2.1
and 3.0.
Importing contacts133
Telephone
Z
Page 136 of 246
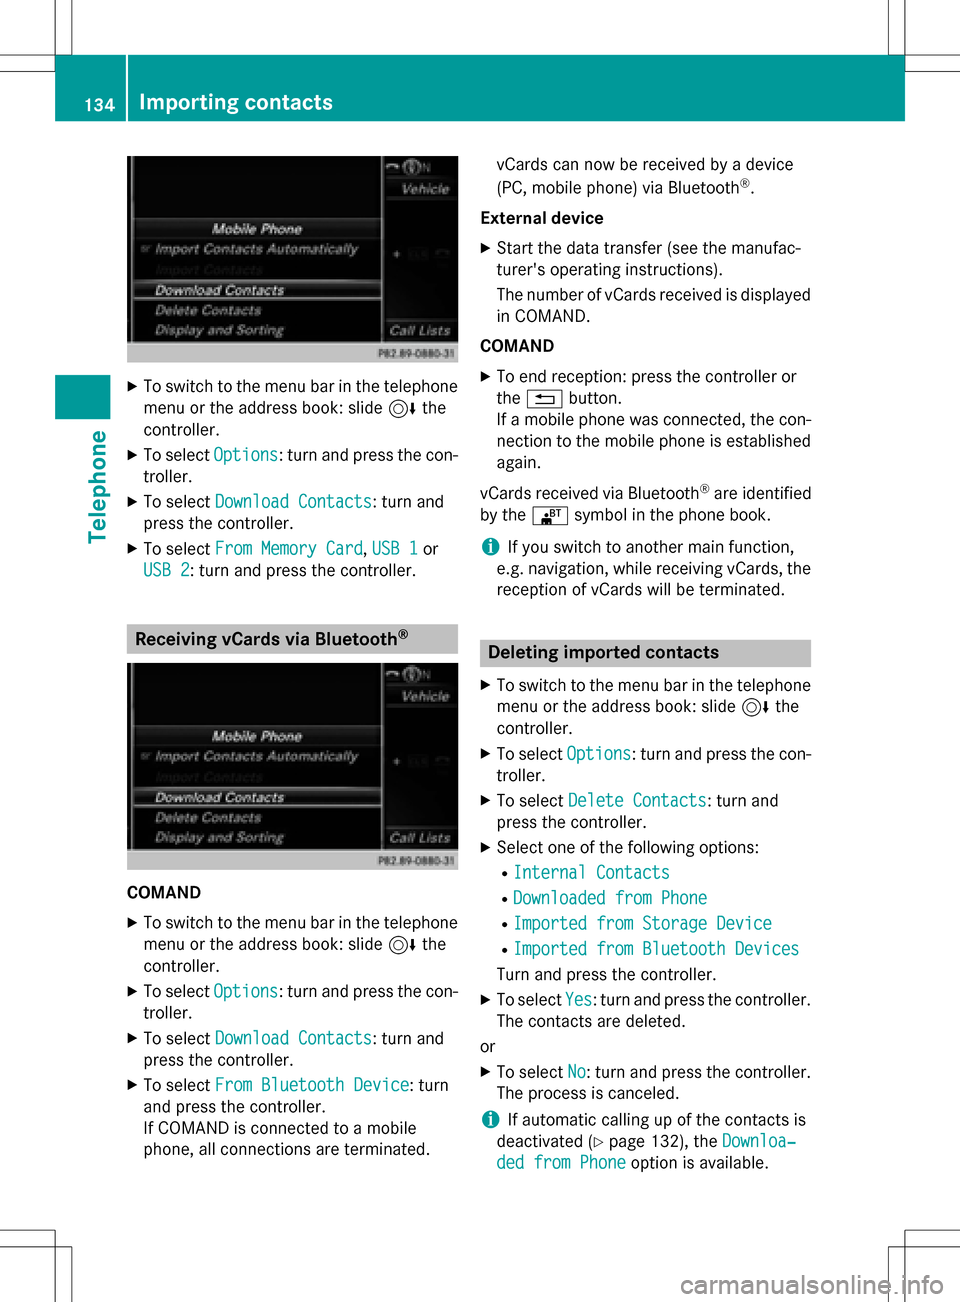
XTo switch to the menu bar in the telephonemenu or the address book: slide 6the
controller.
XTo select Options: turn and press the con-
troller.
XTo select Download Contacts: turn and
press the controller.
XTo select From Memory Card,USB 1or
USB 2
: turn and press the controller.
Receiving vCards via Bluetooth®
COMAND
XTo switch to the menu bar in the telephone menu or the address book: slide 6the
controller.
XTo select Options: turn and press the con-
troller.
XTo select Download Contacts: turn and
press the controller.
XTo select From Bluetooth Device: turn
and press the controller.
If COMAND is connected to a mobile
phone, all connections are terminated. vCards can now be received by a device
(PC, mobile phone) via Bluetooth
®.
External device
XStart the data transfer (see the manufac-
turer's operating instructions).
The number of vCards received is displayed in COMAND.
COMAND
XTo end reception: press the controller or
the % button.
If a mobile phone was connected, the con-
nection to the mobile phone is established again.
vCards received via Bluetooth
®are identified
by the ®symbol in the phone book.
iIf you switch to another main function,
e.g. navigation, while receiving vCards, the reception of vCards will be terminated.
Deleting imported contacts
XTo switch to the menu bar in the telephone
menu or the address book: slide 6the
controller.
XTo select Options: turn and press the con-
troller.
XTo select Delete Contacts: turn and
press the controller.
XSelect one of the following options:
RInternal Contacts
RDownloaded from Phone
RImported from Storage Device
RImported from Bluetooth Devices
Turn and press the controller.
XTo select Yes: turn and press the controller.
The contacts are deleted.
or
XTo select No: turn and press the controller.
The process is canceled.
iIf automatic calling up of the contacts is
deactivated (
Ypage 132), the Downloa‐
ded from Phoneoption is available.
134Importing contacts
Telephone
Page 147 of 246
on your mobile phone can be displayed in
COMAND. Audio content from your mobile
phone can also be played back in COMAND.
The availability of MirrorLink
®and Mirror-
Link®apps may vary depending on the coun-
try. The support of buttons in your vehicle
depends on your mobile phone and the avail- able apps. You can find an overview of the
COMAND control panel with available but-
tons here (
Ypage 20).
Prerequisites
RThe mobile phone must support Mirror-
Link®version 1.1.
RThe mobile phone is switched on
RA MirrorLink®certified app must be instal-
led on the phone.
RThe mobile phone is connected to
COMAND via a suitable USB cable.
RThe mobile phone must be connected to
COMAND via Bluetooth®for the telephone
functions.
COMAND automatically establishes a Blue-
tooth
®connection to the mobile phone. If this
is unsuccessful, an error message will
appear. In this case, you should connect the
mobile phone manually via Bluetooth
®
(Ypage 114).
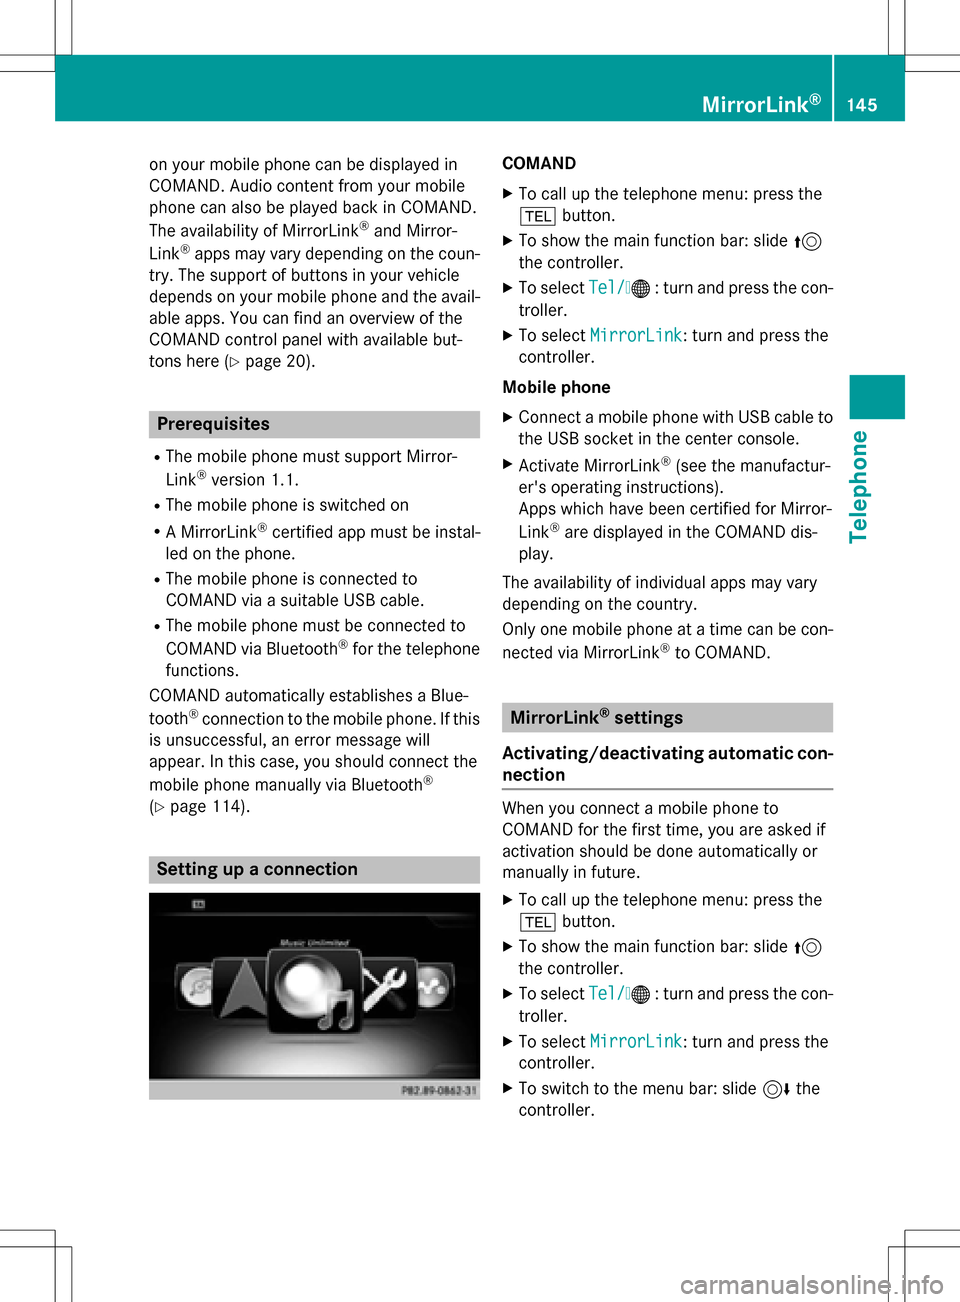
Setting up a connection
COMAND
XTo call up the telephone menu: press the
% button.
XTo show the main function bar: slide 5
the controller.
XTo select Tel/®: turn and press the con-
troller.
XTo select MirrorLink: turn and press the
controller.
Mobile phone
XConnect a mobile phone with USB cable to
the USB socket in the center console.
XActivate MirrorLink®(see the manufactur-
er's operating instructions).
Apps which have been certified for Mirror-
Link
®are displayed in the COMAND dis-
play.
The availability of individual apps may vary
depending on the country.
Only one mobile phone at a time can be con-
nected via MirrorLink
®to COMAND.
MirrorLink®settings
Activating/deactivating automatic con-
nection
When you connect a mobile phone to
COMAND for the first time, you are asked if
activation should be done automatically or
manually in future.
XTo call up the telephone menu: press the
% button.
XTo show the main function bar: slide 5
the controller.
XTo select Tel/®: turn and press the con-
troller.
XTo select MirrorLink: turn and press the
controller.
XTo switch to the menu bar: slide 6the
controller.
MirrorLink®145
Telephone
Z
Page 148 of 246
XTo selectOptions: turn and press the con-
troller.
XTo select Automatically Connect Mir‐
rorLink: turn and press the controller.
You can allow Oor suppress ªthe auto-
matic connection function.
Activating manually
XTo call up the telephone menu: press the
% button.
XTo show the main function bar: slide 5
the controller.
XTo select Tel/®: turn and press the con-
troller.
XSelect MirrorLink.
XConnect a mobile phone with USB cable to
the USB socket in the center console.
Navigation messages on the mobile
phone can also be played back
You can select whether the navigation mes-
sages should be overlaid on the COMAND
audio playback.
XTo call up the telephone menu: press the
% button.
XTo show the main function bar: slide 5
the controller.
XTo select Tel/®: turn and press the con-
troller.
XTo select MirrorLink: turn and press the
controller.
XTo switch to the menu bar: slide 6the
controller.
XTo select Options: turn and press the con-
troller.
XTo select MirrorLink Ann. Have Pri‐
ority: turn and press the controller.
Mobile phone navigation messages overlay
the COMAND audio playback Oor you can
suppress the function ª.
Sound settings
If a MirrorLink®audio source is active, you
can adjust the sound settings.
XTo call up the telephone menu: press the
% button.
XTo show the main function bar: slide 5
the controller.
XTo select Tel/®: turn and press the con-
troller.
XTo select MirrorLink: turn and press the
controller.
XTo switch to the menu bar: slide 6the
controller.
XTo select à: turn and press the control-
ler.
You can adjust the sound settings.
Apple CarPlay®
Introduction
iPhone functions can be used via COMAND
using Apple CarPlay®. CarPlay®can be oper-
ated using the controller or the Siri voice-
operated control system. The support of but-
tons in your vehicle depends on the iOS ver-
sion of your mobile phone and the available
apps. You can find an overview of the
COMAND control panel with available but-
tons here (
Ypage 20).
To activate voice-operated control, press and
hold the óbutton on the multifunction
steering wheel (
Ypage 123). CarPlay®is only
available for Apple mobile phones (see the
manufacturer's operating instructions). The
availability of CarPlay
®may vary depending
on the country.
146Apple CarPlay®
Telephone
Page 149 of 246
Prerequisites
RCarPlay®can be used from iPhone 5
upwards. CarPlay functions optimally with
the iOS 8 operating system.
RDeactivate the key lock of your mobile
phone.
RApple CarPlay®functions best when the
mobile phone is connected to the Internet.
Activating/deactivating automatic
connection
When you connect a CarPlay-enabled mobile
phone to COMAND for the first time, you are
asked if activation should be done automati-
cally or manually in future.
XTo call up the telephone menu: press the
% button.
XTo show the main function bar: slide 5
the controller.
XTo select Tel/®: turn and press the con-
troller.
XSelect Apple CarPlay.
XTo select Start Apple CarPlay Auto‐
matically: press the controller.
You can allow Oor suppress ªthe auto-
matic connection function.
XConnect the iPhone via the USB port (USB
2).
Apple CarPlay is automatically activated.
Activating manually
XTo call up the telephone menu: press the
% button.
XTo show the main function bar: slide 5
the controller.
XTo select Tel/®: turn and press the con-
troller.
XSelect Apple CarPlay.
XConnect the iPhone via the USB port (USB
2).
TheConfirm to Start Apple CarPlay
message appears.
XTo confirm the message: press the control-
ler.
You will see the Apple Carplay
®menu.
Terminating CarPlay mode
XRemove the USB cable from the USB port
(USB 2).
TheNo
AppleCarPlaydeviceconnec‐
ted. Please ensure that your
deviceisconnectedtothecorrect
USB port (USB 2).message appears.
Apple CarPlay®147
Telephone
Z