towing MERCEDES-BENZ CLA-Class 2017 C117 Owner's Manual
[x] Cancel search | Manufacturer: MERCEDES-BENZ, Model Year: 2017, Model line: CLA-Class, Model: MERCEDES-BENZ CLA-Class 2017 C117Pages: 318, PDF Size: 8.02 MB
Page 5 of 318
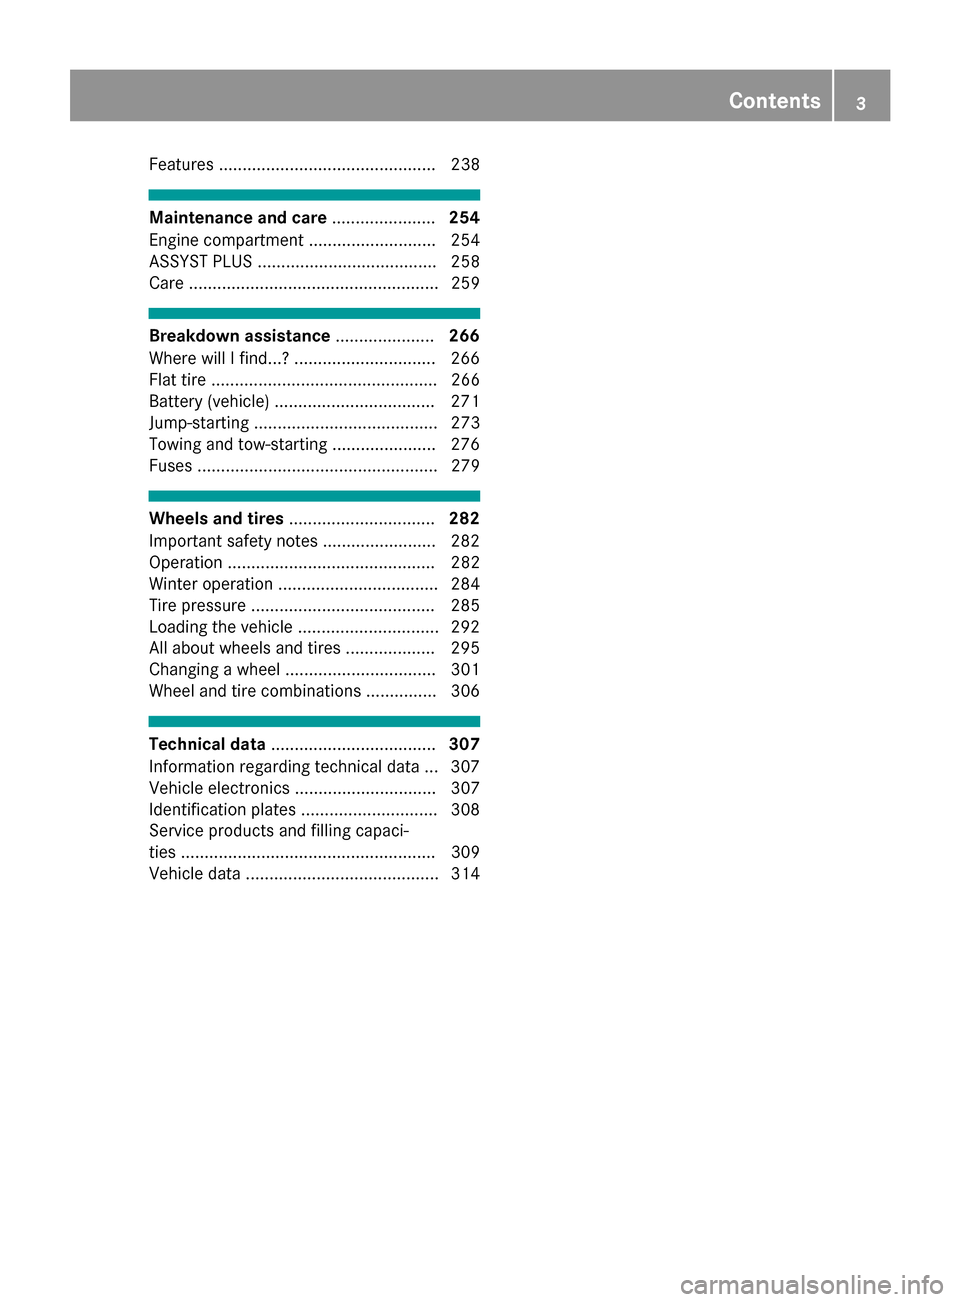
Features .............................................. 238
Maintenance and care......................254
Engine compartment ........................... 254
ASSYST PLUS ...................................... 258
Care ..................................................... 259
Breakdown assistance .....................266
Where will I find...? .............................. 266
Flat tire ................................................ 266
Battery (vehicle) .................................. 271
Jump-starting ....................................... 273
Towing and tow-starting ...................... 276
Fuses ................................................... 279
Wheels and tires ............................... 282
Important safety notes ........................ 282
Operation ............................................ 282
Winter operation .................................. 284
Tire pressure ....................................... 285
Loading the vehicle .............................. 292
All about wheels and tires ................... 295
Changing a wheel ................................ 301
Wheel and tire combinations ............... 306
Technical data ................................... 307
Information regarding technical data ... 307
Vehicle electronics .............................. 307
Identification plates ............................. 308
Service products and filling capaci-
ties ...................................................... 309
Vehicle data ......................................... 314
Contents3
Page 8 of 318
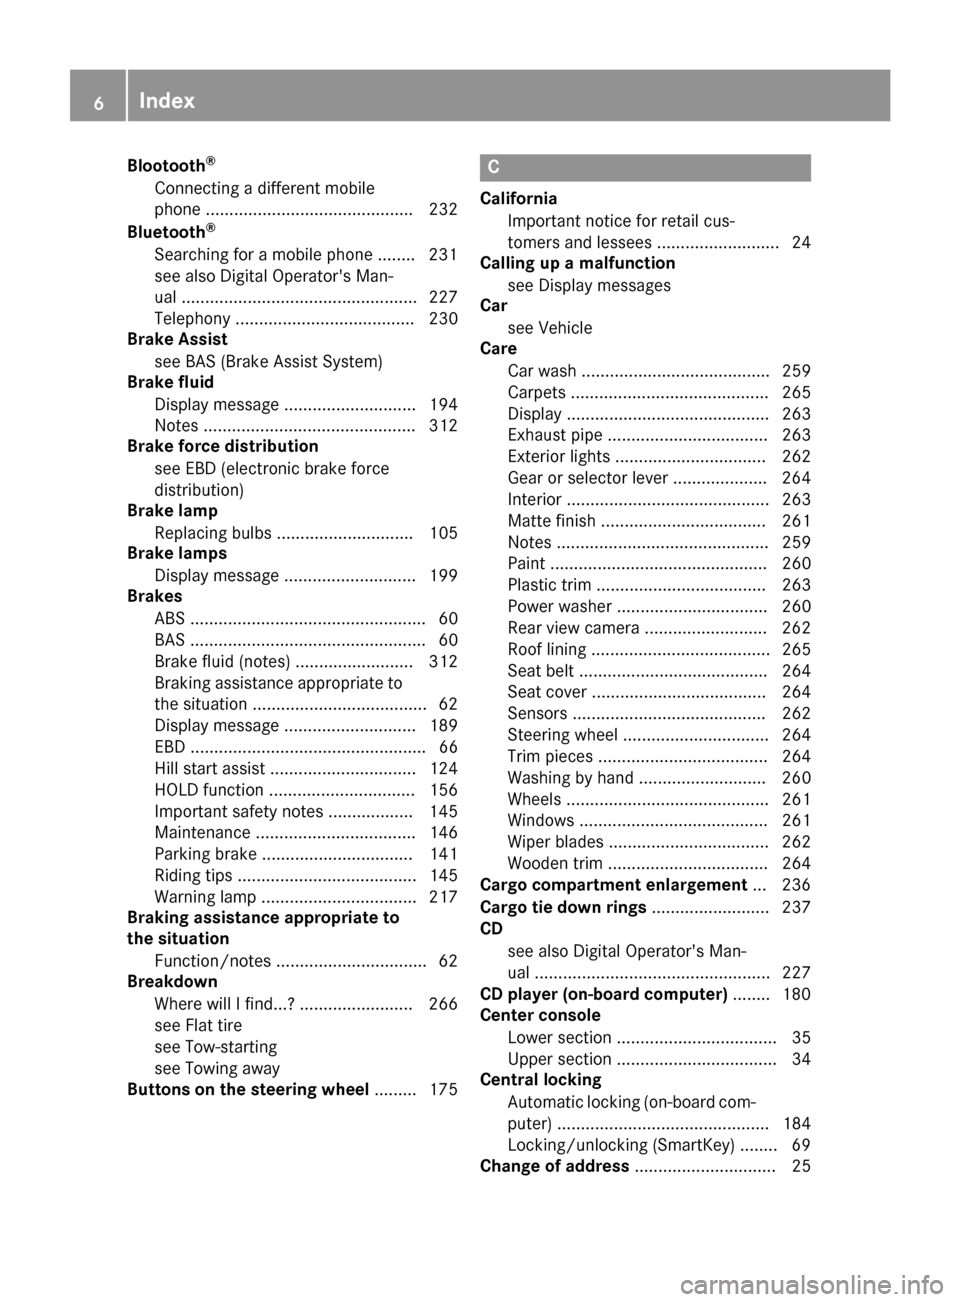
Blootooth®
Connecting a different mobile
phone ............................................ 232
Bluetooth
®
Searching for a mobile phone ........ 231
see also Digital Operator's Man-
ual .................................................. 227
Telephony ...................................... 230
Brake Assist
see BAS (Brake Assist System)
Brake fluid
Display message ............................ 194
Notes ............................................. 312
Brake force distribution
see EBD (electronic brake force
distribution)
Brake lamp
Replacing bulbs ............................. 105
Brake lamps
Display message ............................ 199
Brakes
ABS .................................................. 60
BAS .................................................. 60
Brake fluid (notes) ......................... 312
Braking assistance appropriate to
the situation ..................................... 62
Display message ............................ 189
EBD .................................................. 66
Hill start assist ............................... 124
HOLD function ............................... 156
Important safety notes .................. 145
Maintenance .................................. 146
Parking brake ................................ 141
Riding tips ...................................... 145
Warning lamp ................................. 217
Braking assistance appropriate to
the situation
Function/notes ................................ 62
Breakdown
Where will I find...? ........................ 266
see Flat tire
see Tow-starting
see Towing away
Buttons on the steering wheel ......... 175
C
California
Important notice for retail cus-
tomers and lessees .......................... 24
Calling up a malfunction
see Display messages
Car
see Vehicle
Care
Car wash ........................................ 259
Carpets .......................................... 265
Display ........................................... 263
Exhaust pipe .................................. 263
Exterior lights ................................ 262
Gear or selector lever .................... 264
Interior ........................................... 263
Matte finish ................................... 261
Notes ............................................. 259
Paint .............................................. 260
Plastic trim .................................... 263
Power washer ................................ 260
Rear view camera .......................... 262
Roof lining ...................................... 265
Seat belt ........................................ 264
Seat cover ..................................... 264
Sensors ......................................... 262
Steering wheel ............................... 264
Trim pieces .................................... 264
Washing by hand ........................... 260
Wheels ........................................... 261
Windows ........................................ 261
Wiper blades .................................. 262
Wooden trim .................................. 264
Cargo compartment enlargement ... 236
Cargo tie down rings ......................... 237
CD
see also Digital Operator's Man-
ual .................................................. 227
CD player (on-board computer) ........ 180
Center console
Lower section .................................. 35
Upper section .................................. 34
Central locking
Automatic locking (on-board com-puter) ............................................. 184
Locking/unlocking (SmartKey) ........ 69
Change of address .............................. 25
6Index
Page 21 of 318
General notes ................................ 289
Important safety notes .................. 290
Radio type approval for the tire
pressure monitor ...........................292
Restarting ...................................... 291
Warning lamp ................................. 226
Warning message .......................... 291
TIREFIT kit .......................................... 268
Important safety notes .................. 268
Storage location ............................ 266
Tire pressure not reached .............. 269
Tire pressure reached .................... 270
Tires
Aspect ratio (definition) ................. 301
Average weight of the vehicle
occupants (definition) .................... 299
Bar (definition) ............................... 299
Changing a wheel .......................... 301
Characteristics .............................. 299
Checking ........................................ 282
Curb weight (definition) ................. 300
Definition of terms ......................... 299
Direction of rotation ...................... 302
Display message ............................ 209
Distribution of the vehicle occu-
pants (definition) ............................ 301
DOT (Department of Transporta-
tion) (definition) ............................. 299
DOT, Tire Identification Number
(TIN) ............................................... 299
GAWR (Gross Axle Weight Rating)
(definition) ..................................... 300
General notes ................................ 306
GVW (Gross Vehicle Weight) (def-
inition) ........................................... 300
GVWR (Gross Vehicle Weight Rat-
ing) (definition) .............................. 300
Important safety notes .................. 282
Increased vehicle weight due to
optional equipment (definition) ...... 300
Information on driving .................... 282
Kilopascal (kPa) (definiti on) ........... 300
La
beling (overview) ........................ 296
Load bearing index (definition) ...... 301
Load index ..................................... 298
Load index (definition) ................... 300
M+S tires ....................................... 284 Maximum load on a tire (defini-
tion) ............................................... 300
Maximum loaded vehicle weight
(definition) ..................................... 300
Maximum permissible tire pres-
sure (definition) ............................. 300
Maximum tire load ......................... 298
Maximum tire load (definition) ....... 300
MOExtended tires .......................... 284
Optional equipment weight (defi-
nition) ............................................ 301
PSI (pounds per square inch) (def-
inition) ........................................... 301
Replacing ....................................... 301
Service life ..................................... 283
Sidewall (definition) ....................... 301
Speed rating (definition) ................ 300
Storing ........................................... 302
Structure and characteristics
(definition) ..................................... 299
Summer tires ................................. 284
Temperature .................................. 296
TIN (Tire Identification Number)
(definition) ..................................... 301
Tire bead (definition) ...................... 301
Tire pressure (definition) ................ 301
Tire pressures (recommended) ...... 300
Tire size (data) ............................... 306
Tire size designation, load-bearing
capacity, speed rating .................... 296
Tire tread ....................................... 283
Tire tread (definition) ..................... 301
Total load limit (definition) ............. 301
Traction ......................................... 295
Traction (definition) ....................... 301
Tread wear ..................................... 295
Uniform Tire Quality Grading
Standards ...................................... 295
Uniform Tire Quality Grading
Standards (definition) .................... 300
Wear indicator (definition) ............. 301
Wheel rim (definition) .................... 300
see Fla
t ti
re
Top Tether ............................................ 56
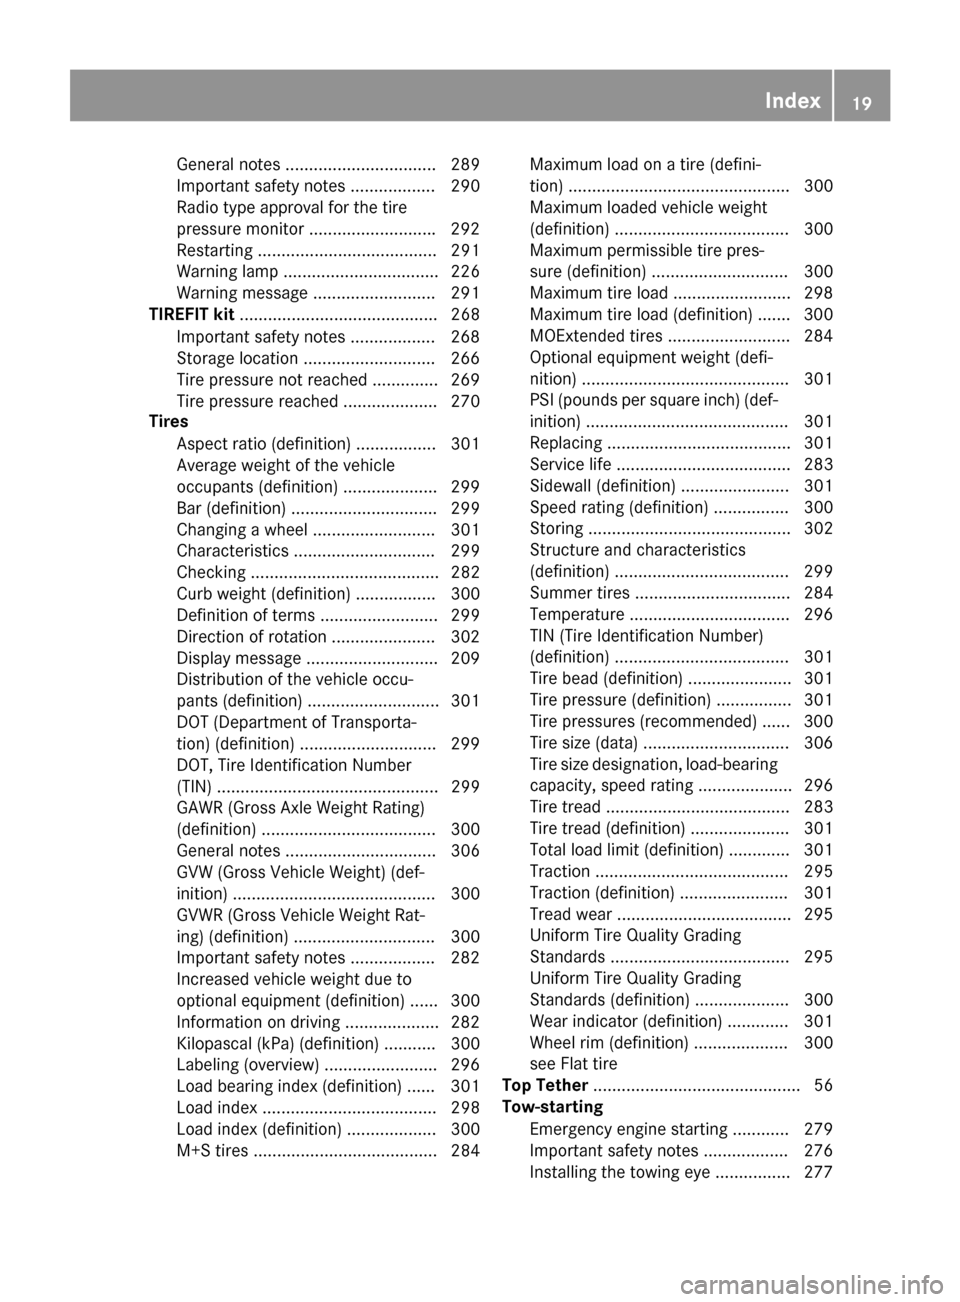
Tow-starting
Emergency engine starting ............ 279
Important safety notes .................. 276
Installing the towing eye ................ 277
Index19
Page 22 of 318
Removingth etowin geye .............. .277
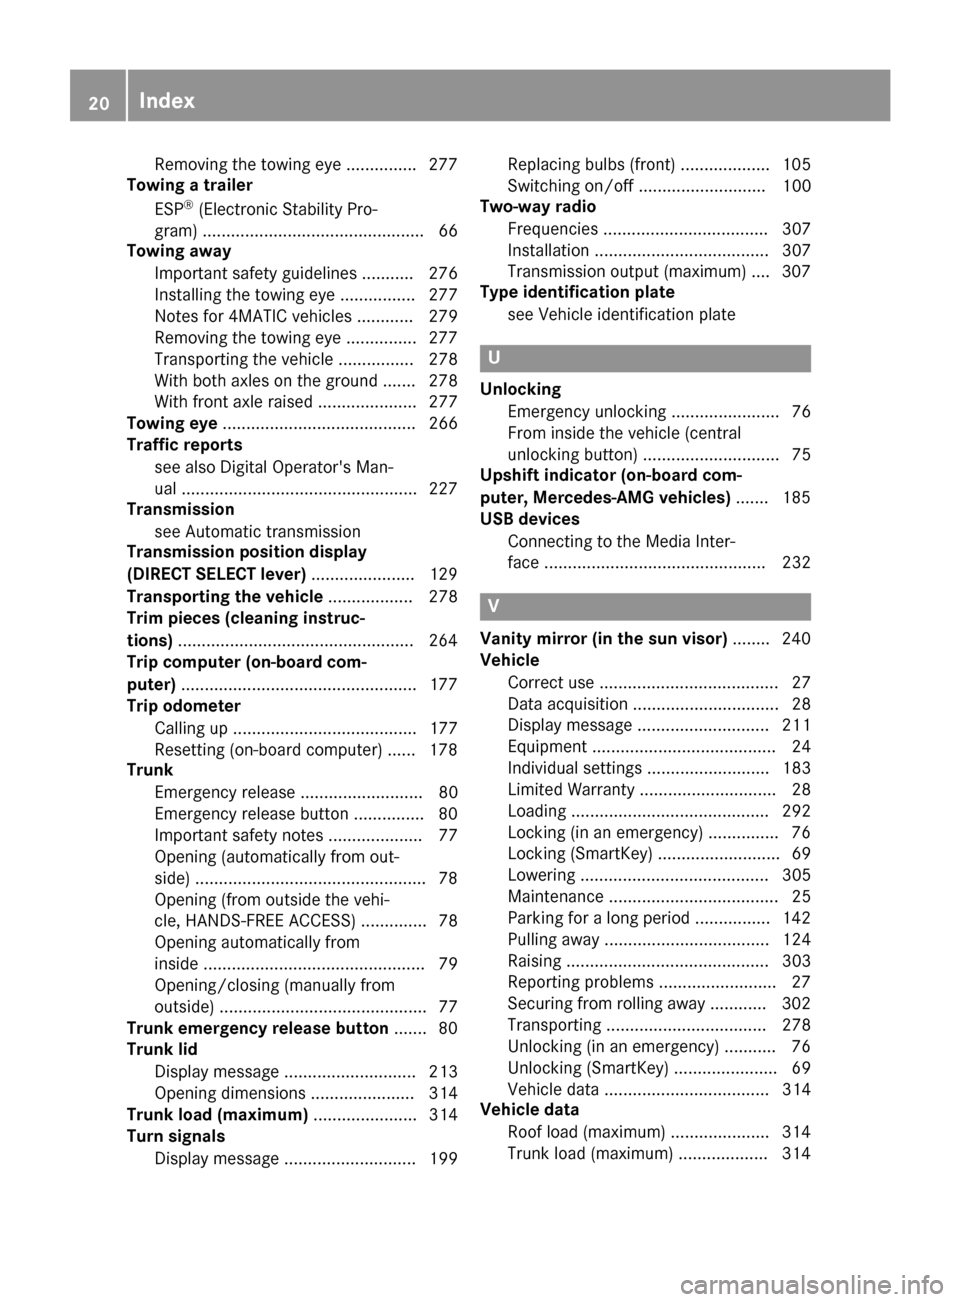
Towing a trailer
ESP
®(Electronic Stability Pro-
gram) ............................................... 66
Towing away
Important safety guidelines ........... 276
Installing the towing eye ................ 277
Notes for 4MATIC vehicles ............ 279
Removing the towing eye ...............2 77
Transporting the vehicle ................ 278
With both axles on the ground ....... 278
With front axle raised ..................... 277
Towing eye ......................................... 266
Traffic reports
see also Digital Operator's Man-
ual ..................................................2 27
Transmission
see Automatic transmission
Transmission position display
(DIRECT SELECT lever) ......................129
Transporting the vehicle .................. 278
Trim pieces (cleaning instruc-
tions) ..................................................2 64
Trip computer (on-board com-
puter) ..................................................1 77
Trip odometer
Calling up ....................................... 177
Resetting (on-board computer) ...... 178
Trunk
Emergency release .......................... 80
Emergency release button ...............8 0
Important safety notes .................... 77
Opening (automatically from out-
side) .................................................7 8
Opening (from outside the vehi-
cle, HANDS-FREE ACCESS) .............. 78
Opening automatically from
inside ............................................... 79
Opening/closing (manually from
outside) ............................................ 77
Trunk emergency release button .......80
Trunk lid
Display message ............................ 213
Opening dimensions ...................... 314
Trunk load (maximum) ...................... 314
Turn signals
Display message ............................ 199 Replacing bulbs (front) ................... 105
Swi
tching o
n/off ........................... 100
Two-way radio
Frequencies ................................... 307
Installation ..................................... 307
Transmission output (maximum) .... 307
Type identification plate
see Vehicle identification plate
U
UnlockingEmergency unlocking ....................... 76
From inside the vehicle (central
unlocking button) ............................. 75
Upshift indicator (on-board com-
puter, Mercedes-AMG vehicles) ....... 185
USB devices
Connecting to the Media Inter-
face ............................................... 232
V
Vanity mirror (in the sun visor) ........ 240
Vehicle
Correct use ...................................... 27
Data acquisition ............................... 28
Display message ............................ 211
Equipment ....................................... 24
Individual settings .......................... 183
Limited Warranty ............................. 28
Loading .......................................... 292
Locking (in an emergency) ............... 76
Locking (SmartKey) .......................... 69
Lowering ........................................ 305
Maintenance .................................... 25
Parking for a long period ................ 142
Pulling away ................................... 124
Raising ........................................... 303
Reporting problems .........................2 7
Securing from rolling away ............ 302
Transporting .................................. 278
Unlocking (in an emergency) ........... 76
Unlocking (SmartKey) ...................... 69
Vehicle data ................................... 314
Vehicle data
Roof load (maximum) ..................... 314
Trunk load (maximum) ................... 314
20Index
Page 57 of 318
Child restraint system
The use of seat belts and child restraint systems
is required by law in:
Rall 50 states
Rthe U.S. territories
Rthe District of Columbia
Rall Canadian provinces
If you install a rearward-facing child restraint
system on the center rear seat, the rear arm rest
must be folded back as far as possible.
You can obtain further information about the
correct child restraint system from any author-
ized Mercedes-Benz Center.
GWARNING
If the child restraint system is installed incor-
rectly on a suitable seat, it cannot protect as
intended. The child cannot then be restrained
in the event of an accident, heavy braking or
sudden changes of direction. There is an
increased risk of injury, possibly even fatal.
Make sure that you observe the child restraint
system manufacturer's installation instruc-
tions and the notes on use. Please ensure,
that the base of the child restraint system is
always resting completely on the seat cush-
ion. Never place objects, e.g. cushions, under or behind the child restraint system. Only use
child restraint systems with the original cover
designed for them. Only replace damaged
covers with genuine covers.
GWARNING
If the child restraint system is installed incor-
rectly or is not secured, it can come loose in
the event of an accident, heavy braking or a
sudden change in direction. The child
restraint system could be thrown about, strik-
ing vehicle occupants. There is an increased
risk of injury, possibly even fatal.
Always install child restraint systems prop-
erly, even if they are not being used. Make
sure that you observe the child restraint sys-
tem manufacturer's installation instructions.
You will find further information on stowing
objects, luggage or loads under "Loading guide-
lines" (
Ypage 233).
GWARNING
Child restraint systems or their securing sys-
tems which have been damaged or subjected
to a load in an accident can no longer protect
as intended. The child cannot then be
restrained in the event of an accident, heavy
braking or sudden changes of direction. There is an increased risk of injury, possibly even
fatal.
Replace child restraint systems which have
been damaged or subjected to a load in an
accident as soon as possible. Have the secur-
ing systems on the child restraint system
checked at a qualified specialist workshop,
before you install a child restraint system
again.
The securing systems of child restraint systems
are:
Rthe seat belt system
Rthe LATCH-type (ISOFIX) securing rings
Rthe Top Tether anchorages
If it is absolutely necessary to carry a child on
the front-passenger seat, be sure to observe the
information on the "Occupant Classification
System (OCS)" (
Ypage 46). There you will also
find information on deactivating the front-
passenger front air bag.
All child restraint systems must meet the fol-
lowing standards:
RU.S. Federal Motor Vehicle Safety Standards
213 and 225
RCanadian Motor Vehicle Safety Standards
213 and 210.2
Confirmation that the child restraint system cor-
responds to the standards can be f
ound on an
instruction label on the child restraint system.
This confirmation can also be found in the instal-
lation instructions that are included with the
child restraint system.
Observe the warning labels in the vehicle inte-
rior and on the child restraint system.
Children in the vehicle55
Safety
Z
Page 66 of 318
Vehicles without 4MATIC:when towing your
vehicle with the front axle raised, it is important
that you observe the notes on ESP
®
(Ypage 277).
If the å ESP®OFF warning lamp lights up
continuously, ESP®is deactivated.
If the ÷ ESP®warning lamp and the å
warning lamp are lit continuously, ESP®is not
available due to a malfunction.
Observe the information on warning lamps
(
Ypage 219) and display messages which may
be shown in the instrument cluster
(
Ypage 189).
Only use wheels with the recommended tire
sizes. Only then will ESP
®function properly.
Characteristics of ESP®
General information
If the ÷ ESP®warning lamp goes out before
beginning the journey, ESP®is automatically
active.
If ESP
®intervenes, the ÷ESP®warning lamp
flashes in the instrument cluster.
If ESP
®intervenes:
XDo not deactivate ESP®under any circum-
stances.
XOnly depress the accelerator pedal as far as
necessary when pulling away.
XAdapt your driving style to suit the prevailing
road and weather conditions.
ECO start/stop function
The ECO start/stop function switches the
engine off automatically when the vehicle stops
moving. The engine starts automatically when
the driver wants to pull away again. ESP
®
remains in its previously selected status. Exam-
ple: if ESP®was deactivated before the engine
was switched off, ESP®remains deactivated
when the engine is switched on again.
Deactivating/activating ESP®(except
Mercedes‑AMG vehicles)
Important safety notes
iObserve the "Important safety notes" sec-
tion (Ypage 60). You can select between the following states of
ESP
®:
RESP®is activated.
RESP®is deactivated.
GWARNING
If you deactivate ESP
®, ESP®no longer sta-
bilizes the vehicle. There is an increased risk
of skidding and an accident.
Only deactivate ESP
®in the situations descri-
bed in the following.
The spinning of the wheels results in a cutting
action for better traction on loose surfaces.
It may be best to deactivate ESP
®in the follow-
ing situations:
Rwhen using snow chains
Rin deep snow
Ron sand or gravel
iActivate ESP®as soon as the situations
described above no longer apply. ESP®will
otherwise not be able to stabilize the vehicle if
the vehicle starts to skid or a wheel starts to
spin.
!Avoid spinning the driven wheels for an
extended period with ESP®deactivated. You
could otherwise damage the drivetrain.
Deactivating/activating ESP®
You can deactivate or activate ESP®via the on-
board computer (Ypage 182).
ESP®deactivated:
The å ESP®OFF warning lamp in the instru-
ment cluster lights up.
ESP
®activated:
The å ESP®OFF warning lamp in the instru-
ment cluster goes out.
Characteristics when ESP®is deactivated
If ESP®is deactivated and one or more wheels
start to spin, the ÷ESP®warning lamp in the
instrument cluster flashes. In such situations,
ESP
®will not stabilize the vehicle.
If you deactivate ESP®:
RESP®no longer improves driving stability.
REngine torque is no longer limited and the
drive wheels are able to spin.
64Driving safety systems
Safety
Page 132 of 318
At transmission fluid temperatures belowÒ4 ‡
( Ò20†), you can only shift out of park position P
into another transmission position when the
engine is running.
In order to shift from park position Pdirectly into
R or D:
Rdepress the brake pedal and
Rpush the DIRECT SELECT lever up or down
past the first point of resistance
Engaging park position P automatically
Park position Pis automatically engaged if:
Ryou switch off the engine using the SmartKey
and remove the SmartKey
Ryou switch off the engine using the SmartKey
or using the Start/Stop button and open the
driver's door or front-passenger door
Ryou open the driver's door when the vehicle is
stationary or when driving at a very low speed
and the transmission is in position Dor R
Under certain conditions, the automatic trans-
mission shifts automatically to transmission
position Pif the HOLD function or Distance Pilot
DISTRONIC is activated. Observe the informa-
tion on the HOLD function (
Ypage 156) and on
Distance Pilot DISTRONIC (Ypage 153).
Engaging reverse gear R
!Only shift the automatic transmission to R
when the vehicle is stationary.
XDepress the brake and keep it pressed.
XPush the DIRECT SELECT lever up past the
first point of resistance.
The ECO start/stop function is not available
when reverse gear is engaged. Further informa-
tion on the ECO start/stop function
(
Ypage 125).
Shifting to neutral N
GWARNING
If children are left unsupervised in the vehicle,
they could:
Ropen the doors, thus endangering other
people or road users.
Rget out and disrupt traffic.
Roperate the vehicle's equipment.
Additionally, children could set the vehicle in
motion if, for example, they:
Rrelease the parking brake.
Rshifting the automatic transmission out of
park position P
RStart the engine.
There is a risk of an accident and injury.
When leaving the vehicle, always take the
SmartKey with you and lock the vehicle. Never
leave children or animals unattended in the
vehicle. Always keep the SmartKey out of
reach of children.
XIf the transmission is in position Dor R: push
the DIRECT SELECT lever up or down to the
first point of resistance.
XIf the transmission is in position P: depress
the brake pedal and push the DIRECT SELECT lever up or down to the first point of resist-
ance.
If you switch the engine off with the transmis-
sion in position Ror D, the automatic transmis-
sion shifts to Nautomatically.
With the SmartKey: if you then open the driv-
er's door or the front-passenger door or remove the SmartKey from the ignition, the automatic
transmission shifts to Pautomatically.
With the Start/Stop button: if you then open
the driver's door or the front-passenger door,
the automatic transmission shifts to Pautomat-
ically.
If you want the automatic transmission to
remain in neutral N,e.g. w
hen having the vehicle
cleaned in an automatic car wash with a towing system:
XVehicles with the Start-Stop button:
remove the Start-Stop button from the igni-
tion lock.
XInsert the SmartKey into the ignition lock.
XAll vehicles: switch the ignition on.
XDepress the brake pedal and keep it
depressed.
XShift to neutral N.
XRelease the brake pedal.
XRelease the electric parking brake.
XSwitch off the ignition and leave the SmartKey
in the ignition lock.
130Automatic transmission
Driving and parking
Page 143 of 318
the SmartKey from the ignition, the automatic
transmission shifts toPautomatically.
With the Start/Stop button: if you then open
the driver's door or the front-passenger door,
the automatic transmission shifts to Pautomat-
ically.
If you want the automatic transmission to
remain in neutral N, e.g. when having the vehicle
cleaned in an automatic car wash with a towing
system:
XVehicles with the Start-Stop button:
remove the Start-Stop button from the igni-
tion lock.
XInsert the SmartKey into the ignition lock.
XAll vehicles: switch the ignition on.
XDepress the brake pedal and keep it
depressed.
XShift to neutral N.
XRelease the brake pedal.
XRelease the electric parking brake.
XSwitch off the ignition and leave the SmartKey
in the ignition lock.
Electric parking brake
General notes
GWARNING
If you leave children unsupervised in the vehi-
cle, they could set it in motion by, for example:
Rrelease the parking brake.
Rshift the automatic transmission out of the
parking position P.
Rstart the engine.
In addition, they may operate vehicle equip-
ment and become trapped. There is a risk of
an accident and injury.
When leaving the vehicle, always take the
SmartKey with you and lock the vehicle. Never
leave children unsupervised in the vehicle. The function of the electric parking brake is
dependent on the on-board voltage. If the on-
board voltage is low or there is a malfunction in
the system, it may not be possible to apply the
released parking brake.
XIf this is the case, only park the vehicle on
level ground and secure it to prevent it rolling
away.
XShift the automatic transmission to position
P .
It may not be possible to release an applied
parking brake if the on-board voltage is low or
there is a malfunction in the system. Contact a
qualified specialist workshop.
The electric parking brake performs a function
test at regular intervals while the engine is
switched off. The s
ounds that can be heard while
this is occurring are normal.
Applying or releasing manually
XTo engage: push handle :.
When the electric parking brake is applied,
the red F(USA only) or !(Canada
only) indicator lamp lights up in the instru-
ment cluster.
The electric parking brake can also be applied
when the SmartKey is removed.
XTo release: pull handle:.
The red F(USA only) or !(Canada
only) indicator lamp in the instrument cluster
goes out.
The electric parking brake can only be
released:
Rwhen the SmartKey is in position 1or 2in
the ignition lock (Ypage 121) or
Rif the ignition was switched on using the
Start/Stop button
Parking141
Driving an d parking
Z
Page 153 of 318
In such cases, Distance Pilot DISTRONIC may:
Rgive an unnecessary warning and then
brake the vehicle
Rneither give a warning nor intervene
Raccelerate or brake unexpectedly
There is a risk of an accident.
Continue to drive carefully and be ready to
brake, especially if Distance Pilot DISTRONIC
warns you.
GWARNING
Distance Pilot DISTRONIC brakes your vehicle with up to 50% of the maximum possible
deceleration. If this deceleration is not suffi-
cient, Distance Pilot DISTRONIC alerts you
with a visual and acoustic warning. There is a
risk of an accident.
Apply the brakes yourself in these situations
and try to take evasive action.
!When Distance Pilot DISTRONIC or the
HOLD function is activated, the vehicle
brakes automatically in certain situations.
To avoid damage to the vehicle, deactivate
Distance Pilot DISTRONIC and the HOLD
function in the following or similar situations:
Rwhen towing the vehicle
Rin the car wash
If you fail to adapt your driving style, Distance
Pilot DISTRONIC can neither reduce the risk of
an accident nor override the laws of physics.
Distance Pilot DISTRONIC cannot take into
account road, weather or traffic conditions. Dis-
tance Pilot DISTRONIC is only an aid. You are
responsible for the distance to the vehicle in
front, for vehicle speed, for braking in good time
and for staying in your lane.
Do not use Distance Pilot DISTRONIC:
Rin road and traffic conditions which do not
allow you to maintain a constant speed, e.g. in
heavy traffic or on winding roads
Ron slippery road surfaces. Braking or accel-
erating could cause the drive wheels to lose
traction and the vehicle could then skid
Rwhen there is poor visibility, e.g. due to fog,
heavy rain or snow Distance Pilot DISTRONIC may not detect nar-
row vehicles driving in front, e.g. motorcycles, or
vehicles driving on a different line.
In particular, the detection of obstacles can be
impaired if:
Rthere is dirt on the sensors or anything else
covering the sensors
Rthere is snow or heavy rain
Rthere is interference by other radar sources
Rthere are strong radar reflections, for exam-
ple, in parking garages
If Distance Pilot DISTRONIC no longer detects a
vehicle in front, it may unexpectedly accelerate
to the speed stored.
This speed may:
Rbe too high if you are driving in a filter lane or
an exit lane
Rbe so high when driving in the right-hand lane
that you overtake vehicles in the left-hand
lane
Rbe so high in the left lane that you pass vehi-
cles driving in the right lane
If there is a change of drivers, advise the new
driver of the speed stored.
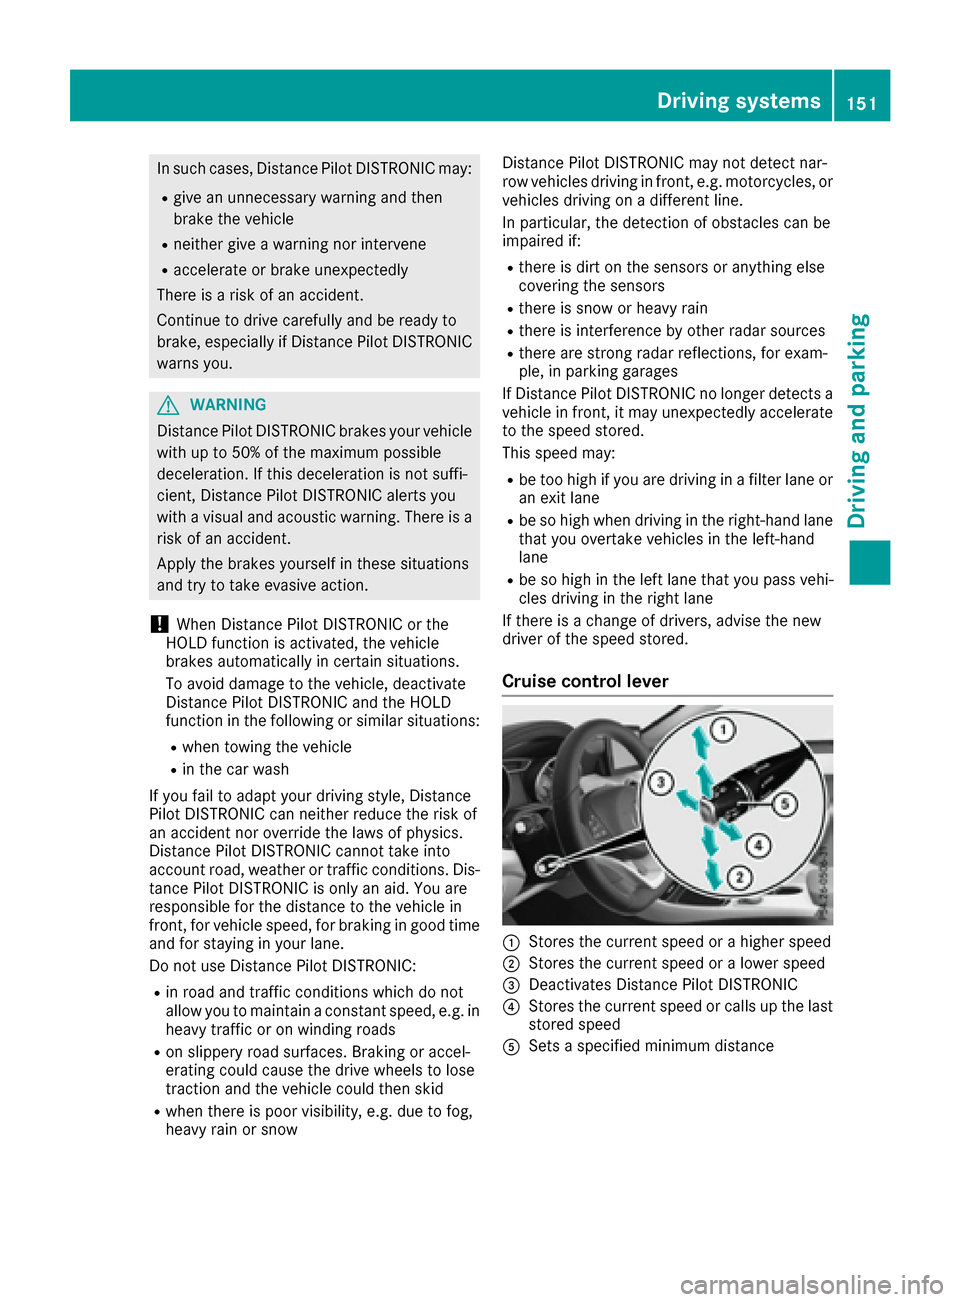
Cruise control lever
:Stores the current speed or a higher speed
;Stores the current speed or a lower speed
=Deactivates Distance Pilot DISTRONIC
?Stores the current speed or calls up the last
stored speed
ASets a specified minimum distance
Driving systems151
Driving and parking
Z
Page 158 of 318
HOLD function
General notes
The HOLD function can assist the driver in the
following situations:
Rwhen pulling away, especially on steep slopes
Rwhen maneuvering on steep slopes
Rwhen waiting in traffic
The vehicle is kept stationary without the driver having to depress the brake pedal.
The braking effect is canceled and the HOLD
function deactivated when you depress the
accelerator pedal to pull away.
Important safety notes
GWARNING
When leaving the vehicle, it can still roll away despite being braked by the HOLD function if:
Rthere is a malfunction in the system or in
the voltage supply.
Rthe HOLD function has been deactivated by
pressing the accelerator pedal or the brake
pedal, e.g. by a vehicle occupant.
Rthe electrical system in the engine com-
partment, the battery or the fuses have
been tampered with.
Rthe battery is disconnected
There is a risk of an accident.
If you wish to exit the vehicle, always turn off the HOLD function and secure the vehicle
against rolling away.
!When Distance Pilot DISTRONIC or the
HOLD function is activated, the vehicle
brakes automatically in certain situations.
To avoid damage to the vehicle, deactivate
Distance Pilot DISTRONIC and the HOLD
function in the following or similar situations:
Rwhen towing the vehicle
Rin the car wash
Deactivating the HOLD function (
Ypage 156).
Activation conditions
You can activate the HOLD function if:
Rthe vehicle is stationary
Rthe engine is running or if it has been auto-
matically switched off by the ECO start/stop
function
Rthe driver's door is closed or your seat belt is
fastened
Rthe electric parking brake is released
RDistance Pilot DISTRONIC is deactivated
Rthe transmission position D,R or Nis engaged
while driving a vehicle with an automatic
transmission
Activating the HOLD function
XMake sure that the activation conditions are
met.
XDepress the brake pedal.
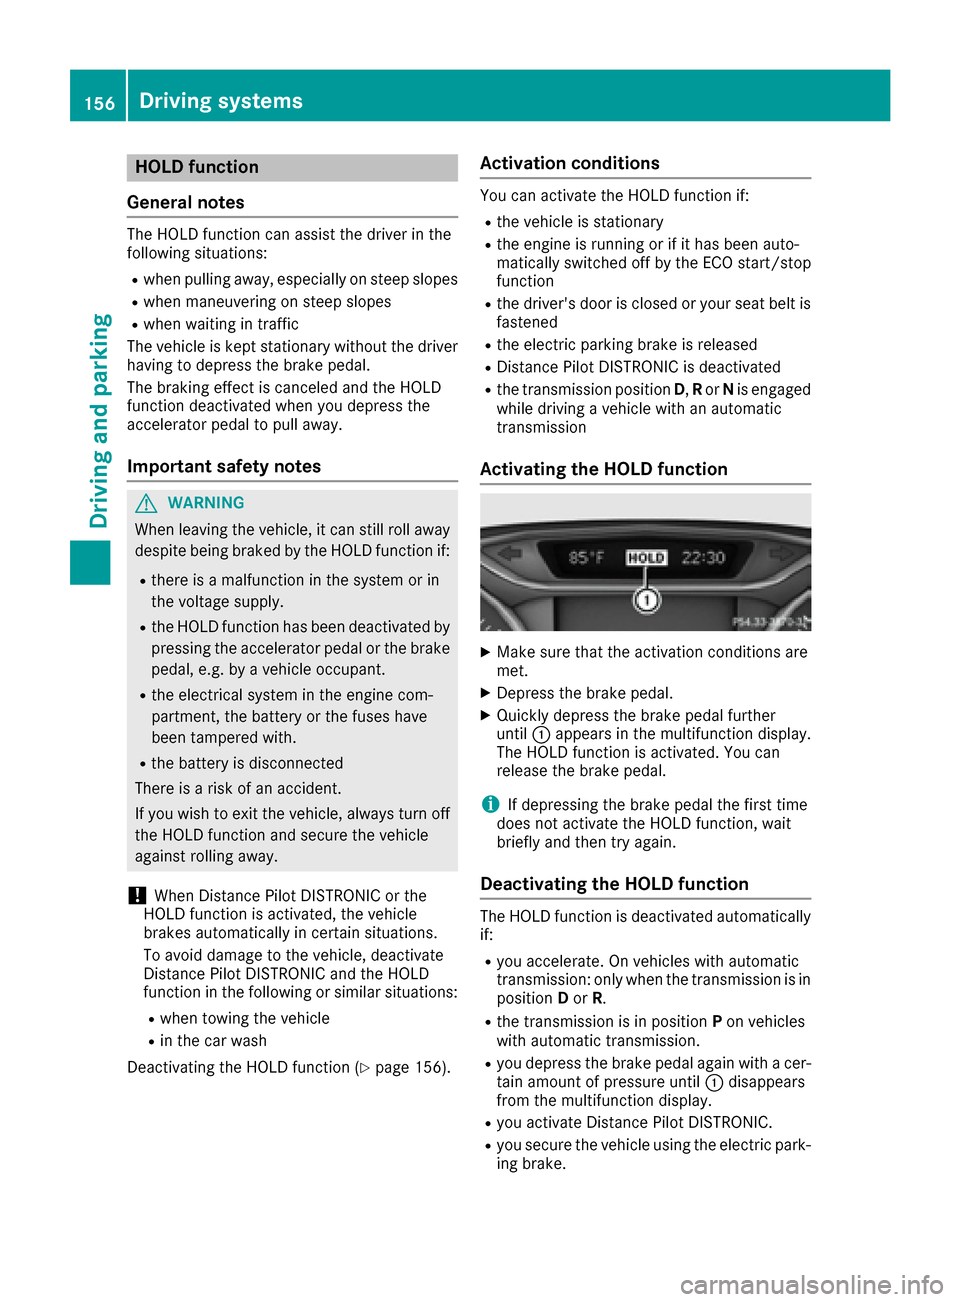
XQuickly depress the brake pedal further
until :appears in the multifunction display.
The HOLD function is activated. You can
release the brake pedal.
iIf depressing the brake pedal the first time
does not activate the HOLD function, wait
briefly and then try again.
Deactivating the HOLD function
The HOLD function is deactivated automatically
if:
Ryou accelerate. On vehicles with automatic
transmission: only when the transmission is in
position Dor R.
Rthe transmission is in position Pon vehicles
with automatic transmission.
Ryou depress the brake pedal again with a cer-
tain amount of pressure until :disappears
from the multifunction display.
Ryou activate Distance Pilot DISTRONIC.
Ryou secure the vehicle using the electric park- ing brake.
156Driving systems
Driving and parking