MERCEDES-BENZ CLK CABRIOLET 2000 A208 Owner's Manual
Manufacturer: MERCEDES-BENZ, Model Year: 2000, Model line: CLK CABRIOLET, Model: MERCEDES-BENZ CLK CABRIOLET 2000 A208Pages: 323, PDF Size: 9.32 MB
Page 131 of 323
Audio system
Te ch n ica l
data Instruments
and controlsOperationDrivingInstrument
cluster displayPractical hints Car care Index Radio mode
Selecting radio mode
Press button.
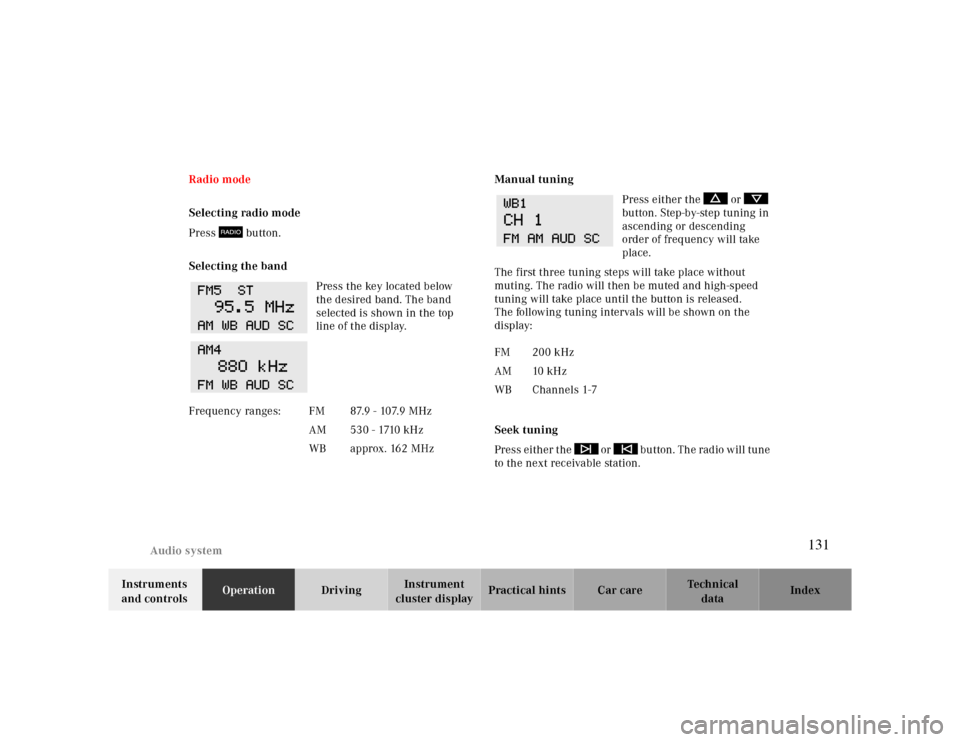
Selecting the band
Press the key located below
the desired band. The band
selected is shown in the top
line of the display.Manual tuning
Press either the or
button. Step-by-step tuning in
ascending or descending
order of frequency will take
place.
The first three tuning steps will take place without
muting. The radio will then be muted and high-speed
tuning will take place until the button is released.
The following tuning intervals will be shown on the
display:
Seek tuning
Press either the or button. The radio will tune
to the next receivable station. Frequency ranges: FM 87.9 - 107.9 MHz
AM 530 - 1710 kHz
WB approx. 162 MHz
FM 200 kHz
AM 10 kHz
WB Channels 1-7
131
Page 132 of 323
Audio system
Te ch n ica l
data Instruments
and controlsOperationDrivingInstrument
cluster displayPractical hints Car care Index
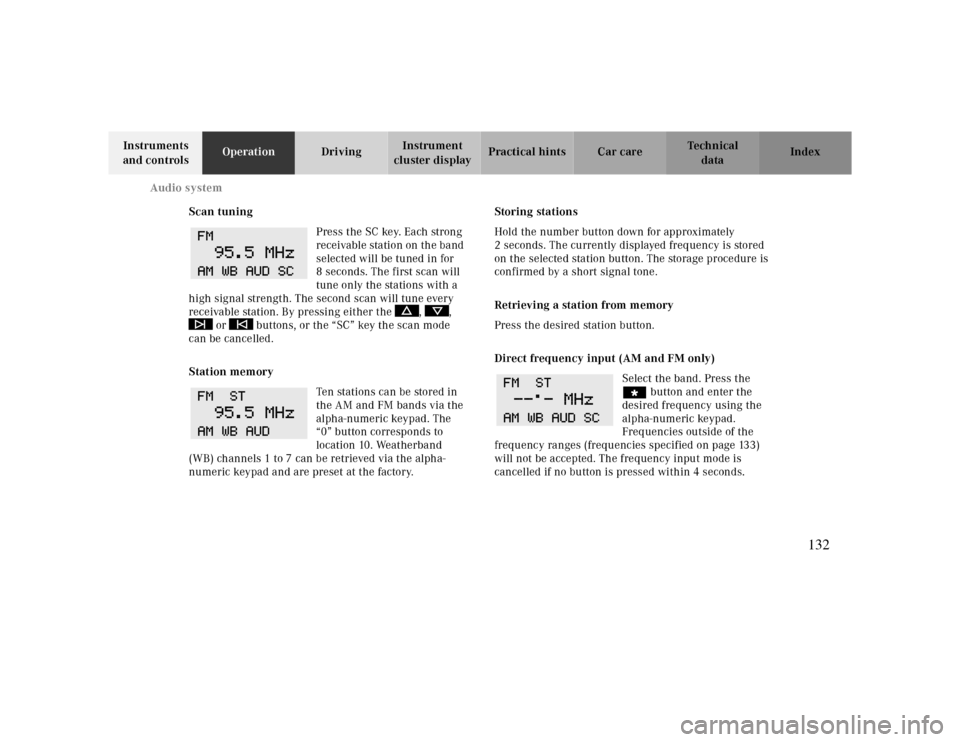
Scan tuning
Press the SC key. Each strong
receivable station on the band
selected will be tuned in for
8 seconds. The first scan will
tune only the stations with a
high signal strength. The second scan will tune every
receivable station. By pressing either the , ,
or buttons, or the “SC” key the scan mode
can be cancelled.
Station memory
Ten stations can be stored in
the AM and FM bands via the
alpha-numeric keypad. The
“0” button corresponds to
location 10. Weatherband
(WB) channels 1 to 7 can be retrieved via the alpha-
numeric keypad and are preset at the factory.Storing stations
Hold the number button down for approximately
2 seconds. The currently displayed frequency is stored
on the selected station button. The storage procedure is
confirmed by a short signal tone.
Retrieving a station from memory
Press the desired station button.
Direct frequency input (AM and FM only)
Select the band. Press the
“ button and enter the
desired frequency using the
alpha-numeric keypad.
Frequencies outside of the
frequency ranges (frequencies specified on page 133)
will not be accepted. The frequency input mode is
cancelled if no button is pressed within 4 seconds.
132
Page 133 of 323
Audio system
Te ch n ica l
data Instruments
and controlsOperationDrivingInstrument
cluster displayPractical hints Car care Index Cassette mode
Note:
Vehicles equipped with the COMAND system do not
come with a factory installed cassette mechanism.
A standard 1/8” stereo phono plug for auxiliary audio
input (located in glove box) is provided for connection of
a portable battery operated cassette player or any other
portable device which uses a headphone output. Please
refer to the COMAND operating manual for information
concerning the activation of the audio input.
Playing cassettes
Press the “TAPE” button. When the eject (EJ) key is
pressed, the display folds down and the cassette slot
becomes visible. Push the cassette into the slot until it
engages. The cassette will be pulled in automatically.
Note:
Do not press directly on the radio display face.
Return the display panel to its normal position by
folding it back up and pressing gently on the display
frame to lock in place. Important!
If the display is in the down position for more than
20 seconds, 2 successive beeps will be heard. This will
continue at 5 second intervals until the display is
returned to its normal position.
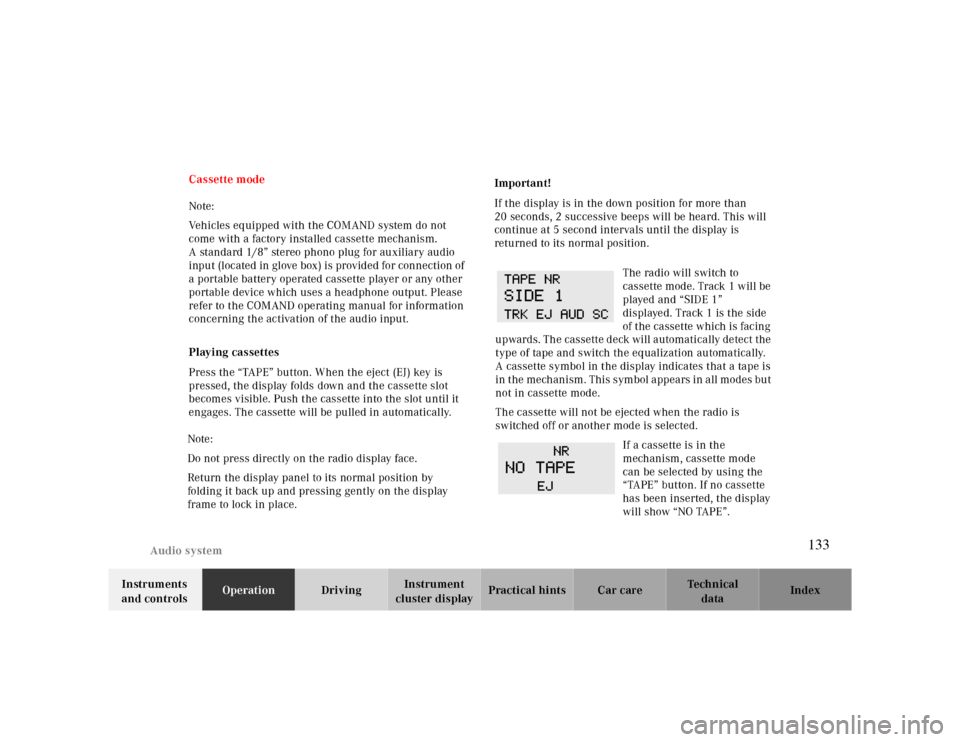
The radio will switch to
cassette mode. Track 1 will be
played and “SIDE 1”
displayed. Track 1 is the side
of the cassette which is facing
upwards. The cassette deck will automatically detect the
type of tape and switch the equalization automatically.
A cassette symbol in the display indicates that a tape is
in the mechanism. This symbol appears in all modes but
not in cassette mode.
The cassette will not be ejected when the radio is
switched off or another mode is selected.
If a cassette is in the
mechanism, cassette mode
can be selected by using the
“TAPE” button. If no cassette
has been inserted, the display
will show “NO TAPE”.
133
Page 134 of 323
Audio system
Te ch n ica l
data Instruments
and controlsOperationDrivingInstrument
cluster displayPractical hints Car care Index
Cassette eject
Press the eject (EJ) key. The display will fold down and
the cassette will be ejected. Remove the cassette, then
fold the display back up manually. The radio will switch
back to radio mode automatically.
Note:
The cassette will not be ejected when the radio is
switched off.
Important!
If the display is in the down position for more than
20 seconds, 2 successive beeps will be heard. This will
continue at 5 second intervals until the display is
returned to its normal position.
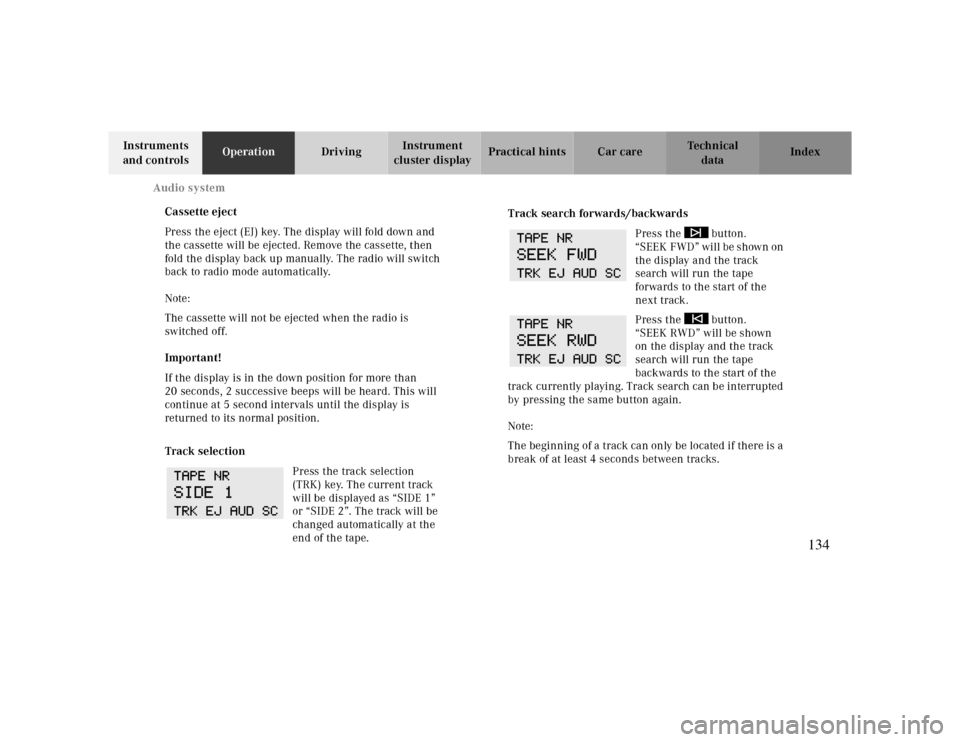
Track selection
Press the track selection
(TRK) key. The current track
will be displayed as “SIDE 1”
or “SIDE 2”. The track will be
changed automatically at the
end of the tape.
Track search forwards/backwards
Press the button.
“SEEK FWD” will be shown on
the display and the track
search will run the tape
forwards to the start of the
next track.
Press the button.
“SEEK RWD” will be shown
on the display and the track
search will run the tape
backwards to the start of the
track currently playing. Track search can be interrupted
by pressing the same button again.
Note:
The beginning of a track can only be located if there is a
break of at least 4 seconds between tracks.
134
Page 135 of 323
Audio system
Te ch n ica l
data Instruments
and controlsOperationDrivingInstrument
cluster displayPractical hints Car care Index Fast forward/reverse
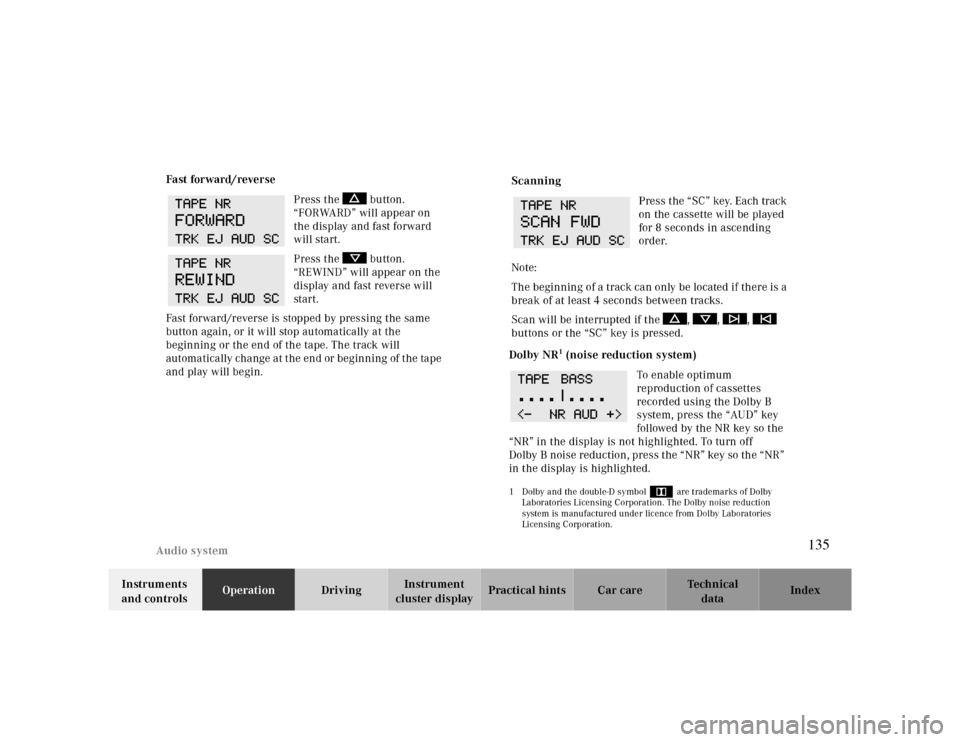
Press the button.
“FORWARD” will appear on
the display and fast forward
will start.
Press the button.
“REWIND” will appear on the
display and fast reverse will
start.
Fast forward/reverse is stopped by pressing the same
button again, or it will stop automatically at the
beginning or the end of the tape. The track will
automatically change at the end or beginning of the tape
and play will begin.
Scanning
Press the “SC” key. Each track
on the cassette will be played
for 8 seconds in ascending
order.
Note:
The beginning of a track can only be located if there is a
break of at least 4 seconds between tracks.
Scan will be interrupted if the , , ,
buttons or the “SC” key is pressed.
Dolby NR
1 (noise reduction system)
To enable optimum
reproduction of cassettes
recorded using the Dolby B
system, press the “AUD” key
followed by the NR key so the
“NR” in the display is not highlighted. To turn off
Dolby B noise reduction, press the “NR” key so the “NR”
in the display is highlighted.
1 Dolby and the double-D symbol
Ù
are trademarks of Dolby
Laboratories Licensing Corporation. The Dolby noise reduction
system is manufactured under licence from Dolby Laboratories
Licensing Corporation.
135
Page 136 of 323
Audio system
Te ch n ica l
data Instruments
and controlsOperationDrivingInstrument
cluster displayPractical hints Car care Index CD mode
General notes on CD mode
Should excessive temperatures occur while in CD mode,
“TEMP HIGH” will appear in the display and muting
will take place. The unit will then switch back to radio
mode until the temperature has decreased to a safe
operating level.
Should temperatures occur while in CD mode which are
too low, “TEMP LOW” will be displayed, but the CD will
play. It will be sensitive to skipping if you are driving
over rough roads.
Handle CDs carefully to prevent interference during
playback.
Avoid fingerprints and dust on CDs. Do not write on the
CDs or apply any label to the CDs.
Clean CDs from time to time with a commercially
available cleaning cloth. No solvents, anti-static sprays,
etc. should be used. Replace the CD in its container after use. Protect CDs
from heat and direct sunlight.
1 Optional equipmentWa r n i n g !
The CD changer
1 is a Class 1 laser product. There is
a danger of invisible laser radiation if the cover is
opened or damaged.
Do not remove the cover. The CD changer
1 does not
contain any parts which can be serviced by the
user. For safety reasons, have any service work
which may be necessary performed only by
qualified personnel.
136
Page 137 of 323
Audio system
Te ch n ica l
data Instruments
and controlsOperationDrivingInstrument
cluster displayPractical hints Car care Index
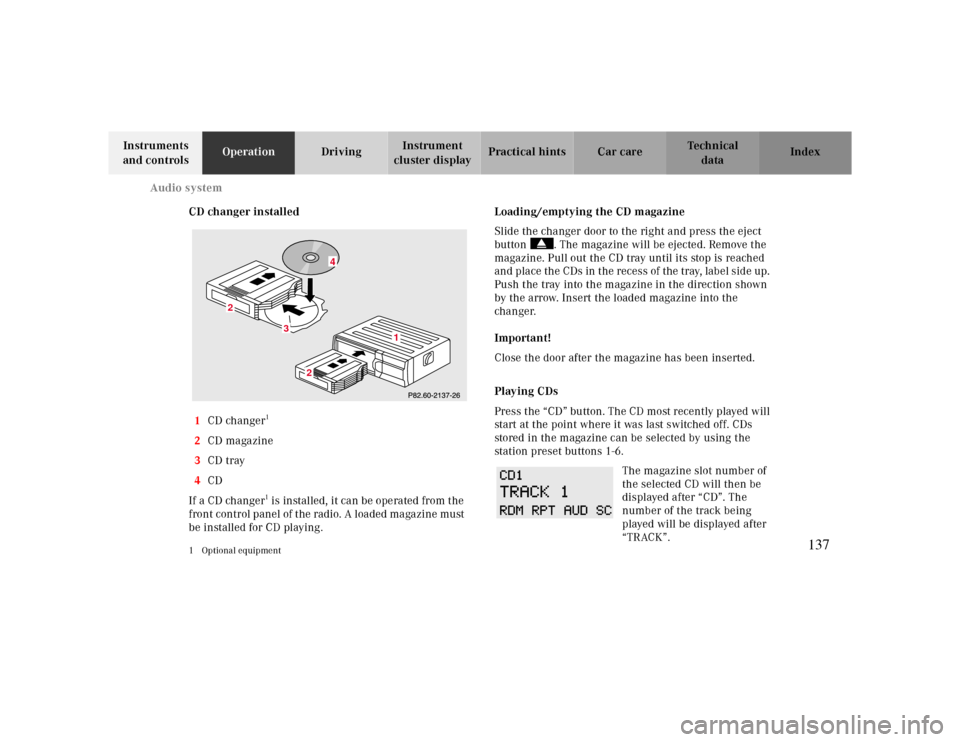
CD changer installed
1CD changer
1
2CD magazine
3CD tray
4CD
If a CD changer1 is installed, it can be operated from the
front control panel of the radio. A loaded magazine must
be installed for CD playing.
1 Optional equipment
Loading/emptying the CD magazine
Slide the changer door to the right and press the eject
button . The magazine will be ejected. Remove the
magazine. Pull out the CD tray until its stop is reached
and place the CDs in the recess of the tray, label side up.
Push the tray into the magazine in the direction shown
by the arrow. Insert the loaded magazine into the
changer.
Important!
Close the door after the magazine has been inserted.
Playing CDs
Press the “CD” button. The CD most recently played will
start at the point where it was last switched off. CDs
stored in the magazine can be selected by using the
station preset buttons 1-6.
The magazine slot number of
the selected CD will then be
displayed after “CD”. The
number of the track being
played will be displayed after
“TRACK”.
3
2
2
1
4
137
Page 138 of 323
Audio system
Te ch n ica l
data Instruments
and controlsOperationDrivingInstrument
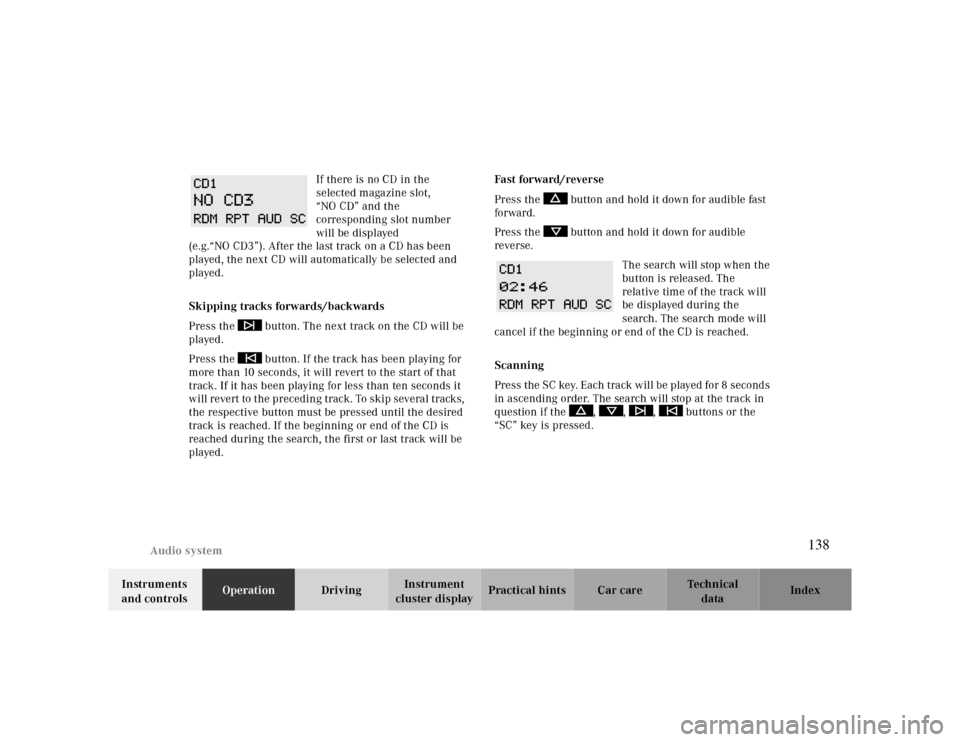
cluster displayPractical hints Car care Index If there is no CD in the
selected magazine slot,
“NO CD” and the
corresponding slot number
will be displayed
(e.g.“NO CD3”). After the last track on a CD has been
played, the next CD will automatically be selected and
played.
Skipping tracks forwards/backwards
Press the button. The next track on the CD will be
played.
Press the button. If the track has been playing for
more than 10 seconds, it will revert to the start of that
track. If it has been playing for less than ten seconds it
will revert to the preceding track. To skip several tracks,
the respective button must be pressed until the desired
track is reached. If the beginning or end of the CD is
reached during the search, the first or last track will be
played.Fast forward/reverse
Press the button and hold it down for audible fast
forward.
Press the button and hold it down for audible
reverse.
The search will stop when the
button is released. The
relative time of the track will
be displayed during the
search. The search mode will
cancel if the beginning or end of the CD is reached.
Scanning
Press the SC key. Each tra ck w ill be played for 8 second s
in ascending order. The search will stop at the track in
question if the , , , buttons or the
“SC” key is pressed.
138
Page 139 of 323
Audio system
Te ch n ica l
data Instruments
and controlsOperationDrivingInstrument
cluster displayPractical hints Car care Index
Random play/repeat function
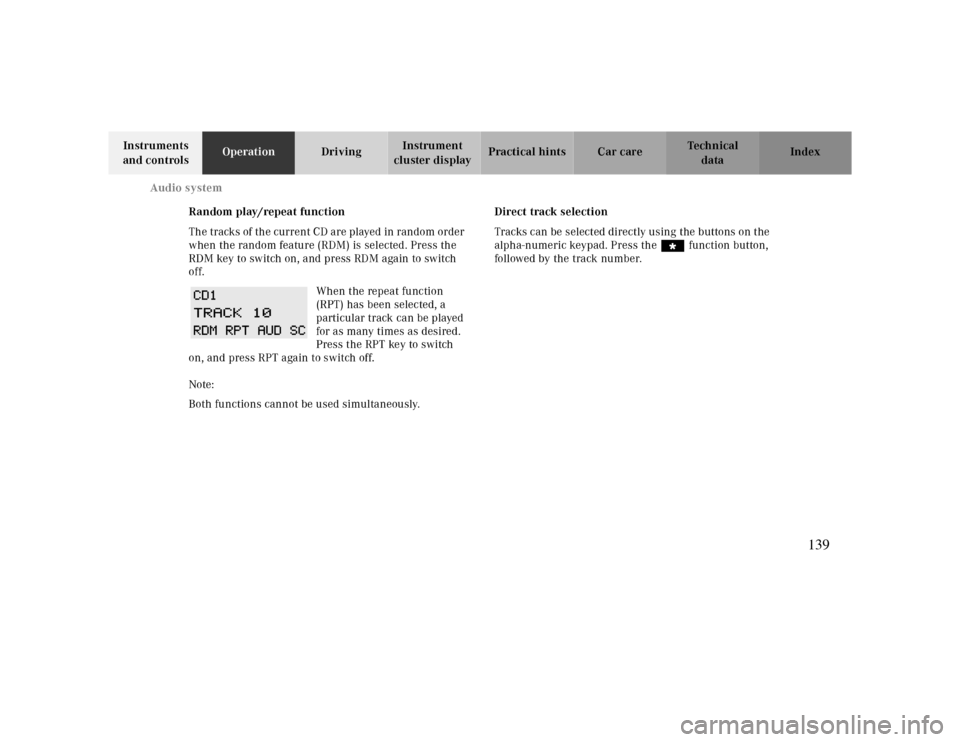
The tracks of the current CD are played in random order
when the random feature (RDM) is selected. Press the
RDM key to switch on, and press RDM again to switch
off.
When the repeat function
(RPT) has been selected, a
particular track can be played
for as many times as desired.
Press the RPT key to switch
on, and press RPT again to switch off.
Note:
Both functions cannot be used simultaneously.Direct track selection
Tracks can be selected directly using the buttons on the
alpha-numeric keypad. Press the “ function button,
followed by the track number.
139
Page 140 of 323
Audio system
Te ch n ica l
data Instruments
and controlsOperationDrivingInstrument
cluster displayPractical hints Car care Index Telephone operation
Various functions of the Mercedes-Benz integrated
cellular telephone
1 can be performed and displayed via
the car radio. Further instructions for operating the car
telephone can be found in the operation guide for the
cellular telephone1.
Switching the telephone on and off
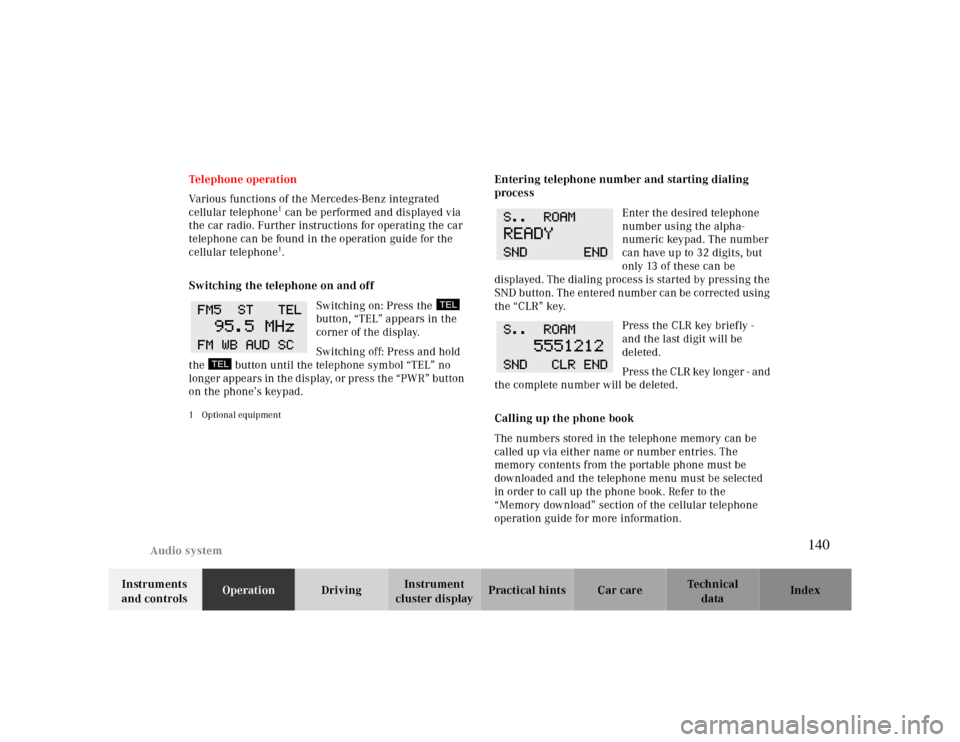
Switching on: Press the
button, “TEL” appears in the
corner of the display.
Switching off: Press and hold
the button until the telephone symbol “TEL” no
longer appears in the display, or press the “PWR” button
on the phone’s keypad.
1 Optional equipment
Entering telephone number and starting dialing
process
Enter the desired telephone
number using the alpha-
numeric keypad. The number
can have up to 32 digits, but
only 13 of these can be
displayed. The dialing process is started by pressing the
SND button. The entered number can be corrected using
the “CLR” key.
Press the CLR key briefly -
and the last digit will be
deleted.
Press the CLR key longer - and
the complete number will be deleted.
Calling up the phone book
The numbers stored in the telephone memory can be
called up via either name or number entries. The
memory contents from the portable phone must be
downloaded and the telephone menu must be selected
in order to call up the phone book. Refer to the
“Memory download” section of the cellular telephone
operation guide for more information.
140