audio MERCEDES-BENZ CLK55AMG 2001 C208 Owner's Guide
[x] Cancel search | Manufacturer: MERCEDES-BENZ, Model Year: 2001, Model line: CLK55AMG, Model: MERCEDES-BENZ CLK55AMG 2001 C208Pages: 329, PDF Size: 11.53 MB
Page 142 of 329
139 Audio system
Te ch n ica l
data Instruments
and controlsOperationDrivingInstrument
cluster displayPractical hints Car care Index Note:
The beginning of a track can only be located if there is a
break of at least 4 seconds between tracks.
Fast forward/reverse
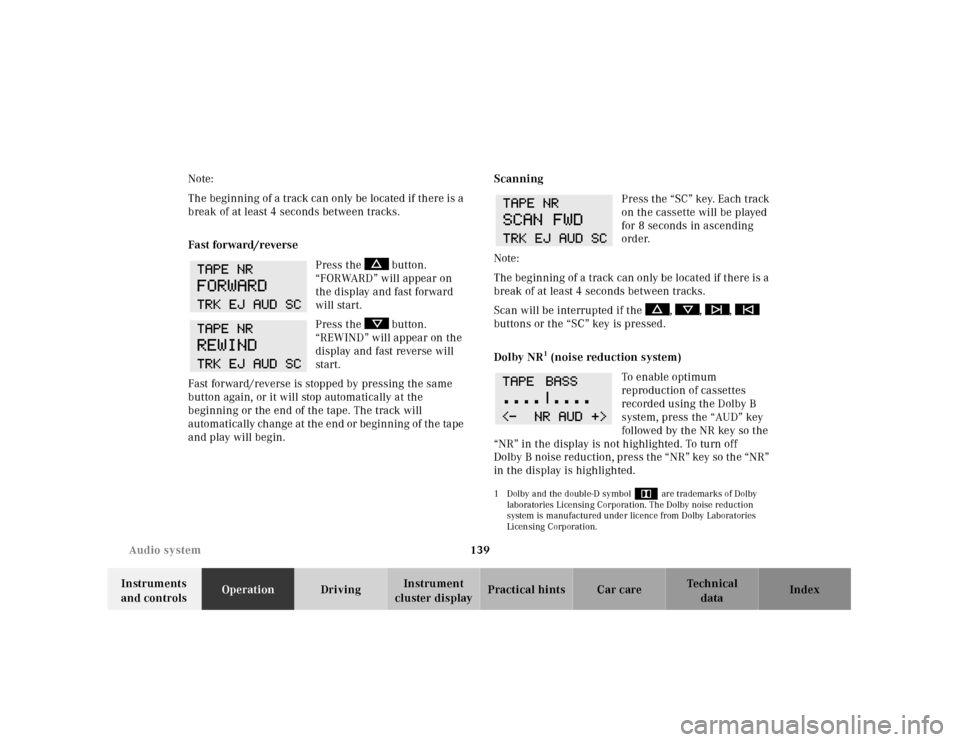
Press the button.
“FORWARD” will appear on
the display and fast forward
will start.
Press the button.
“REWIND” will appear on the
display and fast reverse will
start.
Fast forward/reverse is stopped by pressing the same
button again, or it will stop automatically at the
beginning or the end of the tape. The track will
automatically change at the end or beginning of the tape
and play will begin.Scanning
Press the “SC” key. Each track
on the cassette will be played
for 8 seconds in ascending
order.
Note:
The beginning of a track can only be located if there is a
break of at least 4 seconds between tracks.
Scan will be interrupted if the , , ,
buttons or the “SC” key is pressed.
Dolby NR
1 (noise reduction system)
To en abl e o pti mum
reproduction of cassettes
recorded using the Dolby B
system, press the “AUD” key
followed by the NR key so the
“NR” in the display is not highlighted. To turn off
Dolby B noise redu ction, press t he “ NR” key so th e “NR”
in the display is highlighted.
1 Dolby and the double-D symbol
Ù
are trademarks of Dolby
laboratories Licensing Corporation. The Dolby noise reduction
system is manufactured under licence from Dolby Laboratories
Licensing Corporation.
Page 143 of 329
140 Audio system
Te ch n ica l
data Instruments
and controlsOperationDrivingInstrument
cluster displayPractical hints Car care Index
CD mode
General notes on CD mode
Sh oul d excessive tempera tures occ ur wh il e in CD mode,
“TEMP HIGH” will appear in the display and muting
will take place. The unit will then switch back to radio
mode until the temperature has decreased to a safe
operating level.
Should temperatures occur while in CD mode which are
too low, “TEMP LOW” w ill be displayed, but the CD will
play. It will be sensitive to skipping if you are driving
over rough roads.
Handle CDs carefully to prevent interference during
playback.
Avoid fingerprints and dust on CDs. Do not write on the
CDs or apply any label to the CDs.Clean CDs from time to time with a commercially
available cleaning cloth. No solvents, anti-static sprays,
etc. should be used.
Replace the CD in its container after use. Protect CDs
from heat and direct sunlight.
1 Optional equipmentWa r n i n g !
The CD changer
1 is a Class 1 laser product. There is
a danger of invisible laser radiation if the cover is
opened or damaged.
Do not remove the cover. The CD changer
1 does not
contain any parts which can be serviced by the
user. For safety reasons, have any service work
which may be necessary performed only by
qualified personnel.
Page 144 of 329
141 Audio system
Te ch n ica l
data Instruments
and controlsOperationDrivingInstrument
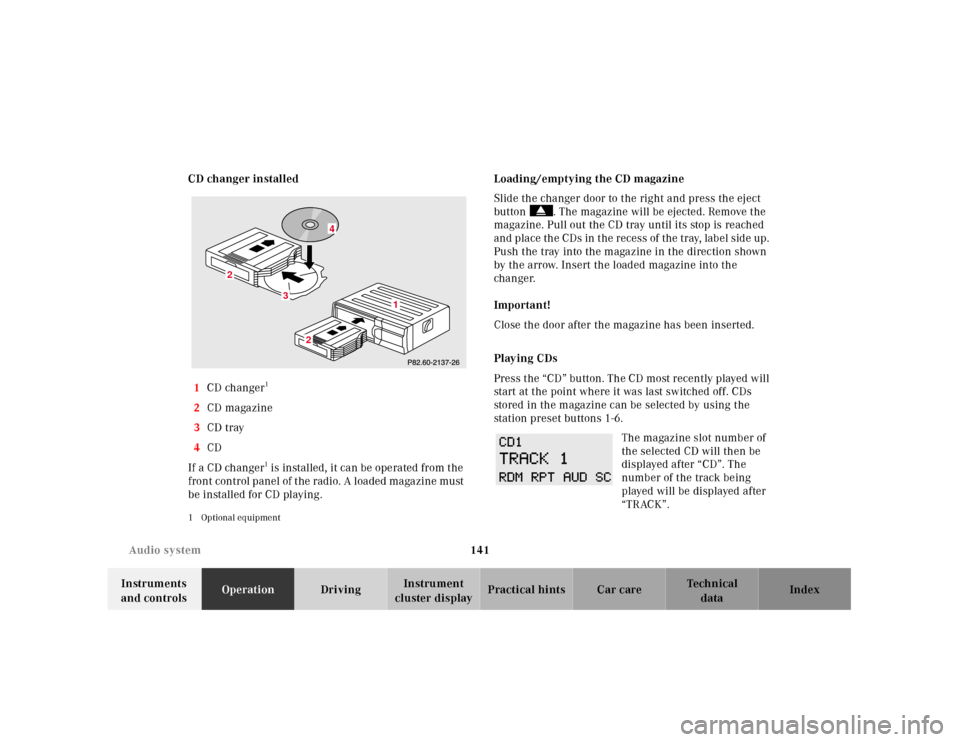
cluster displayPractical hints Car care Index CD changer installed
1CD changer
1
2CD magazine
3CD tray
4CD
If a CD changer1 is instal led, it ca n be ope ra ted from t he
front control panel of the radio. A loaded magazine must
be installed for CD playing.
1 Optional equipment
Loading/emptying the CD magazine
Slide the changer door to the right and press the eject
button . The magazine will be ejected. Remove the
magazine. Pull out the CD tray until its stop is reached
and place the CDs in the recess of the tray, label side up.
Push the tray into the magazine in the direction shown
by the arrow. Insert the loaded magazine into the
changer.
Important!
Close the door after the magazine has been inserted.
Playing CDs
Press t he “CD ” bu tton. Th e CD most recently played wil l
start at the point where it was last switched off. CDs
stored in the magazine can be selected by using the
station preset buttons 1-6.
The magazine slot number of
the selected CD will then be
displayed after “CD”. The
number of the track being
played will be displayed after
“TRACK”.
3
2
2
1
4
Page 145 of 329
142 Audio system
Te ch n ica l
data Instruments
and controlsOperationDrivingInstrument
cluster displayPractical hints Car care Index
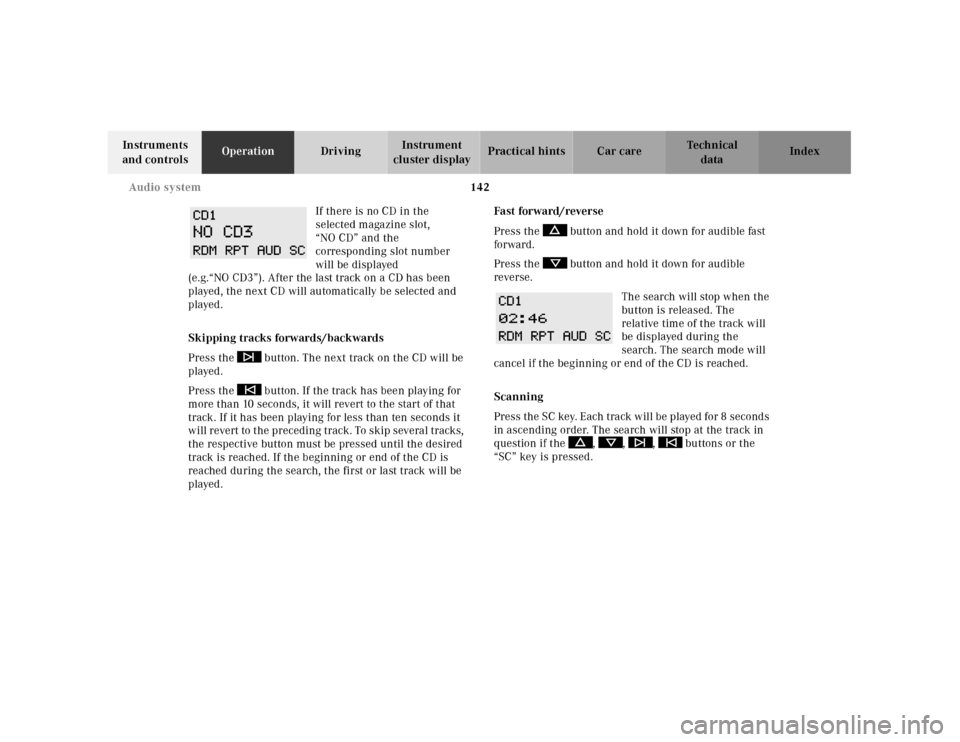
If there is no CD in the
selected magazine slot,
“NO CD” and the
corresponding slot number
will be displayed
(e.g.“NO CD3”). After the last track on a CD has been
played, the next CD will automatically be selected and
played.
Skipping tracks forwards/backwards
Press the button. The next track on the CD will be
played.
Press the button. If the track has been playing for
more than 10 seconds, it will revert to the start of that
track. If it has been playing for less than ten seconds it
will revert to the preceding track. To skip several tracks,
the respective button must be pressed until the desired
track is reached. If the beginning or end of the CD is
reached during the search, the first or last track will be
played.Fa st for wa rd / reve r se
Press the button and hold it down for audible fast
forward.
Press the button and hold it down for audible
reverse.
The search will stop when the
button is released. The
relative time of the track will
be displayed during the
search. The search mode will
cancel if the beginning or end of the CD is reached.
Scanning
Press the SC key. Each tra ck wil l be played for 8 second s
in ascending order. The search will stop at the track in
question if the , , , buttons or the
“SC” key is pressed.
Page 146 of 329
143 Audio system
Te ch n ica l
data Instruments
and controlsOperationDrivingInstrument
cluster displayPractical hints Car care Index Random play/repeat function
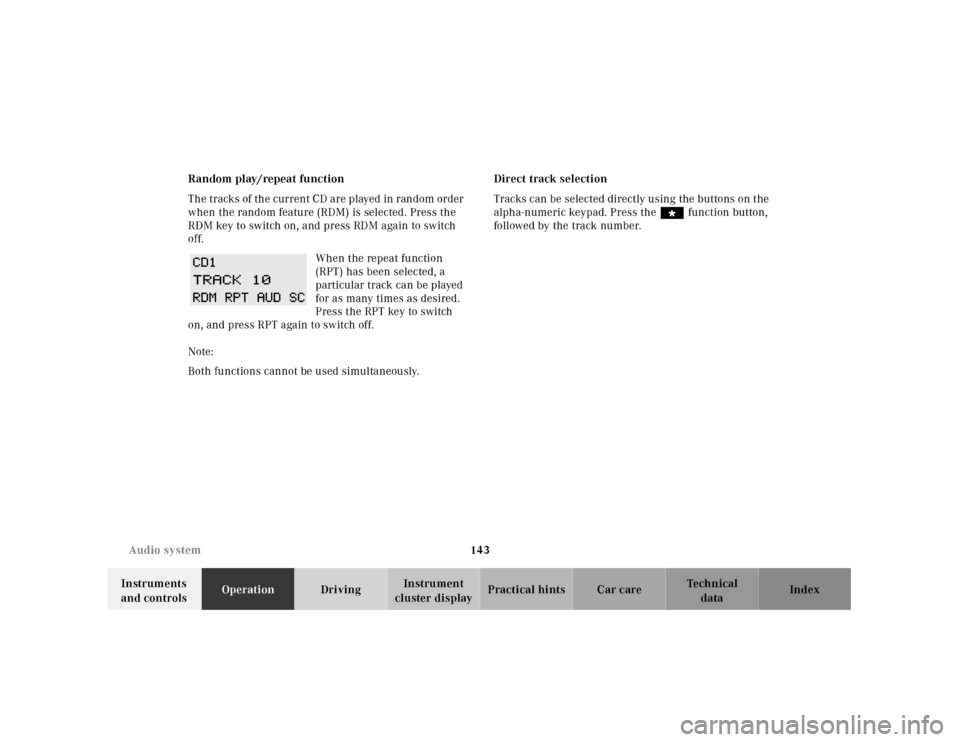
The tracks of the current CD are played in random order
when the random feature (RDM) is selected. Press the
RDM key to switch on, and press RDM again to switch
off.
When the repeat function
(RPT) has been selected, a
particular track can be played
for as many times as desired.
Press the RPT key to switch
on, and press RPT again to switch off.
Note:
Both functions cannot be used simultaneously.Direct track selection
Tracks can be selected directly using the buttons on the
alpha-numeric keypad. Press the “ function button,
followed by the track number.
Page 147 of 329
144 Audio system
Te ch n ica l
data Instruments
and controlsOperationDrivingInstrument
cluster displayPractical hints Car care Index
Telephone operation
Various functions of the Mercedes-Benz integrated
cellular telephone
1 can be performed and displayed via
the car radio. Further instructions for operating the car
telephone can be found in the operation guide for the
cellular telephone1.
Switching the telephone on and off
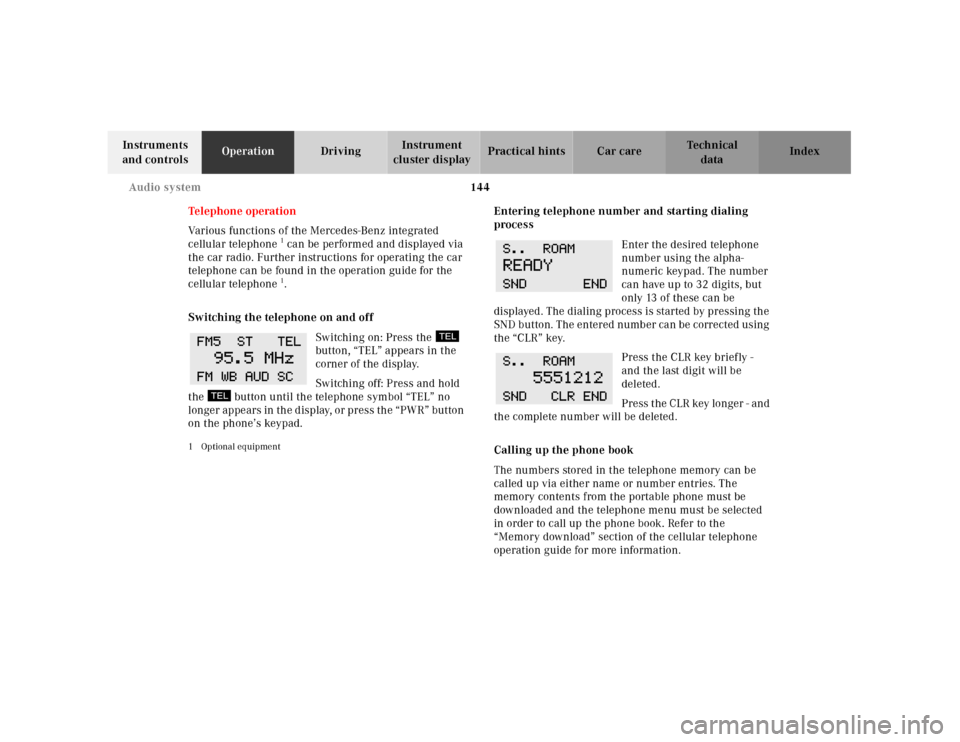
Switching on: Press the
button, “TEL” appears in the
corner of the display.
Switching off: Press and hold
the button until the telephone symbol “TEL” no
longer appears in the display, or press the “PWR” button
on the phone’s keypad.
1 Optional equipment
Entering telephone number and starting dialing
process
Enter the desired telephone
number using the alpha-
numeric keypad. The number
can have up to 32 digits, but
only 13 of these can be
displayed. The dialing process is started by pressing the
SND button. The entered number can be corrected using
the “CLR” key.
Press the CLR key briefly -
and the last digit will be
deleted.
Press the CLR key longer - and
the complete number will be deleted.
Calling up the phone book
The numbers stored in the telephone memory can be
called up via either name or number entries. The
memory contents from the portable phone must be
downloaded and the telephone menu must be selected
in order to call up the phone book. Refer to the
“Memory download” section of the cellular telephone
operation guide for more information.
Page 148 of 329

145 Audio system
Te ch n ica l
data Instruments
and controlsOperationDrivingInstrument
cluster displayPractical hints Car care Index Switching between name search and number search
Press ABC key - Name search
Press NUM key - Number search
Searching and selecting phone book entries by name
Press the ABC key. The current name is shown on the
display. The stored entries in alphabetical order can be
selected using the or button. By pressing the
or buttons, the stored entries can be selected
according to alphabetical initial letters (e.g. A-Adam,
B-Brown, M-Miller).
Searching and selecting phone book entries by
number
Press the NUM key. The current number is shown on
the display. The stored entries can be selected in
numerical order using the or button. By
pressing the or buttons, the stored entries
can be selected in increments of 5 (e.g. Entry no. 2,
Entry no. 7, etc.).Placing a call
When a number or a name
has been selected using the
method described above,
press the SND key.
Manual repeat dialing (redial)
The last number entered can be re-selected by pressing
th e SND key once and th e cal l can be pl aced by pressing
the SND key a second time. The last dialed telephone
number is shown on the display. Using the , ,
or button, the numbers stored in the re-dial
memory of the telephone can be selected.
The abbreviation L and the
number in the memory are
shown in the top line of the
display.
Page 149 of 329

146 Audio system
Te ch n ica l
data Instruments
and controlsOperationDrivingInstrument
cluster displayPractical hints Car care Index
Accepting incoming call in telephone mode
With an incoming call, the ringing tone will be heard
and the message “CALL” appears in the display. Press
the SND key to answer the call.
Accepting incoming call in tape, CD or radio mode
If the telephone is activated in the background
(telephone symbol in the display), then a switch is made
automatically to telephone when an incoming call is
received. The audio source is muted, the ringing tone is
heard and the message “CALL” appears. After the call
has been terminated, the previously selected audio
source is resumed.
Terminating call
A current call can be terminated by pressing the END
key.Component malfunctions
The radio, CD changer
1, and Mercedes-Benz integrated
cellular telephone
1 are part of a fiberoptic networked
system. Failure of one of the components can lead to
malfunctions of the other components. Please contact
your authorized Mercedes-Benz Center or call
1-800-FOR-MERCedes for more information in the event
of a malfunction.
1 Optional equipment
Page 184 of 329
181 Tele Aid
Te ch n ica l
data Instruments
and controlsOperationDrivingInstrument
cluster displayPractical hints Car care Index Important!
Always make sure that the indicator lamps in the
“SOS” button, in the “Roadside Assistance” button and
in the “Information” button do not remain illuminated
constantly in red and the message “TELE AID - VISIT
WORKSHOP” is not displayed in the multifunction
display after the system self check.
If a malfunction is indicated as outlined above, have the
system checked at the nearest Mercedes-Benz Center as
soon as possible.
Emergency calls
An emergency call is initiated automatically:
•following an accident in which the Emergency
Tensioning Retractors (ETR’s) or airbags deploy,
•if the antitheft alarm or the tow away alarm stays on
for more than 20 seconds, see pages 42 and 44.
An emergency call can also be initiated manually by
opening the cover next to the inside rear view mirror
labeled “SOS”, then pressing the button (for longer than
2 seconds) located under the cover. See below for
instructions on initiating an emergency call manually.Once the emergency call is in progress, the indicator
lamp in the “SOS” button will begin to f lash. The
message “EMERGENCY CALL – CONNECTING CALL”
appears in the multifunction display. When the
connection is established, the message “EMERGENCY
CALL – CALL CONNECTED” appears in the
multifunction display. All information relevant to the
emergency, such as the location of the vehicle
(determined by the GPS satellite location system),
vehicle model, identification number and color are
generated.
A voice connection between the Response Center and
the occupants of the vehicle will be established
automatically soon after the emergency call has been
initiated. When a voice connection is established the
audio system mutes and the message “TELE AID –
EMERGENCY CALL ACTIVE” appears in the
multifunction display. The Response Center will attempt
to determine more precisely the nature of the accident
provided they can speak to an occupant of the vehicle.
Page 187 of 329
184 Tele Aid
Te ch n ica l
data Instruments
and controlsOperationDrivingInstrument
cluster displayPractical hints Car care Index
Roadside Assistance button
Located below the center armrest cover is the Roadside
Assistance button. Pressing and holding the
button (for longer than 2 seconds) will initiate a call to a
Mercedes-Benz Roadside Assistance dispatcher. The
button will flash while the call is in progress. The
message “ROADSIDE ASSISTANCE – CONNECTING
CALL” will appear in the multifunction display. When
the connection is established, the message “ROADSIDE
ASSISTANCE – CALL CONNECTED” appears in the
multifunction display. The Tele Aid system will transmit
data generating the vehicle identification number,
model, color and location (subject to availability of
cellular and GPS signals).
A voice connection between the Roadside Assistance
dispatcher and the occupants of the vehicle will be
established. When a voice connection is established the
audio system mutes and the message “TELE AID –
ROADSIDE ASSISTANCE CALL ACTIVE” appears in the
multifunction display. The nature of the need for
assistance can then be described. The Mercedes-Benz
Roadside assistance dispatcher will either dispatch a
qualified Mercedes-Benz technician or arrange to tow
your vehicle to the nearest Mercedes-Benz Center. For services such as la bor and/or towing charg es may a pply.
Refer to the Roadside Assistance manual for more
information.
These programs are only available in the USA:
•Sign and Drive services: Serv ices su ch as jump sta rt,
a few gallons of fuel or the replacement of a f lat tire
with the vehicle spare tire are obtainable,
•Remote Vehicle Diagnostics: This function permits
the Mercedes-Benz Roadside Assistance dispatcher
to download malfunction codes and actual vehicle
data.
Notes:
The indicator lamp in the Roadside Assistance
button remains illuminated in red for approx.
10 seconds during the system self-check after turning
electronic key in starter switch to position 2 (together
with the “SOS” button and the Information
button¡).
See system self-check on page 180 when the indicator
lamp does not light up in red or stays on longer than
approximately 10 seconds.