sport mode MERCEDES-BENZ CLS 2011 Owners Manual
[x] Cancel search | Manufacturer: MERCEDES-BENZ, Model Year: 2011, Model line: CLS, Model: MERCEDES-BENZ CLS 2011Pages: 308, PDF Size: 5.71 MB
Page 8 of 308
Chrome-plated exhaust tip,
cleaning
.............................................. 221
Cigarette lighter ................................ 163
Climate control system
4-zone automatic climate control
.. 143
Air conditioning ............................. 146
Air conditioning refrigerant ............ 298
Air distribution ............................... 149
Air recirculation mode ................... 150
Air volume ..................................... 149
Automatic mode ............................ 146
Deactivating system ......................145
Front defroster .............................. 149
Maximum cooling MAX COOL ........150
Residual heat and ventilation ......... 151
Temperature .................................. 147
Clock ..................................................... 28
Cockpit ................................................. 27
Cold tire inflation pressure ..............206
Collapsible tire (spare wheel) ..........296
Collapsible wheel chock ...................225
COMAND system see separate COMAND system
operating instructions
Combination switch ............................89
Control system .................................. 110
Multifunction display .....................111
Multifunction steering wheel ......... 110
Resetting to factory settings .......... 118
Control system menus ...................... 112
AMG ............................................... 113
Audio/DVD .................................... 116
Distronic ........................................ 117
Navigation ..................................... 117
Settings ......................................... 118
Standard display ............................ 112
Telephone ...................................... 125
Trip computer ................................ 124
Vehicle status message memory ...117
Control system submenus
Convenience .................................. 124
Instrument cluster .........................119
Lighting .......................................... 121
Vehicle ........................................... 123
Convenience submenu
Easy-entry/exit feature .................. 124 Coolant
Anticorrosion/antifreeze ...............301
Capacities ...................................... 297
Checking level ............................... 180
Messages in the multifunction
display ........................................... 243
Warning lamp ................................. 257
Corner-illuminating front fog
lamps .................................................... 91
Cruise control .................................... 127
Activating ....................................... 128
Canceling ....................................... 128
Changing the set speed .................129
Last stored speed .......................... 129
Lever .............................................. 128
Messages in the multifunction
display ........................................... 233
Resume function ............................ 129
Setting current speed .................... 128
Cup holders ........................................ 160
Curb weight ....................................... 206
Customer Assistance Center (CAC) ...22
Customer Relations Department .......22 D
Dashboard see Instrument cluster
Data recording ..................................... 22
Daytime running lamp mode ..............88
Switching on or off ......................... 121
Deep water
see Standing water
Defogging (windshield) .....................150
Defroster Front (Climate control system) ......149
Rear window .................................. 151
Delayed shut-off
Exterior lamps ................................ 122
Interior lighting .............................. 123
Department of Transportation
see DOT
Difficulties
While driving .................................... 99
With starting .................................... 98
Digital speedometer .........................113
Dimensions (vehicle) see Vehicle specification 6
Index 219_AKB; 4; 54, en-US
d2ureepe,
Version: 2.11.8.1 2009-05-11T16:21:02+02:00 - Seite 6
Page 93 of 308
Corner-illuminating front fog lamps
Corner-illuminating front fog lamps are not
available on vehicles with AMG Sport
Package and on CLS 63 AMG.
The corner-illuminating front fog lamps
improve illumination of the area in the
direction into which you are turning.
The corner-illuminating front fog lamps will
only operate
R in low ambient lighting conditions
R at vehicle speeds below 25 mph
(40 km/h)
R with the front fog lamps switched off
R when the engine is running
Switching on X
Turn the exterior lamp switch to position
L or Ã.
or
X Activate the daytime running lamp mode
(Y page 88).
X Switch on the left or right turn signal,
depending on whether you are turning left
or right.
The respective front fog lamp comes on. If
you have switched on the turn signal for
one side but turn the steering wheel in the
other direction, the corner-illuminating
front fog lamp on the side of the turn signal
comes on.
or
X Turn the steering wheel in the desired
direction.
Driving forward: The front fog lamp on the
side of your steering direction comes on.
Driving in reverse: The front fog lamp
opposite to your steering direction comes
on.
The corner-illuminating front fog lamps will
come on automatically depending on the
steering angle, even if you did not switch on
either turn signal. If the corner-illuminating
front fog lamps came on automatically, they will also go out automatically depending on
the steering angle and vehicle speed.
The corner-illuminating front fog lamps
temporarily come on on both sides of the
vehicle if you turn the steering wheel in one
direction and then again in the other direction
shortly thereafter.
The corner-illuminating front fog lamp
remains lit for a short time only. It then goes
out automatically.
Switching off
X
Switch off the left or right turn signal.
or
X Steer straight ahead.
i There may be a brief delay before the
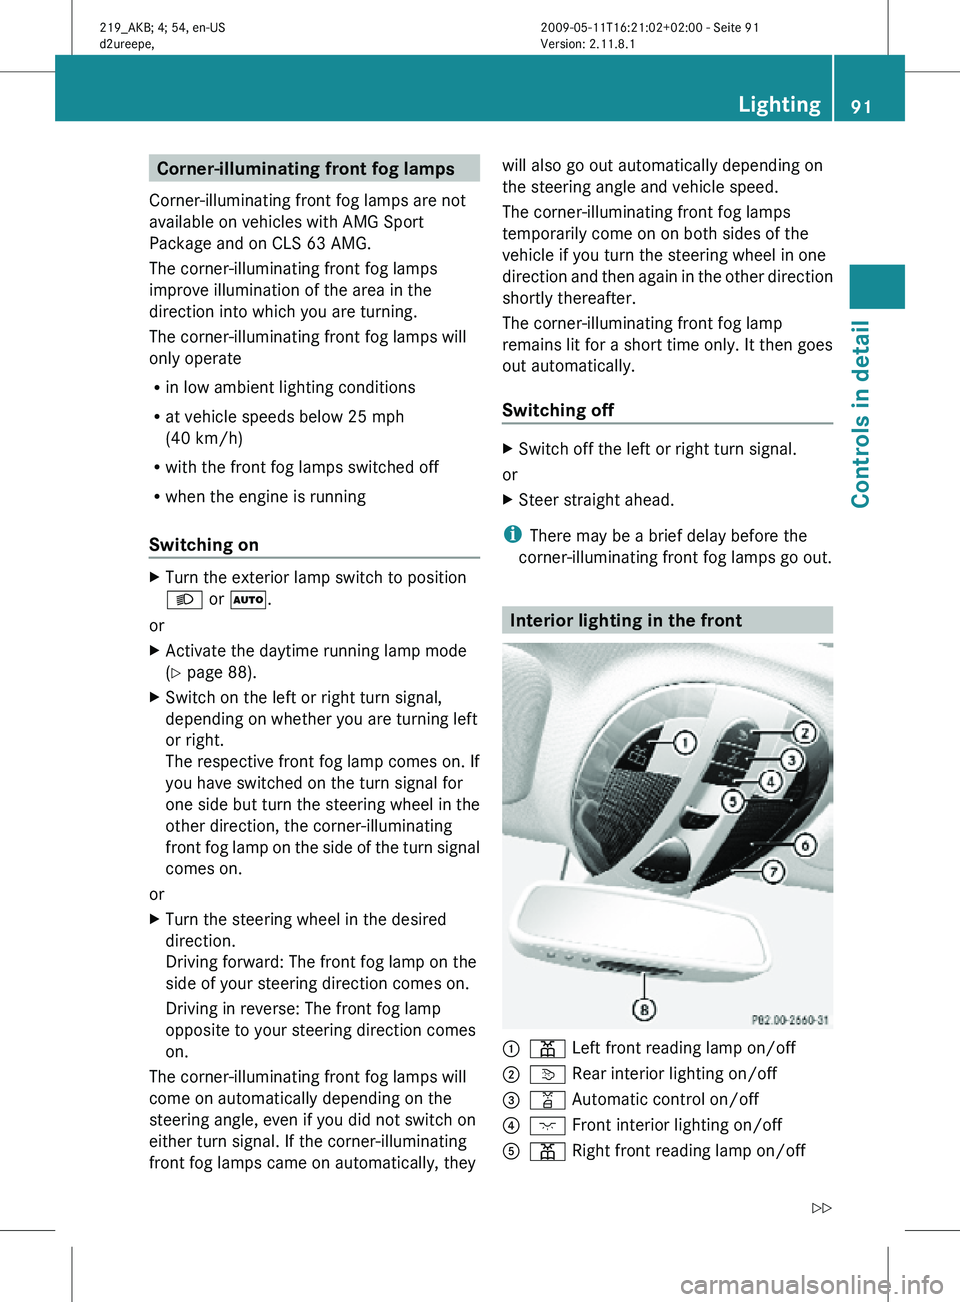
corner-illuminating front fog lamps go out. Interior lighting in the front
:
p Left front reading lamp on/off
; v Rear interior lighting on/off
= q Automatic control on/off
? c Front interior lighting on/off
A p Right front reading lamp on/off Lighting
91Controls in detail
219_AKB; 4; 54, en-US
d2ureepe, Version: 2.11.8.1 2009-05-11T16:21:02+02:00 - Seite 91 Z
Page 105 of 308
M (CLS 63 AMG only) (
Y page 107)
R the position of the accelerator pedal
R the vehicle speed
With drive position D selected, you can
influence transmission shifting by
R limiting the gear range
R extending the gear range
R changing the gears manually (CLS 63 AMG
only)
CLS 63 AMG:
Double-clutching is active when downshifting
in all program modes. Double-clutching
reduces load-alteration effects and supports
sporty driving. The degree to which you
perceive double-clutching acoustically varies
depending on the selected program mode. Transmission positions
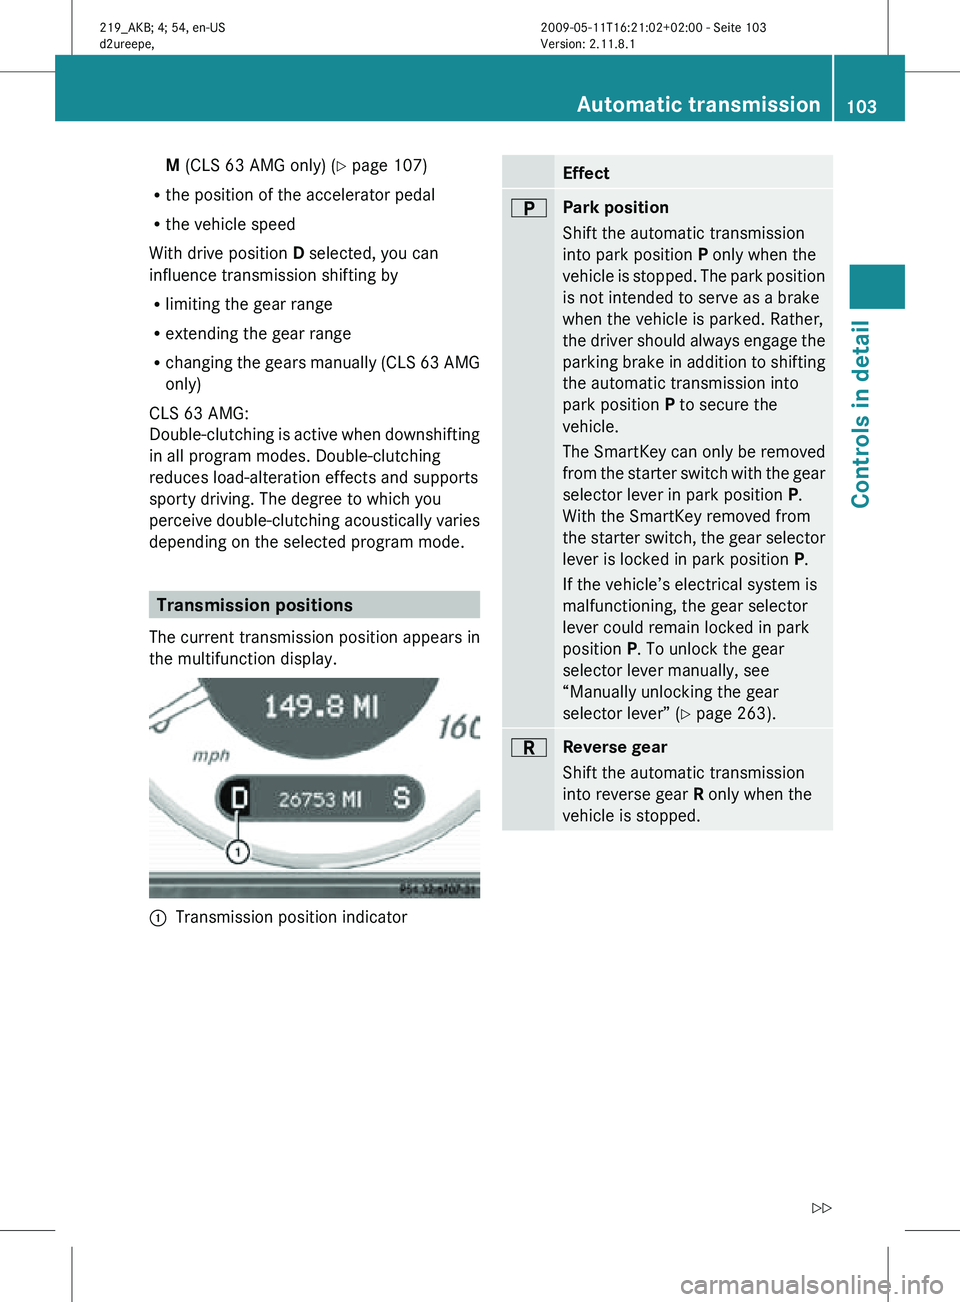
The current transmission position appears in
the multifunction display. :
Transmission position indicator Effect
B
Park position
Shift the automatic transmission
into park position P only when the
vehicle is stopped. The park position
is not intended to serve as a brake
when the vehicle is parked. Rather,
the driver should always engage the
parking brake in addition to shifting
the automatic transmission into
park position P to secure the
vehicle.
The SmartKey can only be removed
from the starter switch with the gear
selector lever in park position P.
With the SmartKey removed from
the starter switch, the gear selector
lever is locked in park position
P.
If the vehicle’s electrical system is
malfunctioning, the gear selector
lever could remain locked in park
position P. To unlock the gear
selector lever manually, see
“Manually unlocking the gear
selector lever” ( Y page 263). C
Reverse gear
Shift the automatic transmission
into reverse gear R only when the
vehicle is stopped. Automatic transmission
103Controls in detail
219_AKB; 4; 54, en-US
d2ureepe, Version: 2.11.8.1 2009-05-11T16:21:02+02:00 - Seite 103 Z
Page 107 of 308
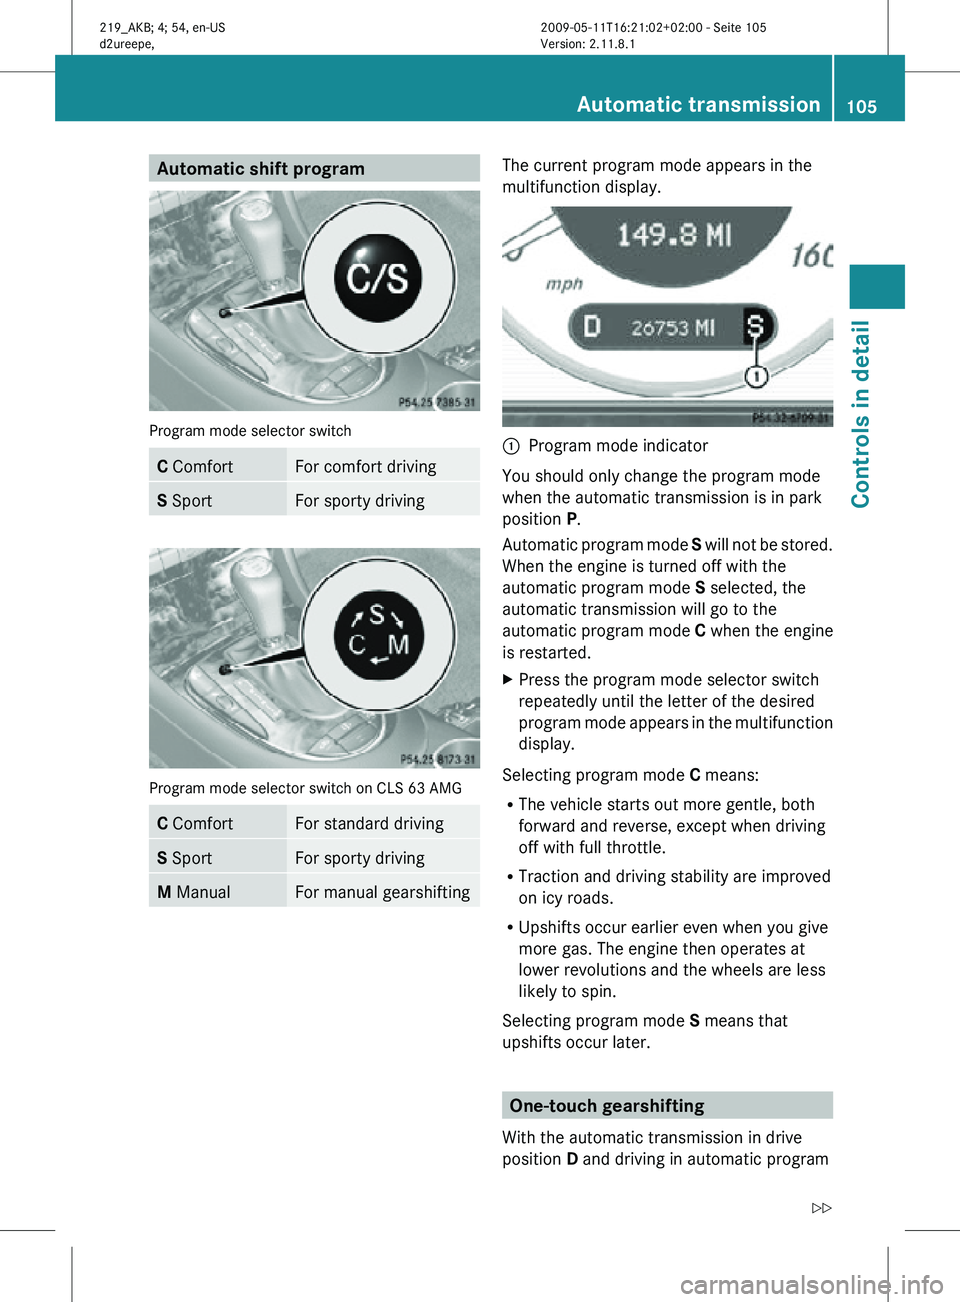
Automatic shift program
Program mode selector switch
C Comfort For comfort driving
S Sport For sporty driving
Program mode selector switch on CLS 63 AMG
C Comfort For standard driving
S Sport For sporty driving
M Manual For manual gearshifting The current program mode appears in the
multifunction display.
:
Program mode indicator
You should only change the program mode
when the automatic transmission is in park
position P.
Automatic program mode S will not be stored.
When the engine is turned off with the
automatic program mode S selected, the
automatic transmission will go to the
automatic program mode C when the engine
is restarted.
X Press the program mode selector switch
repeatedly until the letter of the desired
program mode appears in the multifunction
display.
Selecting program mode C means:
R The vehicle starts out more gentle, both
forward and reverse, except when driving
off with full throttle.
R Traction and driving stability are improved
on icy roads.
R Upshifts occur earlier even when you give
more gas. The engine then operates at
lower revolutions and the wheels are less
likely to spin.
Selecting program mode S means that
upshifts occur later. One-touch gearshifting
With the automatic transmission in drive
position D and driving in automatic program Automatic transmission
105Controls in detail
219_AKB; 4; 54, en-US
d2ureepe, Version: 2.11.8.1 2009-05-11T16:21:02+02:00 - Seite 105 Z
Page 108 of 308
mode
C or S, you can limit or extend the gear
range using the gear selector lever or the
steering wheel gearshift control.
Steering wheel gearshift control is available
on vehicles with AMG Sport Package and on
CLS 63 AMG only.
CLS 63 AMG: For information on using the
gear selector lever or the steering wheel
gearshift control in manual program mode
M, see “Manual shift program”
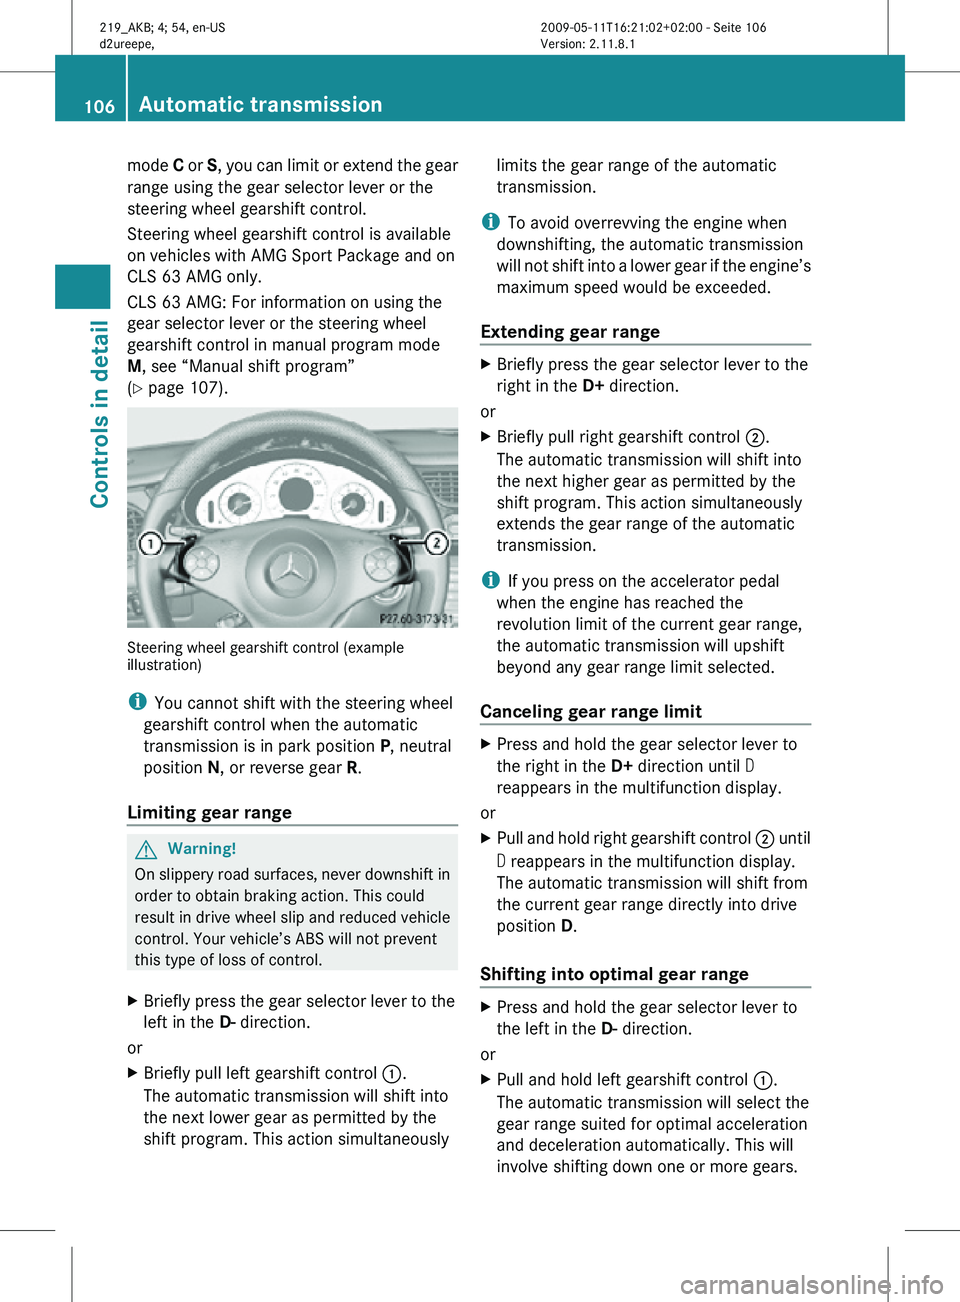
(Y page 107). Steering wheel gearshift control (example
illustration)
i
You cannot shift with the steering wheel
gearshift control when the automatic
transmission is in park position P, neutral
position N, or reverse gear R.
Limiting gear range G
Warning!
On slippery road surfaces, never downshift in
order to obtain braking action. This could
result in drive wheel slip and reduced vehicle
control. Your vehicle’s ABS will not prevent
this type of loss of control.
X Briefly press the gear selector lever to the
left in the D- direction.
or
X Briefly pull left gearshift control :.
The automatic transmission will shift into
the next lower gear as permitted by the
shift program. This action simultaneously limits the gear range of the automatic
transmission.
i To avoid overrevving the engine when
downshifting, the automatic transmission
will not shift into a lower gear if the engine’s
maximum speed would be exceeded.
Extending gear range X
Briefly press the gear selector lever to the
right in the D+ direction.
or
X Briefly pull right gearshift control ;.
The automatic transmission will shift into
the next higher gear as permitted by the
shift program. This action simultaneously
extends the gear range of the automatic
transmission.
i If you press on the accelerator pedal
when the engine has reached the
revolution limit of the current gear range,
the automatic transmission will upshift
beyond any gear range limit selected.
Canceling gear range limit X
Press and hold the gear selector lever to
the right in the D+ direction until D
reappears in the multifunction display.
or
X Pull and hold right gearshift control ; until
D reappears in the multifunction display.
The automatic transmission will shift from
the current gear range directly into drive
position D.
Shifting into optimal gear range X
Press and hold the gear selector lever to
the left in the D- direction.
or
X Pull and hold left gearshift control :.
The automatic transmission will select the
gear range suited for optimal acceleration
and deceleration automatically. This will
involve shifting down one or more gears. 106
Automatic transmissionControls in detail
219_AKB; 4; 54, en-US
d2ureepe,
Version: 2.11.8.1 2009-05-11T16:21:02+02:00 - Seite 106
Page 109 of 308
Manual shift program
The manual shift program is available on
CLS 63 AMG only.
Manual program mode M differs with regard
to spontaneity, response time, and shifting
smoothness from automatic program mode
S.
In manual program mode M, system-
controlled automatic gearshifting is switched
off. You need to change the gears by manually
upshifting or downshifting using the gear
selector lever or the steering wheel gearshift
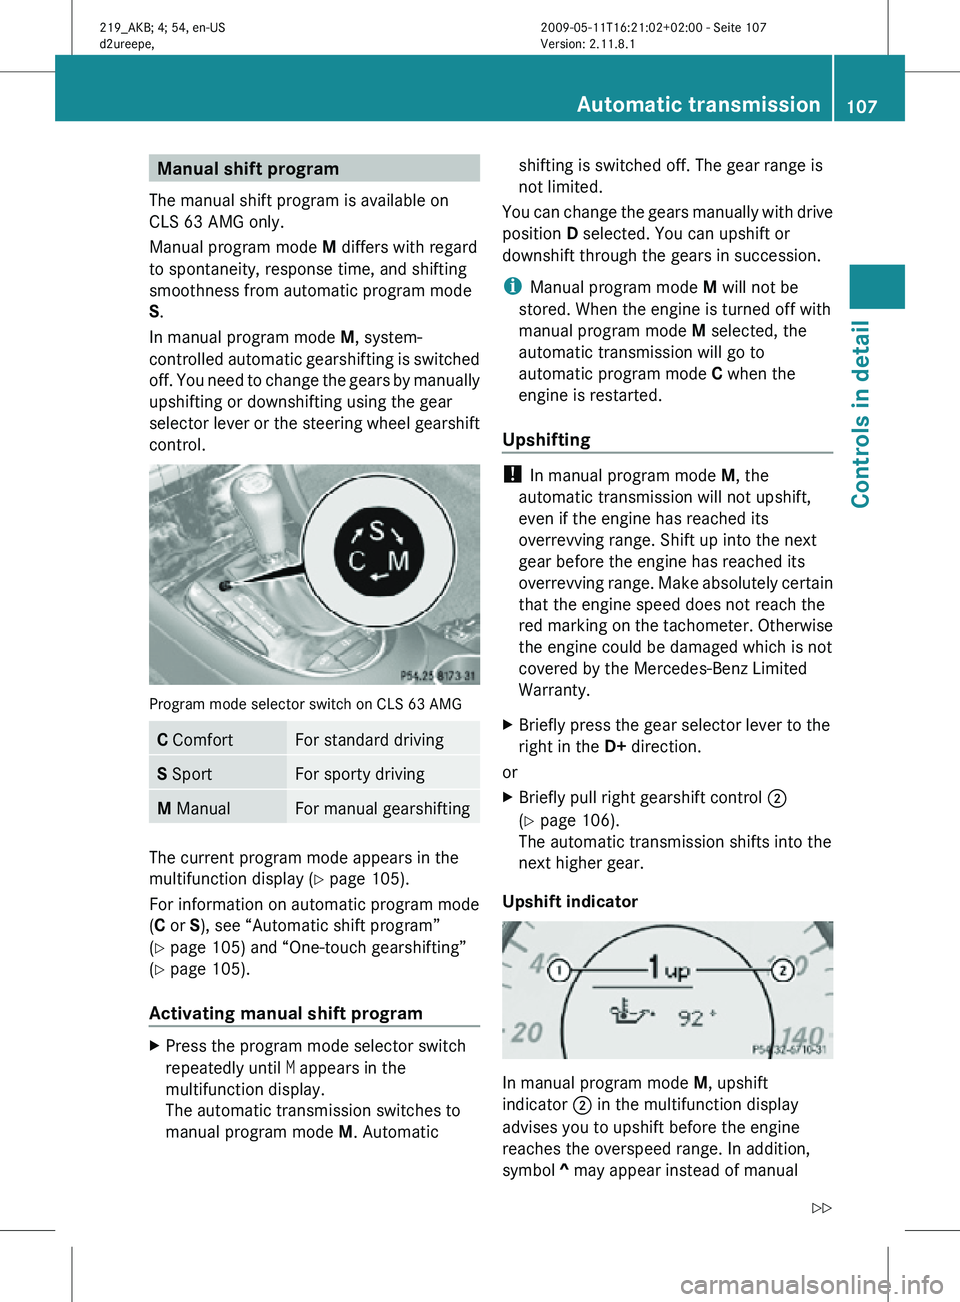
control. Program mode selector switch on CLS 63 AMG
C Comfort For standard driving
S Sport For sporty driving
M Manual For manual gearshifting
The current program mode appears in the
multifunction display (
Y page 105).
For information on automatic program mode
(C or S), see “Automatic shift program”
(Y page 105) and “One-touch gearshifting”
(Y page 105).
Activating manual shift program X
Press the program mode selector switch
repeatedly until M appears in the
multifunction display.
The automatic transmission switches to
manual program mode M. Automatic shifting is switched off. The gear range is
not limited.
You can change the gears manually with drive
position D selected. You can upshift or
downshift through the gears in succession.
i Manual program mode M will not be
stored. When the engine is turned off with
manual program mode M selected, the
automatic transmission will go to
automatic program mode C when the
engine is restarted.
Upshifting !
In manual program mode M, the
automatic transmission will not upshift,
even if the engine has reached its
overrevving range. Shift up into the next
gear before the engine has reached its
overrevving range. Make absolutely certain
that the engine speed does not reach the
red marking on the tachometer. Otherwise
the engine could be damaged which is not
covered by the Mercedes-Benz Limited
Warranty.
X Briefly press the gear selector lever to the
right in the D+ direction.
or
X Briefly pull right gearshift control ;
(Y page 106).
The automatic transmission shifts into the
next higher gear.
Upshift indicator In manual program mode
M, upshift
indicator ; in the multifunction display
advises you to upshift before the engine
reaches the overspeed range. In addition,
symbol ^ may appear instead of manual Automatic transmission
107Controls in detail
219_AKB; 4; 54, en-US
d2ureepe, Version: 2.11.8.1 2009-05-11T16:21:02+02:00 - Seite 107 Z
Page 157 of 308
enter vehicle interior resulting in
unconsciousness and death.
Load distribution The total load weight including vehicle
occupants and luggage/cargo should not
exceed the total load limit indicated on the
corresponding Tire and Loading Information
placard located on the driver’s door B-pillar
(Y page 194).
The handling characteristics of a fully loaded
vehicle depends greatly on the load
distribution. It is therefore recommended to
load the vehicle accordingly with the heaviest
items being placed towards the front of the
vehicle.
Please pay attention to and comply with the
following instructions when loading the
vehicle and transporting cargo:
R
Always place items being carried against
front or rear seat backrests, and fasten
them as securely as possible.
R The heaviest portion of the cargo should
always be kept as low as possible against
front or rear seat backrests. Roof rack
For information about further roof rack
equipment, contact an authorized Mercedes-
Benz Center. G
Warning!
Only use roof racks approved by Mercedes-
Benz for your vehicle model to avoid damage
to the vehicle.
Follow the manufacturer’s installation
instructions. Otherwise, an improperly
attached roof rack system or its load could
become detached from the vehicle.
Do not exceed the maximum roof load of
220 lb (100 kg).
Take into consideration that when the roof
rack is loaded, the handling characteristics are different from those when operating the
vehicle without the roof rack loaded.
Make sure
R you can raise the tilt/sliding sunroof
completely
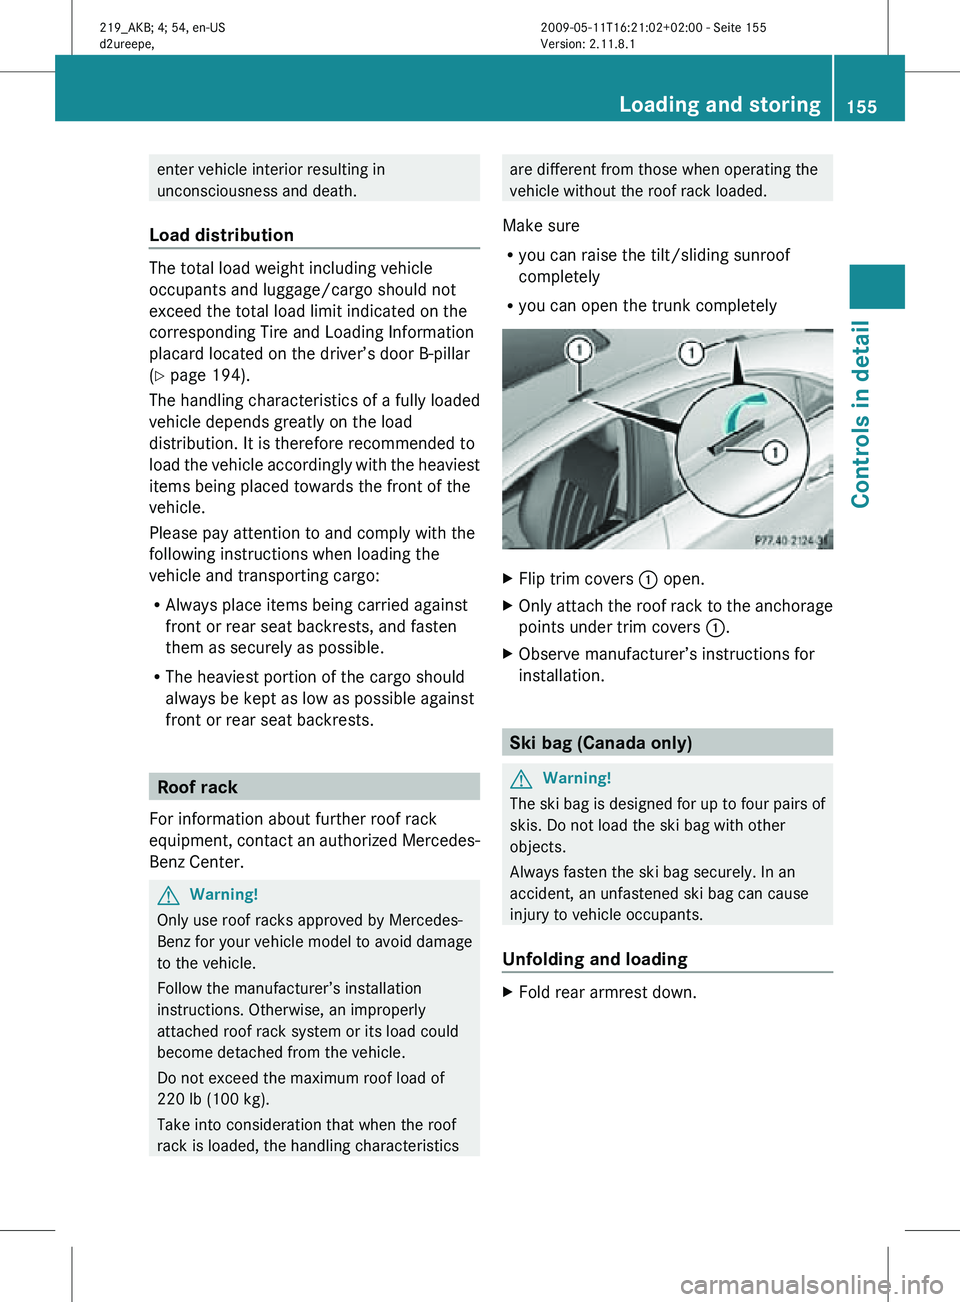
R you can open the trunk completely X
Flip trim covers : open.
X Only attach the roof rack to the anchorage
points under trim covers :.
X Observe manufacturer’s instructions for
installation. Ski bag (Canada only)
G
Warning!
The ski bag is designed for up to four pairs of
skis. Do not load the ski bag with other
objects.
Always fasten the ski bag securely. In an
accident, an unfastened ski bag can cause
injury to vehicle occupants.
Unfolding and loading X
Fold rear armrest down. Loading and storing
155Controls in detail
219_AKB; 4; 54, en-US
d2ureepe, Version: 2.11.8.1 2009-05-11T16:21:02+02:00 - Seite 155 Z