navigation MERCEDES-BENZ CLS-Class 2016 W218 Comand Manual
[x] Cancel search | Manufacturer: MERCEDES-BENZ, Model Year: 2016, Model line: CLS-Class, Model: MERCEDES-BENZ CLS-Class 2016 W218Pages: 246, PDF Size: 6.72 MB
Page 136 of 246

The following conditions must be fulfilled in
order to import vCards:
RvCards (vcf files) may be located in the main
directory or in folders. COMAND allows you
to select the relevant folders directly.
RvCards must have the file extension ".vcf".
iCOMAND supports vCards in versions 2.1
and 3.0.
XTo switch to the menu bar in the telephone menu or the address book: slide 6the
controller.
XTo select Options: turn and press the con-
troller.
XTo select Download Contacts: turn and
press the controller.
XTo select From Memory Card,USB 1or
USB 2
: turn and press the controller.
Receiving vCards via Bluetooth®
COMAND
XTo switch to the menu bar in the telephone menu or the address book: slide 6the
controller.
XTo select Options: turn and press the con-
troller.
XTo select Download Contacts: turn and
press the controller.
XTo select From Bluetooth Device: turn
and press the controller.
If COMAND is connected to a mobile
phone, all connections are terminated.
vCards can now be received by a device
(PC, mobile phone) via Bluetooth
®.
External device
XStart the data transfer (see the manufac-
turer's operating instructions).
The number of vCards received is displayed in COMAND.
COMAND
XTo end reception: press the controller or
the % button.
If a mobile phone was connected, the con-
nection to the mobile phone is established again.
vCards received via Bluetooth
®are identified
by the ®symbol in the phone book.
iIf you switch to another main function,
e.g. navigation, while receiving vCards, the reception of vCards will be terminated.
Deleting imported contacts
XTo switch to the menu bar in the telephone
menu or the address book: slide 6the
controller.
XTo select Options: turn and press the con-
troller.
XTo select Delete Contacts: turn and
press the controller.
XSelect one of the following options:
134Importing contacts
Telephone
Page 156 of 246

XTo selectInternet: turn and press the
controller.
The menu with the Internet functions is dis-
played.
XTo select Mercedes-Benz Apps: turn and
press the controller.
XTo select Local Search: turn and press
the controller.
Further information on how to enter the
search position and search term
(
Ypage 154).
iYou will first need to register COMAND
before you can use the Internet functions.
To do so, you have to enter your name and
postal address once in the vehicle and con-
firm the general terms and conditions.
Entering a search position and search term
XCall up Local Search (Ypage 153).
XTo enter the search position: press the con-
troller.
The following options are available:
RNearby
Searches for destinations near the cur-
rent vehicle position
RIn the Vicinity of the Destina‐
tion
You can search for destinations in the
vicinity of the destination if route guid-
ance is active.
XTo select the search position: turn and
press the controller.
XTo select Search: turn and press the con-
troller.
The input menu for the search term is dis-
played.
XEnter characters using the controller
(
Ypage 33) or the number keypad.
XTo complete the entry and start the search,
select a: turn and press the controller.
The search results are displayed.
iGoogle™ determines how the search
results are sorted; this is not necessarily
based on the shortest distance.
Further information on how to make use of a
search result (
Ypage 154).
Using search results
XTo select a search result: turn and press the
controller.
The following options are available:
RDetails
The address of the selected entry is dis-
played.
RSet as Destination
The navigation is called up. You can use
the search result as the destination for
route calculation. The search result is
immediately stored in the From Last
Destinationsmemory. You can take
the destination from this memory and
save it permanently in the contacts.
RCall
The telephone menu is called up and a
call is activated. If there is no phone
number available, the menu item cannot be selected.
RGoogle Street View
Google Street View™ is called up. If no
Google Street View™ information is
available, a corresponding message
appears.
RPanoramio by Google
154Google™ local search
Online and Internet functions
Page 157 of 246

You see pictures of places worth seeing
in the vicinity of the search result.
XTo select the option: turn and press the
controller.
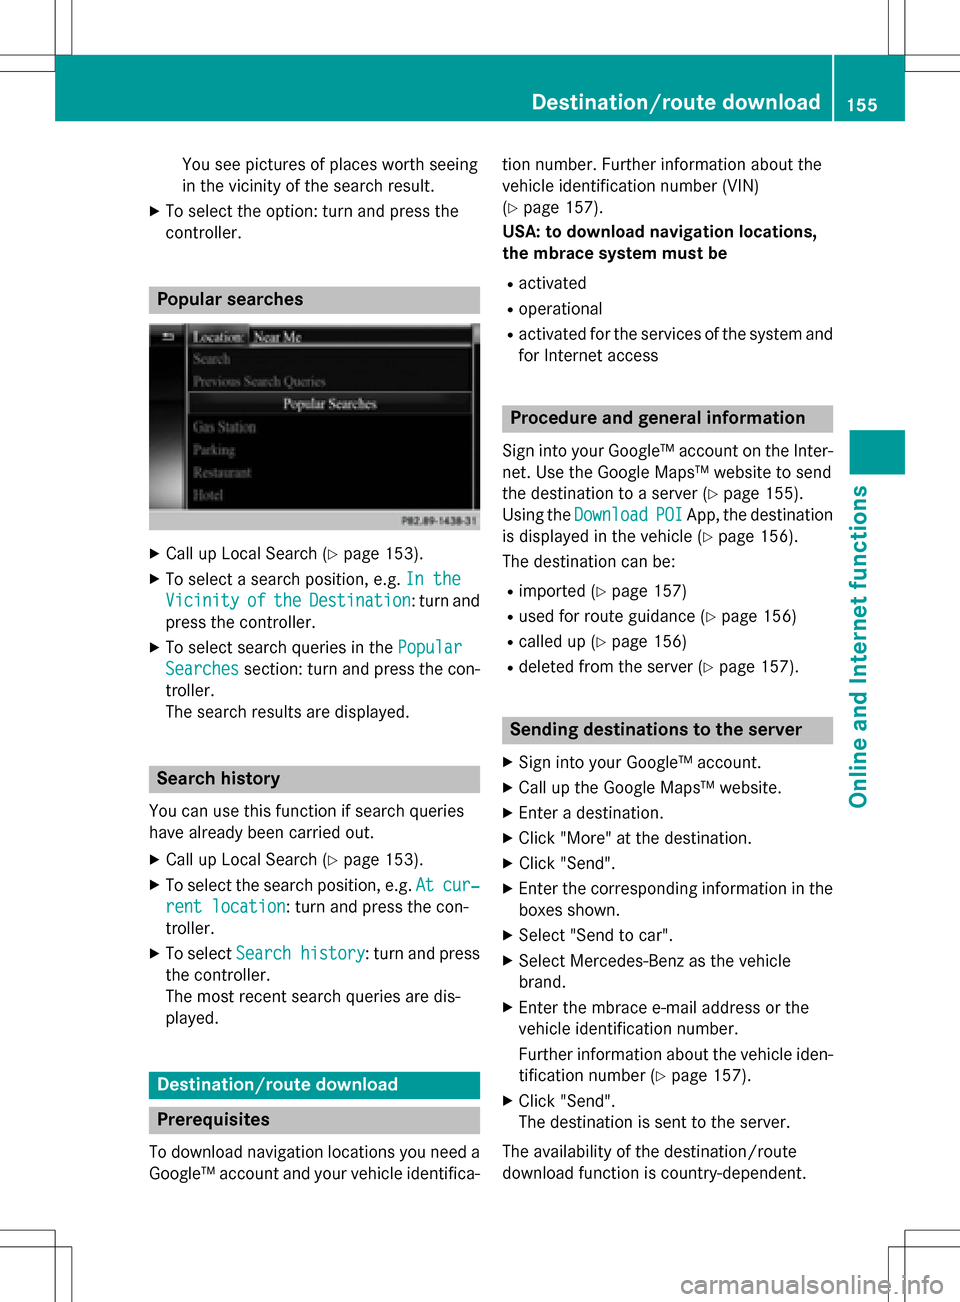
Popular searches
XCall up Local Search (Ypage 153).
XTo select a search position, e.g.In the
VicinityoftheDestination: turn and
press the controller.
XTo select search queries in the Popular
Searchessection: turn and press the con-
troller.
The search results are displayed.
Search history
You can use this function if search queries
have already been carried out.
XCall up Local Search (Ypage 153).
XTo select the search position, e.g. Atcur‐
rent location: turn and press the con-
troller.
XTo select Search history: turn and press
the controller.
The most recent search queries are dis-
played.
Destination/route download
Prerequisites
To download navigation locations you need a
Google™ account and your vehicle identifica- tion number. Further information about the
vehicle identification number (VIN)
(
Ypage 157).
USA: to download navigation locations,
the mbrace system must be
Ractivated
Roperational
Ractivated for the services of the system and
for Internet access
Procedure and general information
Sign into your Google™ account on the Inter-
net. Use the Google Maps™ website to send
the destination to a server (
Ypage 155).
Using the Download
POIApp, the destination
is displayed in the vehicle (
Ypage 156).
The destination can be:
Rimported (Ypage 157)
Rused for route guidance (Ypage 156)
Rcalled up (Ypage 156)
Rdeleted from the server (Ypage 157).
Sending destinations to the server
XSign into your Google™ account.
XCall up the Google Maps™ website.
XEnter a destination.
XClick "More" at the destination.
XClick "Send".
XEnter the corresponding information in the boxes shown.
XSelect "Send to car".
XSelect Mercedes-Benz as the vehicle
brand.
XEnter the mbrace e-mail address or the
vehicle identification number.
Further information about the vehicle iden-tification number (
Ypage 157).
XClick "Send".
The destination is sent to the server.
The availability of the destination/route
download function is country-dependent.
Destination/route download155
Online and Internet functions
Z
Page 158 of 246

Displaying destinations in thevehicle
XTo cal lup th etelephon emenu: press th e
% button.
XTo switch to th emain function bar :slid e
5 thecontroller .
XTo selectTEL /®: press th econtroller .
XTo selectInternet:turn and press th e
controller .
The men uwit hth eInternet function sis dis -
played .
XTo selec tMercedes-Ben zApp s:turn and
press th econtroller .
XTo selectDownload POI:turn and press
th econtroller .
Availabl edestination sare shown in th elist .
XTo selec tand download adestination :turn
and press th econtroller .
XTo exit destination download :selec tClose.
Further information on how to use th edesti -
nation fo rrout eguidanc e (
Ypage 156).
Further information on importing th edesti -
nation (
Ypage 157).
Further information on deleting th edestina-
tion (
Ypage 157).
You can sav eup to 50 destination sfo ryour
vehicle on th eserver and display these in th e
list .If you sen dfurther destination sto th e
server ,th eoldest entries are delete dfrom th e
list .
Usin gdestinations
Displaying detail s
XDisplay thedestination in th evehicle
(
Ypage 156).
XTo highlight adestination :turn th econtrol-
ler .
XTo selec tG: slide9 thecontroller .
XTo selectDetail s:turn and press th econ-
troller.
The destination address is shown .
Using adestination for rout eguidance
XDisplay th edestination in th evehicle
(
Ypage 156).
XTo highlight adestination :turn th econtrol-
ler .
XTo selec tG: slide9 thecontroller .
XTo selectSet as Destination:turn and
press th econtroller .
You then switch to navigation mode and
can start rout ecalculation .
The destination is entered in th elist of last
destinations.
Calling up th edestination
You can use th efunction if:
Ramobile phone is connecte d
(
Ypage 114)
Rth edestination address contain s atele-
phone number
156Destination/route download
Online and Internet functions
Page 180 of 246

Your COMANDequipment
i
These operatin ginstruction sdescribe all
th estandar dan doptional equipmen tof
your COMAN Dsystem, as available at th e
time of going to print .Country-specifi cdif -
ference sare possible. Bear in min dthat
your vehicle may no tfeature all function s
described here. Thi salso applies to safety-
relevant systems an dfunctions.
iRead th einformation on qualified special-
ist workshop sin th evehicle Operator's
Manual.
Activating medi amode
General notes
There are severa lways to activat emedia
source susin gCOMAND.
The relevant section sof th eOperator's Man -
ual describe th esimples tway to activat e a
media source .
Thi ssection describes all option sfo ractivat -
in g media sources.
Button activation
XTo cal lup th emedia menu: press th eÕ
button.
The last media source you hav eset is dis -
played.
XPress th eÕ buttonagain .
The men uappears wit hth eavailable media
sources.
XTo selec tmedia sources: turn th econtroller
until th edesire dmedia source is in th ecen-
ter. Press th econtroller .
Dependin gon th evehicle equipment, th e
followin gmedia source swill be available :
RDisc
RMemory Car d
RMedia Interface 1
RMediaInterfac e 2
RBluetoothAudi o
If playable music files are found ,they will be
playe dby COMAND.
Switching on automatically
Whe nan external media source is connected,
CD an dSD memor ycar dfunction sare auto-
matically switched on by COMAND. Whe n
usin gUS Bdevices, switch to th eappropriat e
Media Interface 1or Media Interface 2basi c
display.
External media sources:
RApple®devices (e.g. iPhon e®)
RUSBdevices (e.g. US Bstick, MP3 player)
RCD
RDV D
RSD cards
Rvia devices connecte dby Bluetoot h®
If playable music files are found ,they will be
playe dby COMAND.
iIfamedia function is already switched on
in COMAND, this will be interrupted an dth e
basi cdisplay of th enewly connecte d
devic ewill appear (except when usin gwit h
USB/iPo d
®).
If another function ,suc has navigation ,is
operating, th ebasi cdisplay will no tchange.
Only th emusic from th enewly connecte d
media source will play (except when usin g
wit hUSB/iPo d
®).
178Activating media mode
Media
Page 184 of 246

CRemaining playingtime of th ecurren t
track
DElapse dplaybac ktime for th ecurren t
track
EGraphic time display
FAlbum cover (if available)
Inserting and removing adis c fr om
th esingle CD/DVD dr ive
XTo insert:press theþ buttonon th e
single drive.
If there is adisc already inserted, it will be
ejected.
XInser t adisc into th edisc slot wit hth eprin-
te dside facin gupwards.
The drive closes and th edisc is played .
If th eCD/DV Dis operate din Medi amode,
th ecorrespondin gbasic men uwill be
shown. If th eCD/DV Dis started usin g
another application (e.g. navigation), th e
display will no tchange.
iThe drive may no tbe able to play disc s
wit hcopy protection .
XTo remove:press theþ button.
The drive ejects th edisc .
XRemove th eejecte ddisc from th eslot .
If you do no ttak eth edisc out of th eslot ,it
is draw nin again automatically after ashort
while .
Inserting discs int oth eDVD changer
The DV Dchanger has amagazine wit hsix
trays.
XTo inser tth eCD/DVD int oth emaga-
zin etray :press th eV button.
The magazine men uappears.
XTo select th emagazine tray to be filled:
tur nand press th econtroller or press th e
number buttons (1-6) on COMAND .
The DV Dchanger switches to th eselected
magazine tray.
The Please Wait.. .
message appears.
You will then see th ePlease insert
dis c1.message .
XInsert adisc into th edisc slot wit hth eprin-
te dside facin gupwards.
XTo load all empt ymagazine trays: press
th eV button
The magazine men uappears.
XTo select LoadEmpty Slots:slid e6,
tur nand press th econtroller .
COMAND switches to th enext empty mag -
azine tray.
The Please Wait.. .
message appears.
You will then see th ePlease insert
dis c1.message .
182Audio/video mode
Media
Page 239 of 246

XTo restart playback:selectÌand
press the 9button to confirm.
Playback starts from the beginning of the
DVD.
Selecting a scene/chapter
Skipping forwards/backwards
XPress the =or; button on the
remote control.
or
XPress the EorF button.
The navigation menu (
Ypage 236 )appears
for approximately eight seconds.
Selecting a scene/chapter directly
The examples illustrate how to select scene
or chapter 5.
XOption 1: while the film is playing, press
the h button on the remote control.
XPress a button, such as ¿.
XOption 2:press the9button on the
remote control.
XSelect DVD-Videoand press the 9button
to confirm.
XSelect DVD Functionsand press the 9
button to confirm.
XSelect SceneSelectionand press the 9
button to confirm.
XSelect the ¿digit using the 9
or : button and press the 9button to
confirm.
In both cases, playback will begin from the
5th scene or chapter after a brief pause.
Selecting a film/track
XOption 1: press the9button on the
remote control.
XSelect DVD-Videoand press the 9button
to confirm.
XSelect DVD Functionsand press the 9
button to confirm.
XSelect TitleSelectionand press the 9
button to confirm.
XPress the 9button to select the list.
XSelect a film or a title.
XOption 2: to select film 2, for example,
press the ·button on the remote con-
trol.
After a brief pause, the second film is
played.
DVD menu
Calling up the DVD menu
The DVD menu is the menu stored on the DVD
itself. It is structured in various ways accord-
ing to the individual DVD and permits various
actions and settings.
In the case of multi-language DVDs, for exam-
ple, you can change the DVD language in the
DVD menu.
XTo show the menu: press the9button on
the remote control.
XSelect DVD-Videoand press the 9button
on the remote control to confirm.
XSelect DVD Functionsand press the 9
button to confirm.
XSelect Menuand press the 9button to
confirm.
The DVD menu appears.
Selecting menu items in the DVD menu
XSelect a menu item using the
9:=; buttons on the
Video DVD mode237
Rear Seat Entertainment System
Z