Tilt MERCEDES-BENZ E-Class 2001 W210 Owner's Manual
[x] Cancel search | Manufacturer: MERCEDES-BENZ, Model Year: 2001, Model line: E-Class, Model: MERCEDES-BENZ E-Class 2001 W210Pages: 421, PDF Size: 20.52 MB
Page 69 of 421
66 Easy-entry/exit feature
Te ch n ica l
data Instruments
and controlsOperationDrivingInstrument
cluster displayPractical hints Car care Index
Easy-entry / exit feature
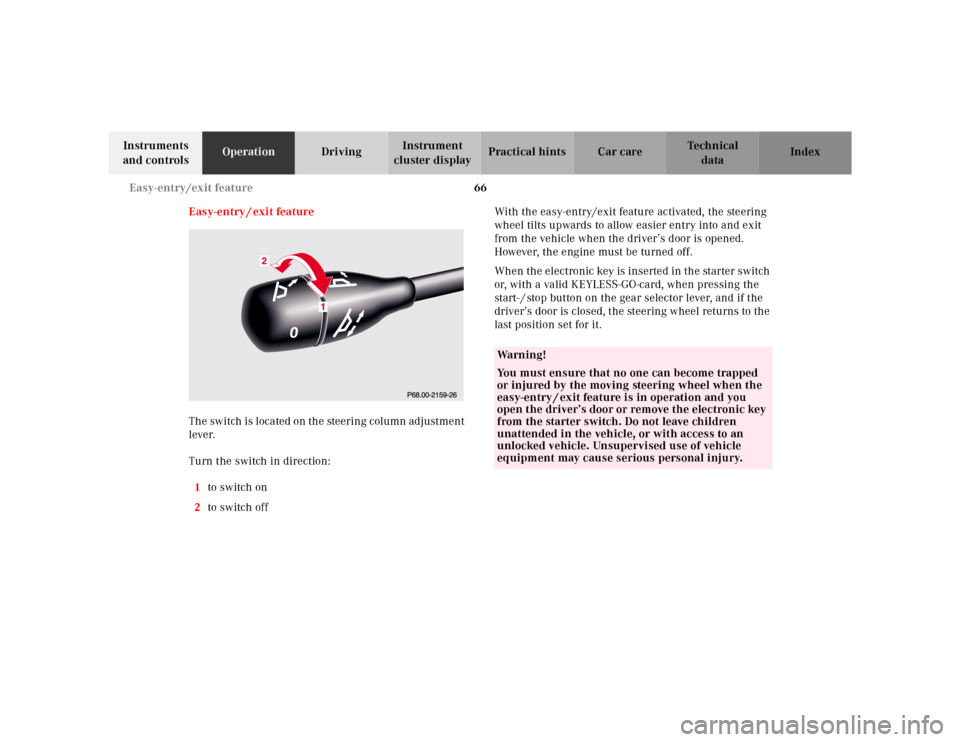
The switch is located on the steering column adjustment
lever.
Turn the switch in direction:
1to switch on
2to switch offWith the easy-entry/exit feature activated, the steering
wheel tilts upwards to allow easier entry into and exit
from the vehicle when the driver’s door is opened.
However, the engine must be turned off.
When the electronic key is inserted in the starter switch
or, with a valid KEYLESS-GO-card, when pressing the
start- / stop button on the gear selector lever, and if the
driver’s door is closed, the steering wheel returns to the
last position set for it.
Wa r n i n g !
You must ensure that no one can become trapped
or injured by the moving steering wheel when the
easy-entry / exit feature is in operation and you
open the driver’s door or remove the electronic key
from the starter switch. Do not leave children
unattended in the vehicle, or with access to an
unlocked vehicle. Unsupervised use of vehicle
equipment may cause serious personal injury.
Page 72 of 421
69 Seats
Te ch n ica l
data Instruments
and controlsOperationDrivingInstrument
cluster displayPractical hints Car care Index 4Seat cushion tilt
Press the switch in the direction of the arrow until
your legs are lightly supported.
5Backrest tilt
Press the switch in the direction of the arrow until
your arms are slightly angled when holding the
steering wheel.
6Seat cushion depth
Press the switch fore or aft until your legs are
supported comfortably.
7Head restraint
The height of the head restraint is adjusted
automatically with the seat so that the back of the
head is supported approximately at ear level. Adjust
the head restraint using the switch if the preset
position does not support the back of your head
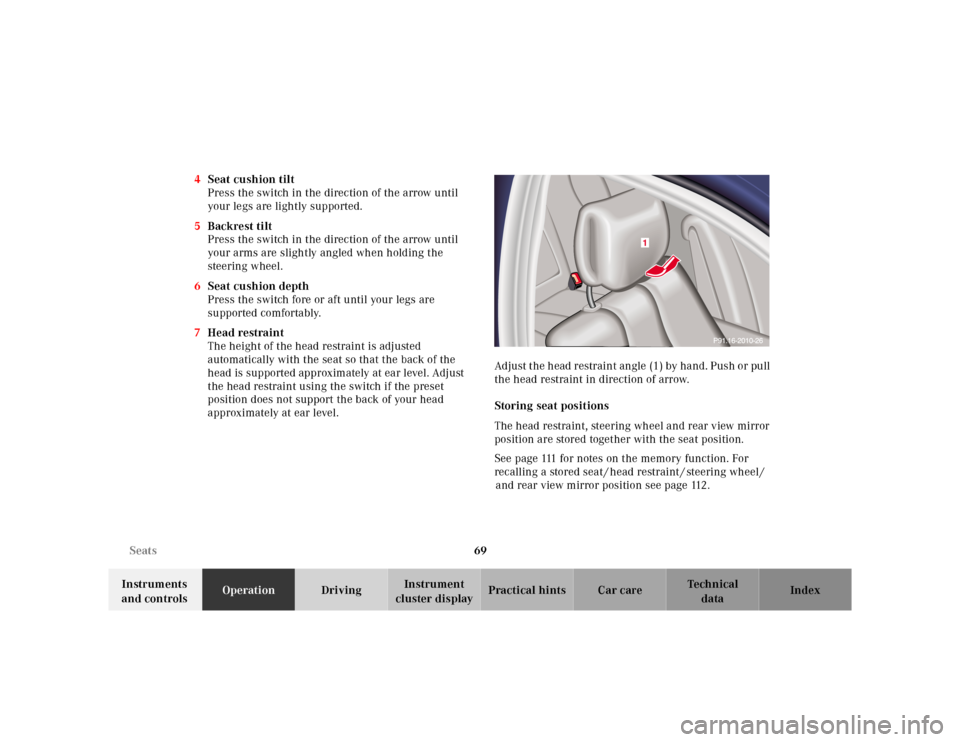
approximately at ear level.Adjust the head restraint angle (1) by hand. Push or pull
the head restraint in direction of arrow.
Storing seat positions
The head restraint, steering wheel and rear view mirror
position are stored together with the seat position.
See page 111 for notes on the memory function. For
recalling a stored seat / head restraint / steering wheel /
and rear view mirror position see page 112.
1
Page 75 of 421
72 Seats
Te ch n ica l
data Instruments
and controlsOperationDrivingInstrument
cluster displayPractical hints Car care Index
Removal and installation of front seat head
restraints
Caution!
Do not remove head restraints except when mounting
seat covers. Whenever restraints have been removed be
sure to reinstall them before driving.Note:
Tilt the backrest rearward for easier removal and
installation of the head restraints.
To remove:
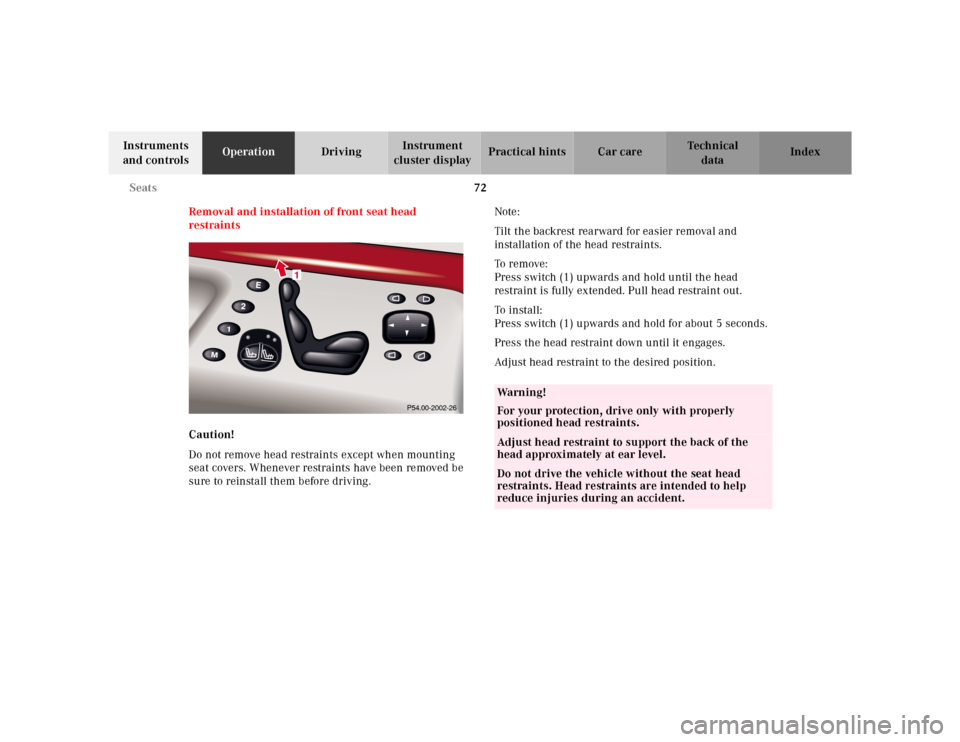
Press switch (1) upwards and hold until the head
restraint is fully extended. Pull head restraint out.
To i n st a l l :
Press switch (1) upwards and hold for about 5 seconds.
Press the head restraint down until it engages.
Adjust head restraint to the desired position.
1
P54.00-2002-26
Wa r n i n g !
For your protection, drive only with properly
positioned head restraints.Adjust head restraint to support the back of the
head approximately at ear level.Do not drive the vehicle without the seat head
restraints. Head restraints are intended to help
reduce injuries during an accident.
Page 86 of 421
83 Seats
Te ch n ica l
data Instruments
and controlsOperationDrivingInstrument
cluster displayPractical hints Car care Index Seat bench
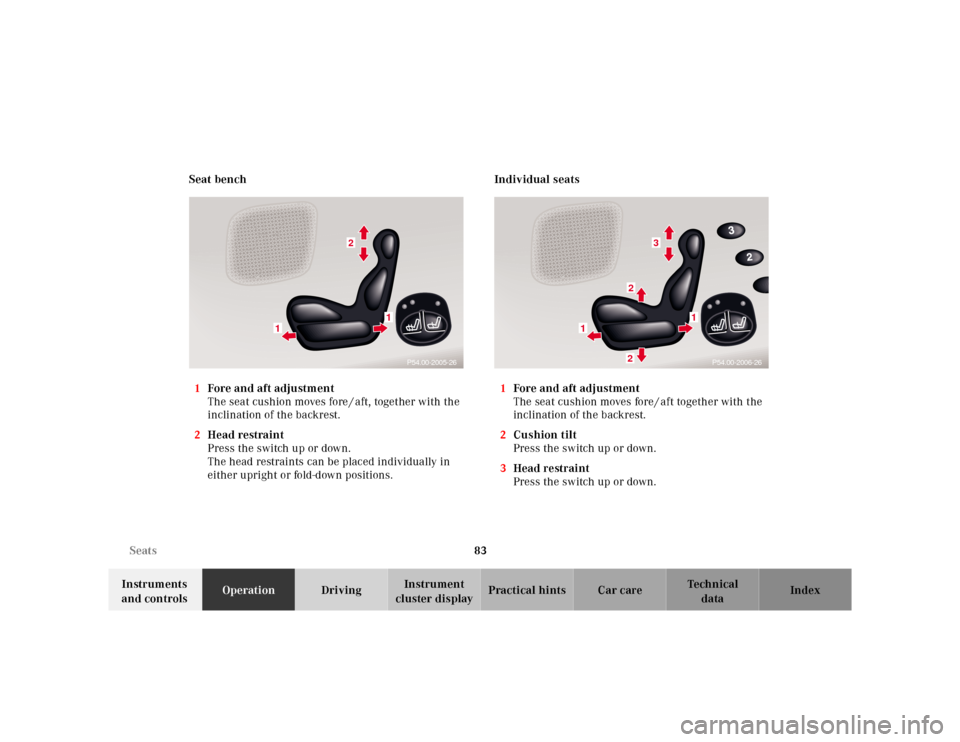
1Fore and aft adjustment
The seat cushion moves fore / aft, together with the
inclination of the backrest.
2Head restraint
Press the switch up or down.
The head restraints can be placed individually in
either upright or fold-down positions. Individual seats
1Fore and aft adjustment
The seat cushion moves fore / aft together with the
inclination of the backrest.
2Cushion tilt
Press the switch up or down.
3Head restraint
Press the switch up or down.
2
1
1
P54.00-2005-26
3
22
1
1
P54.00-2006-26
Page 189 of 421
186 Interior equipment
Te ch n ica l
data Instruments
and controlsOperationDrivingInstrument
cluster displayPractical hints Car care Index
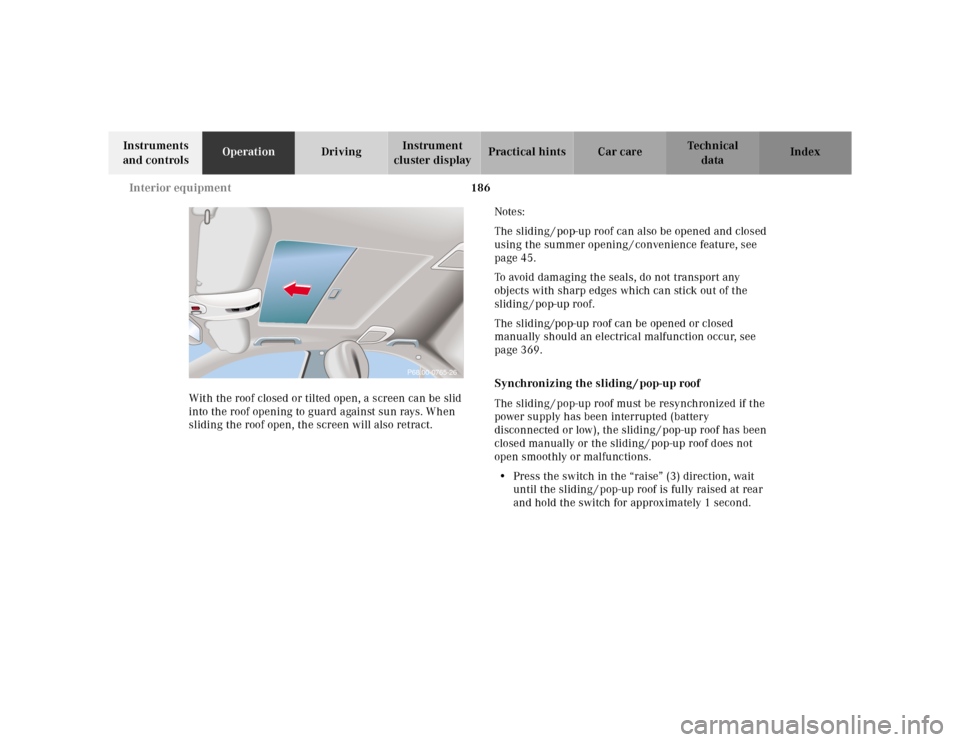
With the roof closed or tilted open, a screen can be slid
into the roof opening to guard against sun rays. When
sliding the roof open, the screen will also retract.Notes:
The sliding / pop-up roof can also be opened and closed
using the summer opening / convenience feature, see
page 45.
To avoid damaging the seals, do not transport any
objects with sharp edges which can stick out of the
sliding / pop-up roof.
The sliding/pop-up roof can be opened or closed
manually should an electrical malfunction occur, see
page 369.
Synchronizing the sliding / pop-up roof
The sliding / pop-up roof must be resynchronized if the
power supply has been interrupted (battery
disconnected or low), the sliding / pop-up roof has been
closed manually or the sliding/ pop-up roof does not
open smoothly or malfunctions.
•Press the switch in the “raise” (3) direction, wait
until the sliding / pop-up roof is fully raised at rear
and hold the switch for approximately 1 second.
P68.00-0765-26