Navigation system MERCEDES-BENZ E-Class 2014 W212 Comand Manual
[x] Cancel search | Manufacturer: MERCEDES-BENZ, Model Year: 2014, Model line: E-Class, Model: MERCEDES-BENZ E-Class 2014 W212Pages: 270, PDF Size: 5.76 MB
Page 150 of 270
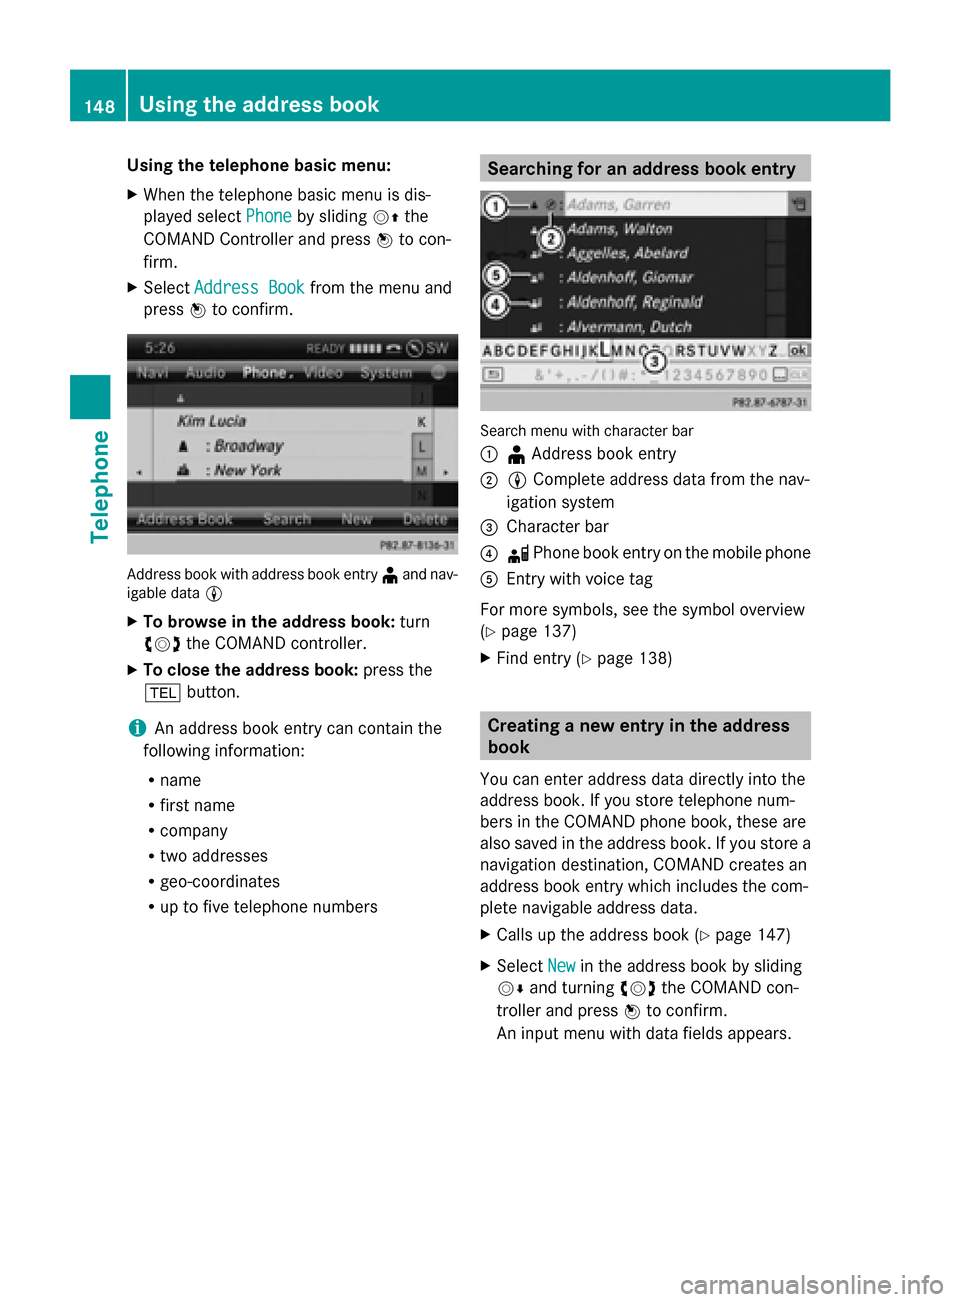
Using the telephone basic menu:
X
When the telephone basic menu is dis-
played select Phone Phoneby sliding 00520097the
COMAND Controller and press 0098to con-
firm.
X Select Address Book
Address Book from the menu and
press 0098to confirm. Address book with address book entry
¥and nav-
igable data 0048
X To browse in the address book: turn
00790052007A the COMAND controller.
X To close the address book: press the
002B button.
i An address book entry can contain the
following information:
R name
R first name
R company
R two addresses
R geo-coordinates
R up to five telephone numbers Searching for an address book entry
Search menu with character bar
0043
¥Address book entry
0044 0048 Complete address data from the nav-
igation system
0087 Character bar
0085 0034 Phone book entry on the mobile phone
0083 Entry with voice tag
For more symbols, see the symbol overview
(Y page 137)
X Find entry (Y page 138) Creating a new entry in the address
book
You can enter address data directly into the
address book. If you store telephone num-
bers in the COMAND phone book, these are
also saved in the address book. If you store a
navigation destination, COMAND creates an
address book entry which includes the com-
plete navigable address data.
X Calls up the address book (Y page 147)
X Select New
New in the address book by sliding
00520064 and turning 00790052007Athe COMAND con-
troller and press 0098to confirm.
An input menu with data fields appears. 148
Using the address bookTelephone
Page 153 of 270
X
Press 0098the COMAND controller to con-
firm.
X Select Call
Call and press 0098to confirm.
The phone makes the call. The display
switches to telephone mode. Storing the phone number as a speed
dial number
X Display details for an address book entry
(Y page 149).
X Select the phone number data field by turn-
ing 00790052007A the COMAND controller.
X Select the list symbol to the right of the
data field by sliding 00520096the COMAND con-
troller and press 0098to confirm.
X Select Speed Dial
Speed Dial and press0098to con-
firm.
You can now store the number in one of the
ten speed dial presets (Y page 143).Starting route guidance to an entry
Address book entry with navigable data This function is available as soon as you have
stored a destination in the destination mem-
ory (Y page 105).
X Search for an address book entry with the
0048 symbol and select it from the list
(Y page 148).
X Display details for an address book entry
(Y page 149).
X Select the address data field by turning
00790052007A the COMAND controller and press
0098 to confirm.
Route guidance begins.
or
X Select the list symbol to the right of the
entry by sliding 00520096the COMAND control-
ler and press 0098to confirm.
X Select Navigate
Navigate and press0098to confirm.
Route guidance begins. Address book entry without navigable
data Route guidance can also be started for an
address book entry without the
0048symbol. If
the address data or designations do not
match the digital map, COMAND prompts you
to re-enter the address.
X Enter the destination address (Y page 63)
X Start route guidance.
The navigable address is automatically
added to the address book entry.
i This will provide you with an address book
entry that is suitable for navigation. The
next time the navigation is started, the
address data in the navigation, rather than
the postal address, is used if you have
changed address in the address entry
menu. Therefore, make sure that the des-
tination address is the desired destination
when starting navigation from the address
book. Voice tags
Introduction You can enter voice tags via the Voice Control
System (see the separate operating instruc-
tions). Once you have assigned a voice tag to
an address book entry, you can call up this
entry with a voice command and dial a phone
number, for example. You can add one voice
tag per address book entry.
Adding or changing a voice tag
X
Search for an address book entry with or
without a voice tag (¦) (Y page 148).
X Select the list symbol to the right of the
entry by sliding 00520096the COMAND control-
ler and press 0098to confirm. Using the address book
151Telephone Z
Page 199 of 270
Database
Database
menu item is shown in gray and
cannot be selected.
X Select an entry by turning 00790052007Athe
COMAND controller and press 0098to con-
firm.
Switching the Gracenote ®
data display
on/off X
Switch on CD mode (Y page 191).
X Select CD
CD by sliding 00520064and turning 00790052007A
the COMAND controller and press 0098to
confirm.
X Select Gracenote Media Database
Gracenote Media Database by
turning 00790052007Athe COMAND controller and
press 0098to confirm.
X To switch off the display: selectNone
None and
press 0098to confirm.
In the basic display, Track 1
Track 1, Track 2 Track 2etc.
are shown instead of the Gracenote ®
data,
for example (Y page 192).
X To switch on the display: select an entry
in the menu by turning 00790052007Athe COMAND
controller and press 0098to confirm.
Updating Gracenote ®
music recogni-
tion technology and the Gracenote
Media Database Due to the release of new CDs, the digital data
on the Gracenote Media Database must be
updated. Optimum functionality can only be
attained with up-to-date Gracenote ®
music
recognition technology. Information about
new versions can be obtained from an author-
ized Mercedes-Benz Center.
You can have your music recognition soft-
ware updated there with a DVD, or you can
update it yourself.
i The Gracenote Media Database is
updated in conjunction with the navigation
system's digital map (Y page 118). Displaying the track and album
X Press the 0090button.
The current track and album are displayed
in a window. Displaying metadata (MP3 mode)
COMAND can also display the album name
and artist (metadata) during playback if this
information has been entered into the sys-
tem.
For all media that contain MP3 data (e.g. MP3
CD, SD memory card, MUSIC REGISTER), you
can determine whether:
R the metadata contained in the tags of the
encoded music data should be displayed
R the file and directory names should be dis-
played during playback
X To display the album and artist name:
select MP3
MP3 orUSB USB in the basic display by
sliding 00520064and turning 00790052007Athe COMAND
controller and press 0098to confirm.
X Select Display Track Information
Display Track Information and
press 0098to confirm. Selecting a group (audio DVD)
The content of an audio DVD can be divided
into up to 9 groups. The availability and type
of group depends on the respective DVD.
A group can contain music in different sound
qualities (stereo and multichannel formats,
for example), or bonus tracks.
Each group can contain up to 99 tracks.
If an audio DVD only contains one audio for-
mat, the Group Groupmenu item(s) cannot be
selected.
X Switch on audio DVD mode (Y page 191).
X Select DVD-A DVD-Aby sliding 00520064and turning
00790052007A the COMAND controller and press
0098 to confirm. CD/audio DVD and MP3 mode
197Audio Z
Page 222 of 270
Audio AUX mode
Notes on audio AUX mode
External audio sources may have different
volumes, which can mean that system mes-
sages such as traffic announcements and
navigation system announcements are much
louder. If necessary, deactivate the system
messages or adjust their volume manually.
You can connect an external audio source
(AUX) to COMAND.
Depending on the vehicle model series the
connection is made via a jack in the storage
compartment in the center console or via the
USB port (Y page 191).
If COMAND is equipped with the Media Inter-
face, external audio sources are connected
using the cable set provided. An AUX socket
is not provided. The connections for the
Media Interface are located in the stowage
compartment in the center console.
i You will find further information online at
http://www.mbusa-mobile.com. Or call
the Mercedes-Benz Customer Assistance
Center at 1-800-FOR-MERCedes
(1-800-367-6372 )(for the USA) or Cus-
tomer Relations at 1-800-387-010 0(for
Canada). Switching to audio AUX mode
Switching modes using the function
button The external device is connected to the audio
AUX in.
X Press the 003Afunction button one or more
times.
By pressing the function button repeatedly,
you can change the operating mode in the
following order:
R CD/audio DVD/MP3 (disc)
R Memory card mode
R MUSIC REGISTER
R USB storage device R
Media Interface or audio AUX mode
R Bluetooth ®
audio mode
Switching modes via the audio menu When you connect an external audio source,
audio AUX is not selected automatically.
X
Select Audio
Audio in the main function bar by
sliding 00970052and turning 00790052007Athe COMAND
controller and press 0098to confirm.
If AUX mode was the last mode selected, it
will now be active.
If another audio source is switched on, you
can now switch to audio AUX mode in the
audio menu.
X Select Audio Audiousing00970052and press 0098to
confirm.
The audio menu appears.
X Select Aux Auxby turning 00790052007Aand press 0098to
confirm.
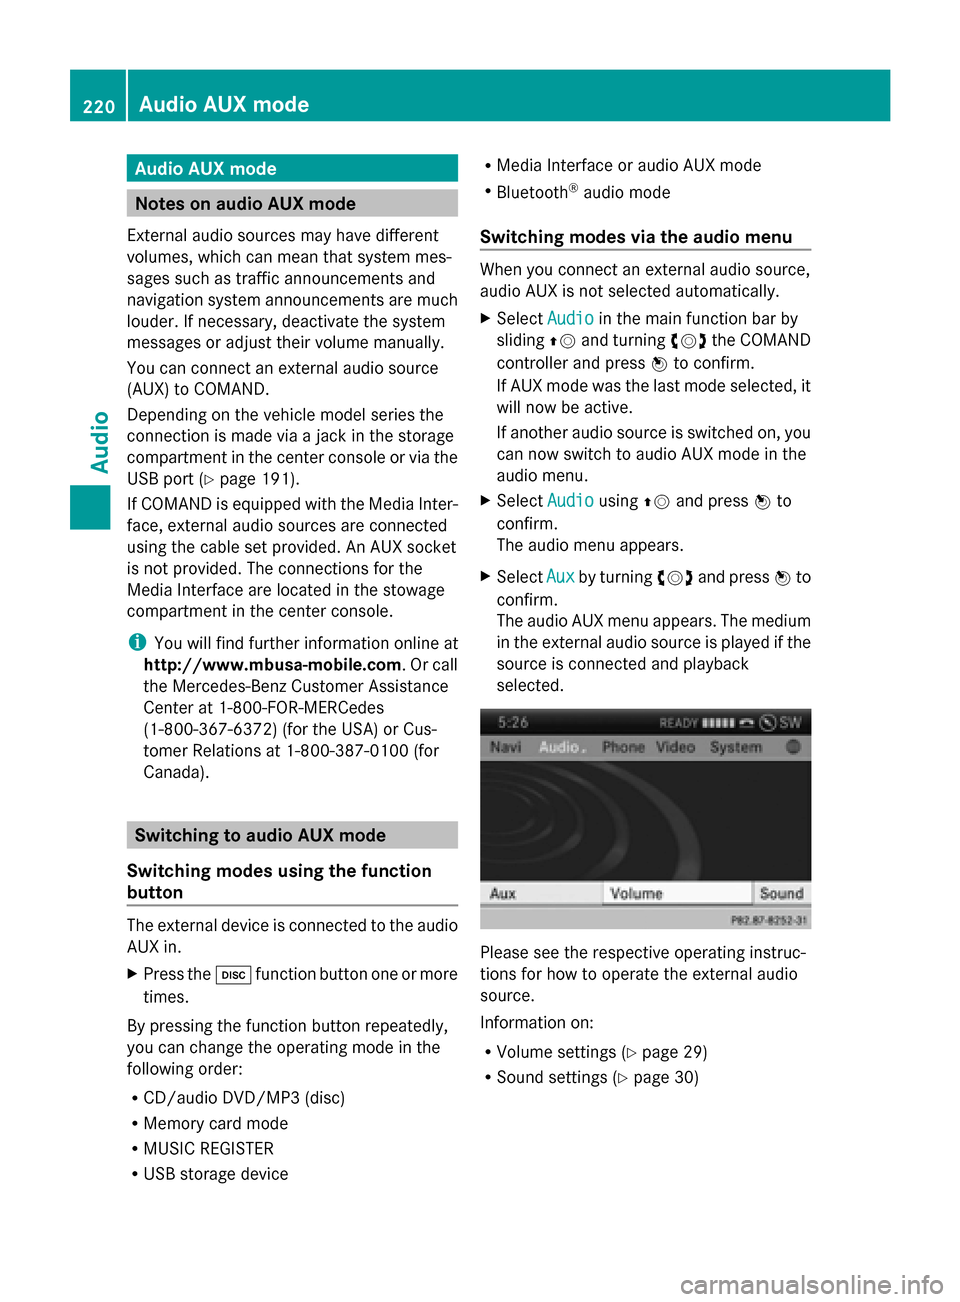
The audio AUX menu appears. The medium
in the external audio source is played if the
source is connected and playback
selected. Please see the respective operating instruc-
tions for how to operate the external audio
source.
Information on:
R
Volume settings (Y page 29)
R Sound settings (Y page 30)220
Audio AUX modeAudio
Page 232 of 270
you may be able to influence events by select-
ing and triggering actions. The type and num-
ber of actions depend on the DVD.
X Select an action by sliding 009700520064or009500520096 the
COMAND controller and press 0098to exe-
cute it.
A menu appears and the first entry,
Select
Select , is highlighted.
X Press 0098the COMAND controller. AUX video mode
Connecting external video sources
External video sources may have different
volumes, which can mean that system mes-
sages such as traffic announcements and
navigation system announcements are much
louder. If necessary, deactivate the system
messages or adjust their volume manually.
If your vehicle is equipped with Media Inter-
face, you can connect an external video
source (AUX video) ( Ypage 213).
The 1/8 inch audio/video jacks are in the
center console stowage compartment.
i In vehicles with a rear view camera, the
AUX video jack cannot be used for external
video sources. Switching to AUX video mode
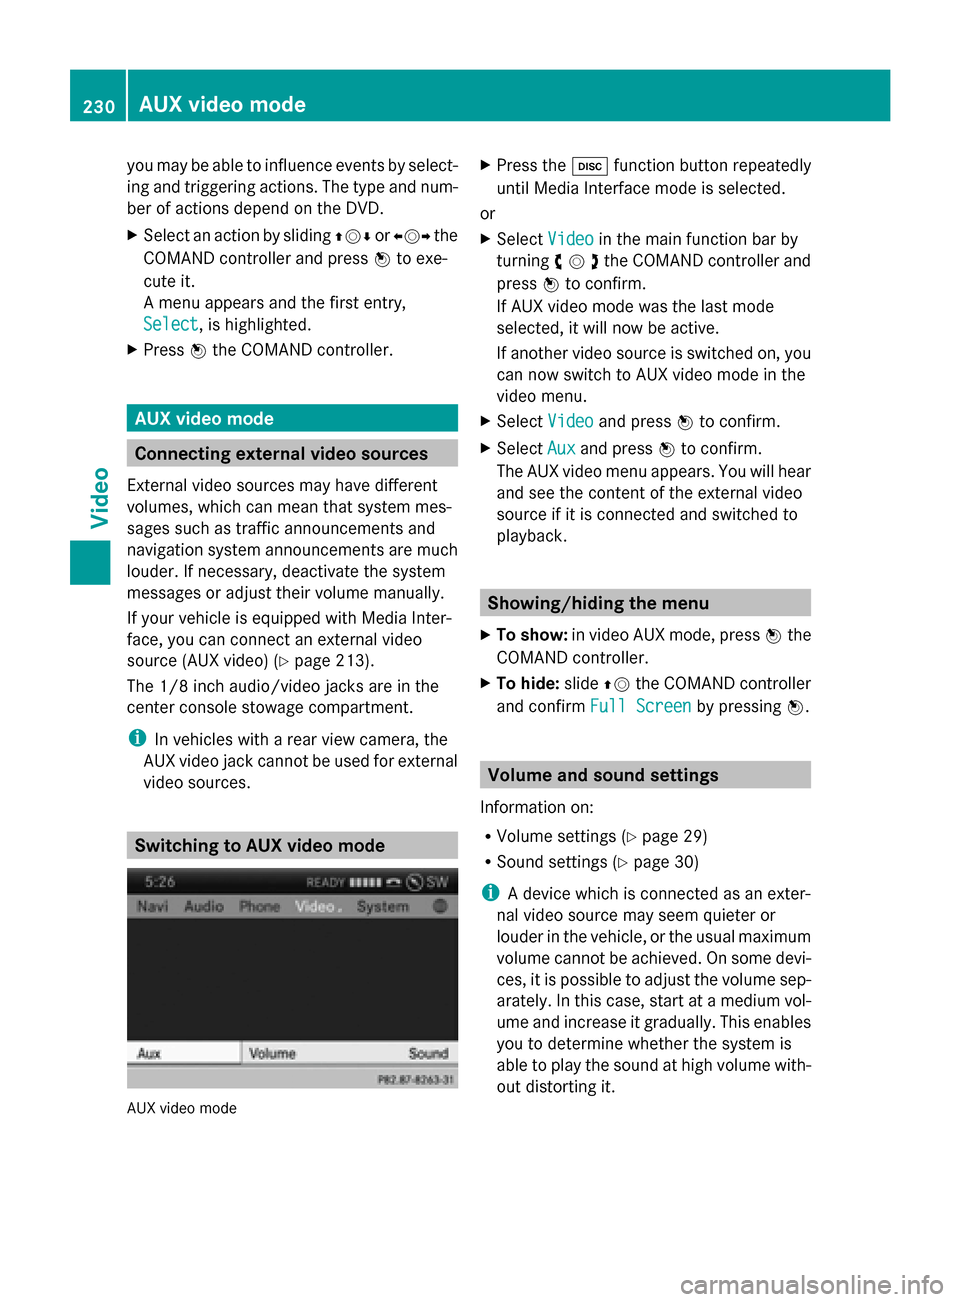
AUX video mode X
Press the 003Afunction button repeatedly
until Media Interface mode is selected.
or
X Select Video
Video in the main function bar by
turning 00790052007Athe COMAND controller and
press 0098to confirm.
If AUX video mode was the last mode
selected, it will now be active.
If another video source is switched on, you
can now switch to AUX video mode in the
video menu.
X Select Video Videoand press 0098to confirm.
X Select Aux
Auxand press 0098to confirm.
The AUX video menu appears. You will hear
and see the content of the external video
source if it is connected and switched to
playback. Showing/hiding the menu
X To show: in video AUX mode, press 0098the
COMAND controller.
X To hide: slide00970052the COMAND controller
and confirm Full Screen Full Screen by pressing0098. Volume and sound settings
Information on:
R Volume settings (Y page 29)
R Sound settings ( Ypage 30)
i A device which is connected as an exter-
nal video source may seem quieter or
louder in the vehicle, or the usual maximum
volume cannot be achieved. On some devi-
ces, it is possible to adjust the volume sep-
arately. In this case, start at a medium vol-
ume and increase it gradually. This enables
you to determine whether the system is
able to play the sound at high volume with-
out distorting it. 230
AUX video modeVideo
Page 243 of 270
Picture settings
Overview You can select picture settings in video DVD
and AUX mode (Y page 252).
Adjusting the brightness, contrast and
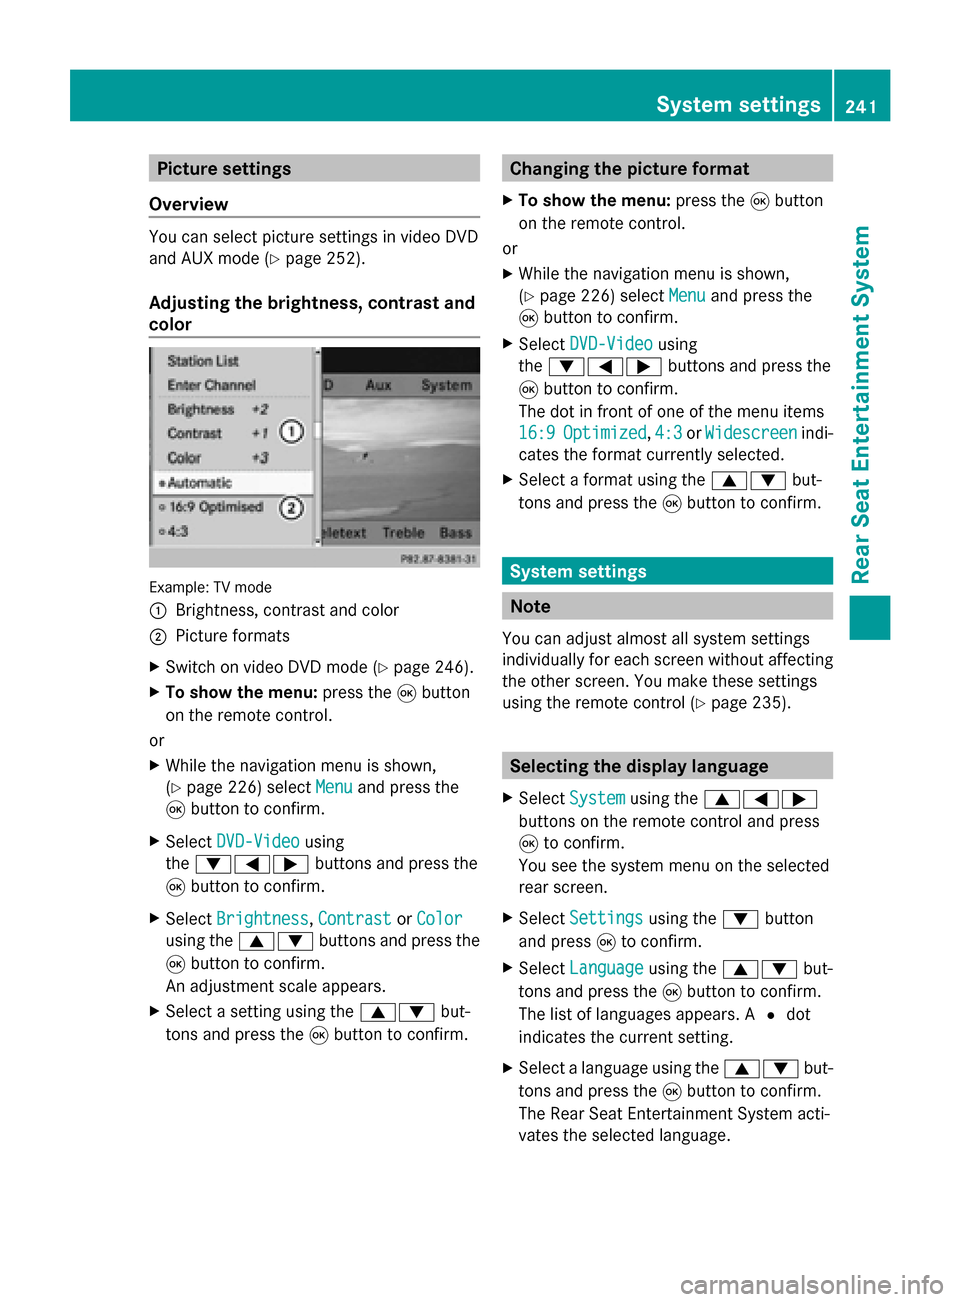
color Example: TV mode
0043
Brightness, contrast and color
0044 Picture formats
X Switch on video DVD mode (Y page 246).
X To show the menu: press the008Bbutton
on the remote control.
or
X While the navigation menu is shown,
(Y page 226) select Menu Menuand press the
008B button to confirm.
X Select DVD-Video
DVD-Video using
the 006400590065 buttons and press the
008B button to confirm.
X Select Brightness
Brightness, Contrast
ContrastorColor
Color
using the 00630064 buttons and press the
008B button to confirm.
An adjustment scale appears.
X Select a setting using the 00630064but-
tons and press the 008Bbutton to confirm. Changing the picture format
X To show the menu: press the008Bbutton
on the remote control.
or
X While the navigation menu is shown,
(Y page 226) select Menu Menuand press the
008B button to confirm.
X Select DVD-Video
DVD-Video using
the 006400590065 buttons and press the
008B button to confirm.
The dot in front of one of the menu items
16:9
16:9 Optimized Optimized ,4:3
4:3 orWidescreen
Widescreen indi-
cates the format currently selected.
X Select a format using the 00630064but-
tons and press the 008Bbutton to confirm. System settings
Note
You can adjust almost all system settings
individually for each screen without affecting
the other screen. You make these settings
using the remote control (Y page 235). Selecting the display language
X Select System System using the 006300590065
buttons on the remote control and press
008B to confirm.
You see the system menu on the selected
rear screen.
X Select Settings Settings using the0064button
and press 008Bto confirm.
X Select Language
Language using the00630064 but-
tons and press the 008Bbutton to confirm.
The list of languages appears. A 0036dot
indicates the current setting.
X Select a language using the 00630064but-
tons and press the 008Bbutton to confirm.
The Rear Seat Entertainment System acti-
vates the selected language. System settings
241Rear Seat Entertainment System Z
Page 250 of 270
Selecting a scene/chapter
General notes Observe the information on DVD video mode
(Y page 227).
Skipping forwards/backwards X
Press the 0059or0065 button on the
remote control.
or
X Press the 0048or0049 button.
The navigation menu (Y page 226) appears
for approximately eight seconds.
Selecting a scene/chapter directly These examples illustrate how to select
scene/chapter 5.
X
Option 1: while the film is playing, press
the 007E button on the remote control.
X Press the corresponding number key, such
as 5.
X Option 2: while the film is playing, press
the 008Bbutton on the remote control and
show the menu.
X Select DVD-V
DVD-V and press the 008Bbutton to
confirm.
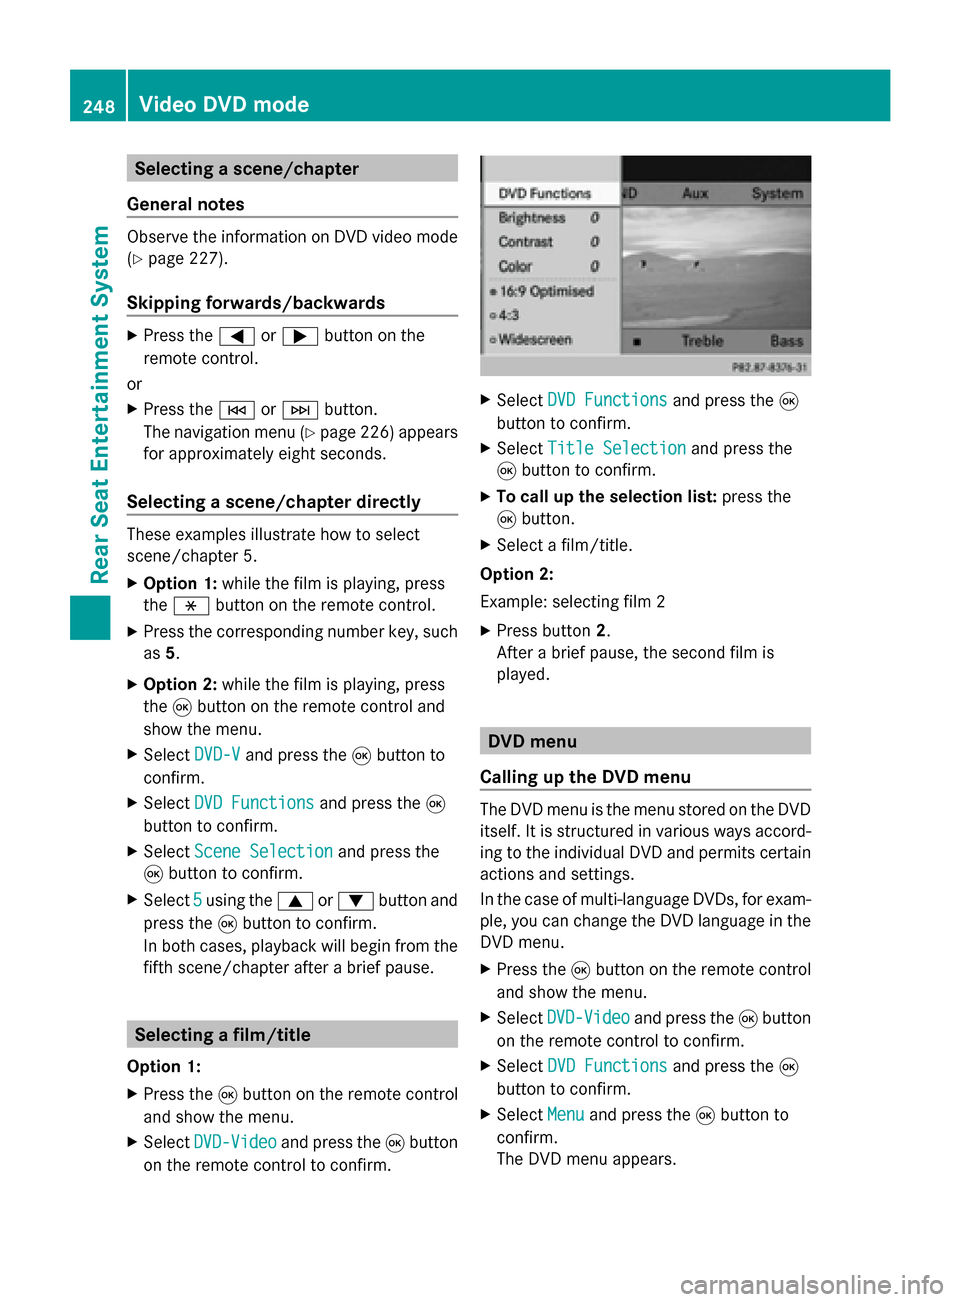
X Select DVD Functions
DVD Functions and press the008B
button to confirm.
X Select Scene Selection
Scene Selection and press the
008B button to confirm.
X Select 5
5 using the 0063or0064 button and
press the 008Bbutton to confirm.
In both cases, playback will begin from the
fifth scene/chapter after a brief pause. Selecting a film/title
Option 1:
X Press the 008Bbutton on the remote control
and show the menu.
X Select DVD-Video
DVD-Video and press the 008Bbutton
on the remote control to confirm. X
Select DVD Functions DVD Functions and press the008B
button to confirm.
X Select Title Selection
Title Selection and press the
008B button to confirm.
X To call up the selection list: press the
008B button.
X Select a film/title.
Option 2:
Example: selecting film 2
X Press button 2.
After a brief pause, the second film is
played. DVD menu
Calling up the DVD menu The DVD menu is the menu stored on the DVD
itself. It is structured in various ways accord-
ing to the individual DVD and permits certain
actions and settings.
In the case of multi-language DVDs, for exam-
ple, you can change the DVD language in the
DVD menu.
X Press the 008Bbutton on the remote control
and show the menu.
X Select DVD-Video
DVD-Video and press the 008Bbutton
on the remote control to confirm.
X Select DVD Functions DVD Functions and press the008B
button to confirm.
X Select Menu
Menuand press the 008Bbutton to
confirm.
The DVD menu appears. 248
Video DVD modeRear Seat Entertainment System