Assist MERCEDES-BENZ E-Class 2016 W213 Comand Manual
[x] Cancel search | Manufacturer: MERCEDES-BENZ, Model Year: 2016, Model line: E-Class, Model: MERCEDES-BENZ E-Class 2016 W213Pages: 246, PDF Size: 6.7 MB
Page 9 of 246
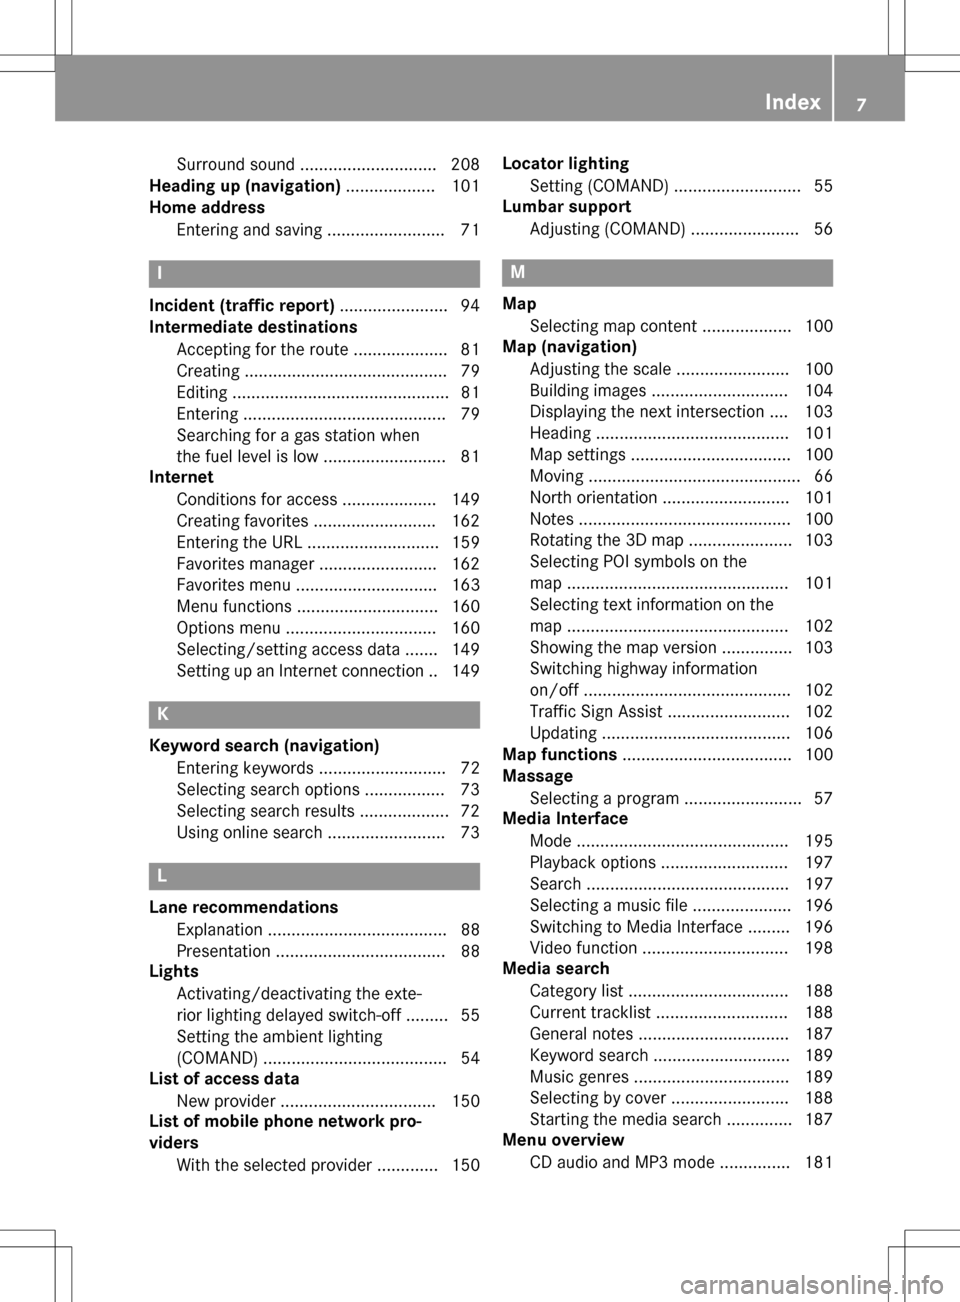
Surround sound ............................. 208
Heading up (navigation) ................... 101
Home address
Entering and saving ......................... 71
I
Incident (traffic report) ....................... 94
Intermediate destinations
Accepting for the route .................... 81
Creating ........................................... 79
Editing .............................................. 81
Entering ........................................... 79
Searching for a gas station when
the fuel level is low .......................... 81
Internet
Conditions for access .................... 149
Creating favorites .......................... 162
Entering the URL ............................ 159
Favorites manager ......................... 162
Favorites menu .............................. 163
Menu functions .............................. 160
Options menu ................................ 160
Selecting/setting access data ....... 149
Setting up an Internet connection .. 149
K
Keyword search (navigation)Entering keywords ........................... 72
Selecting search options ................. 73
Selecting search results ................... 72
Using online search ......................... 73
L
Lane recommendationsExplanation ...................................... 88
Presentation .................................... 88
Lights
Activating/deactivating the exte-
rior lighting delayed switch-off ......... 55
Setting the ambient lighting
(COMAND) ....................................... 54
List of access data
New provider ................................. 150
List of mobile phone network pro-
viders
With the selected provider ............. 150 Locator lighting
Setting (COMAND) ........................... 55
Lumbar support
Adjusting (COMAND) ....................... 56
M
MapSelecting map content ................... 100
Map (navigation)
Adjusting the scale ........................ 100
Building images ............................. 104
Displaying the next intersection .... 103
Heading ......................................... 101
Map settings .................................. 100
Moving ............................................. 66
North orientation ........................... 101
Notes ............................................. 100
Rotating the 3D map ...................... 103
Selecting POI symbols on the
map ............................................... 101
Selecting text information on the
map ............................................... 102
Showing the map version ............... 103
Switching highway information
on/off ............................................ 102
Traffic Sign Assist .......................... 102
Updating ........................................ 106
Map functions .................................... 100
Massage
Selecting a program ......................... 57
Media Interface
Mode ............................................. 195
Playback options ........................... 197
Search ........................................... 197
Selecting a music file ..................... 196
Switching to Media Interface ......... 196
Video function ............................... 198
Media search
Category list .................................. 188
Current tracklist ............................ 188
General notes ................................ 187
Keyword search ............................. 189
Music genres ................................. 189
Selecting by cover ......................... 188
Starting the media search .............. 187
Menu overview
CD audio and MP3 mode ............... 181
Index7
Page 18 of 246
cle is serviced. The data obtained is used to
properly diagnose and service your vehicle or
to further optimize and develop vehicle func-
tions.
COMAND/mbrace
If the vehicle is equipped with COMAND or
mbrace, additional data about the vehicle’s
operation, the use of the vehicle in certain
situations, and the location of the vehicle may
be compiled through COMAND or the mbrace system.
For additional information please refer to the
COMAND User Manual and/or the mbrace
Terms and Conditions.
Event data recorders
This vehicle is equipped with an event data
recorder (EDR). The main purpose of an EDR
is to record data that will assist in under-
standing how a vehicle’s systems performed
in certain crash or near crash-like situations,
such as during air bag deployment or when
hitting a road obstacle. The EDR is designed
to record data related to vehicle dynamics
and safety systems for a short period of time,
typically 30 seconds or less.
The EDR in this vehicle is designed to record
such data as:
Rhow various systems in your vehicle are
operating
Rwhether or not the driver and passenger
seat belts are fastened
Rhow far (if at all) the driver is depressing the
accelerator and/or brake pedal and
Rhow fast the vehicle is traveling
This data can help provide a better under-
standing of the circumstances in which
crashes and injuries occur. NOTE: EDR data is
recorded by your vehicle only if a non-trivial
crash situation occurs; no data is recorded by the EDR under normal driving conditions and
no personal data (e.g. name, gender, age, and crash location) are recorded. However, other
parties, such as law enforcement, can com-
bine the EDR data with the type of personal
identification data routinely acquired during a
crash investigation.
To read data recorde d b
y an EDR, special
equipment is required, and access to the vehi-
cle or the EDR is needed. In addition to the
vehicle manufacturer, other parties that have
the special equipment, such as law enforce-
ment, can read the information by accessing
the vehicle or the EDR.
EDR data may be used in civil and criminal
matters as a tool in accident reconstruction,
accident claims, and vehicle safety. Since the
Crash Data Retrieval CDR tool that is used to
extract data from the EDR is commercially
available, Mercedes-Benz USA, LLC
("MBUSA") expressly disclaims any and all lia-
bility arising from the extraction of this infor- mation by unauthorized Mercedes-Benz per-
sonnel.
MBUSA will not share EDR data with others
without the consent of the vehicle owners or,
if the vehicle is leased, without the consent of
the lessee. Exceptions to this representation
include responses to subpoenas by law
enforcement; by federal, state or local gov-
ernment; in connection with or arising out of
litigation involving MBUSA or its subsidiaries
and affiliates; or, as required by law.
Warning: The EDR is a component of the Sup-
plemental Restraint System ("SRS") Module.
Tampering with, altering, modifying or remov-
ing the EDR component may result in a mal-
function of the SRS Module and other sys-
tems.
State laws or regulations regarding EDRs that
conflict with federa l re
gulation are pre-emp-
ted. This means that in the event of such con-
flict, the federal regulation governs. As of
February 2013, 13 states have enacted laws
relating to EDRs.
16Introduction
Page 60 of 246
Resetting all adjustments
XCall up the seat functions (Ypage 56).
XSelect a seat.
XTo selectReset: turn and press the con-
troller.
XTo select a seat: slide 1the controller.
XTo reset: press the controller.
A prompt appears.
XTo select YesorNo: turn and press the con-
troller.
If you select No
the process is canceled.
After selecting Yes
all seat adjustments are
reset to the default values (factory setting).
360° camera
General notes
The 360° camera surveys the vehicle sur-
roundings and assists you, for example when
parking or at exits with reduced visibility.
The 360° camera is only an aid. It is not a
replacement for your attention to your imme-
diate surroundings. You are always responsi-
ble for safe maneuvering and parking. Make
sure that no persons or animals are in the
maneuvering range.
Further information on the 360°camera can
be found in the vehicle Operator's Manual.
Displaying the 360° camera image
The 360° camera image can be displayed if:
Ryour vehicle is equipped with a 360° cam-
era
Rthe 360° Camerafunction is activated;
(see the vehicle Operator's Manual)
XPress the Øbutton on the COMAND
control panel.
or
XPress Vehiclein the main function bar.
The vehicle menu is displayed.
XSelect 360° Camera.
The 360° camera image appears in split-
screen mode.
You will see the previous view on the display
if, when the function is switched on:
Ryou turn the SmartKey to position 1in the
ignition lock
Ryou select transmission position P
Rwhen you are driving at moderate speeds
Switching the display off manually
XTo select &: slide 6and press the con-
troller.
Switching the display on automatically
XYou can automatically switch the 360 cam-
era display using reverse gear
(
Ypage 58).
Switching the 360° camera auto-
matic mode on/off
This function activates the 360° camera
when reverse gear is engaged.
XPress the Øbutton on the COMAND
control panel.
or
XPress Vehiclein the main function bar.
The vehicle menu is displayed.
XTo switch to the menu bar: slide6the
controller.
XTo select System Settings: turn and
press the controller.
XTo select 360°Camera: turn and press the
controller.
The 360° Camera
menu appears.
XSelect Activation by R gear.
The function is switched on Oor off ª,
depending on the previous status.
58360° camera
Vehicle functions
Page 61 of 246
Opening the camera cover for clean-
ing
XTo selectOpenCameraCoverin the 360°
camera menu: turn the controller and press
to confirm.
The Please
Wait...message appears for
approximately three seconds.
The camera cover opens.
The camera cover closes automatically if:
Rthe ignition is switched off
Rthe vehicle exceeds a moderate speed
Rear view camera
General notes
The rear view camera covers the immediate
surroundings of the vehicle and assists you
when parking.
The rear view camera is only an aid. It is not a
replacement for your attention to your imme- diate surroundings. You are always responsi-
ble for safe maneuvering and parking. When
maneuvering or parking, make sure that there
are no persons, animals or objects in the area
in which you are maneuvering.
You can find further information about the
rear view camera in the vehicle Operator's
Manual.
Switching the rear view camera auto-
matic mode on/off
This function activates the rear view camera
when reverse gear is engaged.
XPress the Øbutton on the COMAND
control panel.
or
XPress Vehiclein the main function bar.
The vehicle menu is displayed.
XSlide 6the controller.
XTo select System Settings: turn and
press the controller.
XSelect Rear View Camera.
The Rear View Camera
menu appears.
XSelect Activation by R gear.
The function is switched on Oor off ª,
depending on the previous status.
When you start the vehicle and engage
reverse gear, the area behind the vehicle is
shown with guide lines in the display. You
can find further information about the rear
view camera in the vehicle Operator's Man-
ual.
Opening the camera cover for clean-
ing
XTo select Open Camera Coverin the rear
view camera menu: turn and press the con-
troller.
The Please
Wait...message appears for
approximately three seconds.
The camera cover opens.
The camera cover closes automatically if:
Rthe ignition is switched off
Rthe vehicle pulls away
DYNAMIC SELECT
General notes
Press DYNAMIC SELECTto configure the fol-
lowing settings for the Individual
drive pro-
gram:
RDrive system
RSuspension
RSteering
RClimate control
RECO start/stop function
iIn a few countries, the ECO start/stop
function is deactivated at the factory due to
the available fuel grade. In this case, the
ECO start/stop function is not available
regardless of the display in the COMAND
display.
DYNAMIC SELECT59
Vehicle functions
Z
Page 70 of 246
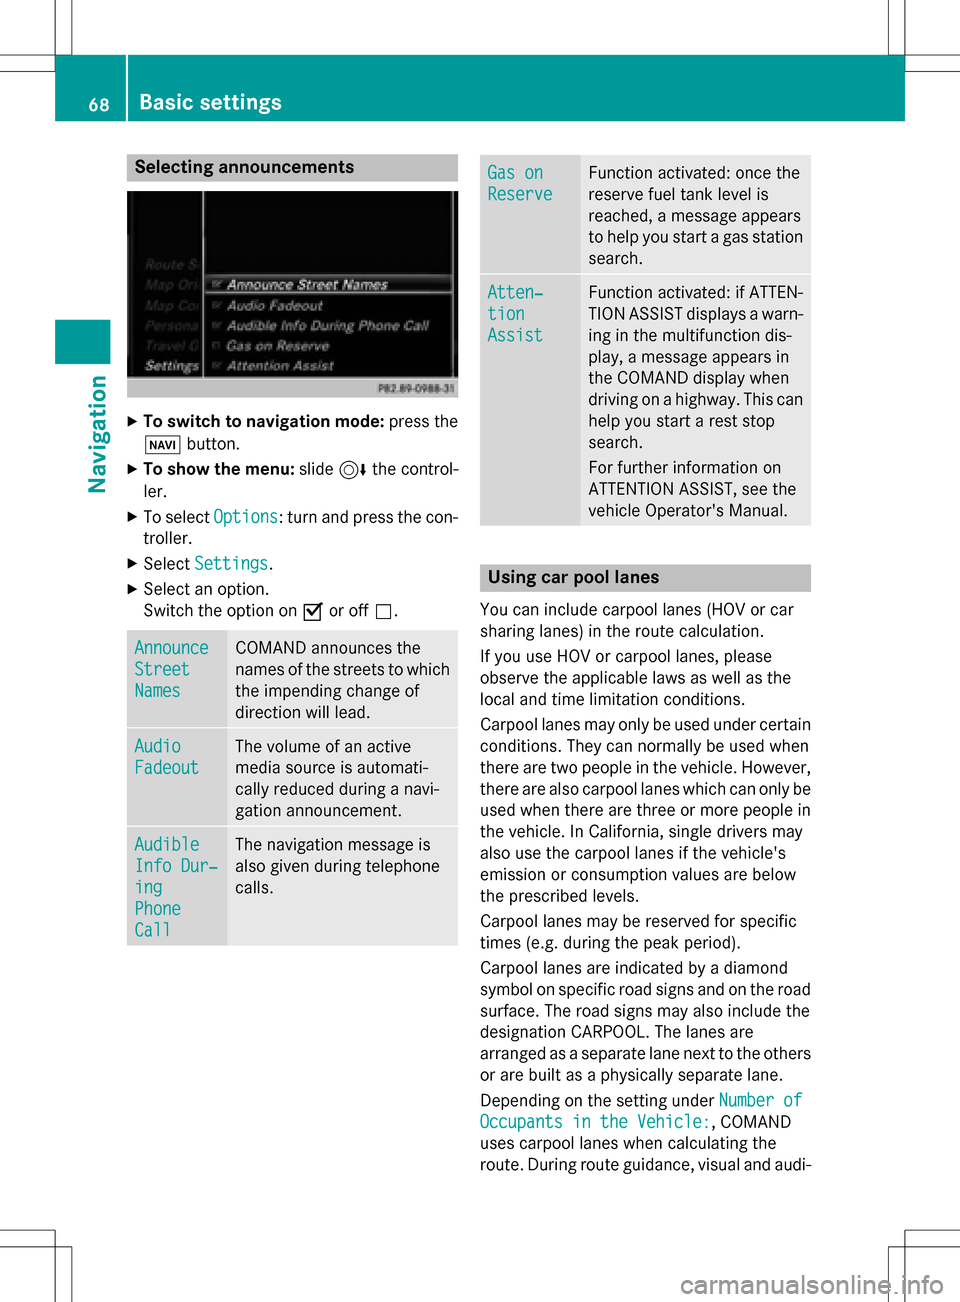
Selecting announcements
XTo switch to navigation mode:press the
Ø button.
XTo show the menu: slide6the control-
ler.
XTo select Options: turn and press the con-
troller.
XSelect Settings.
XSelect an option.
Switch the option on Oor off ª.
Announce
Street
Names
COMAND announces the
names of the streets to which
the impending change of
direction will lead.
Audio
Fadeout
The volume of an active
media source is automati-
cally reduced during a navi-
gation announcement.
Audible
Info Dur‐
ing
Phone
Call
The navigation message is
also given during telephone
calls.
Gas on
Reserve
Function activated: once the
reserve fuel tank level is
reached, a message appears
to help you start a gas station
search.
Atten‐
tion
Assist
Function activated: if ATTEN-
TION ASSIST displays a warn-
ing in the multifunction dis-
play, a message appears in
the COMAND display when
driving on a highway. This can
help you start a rest stop
search.
For further information on
ATTENTION ASSIST, see the
vehicle Operator's Manual.
Using car pool lanes
You can include carpool lanes (HOV or car
sharing lanes) in the route calculation.
If you use HOV or carpool lanes, please
observe the applicable laws as well as the
local and time limitation conditions.
Carpool lanes may only be used under certain
conditions. They can normally be used when
there are two people in the vehicle. However,
there are also carpool lanes which can only be
used when there are three or more people in
the vehicle. In California, single drivers may
also use the carpool lanes if the vehicle's
emission or consumption values are below
the prescribed levels.
Carpool lanes may be reserved for specific
times (e.g. during the peak period).
Carpool lanes are indicated by a diamond
symbol on specific road signs and on the road
surface. The road signs may also include the
designation CARPOOL. The lanes are
arranged as a separate lane next to the others
or are built as a physically separate lane.
Depending on the setting under Number of
Occupants in the Vehicle:, COMAND
uses carpool lanes when calculating the
route. During route guidance, visual and audi-
68Basic settings
Navigation
Page 104 of 246
Custom Symbolsallows symbols to be
selected from other/all available catego-
ries.
XTurn and press the controller.
You have the option of selecting symbols to
be displayed Oor not displayed ªon the
map.
The list shows all symbols that are contained
on the digital map across all countries. How-
ever, not all points of interest are available in
all countries. As a result, certain point of
interest symbols may not be displayed on the
map, even if the symbol display is switched
on.
Selecting text information on the map
At the bottom of the display, you can specify
whether to display geo-coordinates or not to
display text information for the street you are
currently on.
XTo switch to navigation mode: press the
ß button.
XTo show the menu: slide6the control-
ler.
XTo select Options: turn and press the con-
troller.
XSelect Map Content.
XSelectText Information On Map.
The #dot indicates the current setting.
XTurn and press the controller.
Current Street
shows the current street
at the bottom of the display.
Geo-coordinates
shows the longitude
and latitude, elevation and number of sat-
ellites received.
The elevation shown may deviate from the
actual elevation.
XTurn and press the controller.
Displaying the range on the map
The range can be displayed on the map for
electric vehicles. A circle appears around the
current vehicle position. For further information on range, see the vehi-
cle Operator's Manual.
XTo switch to navigation mode:
press the
ß button.
XTo show the menu: slide6the control-
ler.
XTo select Options: turn and press the con-
troller.
XSelect Map Content.
XSelectRange on Map.
Switch the display in the map on Oor off
ª.
Switching highway information on/off
While driving on the highway, gas stations,
rest stops, rest areas and highway exits are
displayed along with their immediate distan-
ces from the current vehicle position
(
Ypage 89).
XTo switch to navigation mode: press the
ß button.
XTo show the menu: slide6the control-
ler.
XTo select Options: turn and press the con-
troller.
XSelect Map Content.
XSelectHighway Information.
Switch the display in the map on Oor off
ª. Further information (
Ypage 89).
Traffic Sign Assist
The function is available depending on the
equipment installed in the vehicle.
The map shows traffic signs detected by Traf-
fic Sign Assist (see the vehicle Operator's
Manual).
XTo switch to navigation mode: press the
ß button.
XTo show the menu: slide6the control-
ler.
XTo select Options: turn and press the con-
troller.
102Map functions
Navigation
Page 105 of 246
XSelectMap Content.
XSelectTraffic Sign Assist.
Switch the display in the map on Oor off
ª.
Displaying the next crossroads
If route guidance is not active, the next cross-
roads can be displayed at the upper edge of
the display.
XTo switch to navigation mode: press the
ß button.
XTo show the menu: slide6the control-
ler.
XTo select Options: turn and press the con-
troller.
XSelect Map Content.
XSelectNext Intersecting Street.
Switch the display in the map on Oor off
ª.
Showing the map version
The number of the map data version is shown.
Information about new versions of the digital
map can be obtained from an authorized
Mercedes-Benz Center.
XTo switch to navigation mode: press the
ß button.
XTo show the menu: slide6the control-
ler.
XTo select Options: turn and press the con-
troller.
XSelect Map Content.
XSelectMap Version.
Information on the current map version is
shown.
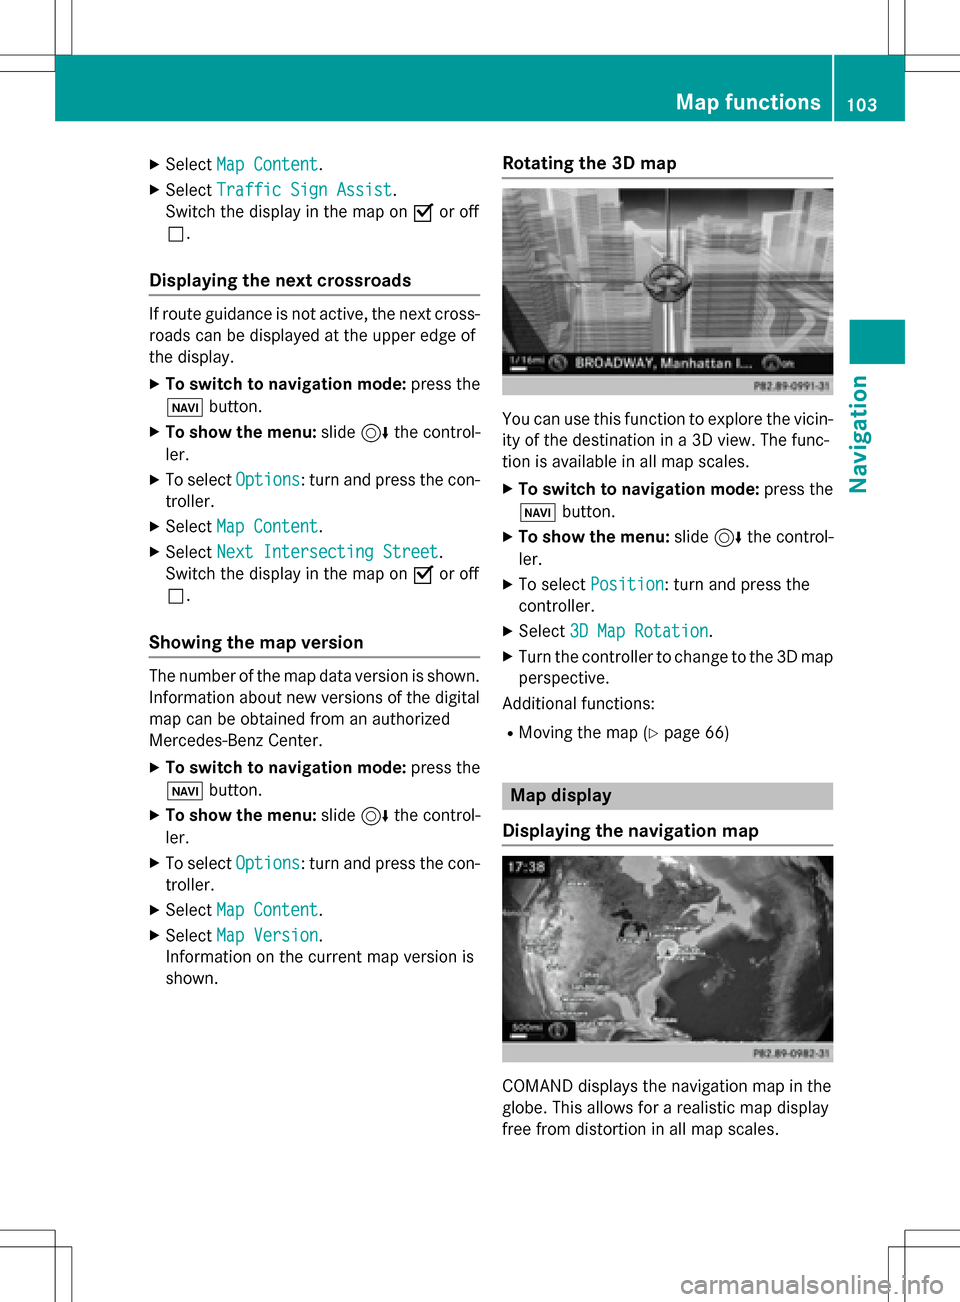
Rotating the 3D map
You can use this function to explore the vicin-
ity of the destination in a 3D view. The func-
tion is available in all map scales.
XTo switch to navigation mode: press the
Ø button.
XTo show the menu: slide6the control-
ler.
XTo select Position: turn and press the
controller.
XSelect 3D Map Rotation.
XTurn the controller to change to the 3D map
perspective.
Additional functions:
RMoving the map (Ypage 66)
Map display
Displaying the navigation map
COMAND displays the navigation map in the
globe. This allows for a realistic map display
free from distortion in all map scales.
Map functions103
Navigation
Z
Page 114 of 246
Your COMANDequipment
These operatin ginstruction sdescribe all
standar dan doptional equipmen tavailable
fo ryour COMAN Dsyste mat th etime of pur -
chase. Country-specifi cdifference sare pos -
sible. Please note that your COMAN Dsyste m
may no tbe equipped wit hall th efeature s
described .Thi salso applies to safety-relevan t
systems an dfunctions. Therefore, th eequip -
men ton your COMAN Dsyste mmay diffe r
from that in th edescription san dillustrations.
Should you hav ean yquestion sconcernin g
equipmen tan doperation ,pleas econsult an
authorized Mercedes-Ben zCenter.
Important safet ynotes
GWARNING
If you operat emobile communication equip-
men twhil edriving, you will be distracted from
traffic conditions. You could also los econtro l
of th evehicle. There is aris kof an accident.
Only operat ethis equipment when th evehicle
is stationary.
If you mak e acallon your mobile phone whil e
driving, always use hands-free mode. Only
use th emobile phone when road, weather
an dtraffic condition spermit .Some jurisdic -
tion sprohibi tth edriver from usin g amobile
phone whil edrivin g avehicle.
Bear in min dthat at aspeed of 30 mph
(approximately 50 km/h), th evehicle cover s
a distanc eof 44 feet (approximately 14 m)
per second.
Excessive levels of electromagnetic radiation
may cause damage to your health an dth e
health of others.
There is scientific discussio nsurroundin gth e
possible health risks posed by electromag-
neti cfields .You can reduce this ris kby usin g
an exterio rantenna. Therefore, connec
tyour mobile communica-
tion sequipmen tto th evehicle' sexterio r
antenn awhereve rpossible.
General notes
Telephon y
The Bluetoot h®interface on COMAN Dis
available fo rtelephony.
If your mobile phone supports th eBluetoot h
®
profilePBAP (Phone Book Access Profile),th e
contact sare automatically displaye din
COMAND.
You can use th etext messag ean de-mail
function sif your mobile phone supports th e
MA PBluetoot h
®profile (Messag eAccess
Profile) .Observ eth eother requirements fo r
th ee-mail an dtext messag efunction s
(
Ypage 138).
Wit h a suitable mobile phone ,you can use th e
hands-free syste man dreceiv evCards via th e
Bluetoot h
®interface .
You can obtain more information about suit -
able mobile phone son th eInternet at
www.mercedes-benz-mobile.com .
You can also obtain more information by call-
ing.
In th eUSA, you can get in touch wit hth e
Mercedes-Ben zCustomer Assistanc eCente r
on 1-800-FOR-MERCede s(1-800-367-6372).
In Canada, you can get in touch with the Cus- tomer Relations Center on 1-800-387-0100.
Call disconnection while the vehicle is
in motion
A call may be disconnected if:
Rthere is insufficient network coverage in
certain areas.
Ryou move from one transmitter/receiver
area (cell) into another and no channels are
free.
Ryou use a SIM card that is not compatible
with the network available.
112General notes
Telephone
Page 116 of 246
Calling up the telephone menu
XPress%.
Showing the menu bar
XSlide 6the controller.
If the mobile phone connected supports the
MAP Bluetooth
®profile ( Message Access
Profile), the 1menu item is available. Fur-
ther information on text messages and e-mail
(
Ypage 138).
If you have an unread text message or e-mail,
the 0 mail symbol is displayed in the sta-
tus bar. The symbol disappears once you have
read the text message or e-mail. The ú
symbol is displayed as soon as the message
memory on the connected mobile phone is
full. The symbol disappears once you delete
at least one message.
Connecting/disconnecting a mobile
phone
Prerequisites
For telephony via the Bluetooth®interface,
you require a Bluetooth®-capable mobile
phone. The mobile phone must support
Hands-Free Profile 1.0 or above.
On COMAND
XActivate Bluetooth®(Ypage 48).
On the mobile phone
XSwitch on the mobile phone and enter the
PIN when prompted to do so (see the man- ufacturer's operating instructions).
XActivate Bluetooth®and, if necessary,
Bluetooth®visibility for other devices (see
the manufacturer's operating instructions).
This visibility is for restricted periods of
time on some mobile phones (see the man-
ufacturer's operating instructions).
XSet the Bluetooth®device name for the
mobile phone if necessary.
The device names for all of one manufactur-
er's products might be identical. To make it possible to clearly identify your mobile phone,
change the device name (see the manufac-
turer's operating instructions). The name can
be freely selected.
If the mobile phone supports the PBAP
( Phone Book Access Profile) and MAP
( Message AccessProfile) Bluetooth
®pro-
files, the following information will be trans-
mitted after you connect:
RPhone book
RCall lists
RText messages and e-mails
Further information on allowing or suppress-
ing the automatic download of the phone
book (
Ypage 132).
The battery of the mobile phone should
always be kept sufficiently charged in order to
prevent malfunctions.
iNot all mobile phones available on the
market are equally suitable. You can obtain
more detailed information about suitable
mobile phones and about the connection
between the mobile phone and COMAND
on the Internet at
www.mercedes-benz-mobile.com .
You can also obtain more information by
calling.
In the USA, you can get in touch with the
Mercedes-Benz Customer Assistance Cen-
ter on 1-800-FOR-MERCedes
(1-800-367-6372 ).
In Canada, you can get in touch with the
Customer Relations Center on
1-800-387-0100.
iSome displays (e.g. the signal strength)
depend on the supported version of the
Hands-Free Profile.
114Connecting/disconnecting a mobile phone
Telephone
Page 120 of 246
Only one mobile phone can be connected at
any one time for telephony. The currently
connected mobile phone is indicated by the#
dot in the device list.
iYou can only switch to another authorized
mobile phone if you are not currently mak-
ing a call.
De-authorizing (disconnecting) a
mobile phone
Mercedes-Benz USA, LLC recommends de-
authorization in COMAND and on the mobile
phone. Subsequent authorization may other-
wise fail.
XTo call up the telephone menu: press the
% button.
XTo switch to the menu bar: slide 6the
controller.
XTo select Conn. Device: turn and press
the controller.
The device list is displayed.
XTo highlight the desired mobile phone in the
device list: turn the controller.
XTo select G: slide 9the controller.
XTo select Deauthorize: turn and press the
controller.
A prompt appears, asking whether you
really wish to de-authorize this device.
XTo select Yes: turn and press the controller.
The mobile phone is de-authorized.
or
XTo select No: turn and press the controller.
The process is canceled.
Displaying connection details
XTo call up the telephone menu: press the
% button.
XTo switch to the menu bar: slide 6the
controller.
XTo select Conn. Device: turn and press
the controller.
The device list is displayed.
XTo highlight the desired mobile phone: turn
the controller.
XTo select G: slide 9the controller.
XTo select Details: turn and press the con-
troller.
The following information concerning the
selected mobile phone is shown:
RBluetooth®device name
RBluetooth®address
Rauthorization status
XTo close the detailed display: slide9
the controller.
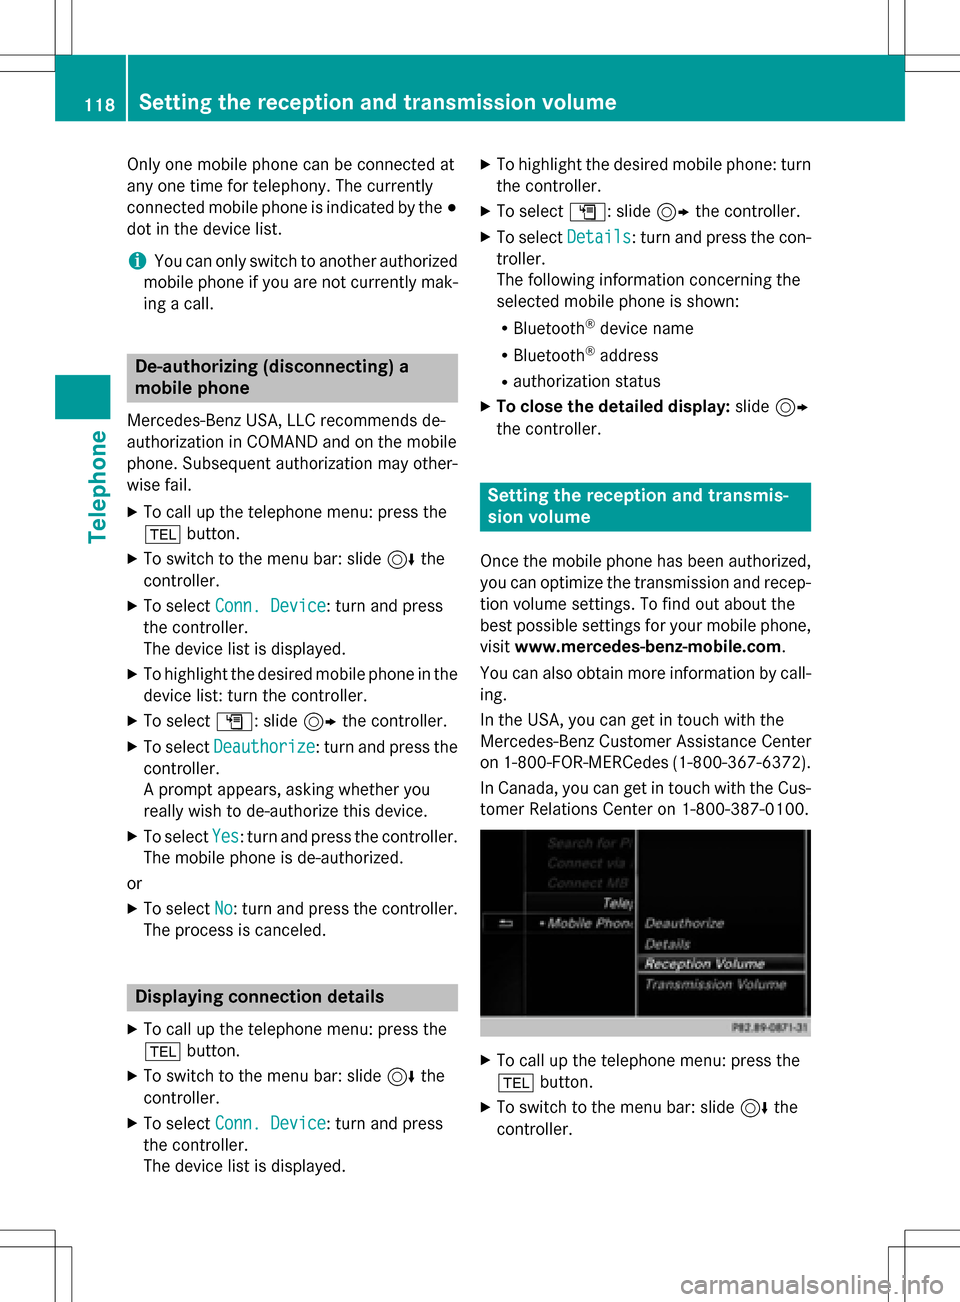
Setting the reception and transmis-
sion volume
Once the mobile phone has been authorized,
you can optimize the transmission and recep- tion volume settings. To find out about the
best possible settings for your mobile phone,
visit www.mercedes-benz-mobile.com .
You can also obtain more information by call-
ing.
In the USA, you can get in touch with the
Mercedes-Benz Customer Assistance Center
on 1-800-FOR-MERCedes (1-800-367-6372).
In Canada, you can get in touch with the Cus- tomer Relations Center on 1-800-387-0100.
XTo call up the telephone menu: press the
% button.
XTo switch to the menu bar: slide 6the
controller.
118Setting the reception and transmission volume
Telephone