USB port MERCEDES-BENZ E-Class 2016 W213 Comand Manual
[x] Cancel search | Manufacturer: MERCEDES-BENZ, Model Year: 2016, Model line: E-Class, Model: MERCEDES-BENZ E-Class 2016 W213Pages: 246, PDF Size: 6.7 MB
Page 182 of 246
Notes on audio/video mode
Permissible data carriers
RCD audio, CD-R and CD-RW
RDVD video, DVD-R and DVD-RW (audio for-
mats PCM DTS®and Dolby®Digital)
RSD memory card
RUSB storage device
RApple®devices
iManufactured under license from Dolby
Laboratories. Dolby and the double-D sym-
bol are trademarks of Dolby Laboratories.
iFor DTS patents see http://
patents.dts.com. Manufactured under
license from DTS Licensing Limited. DTS,
the Symbol & DTS and the Symbol together
are registered trademarks, and DTS Digital
Surround is a trademark of DTS, Inc.
©DTS,
Inc. All rights reserved.
Permissible file systems
RISO 9660/Joliet standard for CDs
RUDF for video DVDs
RFAT16, FAT32, exFAT and NTFS for SD
memory card and USB storage media
RHFS and HFS+ for Apple®devices
iWriting access is not possible on NTFS.
Multisession CDs
For multisession CDs, the content of the first
session determines how COMAND will proc-
ess the CD. COMAND only plays back one
session and gives priority to the first session
on the CD.
File structure of a data carrier
When you create a disc with compressed
music files, the tracks can be organized in
folders. A folder may also contain subfolders.
The disc may contain no more than eight
directory levels (a root and seven sub-levels). Files beyond the eighth level will not be rec-
ognized by the system.
iCOMAND supports up to 25,000 files for
all of the connected sources.
Track and file names
When you create a disc with compressed
music files, you can assign names to the
tracks and folders.
You should observe the following when
assigning track names:
Rtrack names must have at least one char-
acter.
Rtrack names must have an extension of a
supported audio/video format, e.g. mp3,
aac or m4v.
Rthere must be a dot between the track
name and the extension.
Example of a correct track name:
"Track1.mp3".
Permissible formats
COMAND supports the following audio for-
mats:
RMP3
RWMA
RCD-A
RAAC formats: .aac, .mp4, .m4a and .m4b
Copy-protected iTunes
®music files with
the .m4p file extension are not supported.
COMAND supports the following video for-
mats:
RDVD-V
RMPEG
RWMV
RM4V
RAVI
180Audio/video mode
Media
Page 183 of 246
Permissible bit and sampling rates
COMAND supports MP3 files of the following
types:
Rfixed and variable bit rates from 32 kbit/s
to 320 kbit/s
Rsampling rates of 8 kHz to 48 kHz
COMAND supports WMA files of the following
types:
Rfixed bit rates from 5 kbit/s to 384 kbit/s
Rsampling rates of 8 kHz to 48 kHz
COMAND does not support WMA files of the
following types:
RDRM (Digital Rights Management) encryp-
ted files
Rvariable bit rate
RWMA Pro
R5.1 surround sound
iOnly use tracks with a bit rate of at least
128 kbit/s and a sampling rate of at least
44.1 kH z.Lower rates can cause a notice-
able deterioration in quality. This is espe-
cially the case if you have activated a sur-
round sound function.
Selecting an active partition (USB mass
storage devices only)
You can select this function for USB storage
devices when the storage device is parti-
tioned. Up to 9 partitions (primary or logical,
FAT, FAT32, exFAT and NTFS) are supported.
Selecting an active partition
XTo select Optionsin the media menu bar:
turn and press the controller.
XSelect Select Active Partition.
Notes on copyright
Audio/video files that you create or repro-
duce yourself for playback are generally sub-
ject to copyright protection.
In many countries, reproductions, even for
private use, are not permitted without the
prior consent of the copyright holder. Make sure that you know about the applicable
copyright regulations and that you comply
with these.
Notes on CDs/DVDs
!COMAND is designed to play discs that
comply with the EN 60908 standard. There-
fore, you can only use discs with a maxi-
mum thickness of 1.3 mm.
If you insert thicker discs, e.g. those that
contain data on both sides (DVD on one
side and audio data on the other), they can-
not be ejected and can damage the device.
Only use round discs with a diameter of
12 cm. Do not use discs with a diameter of
8 cm, even with an adapter.
Discs with copy protection are not compati-
ble with the audio CD standard and therefore
may not be able to be played by COMAND.
Playback problems may occur when playing
copied discs.
There may be playback problems if you play
CDs that you have copied yourself with a stor-
age capacity of more than 700 MB.
Menu overview
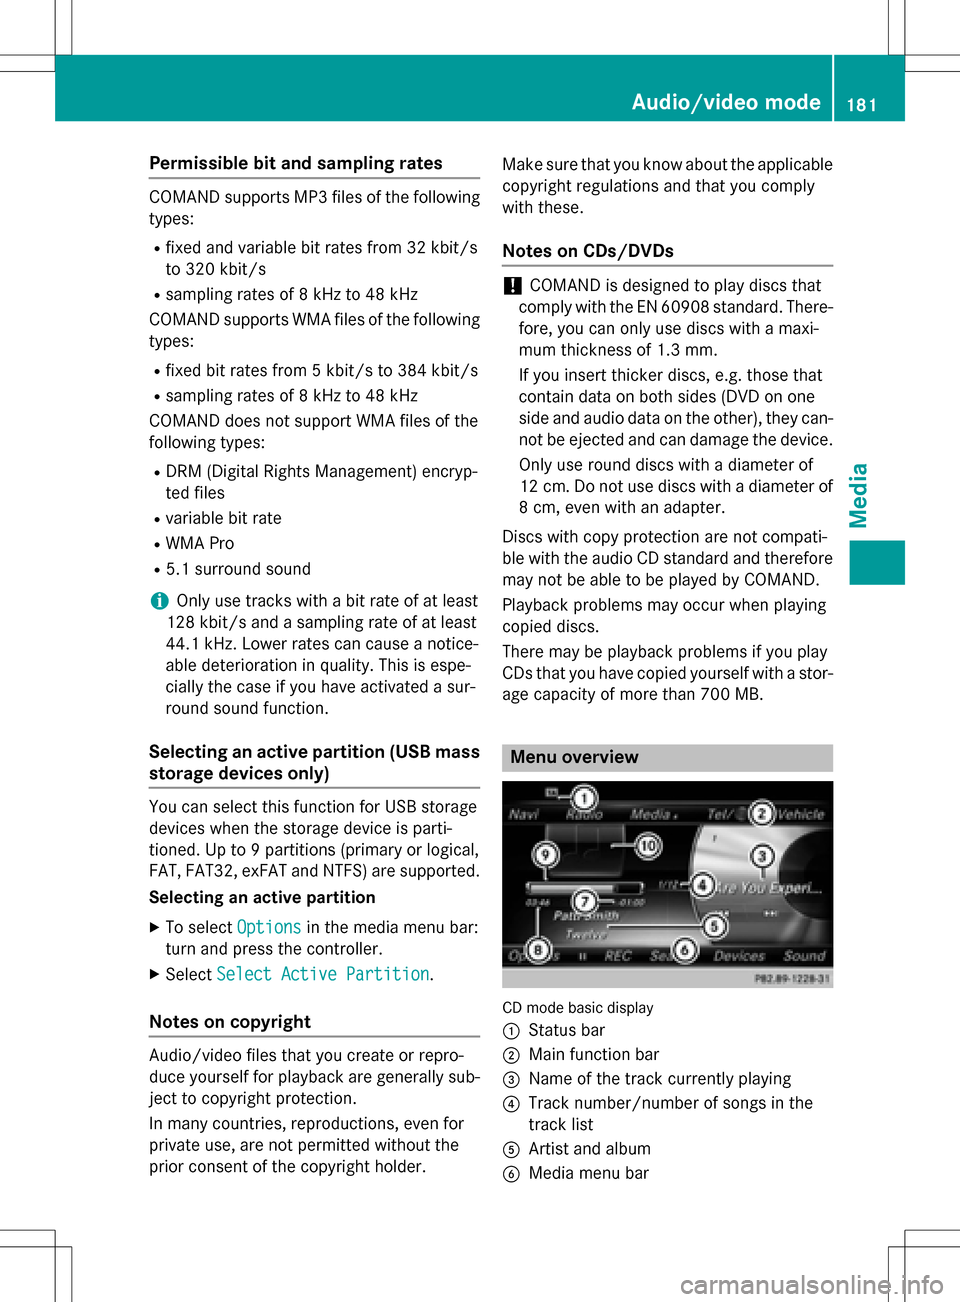
CD mode basic display
:
Status bar
;Main function bar
=Name of the track currently playing
?Track number/number of songs in the
track list
AArtist and album
BMedia menu bar
Audio/video mode181
Media
Z
Page 186 of 246
The side with the contacts must face down-
wards.
The music is played while the files are loa-
ded in the background. If there are no sup-
ported audio/video files, you will see a
message to this effect.
Ejecting an SD memory card
XPress the memory card.
The memory card is ejected.
XRemove the memory card.
Connecting USB devices
There are two USB ports in the stowage space
under the armrest.
XConnect the USB device to the USB port.
If the corresponding media display is visi-
ble, the medium is played and the files are
loaded in the background. Otherwise, the
system does not automatically switch to
USB. If there are no supported audio/video
files, you will see a message to this effect.
iMP3 players must support Media Transfer
Protocol (MTP).
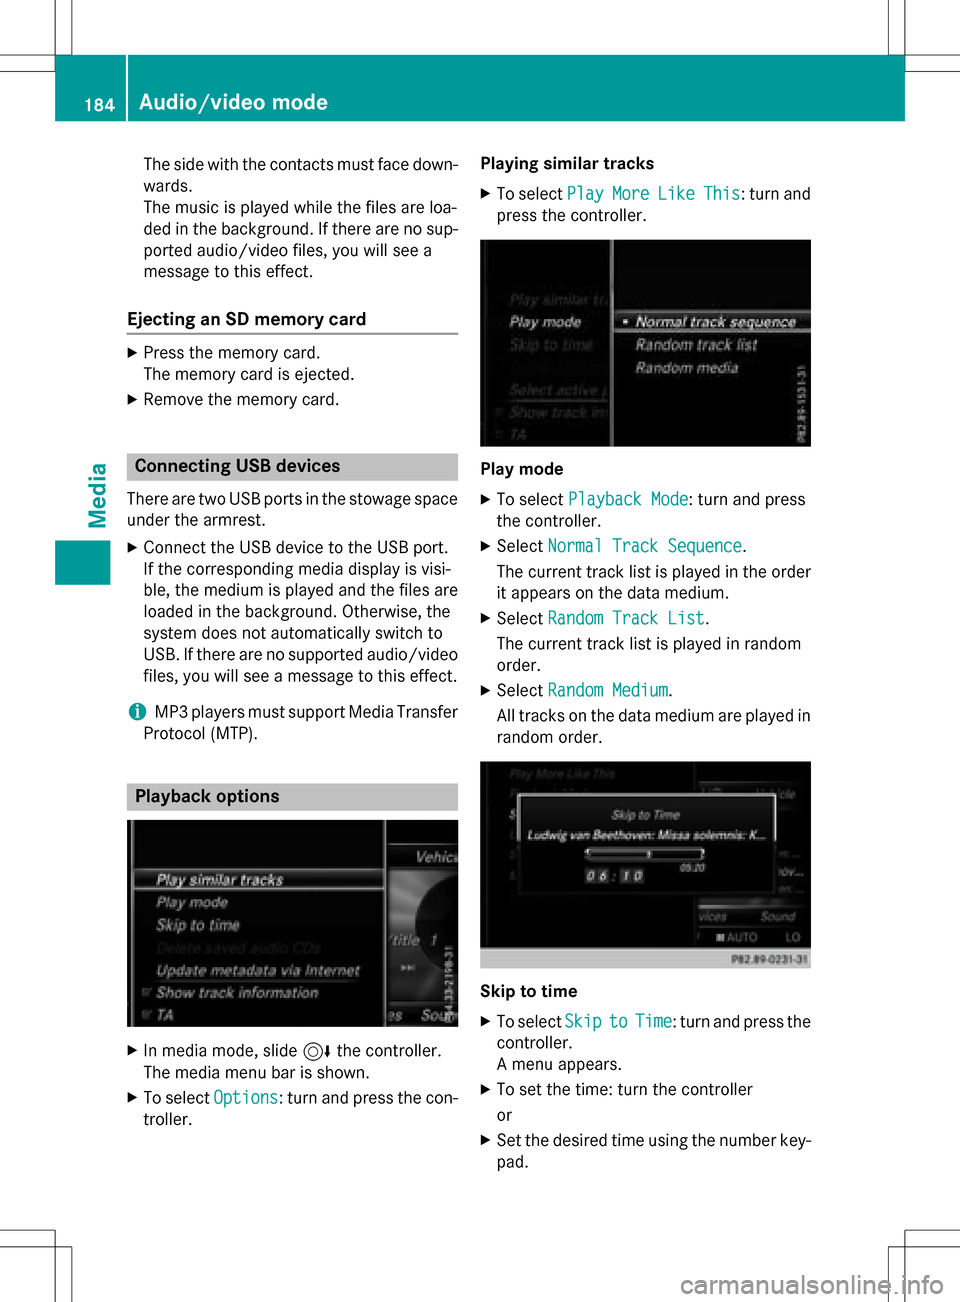
Playback options
XIn media mode, slide 6the controller.
The media menu bar is shown.
XTo select Options: turn and press the con-
troller. Playing similar tracks
XTo select
PlayMoreLikeThis: turn and
press the controller.
Play mode
XTo select Playback Mode: turn and press
the controller.
XSelect Normal Track Sequence.
The current track list is played in the order
it appears on the data medium.
XSelect Random Track List.
The current track list is played in random
order.
XSelect Random Medium.
All tracks on the data medium are played in
random order.
Skip to time
XTo select SkiptoTime: turn and press the
controller.
A menu appears.
XTo set the time: turn the controller
or
XSet the desired time using the number key- pad.
184Audio/video mode
Media
Page 192 of 246
iIf available, the album list and covers are
shown.
iThere is a database for iPod®and for each
of the other media sources (CD, USB, SD
card). During the search the relevant data-
base is accessed depending on the active
media source.
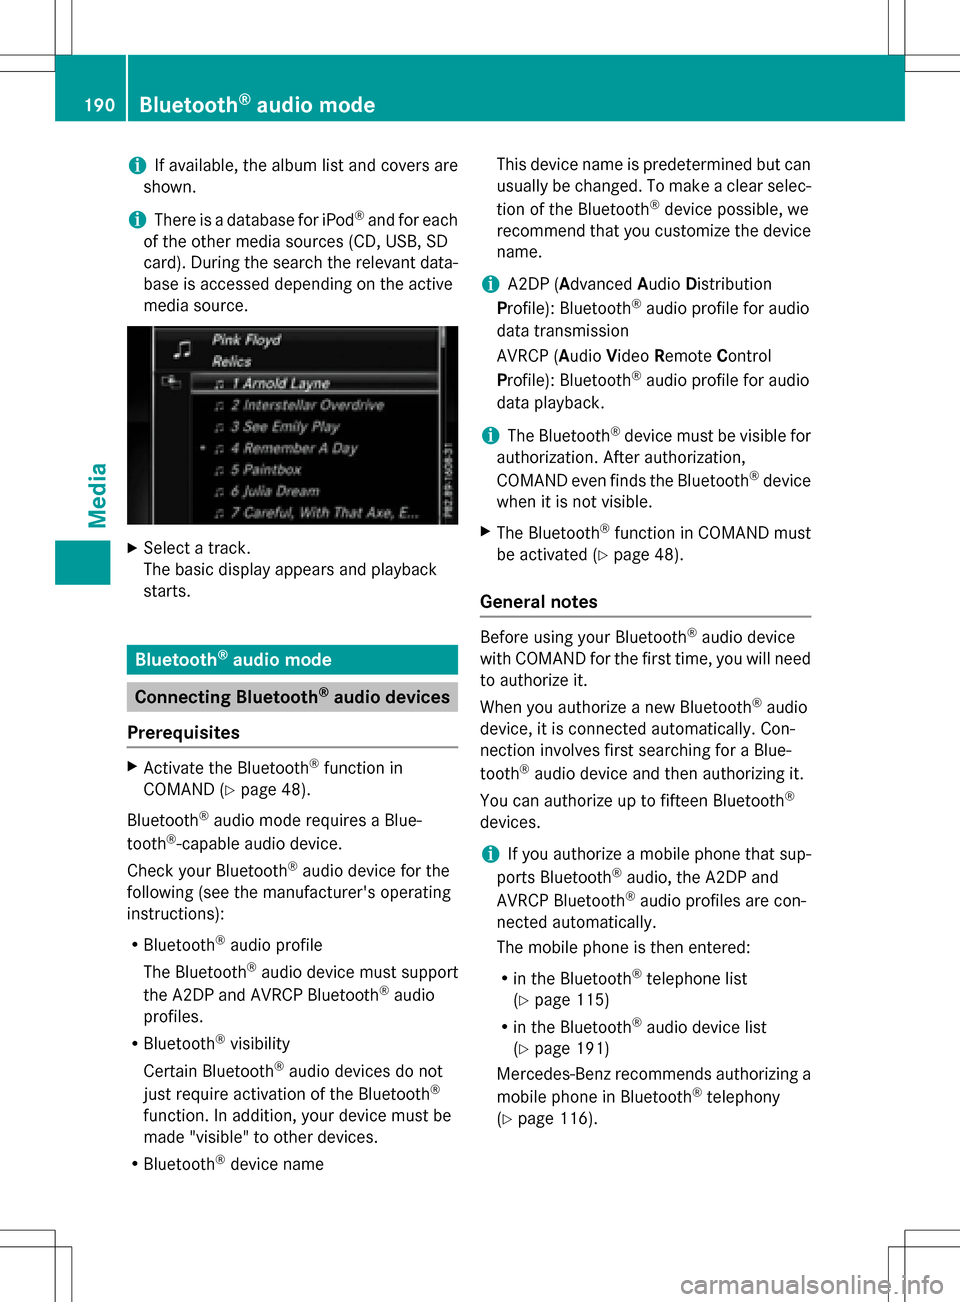
XSelect a track.
The basic display appears and playback
starts.
Bluetooth®audio mode
Connecting Bluetooth®audio devices
Prerequisites
XActivate the Bluetooth®function in
COMAND (
Ypage 48).
Bluetooth
®audio mode requires a Blue-
tooth®-capable audio device.
Check your Bluetooth
®audio device for the
following (see the manufacturer's operating
instructions):
RBluetooth®audio profile
The Bluetooth
®audio device must support
the A2DP and AVRCP Bluetooth®audio
profiles.
RBluetooth®visibility
Certain Bluetooth
®audio devices do not
just require activation of the Bluetooth®
function. In addition, your device must be
made "visible" to other devices.
RBluetooth®device name This device name is predetermined but can
usually be changed. To make a clear selec-
tion of the Bluetooth
®device possible, we
recommend that you customize the device
name.
iA2DP (A dvanced Audio Distribution
Profile): Bluetooth®audio profile for audio
data transmission
AVRCP (A udioVideo Remote Control
Profile): Bluetooth
®audio profile for audio
data playback.
iThe Bluetooth®device must be visible for
authorization. After authorization,
COMAND even finds the Bluetooth
®device
when it is not visible.
XThe Bluetooth®function in COMAND must
be activated (
Ypage 48).
General notes
Before using your Bluetooth®audio device
with COMAND for the first time, you will need
to authorize it.
When you authorize a new Bluetooth
®audio
device, it is connected automatically. Con-
nection involves first searching for a Blue-
tooth
®audio device and then authorizing it.
You can authorize up to fifteen Bluetooth
®
devices.
iIf you authorize a mobile phone that sup-
ports Bluetooth®audio, the A2DP and
AVRCP Bluetooth®audio profiles are con-
nected automatically.
The mobile phone is then entered:
Rin the Bluetooth®telephone list
(
Ypage 115)
Rin the Bluetooth®audio device list
(
Ypage 191)
Mercedes-Benz recommends authorizing a
mobile phone in Bluetooth
®telephony
(
Ypage 116).
190Bluetooth®audio mode
Media
Page 197 of 246
Some mobile phones impair function with
regard to the following criteria:
Rthe number of tracks that can be selected
Rthe time period until the next or previous
track is played
XSwitch the multifunction steering wheel to
the media menu (see the vehicle Operator's
Manual).
XTo skip forwards or backwards to a
track:press the 9or: button on
the multifunction steering wheel.
XRapid scroll: press and hold the 9
or : button on the multifunction steer-
ing wheel until the desired track is reached.
If you press and hold the 9or:
buttons, the rapid scrolling speed increa-
ses after a short time.
Further ways to select tracks (
Ypage 185).
iIn rapid scroll, track names are not
shown, but instead only Track1, Track2 etc.
The playback times for the tracks played
are not displayed. This is available as an
optional function starting with AVRCP Ver-
sion 1.3. There is also no music search
option available with Bluetooth
®Audio.
Selecting playback options
If the Bluetooth®audio device supports the
corresponding function, the following options
are available:
RNormal Track Sequence: the tracks are
played in the normal order (e.g. track 1, 2, 3
etc.).
Audio data playback is determined by the
order in which the tracks are written to the
data medium. Alphabetical order is the
most common. Once all the tracks in a folder have been played, the tracks in the
next folder are played.
RRandomTrackList: the current track list
is played in random order (e.g. 3, 8, 5 etc.).
RRandom Medium: all tracks on the data
medium are played in random order (e.g.
track 3, 8, 5 etc.).
Playback options are optional functions
and are not, or only partially, supported by
Bluetooth
®audio devices.
Selecting playback options
XTo select Options: turn and press the con-
troller.
XSelect Playback Mode.
A # dot indicates the current setting.
XSelect the desired option.
If you select Random
TrackList, you will
see a corresponding message in the dis-
play/selection window.
Increasing the volume on COMAND
XTo select Options: slide6and press the
controller.
XTo select Volume: turn and press the con-
troller.
A menu appears. The #dot indicates the
current setting.
XSelect StandardorBoost.
Information on sound settings
(
Ypage 206).
Operation with the Media Interface
General notes
Media Interface is a universal interface for the
connection of mobile audio and video devi-
ces. Media Interface in COMAND has two
USB connections.
The USB connection sockets are located in
the stowage compartment under the armrest.
Operation with the Media Interface195
Media
Z
Page 198 of 246

Media Interface basic display
:Main function bar
;Display for the active data medium
=Media menu bar
?Title display in the media list
ACurrent track/number in track list
BNumerical time display
CGraphic time display
DAdditional display area with cover view
Switching to Media Interface
XConnect a data medium to USB socket 1 or
USB socket 2 (
Ypage 184).
XSelect the basic menu for Media Interface 1
or Media Interface 2 (
Ypage 179).
If playable media files are found, they will
be played by COMAND.
If you remove a device, the No Device
Connectedmessage appears.
Supported devices
The following data media can be connected to
COMAND via the Media Interface:
RiPod®
RiPhone®
RiPad®
RMP3
RUSB devices
iIt is not possible to run two Apple®devi-
ces simultaneously.
iiPod®, iPhone®and iPad®are registered
trademarks of Apple Inc., Cupertino, Cali-
fornia, USA.
iAudio files, photos and video files can be
played back.
For details and a list of supported devices,
visit our website at http://www.mercedes-
benz-mobile.com/ . Then follow the instruc-
tions in the "Media Interface" section.
Or call the Mercedes-Benz Customer Assis-
tance Center at 1-800-FOR-MERCedes
(1-800-367-6372) (for the USA) or Customer
Relations at 1-800-387-0100 (for Canada).
Supported data formats
Musicmp3, wma, aac
Videompeg, wmv, mov,
avi, mp4
Imagesjpg, jpeg, bmp, png
Selecting a music file
Selecting with the controller
XTo display the current track list: press
the controller in the basic display.
The track list for the active data medium
appears.
XTo select a track: turn the controller and
press to confirm.
XTo skip forwards or backwards to a
track: turn the controller in the basic dis-
play.
The selected track is played.
Fast forward/rewind
XWith the media source active in the basic
display, slide 1the controller and hold
it until the desired position has been
reached.
196Operation with the Media Interface
Media
Page 205 of 246
Picture viewer
General notes
If pictures are stored on a medium (except on
Apple®devices) which is connected to
COMAND, you can view these on the
COMAND display.
The following data media and picture formats are supported:
RData media: CD, DVD, USB devices, SD
memory cards
RPicture formats: jpeg, jpg, bmp, png
The maximum image resolution is 20 mega-
pixels for jpeg, jpg and 1.5 megapixels for
bmp, png.
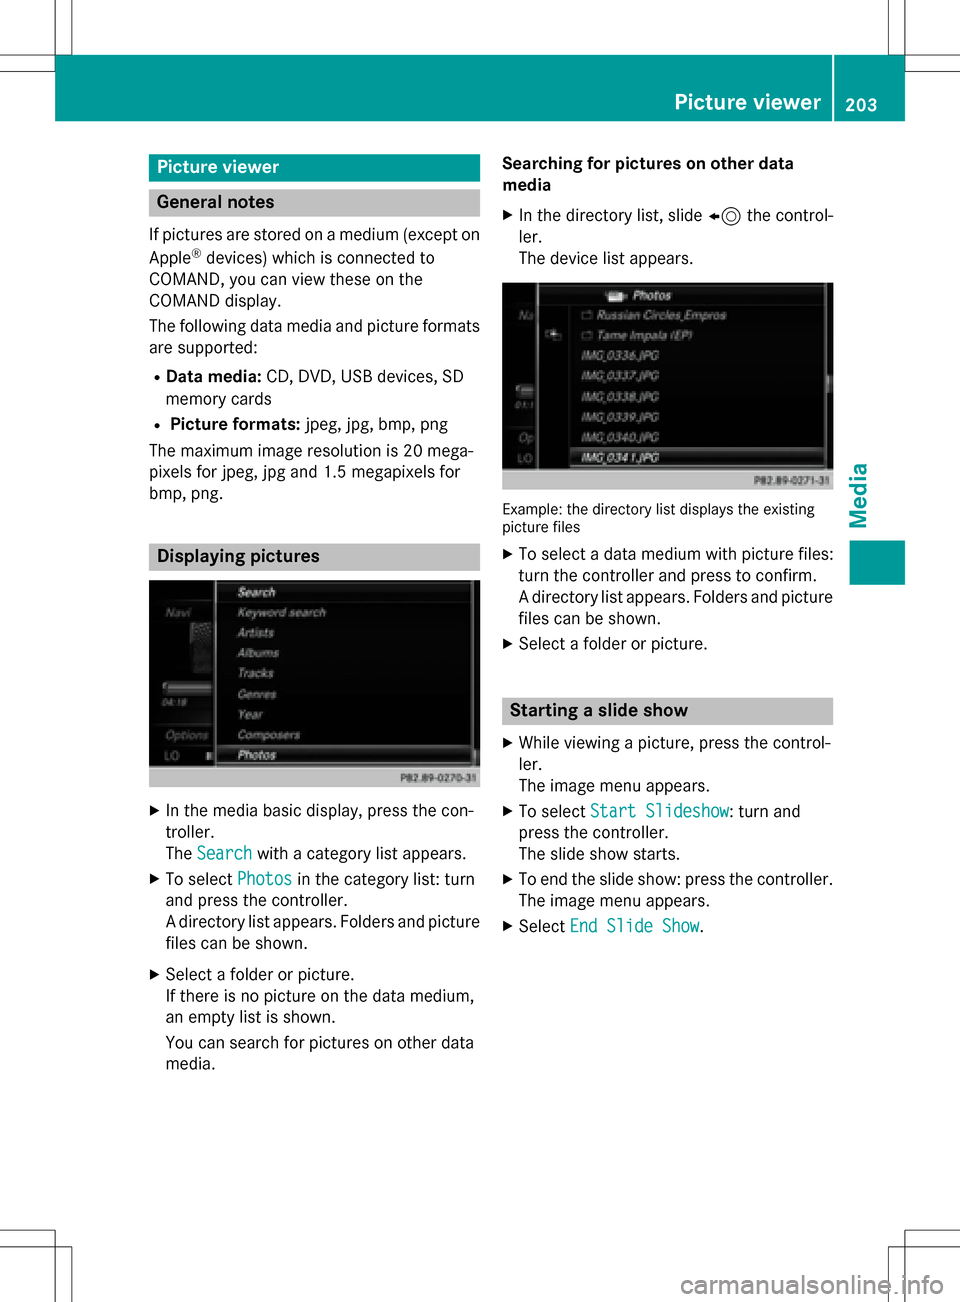
Displaying pictures
XIn the media basic display, press the con-
troller.
The Search
with a category list appears.
XTo select Photosin the category list: turn
and press the controller.
A directory list appears. Folders and picture
files can be shown.
XSelect a folder or picture.
If there is no picture on the data medium,
an empty list is shown.
You can search for pictures on other data
media. Searching for pictures on other data
media
XIn the directory list, slide
8the control-
ler.
The device list appears.
Example: the directory list displays the existing
picture files
XTo select a data medium with picture files:
turn the controller and press to confirm.
A directory list appears. Folders and picture
files can be shown.
XSelect a folder or picture.
Starting a slide show
XWhile viewing a picture, press the control-
ler.
The image menu appears.
XTo select Start Slideshow: turn and
press the controller.
The slide show starts.
XTo end the slide show: press the controller.
The image menu appears.
XSelect End Slide Show.
Picture viewer203
Media
Z
Page 209 of 246
XCallup the sound menu (Ypage 206).
XTurn the controller until Balance/Faderis
brought to the front and then slide 6the
controller.
XTo activate the menu for balance and fader:
press the controller.
XTo adjust the balance: slide 8or9
the controller.
XTo adjust the fader: slide 6or5 the
controller.
XTo return to the basic menu: press the %
button briefly.
Harman/kardon®Logic 7®surround
sound system
General notes
The harman/kardon®Logic7®surround
sound system isavailab lefor all functions in
the radio and media modes.
The harman/kardon
®Logic7®surround
sound system isavailab lefor the following
operating modes:
Rradio (FM only)
Rsatellit e radio
RaudioCD
RMP3 (including SDmemory card and USB
storage device)
RMedia Interface
RBluetooth®audio mode
Rvide o DVD (PCM, DTS®and Dolby®Digital
audio formats)
iFor the best sound, CD or WAV CD format
is recommended. For data-reduced media,
AAC with a data rate of 320 kbit/s isrec-
ommended.
Discs which support the audio formats men-
tioned have the fol lowing logos:
iManufactured under license from Dolby
Laboratories. Dolby and the double-D sym-
bol are trademarks of Do lbyLaboratories.
iFor DTS patents see http://
patents.dts.com. Manufactured under
license from DTS Licensing Limit ed. DTS,
the Symbol & DTS and the Symbol together
are registered trademarks, and DTS Dig ital
Surround isa trademark of DT S, Inc.
©DTS,
In c. All rights reserved.
Calling up the sound menu
You can make various sound settings for the
diff erent audio and video sources. It ispossi-
ble to set more bass for radio mode than for
audio CDmode, for example. The respecti ve
sound menu iscalled up from the menu of the
desired mode.
XSwit ch to radio mode (Ypage 166).
or
XSwit ch to med iamode (Ypage 178).
XTo switch to the menu bar: slide 6the
controller.
XTo select Sound: turn and press the con-
troller.
The menu appears with the last setting
accessed, e.g. Balance/Fader
.
Harman/kardon®Logic 7®surround sound system207
Sound