ESP MERCEDES-BENZ E-Class 2016 W213 Comand Manual
[x] Cancel search | Manufacturer: MERCEDES-BENZ, Model Year: 2016, Model line: E-Class, Model: MERCEDES-BENZ E-Class 2016 W213Pages: 246, PDF Size: 6.7 MB
Page 156 of 246
XTo selectInternet: turn and press the
controller.
The menu with the Internet functions is dis-
played.
XTo select Mercedes-Benz Apps: turn and
press the controller.
XTo select Local Search: turn and press
the controller.
Further information on how to enter the
search position and search term
(
Ypage 154).
iYou will first need to register COMAND
before you can use the Internet functions.
To do so, you have to enter your name and
postal address once in the vehicle and con-
firm the general terms and conditions.
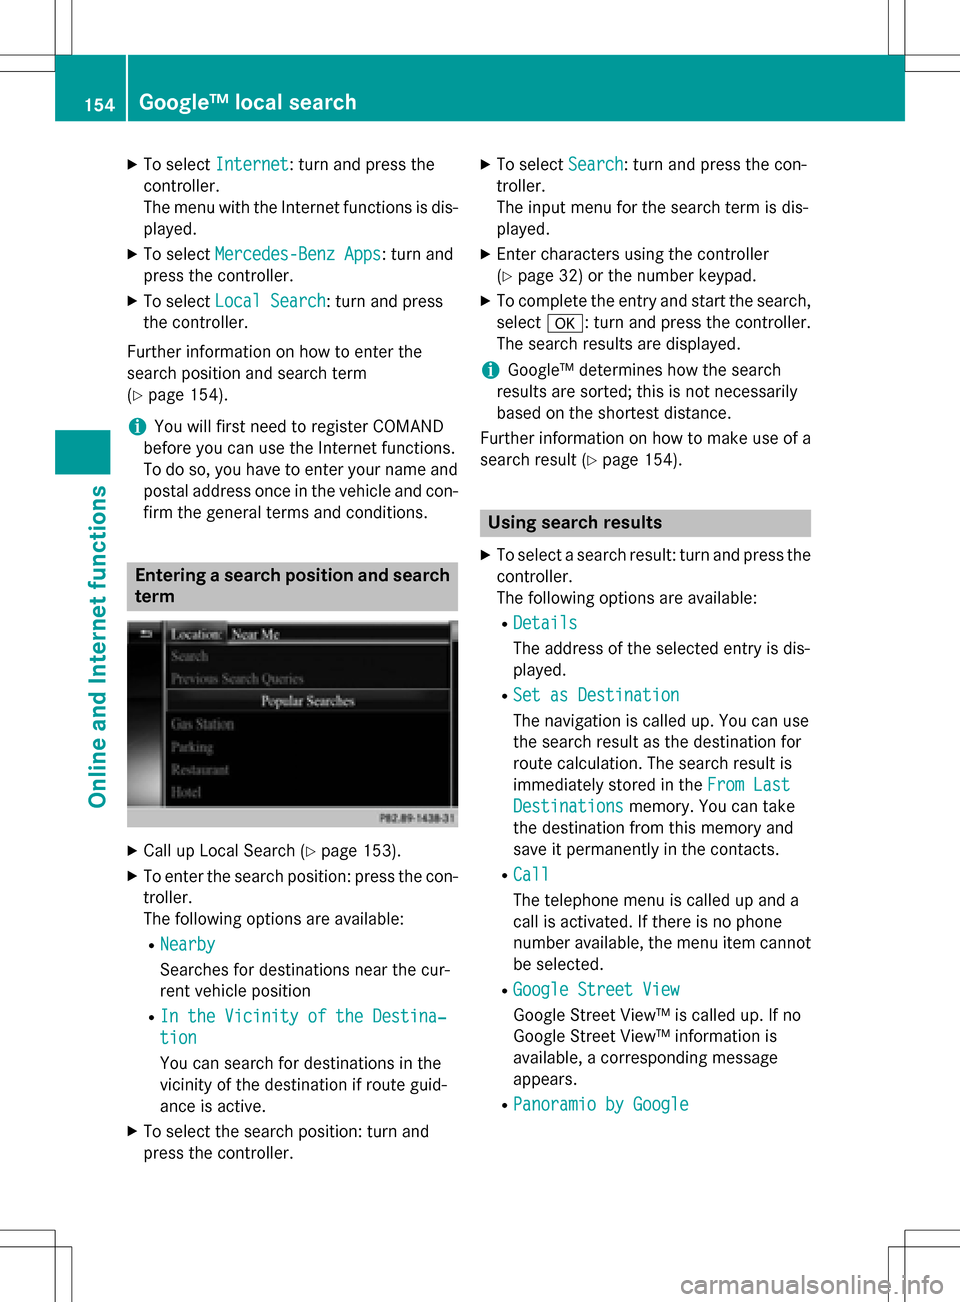
Entering a search position and search term
XCall up Local Search (Ypage 153).
XTo enter the search position: press the con-
troller.
The following options are available:
RNearby
Searches for destinations near the cur-
rent vehicle position
RIn the Vicinity of the Destina‐
tion
You can search for destinations in the
vicinity of the destination if route guid-
ance is active.
XTo select the search position: turn and
press the controller.
XTo select Search: turn and press the con-
troller.
The input menu for the search term is dis-
played.
XEnter characters using the controller
(
Ypage 32) or the number keypad.
XTo complete the entry and start the search,
select a: turn and press the controller.
The search results are displayed.
iGoogle™ determines how the search
results are sorted; this is not necessarily
based on the shortest distance.
Further information on how to make use of a
search result (
Ypage 154).
Using search results
XTo select a search result: turn and press the
controller.
The following options are available:
RDetails
The address of the selected entry is dis-
played.
RSet as Destination
The navigation is called up. You can use
the search result as the destination for
route calculation. The search result is
immediately stored in the From Last
Destinationsmemory. You can take
the destination from this memory and
save it permanently in the contacts.
RCall
The telephone menu is called up and a
call is activated. If there is no phone
number available, the menu item cannot be selected.
RGoogle Street View
Google Street View™ is called up. If no
Google Street View™ information is
available, a corresponding message
appears.
RPanoramio by Google
154Google™ local search
Online and Internet functions
Page 157 of 246
You see pictures of places worth seeing
in the vicinity of the search result.
XTo select the option: turn and press the
controller.
Popular searches
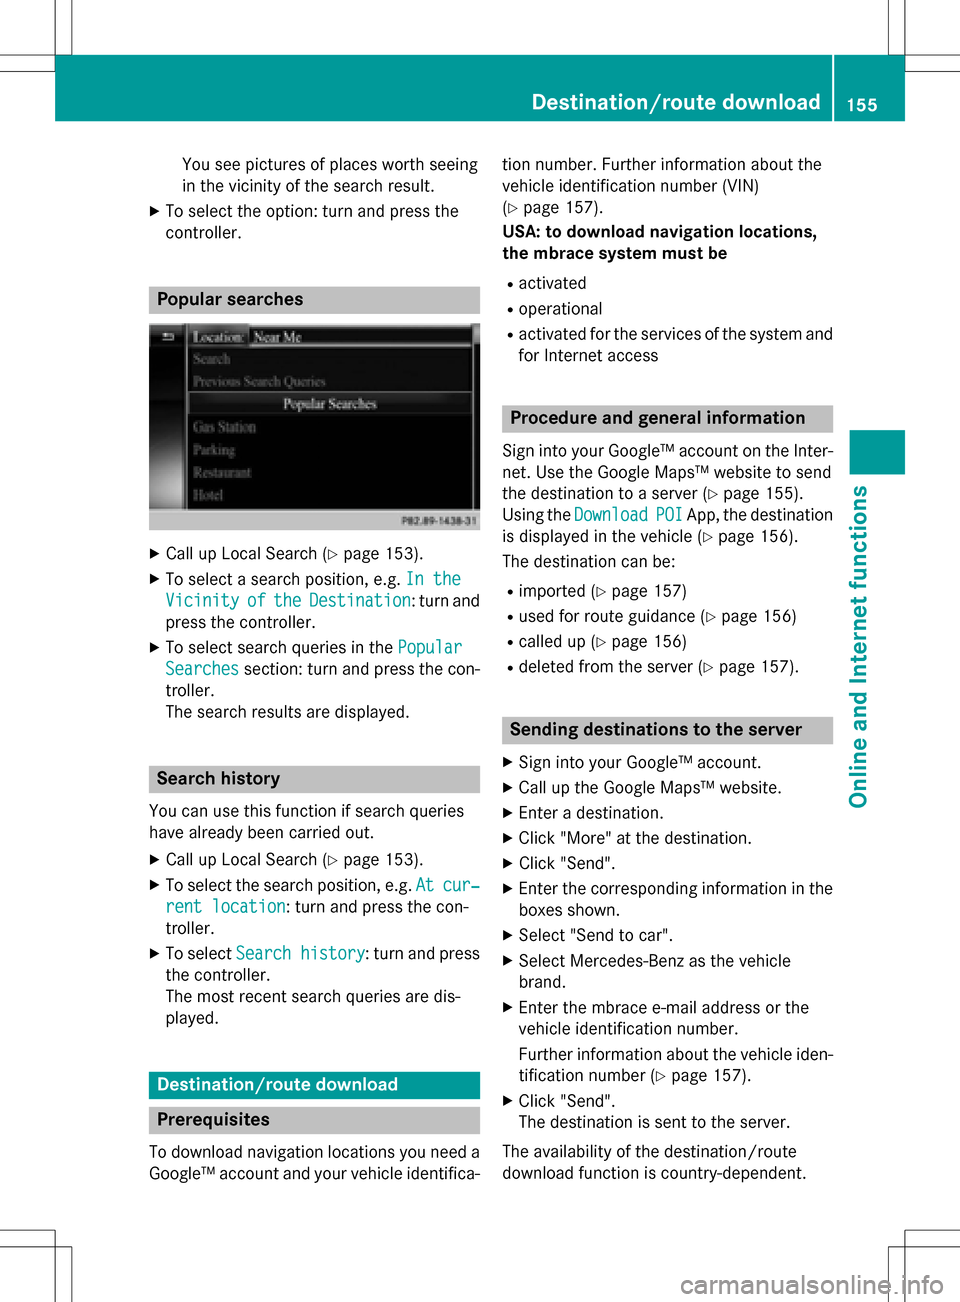
XCall up Local Search (Ypage 153).
XTo select a search position, e.g.In the
VicinityoftheDestination: turn and
press the controller.
XTo select search queries in the Popular
Searchessection: turn and press the con-
troller.
The search results are displayed.
Search history
You can use this function if search queries
have already been carried out.
XCall up Local Search (Ypage 153).
XTo select the search position, e.g. Atcur‐
rent location: turn and press the con-
troller.
XTo select Search history: turn and press
the controller.
The most recent search queries are dis-
played.
Destination/route download
Prerequisites
To download navigation locations you need a
Google™ account and your vehicle identifica- tion number. Further information about the
vehicle identification number (VIN)
(
Ypage 157).
USA: to download navigation locations,
the mbrace system must be
Ractivated
Roperational
Ractivated for the services of the system and
for Internet access
Procedure and general information
Sign into your Google™ account on the Inter-
net. Use the Google Maps™ website to send
the destination to a server (
Ypage 155).
Using the Download
POIApp, the destination
is displayed in the vehicle (
Ypage 156).
The destination can be:
Rimported (Ypage 157)
Rused for route guidance (Ypage 156)
Rcalled up (Ypage 156)
Rdeleted from the server (Ypage 157).
Sending destinations to the server
XSign into your Google™ account.
XCall up the Google Maps™ website.
XEnter a destination.
XClick "More" at the destination.
XClick "Send".
XEnter the corresponding information in the boxes shown.
XSelect "Send to car".
XSelect Mercedes-Benz as the vehicle
brand.
XEnter the mbrace e-mail address or the
vehicle identification number.
Further information about the vehicle iden-tification number (
Ypage 157).
XClick "Send".
The destination is sent to the server.
The availability of the destination/route
download function is country-dependent.
Destination/route download155
Online and Internet functions
Z
Page 162 of 246
Navigating the website
StepResult
XTurn the control-
ler.Navigates from one
selectable item (e.g.
link, text field or
menu) to the next
and highlights the
respective element
on the website.
Sliding the control-
ler:
XLeft or right
1
XUp or down4
XDiagonally2
Moves the pointer
on the page.
XPress the control-
ler.Opens the selected
item.
XPress%.Calls up the menu.
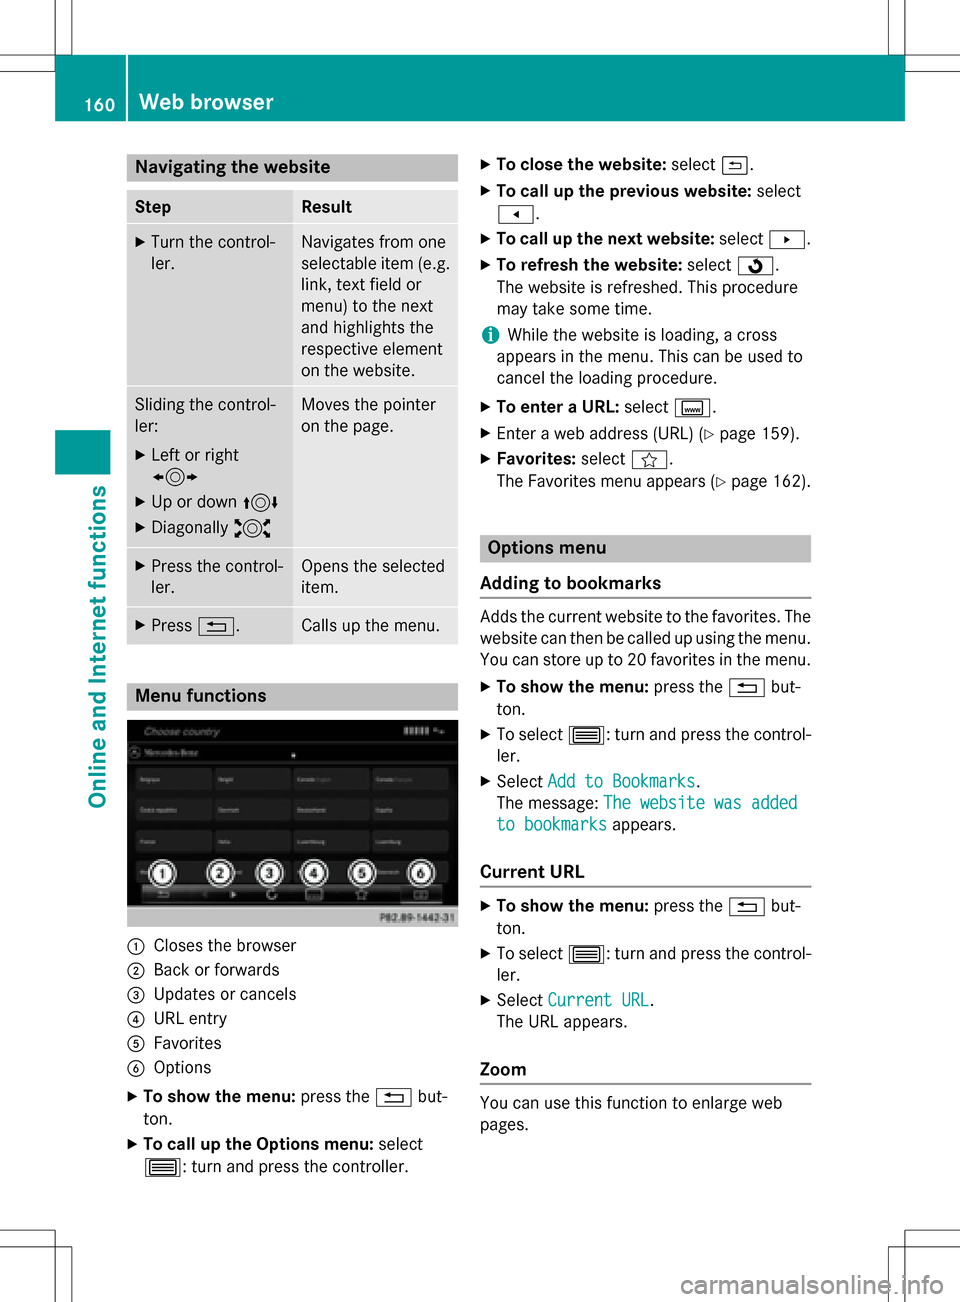
Menu functions
:Closes the browser
;Back or forwards
=Updates or cancels
?URL entry
AFavorites
BOptions
XTo show the menu: press the%but-
ton.
XTo call up the Options menu: select
3: turn and press the controller.
XTo close the website: select&.
XTo call up the previous website: select
t.
XTo call up the next website: selectu.
XTo refresh the website: selectÎ.
The website is refreshed. This procedure
may take some time.
iWhile the website is loading, a cross
appears in the menu. This can be used to
cancel the loading procedure.
XTo enter a URL: selectg.
XEnter a web address (URL) (Ypage 159).
XFavorites: selectf.
The Favorites menu appears (
Ypage 162).
Options menu
Adding to bookmarks
Adds the current website to the favorites. The
website can then be called up using the menu. You can store up to 20 favorites in the menu.
XTo show the menu: press the%but-
ton.
XTo select 3: turn and press the control-
ler.
XSelect Add to Bookmarks.
The message: The website was added
to bookmarksappears.
Current URL
XTo show the menu: press the%but-
ton.
XTo select 3: turn and press the control-
ler.
XSelect Current URL.
The URL appears.
Zoom
You can use this function to enlarge web
pages.
160Web browser
Online an d Internet functions
Page 175 of 246
XSlide9the controller.
XTo select the Delete Highlighted Sta‐
tion/Channeloption in the additional
menu: turn and press the controller.
or
XPress the $button.
The prompt Do you want to delete
the preset?appears
XTo selectYes: turn and press the controller.
The highlighted station is deleted.
or
XTo select No: press the controller.
The process is canceled.
Music and sport alerts
General notes
This function makes it possible to store a pro-
gram alert for your favorite artists, tracks or
sporting events.
You can store up to 30 music and sports
alerts (favorites).
Music alerts can only be saved whilst a track
is being played. You can also specify sport
alerts via the menu option. The system then
continuously searches through all the chan-
nels. If a match is found with a saved mes-
sage, you will be informed. A window appears with the respective information.
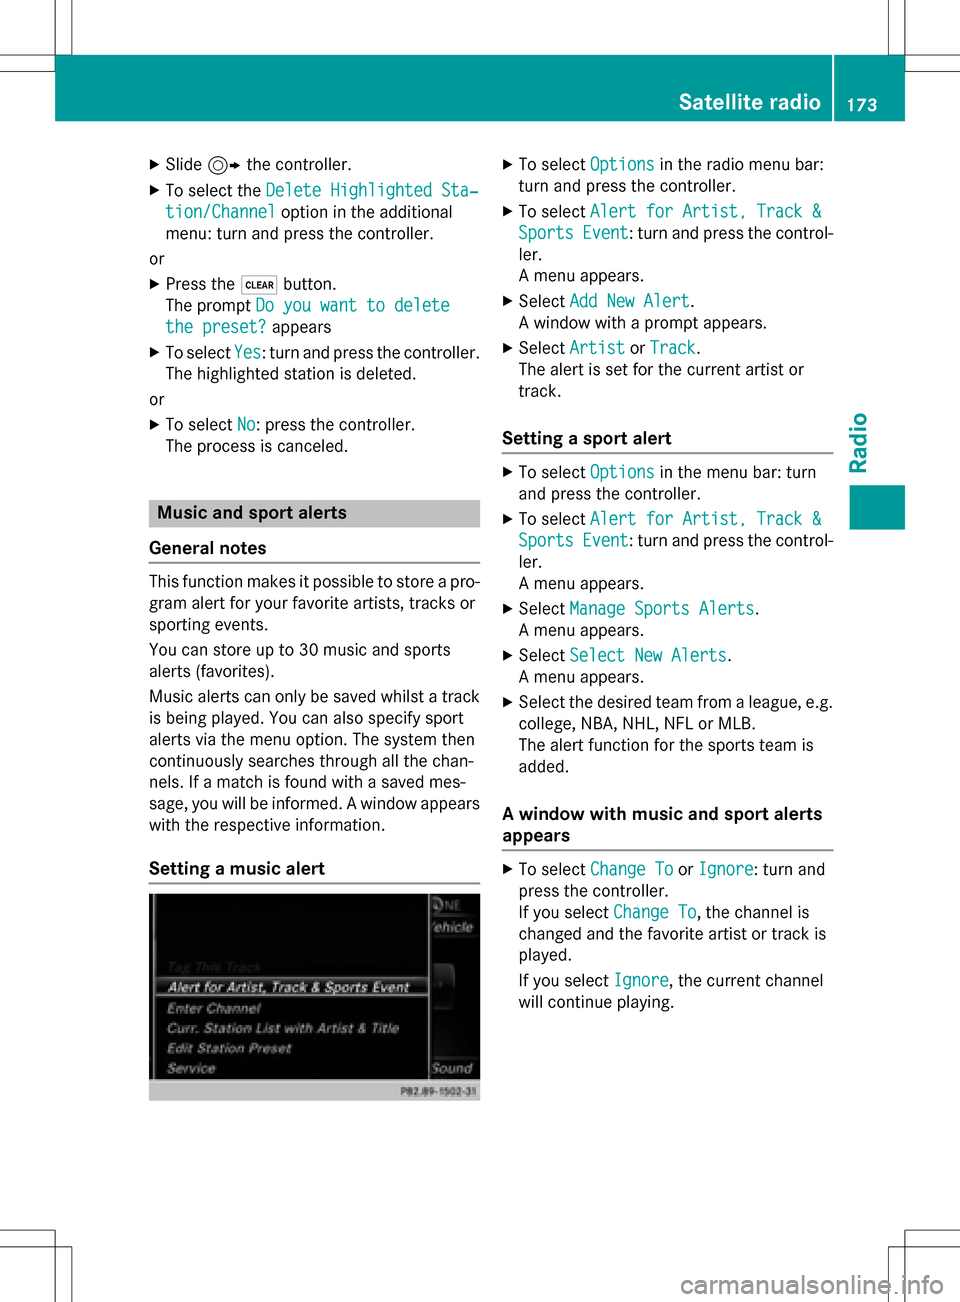
Setting a music alert
XTo select Optionsin the radio menu bar:
turn and press the controller.
XTo select Alert for Artist, Track &
SportsEvent: turn and press the control-
ler.
A menu appears.
XSelect Add New Alert.
A window with a prompt appears.
XSelect ArtistorTrack.
The alert is set for the current artist or
track.
Setting a sport alert
XTo select Optionsin the menu bar: turn
and press the controller.
XTo select Alert for Artist, Track &
SportsEvent: turn and press the control-
ler.
A menu appears.
XSelect Manage Sports Alerts.
A menu appears.
XSelect Select New Alerts.
A menu appears.
XSelect the desired team from a league, e.g.
college, NBA, NHL, NFL or MLB.
The alert function for the sports team is
added.
A window with music and sport alerts
appears
XTo select Change ToorIgnore: turn and
press the controller.
If you select Change To
, the channel is
changed and the favorite artist or track is
played.
If you select Ignore
, the current channel
will continue playing.
Satellite radio173
Radio
Page 181 of 246
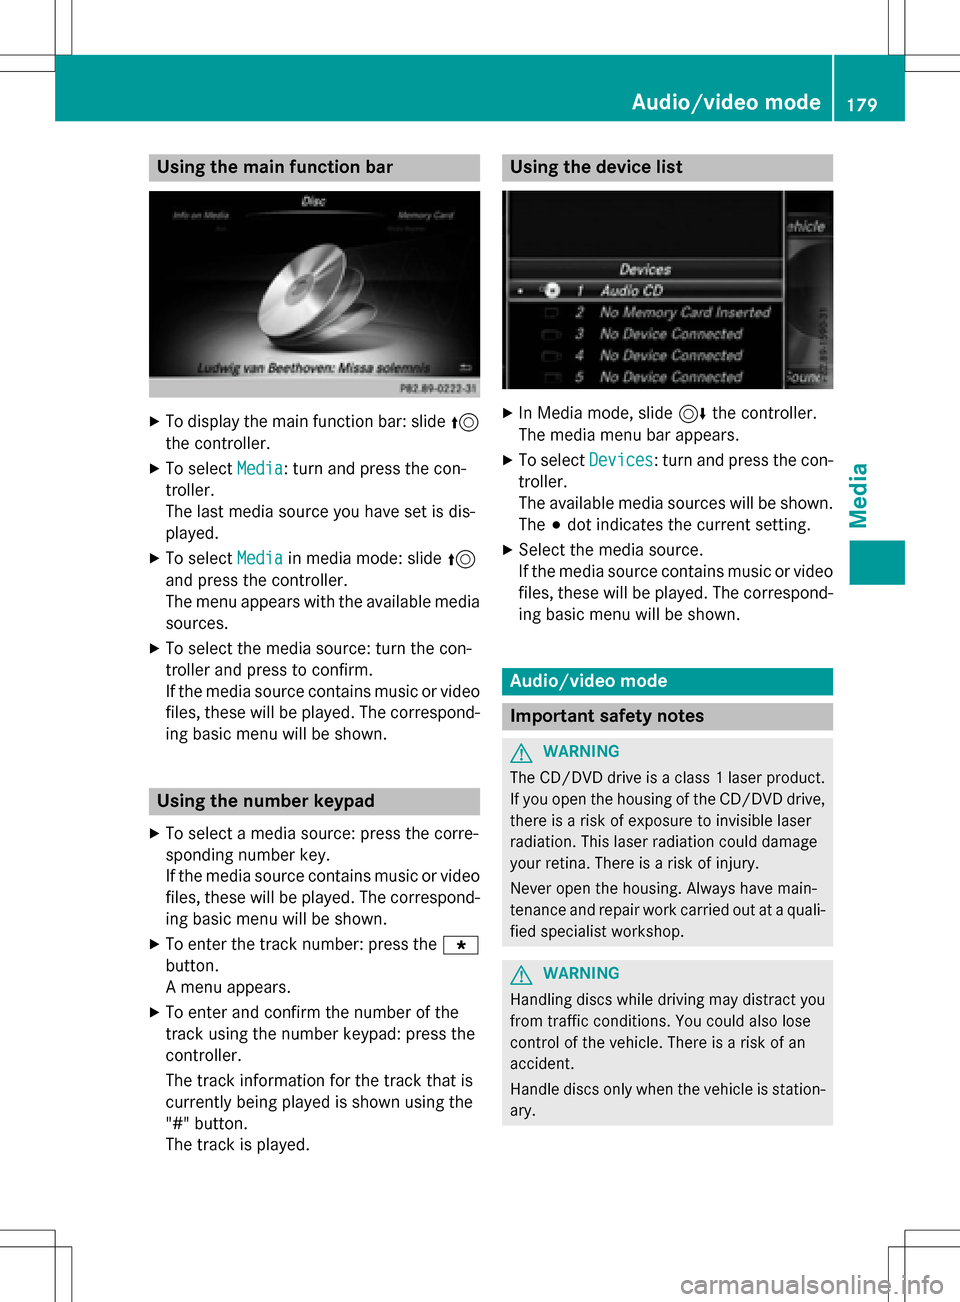
Using the main function bar
XTo display the main function bar: slide5
the controller.
XTo select Media: turn and press the con-
troller.
The last media source you have set is dis-
played.
XTo select Mediain media mode: slide 5
and press the controller.
The menu appears with the available media
sources.
XTo select the media source: turn the con-
troller and press to confirm.
If the media source contains music or video
files, these will be played. The correspond-
ing basic menu will be shown.
Using the number keypad
XTo select a media source: press the corre-
sponding number key.
If the media source contains music or video
files, these will be played. The correspond-
ing basic menu will be shown.
XTo enter the track number: press the g
button.
A menu appears.
XTo enter and confirm the number of the
track using the number keypad: press the
controller.
The track information for the track that is
currently being played is shown using the
"#" button.
The track is played.
Using the device list
XIn Media mode, slide 6the controller.
The media menu bar appears.
XTo select Devices: turn and press the con-
troller.
The available media sources will be shown.
The #dot indicates the current setting.
XSelect the media source.
If the media source contains music or video
files, these will be played. The correspond-
ing basic menu will be shown.
Audio/video mode
Important safety notes
GWARNING
The CD/DVD drive is a class 1 laser product.
If you open the housing of the CD/DVD drive,
there is a risk of exposure to invisible laser
radiation. This laser radiation could damage
your retina. There is a risk of injury.
Never open the housing. Always have main-
tenance and repair work carried out at a quali- fied specialist workshop.
GWARNING
Handling discs while driving may distract you from traffic conditions. You could also lose
control of the vehicle. There is a risk of an
accident.
Handle discs only when the vehicle is station-
ary.
Audio/video mode179
Media
Z
Page 183 of 246
Permissible bit and sampling rates
COMAND supports MP3 files of the following
types:
Rfixed and variable bit rates from 32 kbit/s
to 320 kbit/s
Rsampling rates of 8 kHz to 48 kHz
COMAND supports WMA files of the following
types:
Rfixed bit rates from 5 kbit/s to 384 kbit/s
Rsampling rates of 8 kHz to 48 kHz
COMAND does not support WMA files of the
following types:
RDRM (Digital Rights Management) encryp-
ted files
Rvariable bit rate
RWMA Pro
R5.1 surround sound
iOnly use tracks with a bit rate of at least
128 kbit/s and a sampling rate of at least
44.1 kH z.Lower rates can cause a notice-
able deterioration in quality. This is espe-
cially the case if you have activated a sur-
round sound function.
Selecting an active partition (USB mass
storage devices only)
You can select this function for USB storage
devices when the storage device is parti-
tioned. Up to 9 partitions (primary or logical,
FAT, FAT32, exFAT and NTFS) are supported.
Selecting an active partition
XTo select Optionsin the media menu bar:
turn and press the controller.
XSelect Select Active Partition.
Notes on copyright
Audio/video files that you create or repro-
duce yourself for playback are generally sub-
ject to copyright protection.
In many countries, reproductions, even for
private use, are not permitted without the
prior consent of the copyright holder. Make sure that you know about the applicable
copyright regulations and that you comply
with these.
Notes on CDs/DVDs
!COMAND is designed to play discs that
comply with the EN 60908 standard. There-
fore, you can only use discs with a maxi-
mum thickness of 1.3 mm.
If you insert thicker discs, e.g. those that
contain data on both sides (DVD on one
side and audio data on the other), they can-
not be ejected and can damage the device.
Only use round discs with a diameter of
12 cm. Do not use discs with a diameter of
8 cm, even with an adapter.
Discs with copy protection are not compati-
ble with the audio CD standard and therefore
may not be able to be played by COMAND.
Playback problems may occur when playing
copied discs.
There may be playback problems if you play
CDs that you have copied yourself with a stor-
age capacity of more than 700 MB.
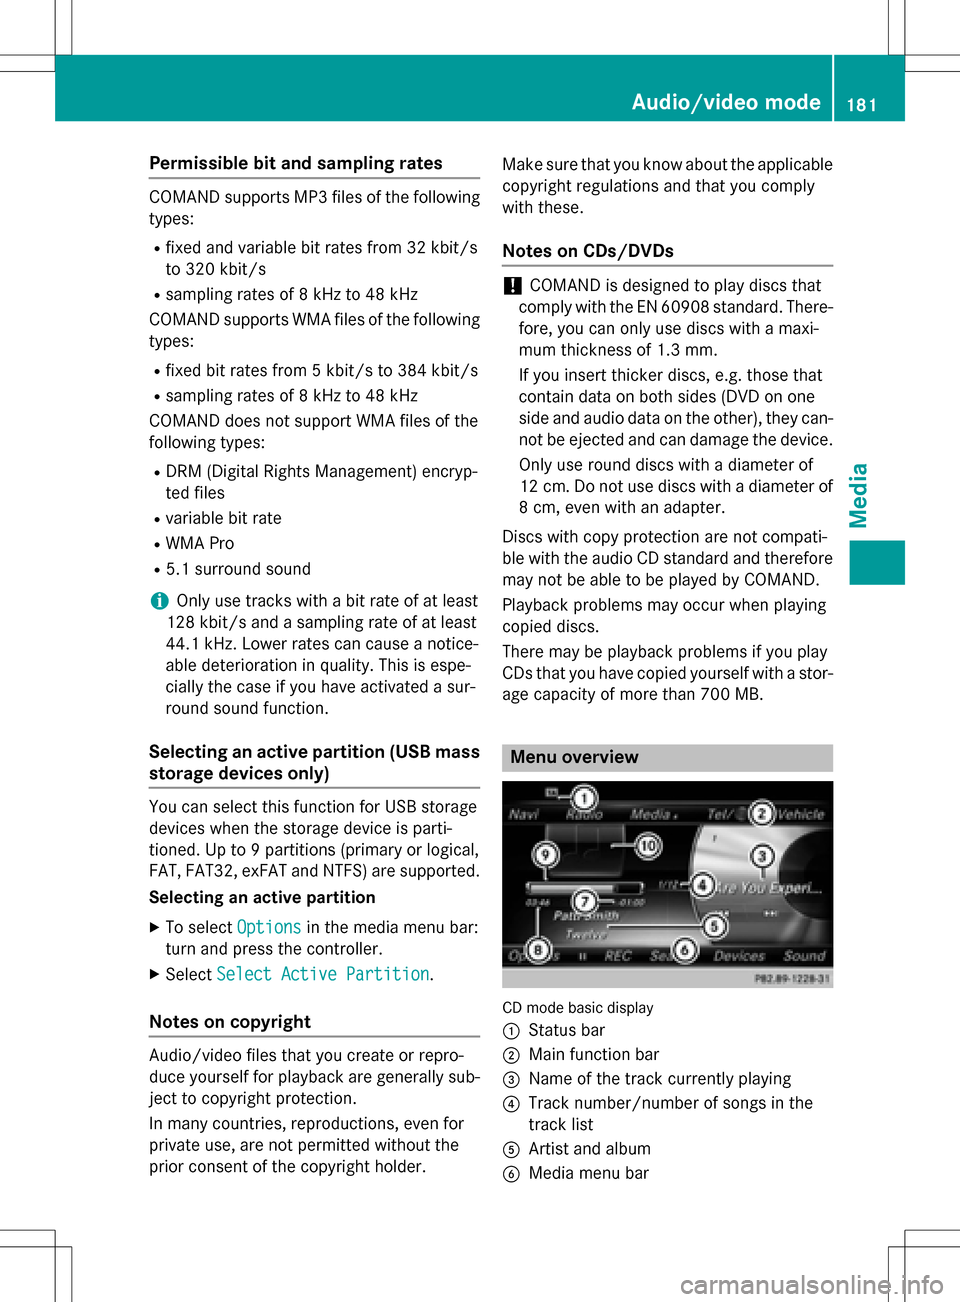
Menu overview
CD mode basic display
:
Status bar
;Main function bar
=Name of the track currently playing
?Track number/number of songs in the
track list
AArtist and album
BMedia menu bar
Audio/video mode181
Media
Z
Page 184 of 246
CRemaining playingtime of th ecurren t
track
DElapse dplaybac ktime for th ecurren t
track
EGraphic time display
FAlbum cover (if available)
Inserting and removing adis c fr om
th esingle CD/DVD dr ive
XTo insert:press theþ buttonon th e
single drive.
If there is adisc already inserted, it will be
ejected.
XInser t adisc into th edisc slot wit hth eprin-
te dside facin gupwards.
The drive closes and th edisc is played .
If th eCD/DV Dis operate din Medi amode,
th ecorrespondin gbasic men uwill be
shown. If th eCD/DV Dis started usin g
another application (e.g. navigation), th e
display will no tchange.
iThe drive may no tbe able to play disc s
wit hcopy protection .
XTo remove:press theþ button.
The drive ejects th edisc .
XRemove th eejecte ddisc from th eslot .
If you do no ttak eth edisc out of th eslot ,it
is draw nin again automatically after ashort
while .
Inserting discs int oth eDVD changer
The DV Dchanger has amagazine wit hsix
trays.
XTo inser tth eCD/DVD int oth emaga-
zin etray :press th eV button.
The magazine men uappears.
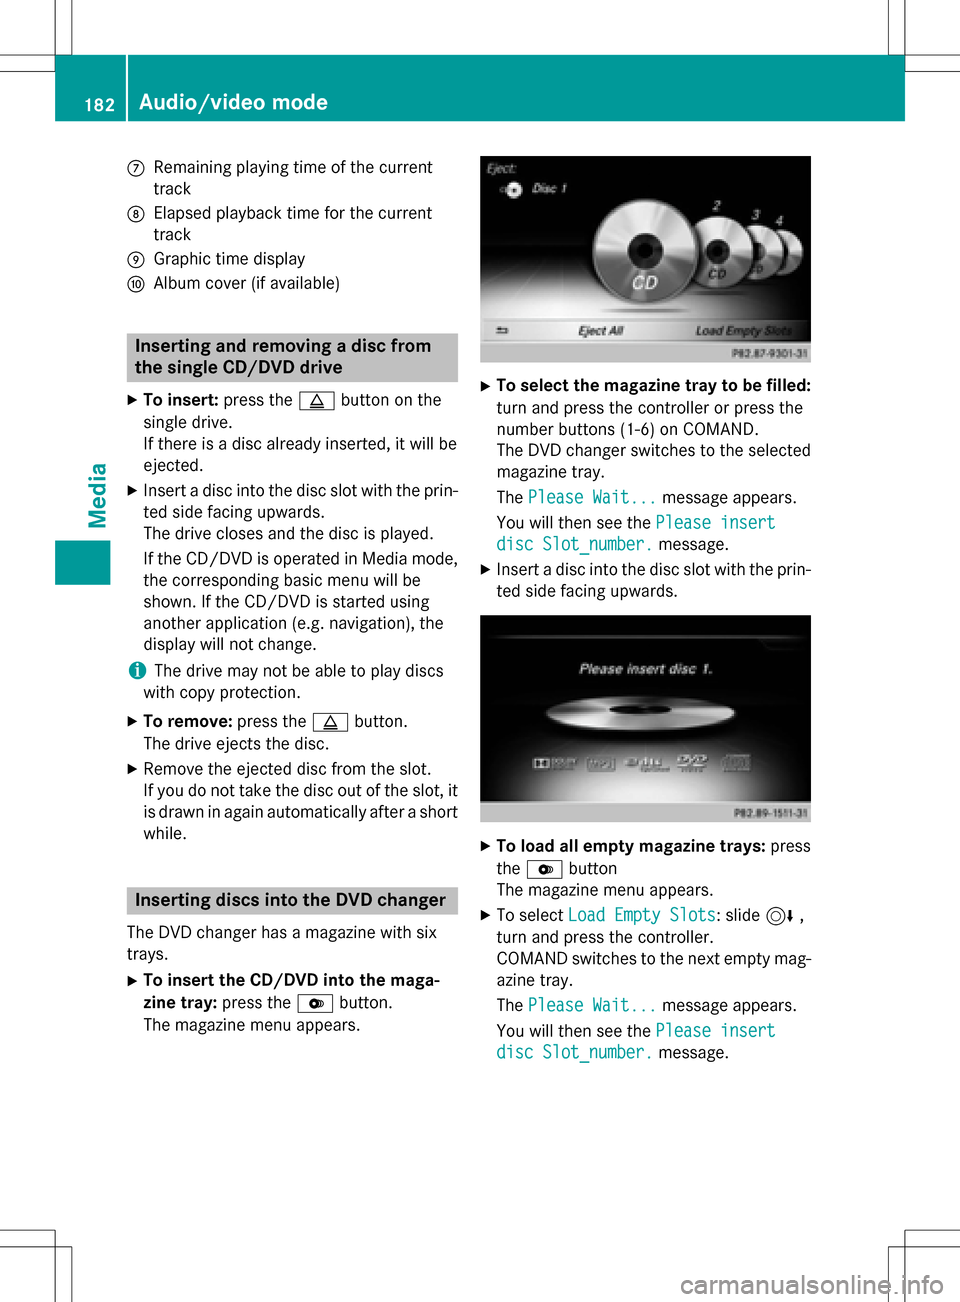
XTo select th emagazine tray to be filled:
tur nand press th econtroller or press th e
number buttons (1-6) on COMAND .
The DV Dchanger switches to th eselected
magazine tray.
The Please Wait.. .
message appears.
You will then see th ePlease insert
dis cSlot_number.message .
XInsert adisc into th edisc slot wit hth eprin-
te dside facin gupwards.
XTo load all empt ymagazine trays: press
th eV button
The magazine men uappears.
XTo select LoadEmpty Slots:slid e6 ,
tur nand press th econtroller .
COMAND switches to th enext empty mag -
azine tray.
The Please Wait.. .
message appears.
You will then see th ePlease insert
dis cSlot_number.message .
182Audio/video mode
Media
Page 186 of 246
The side with the contacts must face down-
wards.
The music is played while the files are loa-
ded in the background. If there are no sup-
ported audio/video files, you will see a
message to this effect.
Ejecting an SD memory card
XPress the memory card.
The memory card is ejected.
XRemove the memory card.
Connecting USB devices
There are two USB ports in the stowage space
under the armrest.
XConnect the USB device to the USB port.
If the corresponding media display is visi-
ble, the medium is played and the files are
loaded in the background. Otherwise, the
system does not automatically switch to
USB. If there are no supported audio/video
files, you will see a message to this effect.
iMP3 players must support Media Transfer
Protocol (MTP).
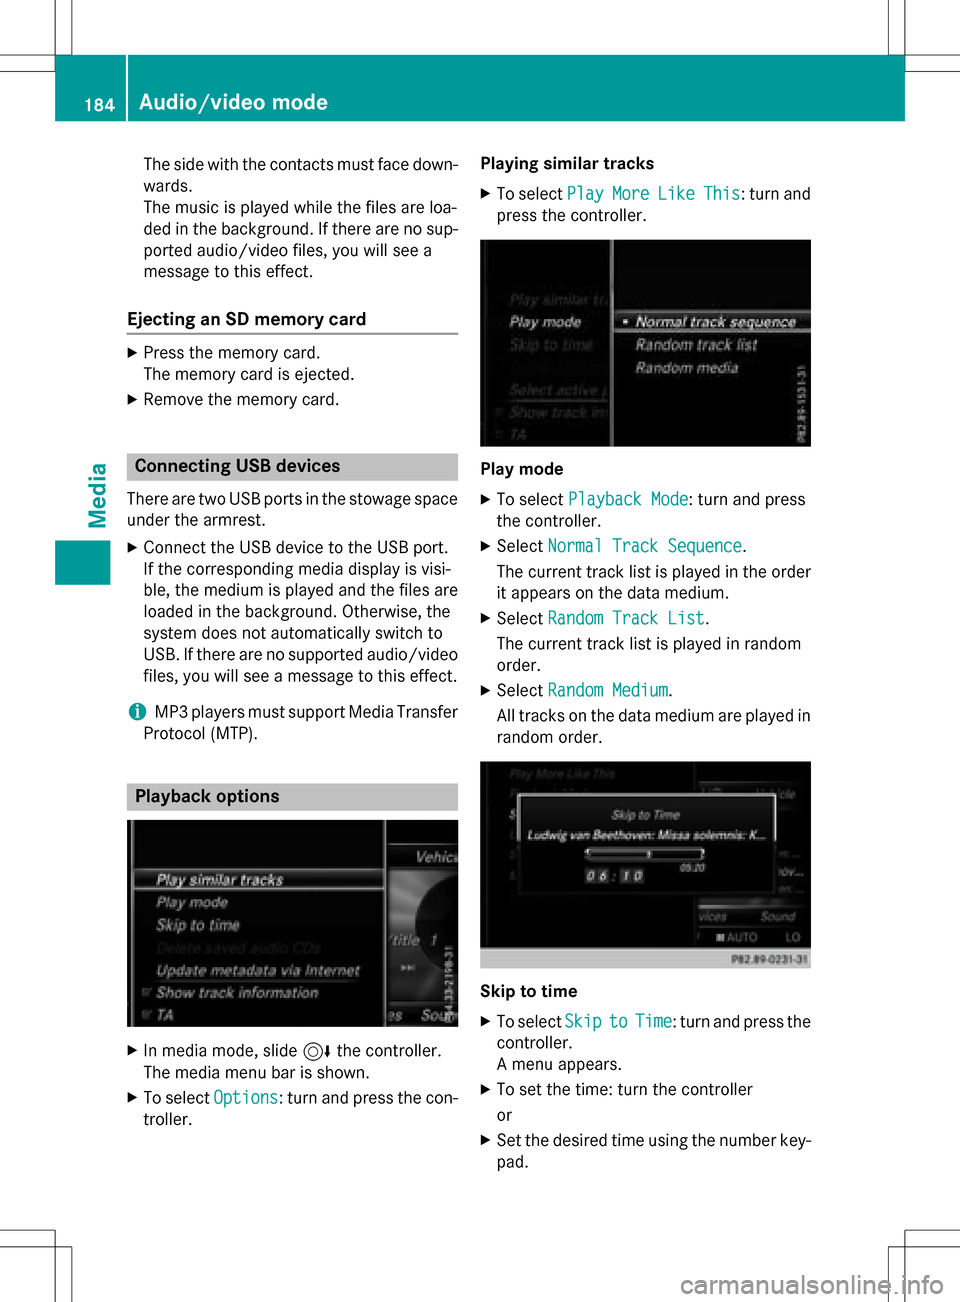
Playback options
XIn media mode, slide 6the controller.
The media menu bar is shown.
XTo select Options: turn and press the con-
troller. Playing similar tracks
XTo select
PlayMoreLikeThis: turn and
press the controller.
Play mode
XTo select Playback Mode: turn and press
the controller.
XSelect Normal Track Sequence.
The current track list is played in the order
it appears on the data medium.
XSelect Random Track List.
The current track list is played in random
order.
XSelect Random Medium.
All tracks on the data medium are played in
random order.
Skip to time
XTo select SkiptoTime: turn and press the
controller.
A menu appears.
XTo set the time: turn the controller
or
XSet the desired time using the number key- pad.
184Audio/video mode
Media
Page 189 of 246
If the copying process is successful, the
Music files copied.
message appears
XTo cancel copying: selectCancel.
The files copied up to the point of cancel-
lation are lost.
iDuring the copying process, you can
switch to another function (e.g. radio) or to
another media source (e.g. USB). The copy-
ing procedure continues in the back-
ground. It is however not possible to select
another CD in the CD changer.
Playing audio CDs
XIn Media mode, slide 6the controller.
The media menu bar appears.
XTo select Search: turn and press the con-
troller.
The category list appears.
XTo select Stored Audio CDsin the cate-
gory list: turn and press the controller.
A selection list for the copied audio CDs is
displayed.
XTo select the desired audio CD: turn and
press the controller.
The track list is displayed.
XTo select a track: turn the controller and
press to confirm.
The tracks on the stored audio CDs can also
be found and played using other media search functions (
Ypage 187).
Deleting stored audio CDs
The function for deleting saved audio CDs is
available if music is played from the stored
audio CDs.
XIn media mode, slide 6the controller.
The media menu bar appears.
XTo select Options: turn and press the con-
troller.
XTo select DeleteSavedAudioCDs: press
the controller.
A selection list for the stored audio CDs is
displayed.
XTo select the desired audio CD: turn and
press the controller.
The audio CD is deleted.
Media search
General notes
COMAND plays back files from the following
data media:
RDisc (CD/DVD)
RMemory card
RUSB storage device
RApple®devices (folder, year and photos are
not available)
The categories are shown according to the
data available, whereby a database is created
for iPod
®and for all the other media sources
(CD, USB, SD card) respectively. During the
search the relevant database is accessed
depending on the active media source.
Starting the media search
XIn Media mode, slide 6the controller.
The media menu bar appears.
XTo select Search: turn and press the con-
troller.
The category list appears.
Media search187
Media
Z
Page 196 of 246
ATo stopËor start Ìplayback
BName of the connected Bluetooth®audio
device (example)
COptions menu
Some mobile phones only support two Blue-
tooth
®profiles at the same time (e.g. Hands-
Free Profile for Bluetooth®telephony and
Bluetooth®audio profile for audio streaming).
If you activate Bluetooth®audio mode and
there is already an active Internet connection, this can cause the connection to be termina-
ted.
Switching to Bluetooth®audio
XPress the Õbutton.
XTo select Bluetooth Audioin the menu:
turn and press the controller.
COMAND activates the Bluetooth
®audio
device. The basic display then appears.
Playback starts.
iIf the Bluetooth®audio device connected
supports metadata and corresponding data
is available, then the artist, track and album
name can be displayed.
Starting/stopping playback
XTo select Start playback Ì: turn and
press the controller.
Playback starts. Ëis selected.
XTo stop playback: select Ë.
A message appears. Ìis selected.
XTo continue playback: select Ì.
A message appears. Ëis selected.
Starting playback if the Bluetooth®
audio device has been stopped
During the search for mobile phones, the con-
nection with the Bluetooth®audio device is
terminated (
Ypage 115). In the Bluetooth®
audio basic display (Ypage 194) you will see the
No
BluetoothAudioDeviceConnec‐
tedmessage and the Connect Last Used
Playermenu item cannot be selected.
When the search is finished, the Bluetooth
®
audio device can be reconnected.
XTo select Start playback Ì: slide6
and press the controller.
Playback resumes from the beginning.
XTo select Connect Last Used Player:
press the controller.
Depending on the Bluetooth
®audio device
used, playback starts immediately or you
must start playback manually.
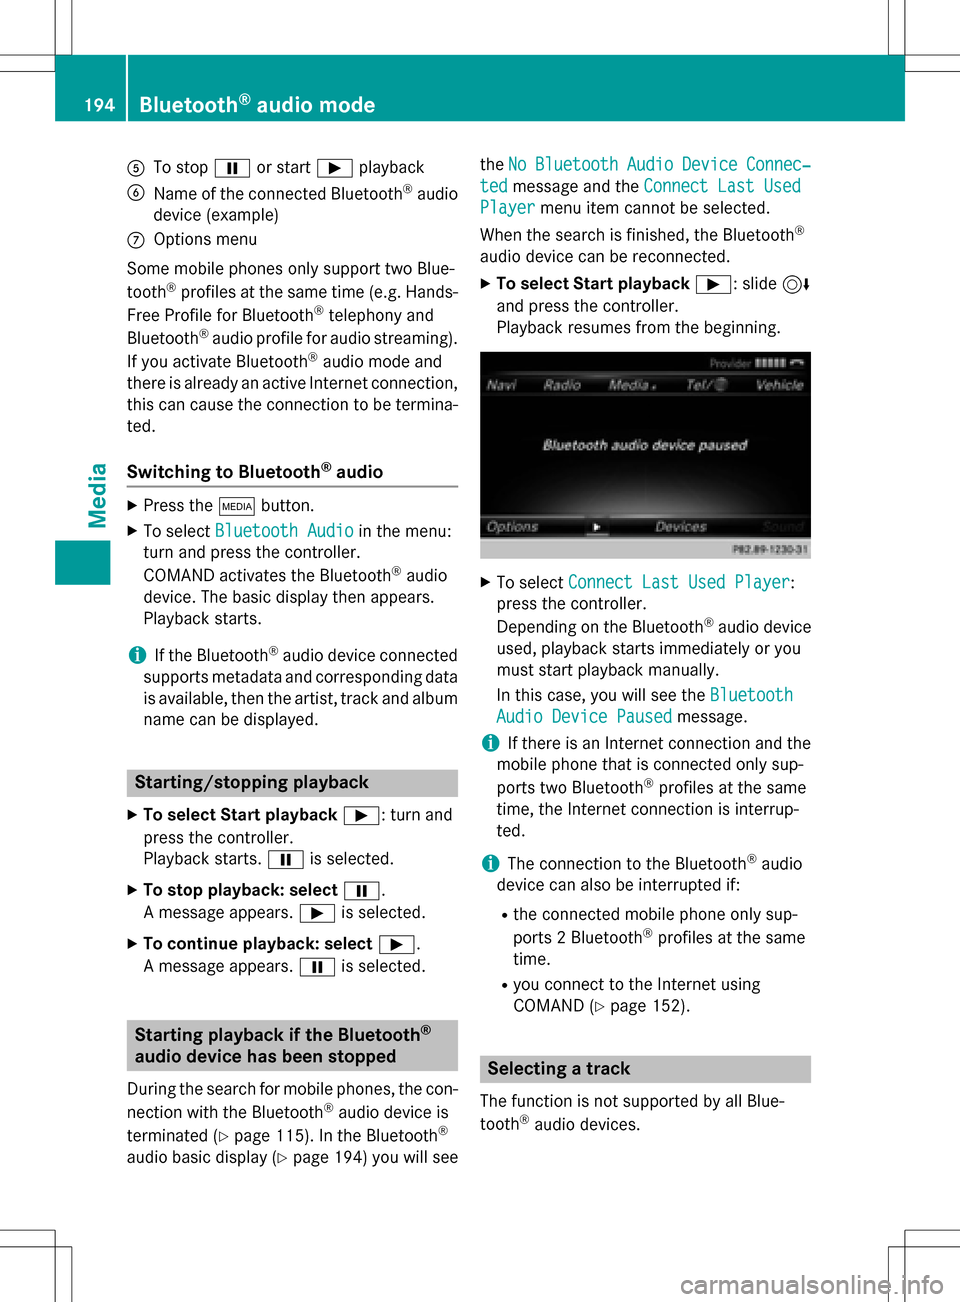
In this case, you will see the Bluetooth
Audio Device Pausedmessage.
iIf there is an Internet connection and the
mobile phone that is connected only sup-
ports two Bluetooth
®profiles at the same
time, the Internet connection is interrup-
ted.
iThe connection to the Bluetooth®audio
device can also be interrupted if:
Rthe connected mobile phone only sup-
ports 2 Bluetooth®profiles at the same
time.
Ryou connect to the Internet using
COMAND (
Ypage 152).
Selecting a track
The function is not supported by all Blue-
tooth®audio devices.
194Bluetooth®audio mode
Media