MERCEDES-BENZ E-Class CABRIOLET 2016 W218 Comand Manual
Manufacturer: MERCEDES-BENZ, Model Year: 2016, Model line: E-Class CABRIOLET, Model: MERCEDES-BENZ E-Class CABRIOLET 2016 W218Pages: 206, PDF Size: 6.66 MB
Page 61 of 206

destination and opens the intermediate des-
tinations list.
iThe route is calculated using the digital map
data. The calculation time depends on the
distance from the destination, for example.
The route may differ from the ideal route, e.g. due to incomplete map data. Please also refer
to the notes about the digital map
(
Ypage 88).
Calling up the keyword search
XTo select the magnifying glass symbol: while
in the address entry menu, slide 6, turn and
then press the controller.
Keyword search
Entering keywords
The keyword search is used to help find desti-
nations using fragments of words. If you enable
the appropriate setting in the search options,
the keyword search is tolerant of errors
(
Ypage 60).
It can be used for an address or a POI. For exam- ple, you can search for the Empire State Building
in New York.
The keyword search finds geographically toler-
ant hits. If, for example, you are searching for a
street located on the edge of a major city, the
search will also cover adjacent smaller cities.
The keyword search supports the character sets
of the system languages available.
XTo switch to navigation mode: press the
Ø button.
XTo show the menu: slide6the controller.
XTo select Destination: turn and press the
controller.
XSelect Keyword Search.
XEnter the first few letters of the city and
street, such as NEWandEMP.
While entering the information, the number of
exact matches and total number of matches
is shown.
---/---
is displayed if fewer than three char-
acters have been entered.
999+
is displayed if there are too many hits.
XSelect the ¬symbol.
The search results are displayed
(
Ypage 59).
Selecting search results
The search results are divided into categories,
such as addresses. The number of exact
matches and total number of matches is shown
in brackets.
Further search results are displayed, if POI
Searchand/orFuzzy Searchare activated in
the search options (Ypage 60).
XTo select an address: press the controller.
The search results are displayed.
Exact hits are shown at the very top of the list.
Hits are listed alphabetically. The search term
that you entered is highlighted in orange in the
entries.
Destination entry59
Navigation
Z
Page 62 of 206
XSelect an entry: turn and press the controller.
The address entry menu appears, showing the
destination address.
XTo start route calculation: selectStart.
XTo select POI:selectPOIs in the Vicin‐
ityorAllPOIsby turning and pressing con-
troller.
A list appears. The search results are dis-
played according to the linear distance, start-
ing with those closest.
XSelect a POI.
The POI is shown.
XTo start route calculation: select Start.
XTo select online search:selectOnline
Searchby turning and pressing the control-
ler.
The search switches to the online functions.
Online search requirement (USA): mbrace
must be activated for Internet access
(
Ypage 126).
Online search requirement (Canada): a
mobile phone is connected via Bluetooth
®
(Ypage 94) or USB (Ypage 164) to the
multimedia system.
Selecting search options
XTo switch to navigation mode: press the
Ø button.
XTo show the menu: slide6the controller.
XTo select Destination: turn and press the
controller.
XSelect Keyword Search.
XTo select Search Options: slide5, turn
and press the controller.
XSelect Fuzzy SearchorPOI Search.
Switch the setting on Oor off ª.
The error-tolerant search is useful if parts of
the address are incomplete or the spelling is
unclear.
The POI search takes into account points of
interest in the search.
Selecting a state/province
XTo switch to navigation mode: press the
Ø button.
XTo show the menu: slide6the controller.
XTo select Destination: turn and press the
controller.
XSelect Keyword Search.
XTo select State/Province: slide5, turn
and press the controller.
States/provinces are sorted alphabetically.
XTo select a state/province: turn and press the
controller.
Using online search
Requirement (USA): mbrace must be activated
for Internet access (Ypage 126).
Requirement (Canada): a mobile phone is con-
nected to the multimedia system via Bluetooth
®
(Ypage 94) or USB (Ypage 164).
XTo switch to navigation mode: press the
Ø button.
XTo show the menu: slide6the controller.
XTo select Destination: turn and press the
controller.
XSelect Keyword Search.
XTo select OnlineSearch: slide5, turn and
press the controller.
The search switches to the online functions.
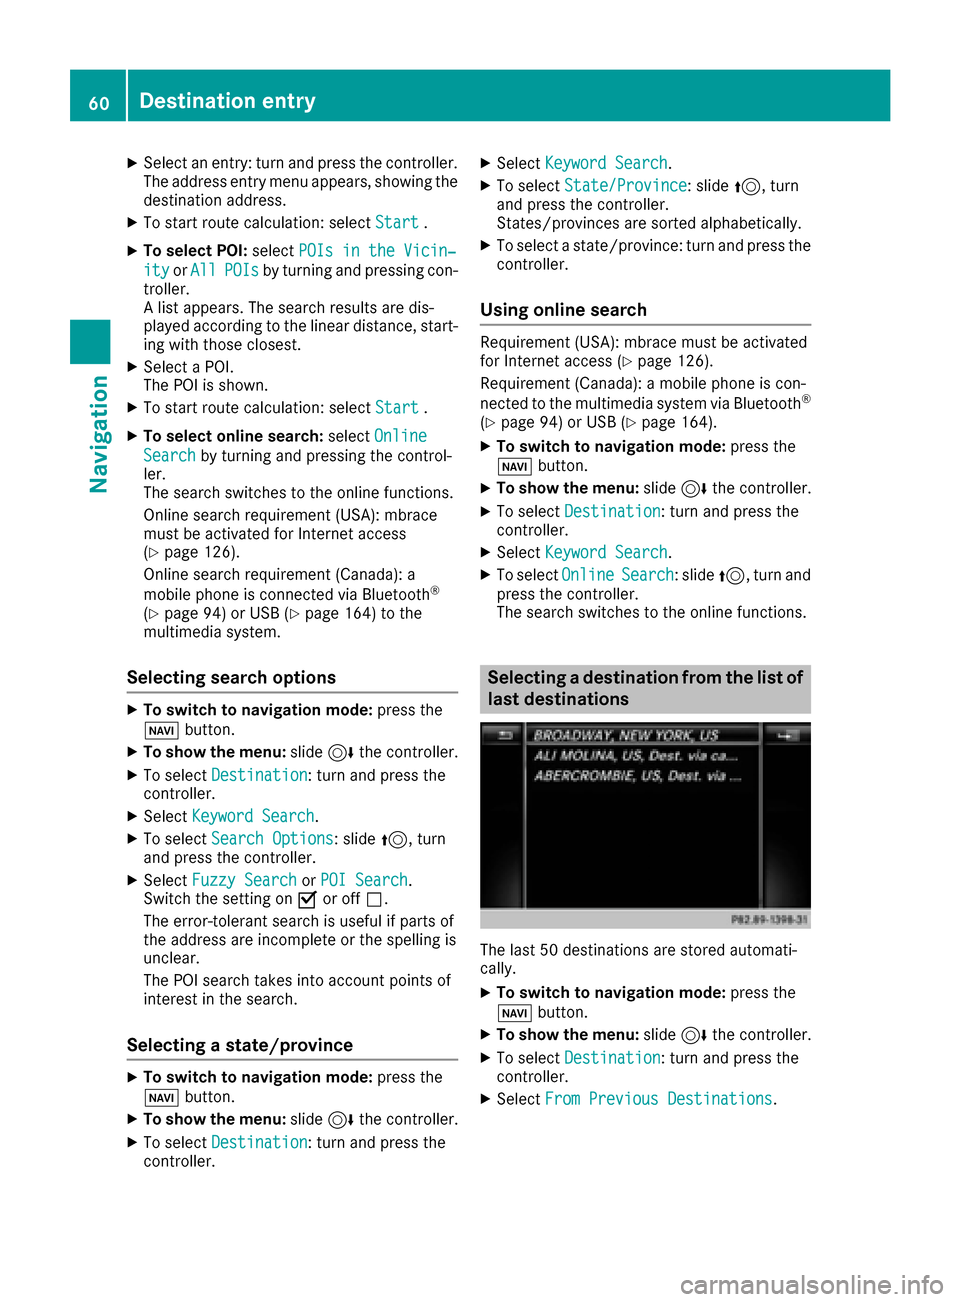
Selecting a destination from the list of
last destinations
The last 50 destinations are stored automati-
cally.
XTo switch to navigation mode: press the
Ø button.
XTo show the menu: slide6the controller.
XTo select Destination: turn and press the
controller.
XSelect From Previous Destinations.
60Destination entry
Navigation
Page 63 of 206

XSelect the destination.
The address entry menu appears, showing the
destination address.
XTo start route calculation:selectStart.
Selecting an address book contact as
a destination
You can select navigable address book contacts
as the destination. These are identified by the
Lsymbol. If you have already entered and
saved your home address, you can select this as
the destination by using My Address
.
XTo switch to navigation mode: press the
Ø button.
XTo show the menu: slide6the controller.
XTo select Destination: turn and press the
controller.
XSelect From Contacts.
XSelect the destination.
The address entry menu appears, showing the
contact and associated destination address.
XTo start route calculation: selectStart.
Selecting a destination from POIs
Calling up the POI menu
XTo switch to navigation mode: press the
Ø button.
XTo show the menu: slide6the controller.
XTo select Destination: turn and press the
controller.
XSelect From POIs.
Destination entry61
Navigation
Z
Page 64 of 206

Defining theposition for th ePOI searc h
SelectionInstructions
NearDestination
(whe nrout eguidanc eis
active )
XCall up th ePOI men u (Ypage 61).
XTo selectNea rDestination:turn and press th econtroller .
XSelect aPOI category (Ypage 63).
CurrentPosition
Searches in th evicinit yof
th ecurren tvehicle posi-
tion .
XCall up th ePOI men u (Ypage 61).
XTo selectCurren tPosition:turn and press th econtroller .
XSelect aPOI category (Ypage 63).
Other City
Afterenterin g acity, th e
search is performed
within th ecity' sbounda-
rie s
Option 1
XCall up th ePOI men u (Ypage 61).
XTo selectOther Cit y:turn and press th econtroller .
XSelectth estate/province (Ypage 57), if desired.
XEnterth ecity (Ypage 57).
XSelec t aPOI category (Ypage 63).
Option 2
XEnter acity in th eaddress entr ymen u (Ypage 57).
XTo selec tPOI s:slid e6 ,turn and press th econtroller .
XSelect aPOI category (Ypage 63).
Search By Nam e
Searches forall POI son
th edigita lmap or around
on eof th ethree previ-
ousl yspecifie dposition s
XCall up th ePOI men u (Ypage 61).
XTo selectSearch By Nam e:turn and press th econtroller .
XSelectAllPOI sor on eof th ethree previously selecte dpositions.
The POI list wit hcharacte rbar appears .
XEnter aname.
or
XTo selec tMercedes-Ben zService:turn and press th econtroller .
Search By Phone Num ‐ber
AllPOI swit h a telephon e
number can be selected.
XCall up th ePOI men u (Ypage 61).
XTo selectSearchByPhoneNumber:turn and press th econtrol-
ler .
You will see alist of phone numbers.
XEnte rth etelephon enumber .
The telephon enumber consist sof :
Rth ecountry code (international dialing code)
Rth eare acode
Whe nenterin gth eare acode, omit th eleadin g"0"
Rth etelephon enumber of th eparticipatin gcaller
62Destination entry
Navigation
Page 65 of 206
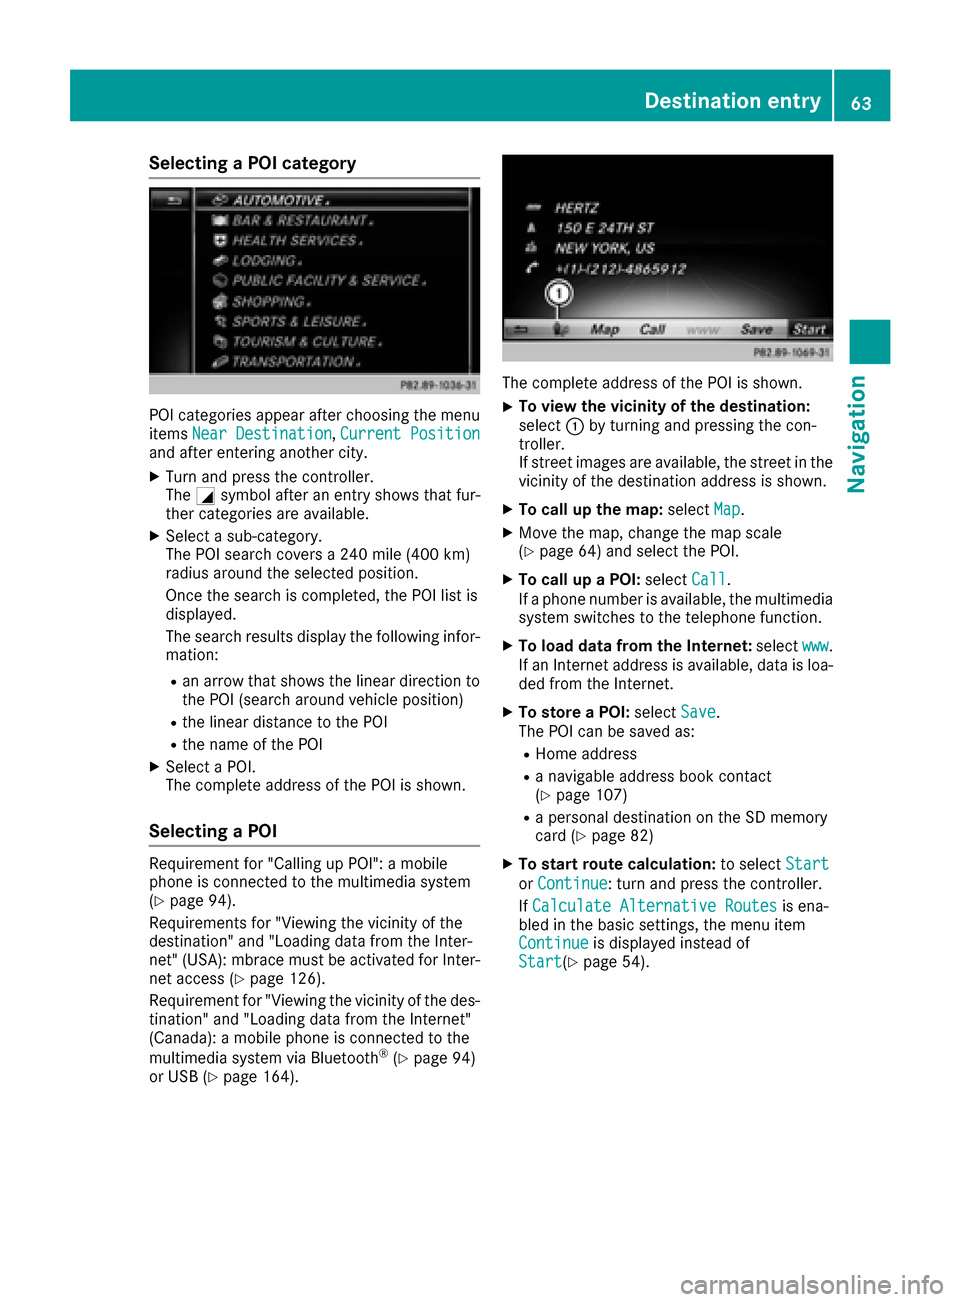
Selecting a POI category
POI categories appear after choosing the menu
itemsNear Destination,Current Positionand after entering another city.
XTurn and press the controller.
The Gsymbol after an entry shows that fur-
ther categories are available.
XSelect a sub-category.
The POI search covers a 240 mile (400 km)
radius around the selected position.
Once the search is completed, the POI list is
displayed.
The search results display the following infor-
mation:
Ran arrow that shows the linear direction to
the POI (search around vehicle position)
Rthe linear distance to the POI
Rthe name of the POI
XSelect a POI.
The complete address of the POI is shown.
Selecting a POI
Requirement for "Calling up POI": a mobile
phone is connected to the multimedia system
(
Ypage 94).
Requirements for "Viewing the vicinity of the
destination" and "Loading data from the Inter-
net" (USA): mbrace must be activated for Inter-
net access (
Ypage 126).
Requirement for "Viewing the vicinity of the des-
tination" and "Loading data from the Internet"
(Canada): a mobile phone is connected to the
multimedia system via Bluetooth
®(Ypage 94)
or USB (Ypage 164).
The complete address of the POI is shown.
XTo view the vicinity of the destination:
select :by turning and pressing the con-
troller.
If street images are available, the street in the
vicinity of the destination address is shown.
XTo call up the map: selectMap.
XMove the map, change the map scale
(Ypage 64) and select the POI.
XTo call up a POI: selectCall.
If a phone number is available, the multimedia
system switches to the telephone function.
XTo load data from the Internet: selectwww.
If an Internet address is available, data is loa-
ded from the Internet.
XTo store a POI: selectSave.
The POI can be saved as:
RHome address
Ra navigable address book contact
(Ypage 107)
Ra personal destination on the SD memory
card (Ypage 82)
XTo start route calculation: to selectStart
orContinue: turn and press the controller.
If Calculate Alternative Routes
is ena-
bled in the basic settings, the menu item
Continue
is displayed instead of
Start(Ypage 54).
Destination entry63
Navigation
Z
Page 66 of 206
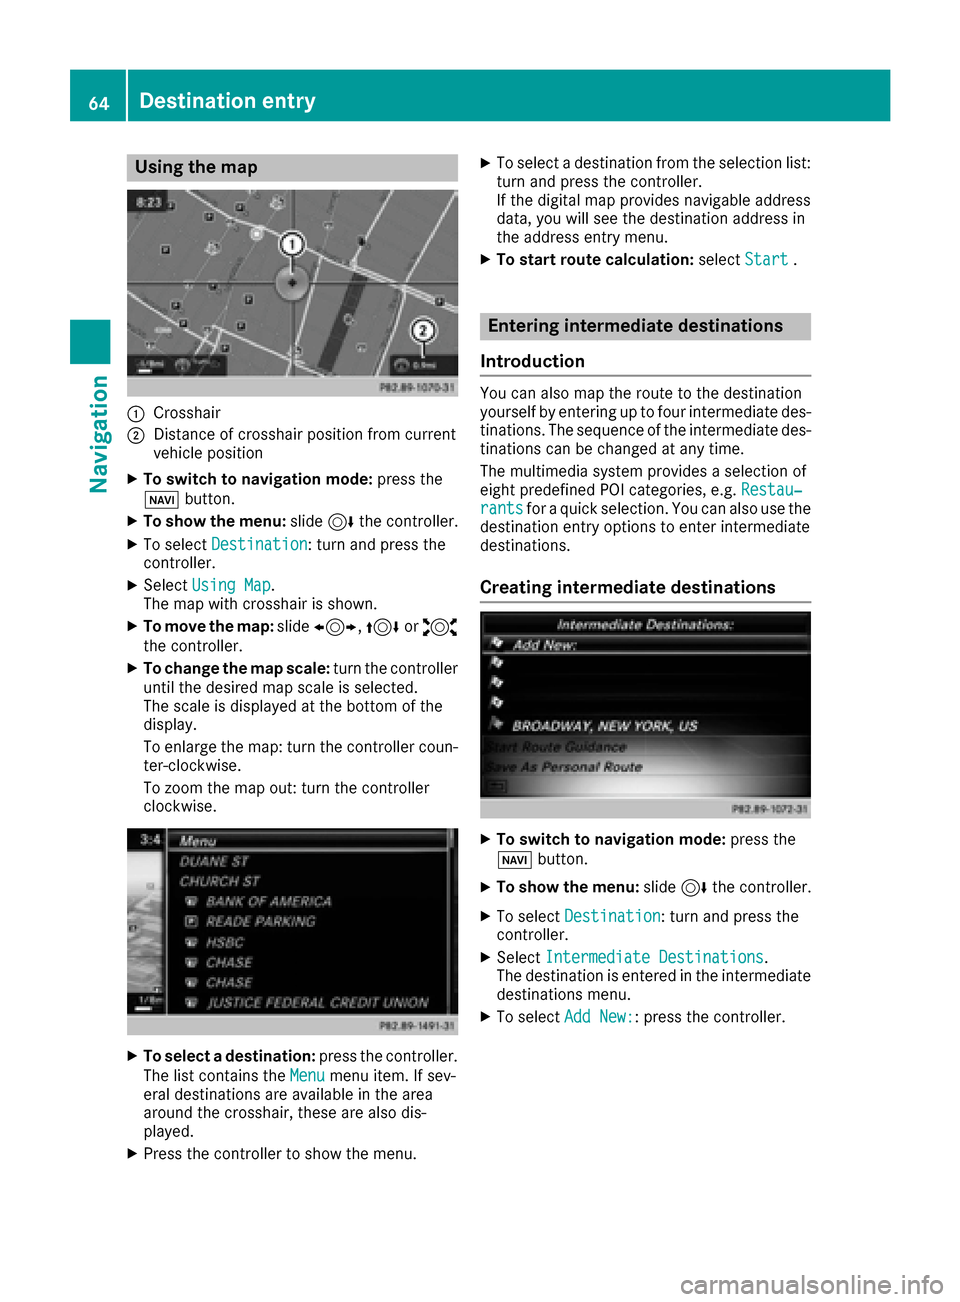
Using the map
:Crosshair
;Distance of crosshair position from current
vehicle position
XTo switch to navigation mode:press the
ß button.
XTo show the menu: slide6the controller.
XTo select Destination: turn and press the
controller.
XSelect Using Map.
The map with crosshair is shown.
XTo move the map: slide1, 4or2
the controller.
XTo change the map scale: turn the controller
until the desired map scale is selected.
The scale is displayed at the bottom of the
display.
To enlarge the map: turn the controller coun-
ter-clockwise.
To zoom the map out: turn the controller
clockwise.
XTo select a destination: press the controller.
The list contains the Menu
menu item. If sev-
eral destinations are available in the area
around the crosshair, these are also dis-
played.
XPress the controller to show the menu.
XTo select a destination from the selection list: turn and press the controller.
If the digital map provides navigable address
data, you will see the destination address in
the address entry menu.
XTo start route calculation: selectStart.
Entering intermediate destinations
Introduction
You can also map the route to the destination
yourself by entering up to four intermediate des-
tinations. The sequence of the intermediate des-
tinations can be changed at any time.
The multimedia system provides a selection of
eight predefined POI categories, e.g. Restau‐
rantsfor a quick selection. You can also use the
destination entry options to enter intermediate
destinations.
Creating intermediate destinations
XTo switch to navigation mode: press the
Ø button.
XTo show the menu: slide6the controller.
XTo select Destination: turn and press the
controller.
XSelect Intermediate Destinations.
The destination is entered in the intermediate
destinations menu.
XTo select Add New:: press the controller.
64Destination entry
Navigation
Page 67 of 206
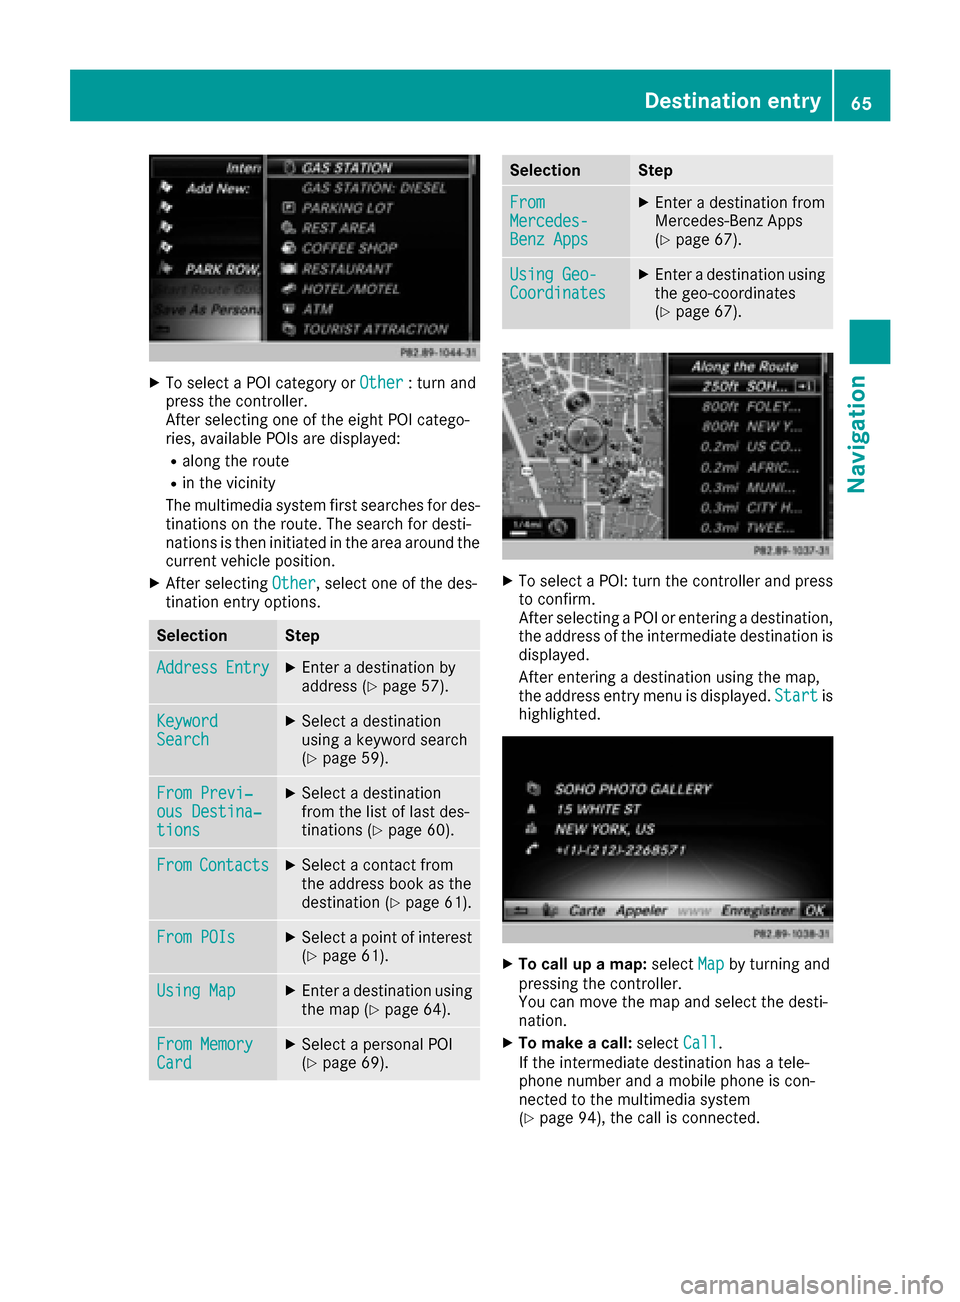
XTo select a POI category orOther: turn and
press the controller.
After selecting one of the eight POI catego-
ries, available POIs are displayed:
Ralong the route
Rin the vicinity
The multimedia system first searches for des-
tinations on the route. The search for desti-
nations is then initiated in the area around the
current vehicle position.
XAfter selecting Other, select one of the des-
tination entry options.
SelectionStep
AddressEntryXEnter a destination by
address (Ypage 57).
KeywordSearchXSelect a destination
using a keyword search
(
Ypage 59).
From Previ‐ous Destina‐tions
XSelect a destination
from the list of last des-
tinations (
Ypage 60).
FromContactsXSelect a contact from
the address book as the
destination (
Ypage 61).
From POIsXSelect a point of interest (Ypage 61).
Using MapXEnter a destination using
the map (Ypage 64).
From MemoryCardXSelect a personal POI
(Ypage 69).
SelectionStep
FromMercedes-Benz Apps
XEnter a destination from
Mercedes-Benz Apps
(
Ypage 67).
Using Geo-CoordinatesXEnter a destination using
the geo-coordinates
(
Ypage 67).
XTo select a POI: turn the controller and pressto confirm.
After selecting a POI or entering a destination,
the address of the intermediate destination is
displayed.
After entering a destination using the map,
the address entry menu is displayed. Start
is
highlighted.
XTo call up a map: selectMapby turning and
pressing the controller.
You can move the map and select the desti-
nation.
XTo make a call: selectCall.
If the intermediate destination has a tele-
phone number and a mobile phone is con-
nected to the multimedia system
(
Ypage 94), the call is connected.
Destination entry65
Navigation
Z
Page 68 of 206

XTo load data from the Internet:selectwww.
If an Internet address is available, data is loa- ded from the Internet.
XTo store an intermediate destination in
the destination memory: selectSave
(Ypage 81).
XTo accept an intermediate destination:
selectOK
by pressing the controller.
The destination is entered in the intermediate
destinations menu.
Editing intermediate destinations
You can perform the following functions:
Rchange intermediate destinations
Rswitch the sequence of the intermediate des-
tinations in the intermediate destinations
menu
Rdelete intermediate destinations
XTo select an intermediate destination in the
intermediate destinations menu: turn and
press the controller.
A menu appears.
XTo change an intermediate destination:
select Edit
in the menu.
XChange the address, e.g. the city and street.
XTo select OK: turn and press the controller.
The intermediate destinations menu appears
and displays the changed intermediate desti-
nation.
You can change the order of the intermediate
destinations entered and the destination. To
change the order, at least one intermediate des- tination and the destination must have been
entered.
XTo change the order: in the menu, select
Move
.
XTurn the controller and move the intermediate
destination or destination to the desired posi-
tion.
XPress the controller.
XTo delete an intermediate destination:
select Delete
in the menu.
Accepting intermediate destinations
for the route
XTo select Startin the intermediate destina-
tions menu: press the controller.
The route is calculated with the entered inter-
mediate destinations.
If Calculate Alternative Routes
is ena-
bled in the basic settings, the menu item
Continue
is displayed instead of
Start(Ypage 54).
If an intermediate destination was passed
during route guidance, a green tick mark will
be entered in the intermediate destinations
menu. Once the route has been recalculated, the intermediate destination is deleted from
the intermediate destinations menu.
Saving as a personal route
XInsert the SD memory card (Ypage 154).
XTo select Save As Personal Routein the
intermediate destinations menu: turn and
press the controller.
The route is saved on the SD memory card
under Personal Routes
.
Searching for a gas station when the
fuel level is low
Requirement: the setting GasonReservemust
be enabled (Ypage 55).
If the fuel tank reserve level is displayed, you will
see the Reserve Fuel Would you like to
start a search for surrounding gasstations?message.
XTo select YesorNo: turn and press the con-
troller.
If you select Yes
, the gas station search
starts. When the search is complete, a list of
the gas stations available along the route or in
the vicinity is displayed.
66Destination entry
Navigation
Page 69 of 206
If you selectNo, the search is canceled.
XSelect the gas station.
The address of the gas station is displayed.
XTo selectStart: press the controller.
The gas station selected is set in the inter-
mediate destinations menu as the next inter-
mediate destination not yet reached. Route
guidance begins.
Entering a destination from
Mercedes-Benz Apps
Requirement (USA): mbrace is activated for the
Mercedes-Benz Apps (Ypage 126).
Requirement (Canada): a mobile phone is con-
nected to the multimedia system via Bluetooth
®
(Ypage 94) or USB (Ypage 164).
XTo switch to navigation mode: press the
Ø button.
XTo show the menu: slide6the controller.
XTo select Destination: turn and press the
controller.
XSelect From Mercedes-Benz Apps.
The list of Mercedes-Benz Apps appears.
Using geo-coordinates
XTo switch to navigation mode: press the
ß button.
XTo show the menu: slide6the controller.
XTo select Destination: turn and press the
controller.
XSelect Using Geo-Coordinates.
Geo-coordinates are entered in degrees,
minutes and seconds.
XTo enter the latitude and longitude coor-
dinates: turn the controller to change the
value.
XTo move the selection within the line: slide
1 the controller.
XTo move the selection between lines: slide
4the controller.
XTo confirm the value: press the controller.
XTo save a destination: to select Save: turn
and press the controller.
The destination can be stored as:
Ra home address in the address book
Ra navigable address book contact For further information on the address
book, see (
Ypage 107)
Ra personal destination on the SD memory
card (Ypage 82)
Starting route calculation
XTo select Start Route Guidance: turn and
press the controller.
Personal POIs and routes
General notes
The use of personal POIs for displaying traffic
surveillance equipment is not permitted in every country. Please observe the country-specific
regulations and always drive at a suitable speed.
Personal POIs are filed in categories:
RNot Classified
Standard entry for personal POIs
RMercedes-Benz Apps
Personal POIs (destinations, routes) that you
have imported via the online functions
RCategories which you have created yourself,
e.g. on your PC
Personal routes are not categorized.
Settings for personal POIs
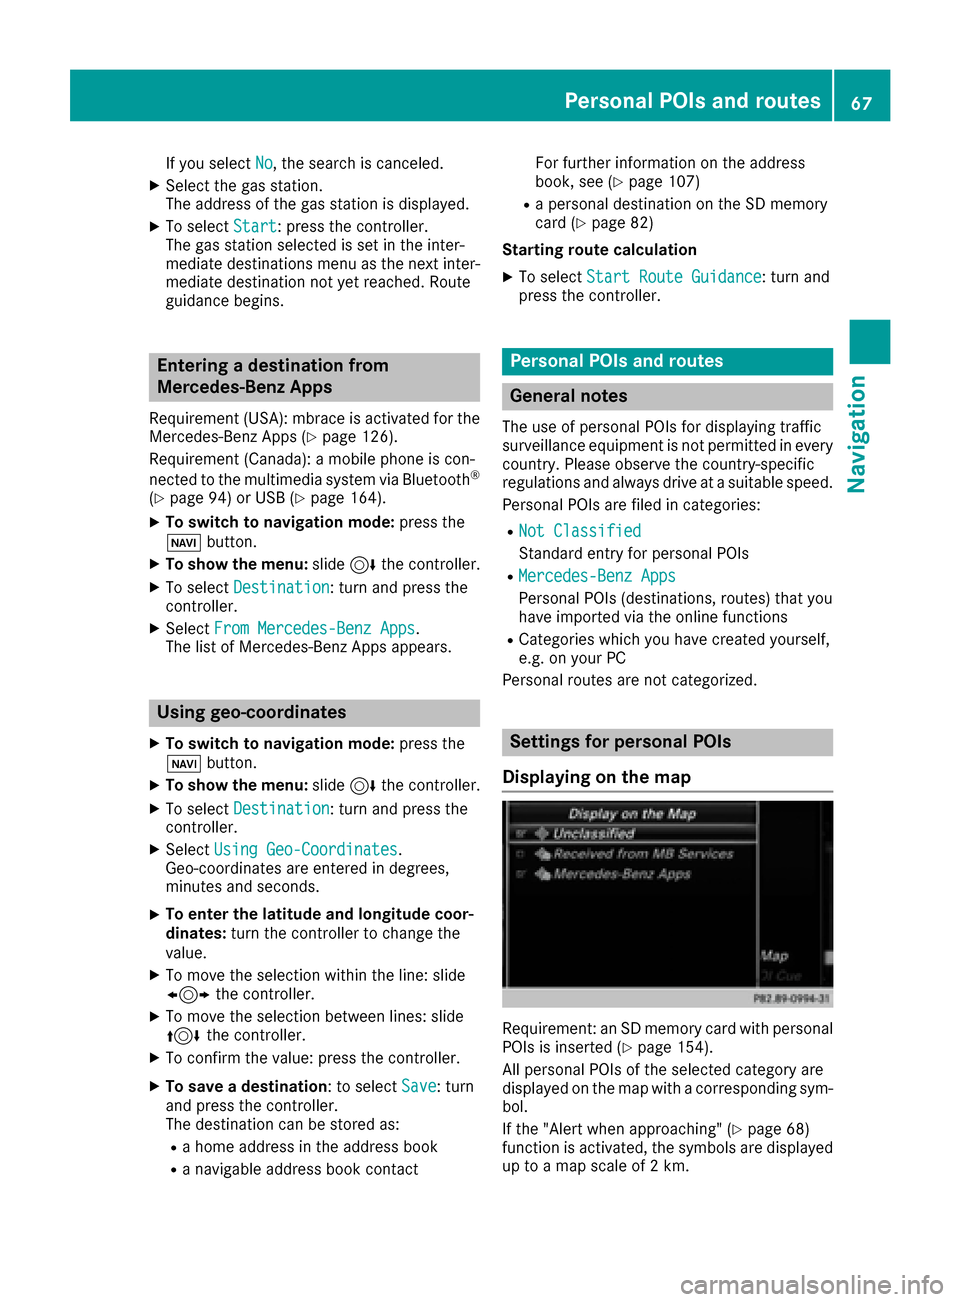
Displaying on the map
Requirement: an SD memory card with personal
POIs is inserted (Ypage 154).
All personal POIs of the selected category are
displayed on the map with a corresponding sym-
bol.
If the "Alert when approaching" (
Ypage 68)
function is activated, the symbols are displayed up to a map scale of 2 km.
Personal POIs and routes67
Navigation
Z
Page 70 of 206

XTo switch to navigation mode:press the
ß button.
XTo show the menu: slide6the controller.
XTo select Options: turn and press the con-
troller.
XSelect Personal POIs.
XSelectDisplay on the Map.
The menu displays the categories available on
the SD memory card.
XTo select a category: turn the controller and
press to confirm.
All personal POIs in the selected category are
displayed Oor not displayed ª, depending
on the previous status.
Alert when approaching
Requirement: an SD memory card with personal
POIs is inserted (Ypage 154).
If the vehicle is approaching a personal POI and
the functions are enabled, the personal POI is
highlighted on the map and an audible signal
sounds.
For this purpose, both the corresponding func-
tion Approaching POI Cue
and the category
containing the personal POI must be activated.
XTo switch to navigation mode: press the
ß button.
XTo show the menu: slide6the controller.
XTo select Options: turn and press the con-
troller.
XSelect Personal POIs.
XSelectApproaching POI Cue.
The menu displays the categories available on
the SD memory card.
XSelect AudibleorOptical.
The function is switched on Oor off ª,
depending on the previous status.
XTo select a category: turn the controller and
press to confirm.
The function is switched on Oor off ª, for
all personal POIs of this category, depending
on the previous setting.
Saving personal POIs and routes
General notes
Personal POIs and routes are geodata which are
saved in the open GPX ( GPS Ex change) format
on the SD memory card.
Personal POI from current vehicle posi-
tion or crosshair position
XInsert the SD memory card (Ypage 154).
XTo switch to navigation mode: press the
ß button.
XWhen the map is displayed, press the con-
troller until a message appears.
The current vehicle position is saved to the
Not
Classifiedcategory on the SD memory
card and also stored in the "Last destinations" memory (
Ypage 82).
If the "Move map" function is selected
(
Ypage 53), the crosshair position is saved.
iIf no SD memory card is inserted, the per-
sonal POI will only be stored in the "Last des-
tinations" memory.
Personal POI from destination address
XInsert the SD memory card (Ypage 154).
XTo switch to navigation mode: press the
ß button.
XCall up the address entry menu and enter the
destination address (Ypage 56).
XTo select Save: slide6the controller.
XTurn and press the controller.
XTo select To Memory Card: turn and press
the controller.
XEnter the name.
XSelect a category.
The current address is saved as a personal
point of interest on the SD memory card.
68Personal POIs and routes
Navigation