reset MERCEDES-BENZ E-Class SEDAN 2015 W212 Owner's Manual
[x] Cancel search | Manufacturer: MERCEDES-BENZ, Model Year: 2015, Model line: E-Class SEDAN, Model: MERCEDES-BENZ E-Class SEDAN 2015 W212Pages: 426, PDF Size: 8.27 MB
Page 7 of 426
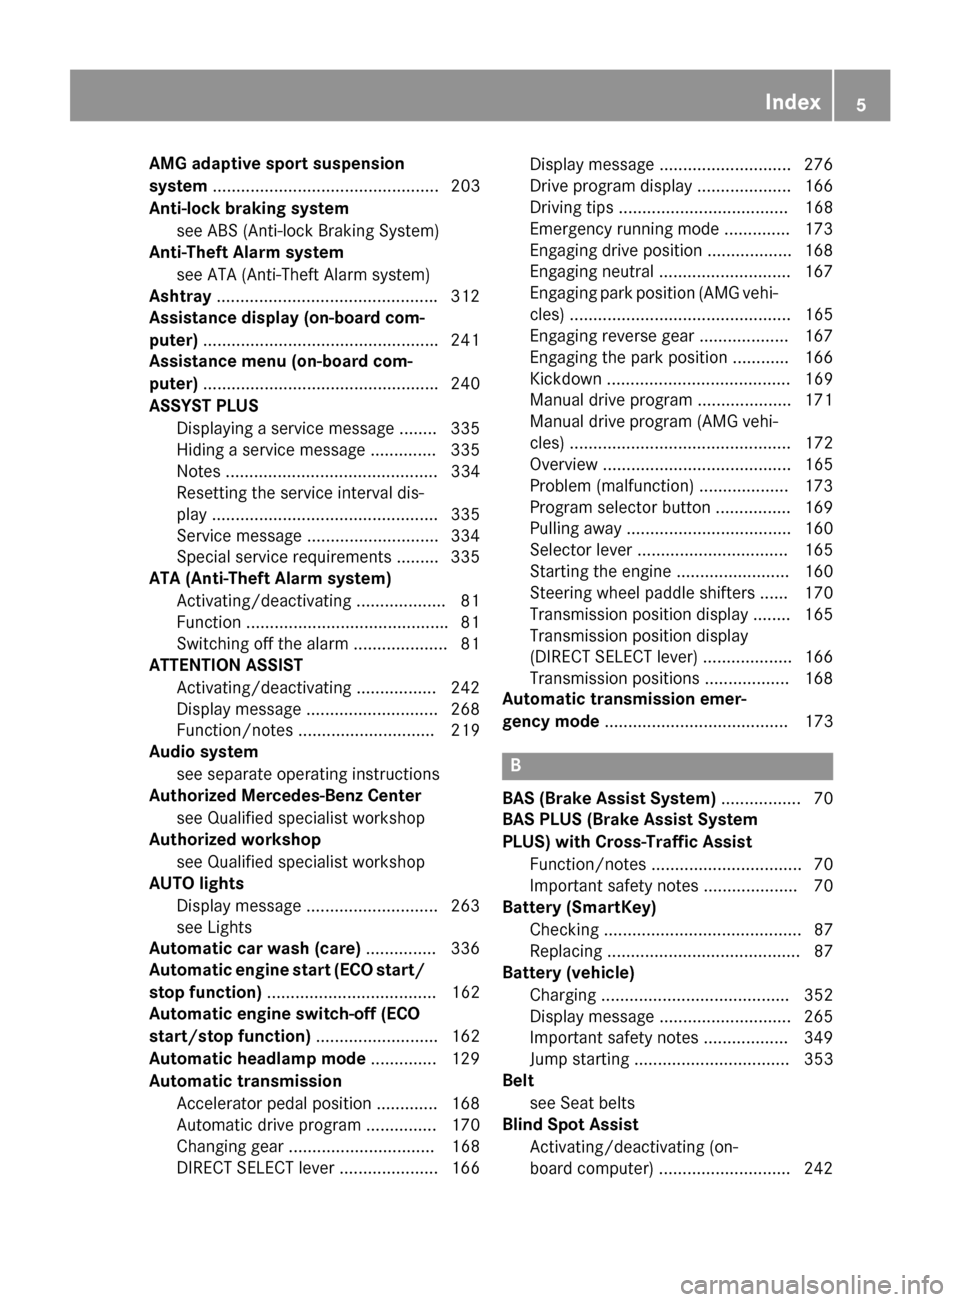
AMG adaptive sport suspension
system
................................................ 203
Anti-lock braking system see ABS (Anti-lock Braking System)
Anti-Theft Alarm system
see ATA (Anti-Theft Alarm system)
Ashtray .............................................. .312
Assistance display (on-board com-
puter) ................................................. .241
Assistance menu (on-board com-
puter) ................................................. .240
ASSYST PLUS Displaying a service message ....... .335
Hiding a service message .............. 335
Notes ............................................. 334
Resetting the service interval dis-
play ................................................ 335
Service message ............................ 334
Special service requirements ......... 335
ATA (Anti-Theft Alarm system)
Activating/deactivating ................... 81
Function .......................................... .81
Switching off the alarm .................... 81
ATTENTION ASSIST
Activating/deactivating ................. 242
Display message ............................ 268
Function/note s............................. 219
Audio system
see separate operating instructions
Authorized Mercedes-Benz Center
see Qualified specialist workshop
Authorized workshop
see Qualified specialist workshop
AUTO lights
Display message ............................ 263
see Lights
Automatic car wash (care) ............... 336
Automatic engine start (ECO start/
stop function) .................................... 162
Automatic engine switch-off (ECO
start/stop function) .......................... 162
Automatic headlamp mode .............. 129
Automatic transmission Accelerator pedal position ............. 168
Automatic drive program ............... 170
Changing gear ............................... 168
DIRECT SELECT lever ..................... 166 Display message ............................ 276
Drive program display .................... 166
Driving tips .................................... 168
Emergency running mode .............. 173
Engaging drive position .................. 168
Engaging neutral ............................ 167
Engaging park position (AMG vehi-
cles) ............................................... 165
Engaging reverse gear ................... 167
Engaging the park position ............ 166
Kickdown ....................................... 169
Manual drive progra m.................... 171
Manual drive program (AMG vehi- cles) ............................................... 172
Overview ........................................ 165
Problem (malfunction) ................... 173
Program selector button ................ 169
Pulling away ................................... 160
Selector lever ................................ 165
Starting the engine ........................ 160
Steering wheel paddle shifters ...... 170
Transmission position display ........ 165
Transmission position display
(DIRECT SELECT lever) ................... 166
Transmission positions .................. 168
Automatic transmission emer-
gency mode ....................................... 173 B
BAS (Brake Assist System) ................. 70
BAS PLUS (Brake Assist System
PLUS) with Cross-Traffic Assist
Function/note s................................ 70
Important safety notes .................... 70
Battery (SmartKey)
Checking .......................................... 87
Replacing ......................................... 87
Battery (vehicle)
Charging ........................................ 352
Display message ............................ 265
Important safety notes .................. 349
Jump starting ................................. 353
Belt
see Seat belts
Blind Spot Assist
Activating/deactivating (on-
board computer) ............................ 242 Index
5
Page 16 of 426
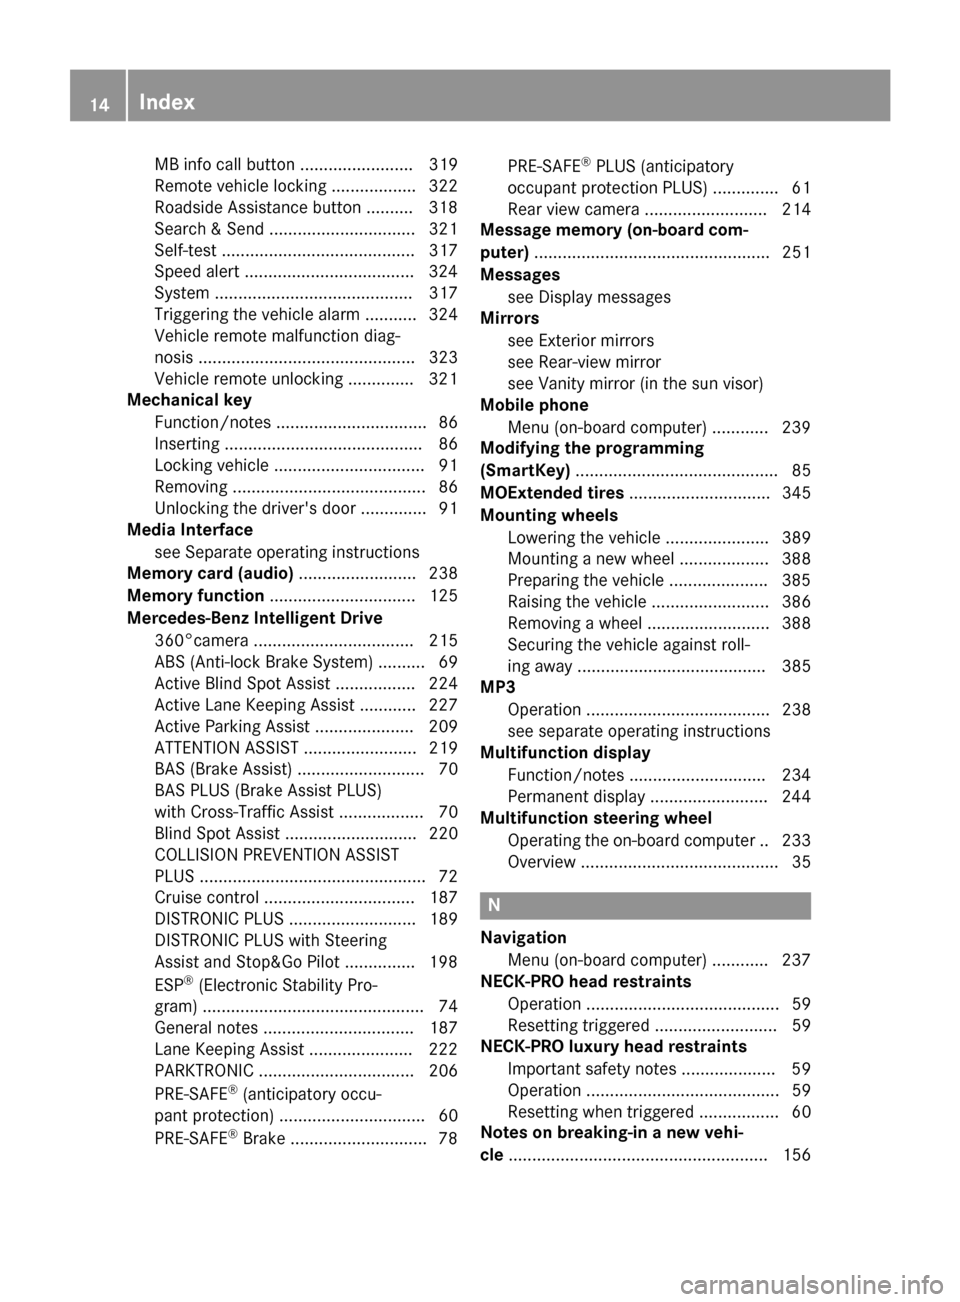
MB info call button ........................ 319
Remote vehicle locking .................. 322
Roadside Assistance button ..........3 18
Search & Send ............................... 321
Self-test ......................................... 317
Speed alert ................................... .324
System .......................................... 317
Triggering the vehicle alarm ........... 324
Vehicle remote malfunction diag-
nosis .............................................. 323
Vehicle remote unlocking .............. 321
Mechanical key
Function/notes ................................ 86
Inserting .......................................... 86
Locking vehicle ................................ 91
Removing ......................................... 86
Unlocking the driver's door .............. 91
Media Interface
see Separate operating instructions
Memory card (audio) ......................... 238
Memory function ............................... 125
Mercedes-Benz Intelligent Drive 360°camera .................................. 215
ABS (Anti-lock Brake System) .......... 69
Active Blind Spot Assist ................. 224
Active Lane Keeping Assist ............ 227
Active Parking Assist ..................... 209
ATTENTION ASSIST ........................ 219
BAS (Brake Assist) ........................... 70
BAS PLUS (Brake Assist PLUS)
with Cross-Traffic Assist .................. 70
Blind Spot Assist ............................ 220
COLLISION PREVENTION ASSIST
PLUS ................................................ 72
Cruise control ................................ 187
DISTRONIC PLUS ........................... 189
DISTRONIC PLUS with Steering
Assist and Stop&Go Pilot .............. .198
ESP ®
(Electronic Stability Pro-
gram) ............................................... 74
General notes ................................ 187
Lane Keeping Assist ..................... .222
PARKTRONIC ................................. 206
PRE-SAFE ®
(anticipatory occu-
pant protection) ............................... 60
PRE-SAFE ®
Brake ............................ .78PRE-SAFE
®
PLUS (anticipatory
occupant protection PLUS) .............. 61
Rear view camera .......................... 214
Message memory (on-board com-
puter) .................................................. 251
Messages see Display messages
Mirrors
see Exterior mirrors
see Rear-view mirror
see Vanity mirror (in the sun visor)
Mobile phone
Menu (on-board computer) ............ 239
Modifying the programming
(SmartKey) ...........................................85
MOExtended tires .............................. 345
Mounting wheels Lowering the vehicle ...................... 389
Mounting a new wheel ................... 388
Preparing the vehicle .................... .385
Raising the vehicle ......................... 386
Removing a wheel .......................... 388
Securing the vehicle against roll-
ing away ........................................ 385
MP3
Operation ....................................... 238
see separate operating instructions
Multifunction display
Function/notes ............................ .234
Permanent display ......................... 244
Multifunction steering wheel
Operating the on-board computer .. 233
Overview .......................................... 35 N
Navigation Menu (on-board computer) ............ 237
NECK-PRO head restraints
Operation ......................................... 59
Resetting triggered .......................... 59
NECK-PRO luxury head restraints
Important safety notes .................... 59
Operation ......................................... 59
Resetting when triggered ................. 60
Notes on breaking-in a new vehi-
cle ....................................................... 156 14
Index
Page 17 of 426
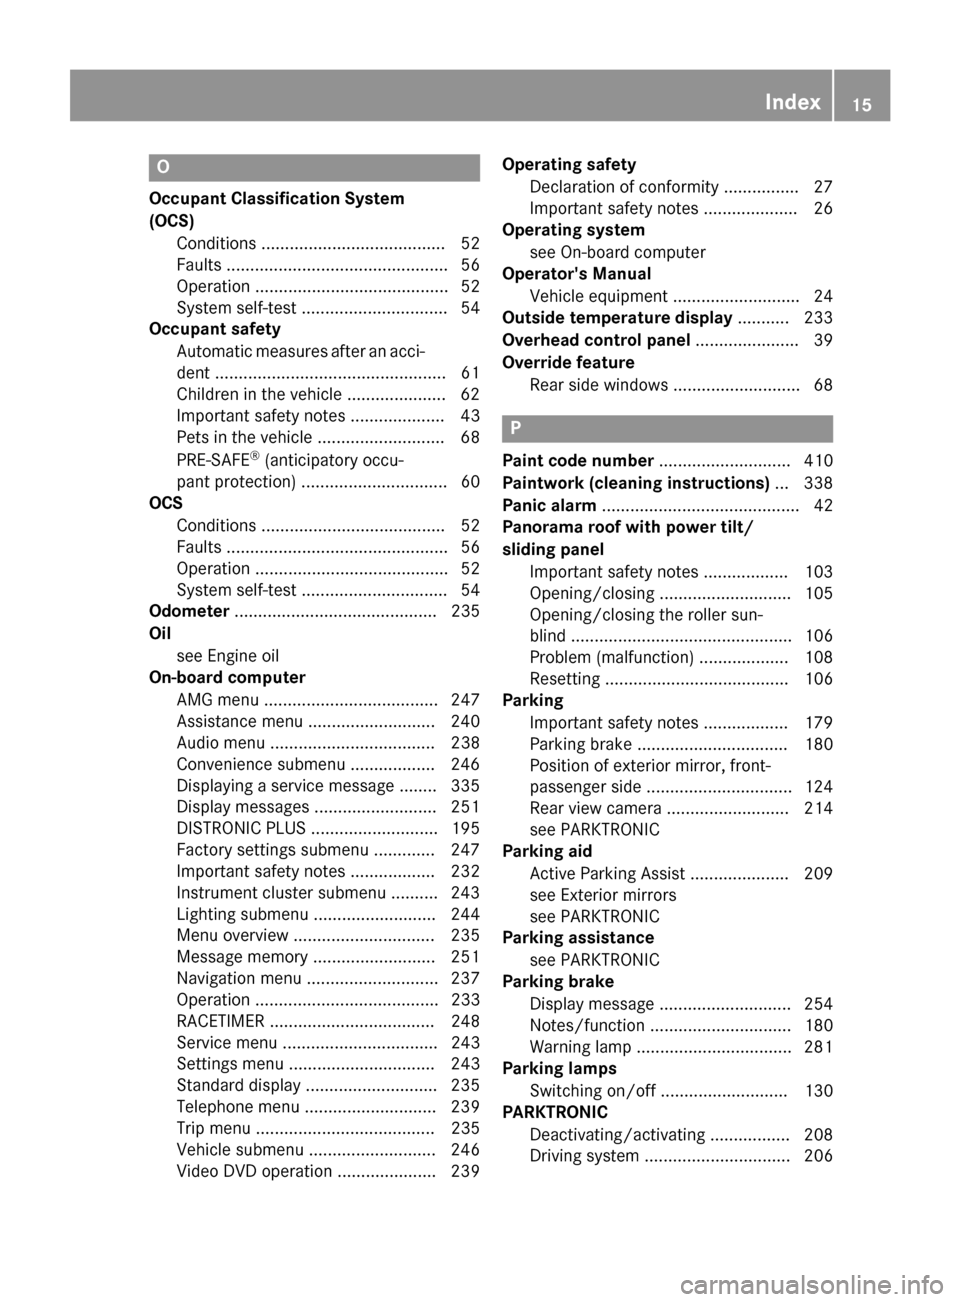
O
Occupant Classification System
(OCS) Conditions ....................................... 52
Faults ............................................... 56
Operation ......................................... 52
System self-test ...............................54
Occupant safety
Automatic measures after an acci-
dent .................................................61
Children in the vehicle .................... .62
Important safety notes .................... 43
Pets in the vehicle ........................... 68
PRE-SAFE ®
(anticipatory occu-
pant protection) ............................... 60
OCS
Conditions ....................................... 52
Faults ............................................... 56
Operation .........................................52
System self-test ............................... 54
Odometer ........................................... 235
Oil see Engine oil
On-board computer
AMG menu ..................................... 247
Assistance menu ........................... 240
Audio menu ................................... 238
Convenience submenu .................. 246
Displaying a service message ........ 335
Display messages .......................... 251
DISTRONIC PLUS ........................... 195
Factory settings submenu ............. 247
Important safety notes .................. 232
Instrument cluster submenu .......... 243
Lighting submenu .......................... 244
Menu overview .............................. 235
Message memory .......................... 251
Navigation menu ............................ 237
Operation ....................................... 233
RACETIMER ................................... 248
Service menu ................................. 243
Settings menu ............................... 243
Standard display ............................ 235
Telephone menu ............................ 239
Trip menu ...................................... 235
Vehicle submenu ........................... 246
Video DVD operation ..................... 239 Operating safety
Declaration of conformity ................ 27
Important safety notes .................... 26
Operating system
see On-board computer
Operator's Manual
Vehicle equipment ........................... 24
Outside temperature display ........... 233
Overhead control panel ...................... 39
Override feature Rear side window s........................... 68 P
Paint code number ............................ 410
Paintwork (cleaning instructions) ... 338
Panic alarm .......................................... 42
Panorama roof with power tilt/
sliding panel
Important safety notes .................. 103
Opening/closing ............................ 105
Opening/closing the roller sun-
blind ............................................... 106
Problem (malfunction) ................... 108
Resetting ....................................... 106
Parking
Important safety notes .................. 179
Parking brake ................................ 180
Position of exterior mirror, front-
passenger side ............................... 124
Rear view camera .......................... 214
see PARKTRONIC
Parking aid
Active Parking Assist ..................... 209
see Exterior mirrors
see PARKTRONIC
Parking assistance
see PARKTRONIC
Parking brake
Display message ............................ 254
Notes/function .............................. 180
Warning lamp ................................. 281
Parking lamps
Switching on/of f........................... 130
PARKTRONIC
Deactivating/activating ................. 208
Driving system ............................... 206 Index
15
Page 20 of 426
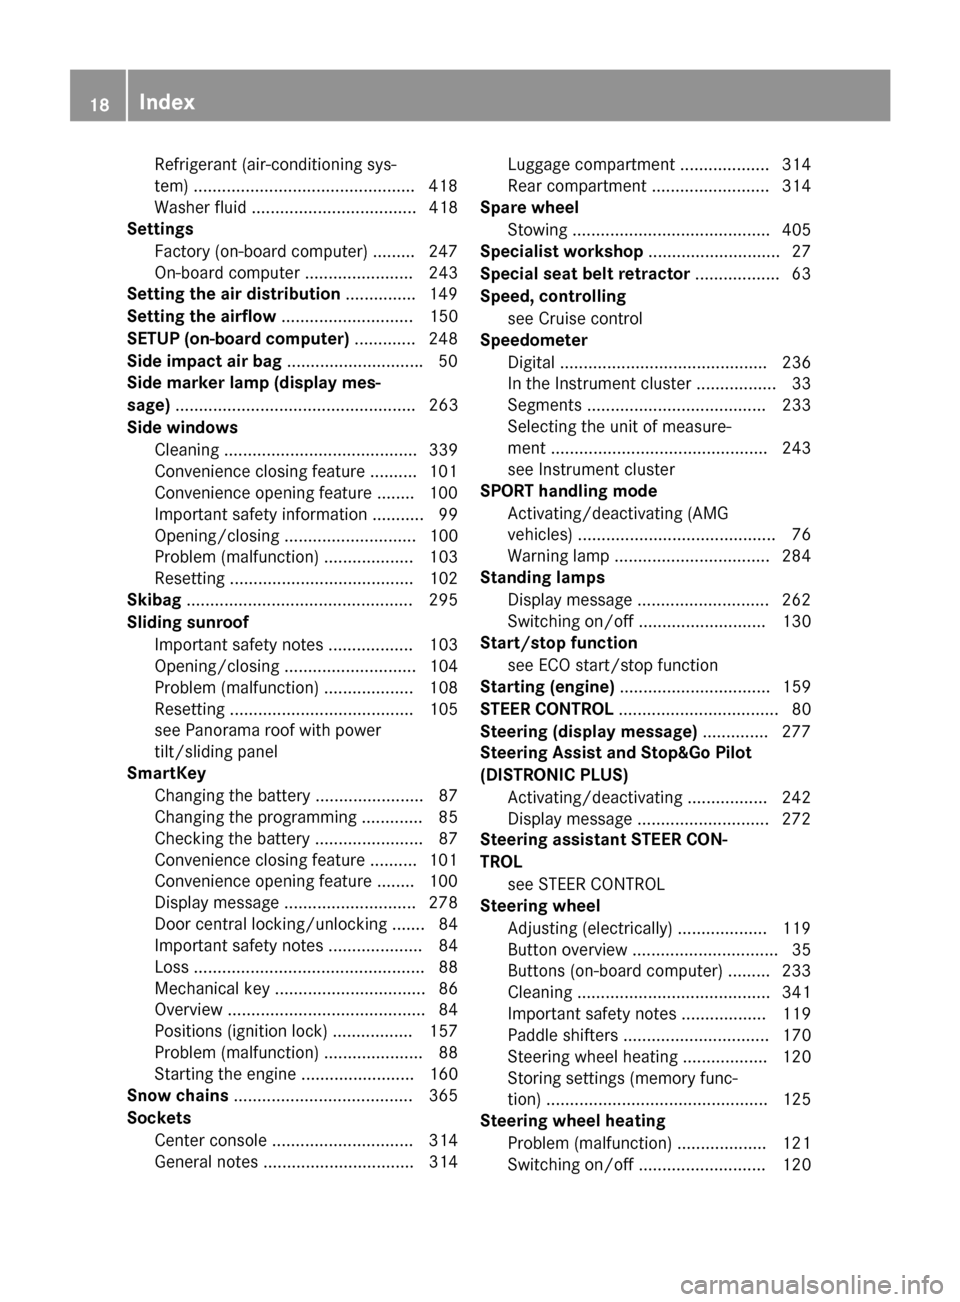
Refrigerant (air-conditioning sys-
tem) .............................................. .418
Washer fluid ................................... 418
Settings
Factory (on-board computer) ......... 247
On-board computer ....................... 243
Setting the air distribution ...............149
Setting the airflow ............................ 150
SETUP (on-board computer) ............. 248
Side impact air bag .............................50
Side marker lamp (display mes-
sage) ................................................... 263
Side windows Cleaning ......................................... 339
Convenience closing feature ..........1 01
Convenience opening feature ....... .100
Important safety information ........... 99
Opening/closing ............................ 100
Problem (malfunction) ................... 103
Resetting ....................................... 102
Skibag ................................................ 295
Sliding sunroof Important safety notes .................. 103
Opening/closing ............................ 104
Problem (malfunction) ................... 108
Resetting ....................................... 105
see Panorama roof with power
tilt/sliding panel
SmartKey
Changing the battery ....................... 87
Changing the programming ............. 85
Checking the battery ....................... 87
Convenience closing feature .......... 101
Convenience opening feature ....... .100
Display message ............................ 278
Door central locking/unlocking ....... 84
Important safety notes .................... 84
Loss ................................................. 88
Mechanical key ................................ 86
Overview .......................................... 84
Positions (ignition lock) ................. 157
Problem (malfunction) ..................... 88
Starting the engine ........................ 160
Snow chains ...................................... 365
Sockets Center console .............................. 314
General notes ................................ 314 Luggage compartment ................... 314
Rear compartment ......................... 314
Spare wheel
Stowing .......................................... 405
Specialist workshop ............................ 27
Special seat belt retractor .................. 63
Speed, controlling see Cruise control
Speedometer
Digital ............................................ 236
In the Instrument cluster ................. 33
Segments ...................................... 233
Selecting the unit of measure-
ment .............................................. 243
see Instrument cluster
SPORT handling mode
Activating/deactivating (AMG
vehicles) .......................................... 76
Warning lamp ................................. 284
Standing lamps
Display message ............................ 262
Switching on/off ........................... 130
Start/stop function
see ECO start/stop function
Starting (engine) ................................ 159
STEER CONTROL .................................. 80
Steering (display message) .............. 277
Steering Assist and Stop&Go Pilot
(DISTRONIC PLUS)
Activating/deactivating ................. 242
Display message ............................ 272
Steering assistant STEER CON-
TROL see STEER CONTROL
Steering wheel
Adjusting (electrically) ................... 119
Button overview ............................... 35
Buttons (on-board computer) ......... 233
Cleaning ......................................... 341
Important safety notes .................. 119
Paddle shifters ............................... 170
Steering wheel heating .................. 120
Storing settings (memory func-
tion) ............................................... 125
Steering wheel heating
Problem (malfunction) ................... 121
Switching on/off ........................... 120 18
Index
Page 23 of 426
Top Tether
............................................ 65
Towing away Important safety guidelines ........... 355
Installing the towing eye ................ 356
Removing the towing eye ............... 356
With both axles on the ground ....... 357
With the rear axle raised ................ 357
Towing eye ......................................... 344
Tow-starting Emergency engine starting ............ 358
Important safety notes .................. 355
Transfer case ..................................... 173
Transmission see Automatic transmission
Transmission position display ......... 166
Transmission position display
(DIRECT SELECT lever) ...................... 166
Transporting the vehicle .................. 357
Trim pieces (cleaning instruc-
tions) .................................................. 341
Trip computer (on-board com-
puter) .................................................. 235
Trip odometer Calling up ....................................... 235
Resetting (on-board computer) ...... 236
Trunk
Emergency release .......................... 98
Important safety notes .................... 91
Locking separately ........................... 97
Opening/closing (automatically
from inside) ...................................... 96
Opening/closing (automatically
from outside) ................................... 93
Opening/closing (from outside,
HANDS-FREE ACCESS) .................... 94
Opening/closing (manually from
outside) ............................................ 93
Trunk lid
Display message ............................ 277
Opening dimensions ...................... 419
Trunk load (maximum) ...................... 419
Turn signals Changing bulbs (front) ................... 136
Display message ............................ 261
Switching on/off ........................... 130
Type identification plate
see Vehicle identification plate U
Unlocking Emergency unlocking ....................... 91
From inside the vehicle (central
unlocking button) ............................. 90 V
Vanity mirror (in the sun visor) ........ 311
Vehicle Correct use ...................................... 28
Data acquisition ............................... 29
Display message ............................ 276
Equipment ....................................... 24
Individual settings .......................... 243
Limited Warranty ............................. 28
Loading .......................................... 372
Locking (in an emergency) ............... 91
Locking (SmartKey) .......................... 84
Lowering ........................................ 389
Maintenance .................................... 25
Parking for a long period ................ 181
Pulling away ................................... 160
Raising ........................................... 386
Reporting problems ........................ .28
Securing from rolling away ............ 385
Towing away .................................. 355
Transporting .................................. 357
Unlocking (in an emergency) ........... 91
Unlocking (SmartKey )...................... 84
Vehicle data ................................... 419
Vehicle data ....................................... 419
Vehicle dimensions ........................... 419
Vehicle emergency locking ................ 91
Vehicle identification number see VIN
Vehicle identification plate .............. 410
Vehicle level AIRMATIC ...................................... 202
Vehicle level (display message) ....... 268
Vehicle maintenance see ASSYST PLUS
Vehicle tool kit .................................. 344
Video Operating the DVD ......................... 239
VIN ...................................................... 410 Index
21
Page 29 of 426
In situations like this, the body, the under-
carriage, chassis parts, wheels or tires
could be damaged without the damage
being visible. Components damaged in this way can unexpectedly fail or, in the case of
an accident, no longer withstand the strain
they are designed to.
If the underbody paneling is damaged,
combustible materials such as leaves,
grass or twigs can gather between the
underbody and the underbody paneling. If
these materials come in contact with hot
parts of the exhaust system, they can catch fire.
In such situations, have the vehicle
checked and repaired immediately at a
qualified specialist workshop. If on con-
tinuing your journey you notice that driving
safety is impaired, pull over and stop the
vehicle immediately, paying attention to
road and traffic conditions. In such cases,
visit a qualified specialist workshop. Declarations of conformity
Vehicle components which receive
and/or transmit radio waves USA:
"The wireless devices of this vehicle
comply with Part 15 of the FCC Rules. Oper-
ation is subject to the following two condi-
tions: 1) These devices may not cause harm-
ful interference, and 2) These devices must
accept any interference received, including
interference that may cause undesired oper-
ation. Changes or modifications not expressly approved by the party responsible for com-
pliance could void the user’s authority to
operate the equipment."
Canada: "The wireless devices of this vehicle
comply with Industry Canada license-exempt RSS standard(s). Operation is subject to the
following two conditions: (1) These devices
may not cause interference, and (2) These
devices must accept any interference, includ-
ing interference that may cause undesired
operation of the device." Diagnostics connection
The diagnostics connection is only intended
for the connection of diagnostic equipment at
a qualified specialist workshop. G
WARNING
If you connect equipment to the diagnostics
connection in the vehicle, it may affect the
operation of the vehicle systems. As a result, the operating safety of the vehicle could be
affected. There is a risk of an accident.
Do not connect any equipment to a diagnos-
tics connection in the vehicle. G
WARNING
Objects in the driver's footwell can restrict the pedal travel or obstruct a depressed pedal.
The operating and road safety of the vehicle is
jeopardized. There is a risk of an accident.
Make sure that all objects in the vehicle are
stowed correctly, and that they cannot enter
the driver's footwell. Install the floormats
securely and as specified in order to ensure
sufficient clearance for the pedals. Do not use loose floormats and do not place floormats on
top of one another.
! If the engine is switched off and equip-
ment on the diagnostics connection is
used, the starter battery may discharge.
Connecting equipment to the diagnostics
connection can lead to emissions monitoring information being reset, for example. This
may lead to the vehicle failing to meet the
requirements of the next emissions test dur-
ing the main inspection. Qualified specialist workshop
An authorized Mercedes-Benz Center is a
qualified specialist workshop. It has the nec-
essary specialist knowledge, tools and quali-
fications to correctly carry out the work
required on your vehicle. This is especially the case for work relevant to safety. Introduction
27 Z
Page 61 of 426
How the air bag system works is deter-
mined by the severity of the accident detec- ted, especially the vehicle deceleration or
acceleration and the apparent type of acci-dent:
R frontal collision
R side impact
R rollover NECK-PRO head restraints/NECK-
PRO luxury head restraints
Important safety notes G
WARNING
The function of the head restraint may be
impaired if you:
R attach objects such as coat hangers to the
head restraints, for example
R use head restraint covers
If you do so, the head restraints cannot fulfill
their intended protective function in the event of an accident. In addition, objects attached
to the head restraints could endanger other
vehicle occupants. There is an increased risk
of injury.
Do not attach any objects to the head
restraints and do not use head restraint cov-
ers.
Method of operation NECK-PRO head restraints/NECK-PRO luxury
head restraints offer additional protection
against head and neck injuries. In the event of
a rear collision of a certain severity, the NECK-
PRO head restraints/NECK-PRO luxury head
restraints on the driver's and front-passenger
seats are moved forwards and upwards. This
provides better head support.
If the NECK-PRO head restraints/NECK-PRO
luxury head restraints have been triggered in an accident, reset the NECK-PRO head
restraints/NECK-PRO luxury head restraints
on the driver's seat and the front-passenger
seat (Y page 59). Otherwise, the additional protection will not be available in the event of
another rear-end collision. You can see that a NECK-PRO head restraint/NECK-PRO luxury
head restraint has been triggered if it is tiltedforward and can no longer be adjusted.
Mercedes-Benz recommends that you have
the functionality of the NECK-PRO head
restraints/NECK-PRO luxury head restraints
checked at a qualified specialist workshop
after a rear-end collision.
Resetting a triggered NECK-PRO head
restraint/NECK-PRO luxury head
restraint NECK-PRO head restraints
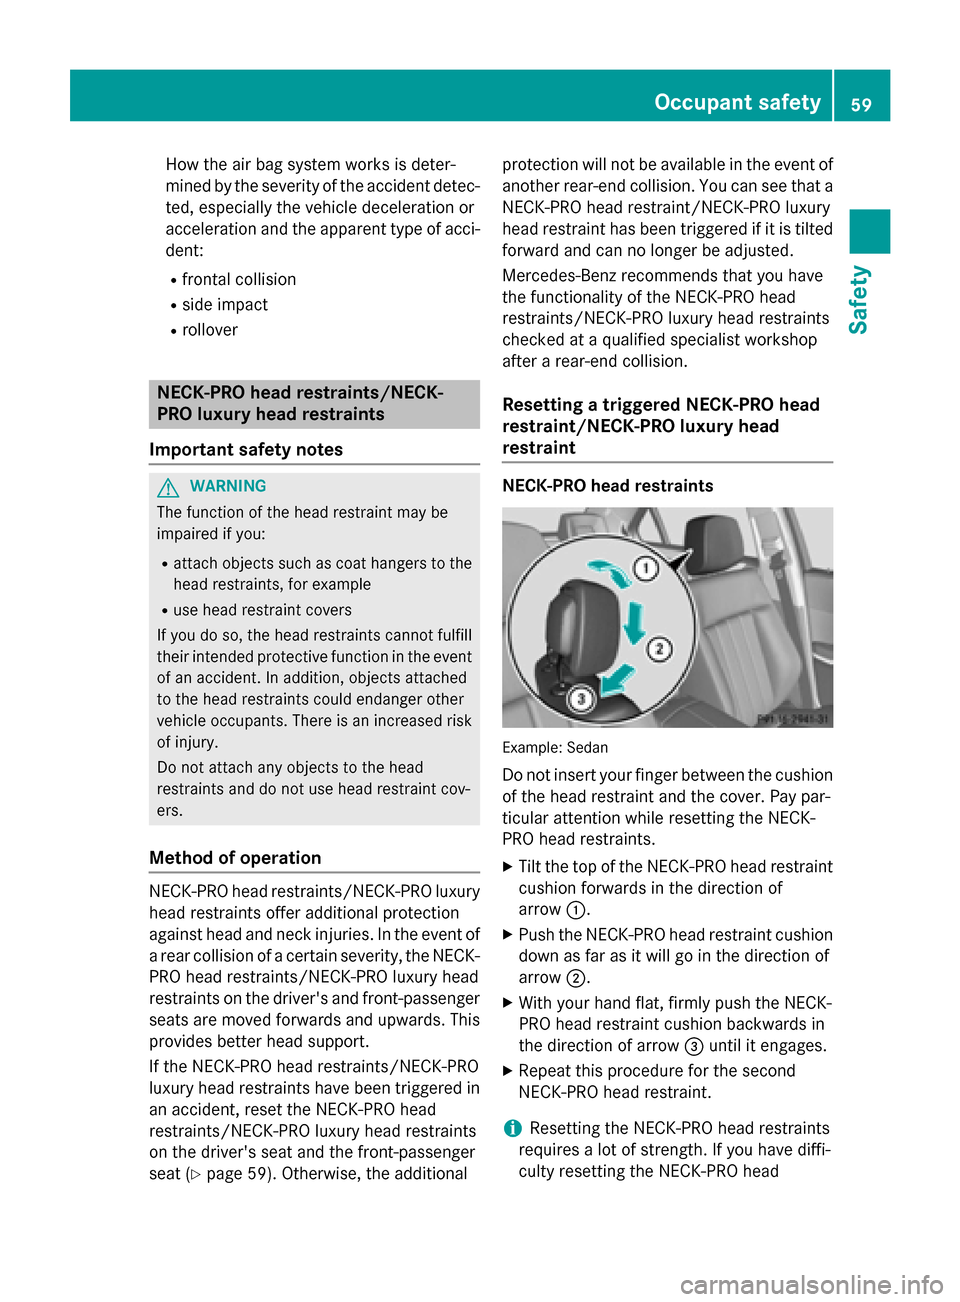
Example: Sedan
Do not insert your finger between the cushion
of the head restraint and the cover. Pay par-
ticular attention while resetting the NECK-
PRO head restraints.
X Tilt the top of the NECK-PRO head restraint
cushion forwards in the direction of
arrow 0043.
X Push the NECK-PRO head restraint cushion
down as far as it will go in the direction of
arrow 0044.
X With your hand flat, firmly push the NECK-
PRO head restraint cushion backwards in
the direction of arrow 0087until it engages.
X Repeat this procedure for the second
NECK-PRO head restraint.
i Resetting the NECK-PRO head restraints
requires a lot of strength. If you have diffi-
culty resetting the NECK-PRO head Occupant safety
59Safety Z
Page 62 of 426
restraints, have this work carried out at a
qualified specialist workshop.
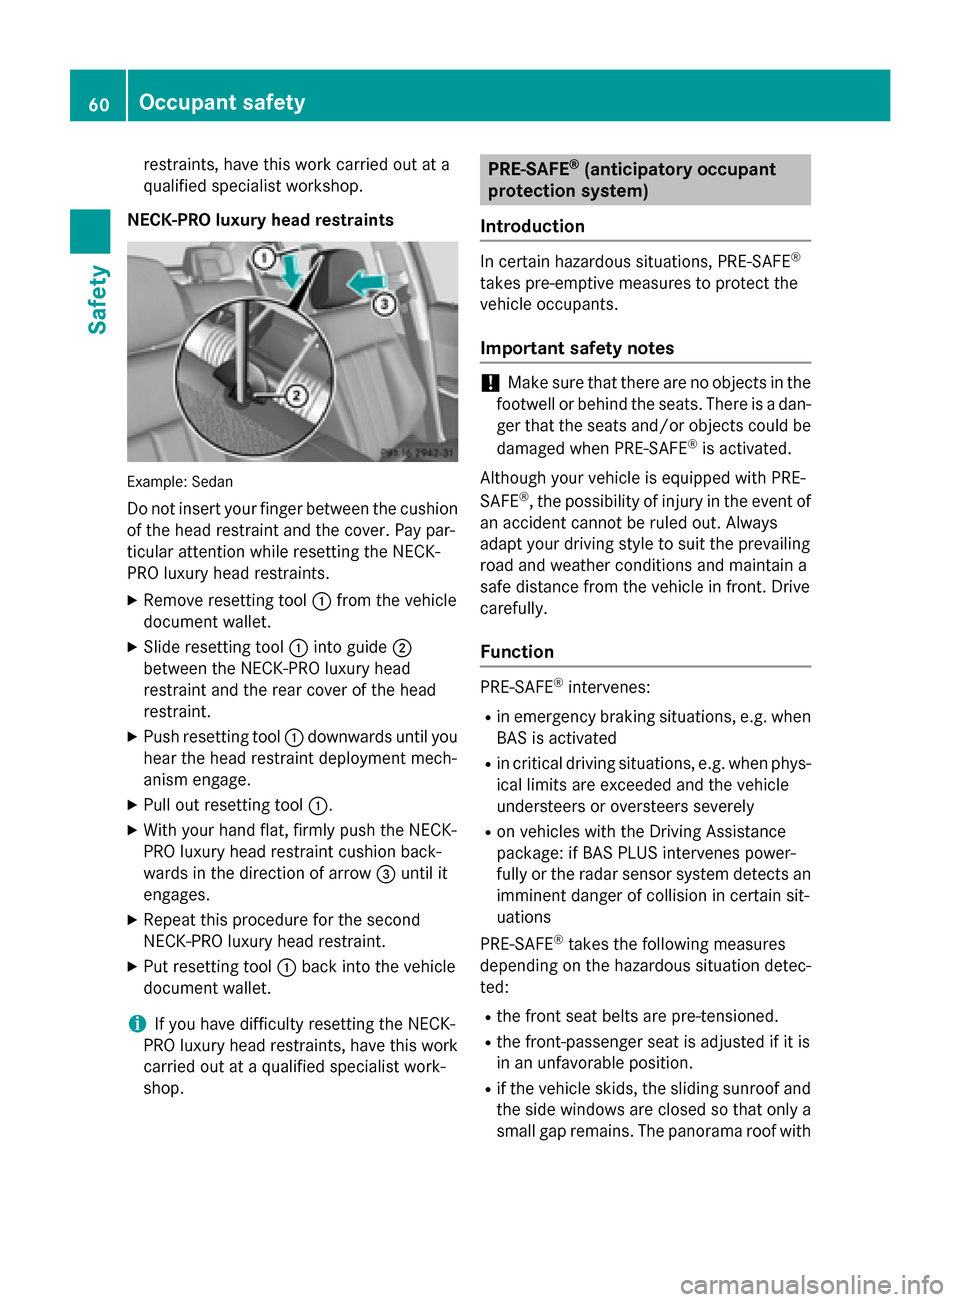
NECK-PRO luxury head restraints Example: Sedan
Do not insert your finger between the cushion
of the head restraint and the cover. Pay par-
ticular attention while resetting the NECK-
PRO luxury head restraints.
X Remove resetting tool 0043from the vehicle
document wallet.
X Slide resetting tool 0043into guide 0044
between the NECK-PRO luxury head
restraint and the rear cover of the head
restraint.
X Push resetting tool 0043downwards until you
hear the head restraint deployment mech-
anism engage.
X Pull out resetting tool 0043.
X With your hand flat, firmly push the NECK-
PRO luxury head restraint cushion back-
wards in the direction of arrow 0087until it
engages.
X Repeat this procedure for the second
NECK-PRO luxury head restraint.
X Put resetting tool 0043back into the vehicle
document wallet.
i If you have difficulty resetting the NECK-
PRO luxury head restraints, have this work carried out at a qualified specialist work-
shop. PRE-SAFE
®
(anticipatory occupant
protection system)
Introduction In certain hazardous situations, PRE-SAFE
®
takes pre-emptive measures to protect the
vehicle occupants.
Important safety notes !
Make sure that there are no objects in the
footwell or behind the seats. There is a dan- ger that the seats and/or objects could be
damaged when PRE-SAFE ®
is activated.
Although your vehicle is equipped with PRE-
SAFE ®
, the possibility of injury in the event of
an accident cannot be ruled out. Always
adapt your driving style to suit the prevailing
road and weather conditions and maintain a
safe distance from the vehicle in front. Drive
carefully.
Function PRE-SAFE
®
intervenes:
R in emergency braking situations, e.g. when
BAS is activated
R in critical driving situations, e.g. when phys-
ical limits are exceeded and the vehicle
understeers or oversteers severely
R on vehicles with the Driving Assistance
package: if BAS PLUS intervenes power-
fully or the radar sensor system detects an
imminent danger of collision in certain sit-
uations
PRE-SAFE ®
takes the following measures
depending on the hazardous situation detec-
ted:
R the front seat belts are pre-tensioned.
R the front-passenger seat is adjusted if it is
in an unfavorable position.
R if the vehicle skids, the sliding sunroof and
the side windows are closed so that only a small gap remains. The panorama roof with 60
Occupant safetySafety
Page 101 of 426
Opening
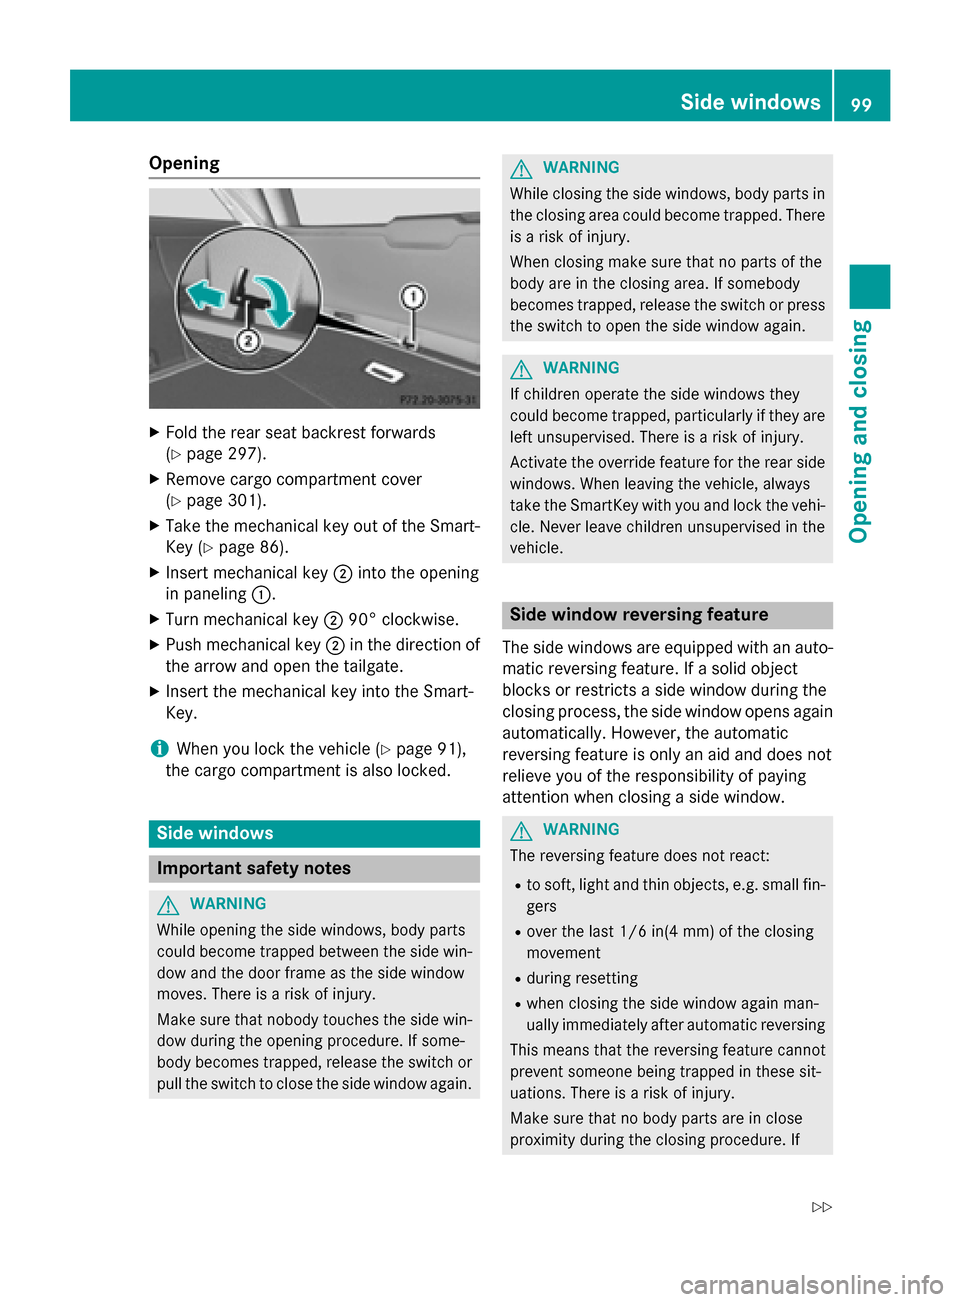
X
Fold the rear seat backrest forwards
(Y page 297).
X Remove cargo compartment cover
(Y page 301).
X Take the mechanical key out of the Smart-
Key (Y page 86).
X Insert mechanical key 0044into the opening
in paneling 0043.
X Turn mechanical key 004490° clockwise.
X Push mechanical key 0044in the direction of
the arrow and open the tailgate.
X Insert the mechanical key into the Smart-
Key.
i When you lock the vehicle (Y
page 91),
the cargo compartment is also locked. Side windows
Important safety notes
G
WARNING
While opening the side windows, body parts
could become trapped between the side win- dow and the door frame as the side window
moves. There is a risk of injury.
Make sure that nobody touches the side win-
dow during the opening procedure. If some-
body becomes trapped, release the switch or pull the switch to close the side window again. G
WARNING
While closing the side windows, body parts in the closing area could become trapped. There is a risk of injury.
When closing make sure that no parts of the
body are in the closing area. If somebody
becomes trapped, release the switch or press
the switch to open the side window again. G
WARNING
If children operate the side windows they
could become trapped, particularly if they are left unsupervised. There is a risk of injury.
Activate the override feature for the rear side
windows. When leaving the vehicle, always
take the SmartKey with you and lock the vehi-
cle. Never leave children unsupervised in the
vehicle. Side window reversing feature
The side windows are equipped with an auto- matic reversing feature. If a solid object
blocks or restricts a side window during the
closing process, the side window opens again
automatically. However, the automatic
reversing feature is only an aid and does not
relieve you of the responsibility of paying
attention when closing a side window. G
WARNING
The reversing feature does not react:
R to soft, light and thin objects, e.g. small fin-
gers
R over the last 1/6 in(4 mm) of the closing
movement
R during resetting
R when closing the side window again man-
ually immediately after automatic reversing
This means that the reversing feature cannot
prevent someone being trapped in these sit-
uations. There is a risk of injury.
Make sure that no body parts are in close
proximity during the closing procedure. If Side windows
99Opening and closing
Z
Page 104 of 426
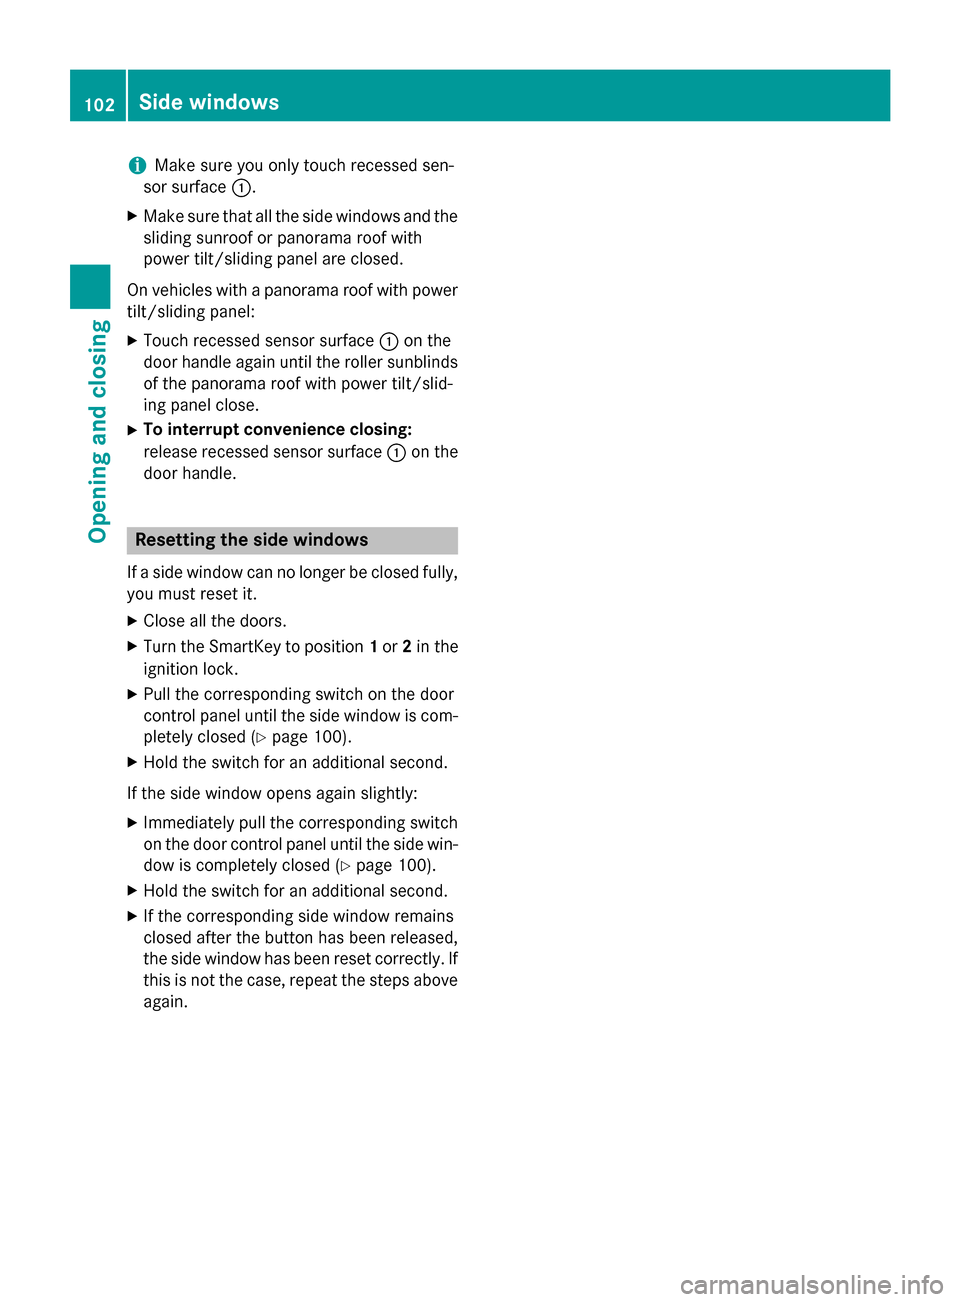
i
Make sure you only touch recessed sen-
sor surface 0043.
X Make sure that all the side windows and the
sliding sunroof or panorama roof with
power tilt/sliding panel are closed.
On vehicles with a panorama roof with power tilt/sliding panel:
X Touch recessed sensor surface 0043on the
door handle again until the roller sunblinds of the panorama roof with power tilt/slid-
ing panel close.
X To interrupt convenience closing:
release recessed sensor surface 0043on the
door handle. Resetting the side windows
If a side window can no longer be closed fully, you must reset it.
X Close all the doors.
X Turn the SmartKey to position 1or 2in the
ignition lock.
X Pull the corresponding switch on the door
control panel until the side window is com- pletely closed (Y page 100).
X Hold the switch for an additional second.
If the side window opens again slightly:
X Immediately pull the corresponding switch
on the door control panel until the side win-
dow is completely closed (Y page 100).
X Hold the switch for an additional second.
X If the corresponding side window remains
closed after the button has been released,
the side window has been reset correctly. If
this is not the case, repeat the steps aboveagain. 102
Side windowsOpening and closing