start stop button MERCEDES-BENZ E-Class WAGON 2012 W212 Owner's Manual
[x] Cancel search | Manufacturer: MERCEDES-BENZ, Model Year: 2012, Model line: E-Class WAGON, Model: MERCEDES-BENZ E-Class WAGON 2012 W212Pages: 396, PDF Size: 17.07 MB
Page 7 of 396
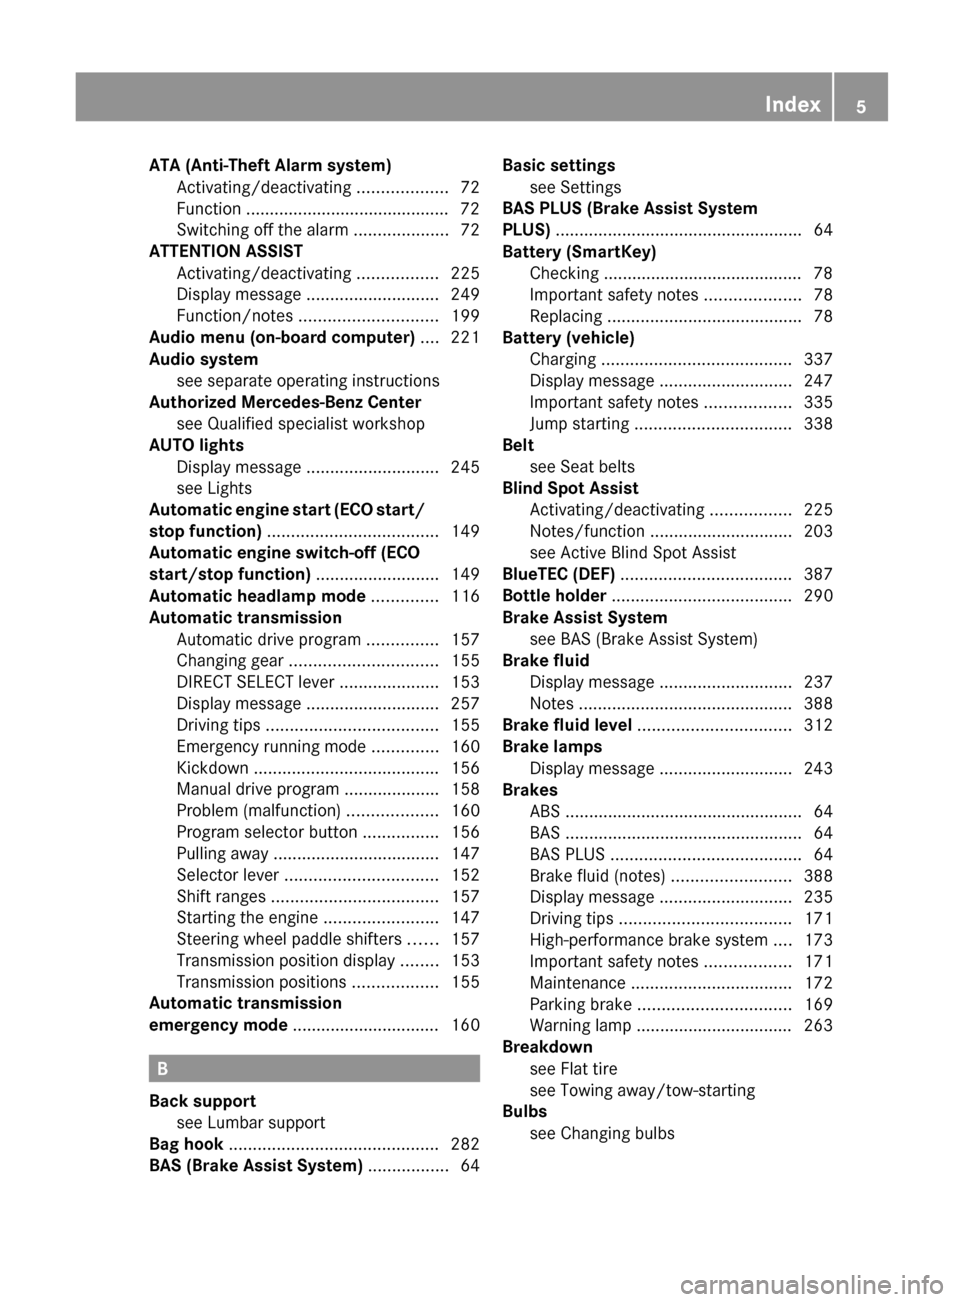
ATA (Anti-Theft Alarm system)Activating/deactivating ...................72
Function ........................................... 72
Switching off the alarm ....................72
ATTENTION ASSIST
Activating/deactivating .................225
Display message ............................ 249
Function/notes ............................. 199
Audio menu (on-board computer) .... 221
Audio system see separate operating instructions
Authorized Mercedes-Benz Center
see Qualified specialist workshop
AUTO lights
Display message ............................ 245
see Lights
Automatic engine start (ECO start/
stop function) .................................... 149
Automatic engine switch-off (ECO
start/stop function) .......................... 149
Automatic headlamp mode .............. 116
Automatic transmission Automatic drive program ...............157
Changing gear ............................... 155
DIRECT SELECT lever .....................153
Display message ............................ 257
Driving tips .................................... 155
Emergency running mode ..............160
Kickdown ....................................... 156
Manual drive program ....................158
Problem (malfunction) ...................160
Program selector button ................156
Pulling away ................................... 147
Selector lever ................................ 152
Shift ranges ................................... 157
Starting the engine ........................147
Steering wheel paddle shifters ......157
Transmission position display ........153
Transmission positions ..................155
Automatic transmission
emergency mode ............................... 160
B
Back support see Lumbar support
Bag hook ............................................ 282
BAS (Brake Assist System) ................. 64
Basic settings
see Settings
BAS PLUS (Brake Assist System
PLUS) .................................................... 64
Battery (SmartKey) Checking .......................................... 78
Important safety notes ....................78
Replacing ......................................... 78
Battery (vehicle)
Charging ........................................ 337
Display message ............................ 247
Important safety notes ..................335
Jump starting ................................. 338
Belt
see Seat belts
Blind Spot Assist
Activating/deactivating .................225
Notes/function .............................. 203
see Active Blind Spot Assist
BlueTEC (DEF) .................................... 387
Bottle holder ...................................... 290
Brake Assist System see BAS (Brake Assist System)
Brake fluid
Display message ............................ 237
Notes ............................................. 388
Brake fluid level ................................ 312
Brake lamps Display message ............................ 243
Brakes
ABS .................................................. 64
BAS .................................................. 64
BAS PLUS ........................................ 64
Brake fluid (notes) .........................388
Display message ............................ 235
Driving tips .................................... 171
High-performance brake system ....173
Important safety notes ..................171
Maintenance .................................. 172
Parking brake ................................ 169
Warning lamp ................................. 263
Breakdown
see Flat tire
see Towing away/tow-starting
Bulbs
see Changing bulbs Index5
Page 13 of 396
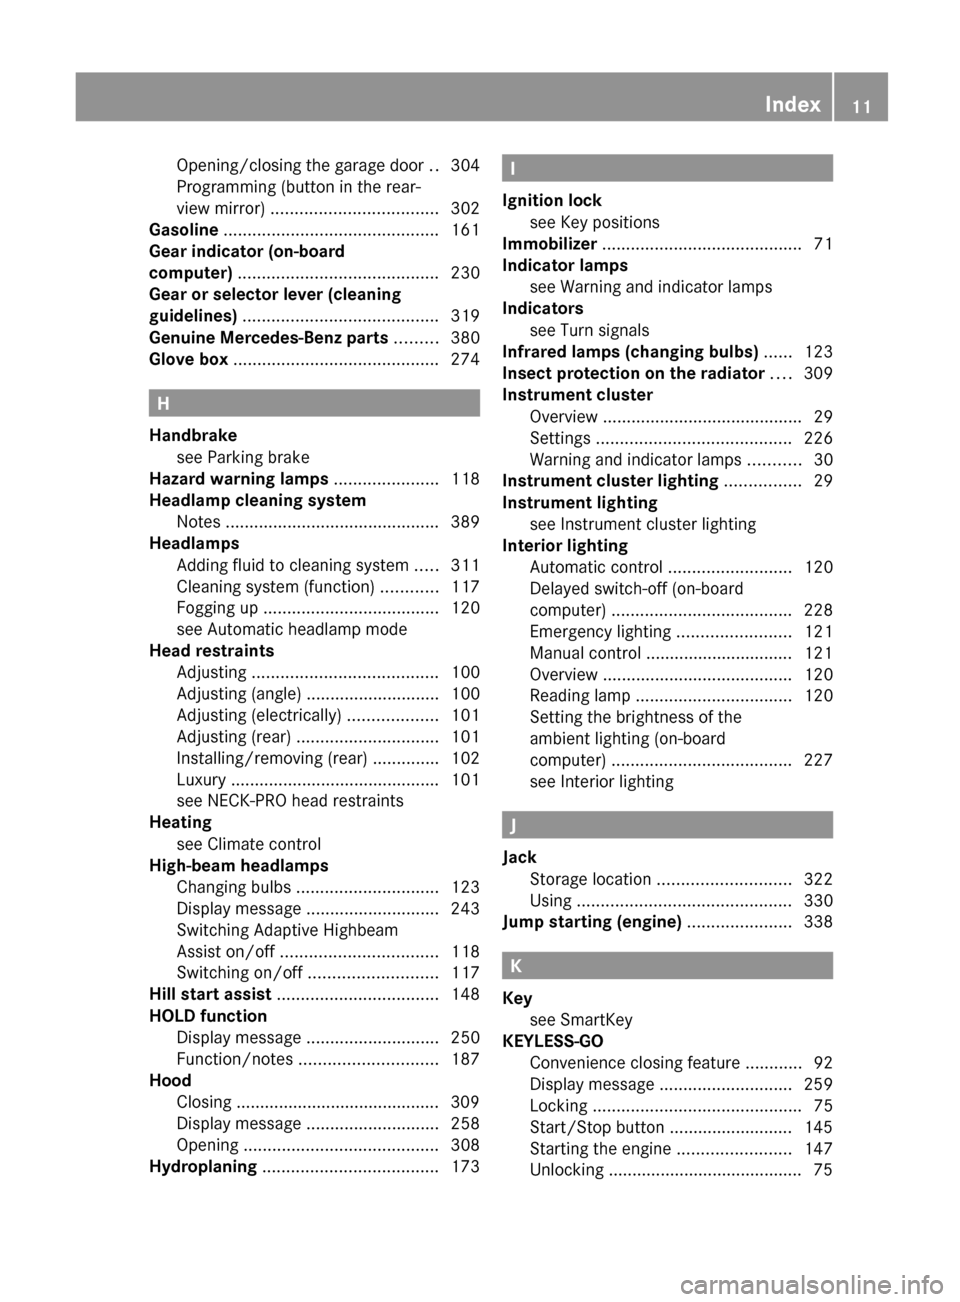
Opening/closing the garage door ..304
Programming (button in the rear-
view mirror) ................................... 302
Gasoline ............................................. 161
Gear indicator (on-board
computer) .......................................... 230
Gear or selector lever (cleaning
guidelines) ......................................... 319
Genuine Mercedes-Benz parts ......... 380
Glove box ........................................... 274
H
Handbrake see Parking brake
Hazard warning lamps ...................... 118
Headlamp cleaning system Notes ............................................. 389
Headlamps
Adding fluid to cleaning system .....311
Cleaning system (function) ............117
Fogging up ..................................... 120
see Automatic headlamp mode
Head restraints
Adjusting ....................................... 100
Adjusting (angle) ............................ 100
Adjusting (electrically) ...................101
Adjusting (rear) .............................. 101
Installing/removing (rear) ..............102
Luxury ............................................ 101
see NECK-PRO head restraints
Heating
see Climate control
High-beam headlamps
Changing bulbs .............................. 123
Display message ............................ 243
Switching Adaptive Highbeam
Assist on/off ................................. 118
Switching on/off ........................... 117
Hill start assist .................................. 148
HOLD function Display message ............................ 250
Function/notes ............................. 187
Hood
Closing ........................................... 309
Display message ............................ 258
Opening ......................................... 308
Hydroplaning ..................................... 173
I
Ignition lock see Key positions
Immobilizer .......................................... 71
Indicator lamps see Warning and indicator lamps
Indicators
see Turn signals
Infrared lamps (changing bulbs) ...... 123
Insect protection on the radiator .... 309
Instrument cluster Overview .......................................... 29
Settings ......................................... 226
Warning and indicator lamps ...........30
Instrument cluster lighting ................ 29
Instrument lighting see Instrument cluster lighting
Interior lighting
Automatic control ..........................120
Delayed switch-off (on-board
computer) ...................................... 228
Emergency lighting ........................121
Manual control ............................... 121
Overview ........................................ 120
Reading lamp ................................. 120
Setting the brightness of the
ambient lighting (on-board
computer) ...................................... 227
see Interior lighting
J
Jack Storage location ............................ 322
Using ............................................. 330
Jump starting (engine) ...................... 338
K
Key see SmartKey
KEYLESS-GO
Convenience closing feature ............92
Display message ............................ 259
Locking ............................................ 75
Start/Stop button .......................... 145
Starting the engine ........................147
Unlocking ......................................... 75
Index11
Page 19 of 396
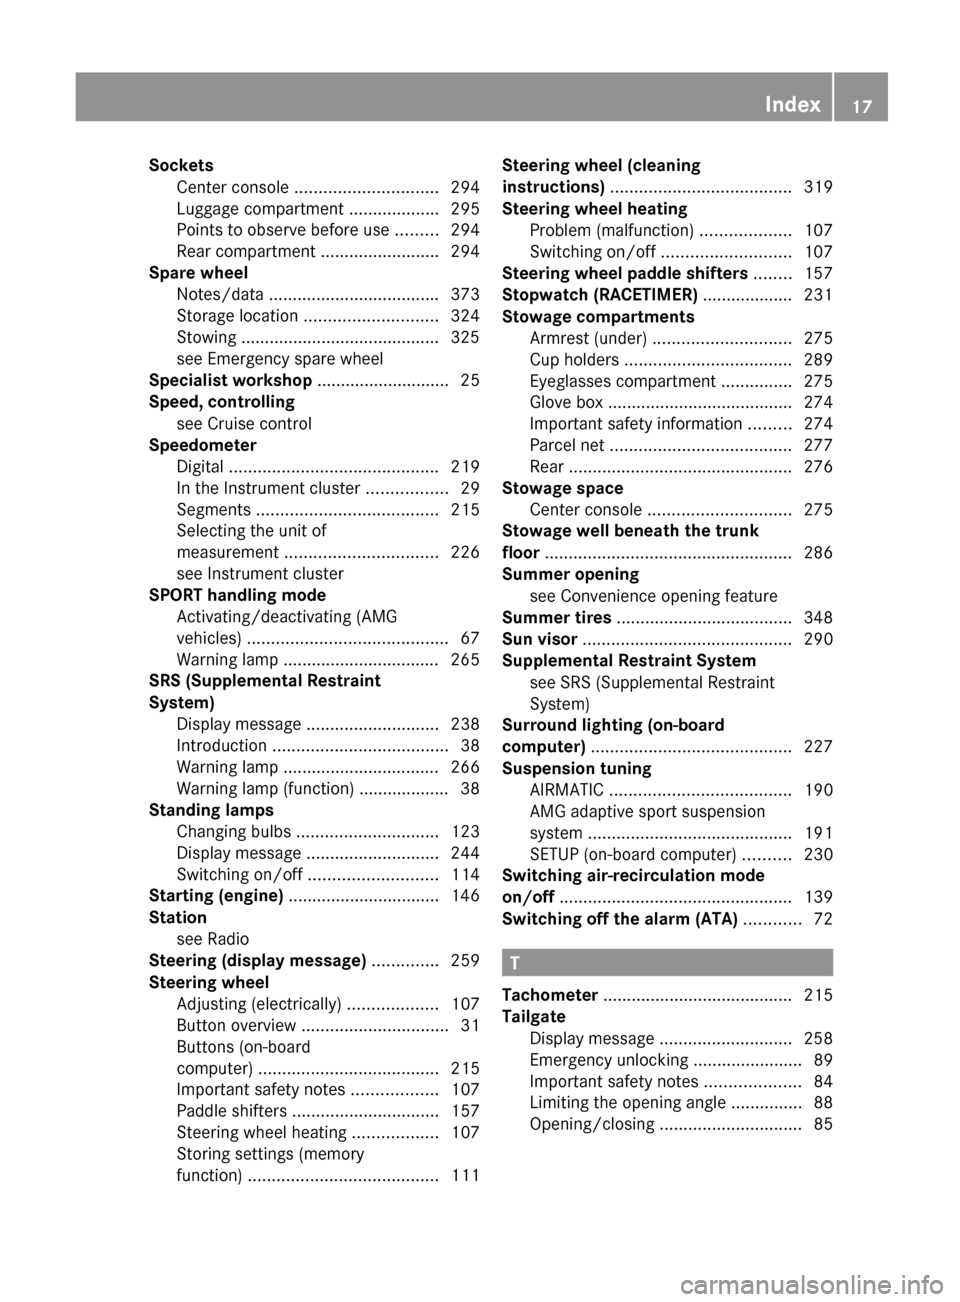
SocketsCenter console .............................. 294
Luggage compartment ...................295
Points to observe before use .........294
Rear compartment .........................294
Spare wheel
Notes/data .................................... 373
Storage location ............................ 324
Stowing .......................................... 325
see Emergency spare wheel
Specialist workshop ............................ 25
Speed, controlling see Cruise control
Speedometer
Digital ............................................ 219
In the Instrument cluster .................29
Segments ...................................... 215
Selecting the unit of
measurement ................................ 226
see Instrument cluster
SPORT handling mode
Activating/deactivating (AMG
vehicles) .......................................... 67
Warning lamp ................................. 265
SRS (Supplemental Restraint
System) Display message ............................ 238
Introduction ..................................... 38
Warning lamp ................................. 266
Warning lamp (function) ................... 38
Standing lamps
Changing bulbs .............................. 123
Display message ............................ 244
Switching on/off ........................... 114
Starting (engine) ................................ 146
Station see Radio
Steering (display message) .............. 259
Steering wheel Adjusting (electrically) ...................107
Button overview ............................... 31
Buttons (on-board
computer) ...................................... 215
Important safety notes ..................107
Paddle shifters ............................... 157
Steering wheel heating ..................107
Storing settings (memory
function) ........................................ 111Steering wheel (cleaning
instructions) ...................................... 319
Steering wheel heating Problem (malfunction) ...................107
Switching on/off ........................... 107
Steering wheel paddle shifters ........ 157
Stopwatch (RACETIMER) ................... 231
Stowage compartments Armrest (under) ............................. 275
Cup holders ................................... 289
Eyeglasses compartment ...............275
Glove box ....................................... 274
Important safety information .........274
Parcel net ...................................... 277
Rear ............................................... 276
Stowage space
Center console .............................. 275
Stowage well beneath the trunk
floor .................................................... 286
Summer opening see Convenience opening feature
Summer tires ..................................... 348
Sun visor ............................................ 290
Supplemental Restraint System see SRS (Supplemental Restraint
System)
Surround lighting (on-board
computer) .......................................... 227
Suspension tuning AIRMATIC ...................................... 190
AMG adaptive sport suspension
system ........................................... 191
SETUP (on-board computer) ..........230
Switching air-recirculation mode
on/off ................................................. 139
Switching off the alarm (ATA) ............ 72
T
Tachometer ........................................ 215
Tailgate Display message ............................ 258
Emergency unlocking .......................89
Important safety notes ....................84
Limiting the opening angle ...............88
Opening/closing .............................. 85
Index17
Page 30 of 396
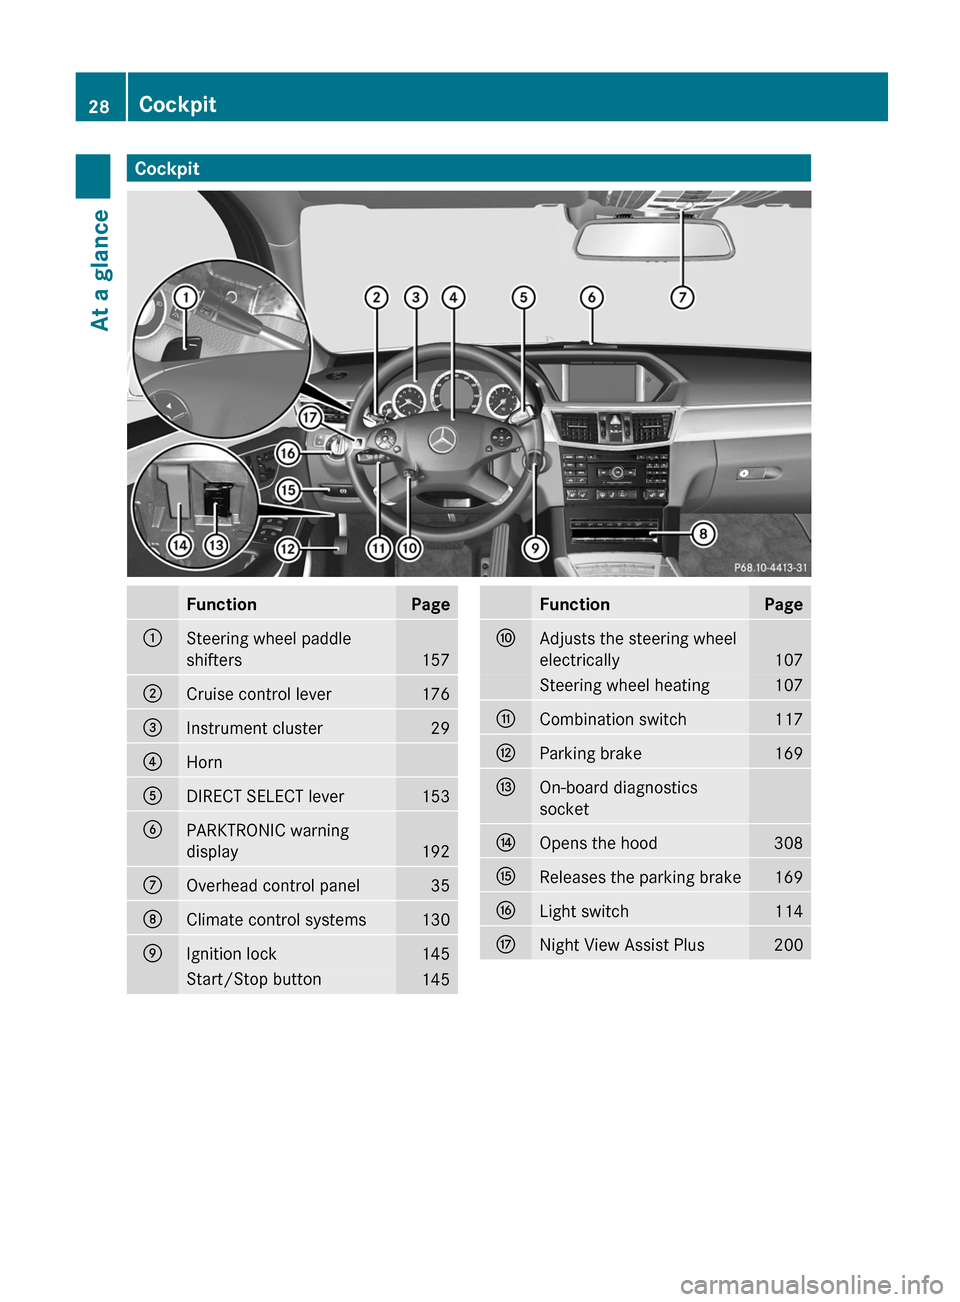
CockpitFunctionPage:Steering wheel paddle
shifters
157
;Cruise control lever176=Instrument cluster29?HornADIRECT SELECT lever153BPARKTRONIC warning
display
192
COverhead control panel35DClimate control systems130EIgnition lock145Start/Stop button145FunctionPageFAdjusts the steering wheel
electrically
107
Steering wheel heating107GCombination switch117HParking brake169IOn-board diagnostics
socketJOpens the hood308KReleases the parking brake169LLight switch114MNight View Assist Plus20028CockpitAt a glance
Page 49 of 396
RIf you place a child in a forward-facing child
restraint on the front-passenger seat:
- move the seat as far back as possible
- use the proper child restraint
recommended for the age, size and
weight of the child
- secure child restraint with the vehicle's
seat belt according to the child seat
manufacturer's instructions
R For children larger than the typical 12-
month-old child, the front-passenger front
air bag may or may not be activated.
If the driver's air bag deploys, this does not
mean that the front-passenger front air bag
also has to deploy.
The OCS may have detected that the seat:
R was empty or occupied by a person with a
weight of up to or less than that of a typical
12-month-old child seated in a standard
child restraint
R was occupied by a small individual, such as
a young teenager or a small adult
R was occupied by a child in a child restraint
system, whose weight is greater than that
of a typical 12-month-old child.
These are examples of when the OCS
deactivates the front-passenger front air bag.
Deactivation takes place although the
collision fulfills the criteria for deploying the
driver's air bag.
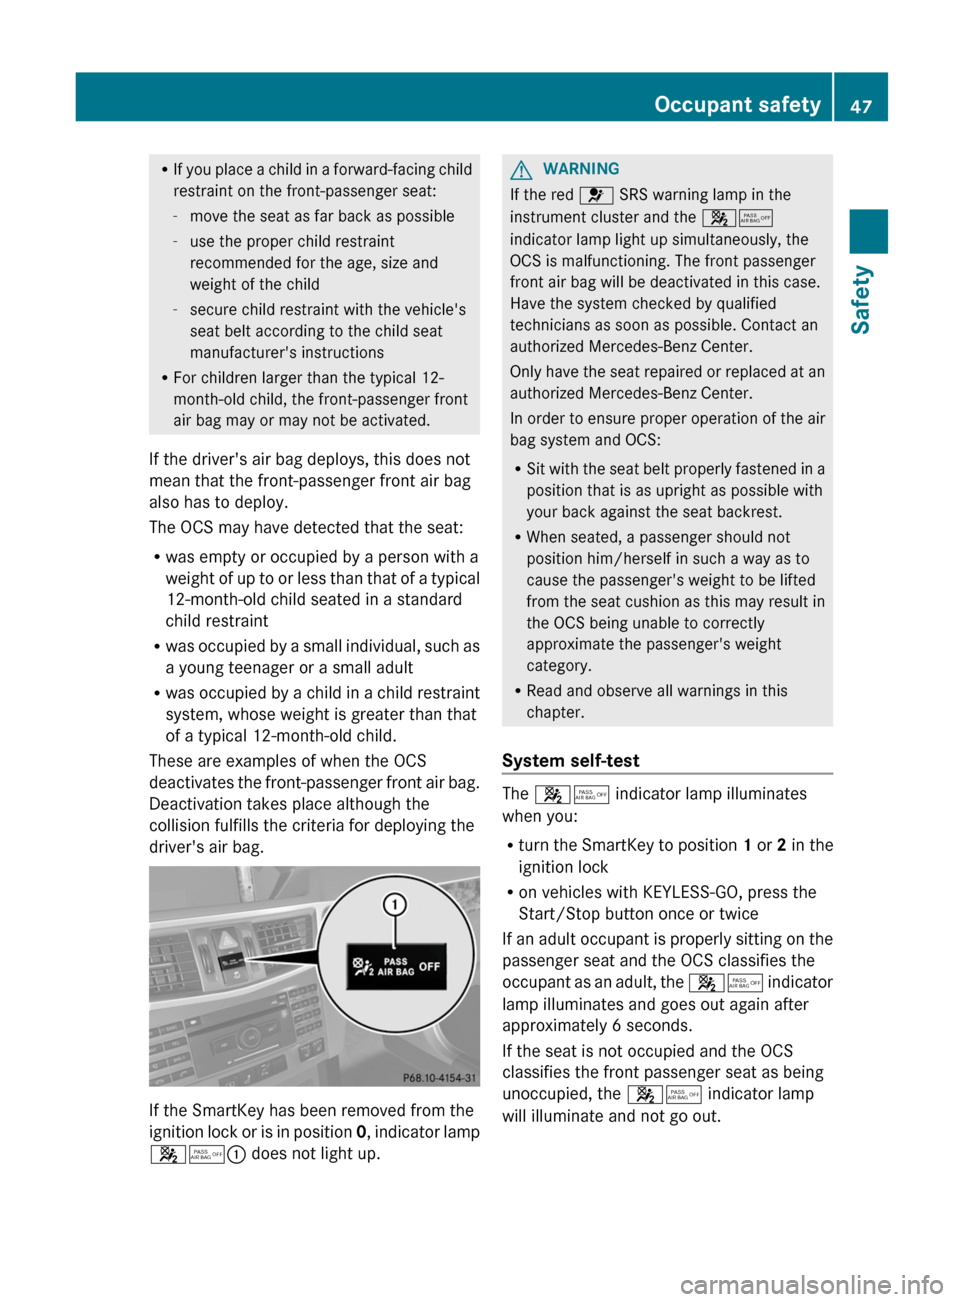
If the SmartKey has been removed from the
ignition lock or is in position 0, indicator lamp
45 : does not light up.
GWARNING
If the red 6 SRS warning lamp in the
instrument cluster and the 45
indicator lamp light up simultaneously, the
OCS is malfunctioning. The front passenger
front air bag will be deactivated in this case.
Have the system checked by qualified
technicians as soon as possible. Contact an
authorized Mercedes-Benz Center.
Only have the seat repaired or replaced at an
authorized Mercedes-Benz Center.
In order to ensure proper operation of the air
bag system and OCS:
R Sit with the seat belt properly fastened in a
position that is as upright as possible with
your back against the seat backrest.
R When seated, a passenger should not
position him/herself in such a way as to
cause the passenger's weight to be lifted
from the seat cushion as this may result in
the OCS being unable to correctly
approximate the passenger's weight
category.
R Read and observe all warnings in this
chapter.
System self-test
The 45 indicator lamp illuminates
when you:
R turn the SmartKey to position 1 or 2 in the
ignition lock
R on vehicles with KEYLESS-GO, press the
Start/Stop button once or twice
If an adult occupant is properly sitting on the
passenger seat and the OCS classifies the
occupant as an adult, the 45 indicator
lamp illuminates and goes out again after
approximately 6 seconds.
If the seat is not occupied and the OCS
classifies the front passenger seat as being
unoccupied, the 45 indicator lamp
will illuminate and not go out.
Occupant safety47SafetyZ
Page 57 of 396
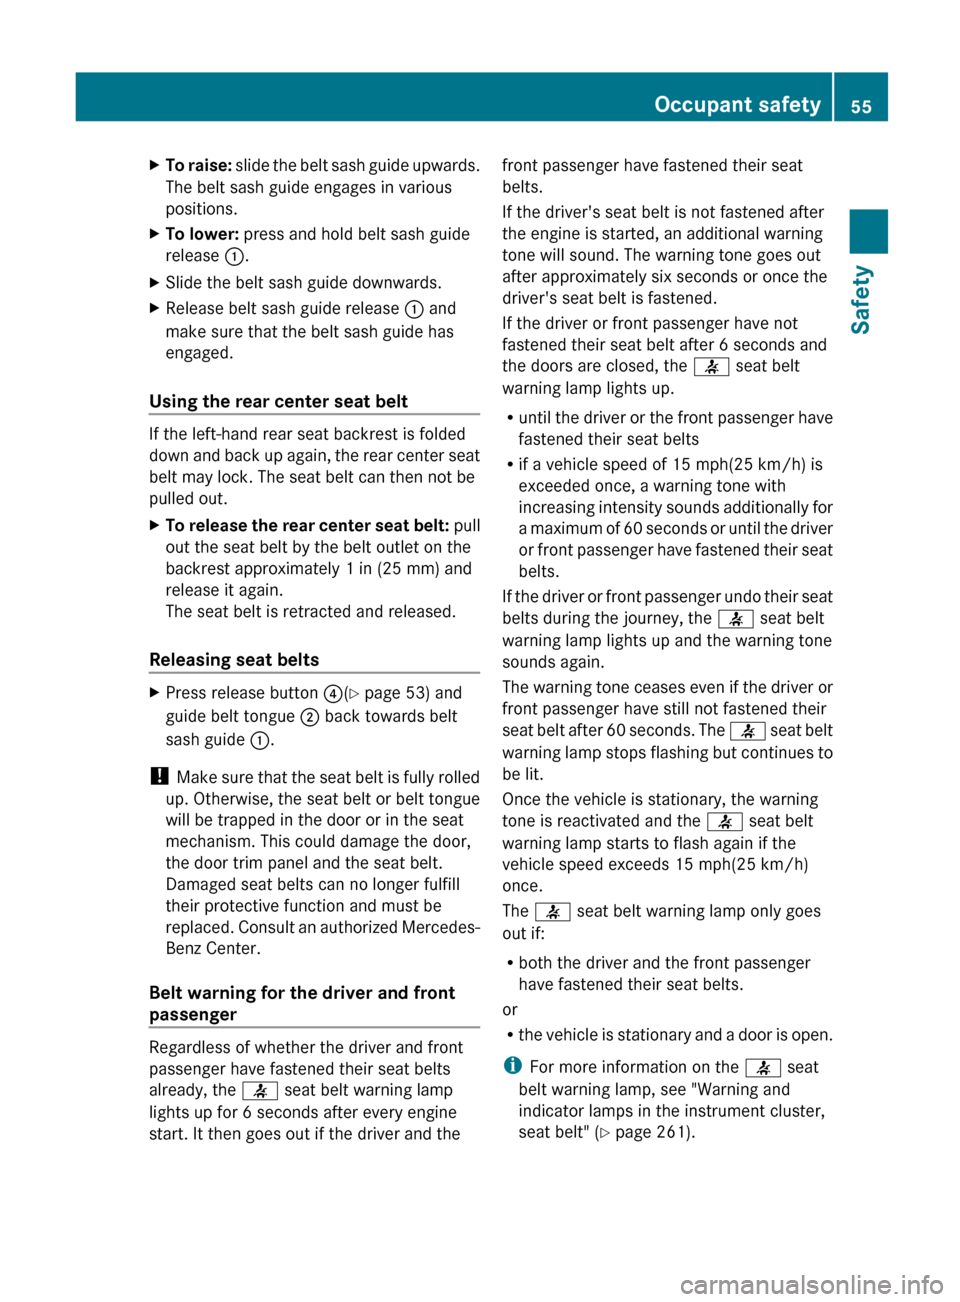
XTo raise: slide the belt sash guide upwards.
The belt sash guide engages in various
positions.XTo lower: press and hold belt sash guide
release :.XSlide the belt sash guide downwards.XRelease belt sash guide release : and
make sure that the belt sash guide has
engaged.
Using the rear center seat belt
If the left-hand rear seat backrest is folded
down and back up again, the rear center seat
belt may lock. The seat belt can then not be
pulled out.
XTo release the rear center seat belt: pull
out the seat belt by the belt outlet on the
backrest approximately 1 in (25 mm) and
release it again.
The seat belt is retracted and released.
Releasing seat belts
XPress release button ?(Y page 53) and
guide belt tongue ; back towards belt
sash guide :.
!
Make sure that the seat belt is fully rolled
up. Otherwise, the seat belt or belt tongue
will be trapped in the door or in the seat
mechanism. This could damage the door,
the door trim panel and the seat belt.
Damaged seat belts can no longer fulfill
their protective function and must be
replaced. Consult an authorized Mercedes-
Benz Center.
Belt warning for the driver and front
passenger
Regardless of whether the driver and front
passenger have fastened their seat belts
already, the 7 seat belt warning lamp
lights up for 6 seconds after every engine
start. It then goes out if the driver and the
front passenger have fastened their seat
belts.
If the driver's seat belt is not fastened after
the engine is started, an additional warning
tone will sound. The warning tone goes out
after approximately six seconds or once the
driver's seat belt is fastened.
If the driver or front passenger have not
fastened their seat belt after 6 seconds and
the doors are closed, the 7 seat belt
warning lamp lights up.
R until the driver or the front passenger have
fastened their seat belts
R if a vehicle speed of 15 mph(25 km/h) is
exceeded once, a warning tone with
increasing intensity sounds additionally for
a maximum of 60 seconds or until the driver
or front passenger have fastened their seat
belts.
If the driver or front passenger undo their seat
belts during the journey, the 7 seat belt
warning lamp lights up and the warning tone
sounds again.
The warning tone ceases even if the driver or
front passenger have still not fastened their
seat belt after 60 seconds. The 7 seat belt
warning lamp stops flashing but continues to
be lit.
Once the vehicle is stationary, the warning
tone is reactivated and the 7 seat belt
warning lamp starts to flash again if the
vehicle speed exceeds 15 mph(25 km/h)
once.
The 7 seat belt warning lamp only goes
out if:
R both the driver and the front passenger
have fastened their seat belts.
or
R the vehicle is stationary and a door is open.
i For more information on the 7 seat
belt warning lamp, see "Warning and
indicator lamps in the instrument cluster,
seat belt" ( Y page 261).Occupant safety55SafetyZ
Page 64 of 396
children ride in the rear always secure the rear
doors with the child-proof locks.
You secure each door individually with the
child-proof locks on the rear doors. A door
secured with a child-proof lock cannot be
opened from inside the vehicle. When the
vehicle is unlocked, the door can be opened
from the outside.
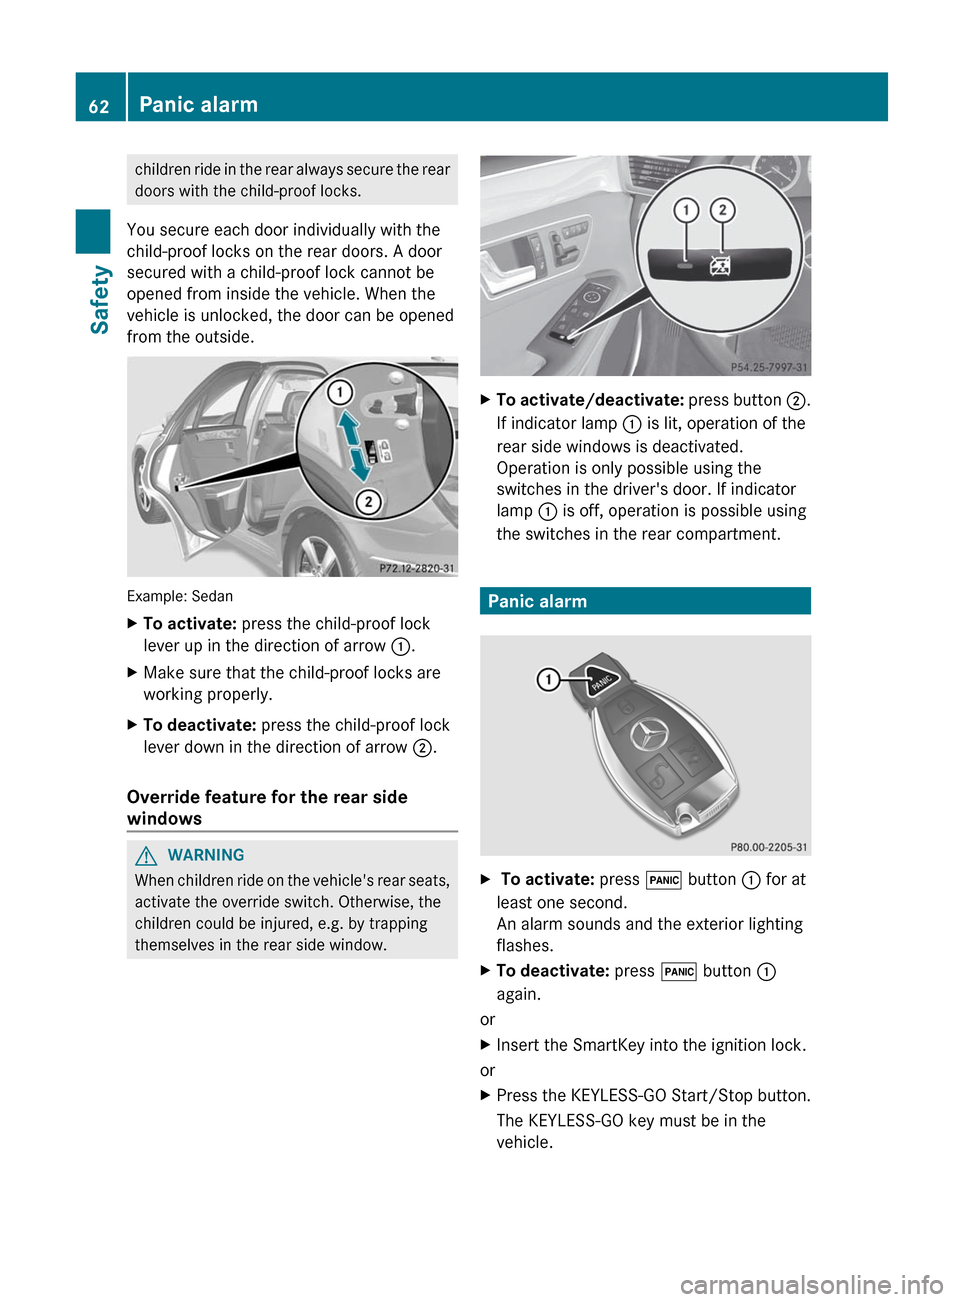
Example: Sedan
XTo activate: press the child-proof lock
lever up in the direction of arrow :.XMake sure that the child-proof locks are
working properly.XTo deactivate: press the child-proof lock
lever down in the direction of arrow ;.
Override feature for the rear side
windows
GWARNING
When children ride on the vehicle's rear seats,
activate the override switch. Otherwise, the
children could be injured, e.g. by trapping
themselves in the rear side window.
XTo activate/deactivate: press button ;.
If indicator lamp : is lit, operation of the
rear side windows is deactivated.
Operation is only possible using the
switches in the driver's door. If indicator
lamp : is off, operation is possible using
the switches in the rear compartment.
Panic alarm
X To activate: press ! button : for at
least one second.
An alarm sounds and the exterior lighting
flashes.XTo deactivate: press ! button :
again.
or
XInsert the SmartKey into the ignition lock.
or
XPress the KEYLESS-GO Start/Stop button.
The KEYLESS-GO key must be in the
vehicle.62Panic alarmSafety
Page 74 of 396
ATA (Anti-Theft Alarm system)
A visual and audible alarm is triggered if the
alarm system is armed and you open:
R a door
R the vehicle with the mechanical key
R the trunk lid/tailgate
R the hood
The alarm is not switched off, even if you
close the open door that has triggered it, for
example.
i If the alarm stays on for more than 30
seconds, the emergency call system
mbrace (USA only) or TELE AID (Canada
only) initiates a call to the Customer
Assistance Center automatically. The
emergency call system initiates the call
provided that:
R you have subscribed to the mbrace/
TELE AID service.
R the mbrace/TELE AID service has been
activated properly.
R the required mobile phone, power supply
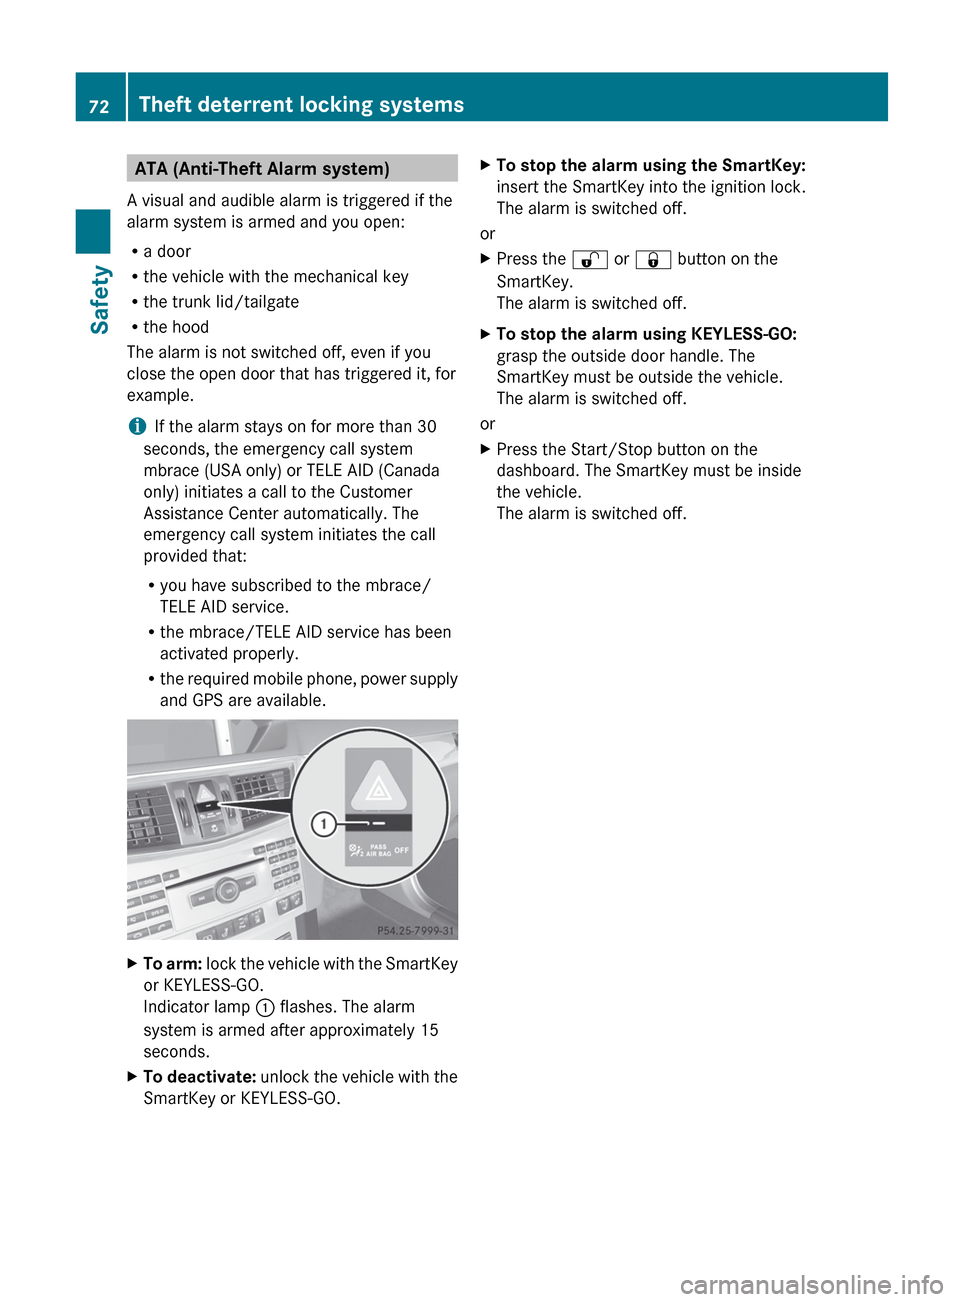
and GPS are available.XTo arm: lock the vehicle with the SmartKey
or KEYLESS-GO.
Indicator lamp : flashes. The alarm
system is armed after approximately 15
seconds.XTo deactivate: unlock the vehicle with the
SmartKey or KEYLESS-GO.XTo stop the alarm using the SmartKey:
insert the SmartKey into the ignition lock.
The alarm is switched off.
or
XPress the % or & button on the
SmartKey.
The alarm is switched off.XTo stop the alarm using KEYLESS-GO:
grasp the outside door handle. The
SmartKey must be outside the vehicle.
The alarm is switched off.
or
XPress the Start/Stop button on the
dashboard. The SmartKey must be inside
the vehicle.
The alarm is switched off.72Theft deterrent locking systemsSafety
Page 78 of 396
This device complies with RSS-210 of
Industry Canada. Operation is subject to
the following two conditions:
1. This device may not cause harmful
interference, and
2. this device must accept any interference
received, including interference that may
cause undesired operation.
Any unauthorized modification to this
device could void the user’s authority to
operate the equipment.
The Product label with FCC ID and IC
certification number can be found in the
battery case of the SmartKey.
Important notes on the use of KEYLESS-
GO
R The KEYLESS-GO key can be used like a
conventional key.
R You can combine KEYLESS-GO functions
with those of a conventional key, e.g.
unlock with KEYLESS-GO and lock with the
& button.
R Always carry your KEYLESS-GO key on your
person.
R Do not keep the KEYLESS-GO key together
with:
- electronic devices, e.g. a mobile phone
or another key
- metallic objects, e.g. coins or metal foil.
This can affect the functionality of
KEYLESS-GO.
R When locking and unlocking using
KEYLESS-GO, the distance between the
SmartKey and the corresponding door
handle must not exceed 3 ft (1 m).
R If the vehicle is parked for more than
72 hours, the KEYLESS-GO function is
deactivated. Pull the outer door handle and
switch on the ignition to reactivate the
KEYLESS-GO function.
R If the KEYLESS-GO key is removed from the
vehicle, it is possible that the system may
not recognize the SmartKey. The vehicle
can then not be locked or started using
KEYLESS-GO.
R If the KEYLESS-GO key has been removed
from the vehicle, e.g. if a passenger leaves
the vehicle with a KEYLESS-GO key:
- if the start/stop button is pressed or if
an attempt is made to lock the vehicle
with the locking button on the outer door
handle, the Key Not Detected message
appears in the multifunction display
- when the engine is running, the red Key
Not Detected message appears in the
multifunction display as you pull away.
Find the KEYLESS-GO key and change its
position in the vehicle. Carry the
KEYLESS-GO key in your shirt pocket, for
example.
R If you have started the engine with the
Start/Stop button, you can switch it off
again by:
- pressing the Start/Stop button again
- inserting the KEYLESS-GO key into the
ignition lock if the vehicle is stationary
and the automatic transmission is in park
position P.
R You could unlock the vehicle by mistake if
the distance between the KEYLESS-GO key
and the vehicle is less than 3 ft (1 m) and:
- an exterior door handle is hit by a water
jet
or
- you clean an exterior door handle.
R Bear in mind that the engine can be started
by any of the vehicle occupants if there is
a KEYLESS-GO key in the vehicle.76SmartKeyOpening/closing
Page 79 of 396
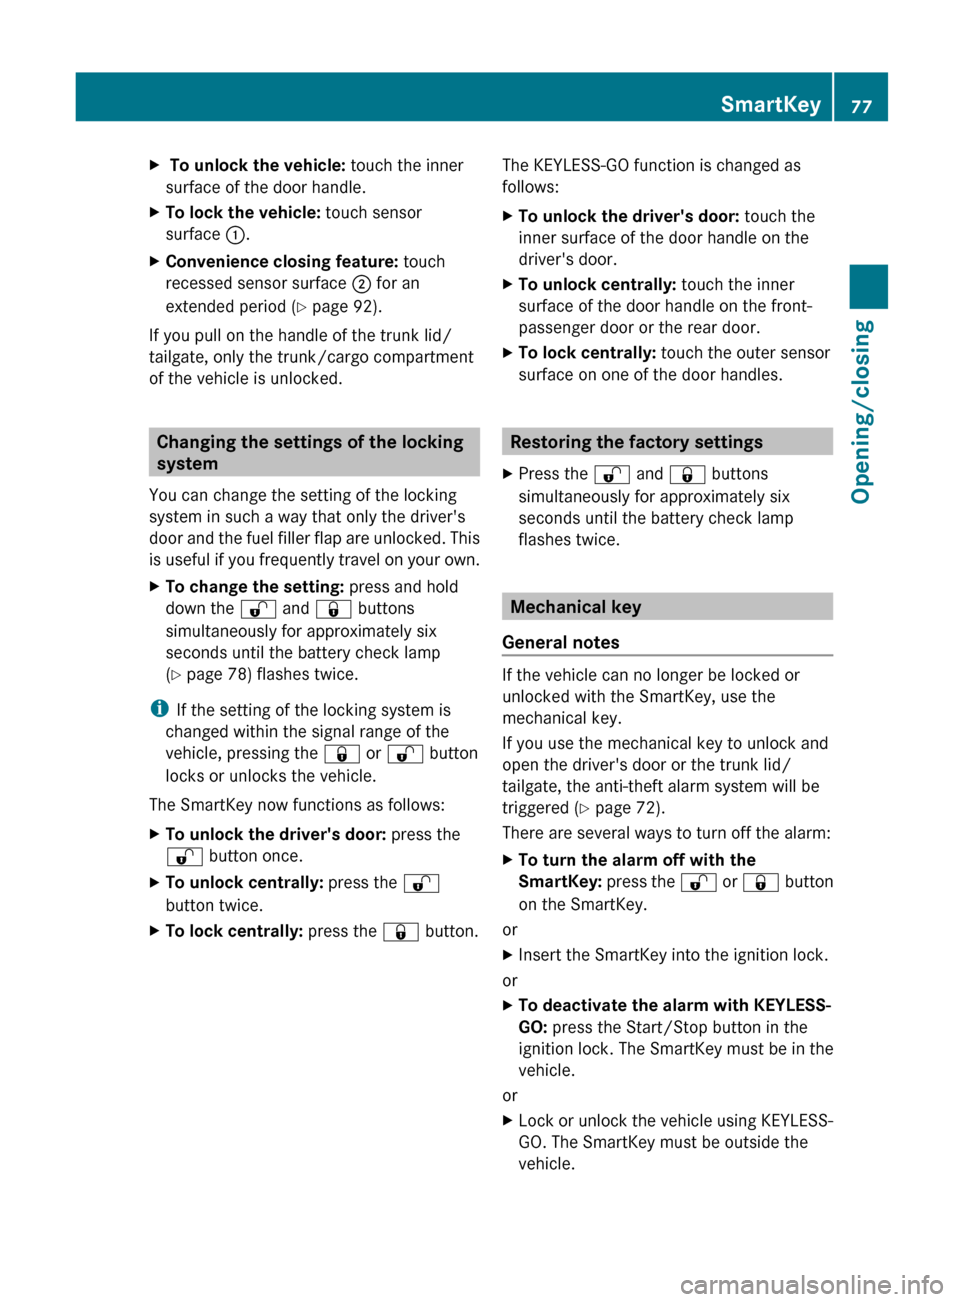
X To unlock the vehicle: touch the inner
surface of the door handle.XTo lock the vehicle: touch sensor
surface :.XConvenience closing feature: touch
recessed sensor surface ; for an
extended period ( Y page 92).
If you pull on the handle of the trunk lid/
tailgate, only the trunk/cargo compartment
of the vehicle is unlocked.
Changing the settings of the locking
system
You can change the setting of the locking
system in such a way that only the driver's
door and the fuel filler flap are unlocked. This
is useful if you frequently travel on your own.
XTo change the setting: press and hold
down the % and & buttons
simultaneously for approximately six
seconds until the battery check lamp
( Y page 78) flashes twice.
i
If the setting of the locking system is
changed within the signal range of the
vehicle, pressing the & or % button
locks or unlocks the vehicle.
The SmartKey now functions as follows:
XTo unlock the driver's door: press the
% button once.XTo unlock centrally: press the %
button twice.XTo lock centrally: press the & button.The KEYLESS-GO function is changed as
follows:XTo unlock the driver's door: touch the
inner surface of the door handle on the
driver's door.XTo unlock centrally: touch the inner
surface of the door handle on the front-
passenger door or the rear door.XTo lock centrally: touch the outer sensor
surface on one of the door handles.
Restoring the factory settings
XPress the % and & buttons
simultaneously for approximately six
seconds until the battery check lamp
flashes twice.
Mechanical key
General notes
If the vehicle can no longer be locked or
unlocked with the SmartKey, use the
mechanical key.
If you use the mechanical key to unlock and
open the driver's door or the trunk lid/
tailgate, the anti-theft alarm system will be
triggered ( Y page 72).
There are several ways to turn off the alarm:
XTo turn the alarm off with the
SmartKey: press the % or & button
on the SmartKey.
or
XInsert the SmartKey into the ignition lock.
or
XTo deactivate the alarm with KEYLESS-
GO: press the Start/Stop button in the
ignition lock. The SmartKey must be in the
vehicle.
or
XLock or unlock the vehicle using KEYLESS-
GO. The SmartKey must be outside the
vehicle.SmartKey77Opening/closingZ