oil level MERCEDES-BENZ G-CLASS 2018 Owner's Manual
[x] Cancel search | Manufacturer: MERCEDES-BENZ, Model Year: 2018, Model line: G-CLASS, Model: MERCEDES-BENZ G-CLASS 2018Pages: 294, PDF Size: 4.86 MB
Page 11 of 294
Fuel ................................................ 124
General .......................................... 124
Gravel roads .................................. 131
Hydroplaning .................................127
Icy road surfaces ........................... 128
Important safety notes .................. 104
Limited braking efficiency on sal-
ted roads ....................................... 126
Off-road driving .............................. 129
Off-road fording .............................1 28
Pulling away on slippery surfaces .. 127
Snow chains .................................. 259
Subjecting brakes to a load ........... 126
The first 1500 km .......................... 104
Tire ruts ......................................... 131
Towing a trailer .............................. 154
Traveling uphill ............................... 132
Wet road surface ........................... 126
DVD audio
Operating (on-board computer) ..... 165
DVD video
Operating (on-board computer) ..... 166
see also Digital Operator's Man-
ual ..................................................2 03
E
EASY-ENTRY feature
Activating/deactivating ................. 170
Function/notes ................................ 81
EASY-EXIT feature
Function/notes ................................ 81
Switching on/off ........................... 170
EBD (electronic brake force distri-
bution)
Display message ............................ 176
Function/notes ................................ 61
ECO start/stop function
Deactivating/activating ................. 108
General information ....................... 107
Electronic Stability Program
see ESP
®(Electronic Stability Program)
Electronic Traction System
see 4ETS (Electronic Traction System)
Emergency
Automatic measures after an acci-
dent ................................................. 50 Emergency release
Driver's door ....................................6 8
Vehicle .............................................6 8
Emergency Tensioning Devices
Activation ........................................ .47
Emissions control
Service and warranty information .... 24
Engine
Check Engine warning lamp .......... .199
Display message ............................ 180
ECO start/stop function ................ 107
Engine number ............................... 283
Irregular running ............................ 110
Jump-starting ................................. 249
Starting problems .......................... 110
Starting the engine with the
SmartKey ....................................... 106
Switching off .................................. 123
Tow-starting (vehicle) ..................... 254
Engine electronics
Problem (malfunction) ................... 110
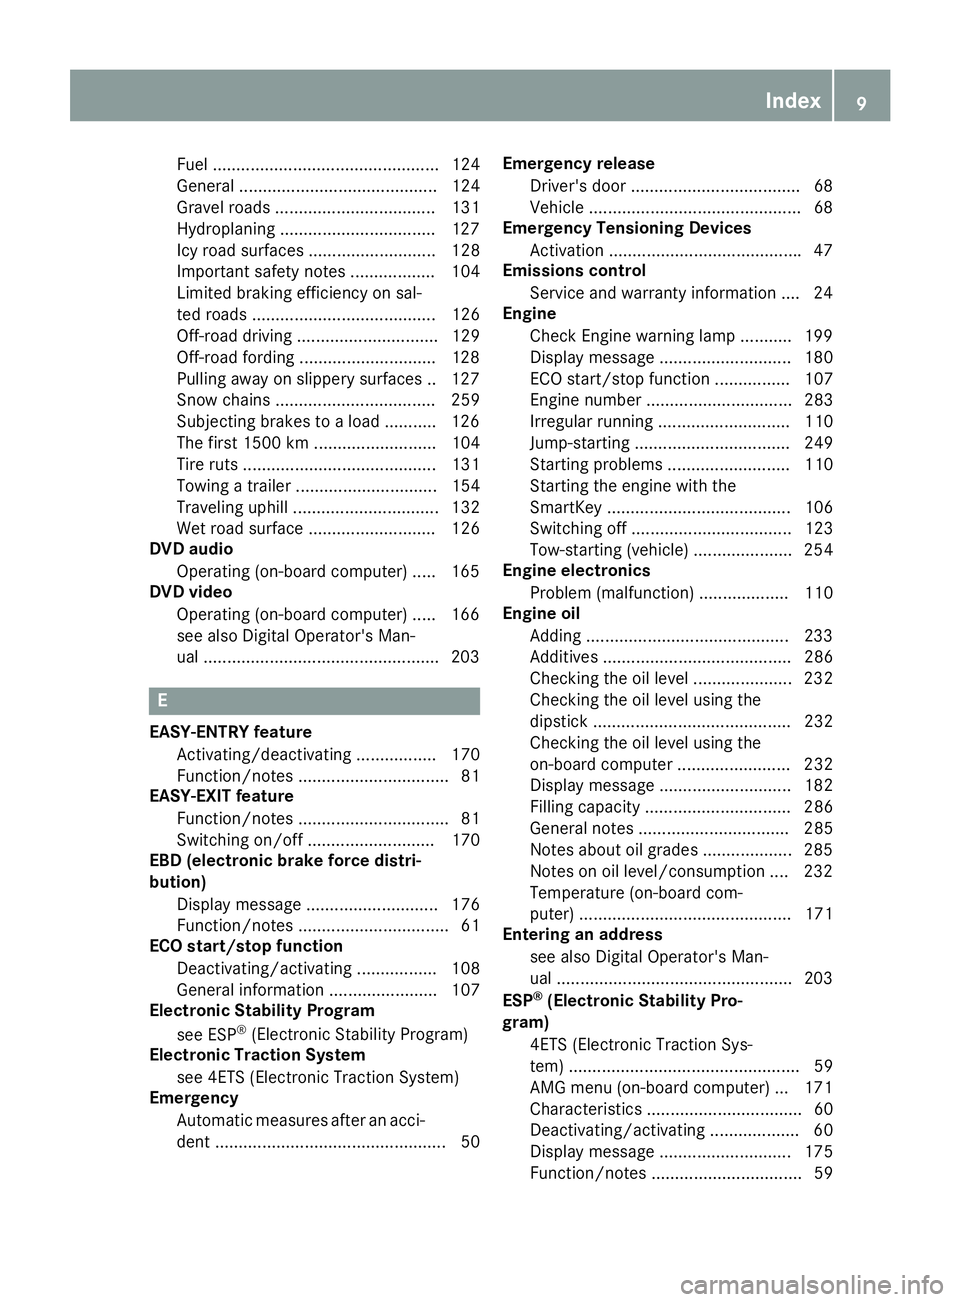
Engine oil
Adding ...........................................2 33
Additives ........................................ 286
Checking the oil level ..................... 232
Checking the oil level using the
dipstick .......................................... 232
Checking the oil level using the
on-board computer ........................ 232
Display message ............................ 182
Filling capacity ....... ........................ 286
G
eneral notes ................................ 285
Notes about oil grades ................... 285
Notes on oil level/consumption .... 232
Temperature (on-board com-
puter) ............................................. 171
Entering an address
see also Digital Operator's Man-
ual ..................................................2 03
ESP
®(Electronic Stability Pro-
gram)
4ETS (Electronic Traction Sys-
tem) ................................................. 59
AMG menu (on-board computer) ... 171
Characteristics ................................. 60
Deactivating/activating ................... 60
Display message ............................ 175
Function/notes ................................ 59
Index9
Page 132 of 294
General notes
HEnvironmental note
Protection of the environment is of primary
importance. Treat nature with respect.
Observe all prohibiting signs.
Read this section carefully before driving your
vehicle off-road. Practice by driving over more
gentle off-road terrain first.
Familiarize yourself with the characteristics of
your vehicle and the gear shift operation before
driving through difficult terrain.
The following driving systems are specially
adapted to off-road driving:
R4ETS (Ypage 59)
ROff-road ABS (Ypage 59)
RTransfer case (Ypage 149)
RDifferential locks (Ypage 151)
Observe the following notes:
Rstop the vehicle before you drive off-road and,
if necessary, shift the transfer case to the
LOW RANGE off-road gear (
Ypage 149).
REngage the differential locks if necessary
(Ypage 151).
iABS, 4ETS, ESP®and BAS are deactivated
while the differential locks are engaged. This
allows the front wheels to lock briefly, so that
these can dig into a loose surface. However,
please note that locked wheels skid and can
no longer steer.
RCheck that items of luggage and loads are
stowed safely and are well secured
(
Ypage 214).
RTo avoid damaging the vehicle, make sure
there is always sufficient ground clearance.
RAlways keep the engine running and in gear
when driving on a downhill gradient.
RAlways keep the engine running and in gear
when driving down an incline.
RDrive slowly and evenly, if necessary at a
walking pace.
REnsure that the wheels are in contact with the
ground at all times.
RDrive with extreme care on unfamiliar off-road
routes where visibility is poor. For safety rea-
sons, get out of the vehicle first and survey
the off-road route.
RCheck the depth of water before fording rivers
and streams.
RWatch out for obstacles.
RAlways keep the doors, rear door, side win-
dows and the sliding sunroof closed while the
vehicle is in motion.
RSwitch off cruise control.
RDo not deviate from marked routes.
RAdapt your speed to the terrain. The rougher,
steeper or more ruts on the terrain, the slower
your speed should be.
RDo not jump with the vehicle. as this will inter-
rupt the vehicle's propulsion.
RAvoid high engine speeds. Drive at appropri-
ate engine speeds (maximum 3,000 rpm).
RDo not shift the automatic transmission to
position i.
RAlways check the vehicle for damage after off-
road driving.
Do not use the HOLD function when driving off-
road, on steep uphill or downhill gradients or on slippery or loose surfaces. The HOLD function
cannot hold the vehicle on such surfaces.
You can obtain further information about mount-
ing special all-terrain tires from a qualified spe-
cialist workshop.
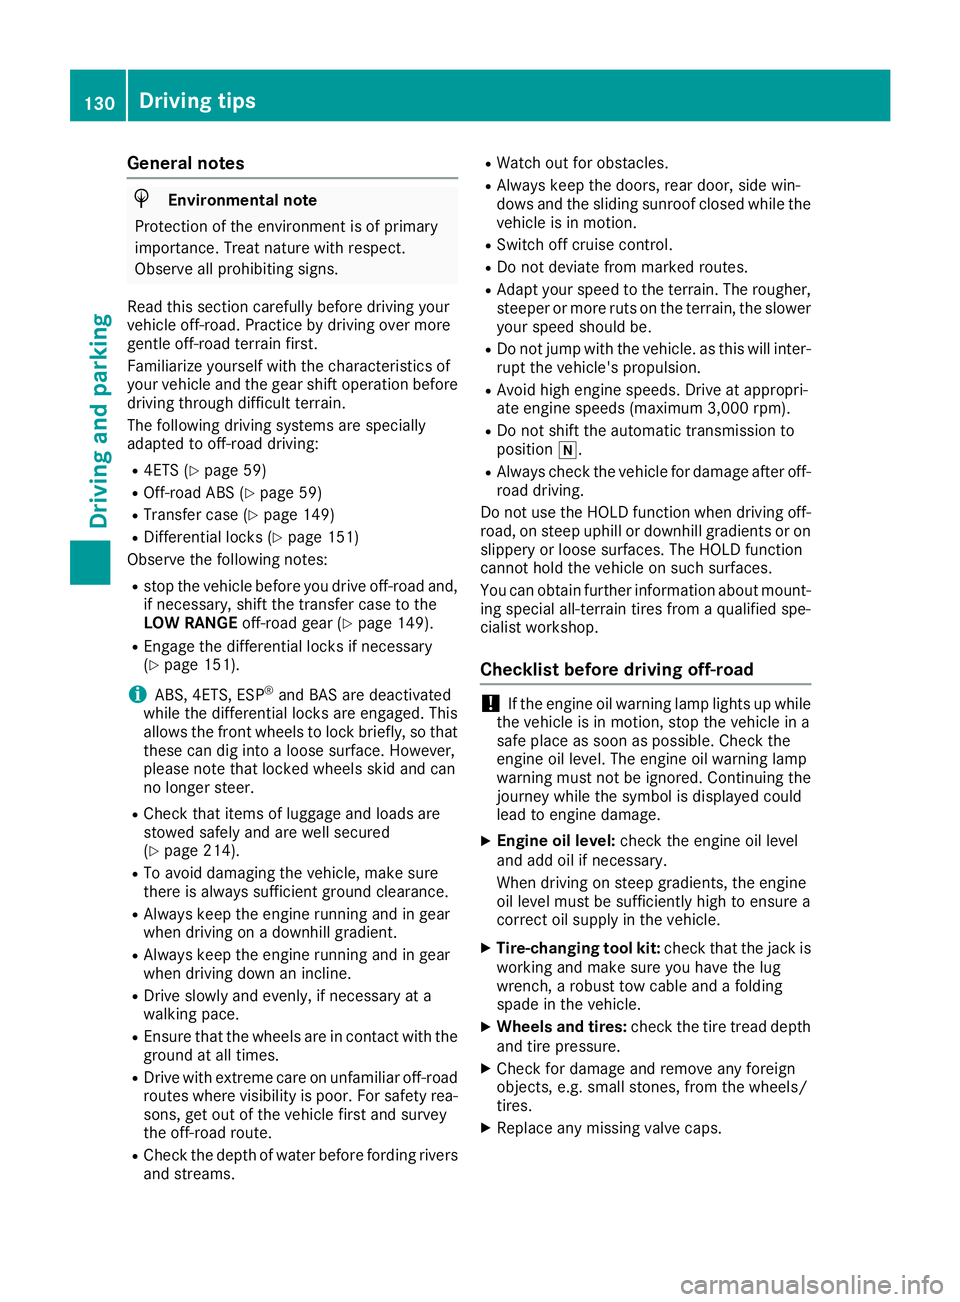
Checklist before driving off-road
!If the engine oil warning lamp lights up while
the vehicle is in motion, stop the vehicle in a
safe place as soon as possible. Check the
engine oil level. The engine oil warning lamp
warning must not be ignored. Continuing the
journey while the symbol is displayed could
lead to engine damage.
XEngine oil level: check the engine oil level
and add oil if necessary.
When driving on steep gradients, the engine
oil level must be sufficiently high to ensure a
correct oil supply in the vehicle.
XTire-changing tool kit: check that the jack is
working and make sure you have the lug
wrench, a robust tow cable and a folding
spade in the vehicle.
XWheels and tires: check the tire tread depth
and tire pressure.
XCheck for damage and remove any foreign
objects, e.g. small stones, from the wheels/
tires.
XReplace any missing valve caps.
130Driving tips
Driving and parking
Page 169 of 294
Dialinganumber from th ephone book
XPress th e= or; buttonon th esteerin g
whee lto selec tth eTelmenu.
XPress 9, :ora to switch to th e
phone book.
XAuthoriz eaccess to th ephone boo kon th e
phone .
XPress th e9 or: buttonto selec tth e
desire dname.
or
XTo star trapi dscrolling: press and hol d9
or : forlonger than on esecond.
Rapid scrollin gstops when you release th e
butto nor reach th een dof th elist .
XIf only one telephon enumber is stored for
a name :press th e6 ora buttonto
start dialing .
or
XIf ther eis more than one number for a
particular name :press th e6 ora
butto nto display th enumbers.
XPress th e9 or: buttonto selec tth e
number you wan tto dial.
XPress th e6 ora buttonto start dialing .
or
XTo exit th ephone book :press th e~ or
% button.
Redialing
The on-boar dcompute rsaves th elast names or
number sdiale din th eredial memory.
XPress th e= or; buttonon th esteerin g
whee lto selec tth eTelmenu.
XPress th e6 buttonto switch to th eredial
memory.
XPress th e9 or: buttonto selec tth e
desire dnam eor number .
XPress the6 ora buttonto start dialing .
or
XTo exit th eredial memory :press th e~
or % button.
Assistance menu
Introduction
In th eDriveAssistmenu, you hav eth efollow -
in g options:
RDisplayin gth eassistanc egraphi c
(Ypage 167)
RActivating/deactivatin gBlin dSpot Assis t
(Ypage 167)
Displaying th eassistance graphic
XPress th e= or; buttonon th esteerin g
whee lto selec tth eDriveAssistmenu.
XPress 9or: to selec tAssistanc eGraphic.
XPressa.
The DISTRONIC PLU Sdistanc edisplay
appears in th emultifunction display.
Activating/deactivating Blind Spot
Assis t
XPress th e= or; buttonon th esteerin g
whee lto selec tth eDriveAssistmenu.
XPress th e9 or: buttonto selec t
Blind Spo tAssist.
XPress a.
The curren tselection appears .
XTo activate/deactivate :press th ea but-
to nagain .
Fo rfurther information about Blind Spot Assist,
see (
Ypage 140).
Service menu
In th eServ.menu, you hav eth efollowin g
options:
RCallin gup display messages (Ypage 174)
RChecking thetire pressure electronically
(Ypage 264)
RCallin gup th eservic edue dat e
(Ypage 236)
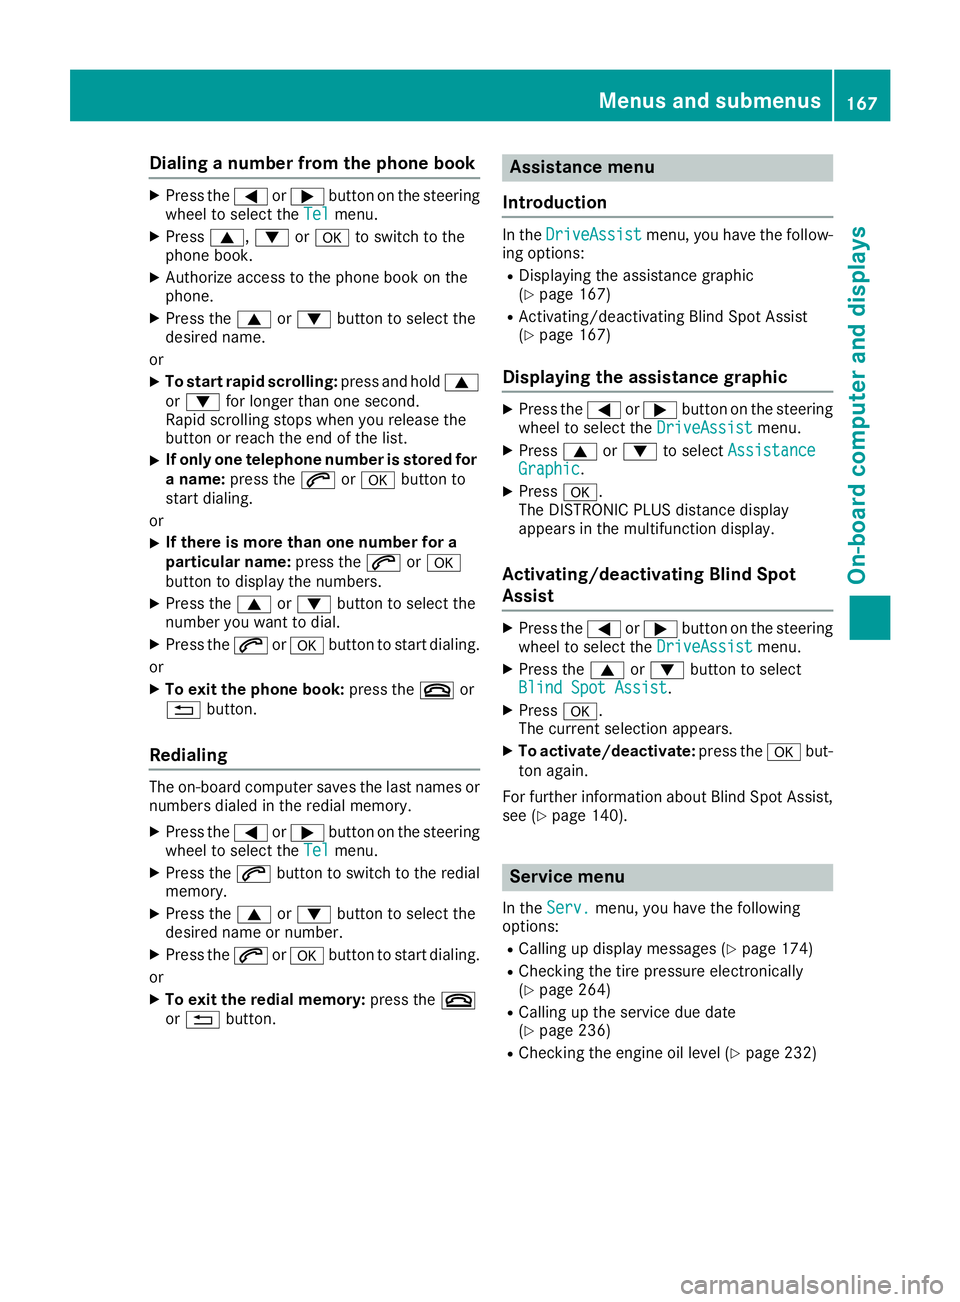
RChecking th eengin eoil level (Ypage 232)
Menus and submenus167
On-board computer and displays
Z
Page 184 of 294
Display messagesPossible causes/consequences andMSolutions
#The battery is notbein gcharged.
A warning tone also sounds.
Possibl ecauses are:
Radefective alternato r
Ratorn poly-V-belt
Ramalfunction in th eelectronics
XPull ove rand stop th evehicl esafely and switch off th eengine, pay-
ing attention to roa dand traffic conditions.
XOpe nth ehood.
XChec kwhether th epoly-V-belt is torn .
If th epoly-V-belt is torn:
!Do no tcontinu edriving. The engin ecould otherwise overheat.
XConsult aqualified specialist workshop .
If th epoly-V-belt is not damaged :
XVisitaqualified specialist workshop .
4
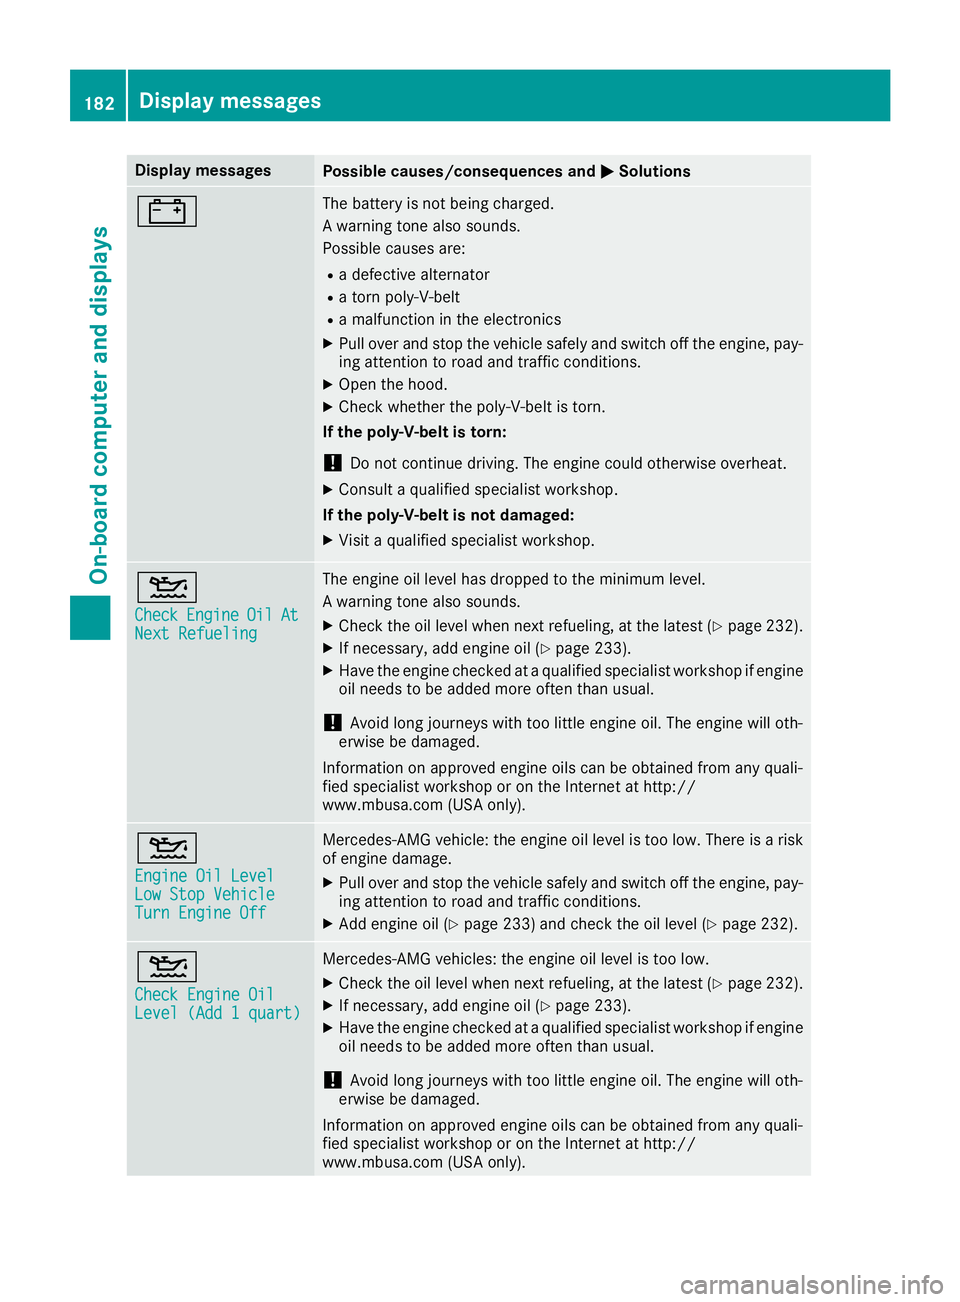
CheckEngineOilAtNextRefueling
The engin eoil level has dropped to th eminimum level.
A warning tone also sounds.
XChec kth eoil level when next refueling, at th elatest (Ypage 232).
XIf necessary, add engin eoil (Ypage 233).
XHav eth eengin echecke dat aqualified specialist workshop if engin e
oil needs to be added mor eoften than usual.
!Avoid lon gjourneys wit hto olittl eengin eoil. The engin ewill oth-
erwise be damaged.
Information on approve dengin eoils can be obtained from any quali-
fie dspecialist workshop or on th eInternet at http:/ /
www.mbusa.com (US Aonly).
4
Engine Oil LevelLow Sto pVehicl eTurnEngine Off
Mercedes-AMG vehicle: th eengin eoil level is to olow. There is aris k
of engin edamage.
XPull ove rand stop th evehicl esafely and switch off th eengine, pay-
ing attention to roa dand traffic conditions.
XAd dengin eoil (Ypage 233) and chec kth eoil level (Ypage 232).
4
Check Engine OilLevel (Ad d 1quart)
Mercedes-AMG vehicles: th eengin eoil level is to olow.
XChec kth eoil level when next refueling, at th elatest (Ypage 232).
XIf necessary, add engin eoil (Ypage 233).
XHav eth eengin echecke dat aqualified specialist workshop if engin e
oil needs to be added mor eoften than usual.
!Avoid lon gjourneys wit hto olittl eengin eoil. The engin ewill oth-
erwise be damaged.
Information on approve dengin eoils can be obtained from any quali-
fie dspecialist workshop or on th eInternet at http:/ /
www.mbusa.com (US Aonly).
182Display messages
On-board computer and displays
Page 185 of 294
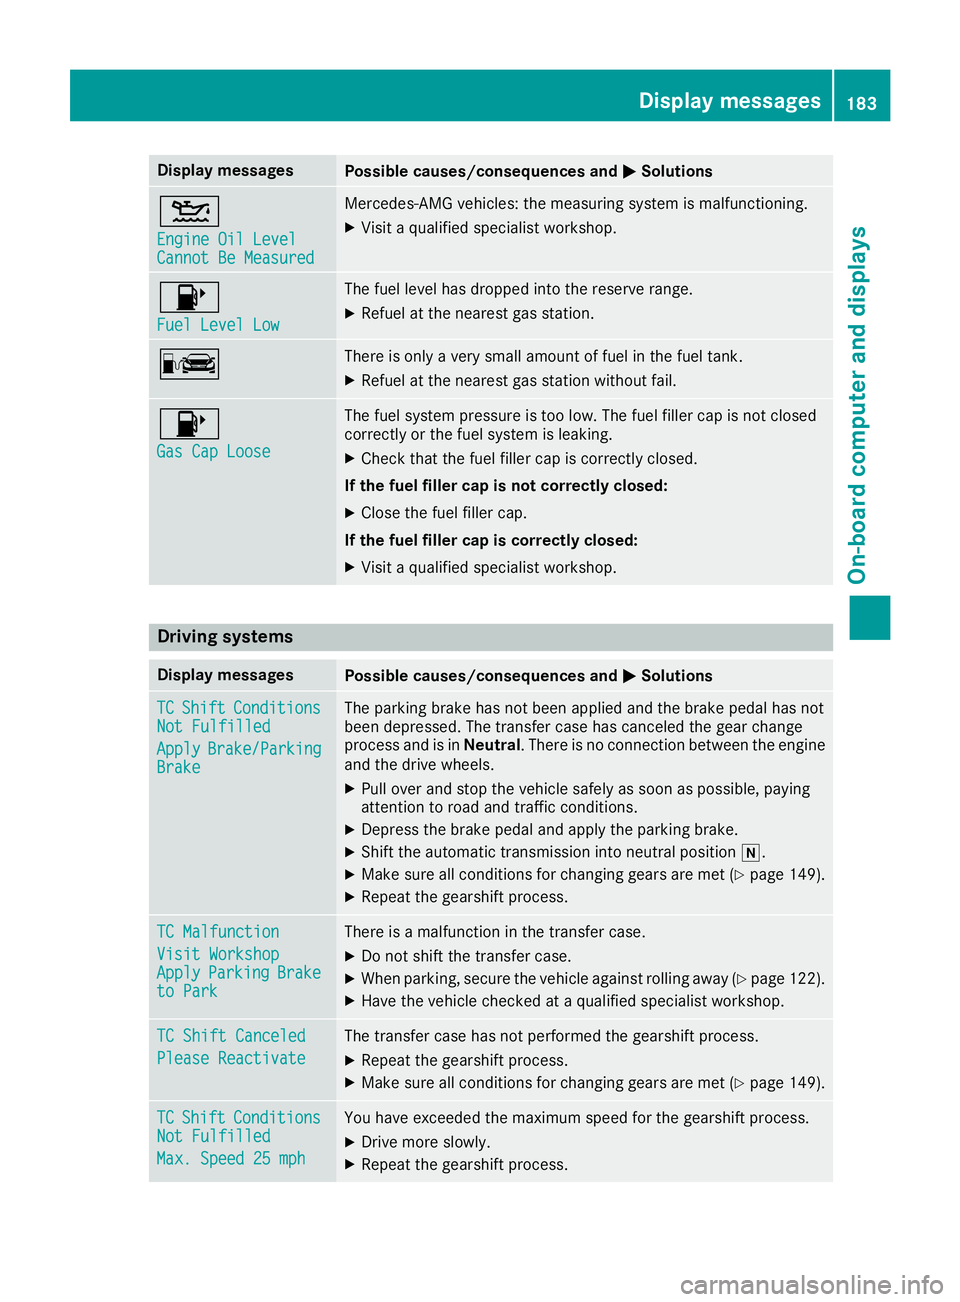
Display messagesPossible causes/consequences andMSolutions
4
Engine Oil LevelCannot Be Measured
Mercedes-AMG vehicles: themeasurin gsystem is malfunctioning .
XVisitaqualified specialist workshop .
8
FuelLevel Low
The fuel level has dropped int oth ereserv erange.
XRefue lat th eneares tgas station .
CThere is only aver ysmall amount of fuel in th efuel tank.
XRefue lat th eneares tgas station without fail .
8
Gas Cap Loose
The fuel system pressur eis to olow. The fuel filler cap is no tclosed
correctl yor th efuel system is leaking .
XCheckthat th efuel filler cap is correctl yclosed .
If th efuel filler cap is not correctl yclosed :
XCloseth efuel filler cap .
If th efuel filler cap is correctl yclosed :
XVisitaqualified specialist workshop .
Driving systems
Display messagesPossible causes/consequences and MSolutions
TCShiftConditionsNot Fulfilled
ApplyBrake/Parkin gBrake
The parking brak ehas no tbeen applie dand th ebrak epedal has no t
been depressed. The transfer cas ehas canceled th egear chang e
process and is in Neutral.There is no connection between th eengin e
and th edrive wheels.
XPull ove rand stop th evehicl esafely as soo nas possible, payin g
attention to roa dand traffic conditions.
XDepress th ebrak epedal and apply th eparking brake.
XShift th eautomatic transmission int oneutral position i.
XMakesur eall condition sfor changing gear sare met (Ypage 149).
XRepeat th egearshift process.
TC Malfunction
Visit WorkshopApplyParkin gBraketo Park
There is amalfunction in th etransfer case.
XDo no tshift th etransfer case.
XWhe nparking ,secure th evehicl eagainst rollin gaway (Ypage 122).
XHaveth evehicl echecke dat aqualified specialist workshop .
TC Shift Canceled
Please Reactivate
The transfer casehas no tperformed th egearshift process.
XRepeat th egearshift process.
XMak esur eall condition sfor changing gear sare met (Ypage 149).
TCShiftCondition sNot Fulfilled
Max.Speed 25 mph
You hav eexceeded th emaximum speed for th egearshift process.
XDrive mor eslowly.
XRepeat th egearshift process.
Display messages18 3
On-board computer and displays
Z
Page 234 of 294
GWARNING
Opening the hood when the engine is over-
heated or when there is a fire in the engine
compartment could expose you to hot gases
or other service products. There is a risk of
injury.
Let an overheated engine cool down before
opening the hood. If there is a fire in the
engine compartment, keep the hood closed
and contact the fire department.
Notes on the oil level
Depending on your driving style, the vehicle
consumes up to 0.9 US qt (0.8 liters) of oil per
600 mile s(1000 km). The oil consumption may
be higher than this when the vehicle is new or if you frequently drive at high engine speeds.
Depending on the engine, the oil dipstick may be
in a different location.
When checking the oil level:
Rpark the vehicle on a level surface
Rthe engine should be switched off for approx-
imately five minutes if the engine is at normal
operating temperature
Rif the engine is not at normal operating tem-
perature, e.g. if the engine was only started
briefly, wait approximately 30 minutes before
carrying out the measurement
Checking the oil level using the oil dip-
stick
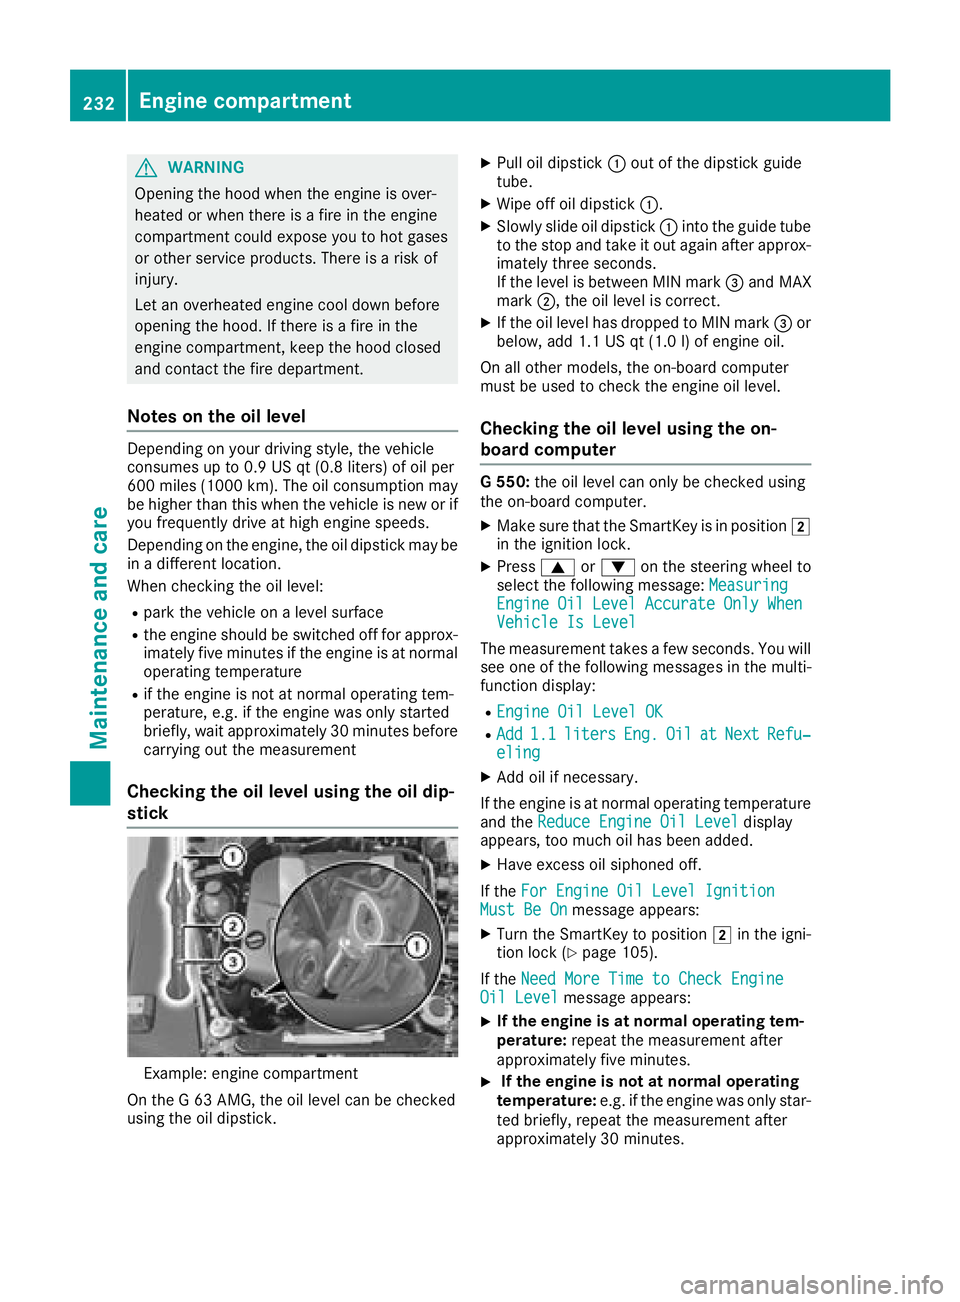
Example: engine compartment
On the G 63 AMG, the oil level can be checked
using the oil dipstick.
XPull oil dipstick :out of the dipstick guide
tube.
XWipe off oil dipstick :.
XSlowly slide oil dipstick :into the guide tube
to the stop and take it out again after approx-
imately three seconds.
If the level is between MIN mark =and MAX
mark ;, the oil level is correct.
XIf the oil level has dropped to MIN mark =or
below, add 1.1 US qt (1.0 l)of engine oil.
On all other models, the on-board computer
must be used to check the engine oil level.
Checking the oil level using the on-
board computer
G 550: the oil level can only be checked using
the on-board computer.
XMake sure that the SmartKey is in position 2
in the ignition lock.
XPress 9or: on the steering wheel to
select the following message: Measuring
EngineOilLevelAccurateOnlyWhenVehicle Is Level
The measurement takes a few seconds. You will
see one of the following messages in the multi-
function display:
REngine Oil Level OK
RAdd1.1litersEng.OilatNextRefu‐eling
XAdd oil if necessary.
If the engine is at normal operating temperature and the Reduce Engine Oil Level
display
appears, too much oil has been added.
XHave excess oil siphoned off.
If the For Engine Oil Level Ignition
Must Be Onmessage appears:
XTurn the SmartKey to position 2in the igni-
tion lock (Ypage 105).
If the Need More Time to Check Engine
Oil Levelmessage appears:
XIf the engine is at normal operating tem-
perature: repeat the measurement after
approximately five minutes.
XIf the engine is not at normal operating
temperature: e.g. if the engine was only star-
ted briefly, repeat the measurement after
approximately 30 minutes.
232Engine compartment
Maintenance and care
Page 235 of 294
If theEngine Oil Level Not Measurablewith Running Enginemessage appears:
XSwitch off the engine.
XIf the engine is at normal operating tem-
perature: wait about five minutes before car-
rying out the measurement.
XIf the engine is not at normal operating
temperature: e.g. if the engine was only star-
ted briefly, wait approximately 30 minutes
before carrying out the measurement.
If you wish to cancel the measurement, press
the 9 or: button on the multifunction
steering wheel.
Adding engine oil
!Use only engine oils and oil filters that are
approved for vehicles with a service system. A
list of the engine oils and oil filters that have
been tested and approved in accordance with
Mercedes-Benz Specifications for Service
Products is available at any authorized
Mercedes-Benz Center.
The following cause engine failure or damage
to the exhaust system:
RUse of engine oils and oil filters that have
not been expressly approved for the service
system
RReplacement of engine oil and oil filter after
the replacement interval specified by the
service system has expired
RUse of engine oil additives
!Do not add too much oil. If the oil level is
above the "max" mark on the dipstick, too
much oil has been added. This can lead to
damage to the engine or the catalytic con-
verter. Have excess oil siphoned off.
HEnvironmental note
When adding oil, take care not to spill any. If
oil enters the soil or waterways, it is harmful to
the environment.
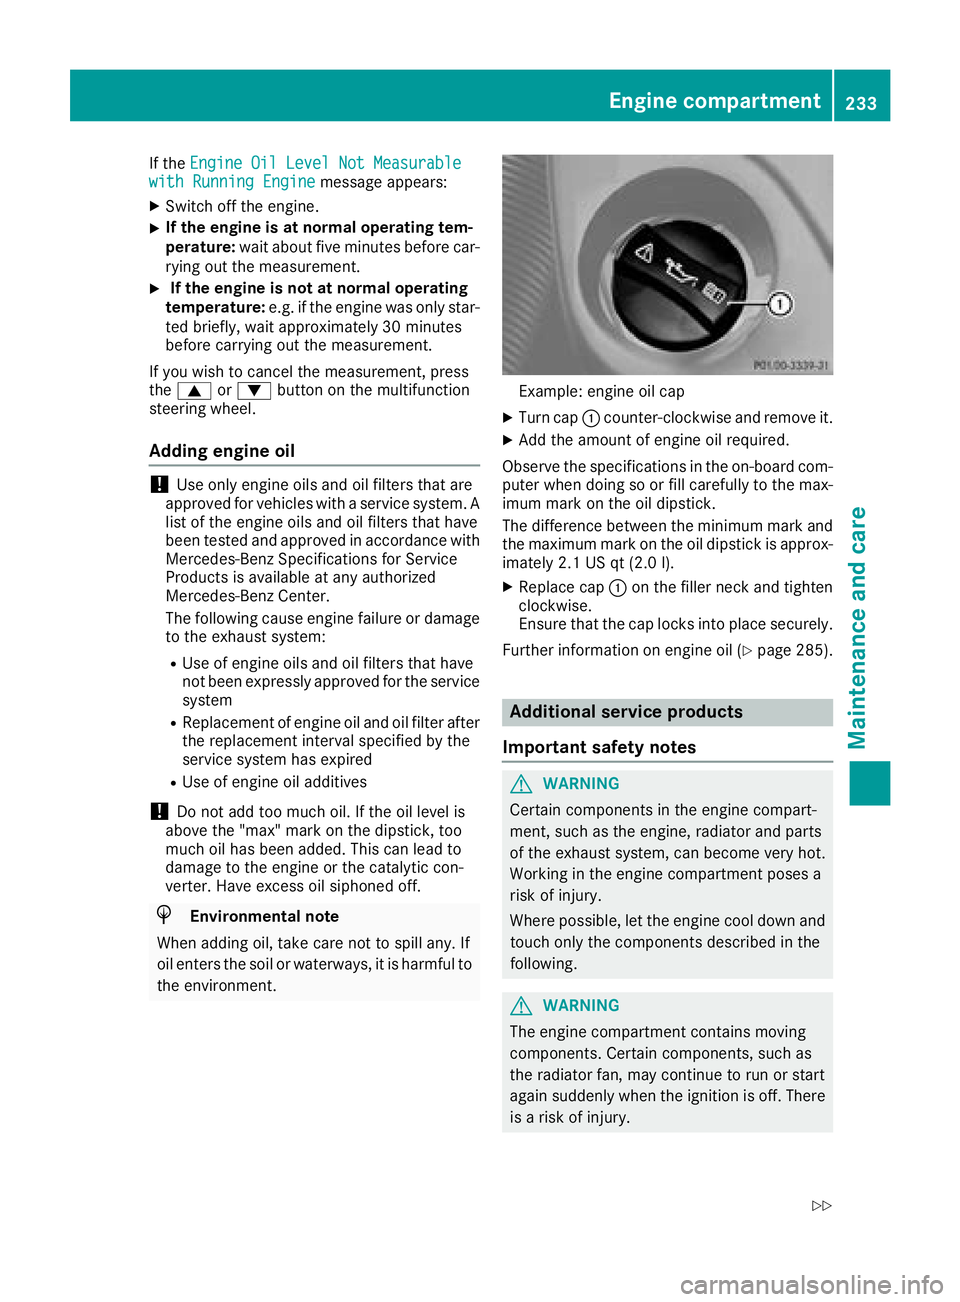
Example: engine oil cap
XTurn cap :counter-clockwise and remove it.
XAdd the amount of engine oil required.
Observe the specifications in the on-board com-
puter when doing so or fill carefully to the max-
imum mark on the oil dipstick.
The difference between the minimum mark and
the maximum mark on the oil dipstick is approx-
imately 2.1 US qt (2.0 l).
XReplace cap :on the filler neck and tighten
clockwise.
Ensure that the cap locks into place securely.
Further information on engine oil (
Ypage 285).
Additional service products
Important safety notes
GWARNING
Certain components in the engine compart-
ment, such as the engine, radiator and parts
of the exhaust system, can become very hot.
Working in the engine compartment poses a
risk of injury.
Where possible, let the engine cool down and touch only the components described in the
following.
GWARNING
The engine compartment contains moving
components. Certain components, such as
the radiator fan, may continue to run or start
again suddenly when the ignition is off. There is a risk of injury.
Engine compartment233
Maintenance and care
Z
Page 237 of 294
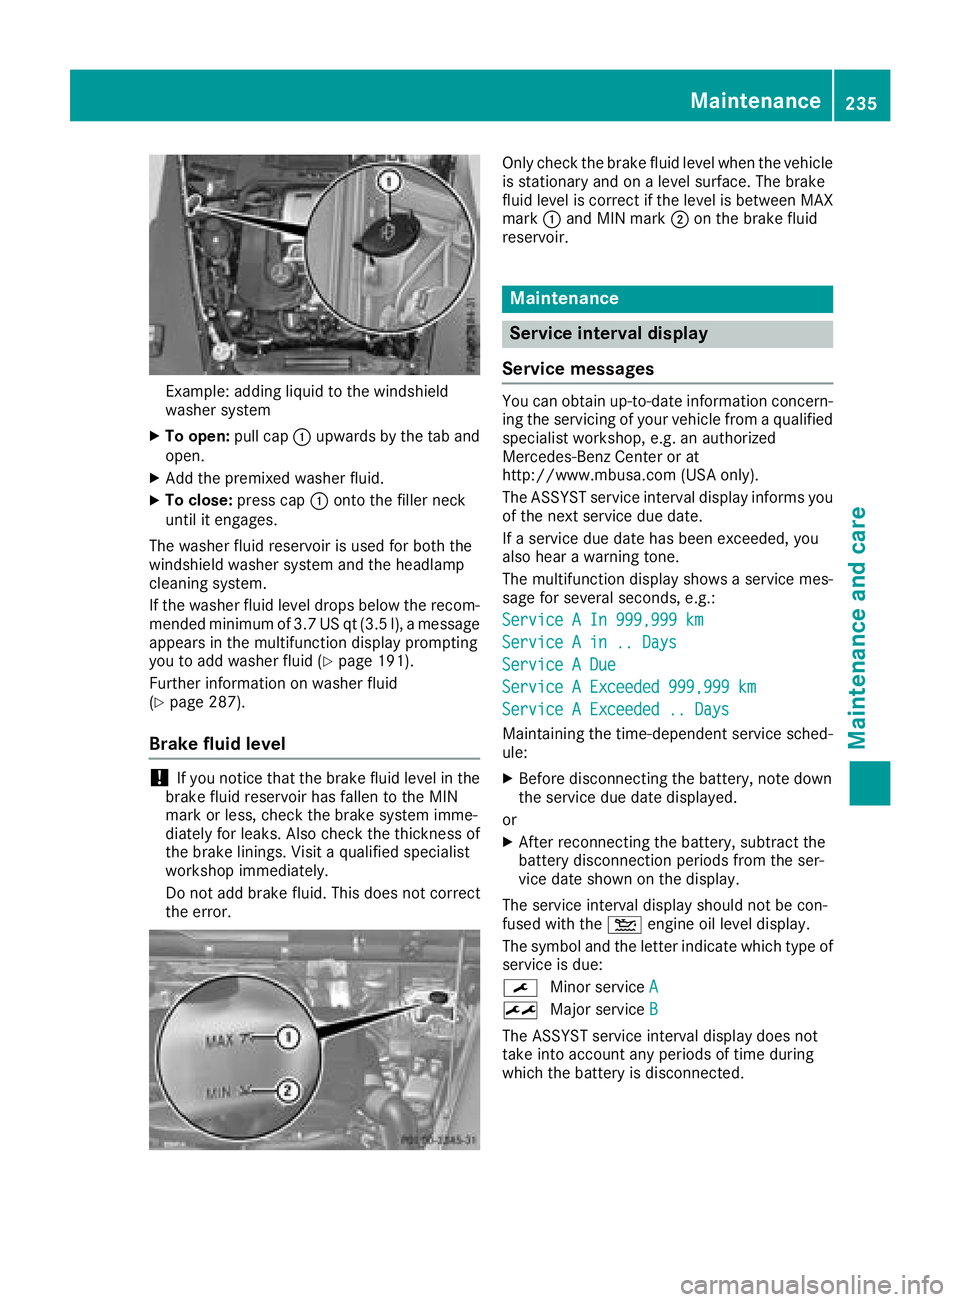
Example: adding liquid to the windshield
washer system
XTo open:pull cap:upwards by the tab and
open.
XAdd the premixed washer fluid.
XTo close: press cap :onto the filler neck
until it engages.
The washer fluid reservoir is used for both the
windshield washer system and the headlamp
cleaning system.
If the washer fluid level drops below the recom-
mended minimum of 3.7 US qt (3.5 l), a message
appears in the multifunction display prompting
you to add washer fluid (
Ypage 191).
Further information on washer fluid
(
Ypage 287).
Brake fluid level
!If you notice that the brake fluid level in the
brake fluid reservoir has fallen to the MIN
mark or less, check the brake system imme-
diately for leaks. Also check the thickness of
the brake linings. Visit a qualified specialist
workshop immediately.
Do not add brake fluid. This does not correct
the error.
Only check the brake fluid level when the vehicle
is stationary and on a level surface. The brake
fluid level is correct if the level is between MAX
mark :and MIN mark ;on the brake fluid
reservoir.
Maintenance
Service interval display
Service messages
You can obtain up-to-date information concern-
ing the servicing of your vehicle from a qualified
specialist workshop, e.g. an authorized
Mercedes-Benz Center or at
http://www.mbusa.com (USA only).
The ASSYST service interval display informs you
of the next service due date.
If a service due date has been exceeded, you
also hear a warning tone.
The multifunction display shows a service mes-
sage for several seconds, e.g.:
Service A In 999,999 km
Service A in .. Days
Service A Due
Service A Exceeded 999,999 km
Service A Exceeded .. Days
Maintaining the time-dependent service sched-
ule:
XBefore disconnecting the battery, note down
the service due date displayed.
or
XAfter reconnecting the battery, subtract the
battery disconnection periods from the ser-
vice date shown on the display.
The service interval display should not be con-
fused with the 4engine oil level display.
The symbol and the letter indicate which type of
service is due:
¯ Minor service A
±
Major service B
The ASSYST service interval display does not
take into account any periods of time during
which the battery is disconnected.
Maintenance235
Maintenance and care
Z
Page 278 of 294
!On vehicles equipped with a tire pressure
monitor, electronic components are located
in the wheel.
Tire-mounting tools should not be used near
the valve. This could damage the electronic
components.
Only have tires changed at a qualified spe-
cialist workshop.
Always observe the instructions and safety
notes under "Installing a wheel" (
Ypage 276).
The wear patterns on the front and rear tires
differ, depending on the operating conditions.
Rotate the wheels before a clear wear pattern
has formed on the tires. Front tires typically
wear more on the shoulders and the rear tires in the center.
On vehicles that have the same size front and
rear wheels, you can rotate the wheels accord-
ing to the intervals in the tire manufacturer's
warranty book in your vehicle documents. If no
warranty book is available, the tires should be
rotated every 3,000 to 6,000 miles (5,000 to
10,000 km). Depending on tire wear, this may
be required earlier. Do not change the direction
of wheel rotation.
Clean the contact surfaces of the wheel and the
brake disc thoroughly every time a wheel is rota-
ted. Check the tire pressure and reactivate the
tire pressure monitor if necessary (
Ypage 265).
Direction of rotation
Tires with a specified direction of rotation have
additional benefits, e.g. if there is a risk of hydro-
planing. You will only gain these benefits if the
correct direction of rotation is observed.
An arrow on the sidewall of the tire indicates its
correct direction of rotation.
You may mount the spare wheel against the
direction of rotation. Adhere to the time restric-
tion on use as well as the speed limitation speci-
fied on the spare wheel.
Storing wheels
Store tires that are not being used in a cool, dry
and preferably dark place. Protect the tires from
oil, grease, gasoline and diesel.
Mounting a wheel
Preparing the vehicle
GWARNING
When you remove the spare wheel from the
spare wheel bracket, the vehicle’s weight dis-
tribution changes. If the vehicle is already
raised, the jack could tip over. There is a risk
of injury.
Remove the spare wheel from the spare wheel
bracket before lifting the vehicle.
XStop the vehicle on solid, non-slippery and
level ground.
XApply the parking brake.
XBring the front wheels into the straight-ahead
position.
XShift the automatic transmission to position
j.
XSwitch off the engine.
XRemove the vehicle tools and jack from the
vehicle (Ypage 244).
XRemove the spare wheel from the spare wheel bracket (Ypage 245).
XSafeguard the vehicle against rolling away.
Securing the vehicle to prevent it from
rolling away
XPlace chocks or other suitable items under
the front and rear of the wheel that is diago-
nally opposite the wheel you wish to change.
Raising the vehicle
GWARNING
If you do not position the jack correctly at the
appropriate jacking point of the vehicle, the
jack could tip over with the vehicle raised.
There is a risk of injury.
Only position the jack at the appropriate jack-
ing point of the vehicle. The base of the jack
must be positioned vertically, directly under
the jacking point of the vehicle.
!Only position the jack at the appropriate
jacking point of the vehicle. Otherwise, you
could damage the vehicle.
276Changing a wheel
Wheels and tires
Page 280 of 294
Make sure that jackAis at the correct posi-
tion under axle carrier tube ?. The front or
rear axle must sit securely in the recess of
jack A.
XKeep pumping until axle carrier tube ?sits
securely in the recess of jack Aand the base
of the jack lies evenly on the ground.
Ensure that the jack is located vertically under
the jacking point.
XRaise the vehicle by pumping until the tire is
no more than 1.2 in (3 cm) off the ground.
Removing a wheel
!Do not place wheel bolts in sand or on a dirty
surface. The bolt and wheel hub threads could
otherwise be damaged when you screw them
in.
When mounting/removing wheels, and for as
long as the wheels are removed, avoid applying
any external force on the brake disks. This could impair the level of comfort when braking.
XUnscrew the wheel bolts.
XRemove the wheel.
Mounting a new wheel
GWARNING
Oiled or greased wheel bolts/wheel nuts and
damaged wheel bolt/wheel nut/wheel hub
threads can cause wheel bolts/wheel nuts to
come loose. As a result, you could lose a
wheel while driving. There is a risk of an acci-
dent.
Never oil or grease wheel bolts/wheel nuts. In
the event of damage to the threads, contact a
qualified specialist workshop immediately.
Have the damaged wheel bolts/wheel nuts or
hub threads replaced/renewed. Do not con-
tinue driving.
GWARNING
If you tighten the wheel bolts or wheel nuts
when the vehicle is raised, the jack could tip
over. There is a risk of injury.
Only tighten the wheel bolts or wheel nuts
when the vehicle is on the ground.
!To prevent damage to the paintwork, hold
the wheel securely against the wheel hub
while screwing in the first wheel bolt.
Always pay attention to the instructions and
safety notes in the "Changing a wheel" section
(
Ypage 275).
Only use wheel bolts that have been designed
for the wheel and the vehicle. For safety rea-
sons, Mercedes-Benz recommends that you
only use wheel bolts which have been approved
for Mercedes-Benz vehicles and the respective
wheel.
XClean the wheel and wheel hub contact sur-
faces.
XPlace the new wheel on the wheel hub and
push it on.
XTighten the wheel bolts until they are finger-
tight.
Lowering the vehicle
GWARNING
The wheels could work loose if the wheel nuts and bolts are not tightened to the specified
tightening torque. There is a risk of accident.
Have the tightening torque immediately
checked at a qualified specialist workshop
after a wheel is changed.
XSlowly open the pressure release screw on
the jack using the pump lever by approx-
imately one full turn and carefully lower the
vehicle (
Ypage 276).
XYou can put the jack aside.
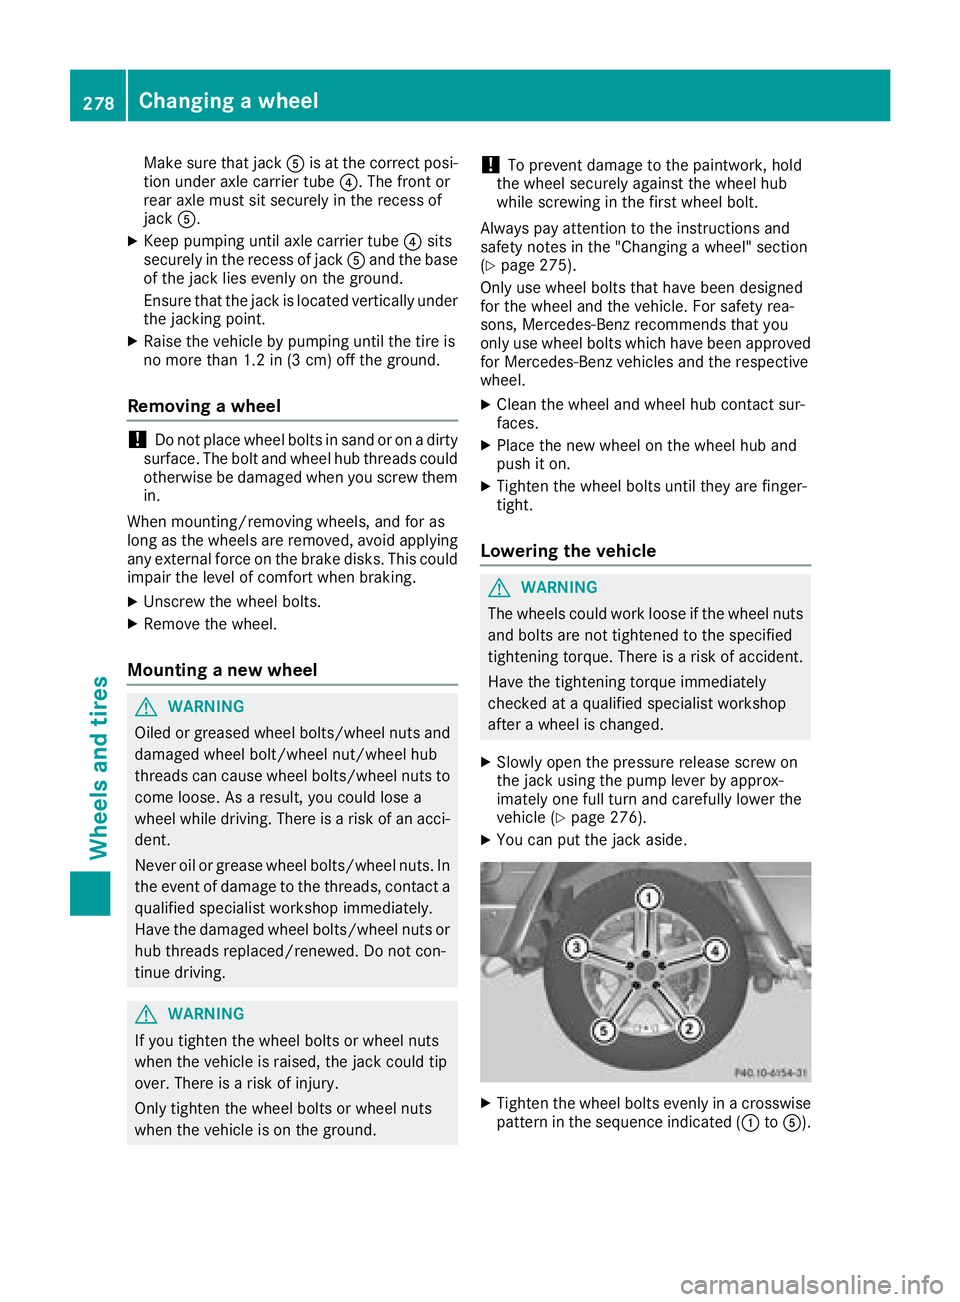
XTighten the wheel bolts evenly in a crosswisepattern in the sequence indicated (: toA).
278Changing a wheel
Wheels and tires