MERCEDES-BENZ G-CLASS SUV 2012 Owners Manual
Manufacturer: MERCEDES-BENZ, Model Year: 2012, Model line: G-CLASS SUV, Model: MERCEDES-BENZ G-CLASS SUV 2012Pages: 357, PDF Size: 8.86 MB
Page 221 of 357
X
To select a station from the station
list: press and briefly hold the 9
or : button.
If no statio nlist is received:
X To select astation using the station
search: press and briefly hold the 9
or : button.
i For informatio nonswitching wavebands
and storing stations, see the separate oper-
ating instructions.
i DABradio mode ( DigitalAudioBroadcast-
ing), see the separate operating instruc-
tions.
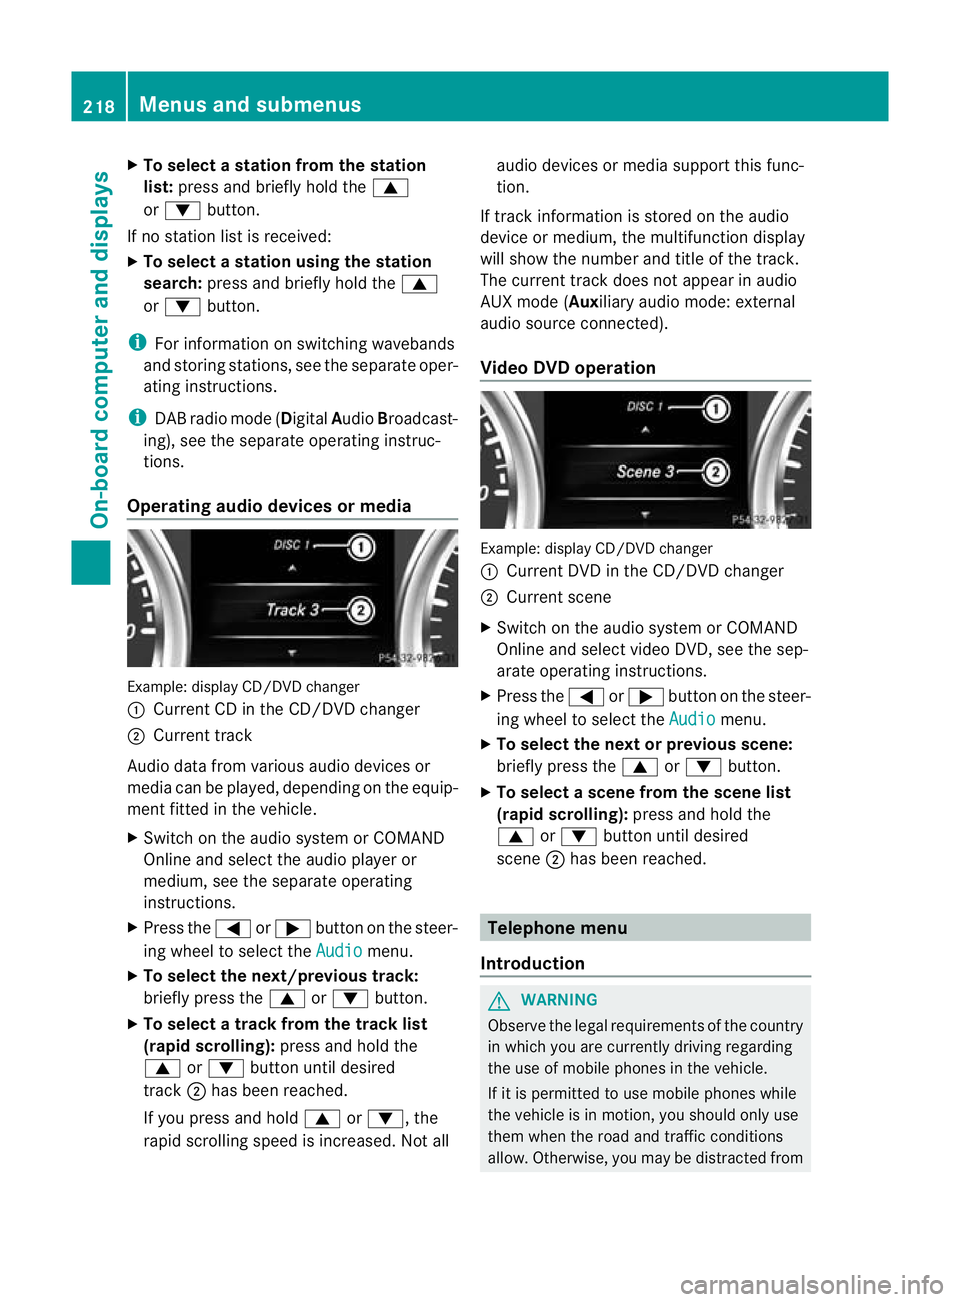
Operating audio devices or media Example
:display CD/DVD changer
: Current CD in the CD/DVD changer
; Current track
Audio data from various audio devices or
media can be played, depending on the equip-
ment fitted in the vehicle.
X Switch on the audio syste morCOMAND
Online and select the audio player or
medium, see the separate operating
instructions.
X Press the =or; button on the steer-
ing wheel to select the Audio menu.
X To select the next/previous track:
briefly press the 9or: button.
X To select a track from the track list
(rapid scrolling): press and hold the
9 or: button until desired
track ;has been reached.
If you press and hold 9or:, the
rapid scrolling speed is increased. Not all audio devices or media support this func-
tion.
If track information is stored on the audio
device or medium, the multifunction display
will show the number and title of the track.
The current track does not appearina udio
AUX mode (Aux iliary audio mode: external
audio source connected).
Video DVD operation Example: display CD/DV
Dchanger
: Current DVD in the CD/DVD changer
; Current scene
X Switch on the audio system or COMAND
Online and select video DVD, see the sep-
arate operating instructions.
X Press the =or; button on the steer-
ing wheel to select the Audio menu.
X To selectt he nextorprevious scene:
briefly press the 9or: button.
X To select ascene from the scene list
(rapid scrolling): press and hold the
9 or: buttonuntil desired
scene ;has been reached. Telephone menu
Introduction G
WARNING
Observe the legal requirements of the country
in which you are currently driving regarding
the use of mobile phones in the vehicle.
If it is permitted to use mobile phones while
the vehicle is in motion, you should only use
them when the road and traffic conditions
allow. Otherwise, you may be distracted from 218
Menus and submenusOn-board computer and displays
Page 222 of 357
the traffic conditions, cause an accident and
injure yourself and others.
X Switch on the mobile phone (see the sep-
arate operating instructions).
X Switch on the audio system or COMAND
Online, see the separate operating instruc-
tions.
X Insert the mobile phone into the bracket
(Y page 279).
or
X Establish a Bluetooth ®
connection to the
audio system or COMAND Online, see the
separate operating instructions.
X Press the =or; button on the steer-
ing wheel to select the Tel menu.
You will see one of the following display mes-
sages in the multifunctio ndisplay:
R Please enter PIN :t
he mobile phone has
been placed in the mobile phone bracket
and the PIN has not been entered.
When you enter your PIN via the mobile
phone, LINGUATRONIC, the audio system
or COMAND Online, the mobile phone
searches for a network.
R Telephone ready or the name of the net-
work provider: the mobile phone has found
a network and is ready to receive.
R Telephone No service : there is no net-
work available or the mobile phone is
searching for a network.
i You can obtain further information about
suitable mobile phones and connecting
mobile phones via Bluetooth ®
:
R in any Mercedes Benz Service Centre
R on the Internet at http://
www.mercedes-benz.com/connect Accepting
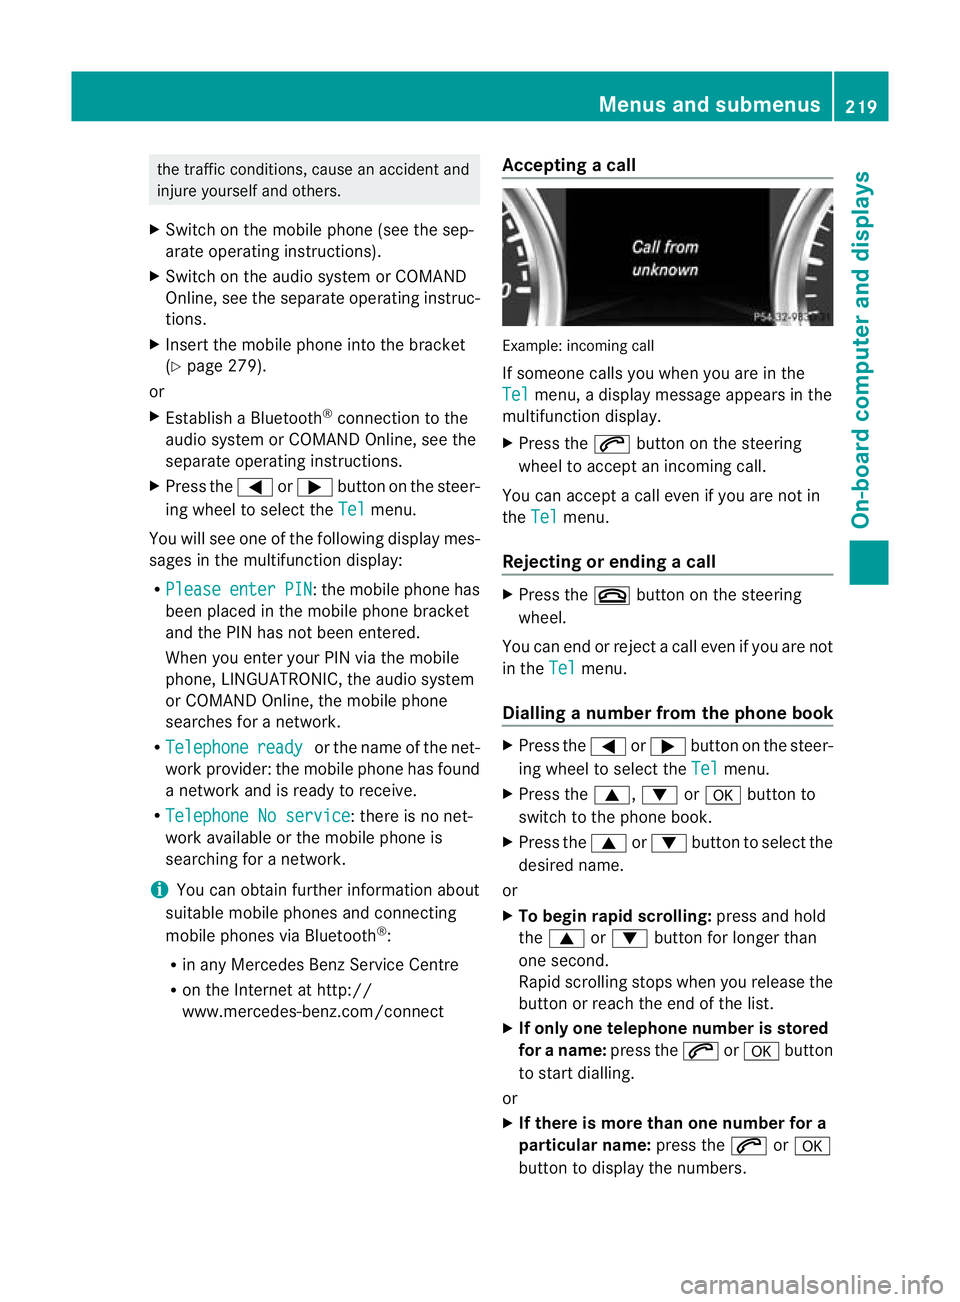
acall Example: incoming call
If someone calls you whe
nyou are in the
Tel menu, a display message appears in the
multifunction display.
X Press the 6button on the steering
wheel to accept an incoming call.
You can accept a call even if you are not in
the Tel menu.
Rejecting or ending acall X
Press the ~button on the steering
wheel.
You can end or reject a call even if you are not
in the Tel menu.
Dialling anumber from the phone book X
Press the =or; button on the steer-
ing wheel to select the Tel menu.
X Press the 9,:ora button to
switch to the phone book.
X Press the 9or: button to select the
desired name.
or
X To begin rapid scrolling: press and hold
the 9 or: button for longer than
one second.
Rapid scrolling stops whe nyou release the
button or reach the end of the list.
X If only one telephone number is stored
for a name: press the6ora button
to start dialling.
or
X If there is more than one number for a
particular name: press the6ora
button to display the numbers. Menus and submenus
219On-board computer and displays Z
Page 223 of 357
X
Press the 9or: button to select the
number you want to dial.
X Press the 6ora button to start dial-
ling.
or
X To exit the telephone book: press the
~ or% button.
Redialling The on-board computer saves the last names
or numbers dialled in the redial memory.
X
Press the =or; button on the steer-
ing wheel to select the Tel menu.
X Press the 6button to switch to the
redial memory.
X Press the 9or: button to select the
desired name or number.
X Press the 6ora button to start dial-
ling.
or
X To exit the redial memory: press the
~ or% button. Assistance menu
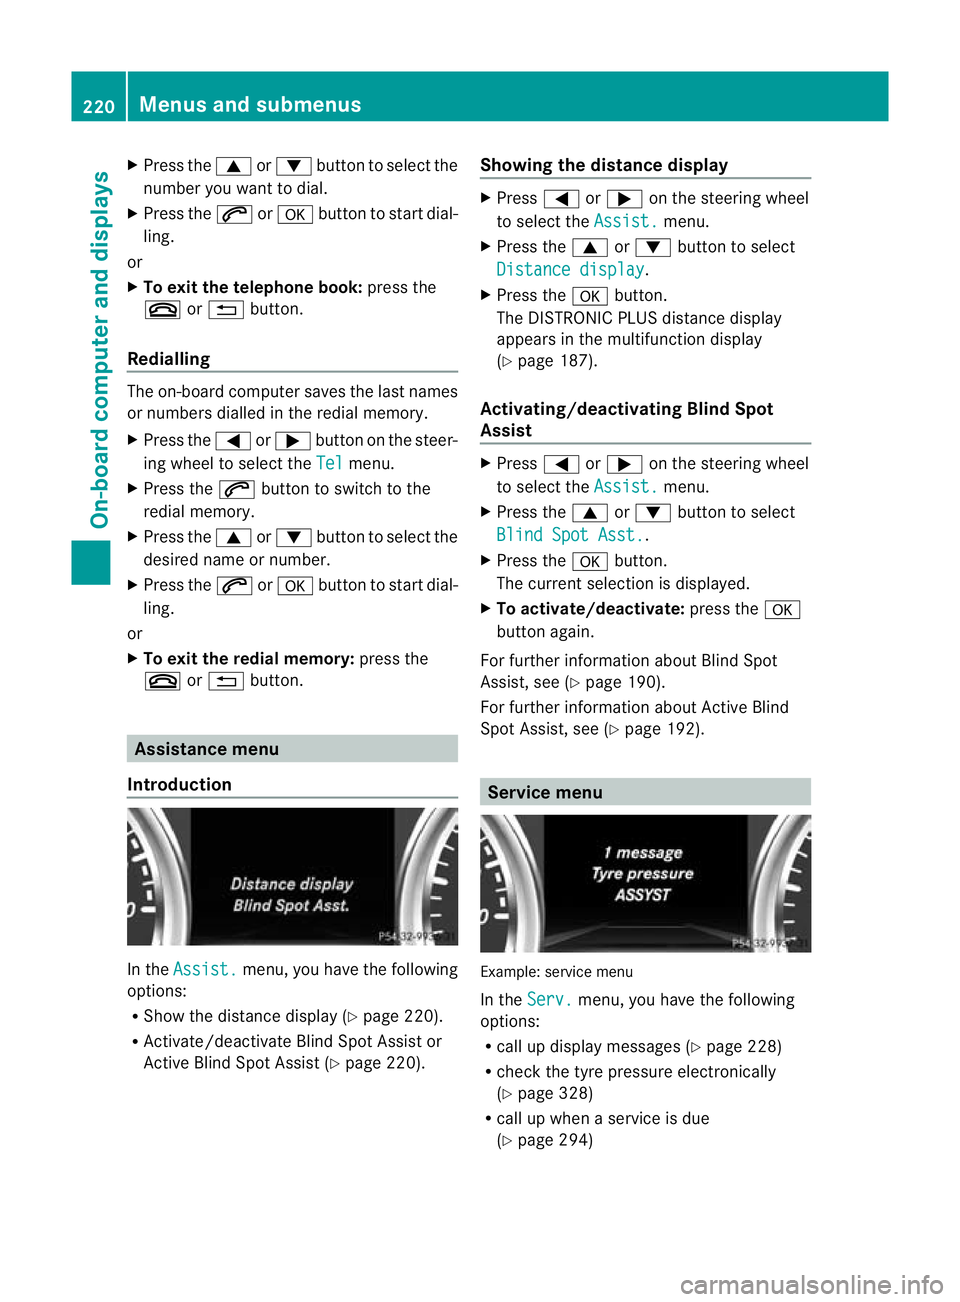
Introduction In the
Assist. menu, you have the following
options:
R Show the distance display (Y page 220).
R Activate/deactivate Blind Spot Assist or
Active Blind Spot Assist (Y page 220).Showing the distance display X
Press =or; on the steering wheel
to select the Assist. menu.
X Press the 9or: button to select
Distance display .
X Press the abutton.
The DISTRONIC PLUS distance display
appears in the multifunction display
(Y page 187).
Activating/deactivating Blind Spot
Assist X
Press =or; on the steering wheel
to select the Assist. menu.
X Press the 9or: button to select
Blind Spot Asst. .
X Press the abutton.
The curren tselection is displayed.
X To activate/deactivate: press thea
button again.
For further information about Blind Spot
Assist, see (Y page 190).
For further information about Active Blind
Spot Assist, see (Y page 192). Service menu
Example: service menu
In the
Serv. menu, you have the following
options:
R call up display messages ( Ypage 228)
R chec kthe tyre pressure electronically
(Y page 328)
R call up when a service is due
(Y page 294) 220
Menus and submenusOn-board computer and displays
Page 224 of 357
Settings menu
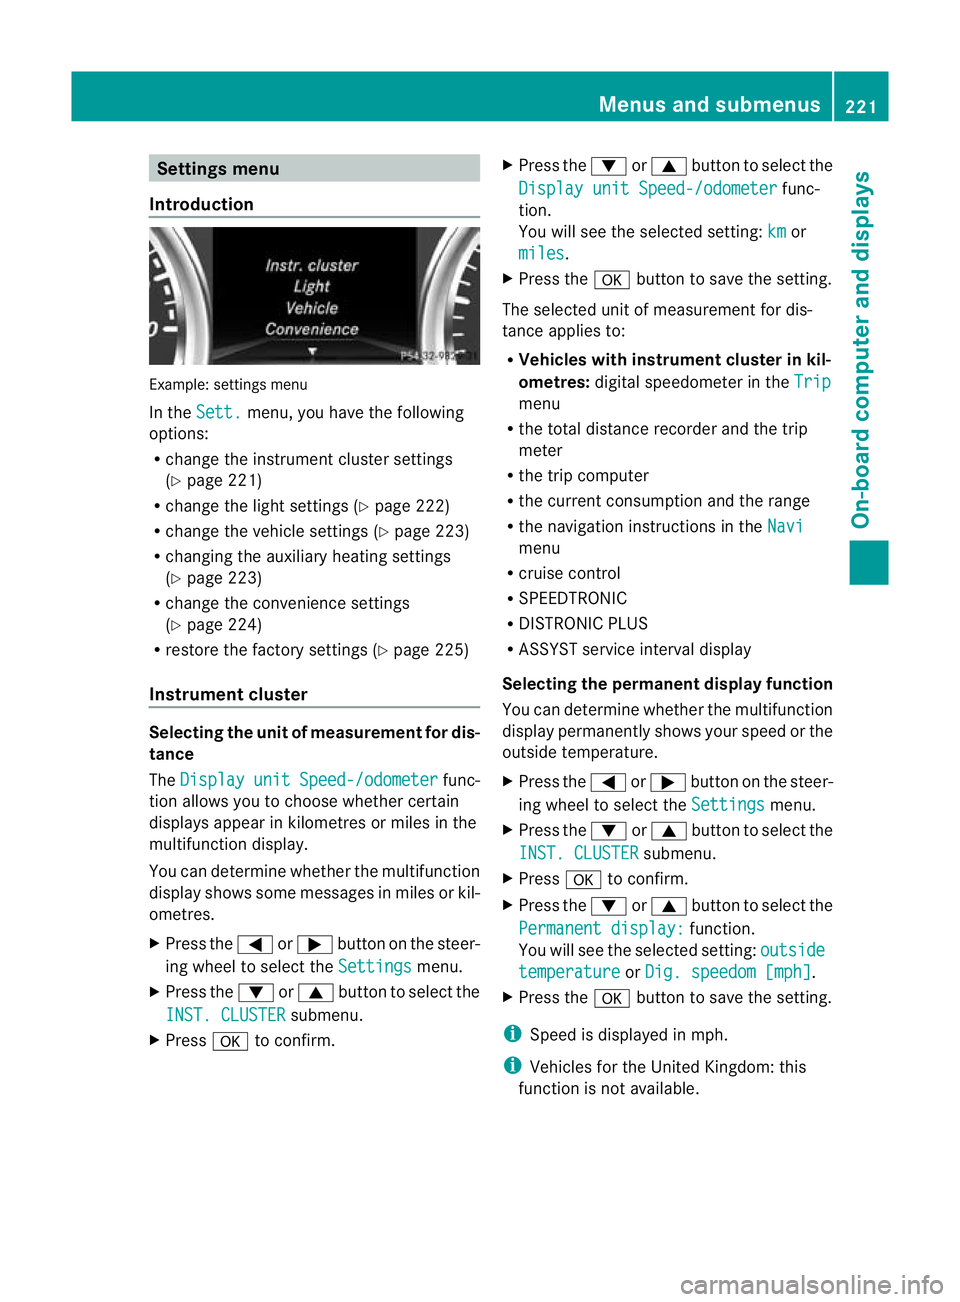
Introduction Example: settings menu
In the
Sett. menu, you have the following
options:
R change the instrument cluster settings
(Y page 221)
R change the light settings (Y page 222)
R change the vehicle settings (Y page 223)
R changing the auxiliary heating settings
(Y page 223)
R change the convenience settings
(Y page 224)
R restore the factory settings (Y page 225)
Instrument cluster Selecting the unit of measurement for dis-
tance
The
Display unit Speed-/odometer func-
tion allows you to choose whether certain
displays appear in kilometres or miles in the
multifunction display.
You can determine whether the multifunction
display shows some messages in miles or kil-
ometres.
X Press the =or; button on the steer-
ing wheel to select the Settings menu.
X Press the :or9 button to select the
INST. CLUSTER submenu.
X Press ato confirm. X
Press the :or9 button to select the
Display unit Speed-/odometer func-
tion.
You will see the selected setting: km or
miles .
X Press the abutton to save the setting.
The selected unit of measurement for dis-
tance applies to:
R Vehicles with instrument cluster in kil-
ometres: digital speedometer in the Trip menu
R the total distance recorder and the trip
meter
R the trip computer
R the current consumption and the range
R the navigation instructions in the Navi menu
R cruise control
R SPEEDTRONIC
R DISTRONIC PLUS
R ASSYST service interval display
Selecting the permanent display function
You can determine whether the multifunction
display permanently shows your speed or the
outside temperature.
X Press the =or; button on the steer-
ing wheel to select the Settings menu.
X Press the :or9 button to select the
INST. CLUSTER submenu.
X Press ato confirm.
X Press the :or9 button to select the
Permanent display: function.
You will see the selected setting: outside temperature or
Dig. speedom [mph] .
X Press the abutton to save the setting.
i Speed is displayed in mph.
i Vehicles for the United Kingdom: this
function is not available. Menus and submenus
221On-board computer and displays Z
Page 225 of 357
Lights
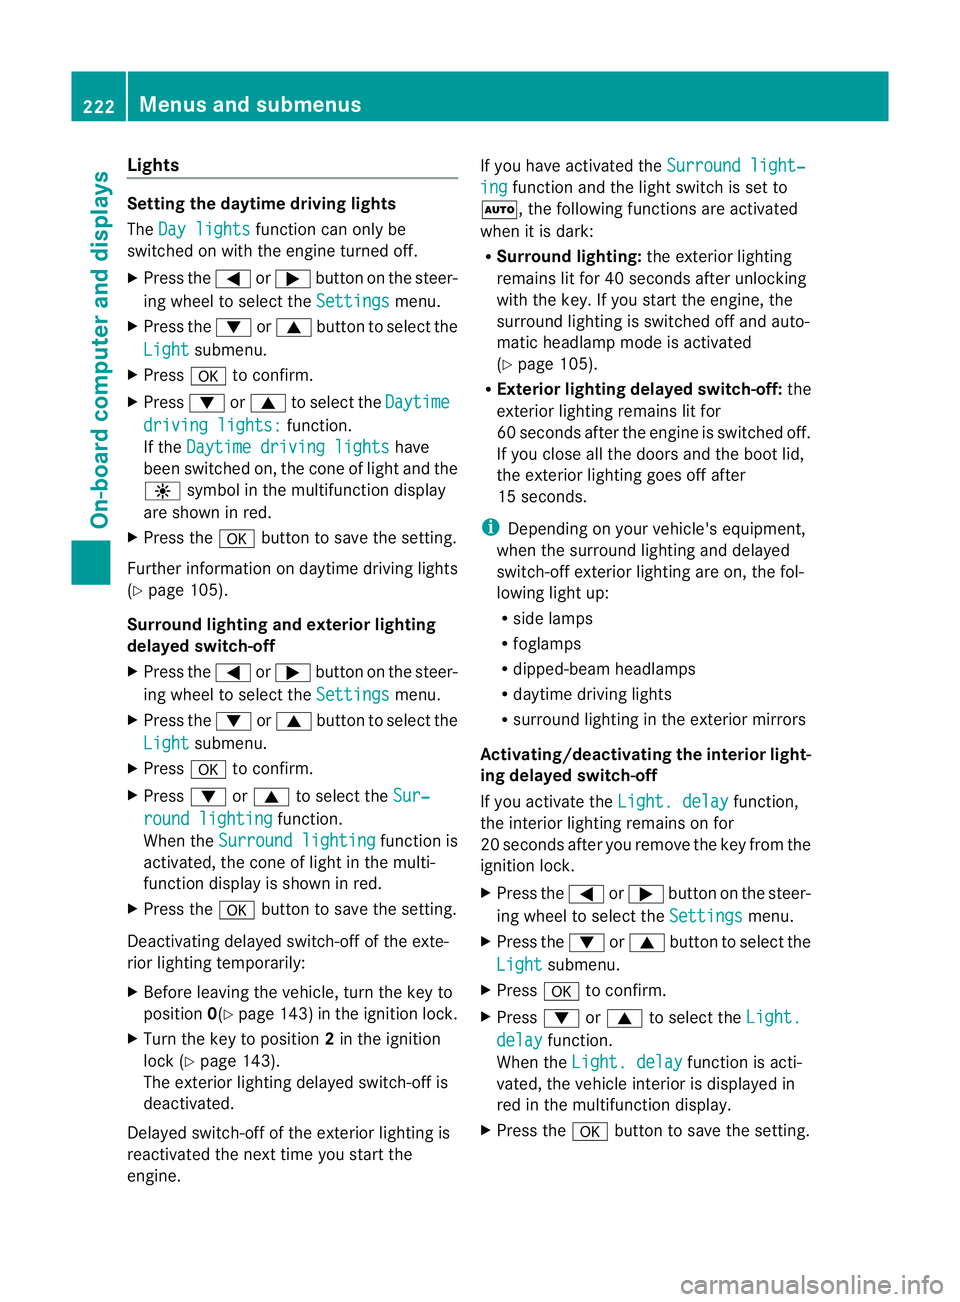
Setting the daytime driving lights
The Day lights function can only be
switched on with the engine turned off.
X Press the =or; button on the steer-
ing wheel to selec tthe Settings menu.
X Press the :or9 button to select the
Light submenu.
X Press ato confirm.
X Press :or9 to select the Daytime driving lights: function.
If the Daytime driving lights have
been switched on, the cone of light and the
W symbol in the multifunction display
are shown in red.
X Press the abutton to save the setting.
Further information on daytime driving lights
(Y page 105).
Surround lighting and exterior lighting
delayed switch-off
X Press the =or; button on the steer-
ing wheel to select the Settings menu.
X Press the :or9 button to select the
Light submenu.
X Press ato confirm.
X Press :or9 to select the Sur‐ round lighting function.
When the Surround lighting function is
activated, the cone of light in the multi-
function display is shown in red.
X Press the abutton to save the setting.
Deactivating delayed switch-off of the exte-
rior lighting temporarily:
X Before leaving the vehicle, turn the key to
position 0(Ypage 143) in the ignition lock.
X Turn the key to position 2in the ignition
lock (Y page 143).
The exterior lighting delayed switch-off is
deactivated.
Delayed switch-off of the exterior lighting is
reactivated the next time you start the
engine. If you have activated the
Surround light‐ ing function and the light switch is set to
Ã, the following functions are activated
when it is dark:
R Surround lighting: the exterior lighting
remains lit for 40 seconds after unlocking
with the key. If you start the engine, the
surround lighting is switched off and auto-
matic headlamp mode is activated
(Y page 105).
R Exterior lighting delayed switch-off: the
exterior lighting remains lit for
60 seconds after the engine is switched off.
If you close all the doors and the boot lid,
the exterior lighting goes off after
15 seconds.
i Depending on your vehicle's equipment,
when the surround lighting and delayed
switch-off exterior lighting are on, the fol-
lowing light up:
R side lamps
R foglamps
R dipped-beamh eadlamps
R daytime driving lights
R surround lighting in the exterior mirrors
Activating/deactivating the interior light-
ing delayed switch-off
If you activate the Light. delay function,
the interior lighting remains on for
20 seconds after you remove the key from the
ignition lock.
X Press the =or; button on the steer-
ing wheel to select the Settings menu.
X Press the :or9 button to select the
Light submenu.
X Press ato confirm.
X Press :or9 to select the Light. delay function.
When the Light. delay function is acti-
vated, the vehicle interior is displayed in
red in the multifunction display.
X Press the abutton to save the setting. 222
Menus and submenusOn-board computer and displays
Page 226 of 357
Vehicle
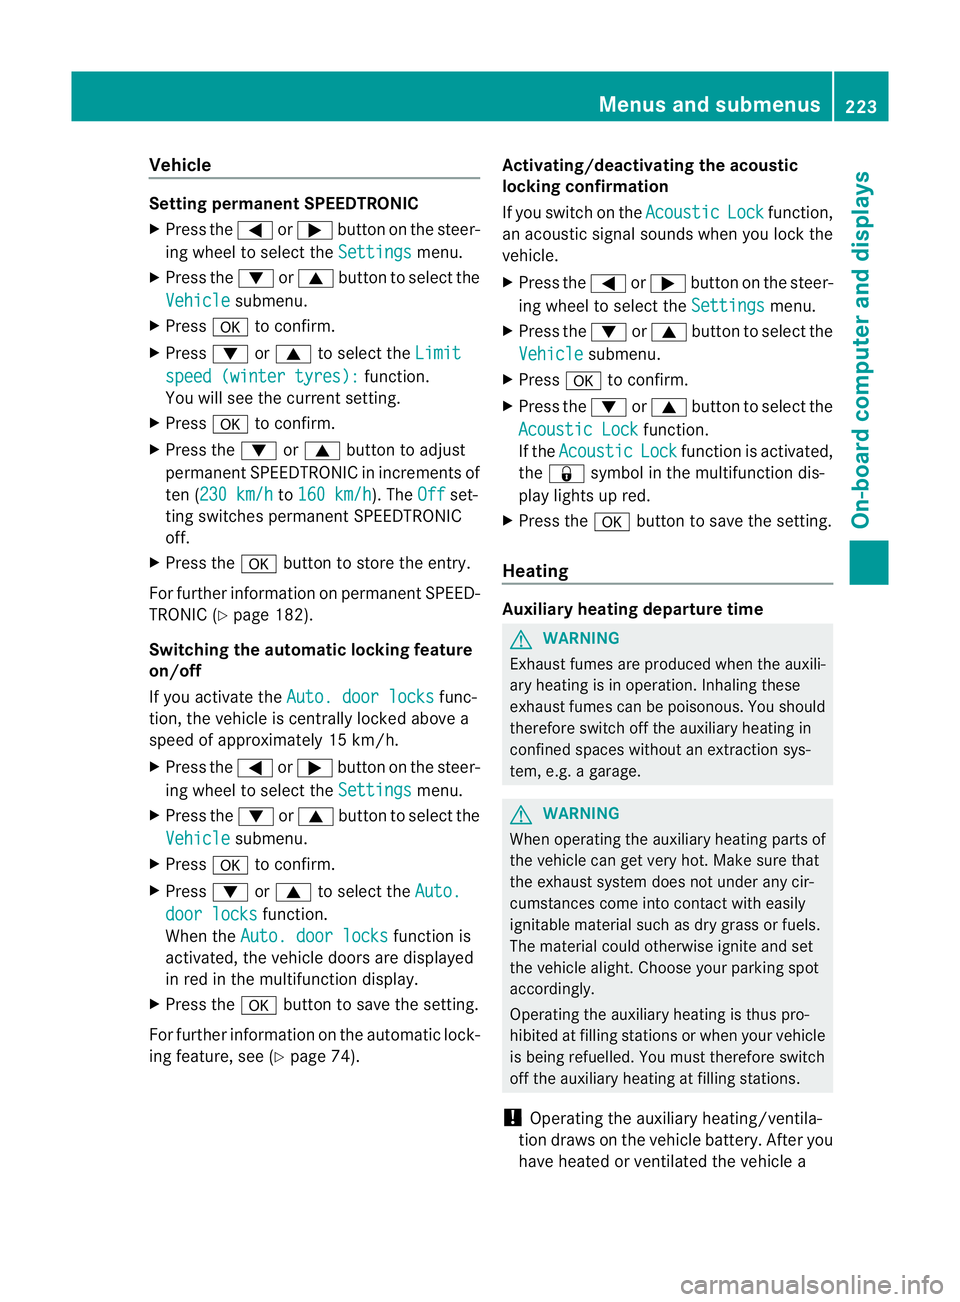
Setting permanen
tSPEEDTRONIC
X Press the =or; button on the steer-
ing wheel to select the Settings menu.
X Press the :or9 button to select the
Vehicle submenu.
X Press ato confirm.
X Press :or9 to select the Limit speed (winter tyres): function.
You will see the current setting.
X Press ato confirm.
X Press the :or9 button to adjust
permanent SPEEDTRONIC in increments of
ten (230 km/h to
160 km/h ). The
Off set-
ting switches permanent SPEEDTRONIC
off.
X Press the abutton to store the entry.
For further information on permanent SPEED-
TRONIC (Y page 182).
Switching the automatic locking feature
on/off
If you activate the Auto. door locks func-
tion, the vehicle is centrally locked above a
speed of approximately 15 km/h.
X Press the =or; button on the steer-
ing wheel to select the Settings menu.
X Press the :or9 button to select the
Vehicle submenu.
X Press ato confirm.
X Press :or9 to select the Auto. door locks function.
When the Auto. door locks function is
activated, the vehicle doors are displayed
in red in the multifunction display.
X Press the abutton to save the setting.
For further information on the automatic lock-
ing feature, see (Y page 74). Activating/deactivating the acoustic
locking confirmation
If you switch on the
Acoustic Lock function,
an acoustic signal sounds when you lock the
vehicle.
X Press the =or; button on the steer-
ing wheel to select the Settings menu.
X Press the :or9 button to select the
Vehicle submenu.
X Press ato confirm.
X Press the :or9 button to select the
Acoustic Lock function.
If the Acoustic Lock function is activated,
the & symbol in the multifunction dis-
play lights up red.
X Press the abutton to save the setting.
Heating Auxiliary heating departure time
G
WARNING
Exhaust fumes are produced when the auxili-
ary heating is in operation. Inhaling these
exhaust fumes can be poisonous. You should
therefore switch off the auxiliary heating in
confined spaces without an extraction sys-
tem, e.g. a garage. G
WARNING
When operating the auxiliary heating parts of
the vehicle can get very hot. Make sure that
the exhaust system does not under any cir-
cumstances come into contact with easily
ignitable material such as dry grass or fuels.
The material could otherwise ignite and set
the vehicle alight. Choose your parking spot
accordingly.
Operating the auxiliary heating is thus pro-
hibited at filling stations or when your vehicle
is being refuelled. You must therefore switch
off the auxiliary heating at filling stations.
! Operating the auxiliary heating/ventila-
tion draws on the vehicle battery. After you
have heated or ventilated the vehicle a Menus and submenus
223On-board computer and displays Z
Page 227 of 357
maximum of two times, drive for a longer
distance.
This function is only available on vehicles with
auxiliary heating (Y page 126).
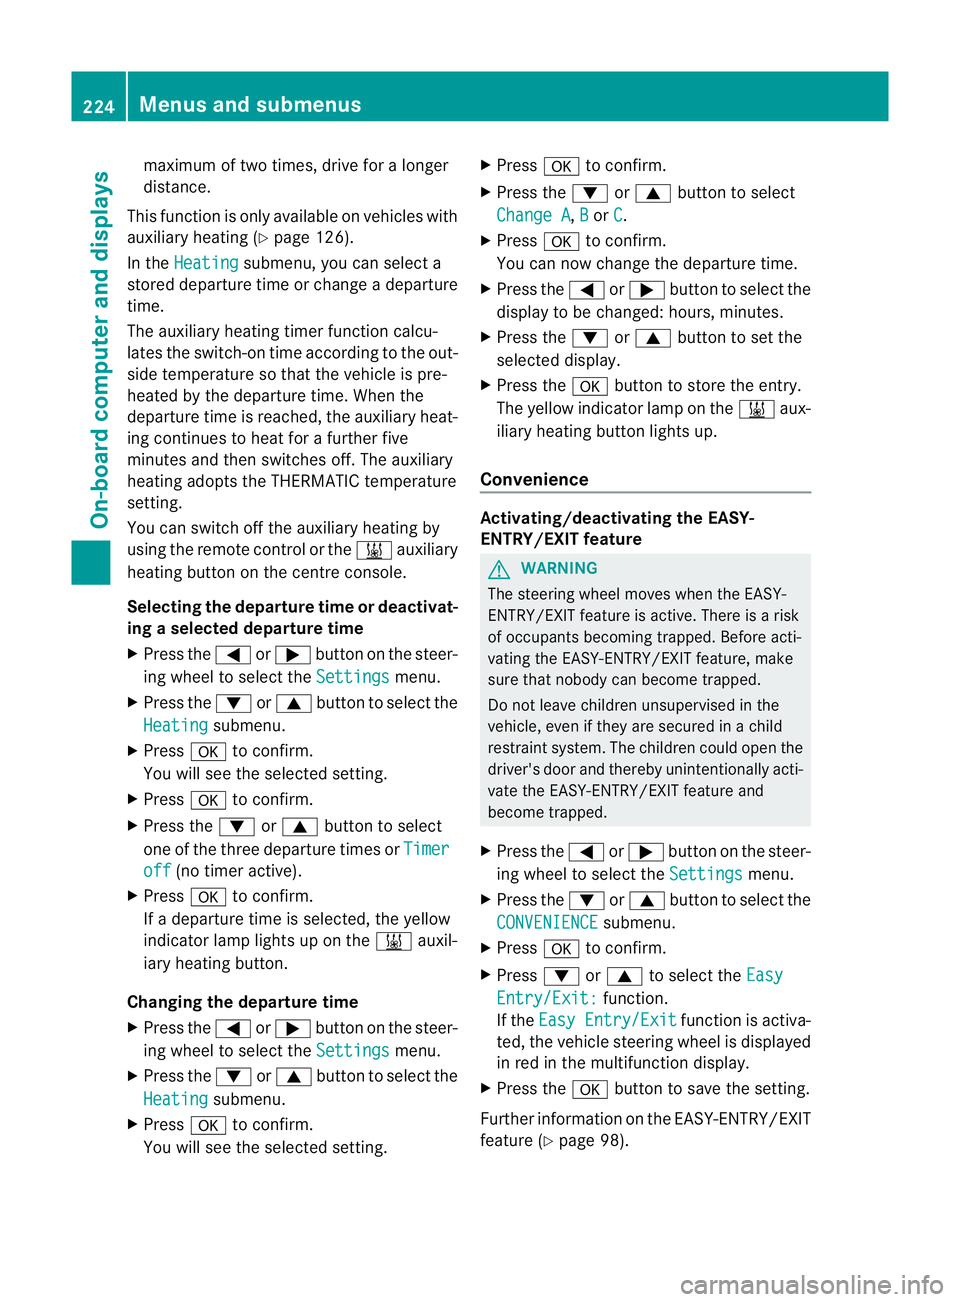
In the Heating submenu, you can select a
stored departure time or change a departure
time.
The auxiliary heating timer function calcu-
lates the switch-on time according to the out-
side temperature so that the vehicle is pre-
heated by the departure time. When the
departure time is reached, the auxiliary heat-
ing continues to heat for a further five
minutes and then switches off. The auxiliary
heating adopts the THERMATIC temperature
setting.
You can switch off the auxiliary heating by
using the remote control or the &auxiliary
heating button on the centre console.
Selecting the departure time or deactivat-
ing a selected departure time
X Press the =or; button on the steer-
ing wheel to select the Settings menu.
X Press the :or9 button to select the
Heating submenu.
X Press ato confirm.
You will see the selected setting.
X Press ato confirm.
X Press the :or9 button to select
one of the three departure times or Timeroff (no timer active).
X Press ato confirm.
If a departure time is selected, the yellow
indicator lamp lights up on the &auxil-
iary heating button.
Changing the departure time
X Press the =or; button on the steer-
ing wheel to select the Settings menu.
X Press the :or9 button to select the
Heating submenu.
X Press ato confirm.
You will see the selected setting. X
Press ato confirm.
X Press the :or9 button to select
Change A ,
B or
C .
X Press ato confirm.
You can now change the departure time.
X Press the =or; button to select the
display to be changed :hours, minutes.
X Press the :or9 button to set the
selected display.
X Press the abutton to store the entry.
The yellow indicator lamp on the &aux-
iliary heating button lights up.
Convenience Activating/deactivating the EASY-
ENTRY/EXIT feature
G
WARNING
The steering wheel moves when the EASY-
ENTRY/EXIT feature is active. There is a risk
of occupants becoming trapped. Before acti-
vating the EASY-ENTRY/EXIT feature, make
sure that nobody can become trapped.
Do not leave children unsupervised in the
vehicle, even if they are secured in a child
restraint system. The children could open the
driver's door and thereby unintentionally acti-
vate the EASY-ENTRY/EXIT feature and
become trapped.
X Press the =or; button on the steer-
ing wheel to select the Settings menu.
X Press the :or9 button to select the
CONVENIENCE submenu.
X Press ato confirm.
X Press :or9 to select the Easy Entry/Exit: function.
If the Easy Entry/Exit function is activa-
ted, the vehicle steering wheel is displayed
in red in the multifunction display.
X Press the abutton to save the setting.
Further information on the EASY-ENTRY/EXIT
feature (Y page 98). 224
Menus and submenusOn-board computer and displays
Page 228 of 357
Switching the fold-in mirrors when lock-
ing function on/off
When you activate the
Auto. fold in mir‐
rors function, the exterior mirrors are folded
in when the vehicle is locked. When you
unlock the vehicle and then open a door, the
exterior mirrors fold out again.
X Press the =or; button on the steer-
ing wheel to select the Settings menu.
X Press the :or9 button to select the
CONVENIENCE submenu.
X Press ato confirm.
X Press :or9 to select the Auto. fold in mirrors function.
If the Auto. fold in mirrors function is
activated, the vehicle's exterior mirror is
displayed in red in the multifunction dis-
play.
X Press the abutton to save the setting. :
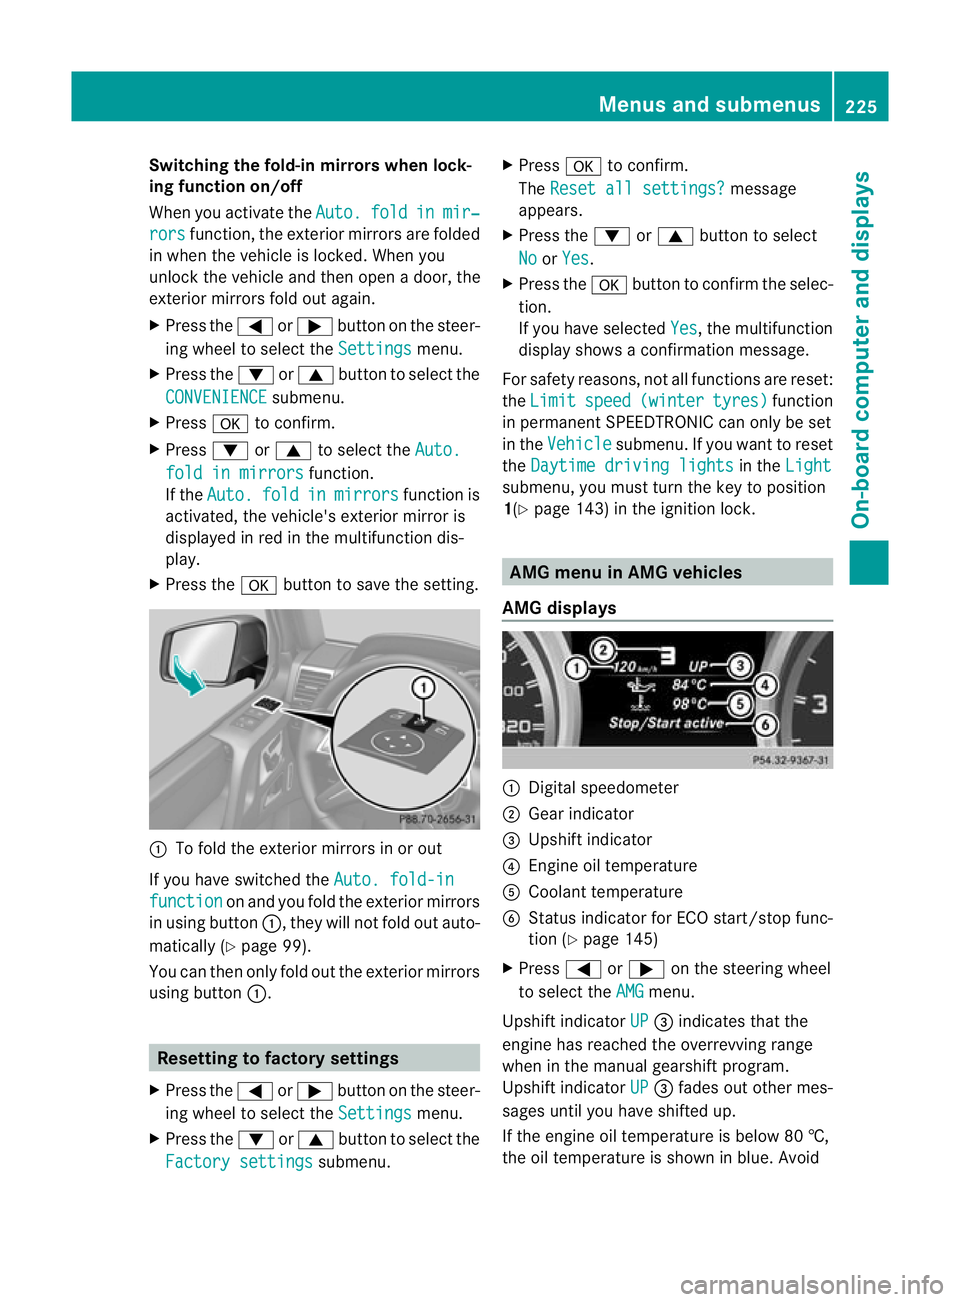
To fold the exterior mirrors in or out
If you have switched the Auto. fold-infunction on and you fold the exterior mirrors
in using button :, they will not fold out auto-
matically (Y page 99).
You can then only fold out the exterior mirrors
using button :. Resetting to factory settings
X Press the =or; button on the steer-
ing wheel to select the Settings menu.
X Press the :or9 button to select the
Factory settings submenu.X
Press ato confirm.
The Reset all settings? message
appears.
X Press the :or9 button to select
No or
Yes .
X Press the abutton to confirm the selec-
tion.
If you have selected Yes , the multifunction
display shows a confirmation message.
For safety reasons, not all functions are reset:
the Limit speed (winter tyres) function
in permanent SPEEDTRONIC can only be set
in the Vehicle submenu. If you want to reset
the Daytime driving lights in the
Light submenu, you must turn the key to position
1(Y
page 143) in the ignition lock. AMG menu in AMG vehicles
AMG displays :
Digital speedometer
; Gear indicator
= Upshift indicator
? Engine oil temperature
A Coolant temperature
B Status indicator for ECO start/stop func-
tion (Y page 145)
X Press =or; on the steering wheel
to select the AMG menu.
Upshift indicator UP =
indicates that the
engine has reached the overrevving range
when in the manual gearshift program.
Upshift indicator UP =
fades out other mes-
sages until you have shifted up.
If the engine oil temperature is below 80 †,
the oil temperature is shown in blue. Avoid Menus and submenus
225On-board computer and displays Z
Page 229 of 357
using the full output of the engine during this
time.
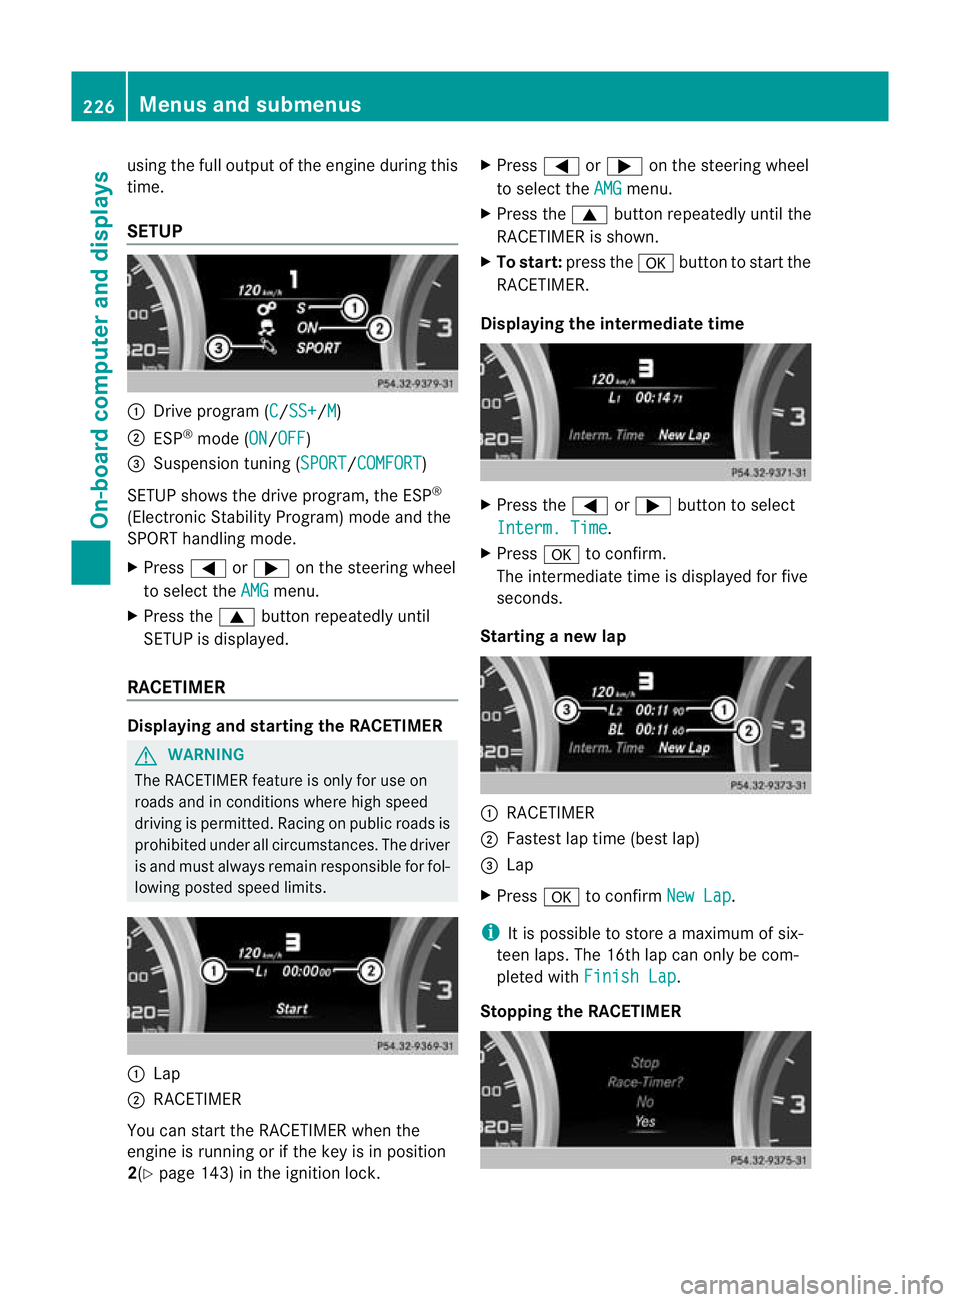
SETUP
:
Drive program (C /SS+ /M )
; ESP ®
mode (ON /OFF )
= Suspension tuning (SPORT /COMFORT )
SETUP shows the drive program, the ESP ®
(Electronic Stability Program) mode and the
SPORT handling mode.
X Press =or; on the steering wheel
to select the AMG menu.
X Press the 9buttonrepeatedly until
SETUP is displayed.
RACETIMER Displaying and starting the RACETIMER
G
WARNING
The RACETIMER feature is only for use on
roads and in conditions where high speed
driving is permitted. Racing on public roads is
prohibited under all circumstances. The driver
is and must always remain responsible for fol-
lowing posted speed limits. :
Lap
; RACETIMER
You can start the RACETIMER when the
engine is running or if the key is in position
2(Y page 143) in the ignition lock. X
Press =or; on the steering wheel
to select the AMG menu.
X Press the 9button repeatedly until the
RACETIMER is shown.
X To start: press the abutton to start the
RACETIMER.
Displaying the intermediate time X
Press the =or; button to select
Interm. Time .
X Press ato confirm.
The intermediate time is displayed for five
seconds.
Starting a new lap :
RACETIMER
; Fastes tlap time (bes tlap)
= Lap
X Press ato confirm New Lap .
i It is possible to store a maximum of six-
teen laps. The 16th lap can only be com-
pleted with Finish Lap .
Stopping the RACETIMER 226
Menus and submenusOn-board computer and displays
Page 230 of 357
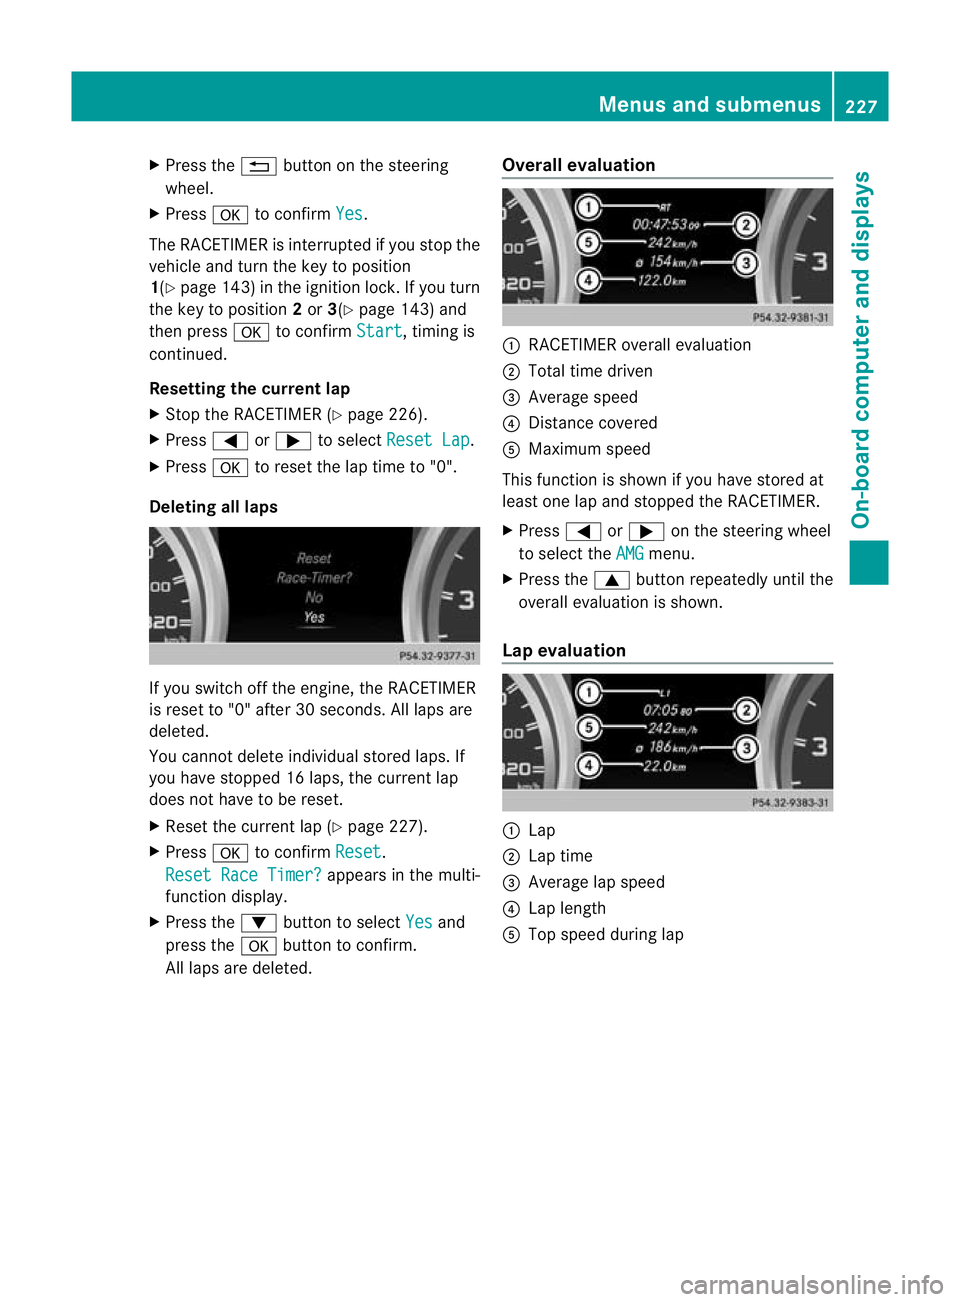
X
Press the %button on the steering
wheel.
X Press ato confirm Yes .
The RACETIMER is interrupted if you stop the
vehicle and turn the key to position
1(Y page 143) in the ignition lock. If you turn
the key to position 2or 3(Y page 143) and
then press ato confirm Start , timing is
continued.
Resetting the current lap
X Stop the RACETIMER (Y page 226).
X Press =or; to select Reset Lap .
X Press ato reset the lap time to "0".
Deleting all laps If you switch off the engine, the RACETIMER
is reset to "0" after 30 seconds. All laps are
deleted.
You cannot delete individual stored laps. If
you have stopped 16 laps, the curren tlap
does no thave to be reset.
X Reset the curren tlap (Y page 227).
X Press ato confirm Reset .
Reset Race Timer? appears in the multi-
function display.
X Press the :button to select Yes and
press the abutton to confirm.
All laps are deleted. Overall evaluation :
RACETIMER overall evaluation
; Total time driven
= Average speed
? Distance covered
A Maximum speed
This function is shown if you have stored at
least one lap and stopped th eRACETIMER.
X Press =or; on the steering wheel
to select the AMG menu.
X Press the 9button repeatedly until the
overall evaluation is shown.
Lap evaluation :
Lap
; Lap time
= Average lap speed
? Lap length
A Top speed during lap Menus and submenus
227On-board computer and displays Z