Abs turn off MERCEDES-BENZ GL450 2010 X164 Owner's Manual
[x] Cancel search | Manufacturer: MERCEDES-BENZ, Model Year: 2010, Model line: GL450, Model: MERCEDES-BENZ GL450 2010 X164Pages: 380, PDF Size: 9.81 MB
Page 10 of 380
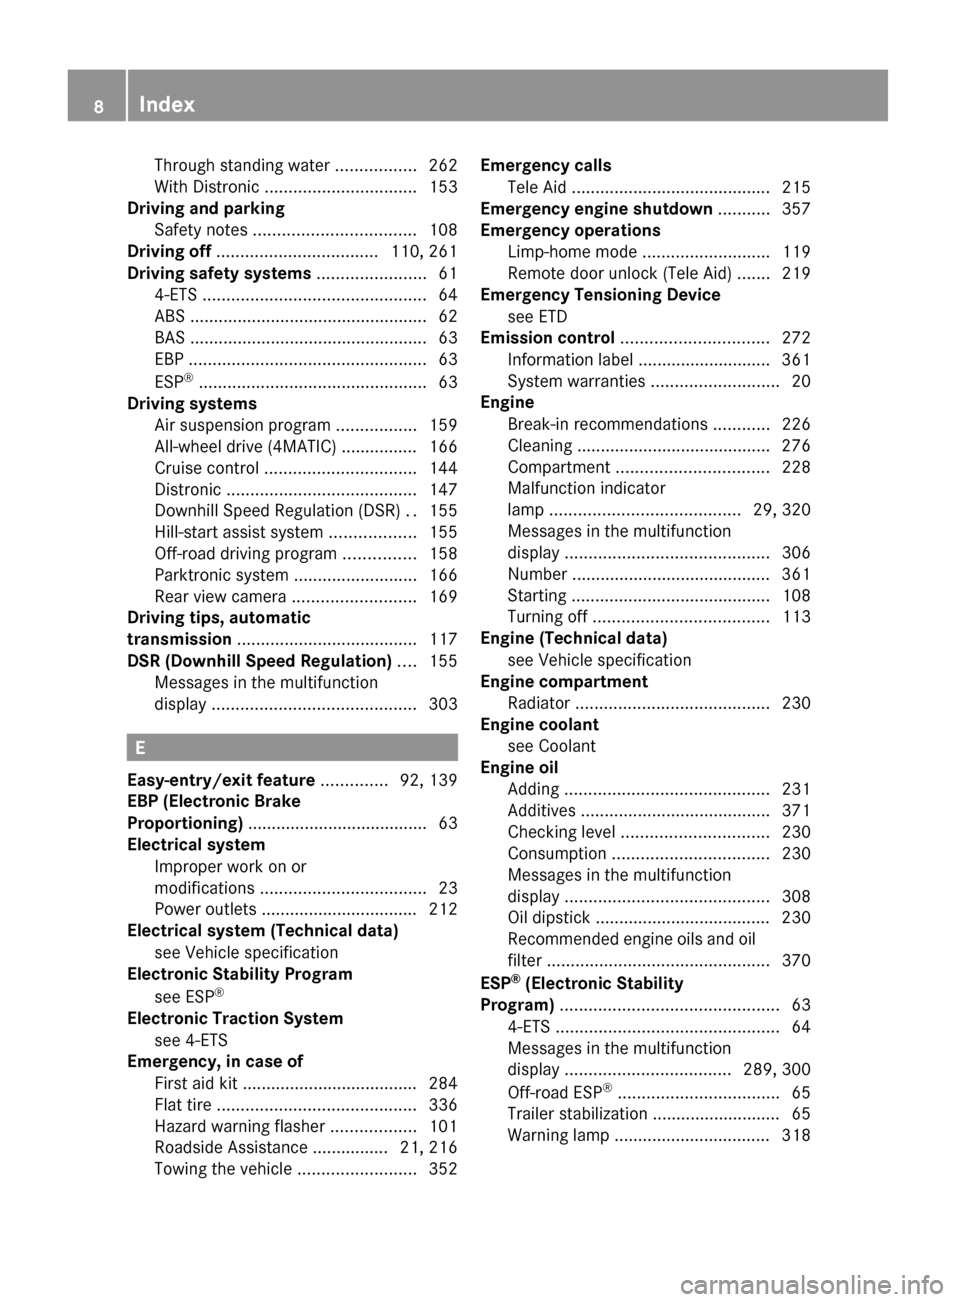
Through standing water .................262
With Distronic ................................ 153
Driving and parking
Safety notes .................................. 108
Driving off .................................. 110, 261
Driving safety systems ....................... 61
4-ETS ............................................... 64
ABS .................................................. 62
BAS .................................................. 63
EBP .................................................. 63
ESP ®
................................................ 63
Driving systems
Air suspension program .................159
All-wheel drive (4MATIC) ................ 166
Cruise control ................................ 144
Distronic ........................................ 147
Downhill Speed Regulation (DSR) ..155
Hill-start assist system ..................155
Off-road driving program ...............158
Parktronic system ..........................166
Rear view camera .......................... 169
Driving tips, automatic
transmission ...................................... 117
DSR (Downhill Speed Regulation) .... 155
Messages in the multifunction
display ........................................... 303
E
Easy-entry/exit feature .............. 92, 139
EBP (Electronic Brake
Proportioning) ...................................... 63
Electrical system
Improper work on or
modifications ................................... 23
Power outlets ................................. 212
Electrical system (Technical data)
see Vehicle specification
Electronic Stability Program
see ESP ®
Electronic Traction System
see 4-ETS
Emergency, in case of
First aid kit ..................................... 284
Flat tire .......................................... 336
Hazard warning flasher ..................101
Roadside Assistance ................ 21, 216
Towing the vehicle .........................352
Emergency calls
Tele Aid .......................................... 215
Emergency engine shutdown ........... 357
Emergency operations
Limp-home mode ........................... 119
Remote door unlock (Tele Aid) .......219
Emergency Tensioning Device
see ETD
Emission control ............................... 272
Information label ............................ 361
System warranties ...........................20
Engine
Break-in recommendations ............226
Cleaning ......................................... 276
Compartment ................................ 228
Malfunction indicator
lamp ........................................ 29, 320
Messages in the multifunction
display ........................................... 306
Number .......................................... 361
Starting .......................................... 108
Turning off ..................................... 113
Engine (Technical data)
see Vehicle specification
Engine compartment
Radiator ......................................... 230
Engine coolant
see Coolant
Engine oil
Adding ........................................... 231
Additives ........................................ 371
Checking level ............................... 230
Consumption ................................. 230
Messages in the multifunction
display ........................................... 308
Oil dipstick ..................................... 230
Recommended engine oils and oil
filter ............................................... 370
ESP ®
(Electronic Stability
Program) .............................................. 63
4-ETS ............................................... 64
Messages in the multifunction
display ................................... 289, 300
Off-road ESP ®
.................................. 65
Trailer stabilization ........................... 65
Warning lamp ................................. 3188IndexX164_AKB; 5; 31, en-USd2ureepe,Version: 2.11.8.12009-09-11T12:30:16+02:00 - Seite 8
Page 13 of 380
Interior lighting
Delayed shut-off ............................ 138
Emergency lighting ........................102
Front .............................................. 101
Front reading lamps .......................101
Rear ............................................... 102
Rear reading lamps ........................102
Interior rear view mirror ..................... 93
Auto-dimming rear view mirrors ....... 94
Interior storage spaces
see Storage compartments
Intermittent wiping
Rain sensor .................................... 103
J
Jack ..................................................... 286
Jump starting ..................................... 350
K
Key, Mechanical
Loss of ............................................. 73
Replacing ......................................... 74
Unlocking/locking manually ..........323
Key, SmartKey
Battery check lamp ..........................73
Checking batteries ...........................73
Factory setting ........................... 71, 72
Global locking (KEYLESS-
GO) .................................................. 73
Global locking (SmartKey) ................ 71
Global unlocking (KEYLESS-
GO) ............................................ 72, 73
Global unlocking
(SmartKey) ....................................... 71
Important notes on KEYLESS-GO .....72
Locking/unlocking ........................... 70
Loss of ............................................. 73
Messages in the multifunction
display ........................................... 304
Opening and closing the power
tilt/sliding sunroof .........................107
Opening and closing the windows . 107
Remote control ................................ 70
Replacing ......................................... 74
Replacing batteries ........................326
Restoring to factory setting .......71, 73
Selective setting ........................71, 73
Starter switch positions ...................80
KEYLESS-GO
Starter switch positions ...................80
Kickdown ........................................... 117
Kilopascal (air pressure unit) ........... 255
Knee bag .............................................. 40
L
Labels
Certification ................................... 360
Emission control information .........361
Tire and Loading Information
placard ........................................... 242
Tire inflation pressure ....................236
Lamps, exterior
Exterior lamp switch ........................97
Front .............................................. 329
Messages in the multifunction
display ........................................... 310
Rear ............................................... 329
Switching on/off .............................. 97
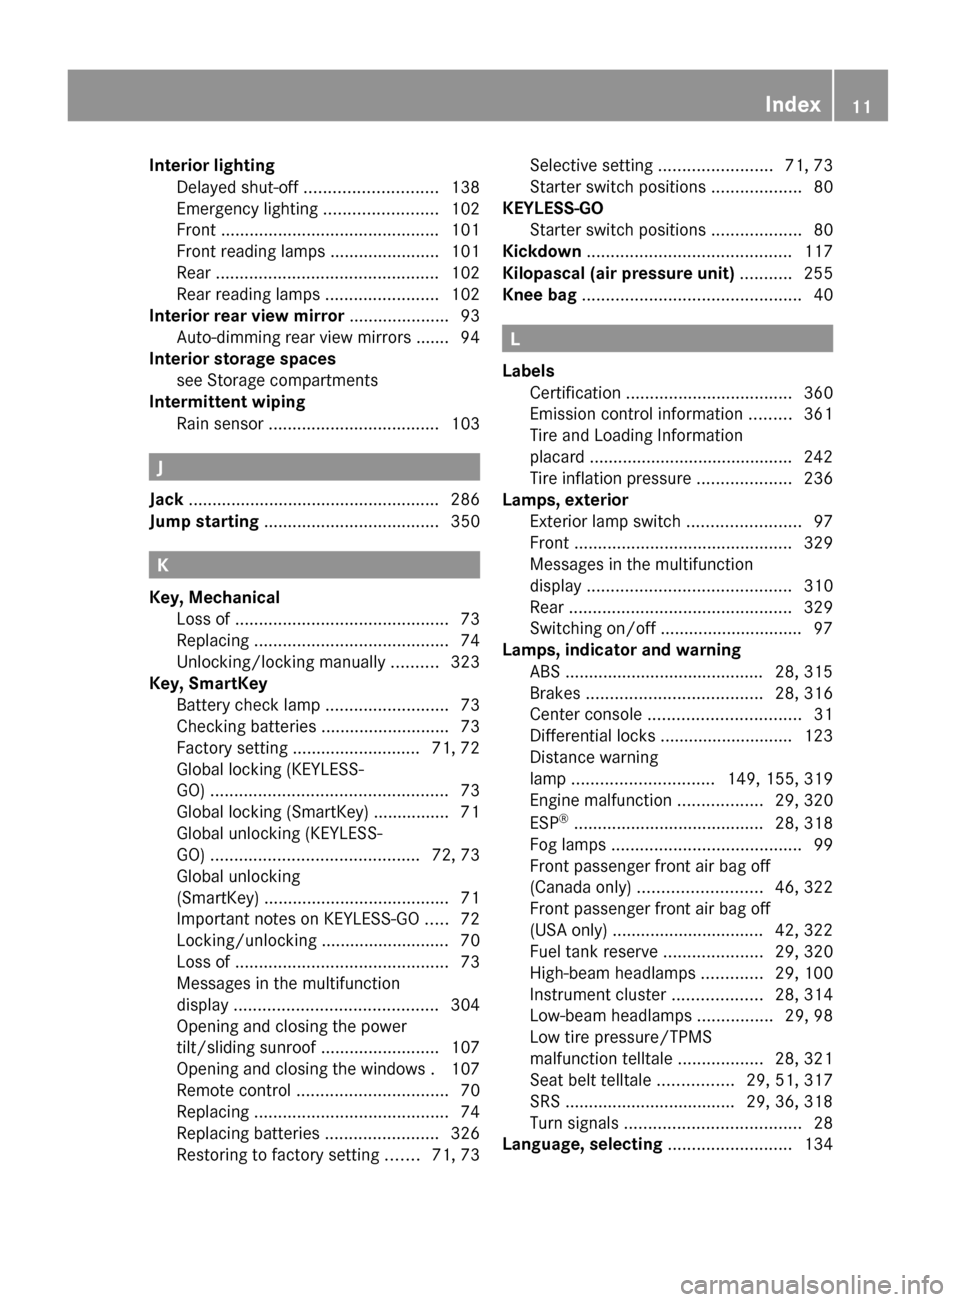
Lamps, indicator and warning
ABS .......................................... 28, 315
Brakes ..................................... 28, 316
Center console ................................ 31
Differential locks ............................ 123
Distance warning
lamp .............................. 149, 155, 319
Engine malfunction ..................29, 320
ESP ®
........................................ 28, 318
Fog lamps ........................................ 99
Front passenger front air bag off
(Canada only) .......................... 46, 322
Front passenger front air bag off
(USA only) ................................ 42, 322
Fuel tank reserve .....................29, 320
High-beam headlamps .............29, 100
Instrument cluster ...................28, 314
Low-beam headlamps ................29, 98
Low tire pressure/TPMS
malfunction telltale ..................28, 321
Seat belt telltale ................29, 51, 317
SRS .................................... 29, 36, 318
Turn signals ..................................... 28
Language, selecting .......................... 134
Index11X164_AKB; 5; 31, en-USd2ureepe,Version: 2.11.8.12009-09-11T12:30:16+02:00 - Seite 11
Page 64 of 380
achieved with winter tires, or snow chains
as required.
Safety notesGWarning!
The following factors increase the risk of
accidents:
R Excessive speed, especially in turns
R Wet and slippery road surfaces
R Following another vehicle too closely
The driving safety systems described in this
section cannot reduce these risks or prevent
the natural laws of physics from acting on the
vehicle. They cannot increase braking or
steering efficiency beyond that afforded by
the condition of the vehicle brakes and tires
or the traction afforded.
Only a safe, attentive, and skillful driver can
prevent accidents.
The capabilities of a vehicle equipped with the
driving safety systems described in this
section must never be exploited in a reckless
or dangerous manner which could jeopardize
the user’s safety or the safety of others.
Always adjust your driving style to the
prevailing road and weather conditions and
keep a safe distance to other road users and
objects on the street.
If a driving system malfunctions, other driving
safety systems may also switch off. Observe
indicator and warning lamps that may come
on as well as messages in the multifunction
display that may appear.
ABS
GObserve Safety notes, see page 62.GWarning!
Do not pump the brake pedal. Use firm, steady
brake pedal pressure instead. Pumping the
brake pedal defeats the purpose of the ABS
and significantly reduces braking
effectiveness.
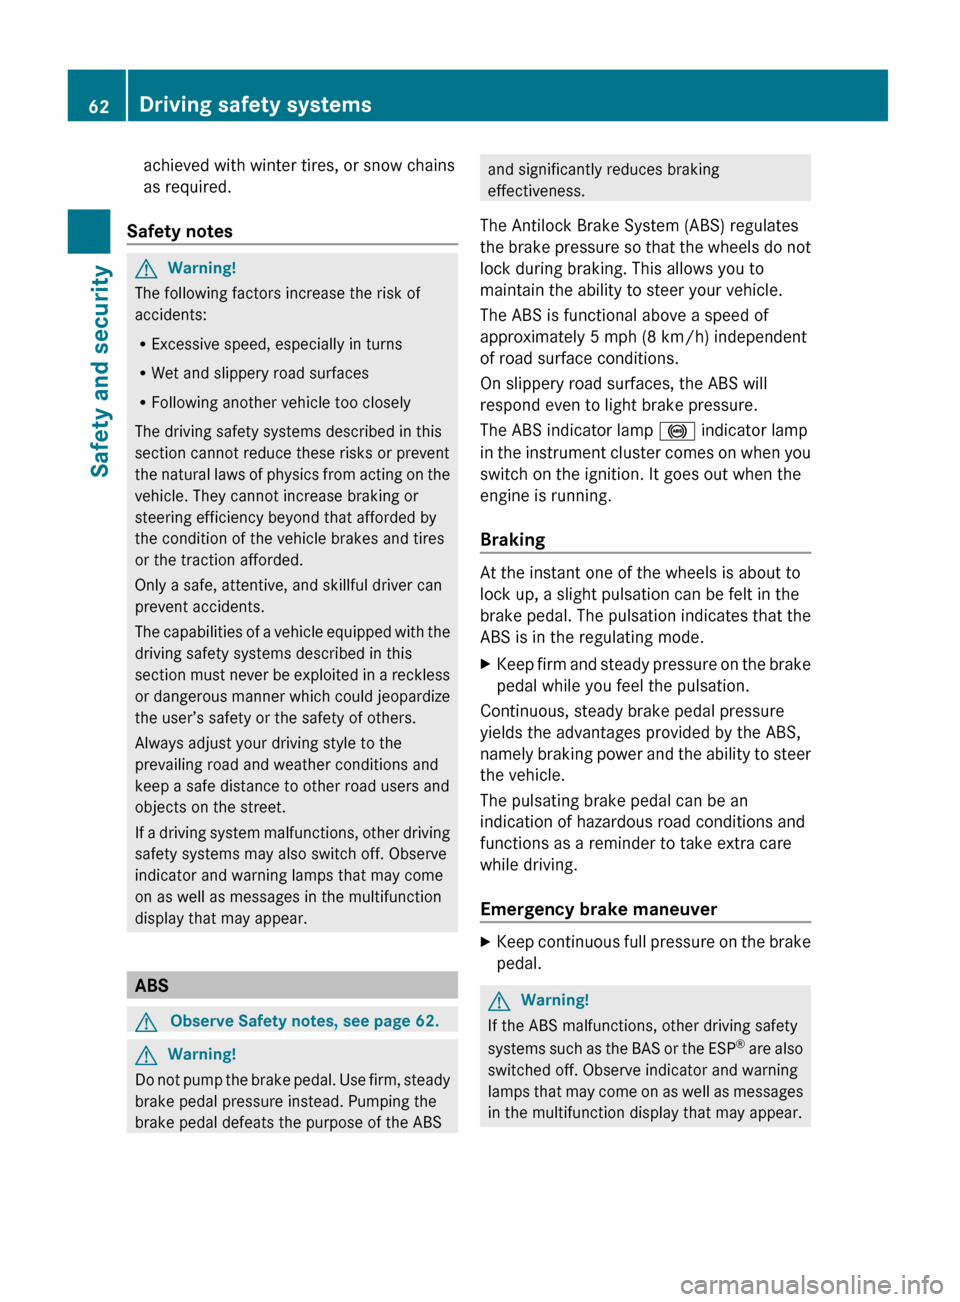
The Antilock Brake System (ABS) regulates
the brake pressure so that the wheels do not
lock during braking. This allows you to
maintain the ability to steer your vehicle.
The ABS is functional above a speed of
approximately 5 mph (8 km/h) independent
of road surface conditions.
On slippery road surfaces, the ABS will
respond even to light brake pressure.
The ABS indicator lamp ! indicator lamp
in the instrument cluster comes on when you
switch on the ignition. It goes out when the
engine is running.
Braking
At the instant one of the wheels is about to
lock up, a slight pulsation can be felt in the
brake pedal. The pulsation indicates that the
ABS is in the regulating mode.
XKeep firm and steady pressure on the brake
pedal while you feel the pulsation.
Continuous, steady brake pedal pressure
yields the advantages provided by the ABS,
namely braking power and the ability to steer
the vehicle.
The pulsating brake pedal can be an
indication of hazardous road conditions and
functions as a reminder to take extra care
while driving.
Emergency brake maneuver
XKeep continuous full pressure on the brake
pedal.GWarning!
If the ABS malfunctions, other driving safety
systems such as the BAS or the ESP ®
are also
switched off. Observe indicator and warning
lamps that may come on as well as messages
in the multifunction display that may appear.
62Driving safety systemsSafety and security
X164_AKB; 5; 31, en-USd2ureepe,Version: 2.11.8.12009-09-11T12:30:16+02:00 - Seite 62
Page 112 of 380
XDepress the brake pedal during the starting
procedure.XDo not depress the accelerator pedal.XGasoline engine: Press the KEYLESS-GO
start/stop button once.
The engine starts automatically.XDiesel engine: Press the KEYLESS-GO
start/stop button once.
The engine preglows and starts
automatically.
i If the engine is at operating temperature,
the time the engine needs to preglow is
reduced.
Starting difficulties
! Remember that extended starting
attempts can drain the battery.
The engine does not start. You can hear
the starter.
There could be a malfunction in the engine
electronics or in the fuel supply system.
Carry out the following steps:
XIf you are starting the engine with the
SmartKey: Turn the SmartKey in the starter
switch to position 0 and repeat the starting
procedure.XIf you are starting the engine with KEYLESS-
GO: Close any doors that may be open to
allow for better detection of the SmartKey.
or
XRemove the KEYLESS-GO start/stop
button from the starter switch.XStart the engine with the SmartKey as radio
signals from another source may be
interfering with the KEYLESS-GO function.XRepeat the starting procedure.
If the engine does not start after several
starting attempts:
XContact an authorized Mercedes-Benz
Center or call Roadside Assistance.The engine does not start. You cannot
hear the starter.
The battery may not be charged sufficiently.XGet a jump start ( Y page 350).
If the engine will not start despite a jump
start:
XContact an authorized Mercedes-Benz
Center or call Roadside Assistance.
The starter has been exposed to excessive
temperatures.
XLet the starter cool for about 2 minutes.XRepeat the starting procedure.
If the engine does not start after several
starting attempts:
XContact an authorized Mercedes-Benz
Center or call Roadside Assistance.
Driving off
GWarning!
On slippery road surfaces, never downshift in
order to obtain braking action. This could
result in drive wheel slip and reduced vehicle
control. Your vehicle’s ABS will not prevent
this type of loss of control.
! Do not run a cold engine at high engine
speeds. Running a cold engine at high
engine speeds may shorten the service life
of the engine. This is not covered by the
Mercedes-Benz Limited Warranty.
! If an acoustic warning sounds and the
message Release Parking Brake
appears in the multifunction display when
driving off, you have forgotten to release
the parking brake.
Release the parking brake.
! Avoid spinning of a drive wheel. This may
cause serious damage to the drivetrain
which is not covered by the Mercedes-Benz
Limited Warranty.
110Driving and parkingControls in detail
X164_AKB; 5; 31, en-USd2ureepe,Version: 2.11.8.12009-09-11T12:30:16+02:00 - Seite 110
Page 121 of 380
iYou cannot shift with the steering wheel
gearshift control when the automatic
transmission is in park position P, neutral
position N, or reverse gear R.
Limiting gear range GWarning!
On slippery road surfaces, never downshift in
order to obtain braking action. This could
result in drive wheel slip and reduced vehicle
control. Your vehicle’s ABS will not prevent
this type of loss of control.
XBriefly pull left gearshift control :.
The automatic transmission will shift into
the next lower gear as permitted by the
shift program. This action simultaneously
limits the gear range of the automatic
transmission.
i To avoid overrevving the engine when
downshifting, the automatic transmission
will not shift into a lower gear if the engine’s
maximum speed would be exceeded.
Extending gear range
XBriefly pull right gearshift control ;.
The automatic transmission will shift into
the next higher gear as permitted by the
shift program. This action simultaneously
extends the gear range of the automatic
transmission.
i If you press on the accelerator pedal
when the engine has reached the
revolution limit of the current gear range,
the automatic transmission will upshift
beyond any gear range limit selected.
Canceling gear range limit
XPull and hold right gearshift control ; until
the gear range indicator disappears from
the multifunction display.
The automatic transmission will shift from
the current gear range directly into drive
position D.Shifting into optimal gear range XPull and hold left gearshift control :.
The automatic transmission will select the
gear range suited for optimal acceleration
and deceleration automatically. This will
involve shifting down one or more gears.
Emergency operation (limp-home
mode)
If vehicle acceleration becomes less
responsive or sluggish or the automatic
transmission no longer shifts, the automatic
transmission is most likely operating in limp-
home (emergency operation) mode. In this
mode only second gear and reverse gear R
can be selected.
XStop the vehicle in a safe location.XShift the automatic transmission into park
position P.XTurn off the engine.XWait at least 10 seconds before restarting.XRestart the engine.XShift the automatic transmission into drive
position D (for second gear) or reverse gear
R .XHave the automatic transmission checked
at an authorized Mercedes-Benz Center as
soon as possible.
Transfer case
The vehicle is equipped with all-wheel drive
(4MATIC). Both the front and rear axles are
powered at all times when the vehicle is being
operated.
! Only conduct operational or performance
tests on a two-axle dynamometer. If such
tests are necessary, contact an authorized
Mercedes-Benz Center. You could
otherwise seriously damage the brake
system or the transfer case which is not
Transfer case119Controls in detailX164_AKB; 5; 31, en-USd2ureepe,Version: 2.11.8.12009-09-11T12:30:16+02:00 - Seite 119Z
Page 122 of 380
covered by the Mercedes-Benz Limited
Warranty.
! Because the ESP ®
operates
automatically, the engine and ignition must
be shut off (SmartKey in starter switch
position 0 or 1 or KEYLESS-GO start/stop
button in position 0 or 1) when the parking
brake is being tested on a brake test
dynamometer. Such testing should be no
longer than 10 seconds.
Active braking action through the ESP ®
may otherwise seriously damage the brake
system which is not covered by the
Mercedes-Benz Limited Warranty.
LOW RANGE mode
The LOW RANGE mode is available on
vehicles with enhanced off-road package.
In the following situations you should switch
to the LOW RANGE mode:
R during off-road driving
R before driving through water
R when towing up or down on steep gradients
With LOW RANGE selected, the engine’s
power delivery and the shifting behavior of
the automatic transmission are adjusted.
Furthermore, the ABS, the ESP ®
, and the
4-ETS functions especially adapted to off-
road travel are activated.
For more information on off-road driving, see
“Off-road driving” ( Y page 262).
For information on driving safety systems
during LOW RANGE mode, see “Driving safety
systems” ( Y page 61).
Gear ranges
There are two possible settings.
HIGH
RANGERoad position for all normal
driving situations.
(LOW RANGE mode off)LOW
RANGEOff-road position for
traveling on rough terrain.
(LOW RANGE mode on)
Also use the off-road
position when driving on-
road on steep gradients,
especially when towing a
trailer.
LOW RANGE acts by raising
the engine’s gear ratio. The
vehicle travels at roughly
third the speed compared to
when in HIGH RANGE
position, leading to an
increase in the engine’s
drive power.GWarning!
Always wait until the procedure of shifting
from HIGH RANGE to LOW RANGE – and from
LOW RANGE to HIGH RANGE – has been
entirely completed. During this procedure do
not turn off the engine or shift the automatic
transmission into another gear.
If you do not wait until the shifting procedure
has been entirely completed then it might not
be correctly performed. The transfer case
might be in neutral, thus interrupting the
transfer of power between the engine and the
drive axle.
The vehicle is then freely movable, even if a
gear has been selected, and could
unintentionally be set into motion –
particularly on up – or downhill grades. This
could lead to an accident and cause injury to
yourself and others.
Please observe related messages appearing
in the multifunction display.
120Transfer caseControls in detail
X164_AKB; 5; 31, en-USd2ureepe,Version: 2.11.8.12009-09-11T12:30:16+02:00 - Seite 120
Page 124 of 380
and rear axle differential to improve vehicle
traction.
The center differential compensates for
differences in wheel rotation between the
front and rear axle.
The rear axle differential compensates
differences between the rear wheels.
i At the front axles, the 4-ETS system
compensates for any traction problems.
For more information on off-road driving, see
“Off-road driving” ( Y page 262).
A few words about differentials and
differential locks
When a vehicle negotiates a turn, wheels on
the outside of the curve must travel farther
and rotate faster than the inside wheels. The
differential, the operation of a set of gears
that allows the powered wheels in a vehicle
to turn at different speeds, makes this
essential function possible.
The drawback is that the differential also
sends most of the engine’s power to the
wheel with the least load or strain on it. For
example, if one of a vehicle’s powered wheels
sits on a patch of snow and spins because
there is no traction, all of the engine’s power
will go to that wheel because the power will
take the path of least resistance. Meanwhile,
the opposite wheel, sitting on dry pavement
where it could get enough grip to start the
vehicle moving, sits idle because it receives
no power.
The 4-ETS addresses this problem and
provides for good control and steering ability
by automatically slowing the slipping wheel
and thus increasing the power to the other
non-slipping drive wheels to get the vehicle
moving. The ESP ®
and the 4-ETS in this
vehicle feature such intelligent limited-slip
differential technology, ideally suited for on-
road and light off-road driving. Transfer case
position LOW (Y page 120) also enhances off-
road driving capabilities.
More extreme off-road conditions may call for
another solution, engaging a differential lock
or preventing the differential from operating
altogether. This vehicle comes with two
differential locks: transfer case (center) and
rear. Each can be engaged simply by
operating the rotary switch located on the
center console ( Y page 123). When the
transfer case (center) differential is locked,
the combined (or average) speed of the front
wheels is identical to the combined rear
wheel speed. When the rear differential is
locked, both rear wheels turn at the same
speed, independent of the individual torque.
Please be aware that engaging the differential
locks will significantly reduce the steering
ability of the vehicle.
For your safety and the safety of others and
to prevent damage to the vehicle, the
differential locks must not be engaged when
driving on paved roads. It is important to
understand that during on-road/paved
driving, differentials are absolutely necessary
for providing the essential control and
steering ability of the vehicle. The differential
locks, therefore, must not be engaged when
driving on paved roads and should only be
used to the extent necessary to negotiate off-
road conditions which cannot be handled by
the systems (the 4-ETS, the ESP ®
, and the
transfer case in LOW RANGE mode) this
vehicle comes equipped with.
Switching differential locks
! If the differential locks are engaged,
accelerate gently when setting the vehicle
in motion.
Only operate the vehicle on a single axle
dynamometer if the axle not being driven is
jacked up or the associated propeller shaft
is disconnected.
Otherwise the transmission could be
damaged.
122Differential locksControls in detail
X164_AKB; 5; 31, en-USd2ureepe,Version: 2.11.8.12009-09-11T12:30:16+02:00 - Seite 122
Page 337 of 380
Removing wiper blades
Front wiper blades
! Do not pull on the wiper blade inserts.
They could tear.
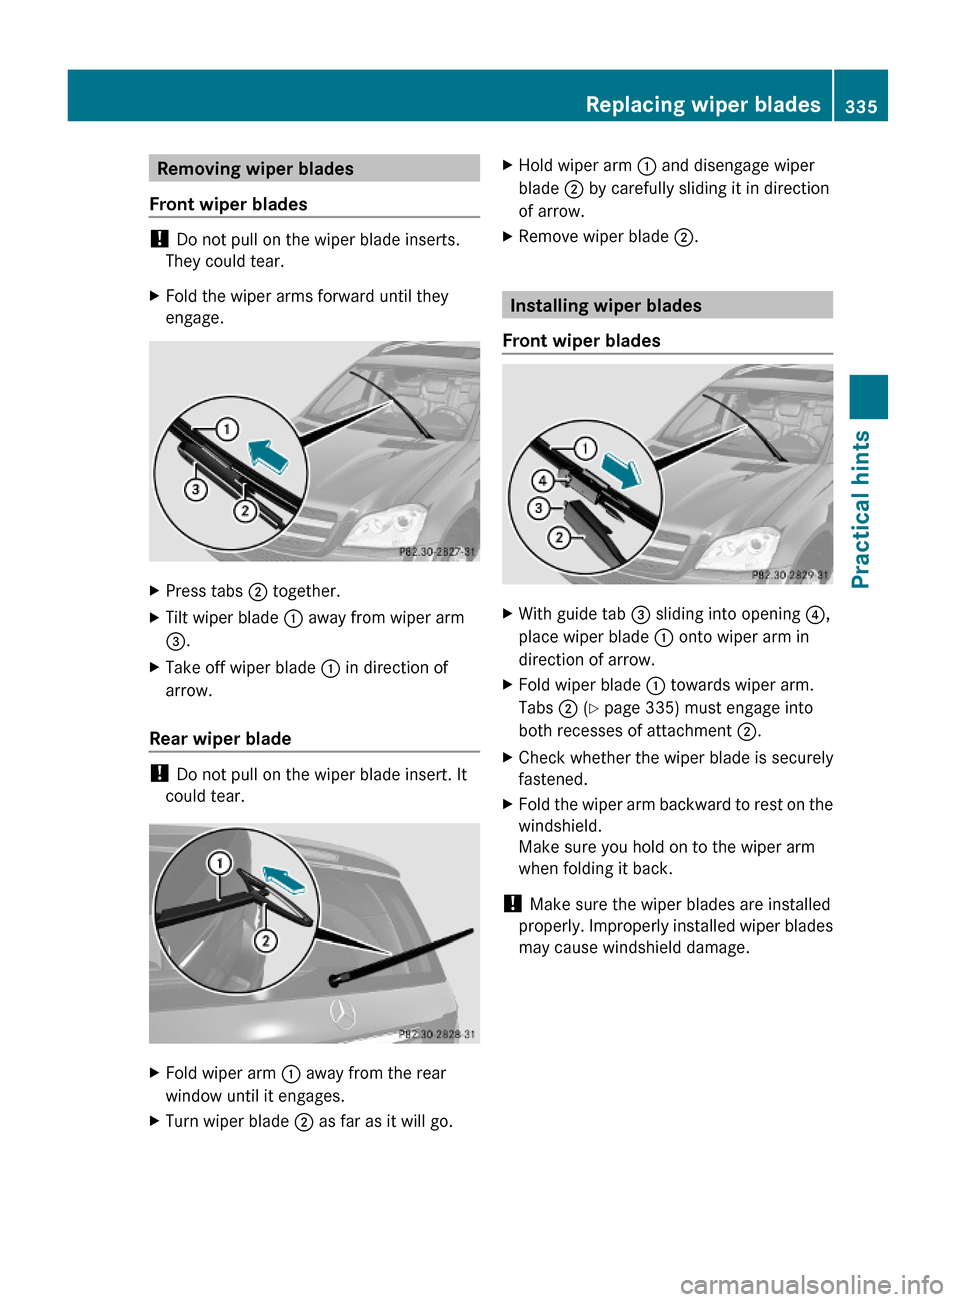
XFold the wiper arms forward until they
engage.
XPress tabs ; together.XTilt wiper blade : away from wiper arm
=.
XTake off wiper blade : in direction of
arrow.
Rear wiper blade
! Do not pull on the wiper blade insert. It
could tear.
XFold wiper arm : away from the rear
window until it engages.
XTurn wiper blade ; as far as it will go.XHold wiper arm : and disengage wiper
blade ; by carefully sliding it in direction
of arrow.
XRemove wiper blade ;.
Installing wiper blades
Front wiper blades
XWith guide tab = sliding into opening ?,
place wiper blade : onto wiper arm in
direction of arrow.
XFold wiper blade : towards wiper arm.
Tabs ; (Y page 335) must engage into
both recesses of attachment ;.
XCheck whether the wiper blade is securely
fastened.
XFold the wiper arm backward to rest on the
windshield.
Make sure you hold on to the wiper arm
when folding it back.
! Make sure the wiper blades are installed
properly. Improperly installed wiper blades
may cause windshield damage.
Replacing wiper blades335Practical hintsX164_AKB; 5; 31, en-USd2ureepe,Version: 2.11.8.12009-09-11T12:30:16+02:00 - Seite 335Z
Page 373 of 380
Engine oil additives
! Do not blend oil additives with engine oil.
They may damage the engine. Damage or
malfunctions resulting from blending oil
additives are not covered by the Mercedes-
Benz Limited Warranty.
Air conditioning refrigerant
R134a (HFC) refrigerant and special PAG
lubricating oil are used in the air conditioning
system.
! Never use R 12 (CFC) or mineral-based
lubricating oil. Otherwise damage to the
system will occur.
Brake fluid
GWarning!
During vehicle operation, the boiling point of
the brake fluid is continuously reduced
through the absorption of moisture from the
atmosphere.
Under extremely strenuous operating
conditions, this moisture content can lead to
the formation of bubbles in the system, thus
reducing the system’s efficiency.
Therefore, the brake fluid must be replaced
regularly. Refer to your vehicle’s Maintenance
Booklet for replacement interval.
Only brake fluid approved by Mercedes-Benz
is recommended. Any authorized Mercedes-
Benz Center will provide you with additional
information.
Premium unleaded gasoline (gasoline
engine)
GWarning!
Gasoline is highly flammable and poisonous.
It burns violently and can cause serious
personal injury.
Never allow sparks, flames or smoking
materials near gasoline!
Turn off the engine before refueling.
Whenever you are around gasoline, avoid
inhaling fumes and any skin or clothing
contact. Extinguish all smoking materials.
Direct skin contact with fuels and the
inhalation of fuel vapors are damaging your
health.
! To maintain the engine’s durability and
performance, premium unleaded gasoline
must be used.
If premium unleaded gasoline is not
available and low octane gasoline is used,
follow these precautions:
R Have the fuel tank only partially filled
with unleaded regular gasoline and fill up
with premium unleaded gasoline as soon
as possible.
R Avoid full throttle driving and abrupt
acceleration.
R Do not exceed an engine speed of
3 000 rpm if the vehicle is loaded with a
light load such as two persons and no
luggage.
R Do not exceed 2
/ 3 of maximum
accelerator pedal position if the vehicle
is fully loaded or operating in
mountainous terrain.
Fuel requirements
Gasoline engine
Only use premium unleaded gasoline. The
octane number (posted at the pump) must be
91 min. It is an average of both the Research
Octane Number (RON) and the Motor Octane
Number (MON): (RON+MON)/2. This is also
known as the ANTI-KNOCK INDEX.
Reformulated gasolines (RFG) and/or
unleaded gasoline containing oxygenates
such as ethanol, TAME, ETBE, IPA, IBA, and
Fuels, coolants, lubricants, etc.371Technical dataX164_AKB; 5; 31, en-USd2ureepe,Version: 2.11.8.12009-09-11T12:30:16+02:00 - Seite 371Z