reset MERCEDES-BENZ GLC-Class 2016 X253 Comand Manual
[x] Cancel search | Manufacturer: MERCEDES-BENZ, Model Year: 2016, Model line: GLC-Class, Model: MERCEDES-BENZ GLC-Class 2016 X253Pages: 222, PDF Size: 6.39 MB
Page 131 of 222
Storing the phone number as a speed
dial number
XCall up the address book (Ypage 125).
XSelect an entry: turn and press the control-
ler.
The details for the contact are displayed.
XTo highlight the desired telephone number:
turn the controller.
XTo select G: slide 9the controller.
XTo select Speed Dial: turn and press the
controller.
XTo select Assign Speed Dial Preset:
turn and press the controller.
XTo select a memory position for the speed
dial: turn and press the controller.
The phone number has been saved as a
speed dial.
Voice tags
Introduction
You can enter voice tags via the Voice Control
System (see the separate operating instruc-
tions). Once you have assigned a voice tag to
an address book entry, you can call up this
entry with a voice command and dial a phone
number, for example. You can add one voice
tag per address book entry.
Adding a voice tag
XCall up the address book (Ypage 125).
XSearch for an address book entry with or
without a voice tag ¦(
Ypage 126).
XTo select G: slide 9the controller.
XTo select Voice Tag: turn and press the
controller.
XTo select Add: turn and press the controller.
Subsequent operation is voice-controlled.
The Voice Control System guides you
through the dialogs.
Deleting a voice tag
XCall up the address book (Ypage 125).
XSearch for an address book entry with a
voice tag (
Ypage 126).
XTo select G: slide 9the controller.
XTo select Voice Tag: turn and press the
controller.
XTo select Delete: turn and press the con-
troller.
XTo select Yes: turn and press the controller.
The voice tag is deleted.
or
XTo select No: turn and press the controller.
The process is canceled.
Listening to a voice tag
XSearch for an address book entry with a
voice tag (
Ypage 126).
XTo select G: slide 9the controller.
XTo select Voice Tag: turn and press the
controller.
XTo select Listen: turn and press the con-
troller.
You hear the voice tag.
Changing the display and sorting cri-
teria for contacts
XCall up the address book (Ypage 125).
XTo show the menu bar: slide 6the con-
troller.
XTo select Options: turn and press the con-
troller.
XTo select DisplayandSorting: turn and
press the controller.
You have the following options:
RLastName,FirstName(default setting)
The contacts are sorted by surname and
displayed with a comma.
RLast Name First Name
Address book129
Telephone
Z
Page 136 of 222
Adding information to an address book
entry
XTo call up th etelephon emenu: press th e
% button.
XTo switch to th emen ubar: slide 6the
controller .
XTo select CallLists:tur nand press th e
controller .
XTo select Calls ReceivedorCalls
Dialed:tur nand press th econtroller .
The relevan tlist is displayed.
XTo highligh tth edesired telephon enumber :
tur nth econtroller .
XTo select G:slide9 thecontroller .
XTo selectSave:tur nand press th econtrol -
ler .
XSelec tAdd Phone No..
XSelec t anumber category, e.g. Home.
XSelec t atelephon ecategory, e.g. Mobile
Phone.
XSelectContinue.
The address book is displayed.
XSearc hfor th edesired contact
(
Ypage 126).
XPress th econtroller when you hav efinishe d
searching .
The telephon enumber has been saved.
A maximum of fiv etelephon enumber scan
be saved for on econtact .
If fiv enumber sare already store dfor th e
entr yyou are searching for , aprompt will
appear asking whether you wish to overwrit e
on eof th eexisting numbers.
Overwriting an entry
XTo select Yes:tur nand press th econtroller .
A list of th eexisting fiv enumber sis dis-
played.
XTo select th enumber to be overwritte n
from th elist :tur nth econtroller and press
to confirm .
The entr yis overwritte nwit hth ene wtele-
phone number . Canceling th
eoverwriting of an entry
XTo select No:tur nand press th econtroller .
The proce ssis canceled.
Deleting call lists
Call list swhic hare generated and managed
by COMAND can be deleted on COMAND .
You canno tdelet ecall list sfrom COMAND
whic hare displayed on amobile phone that
support sth ePBAP Bluetoot h
®profile.
XTo call up th etelephon emenu: pre ssthe
% button.
XTo switch to th emen ubar: slide 6the
controller .
XTo select CallLists:tur nand press th e
controller .
XSelectDelete Cal lLists.
A prompt appear s asking whether you wish
to delet eall call list s.
XTo selectYes:tur nand pre ssthecontroller .
The call list sare deleted.
or
XTo select No:tur nand press th econtroller .
The proce ssis canceled.
iIf you delet ecall list sfrom th emobile
phon e(see th emanufacturer' smobile
phon eoperating instructions), COMAND
updates th ecall list display th enext time it
connects .
Speed dial lists
Setting up
XTo call up th etelephon emenu: pre ssthe
% button.
XTo call up th emen ubar: slide 6thecon-
troller .
XTo select CallLists:tur nand press th e
controller .
XSelectSpeed Dia lPreset Lis t.
The spee ddial list is displayed.
134Speed dial lists
Telephone
Page 137 of 222
XTo highlight a memory position for the
speed dial: turn the controller.
If you highlight an entry that already existsin the speed dial list, this is overwritten with
the new entry.
XTo select G: slide 9the controller.
XSelect Assign Speed Dial Preset.
The phone book is displayed.
XSearch for a contact (Ypage 122).
XTo select a contact: turn and press the con-
troller.
The phone number has been saved as a
speed dial.
Deleting
Deleting a speed dial preset
XTo call up the telephone menu: press the
% button.
XTo call up the menu bar: slide 6the con-
troller.
XTo select Call Lists: turn and press the
controller.
XSelect Speed Dial Preset List.
The speed dial list is displayed.
XTo highlight the memory position you want
to delete: turn the controller.
XTo select G: slide 9the controller.
XTo select Delete Speed Dial Preset:
turn and press the controller.
XTo select Yes: turn and press the controller.
The speed dial preset has been deleted.
or
XTo select No: turn and press the controller.
The process is canceled.
Deleting all speed dial presets
XTo call up the telephone menu: press the
% button.
XTo call up the menu bar: slide 6the con-
troller.
XTo select Call Lists: turn and press the
controller.
XSelect Speed Dial Preset List.
The speed dial list is displayed.
XTo highlight the desired memory position:
turn the controller.
XTo select G: slide 9the controller.
XTo select Delete All Speed Dial Pre‐
sets: turn and press the controller.
XTo selectYes: turn and press the controller.
All speed dials are deleted.
or
XTo select No: turn and press the controller.
The process is canceled.
Messages (text messages and e-
mails)
General notes
New messages are identified by an audible
signal and the /symbol in the COMAND
display. Once you have read all the messages,
the symbol is no longer displayed.
COMAND displays the 100 newest text mes-
sages and e-mails.
The ú symbol is displayed when the
mobile phone's message memory is full. The
symbol is no longer displayed if you delete
messages on the mobile phone.
Function restrictions
Text messages cannot be written while the
vehicle is in motion.
Prerequisites
To use the message functions, the connected mobile phone must support the MAP Blue-
tooth
®profile. The prompt for the MAP Blue-
tooth®profile may have to be confirmed on
the mobile phone.
Messages (text messages and e-mails)135
Telephone
Z
Page 153 of 222

XTo selectG: slide 9the controller.
XTo select Delete Configuration: turn
and press the controller.
A prompt appears asking whether you wish
to delete the Internet configuration.
XTo select Yes: turn and press the controller.
The Internet access permission for the
mobile phone is now canceled. The mobile
phone can now no longer be used by the
system for Internet functions.
or
XTo select No: turn and press the controller.
The process is canceled.
Changing the device name of the mobile
phone
XCall up the device list (Ypage 150).
XTo highlight the desired mobile phone in the
device list: turn the controller.
XTo select G: slide 9the controller.
XSelect Change Internet Device Name.
A character entry appears.
XEnter name and confirm with ¬.
The device name is changed.
Setting automatic disconnection of
the Internet connection
If a preset time has elapsed during which the
Internet functions have not been used, the
Internet automatically disconnects.
XCall up the device list (Ypage 150).
XTo highlight the desired mobile phone in the
device list: turn the controller.
XTo select G: slide 9the controller.
XTo select Disconnect Automatically
When Inactive: turn and press the con-
troller.
XTo select 5 Minutes,10 Minutesor 20
Minutes: turn and press the controller.
Establishing/ending the connection
Establishing the connection
Read the conditions for establishing a con-
nection (
Ypage 146).
A connection can be established by:
Rentering a web address (Ypage 158)
Rcalling up the Mercedes-Benz mobile web-
site (
Ypage 157)
Rcalling up a Mercedes-Benz App
(
Ypage 157)
Rcalling up a favorite
Restablishing an Internet connection via a
wireless networking device. The "Allow
shared WiFi usage" option must be activa-
ted on COMAND for this (
Ypage 42)
Ending the connection
XPress Cancelin the connections window.
Calling up Internet functions
XTo show the main function bar: slide 5
the controller.
XTo select ®: turn and press the controller.
The menu with the Internet functions is dis-
played.
Connection status
:Display of existing connection and signal
strength of the mobile phone network
In most cases, the current connection status
is then shown in the status bar when you
switch to another main function.
Establishing/ending the connection151
Online and Internet functions
Z
Page 156 of 222

If the vehicle is stationary, the search results
can be supplemented manually, e.g. "Hotel
Adler".
XCall up Local Search (Ypage 152).
XTo select the search position, e.g.Atcur‐
rent location: turn and press the con-
troller.
XTo select Popular searches: turn and
press the controller.
The most frequent search queries are dis-
played.
Search history
You can use this function if search queries
have already been carried out.
If the vehicle is stationary, the search results
can be supplemented manually, e.g. "Hotel
Adler".
XCall up Local Search (Ypage 152).
XTo select the search position, e.g. Atcur‐
rent location: turn and press the con-
troller.
XTo select Search history: turn and press
the controller.
The most recent search queries are dis-
played.
Local Search settings
Calling up settings
XTo call up Internet functions (Ypage 151).
XTo select Mercedes-Benz Apps: turn and
press the controller.
XTo select GoogleLocalSearch: turn and
press the controller.
XTo select G: slide 9the controller.
The current settings are displayed.
Setting the search radius
XCall up Local Search settings (Ypage 154).
XTo select Search radius: turn and press
the controller.
A menu appears.
XTo select the desired entry: turn and press the controller.
The selected setting is accepted.
Exiting a menu
XSelect &.
Resetting last location searches
XCall up Local Search settings (Ypage 154).
XTo select Reset last location
searches: turn and press the controller.
A prompt appears asking whether the last
location searches should be deleted.
XTo select Yes: turn and press the controller.
The search queries are deleted.
or
XTo select No: turn and press the controller.
The process is canceled.
Deleting search queries
XCall up Local Search settings (Ypage 154).
XTo select Deleteallsearches: turn and
press the controller.
A prompt appears, asking whether the last
search queries should be deleted.
XTo select Yes: turn and press the controller.
The last search queries are deleted.
or
XTo select No: turn and press the controller.
The process is canceled.
154Google™ local search
Online and Internet functions
Page 160 of 222
can find further information at:
http://apps.mercedes-benz.com/apps/
The available features are country-depend-
ent.
Closing Mercedes-Benz Apps
XPress the%button.
The Internet menu appears.
or
XPress the %button for longer than two
seconds.
The Mercedes-Benz Apps menu or the
Internet menu appears.
Adjusting the settings of individual
apps
XTo call up Internet functions (Ypage 151).
XTo select Mercedes-Benz Apps: turn and
press the controller.
XTo highlight the desired app: turn the con-
troller.
XTo select G: slide 9the controller.
The current app settings are displayed.
Resetting adjustments
This function resets all Mercedes-Benz Apps
settings to the factory settings.
XTo call up Internet functions (Ypage 151).
XTo select Mercedes-Benz Apps: turn and
press the controller.
The available Mercedes-Benz Apps
are
displayed.
XTo select G: slide 9the controller.
XTo select Reset: turn and press the con-
troller.
A prompt appears asking whether you
really wish to reset.
XSelect YesorNo.
If you select Yes
the settings are reset.
If you select No
the process is canceled.
Web browser
Calling up a website
Function restrictions
Internet pages cannot be shown while the
vehicle is in motion.
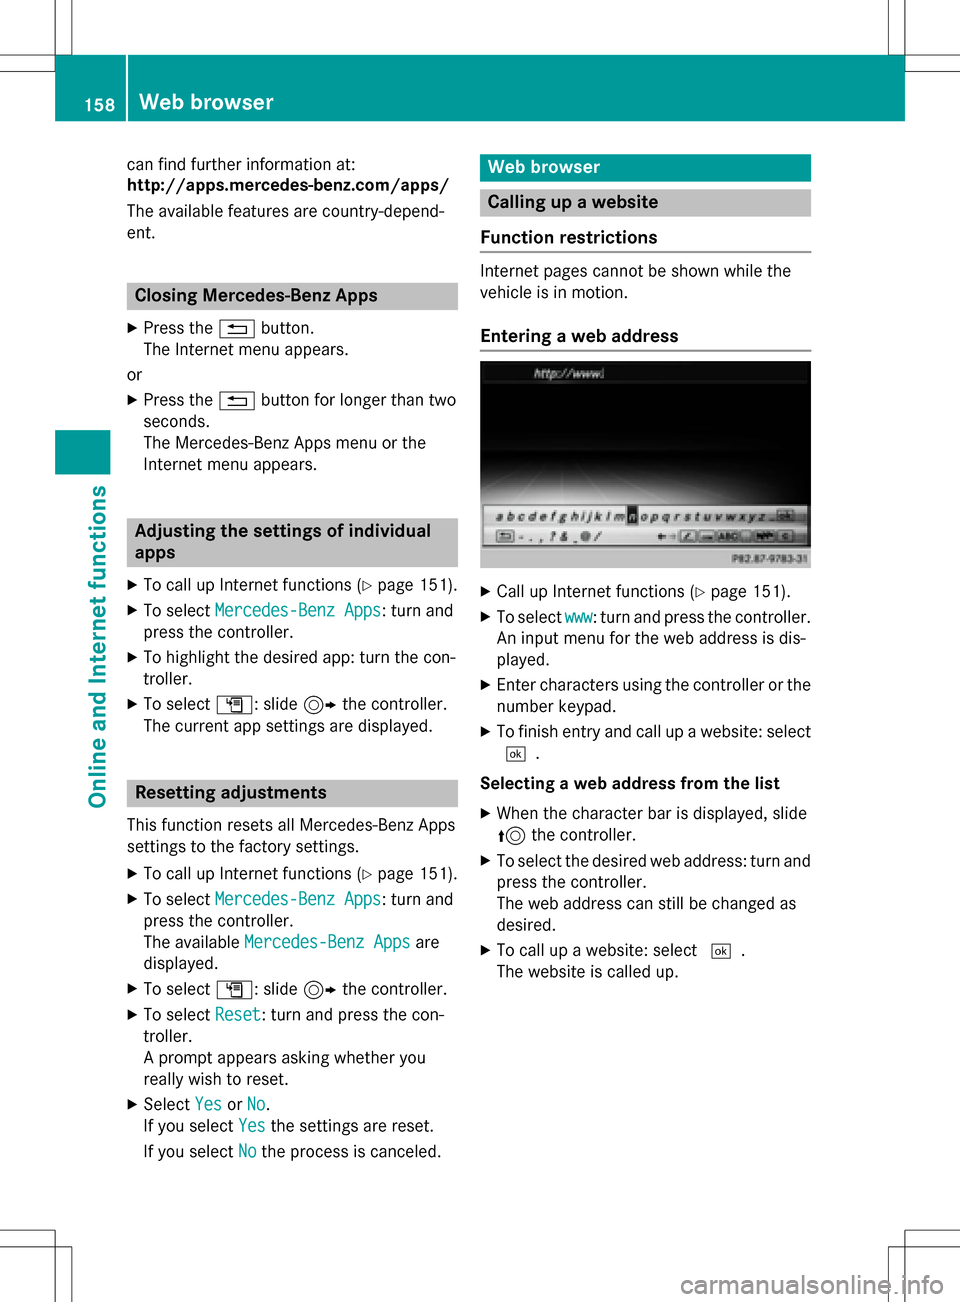
Entering a web address
XCall up Internet functions (Ypage 151).
XTo select www: turn and press the controller.
An input menu for the web address is dis-
played.
XEnter characters using the controller or the
number keypad.
XTo finish entry and call up a website: select
¬.
Selecting a web address from the list
XWhen the character bar is displayed, slide
5 the controller.
XTo select the desired web address: turn and
press the controller.
The web address can still be changed as
desired.
XTo call up a website: select ¬.
The website is called up.
158Web browser
Online and Internet functions
Page 164 of 222

OptionFunction
AllDeletes all personal
data.
CacheDeletes data in the
cache.
CookiesDeletes cookies that
are created by web-
sites which you have
called up.
URL HistoryDeletes all websites
visited (path).
ODelete All
Data On Exit
If this function is
activated O, all per-
sonal data is deleted
when you exit the
Internet browser.
iIf you reset COMAND to the factory set-
tings (reset function), these data and set-
tings are deleted (
Ypage 48).
Favorites
Introduction
Favorites are frequently visited websites.
Creating favorites
Adding a favorite in the menu
XTo call up Internet functions (Ypage 151).
XSelect www.
XEnter the web address (URL) and name
using the character bar and press ¬.
Adding to favorites
XTo call up the menu: press the %button.
XTo select 3: turn and press the control-
ler.
XSelect Add to Bookmarks(Ypage 160).
Selecting favorites
XTo call up Internet functions (Ypage 151).
XTo select the InternetFavoritesmenu:
turn and press the controller.
The Favorites menu appears.
XSelect the desired bookmark.
The favorite is opened in a new window.
Editing favorites
XTo call up Internet functions (Ypage 151).
XTo select the InternetFavoritesmenu:
turn and press the controller.
The Favorites menu appears.
XTo bring the desired favorites to the front.
XTo select Edit: slide6and press the
controller.
An input menu appears.
XEnter the web address (URL) and name
using the character bar.
Deleting favorites
XTo call up Internet functions (Ypage 151).
XTo select the InternetFavoritesmenu:
turn and press the controller.
The Favorites menu appears.
XSelect the desired favorites.
XSelect Delete.
A prompt appears.
XSelect YesorNo.
If you select Yes
the favorite is deleted.
If you select No
the process is canceled.
Closing the browser
XSelect%in the browser menu
(
Ypage 159)
or
162Web browser
Online and Internet functions
Page 168 of 222

Your COMANDequipment
i
These operatin ginstruction sdescribe all
th estandar dan doptional equipmen tof
your COMAN Dsystem, as available at th e
time of going to print .Country-specifi cdif -
ference sare possible. Bear in min dthat
your vehicle may no tfeature all function s
described here. Thi salso applies to safety-
relevant systems an dfunctions.
iRead th einformation on qualified special-
ist workshop sin th evehicle Operator's
Manual.
Switchin gon th eradi o
XPress th e$ button.
The radio display appears .You will hear th e
last station playe don th elast waveban d
selected.
Switching HD Radi oon/of f
XIn radio mode: slid e6 thecontroller .
XSelectOption s.
XBy selecting Oorª in fron tof HDRadi o,
you determin ewhether HD radio is
switched on or off.
If HD radio is switched off, th esyste mdoe s
no tswitch to digita lradio an dit is no tpossible
to selec tan ysub-channels.
iHD Radio ™andth eHD ,HD Radio ,an d
“Arc ”logos are proprietary trademark sof
iBiquit yDigital Corp.
Overview
:Main function bar
;Status bar wit hcompass display
=Main display field wit havailable station s
an drelevant information
?Display of radio station selecte d
ARadio menubar
Th efollowin gfunctions ar eavailable
using th eradi omain function bar:
RHD Radi oFM:HD FM radio mode
RHD Radi oAM:HD MW radio mode
RSa tRadi o:satellite radio
RRadi oStatio nPreset s:10 0preset
position sfo rradio station s
RInfoonRadio:information on radio in th e
Digital Operator's Manual
Th efollowin gfunctions ar eavailable
using th eradi omenu bar:
Rè: searches fo rstation sby name
RBan d:selects wavebands
RPreset: station preset smen u
RInfo:displays additional information about
th ecurren tstation (radio text )
Rà:soundsettings, Burmeste r®sound
ROption s:radio option s
166Overview
Radio
Page 169 of 222
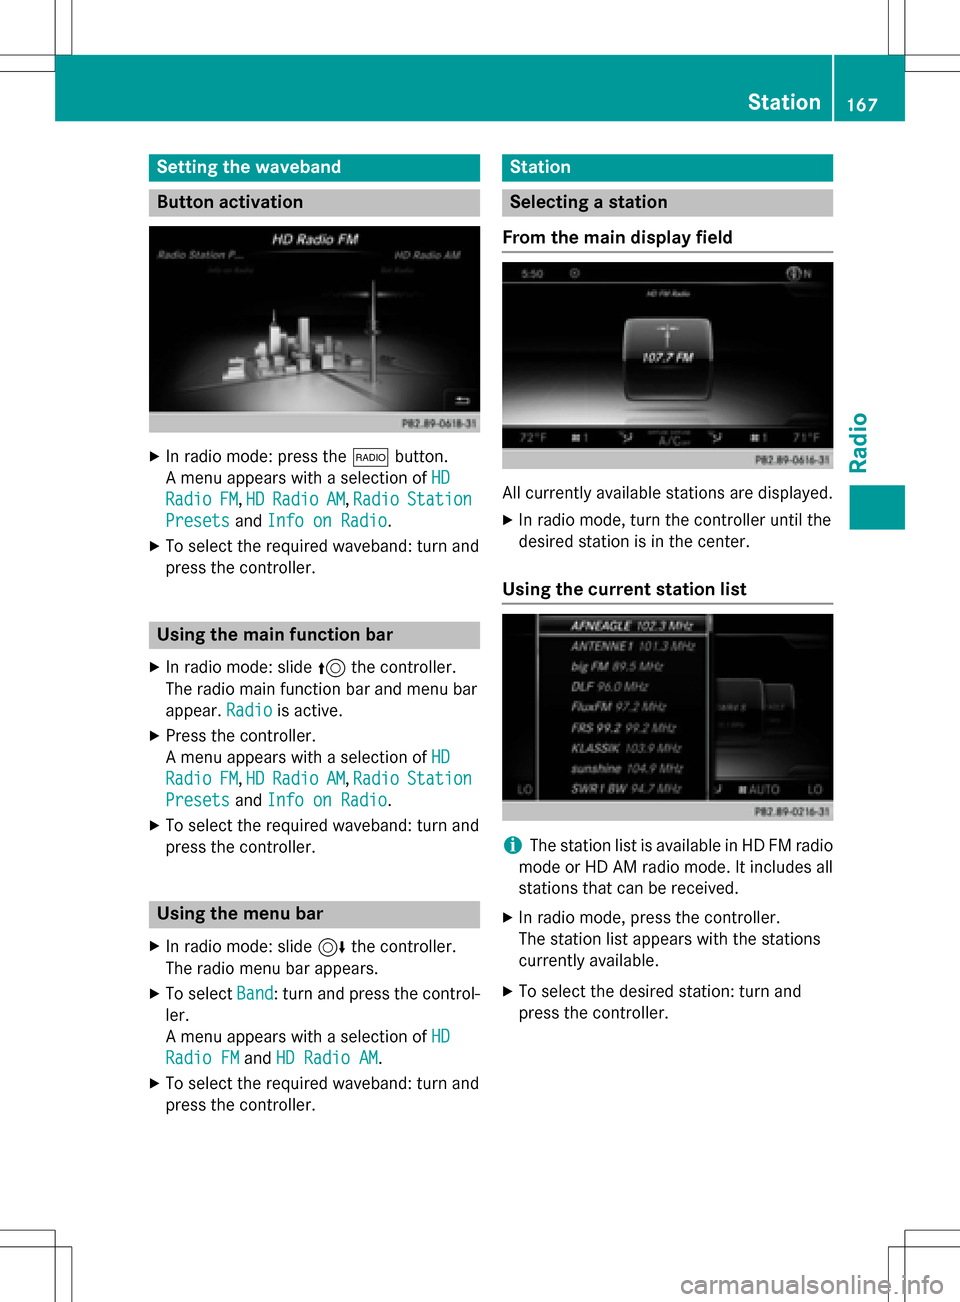
Setting the waveband
Button activation
XIn radio mode: press the$button.
A menu appears with a selection of HD
RadioFM,HDRadioAM,RadioStation
Presetsand Info on Radio.
XTo select the required waveband: turn and
press the controller.
Using the main function bar
XIn radio mode: slide 5the controller.
The radio main function bar and menu bar
appear. Radio
is active.
XPress the controller.
A menu appears with a selection of HD
RadioFM,HDRadioAM, RadioStation
Presetsand Info on Radio.
XTo select the required waveband: turn and
press the controller.
Using the menu bar
XIn radio mode: slide 6the controller.
The radio menu bar appears.
XTo select Band: turn and press the control-
ler.
A menu appears with a selection of HD
Radio FMandHD Radio AM.
XTo select the required waveband: turn and
press the controller.
Station
Selecting a station
From the main display field
All currently available stations are displayed.
XIn radio mode, turn the controller until the
desired station is in the center.
Using the current station list
iThe station list is available in HD FM radio
mode or HD AM radio mode. It includes all
stations that can be received.
XIn radio mode, press the controller.
The station list appears with the stations
currently available.
XTo select the desired station: turn and
press the controller.
Station167
Radio
Page 170 of 222

Using direct entry
XIn radio mode: slide6the controller.
The radio menu bar appears.
XTo select Options: turn and press the con-
troller.
XSelect Direct Entry.
An additional menu appears.
HD FM radio mode:
XTo select the HDFMFrequencyoption: turn
and press the controller.
XEnter the frequency of the desired station
in the entry field.
HD MW radio mode:
XTo select the HDAMFrequencyoption: turn
and press the controller.
XEnter the frequency of the desired station
in the entry field.
Satellite radio mode:
XTo select the SatRadio Channeloption:
turn and press the controller.
XEnter the frequency of the desired station
in the entry field.
Station presets:
XTo select the Radio Station Presets
option: turn and press the controller.
XEnter the station preset of the desired sta-
tion.
Using the search function
XIn radio mode: slide 6the controller.
The radio menu bar appears.
XSelect èand enter the first letters of the
required station using the controller.
XPress OKto confirm.
COMAND displays a list of available sta-
tions.
XTo select stations from the list: turn the
controller and press to confirm.
Using the preset position
XIn radio mode: slide 6the controller.
XTo select Preset: turn and press the con-
troller.
XTo select Enter Preset: turn and press
the controller.
XEnter the station preset of the desired sta-
tion.
Station list
XIn radio mode, press the controller.
The station list appears with the stations
currently available.
Saving/deleting a station
Storing current stations
XIn radio mode: slide 6the controller.
The radio menu bar appears.
XTo select Preset: turn and press the con-
troller.
168Station
Radio