tow bar MERCEDES-BENZ GLC-Class 2016 X253 Comand Manual
[x] Cancel search | Manufacturer: MERCEDES-BENZ, Model Year: 2016, Model line: GLC-Class, Model: MERCEDES-BENZ GLC-Class 2016 X253Pages: 222, PDF Size: 6.39 MB
Page 23 of 222

RNavigation system
-Navigation via the hard drive
-Destination entry using keyword search
-Realistic 3D map with textured city mod-
els
-Personal POIs and routes using SD mem-
ory card
-Navigation functions, e.g. Drive Informa-
tion
-Dynamic route guidance with traffic
reports via SIRIUS satellite radio
RCommunication
-Messaging functions (text messages,
email)
-Address book
-Internet browser
-Mercedes-Benz Apps with Google Local
Search™, destination/route download,
Facebook, Google Street View™, stock
prices, news and much more
-Mercedes-Benz Mobile Website
-WiFi interface for the connection of a
smartphone to COMAND
-WiFi hotspot functionality to connect a
tablet PC or laptop in order to enable
access to the Internet using the custom-er's mobile phone
RSIRIUS Weather
-Weather data as an information chart
(current forecast, 5-day preview,
detailed information)
-Weather data on the weather map, e.g.
rain radar data, storm characteristics
and the track of tropical cyclones (hurri-
canes, typhoons)
RVehicle functions
-Vehicle settings, such as ambient light-
ing, belt adjustment and tow-away alarm
-360° camera
-Rear view camera
-Climate control functions, such as cli-
mate mode, perfume atomizer and aux-
iliary heating
-DYNAMIC SELECT (individual drive pro-
gram)
RFavorites button
Fast access to favorites functions using the
favorites button on the controller or on the
touchpad
Display
General notes
!Avoid any direct contact with the display
surface. Pressure on the display surface
may result in impairments to the display,
which could be irreversible.
Wearing polarized sunglasses may impair
your ability to read the display.
The display has an automatic temperature-
controlled switch-off feature. The brightness
is automatically reduced if the temperature is
too high. The display may then temporarily
switch off completely.
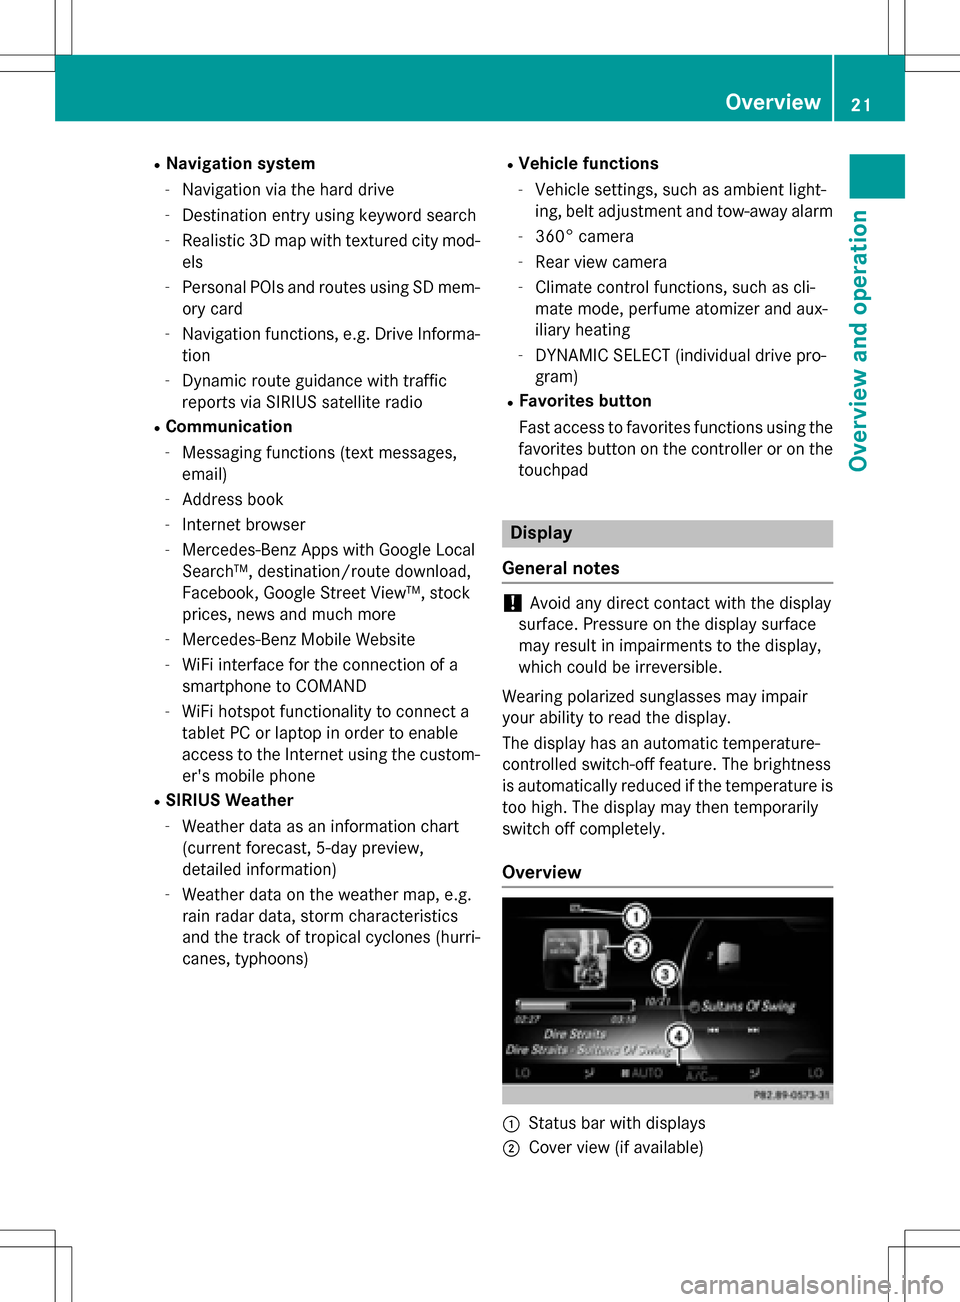
Overview
:Status bar with displays
;Cover view (if available)
Overview21
Overview and operation
Page 70 of 222

XTo call up the list:slide5the controller
repeatedly until the character bar disap-
pears.
or
XTo select OK, turn and press the controller.
XTo select Town: press the controller.
XEnter the city, e.g. New York. Then call up
the list and select an entry. Proceed in the
same way as when entering a street.
XTo select No.: press the controller.
XEnter the house number. Then call up the
list and select an entry. Proceed in the
same way as when entering a street.
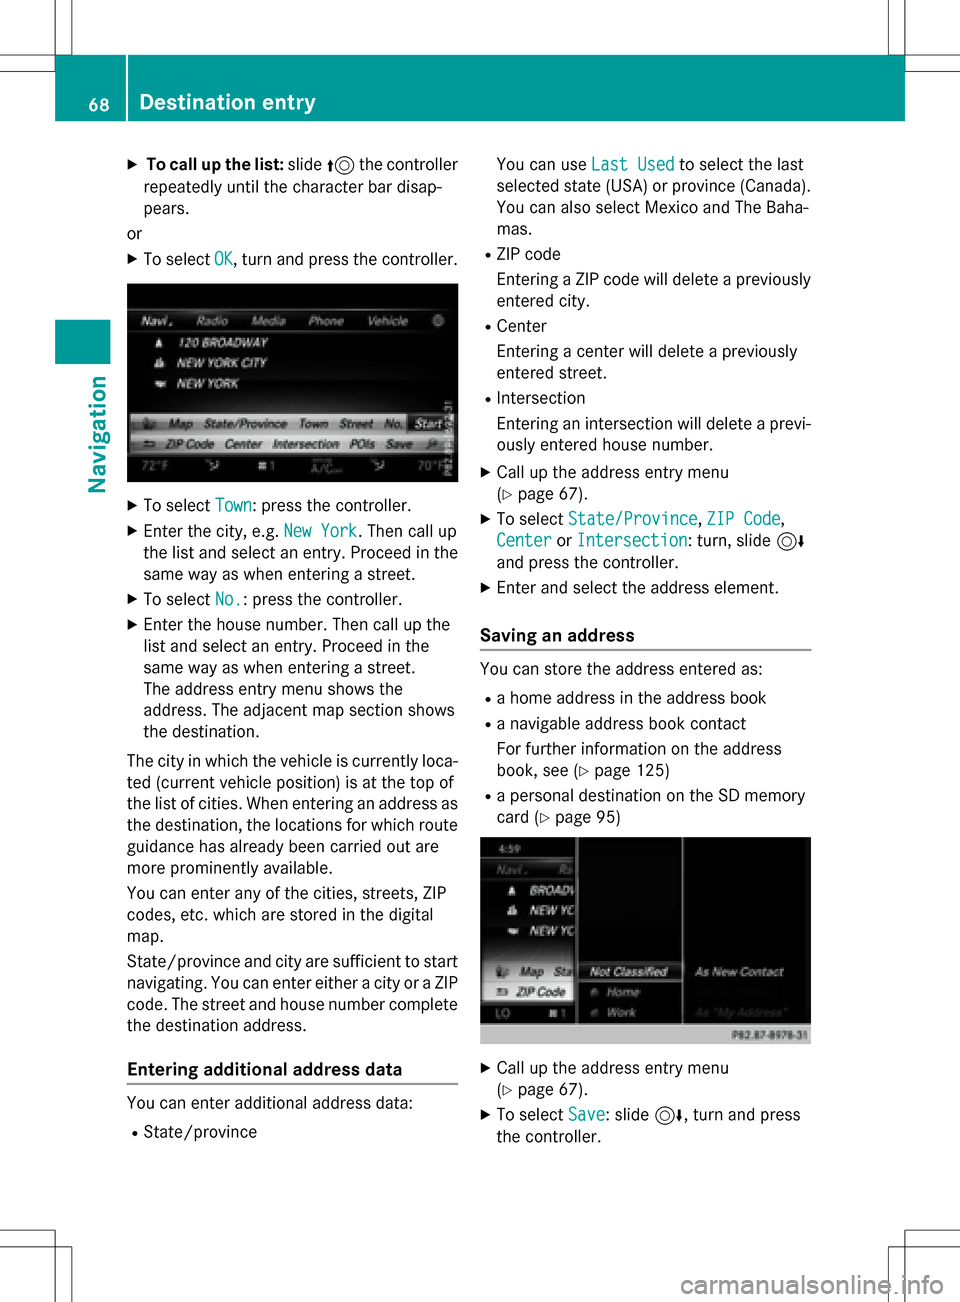
The address entry menu shows the
address. The adjacent map section shows
the destination.
The city in which the vehicle is currently loca-
ted (current vehicle position) is at the top of
the list of cities. When entering an address as
the destination, the locations for which route
guidance has already been carried out are
more prominently available.
You can enter any of the cities, streets, ZIP
codes, etc. which are stored in the digital
map.
State/province and city are sufficient to start
navigating. You can enter either a city or a ZIP code. The street and house number complete
the destination address.
Entering additional address data
You can enter additional address data:
RState/province You can use
Last Used
to select the last
selected state (USA) or province (Canada). You can also select Mexico and The Baha-
mas.
RZIP code
Entering a ZIP code will delete a previously
entered city.
RCenter
Entering a center will delete a previously
entered street.
RIntersection
Entering an intersection will delete a previ-
ously entered house number.
XCall up the address entry menu
(
Ypage 67).
XTo select State/Province,ZIP Code,
Center
or Intersection: turn, slide 6
and press the controller.
XEnter and select the address element.
Saving an address
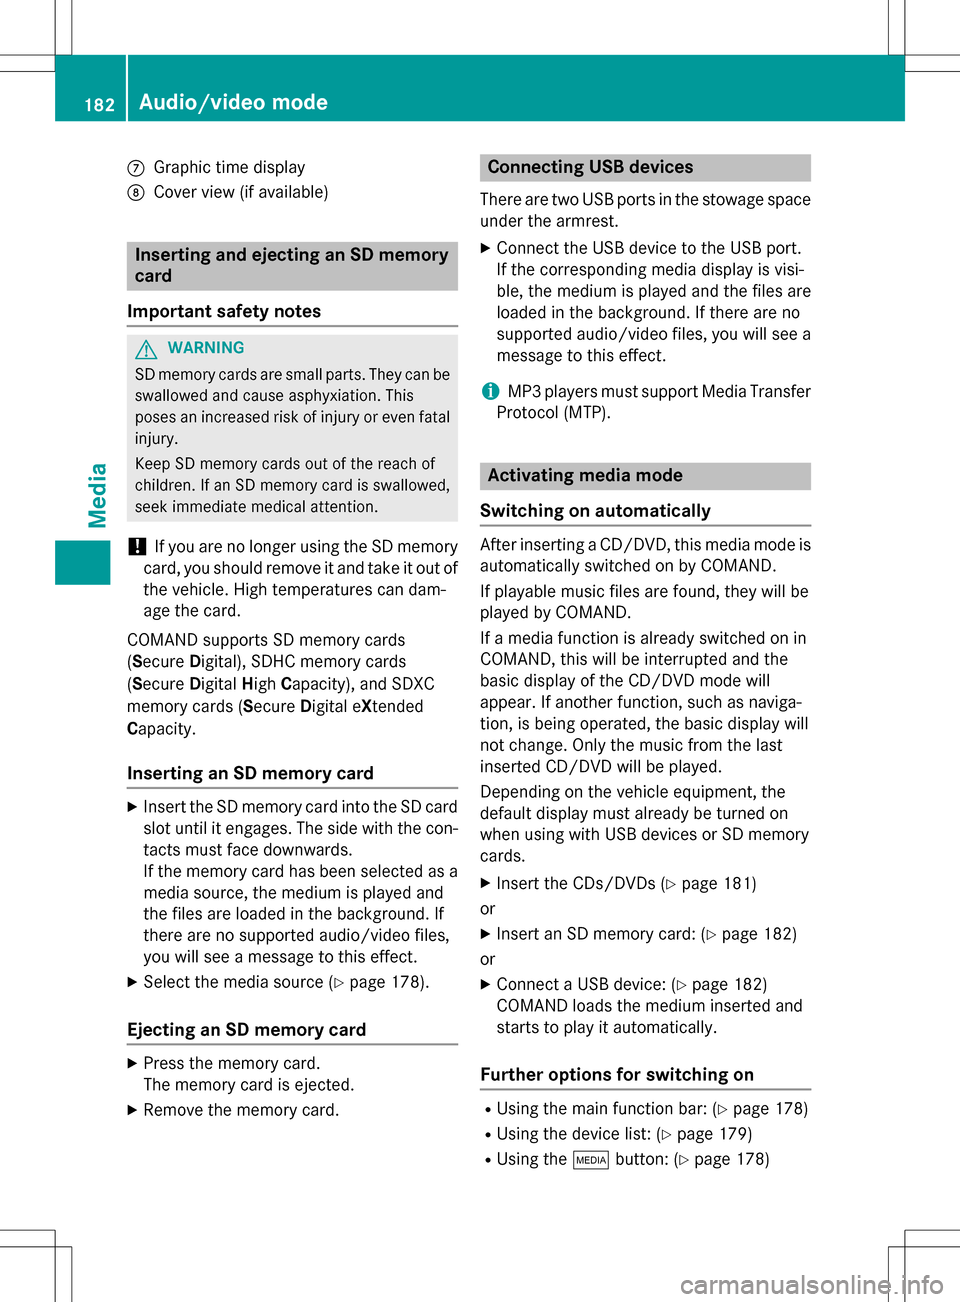
You can store the address entered as:
Ra home address in the address book
Ra navigable address book contact
For further information on the address
book, see (
Ypage 125)
Ra personal destination on the SD memory
card (
Ypage 95)
XCall up the address entry menu
(
Ypage 67).
XTo select Save: slide6, turn and press
the controller.
68Destination entry
Navigation
Page 184 of 222

CGraphic time display
DCover view (if available)
Inserting and ejecting an SD memory
card
Important safety notes
GWAR NING
SD memory car dsare small parts. They can be
swallo wed and cause asphyxiation. This
poses an increased risk of injury or even fatal injury.
Keep SDmemory car dsout of the reach of
ch ildr en. Ifan SD memory card is swallowed,
seek immediate medical attention.
!If you are no longer using the SD memory
card, you should remove it and take it out of
the vehicle. High temperatures can dam-
age the card.
COMAND supports SD memory cards
(Secure Digital), SDHC memory cards
(Secure DigitalHigh Capacity), and SDXC
memory cards ( SecureDigital e Xtended
Capacity.
Inserting an SD memory card
XInsert the SD memory card into the SD card
slot until it engages. The side with the con- tacts must face downwards.
If the memory card has been selected as a
media source, the medium is played and
the files are loaded in the background. If
there are no supported audio/video files,
you will see a message to this effect.
XSelect the media source (Ypage 178).
Ejecting an SD memory card
XPress the memory card.
The memory card is ejected.
XRemove the memory card.
Connecting USB devices
There are two USB ports in the stowage space
under the armrest.
XConnect the USB device to the USB port.
If the corresponding media display is visi-
ble, the medium is played and the files are
loaded in the background. If there are no
supported audio/video files, you will see a
message to this effect.
iMP3 players must support Media Transfer
Protocol (MTP).
Activating media mode
Switching on automatically
After inserting a CD/DVD, this media mode is
automatically switched on by COMAND.
If playable music files are found, they will be
played by COMAND.
If a media function is already switched on in
COMAND, this will be interrupted and the
basic display of the CD/DVD mode will
appear. If another function, such as naviga-
tion, is being operated, the basic display will
not change. Only the music from the last
inserted CD/DVD will be played.
Depending on the vehicle equipment, the
default display must already be turned on
when using with USB devices or SD memory
cards.
XInsert the CDs/DVDs (Ypage 181)
or
XInsert an SD memory card: (Ypage 182)
or
XConnect a USB device: (Ypage 182)
COMAND loads the medium inserted and
starts to play it automatically.
Further options for switching on
RUsing the main function bar: (Ypage 178)
RUsing the device list: (Ypage 179)
RUsing the Õbutton: (Ypage 178)
182Audio/video mode
Media
Page 200 of 222

Selecting playback options
XTo selectOptions: turn and press the con-
troller.
XSelect Playback Mode.
A # dot indicates the current setting.
XSelect the desired option.
If you select Random
TrackList, you will
see a corresponding message in the display
or selection window.
Increasing the volume using COMAND
XTo select Options: slide6and press the
controller.
XTo select Volume: turn and press the con-
troller.
A menu appears. The #dot indicates the
current setting.
XSelect StandardorBoost.
Information on sound settings
(
Ypage 208).
Operation with the Media Interface
General notes
Media Interface is a universal interface for the
connection of mobile audio and video devi-
ces. Media Interface in COMAND has two
USB connections.
The USB connection sockets are located in
the stowage compartment under the armrest.
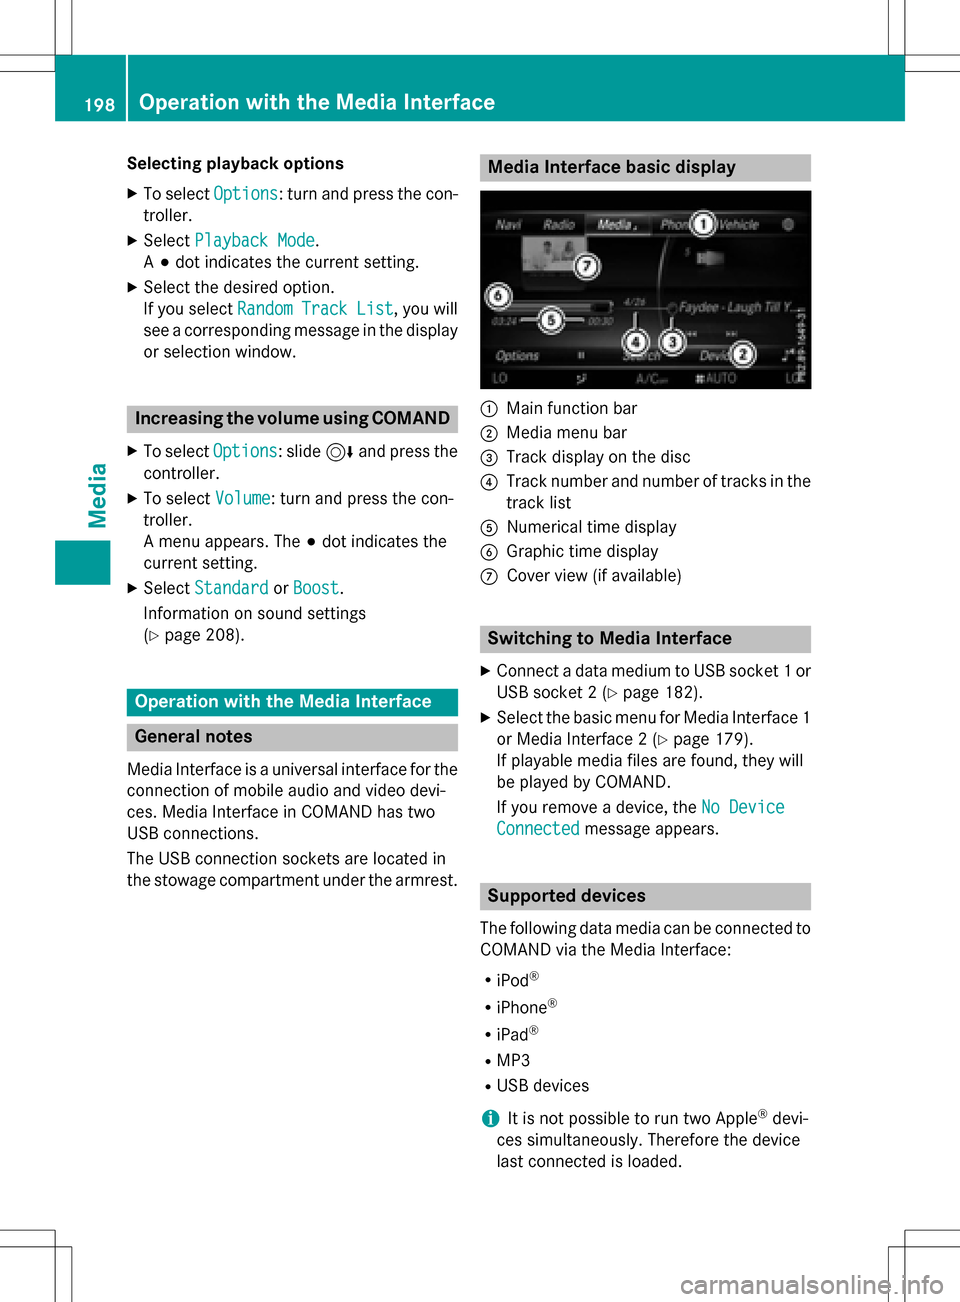
Media Interface basic display
:Main function bar
;Media menu bar
=Track display on the disc
?Track number and number of tracks in the
track list
ANumerical time display
BGraphic time display
CCover view (if available)
Switching to Media Interface
XConnect a data medium to USB socket 1 or
USB socket 2 (
Ypage 182).
XSelect the basic menu for Media Interface 1
or Media Interface 2 (
Ypage 179).
If playable media files are found, they will
be played by COMAND.
If you remove a device, the No Device
Connectedmessage appears.
Supported devices
The following data media can be connected to
COMAND via the Media Interface:
RiPod®
RiPhone®
RiPad®
RMP3
RUSB devices
iIt is not possible to run two Apple®devi-
ces simultaneously. Therefore the device
last connected is loaded.
198Operation with the Media Interface
Media