USB port MERCEDES-BENZ GLC COUPE 2017 X253 Comand Manual
[x] Cancel search | Manufacturer: MERCEDES-BENZ, Model Year: 2017, Model line: GLC COUPE, Model: MERCEDES-BENZ GLC COUPE 2017 X253Pages: 178, PDF Size: 4.19 MB
Page 6 of 178
1, 2, 3 ...
360° cameraDisplaying images ............................ 45
Opening the camera cover for
cleaning (COMAND) .........................4 5
Settings ........................................... 45
Switching on/off .............................. 45
A
Access data of the mobile phone
network provider
Deleting ......................................... 122
Editing ........................................... 122
Making entries ............................... 121
Selecting ........................................ 121
Acoustic locking confirmation
Activating/deactivating
(COMAND) ....................................... 44
Activating media mode
General notes ................................ 140
Switching on automatically ............ 141
Adding bookmarks ............................ 127
Address
Entering (navigation) ........................ 56
Address book
Adding a new contact .................... 104
Adding information to a contact .... 105
Automatically importing contacts
from the phone .............................. 107
Browsing ........................................ 103
Calling up ....................................... 103
Changing the category of an entry .. 106
Changing the display and sorting
criteria for contacts ....................... 107
Deleting contacts ........................... 107
Deleting imported contacts ........... 109
Displaying contact details .............. 104
Editing a contact ............................ 106
Entering characters ......................... 29
Importing contacts ........................ 108
Introduction ................................... 103
Making a call ................................. 105
Receiving vCards ........................... 108
Saving a contact ............................ 107
Searching for a contact ................. 103
Sending e-mails ............................. 105 Sending text messages .................. 105
Starting route guidance ................. 105
Storing a phone number as a
speed dial number ......................... 106
Voice tags ...................................... 106
Address entry menu
Navigation ........................................ 56
Adjusting the volume
COMAND ......................................... 27
Media source ................................... 27
Traffic announcements .................... 27
Alternative Route ................................ 74
Ambient lighting
Setting (COMAND) ........................... 43
Asterisk key
see Favorites button
Audio CD/DVD and MP3 mode
Activating ....................................... 144
Bluetooth
®audio mode ................. 151
Connecting USB devices ................ 144
Data medi
a, file systems, formats .. 141
Gracenote®Media Database ......... 146
Inserting/removing a CD/DVD
(single drive) .................................. 143
Media interface .............................. 156
Media Register ............................... 148
Media search ................................. 146
Overview menu .............................. 143
Playback options ........................... 144
SD card .......................................... 143
Search menu ................................. 146
Selecting a track ............................ 145
Sound settings ............................... 164
Stop and playback function ........... 145
Automatic folding mirror function
Activating/deactivating
(COMAND) ....................................... 44
Automatic locking feature
Activating/deactivating
(COMAND) ....................................... 44
Automatic time
Switching on/off .............................. 35
Automatic volume adjustment
General information ......................... 39
Switching on/off .............................. 40
Avoiding an area .................................. 84
4Index
Page 15 of 178
Setting the time ............................... 36
Setting the time zone ....................... 35
Setting the time/date format .......... 36
Switching automatic time on/off ..... 35
Touchpad
Calling up quick access for audio .... 23
Changing the input language for
handwriting recognition ................... 26
Changing the station/music
track ................................................ 27
Character suggestions ..................... 25
Deleting characters ......................... 25
Entering a space .............................. 25
Entering characters ......................... 25
Gesture control ................................ 23
Handwriting recognition ................... 25
Operating the touchpad ................... 23
Overview .......................................... 22
Quick access for Audio .................... 27
Selecting a menu item ..................... 23
Switching ......................................... 22
Switching input line ......................... 26
Track
Selecting (CD, DVD, MP3) .............. 145
Traffic reports
Calling up a list ................................ 77
Real-time traffic report .................... 77
U
Updating the digital map .................... 85
USB audio mode
Selecting a track ............................ 145
USB devices
Connecting to the Media Inter-
face ............................................... 144
see Audio CD/DVD and MP3 mode
V
Vehicle
Data acquisition ............................... 15
Vehicle settings
Calling up ......................................... 43
Video
see Video DVD
Video DVD
Control option ................................ 159
DVD menu ..................................... 162 DVD's control menu ...................... 161
Full-screen mode ........................... 160
Function restrictions ...................... 159
Menu options ................................. 160
Notes on discs ............................... 158
Overview ........................................ 160
Overview of DVD functions ............ 161
Pause function ............................... 162
Picture settings .............................. 160
Playing conditions .......................... 159
Safety notes .................................. 158
Selecting a scene/chapter ............ 162
Stop function ................................. 162
Switching to ................................... 159
Video menu ................................... 161
Voice Control System
Settings ........................................... 37
see Voice Control System
Volume, adjusting
Navigation messages ....................... 27
W
Weather map (SIRIUS)Activating/deactivating display
levels ............................................. 171
Calling up ....................................... 170
Legend ........................................... 173
Moving ........................................... 170
Showing/hiding the menu ............. 170
Storm overview .............................. 174
Storm watch areas ......................... 173
Time stamp .................................... 173
Weather memory (SIRIUS)
Selecting an area ........................... 170
Storing an area .............................. 170
Web browser
Entering a web address ................. 126
WiFi
Activating ......................................... 37
Changing the name of the SSID ....... 39
Connecting the device ..................... 38
Connecting via security key ............. 38
Connecting via WPS PBC ................. 38
Connecting via WPS PIN .................. 38
Index13
Page 20 of 178
Overview
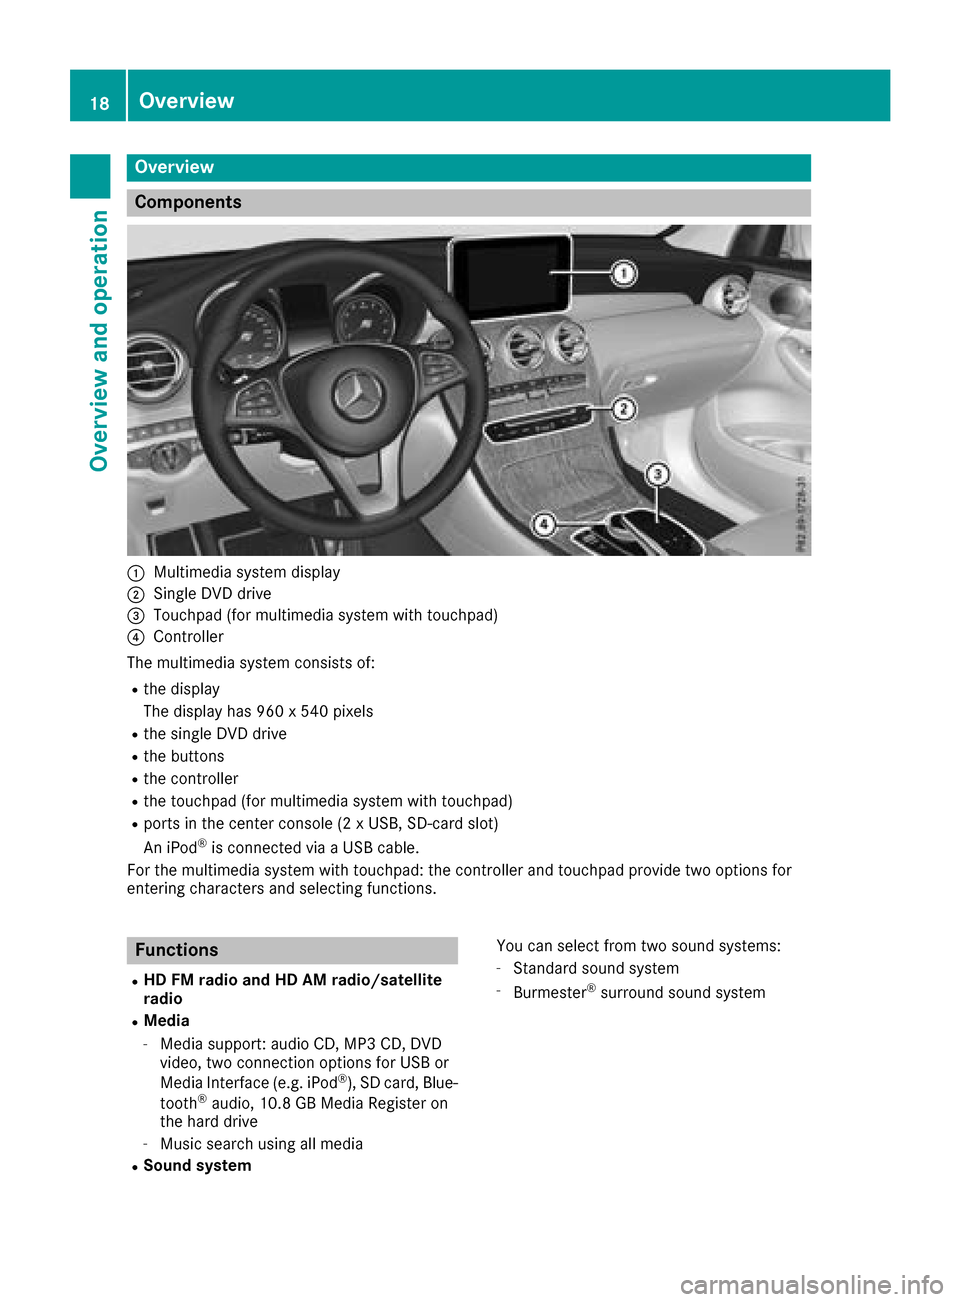
Components
:Multimedia system display
;Single DVD drive
=Touchpad (for multimedia system with touchpad)
?Controller
The multimedia system consists of:
Rthe display
The display has 960 x 540 pixels
Rthe single DVD drive
Rthe buttons
Rthe controller
Rthe touchpad (for multimedia system with touchpad)
Rports in the center console (2 x USB, SD-card slot)
An iPod®is connected via a USB cable.
For the multimedia system with touchpad: the controller and touchpad provide two options for
entering characters and selecting functions.
Functions
RHD FM radio and HD AM radio/satellite
radio
RMedia
-Media support: audio CD, MP3 CD, DVD
video, two connection options for USB or
Media Interface (e.g. iPod
®), SD card, Blue-
tooth®audio, 10.8 GB Media Register on
the hard drive
-Music search using all media
RSound system You can select from two sound systems:
-Standard sound system
-Burmester®surround sound system
18Overview
Overview and operation
Page 39 of 178
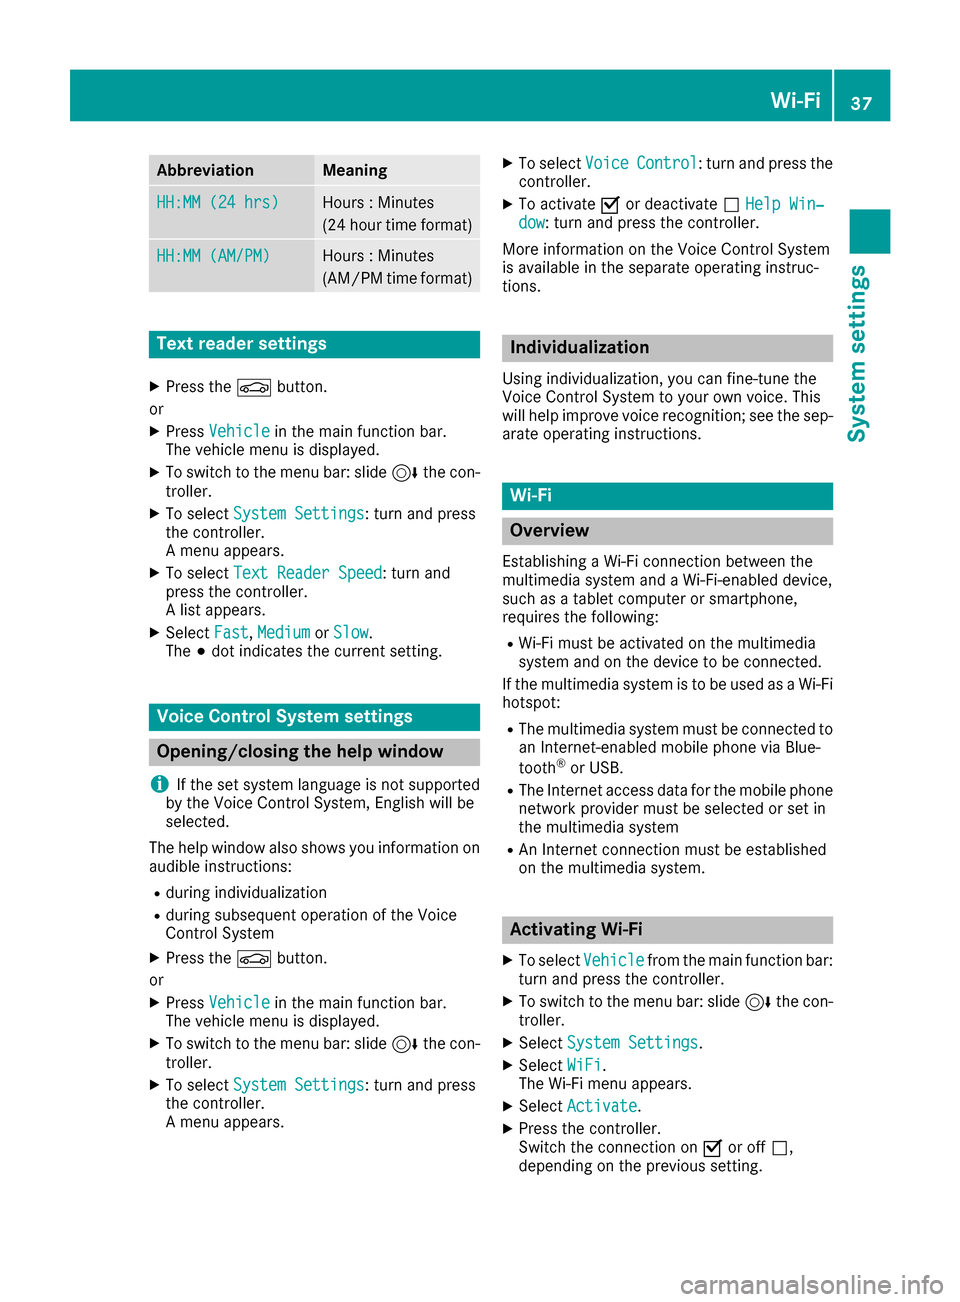
AbbreviationMeaning
HH:MM (24 hrs)Hours : Minutes
(24 hour time format)
HH:MM (AM/PM)Hours : Minutes
(AM/PM time format)
Text reader settings
XPress theØbutton.
or
XPress Vehicleinthe main function bar.
The veh iclemenu is displ ayed.
XToswit ch to the menu bar: slide6the con-
troller.
XTo select System Settings: turn and press
the controller.
A menu appears.
XTo select Text Reader Speed: turn and
press the controller.
A list appears.
XSelect Fast,Mediumor Slow.
The #dot indicates the current setting.
Voice Control System settings
Opening/closing the help window
i
If the set system language isnot supported
by the Voice Control System, English will be
selected.
The help window also shows you information on
audible instructions:
Rduring individualization
Rduring subsequent operation of the Voice
Control System
XPress the Øbutton.
or
XPress Vehicleinthe main function bar.
The veh iclemenu is displ ayed.
XToswit ch to the menu bar: slide6the con-
troller.
XTo select System Settings: turn and press
the controller.
A menu appears.
XTo select VoiceControl: turn and press the
controller.
XTo activate Oor deactivate ªHelp Win‐dow: turn and press the controller.
More information on the Voice Control System
is availab le inthe separate operating instruc-
tions.
Individualization
Using ind ividualization, you can fine-tune the
Voice Control System to your own voice. This
will help improve voice recognition; see the sep-
arate operating instructions.
Wi-Fi
Overview
Establishing a Wi-Fi connection between the
multimedia system and a Wi-Fi-enabled device,
such as a tablet computer or smartphone,
requires the foll owing:
RWi-Fi must be activated on the multimedia
system and on the device to be connected.
If the multimedia system isto be used as a Wi-Fi
hotspot:
RThe multimedia system must be connected to an Internet-enabled mobile phone via Blue-
tooth
®or USB.
RThe Internet access data for the mobile phone
network provide r must be selected or set in
the multimedia system
RAn Internet connection must be established
on the multimedia system.
Activating Wi-Fi
XTo select Vehiclefrom the main function bar:
turn and press the controller.
XTo switch to the menu bar: slide 6the con-
troller.
XSelect System Settings.
XSelect WiFi.
The Wi-Fi menu appears.
XSelect Activate.
XPress the controller.
Switch the connection on Oor off ª,
depending on the previous setting.
Wi-Fi37
System settings
Z
Page 43 of 178
Importing/exporting data
General notes
!
Never remove th estick or car dwhen writing
dat ato th eUS Bstick or th ememory card. You
may otherwise lose data.
Usin gthis function you can do th efollowin gwit h
your personal data:
Rtransfer your dat afrom on emultimedia sys-
te m to another multimedia system
The transfer may be limite dor no tpossible ,
depending on th evehicle's equipment.
Rmak e abackup copy of your personal dat a
(expor tdata) and load it again (import data)
Rprotect your dat afrom unwante dexpor tby
activating apin prompt (presetting :deactiva-
te dª)
You can either use an SD car dor aUS Bstorag e
device (e.g. aUS Bstick )as temporar ystorage.
You can obtain further information on dat a
import and expor tfrom an authorize d
Mercedes-Ben zCenter.
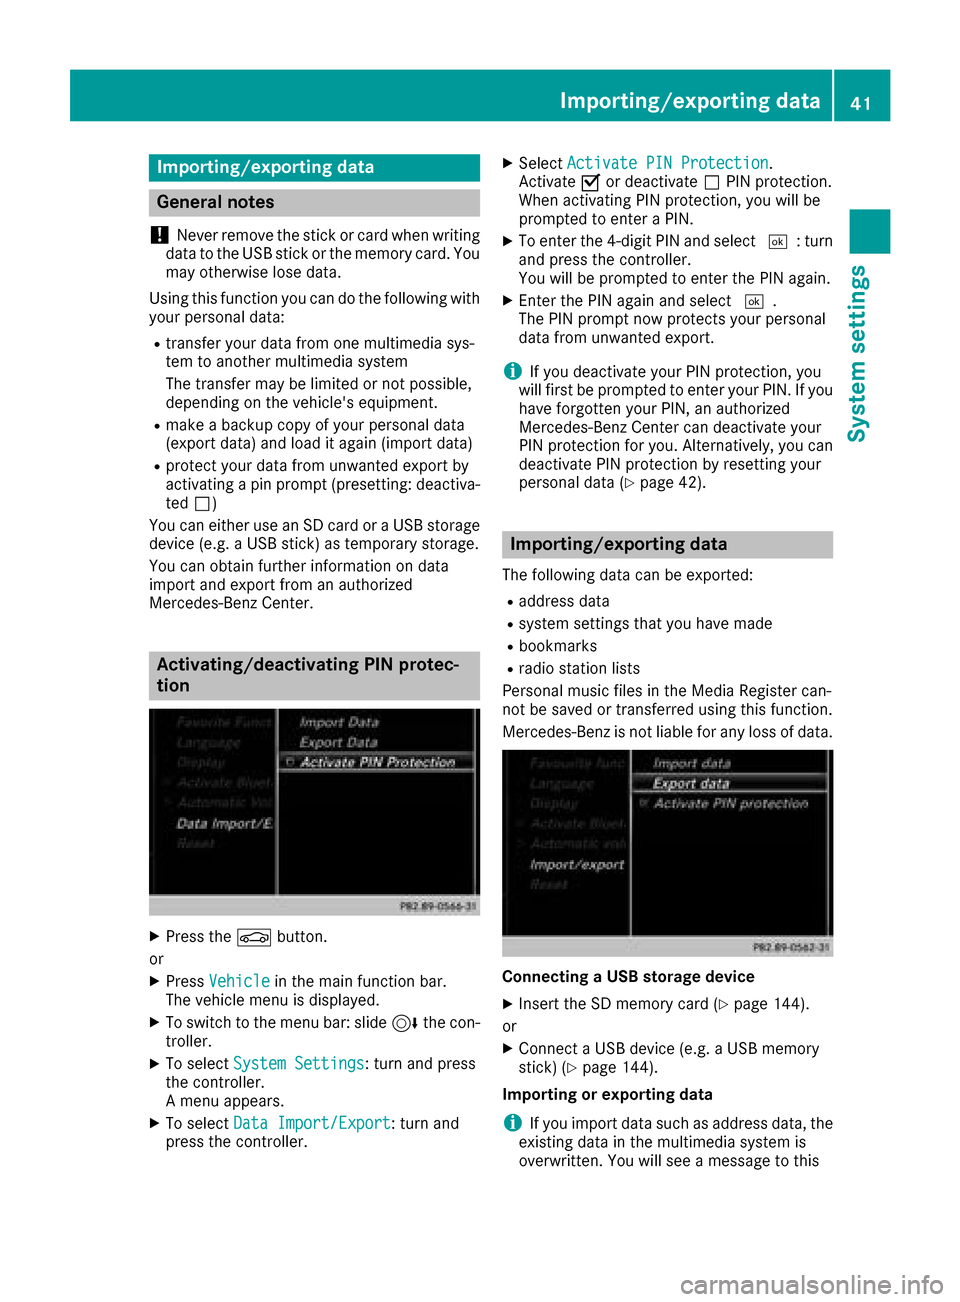
Activating/deactivating PIN protec-
tion
XPress th eØ button.
or
XPress Vehicl ein themain function bar.
The vehicl emen uis displayed.
XTo switch to th emen ubar: slide 6thecon-
troller .
XTo select System Settings:tur nand press
th econtroller.
A men uappears.
XTo select DataImport/Expor t:tur nand
press th econtroller.
XSelec tActivate PIN Protectio n.
Activat eO or deactivat eª PIN protection .
When activating PIN protection ,you will be
prompted to ente r aPIN .
XTo ente rth e4-digit PIN and select ¬:turn
and press th econtroller .
You will be prompted to ente rth ePIN again .
XEnterth ePIN again and select ¬.
The PIN prompt no wprotect syour personal
dat afrom unwante dexport.
iIf you deactivat eyour PIN protection ,you
will first be prompted to ente ryour PIN .If you
hav eforgotte nyour PIN ,an authorize d
Mercedes-Ben zCente rcan deactivat eyour
PIN protection for you. Alternatively, you can
deactivat ePIN protection by resetting your
personal dat a (
Ypage 42).
Importing/exporting data
The followin gdat acan be exported:
Raddress dat a
Rsystem setting sthat you hav emade
Rbookmarks
Rradi ostation list s
Personal musi cfile sin th eMedi aRegiste rcan -
no tbe saved or transferred usin gthis function .
Mercedes-Ben zis no tliable for any loss of data.
Connecting aUSB storage device
XInser tth eSD memory car d (Ypage 144).
or
XConnect aUS Bdevice (e.g. aUS Bmemory
stick ) (Ypage 144).
Importing or exporting data
iIf you import dat asuc has address data, th e
existing dat ain th emultimedia system is
overwritten. You will see amessage to this
Importing/exporting data41
System settings
Z
Page 44 of 178
effect. The multimedia system is restarted
after the data import.
XPress theØbutton.
or
XPress Vehiclein the main function bar.
The vehicle menu is displayed.
XTo switch to the menu bar: slide 6the con-
troller.
XTo select System Settings: turn and press
the controller.
A menu appears.
XTo select Data Import/Export: turn and
press the controller.
XSelect Import DataorExport Data.
If PIN protection is activated, a PIN prompt
appears when you select Export Data
.
XTo enter the 4-digit PIN and select ¬: turn
and press the controller.
PIN protection is deactivated.
XTo select MemoryCard,USB 1or USB 2: turn
and press the controller.
This function exports all the data to the selec-
ted disc.
Reset function
General information
You can reset the multimedia system to the fac-
tory settings. Resetting is recommended before handing over or selling the vehicle, for example.
This includes the deletion of all of your personal
data on the multimedia system. These include,
for example:
RStation presets
REntries in the destination memory
REntries in the list of previous destinations in
the navigation system
REntries in the address book
RAuthorized telephone
Data on the internal hard drive, e.g. music files in
the Media Register, will be deleted during a
reset.
In addition, an activated PIN protection, which
you have used to protect your data against
unwanted export, will be deactivated during a
reset.
Mercedes-Benz is not liable for any loss of data.
Resetting the multimedia system
XPress the Øbutton.
or
XPress Vehiclein the main function bar.
The vehicle menu is displayed.
XTo switch to the menu bar: slide 6the con-
troller.
XTo select System Settings: turn and press
the controller.
A menu appears.
XTo select Reset: turn and press the controller.
A prompt appears asking whether you wish to
reset.
XSelect Yes.
A prompt appears again asking whether you
really wish to reset.
XSelect Yes.
A message appears. The multimedia system
is reset to the factory settings and restarted.
42Reset function
System settings
Page 60 of 178
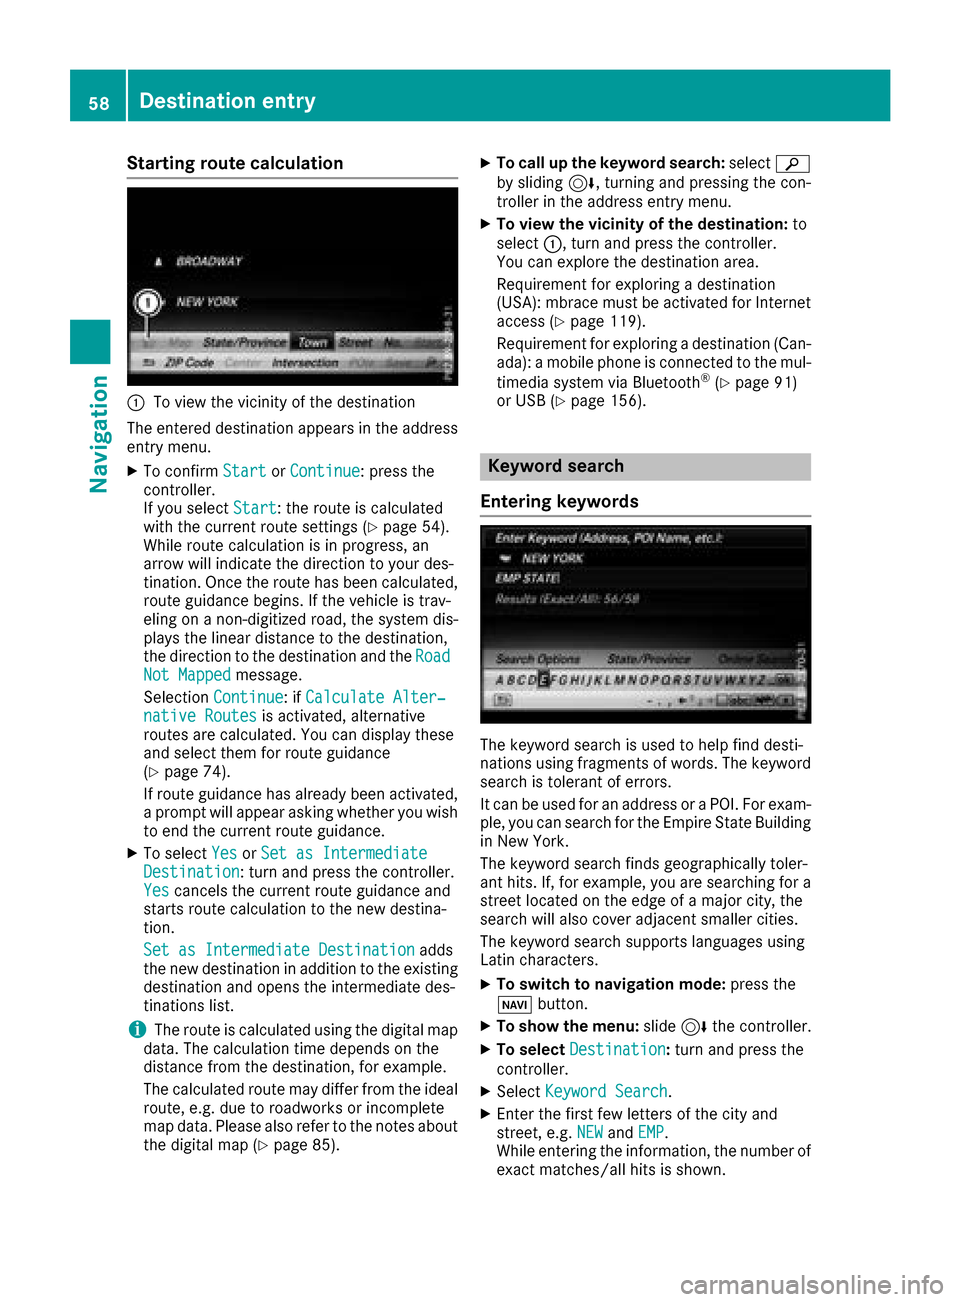
Starting route calculation
:To view the vicinity of the destination
The entered destination appears in the address
entry menu.
XTo confirm StartorContinue: press the
controller.
If you select Start
: the route is calculated
with the current route settings (Ypage 54).
While route calculation is in progress, an
arrow will indicate the direction to your des-
tination. Once the route has been calculated,
route guidance begins. If the vehicle is trav-
eling on a non-digitized road, the system dis-
plays the linear distance to the destination,
the direction to the destination and the Road
Not Mappedmessage.
Selection Continue
: ifCalculate Alter‐native Routesis activated, alternative
routes are calculated. You can display these
and select them for route guidance
(
Ypage 74).
If route guidance has already been activated,
a prompt will appear asking whether you wish
to end the current route guidance.
XTo select YesorSet as IntermediateDestination: turn and press the controller.
Yescancels the current route guidance and
starts route calculation to the new destina-
tion.
Set as Intermediate Destination
adds
the new destination in addition to the existing
destination and opens the intermediate des-
tinations list.
iThe route is calculated using the digital map
data. The calculation time depends on the
distance from the destination, for example.
The calculated route may differ from the ideal
route, e.g. due to roadworks or incomplete
map data. Please also refer to the notes about the digital map (
Ypage 85).
XTo call up the keyword search: selectè
by sliding 6, turning and pressing the con-
troller in the address entry menu.
XTo view the vicinity of the destination: to
select :, turn and press the controller.
You can explore the destination area.
Requirement for exploring a destination
(USA): mbrace must be activated for Internet
access (
Ypage 119).
Requirement for exploring a destination (Can- ada): a mobile phone is connected to the mul-
timedia system via Bluetooth
®(Ypage 91)
or USB (Ypage 156).
Keyword search
Entering keywords
The keyword search is used to help find desti-
nations using fragments of words. The keyword
search is tolerant of errors.
It can be used for an address or a POI. For exam-
ple, you can search for the Empire State Building
in New York.
The keyword search finds geographically toler-
ant hits. If, for example, you are searching for a
street located on the edge of a major city, the
search will also cover adjacent smaller cities.
The keyword search supports languages using
Latin characters.
XTo switch to navigation mode: press the
Ø button.
XTo show the menu: slide6the controller.
XTo select Destination:turn and press the
controller.
XSelect Keyword Search.
XEnter the first few letters of the city and
street, e.g. NEWandEMP.
While entering the information, the number of
exact matches/all hits is shown.
58Destination entry
Navigation
Page 64 of 178
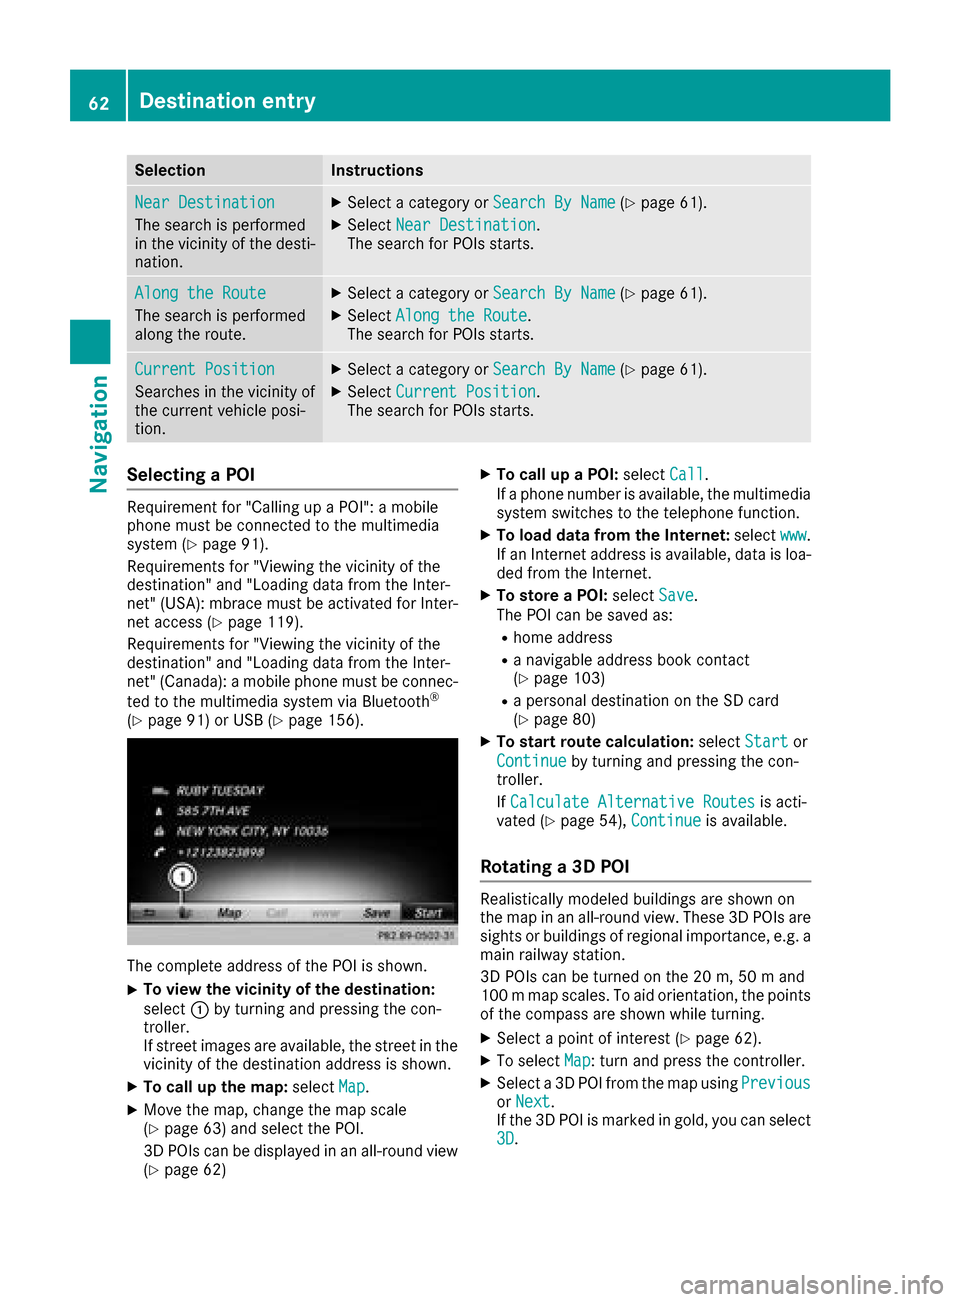
SelectionInstructions
Near Destination
The search is performed
in the vicinity of the desti-
nation.
XSelect a category orSearch By Name(Ypage 61).
XSelectNear Destination.
The search for POIs starts.
Along the Route
The search is performed
along the route.
XSelect a category or Search By Name(Ypage 61).
XSelectAlong the Route.
The search for POIs starts.
Current Position
Searches in the vicinity of
the current vehicle posi-
tion.
XSelect a category or Search By Name(Ypage 61).
XSelectCurrent Position.
The search for POIs starts.
Selecting a POI
Requirement for "Calling up a POI": a mobile
phone must be connected to the multimedia
system (
Ypage 91).
Requirements for "Viewing the vicinity of the
destination" and "Loading data from the Inter-
net" (USA): mbrace must be activated for Inter-
net access (
Ypage 119).
Requirements for "Viewing the vicinity of the
destination" and "Loading data from the Inter-
net" (Canada): a mobile phone must be connec-
ted to the multimedia system via Bluetooth
®
(Ypage 91) or USB (Ypage 156).
The complete address of the POI is shown.
XTo view the vicinity of the destination:
select :by turning and pressing the con-
troller.
If street images are available, the street in the
vicinity of the destination address is shown.
XTo call up the map: selectMap.
XMove the map, change the map scale
(Ypage 63) and select the POI.
3D POIs can be displayed in an all-round view
(
Ypage 62)
XTo call up a POI: selectCall.
If a phone number is available, the multimedia
system switches to the telephone function.
XTo load data from the Internet: selectwww.
If an Internet address is available, data is loa-
ded from the Internet.
XTo store a POI: selectSave.
The POI can be saved as:
Rhome address
Ra navigable address book contact
(Ypage 103)
Ra personal destination on the SD card
(Ypage 80)
XTo start route calculation: selectStartor
Continue
by turning and pressing the con-
troller.
If Calculate Alternative Routes
is acti-
vated (Ypage 54), Continueis available.
Rotating a 3D POI
Realistically modeled buildings are shown on
the map in an all-round view. These 3D POIs are
sights or buildings of regional importance, e.g. a
main railway station.
3D POIs can be turned on the 20 m, 50 m and
100 m map scales. To aid orientation, the points
of the compass are shown while turning.
XSelect a point of interest (Ypage 62).
XTo selectMap: turn and press the controller.
XSelect a 3D POI from the map using PreviousorNext.
If the 3D POI is marked in gold, you can select
3D
.
62Destination entry
Navigation
Page 102 of 178
Phone book
Introduction
The phone book displays the contacts from the
address book which have a phone number.
The phone book of the mobile phone is auto-
matically displayed in the multimedia system
after the connection is established (default set-
ting). You can deactivate automatic calling up
(
Ypage 107).
In the phone book, you can:
RCreate new contacts (Ypage 101)
RAdd information to contacts (Ypage 102)
RSearch for contacts (Ypage 100)
RStore contacts (Ypage 102)
RDelete contacts (Ypage 102)
Further information on importing contacts
(
Ypage 108).
When you import, save, edit or add contacts,
they will be permanently saved in the multime-
dia system. These contacts will remain available
even when you connect the multimedia system
to a different mobile phone. You can view these contacts even without a mobile phone.
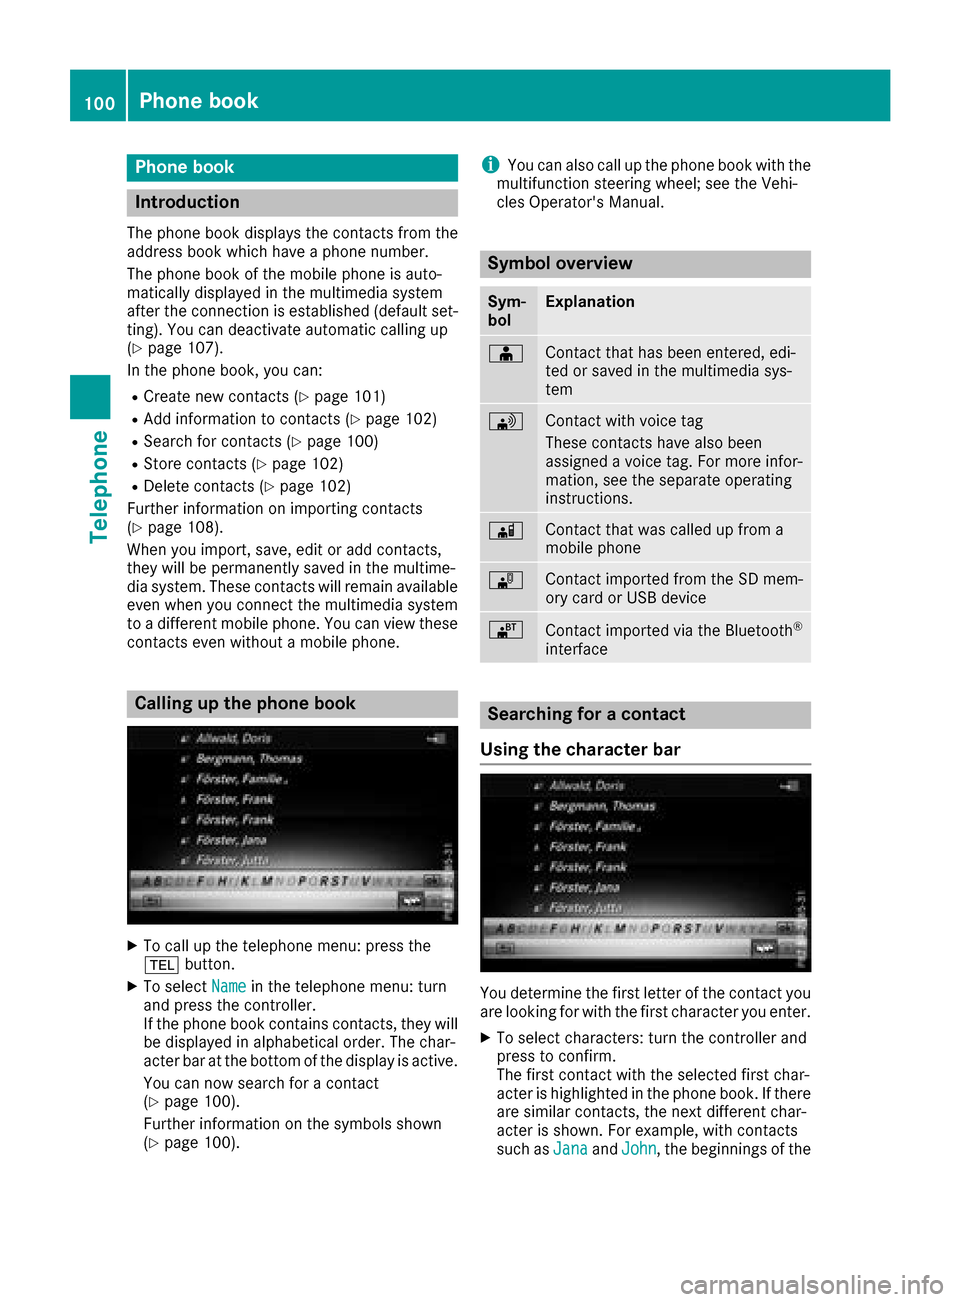
Calling up the phone book
XTo call up the telephone menu: press the
% button.
XTo select Namein the telephone menu: turn
and press the controller.
If the phone book contains contacts, they will
be displayed in alphabetical order. The char-
acter bar at the bottom of the display is active.
You can now search for a contact
(
Ypage 100).
Further information on the symbols shown
(
Ypage 100).
iYou can also call up the phone book with the
multifunction steering wheel; see the Vehi-
cles Operator's Manual.
Symbol overview
Sym-
bolExplanation
ÆContact that has been entered, edi-
ted or saved in the multimedia sys-
tem
\Contact with voice tag
These contacts have also been
assigned a voice tag. For more infor-
mation, see the separate operating
instructions.
ÃContact that was called up from a
mobile phone
¯Contact imported from the SD mem-
ory card or USB device
®Contact imported via the Bluetooth®
interface
Searching for a contact
Using the character bar
You determine the first letter of the contact you
are looking for with the first character you enter.
XTo select characters: turn the controller and
press to confirm.
The first contact with the selected first char-
acter is highlighted in the phone book. If there
are similar contacts, the next different char-
acter is shown. For example, with contacts
such as Jana
andJohn, the beginnings of the
100Phone book
Telephone
Page 105 of 178
Closing the phone book
XTo select&from the character bar: turn the
controller and press to confirm.
or
XPress the %button.
Address book
Introduction
Always pay attention to traffic conditions.
Familiarize yourself with the address book func-
tions before beginning your journey.
You can use the multimedia system when the
road and traffic conditions permit. You could
otherwise become involved in an accident in
which you or others could be injured.
The address book displays all the contacts from
the various sources (mobile phone, memory
card, USB device, the phone book of the multi-
media system, navigation).
You can use the contacts to make telephone
calls, navigate and to write messages.
If a mobile phone is connected to the multimedia
system and automatic calling up is activated
(
Ypage 107), the mobile phone's contacts are
displayed in the address book. If you disconnect
the mobile phone from the multimedia system,
these contacts are no longer displayed in the
address book.
When you import, save, edit or add contacts,
they will be saved in the multimedia system.
These contacts will remain available even when
you connect the multimedia system to a differ-
ent mobile phone. You can view these contacts
even without a mobile phone.
iThe address book can store a total of 5,000
contacts:
R2000 entries are reserved for permanently
saved contacts
R3000 entries are reserved for contacts that
you can load from the mobile phone
iBefore selling your vehicle, delete the con-
tacts saved in the multimedia system using
the reset function (
Ypage 42).
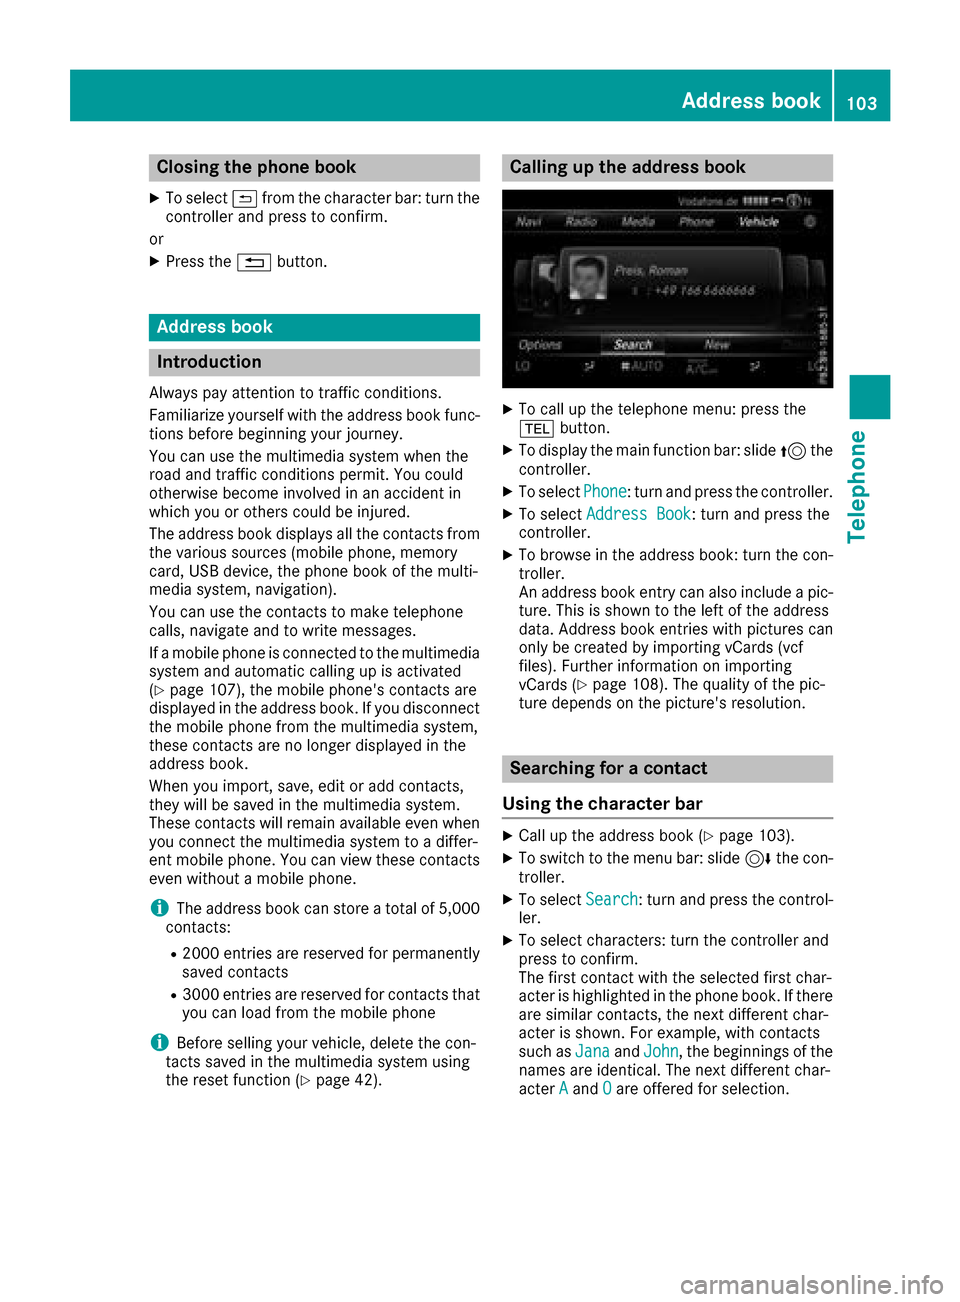
Calling up the address book
XTo call up the telephone menu: press the
% button.
XTo display the main function bar: slide 5the
controller.
XTo select Phone: turn and press the controller.
XTo select Address Book: turn and press the
controller.
XTo browse in the address book: turn the con- troller.
An address book entry can also include a pic-
ture. This is shown to the left of the address
data. Address book entries with pictures can
only be created by importing vCards (vcf
files). Further information on importing
vCards (
Ypage 108). The quality of the pic-
ture depends on the picture's resolution.
Searching for a contact
Using the character bar
XCall up the address book (Ypage 103).
XTo switch to the menu bar: slide 6the con-
troller.
XTo select Search: turn and press the control-
ler.
XTo select characters: turn the controller and
press to confirm.
The first contact with the selected first char-
acter is highlighted in the phone book. If there
are similar contacts, the next different char-
acter is shown. For example, with contacts
such as Jana
andJohn, the beginnings of the
names are identical. The next different char-
acter A
andOare offered for selection.
Address book103
Telephone
Z